OPEN SHELVING: STYLED

Hey friends! How was your weekend? My daughter and I hit the road this weekend with my husband, and although we traveled to an extremely ( miserably) hot place, I was just happy to not have to have our little family separated for those two days. I don’t get to travel with him often…. well, like ever actually. So, I usually jump at the chance when there is room on the bus for me and the little.
It has been a pretty quiet Monday for us. We are tying up ALL loose ends on this kitchen this week, and we truly are almost done. I know I have been claiming that for a while now. When you are doing all of the work yourself while juggling a toddler and life in general, it all goes sooooo much slower than you could have ever planned. I am not complaining though! 
I took some time today (nap time) to finally style the open shelving in my kitchen. Up til now, I have just been accumulating dishes and throwing things up there without actually arranging and putting the final touches on everything. I knew I wanted lots of neutrals, with maybe a touch or two of color. 
I moved my rubber spatulas to a vase near my mixer for easy access while prepping baked goods. I am just faking it really, but I love the way it looks to have a little “baking station”

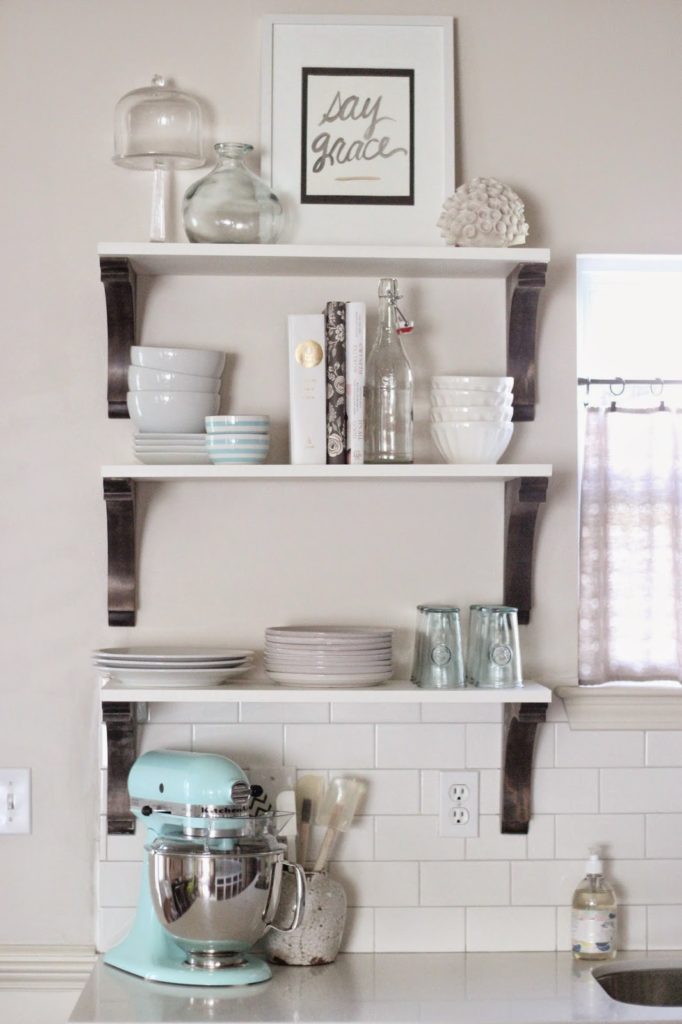
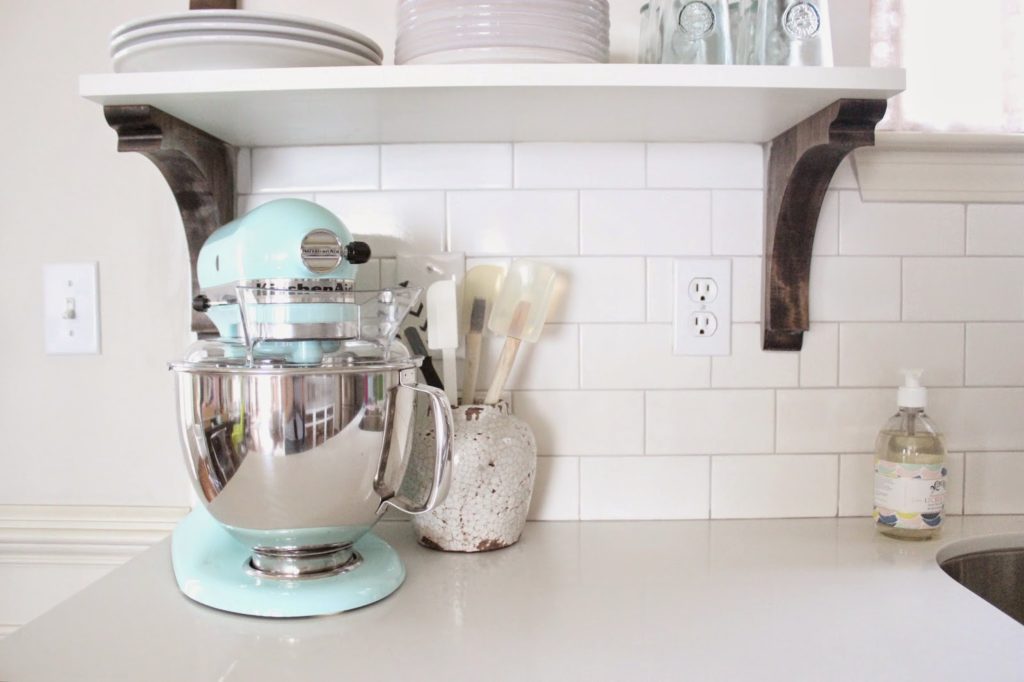
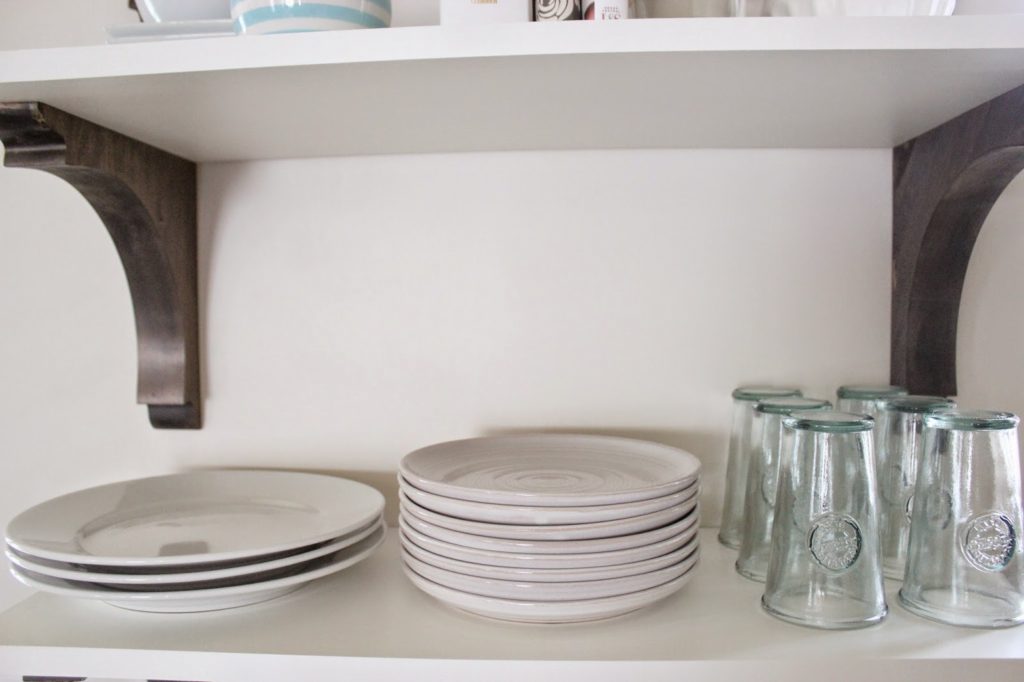
Most of my big plates were in the dishwasher when I shot these photos… oops! I found these recycled water glasses from a local general store here in Nashville called Whites Mercantile. It is a must visit if you are ever in town!

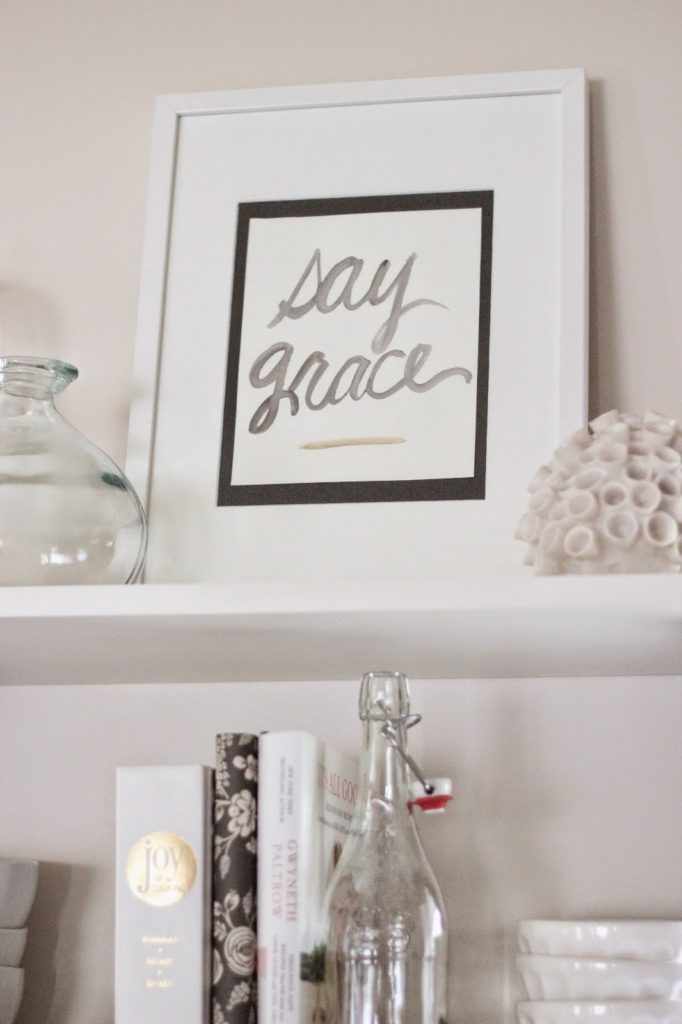
 I finally framed a water color print that I made LAST Thanksgiving…..oh, for our VERY FIRST post. Crazy!!

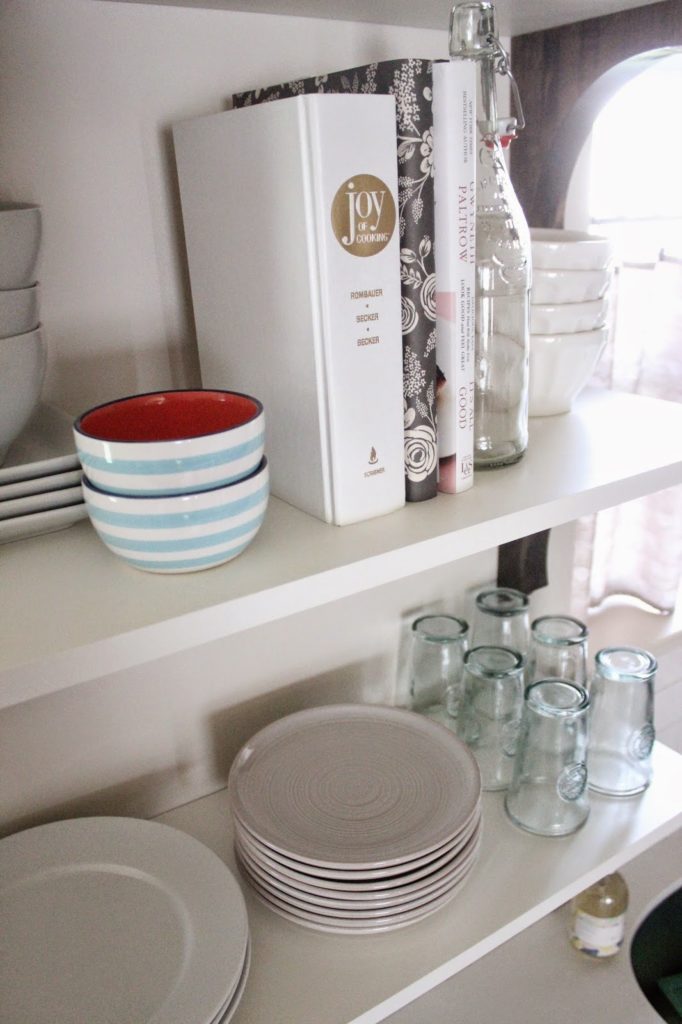
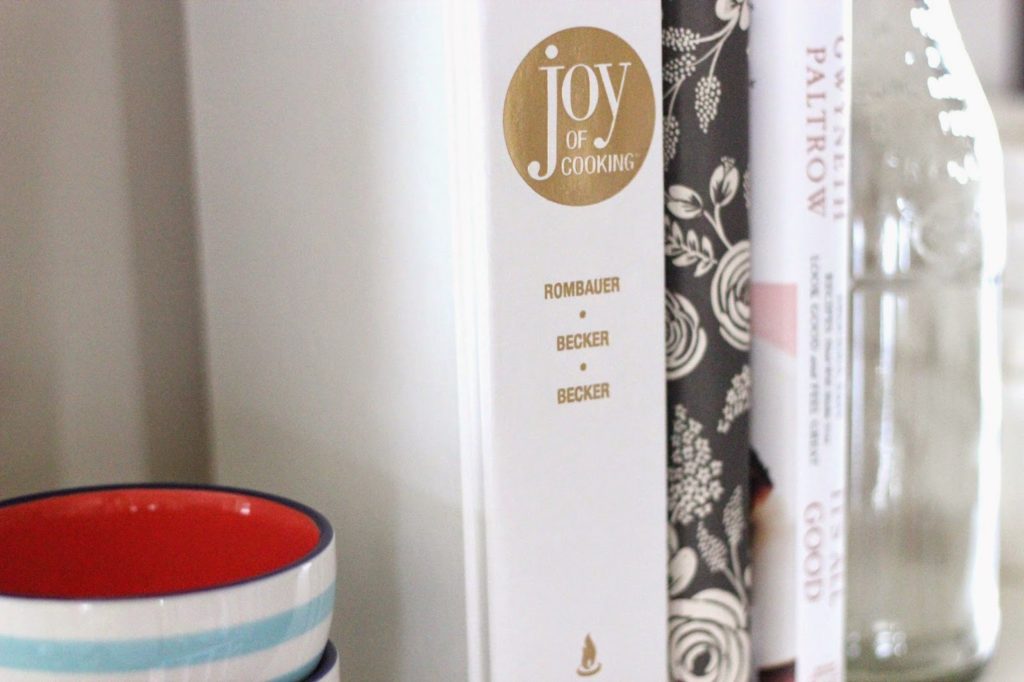
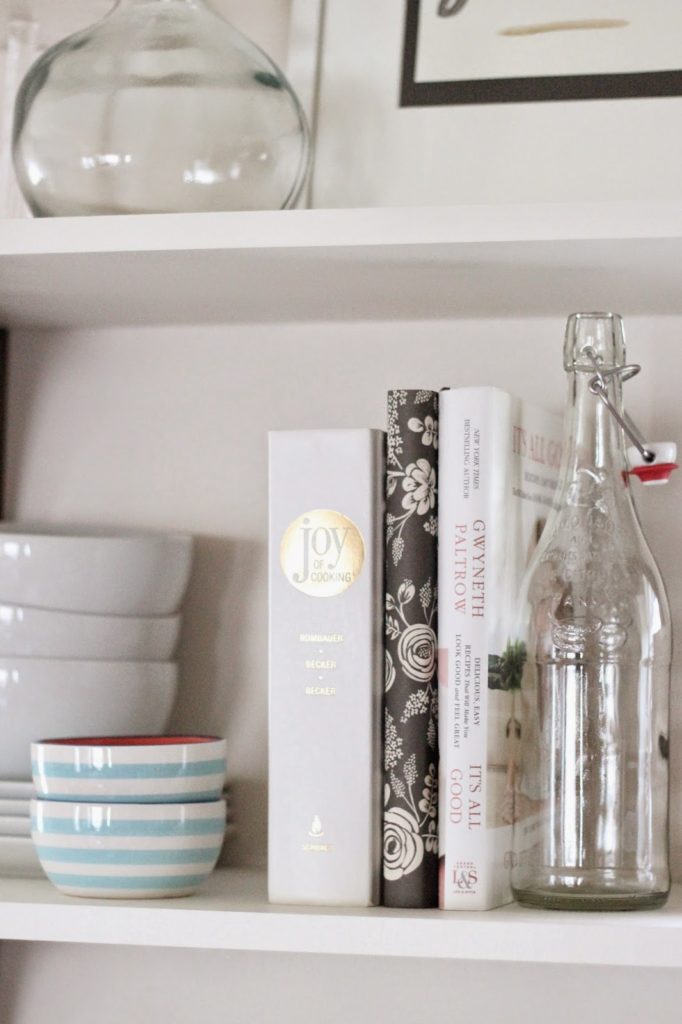
 Unfortunately, the colors and designs of some of my cookbooks that I love did not go with my kitchen color palette. I took off the cover to my Joy of Cooking book, which had bright red and navy on it, and it revealed this beautiful white and gold perfection! Then, I wrapped another cookbook of mine (which was bright yellow) in a charcoal floral wrapping paper. The three books look a little more cohesive sitting up there now.