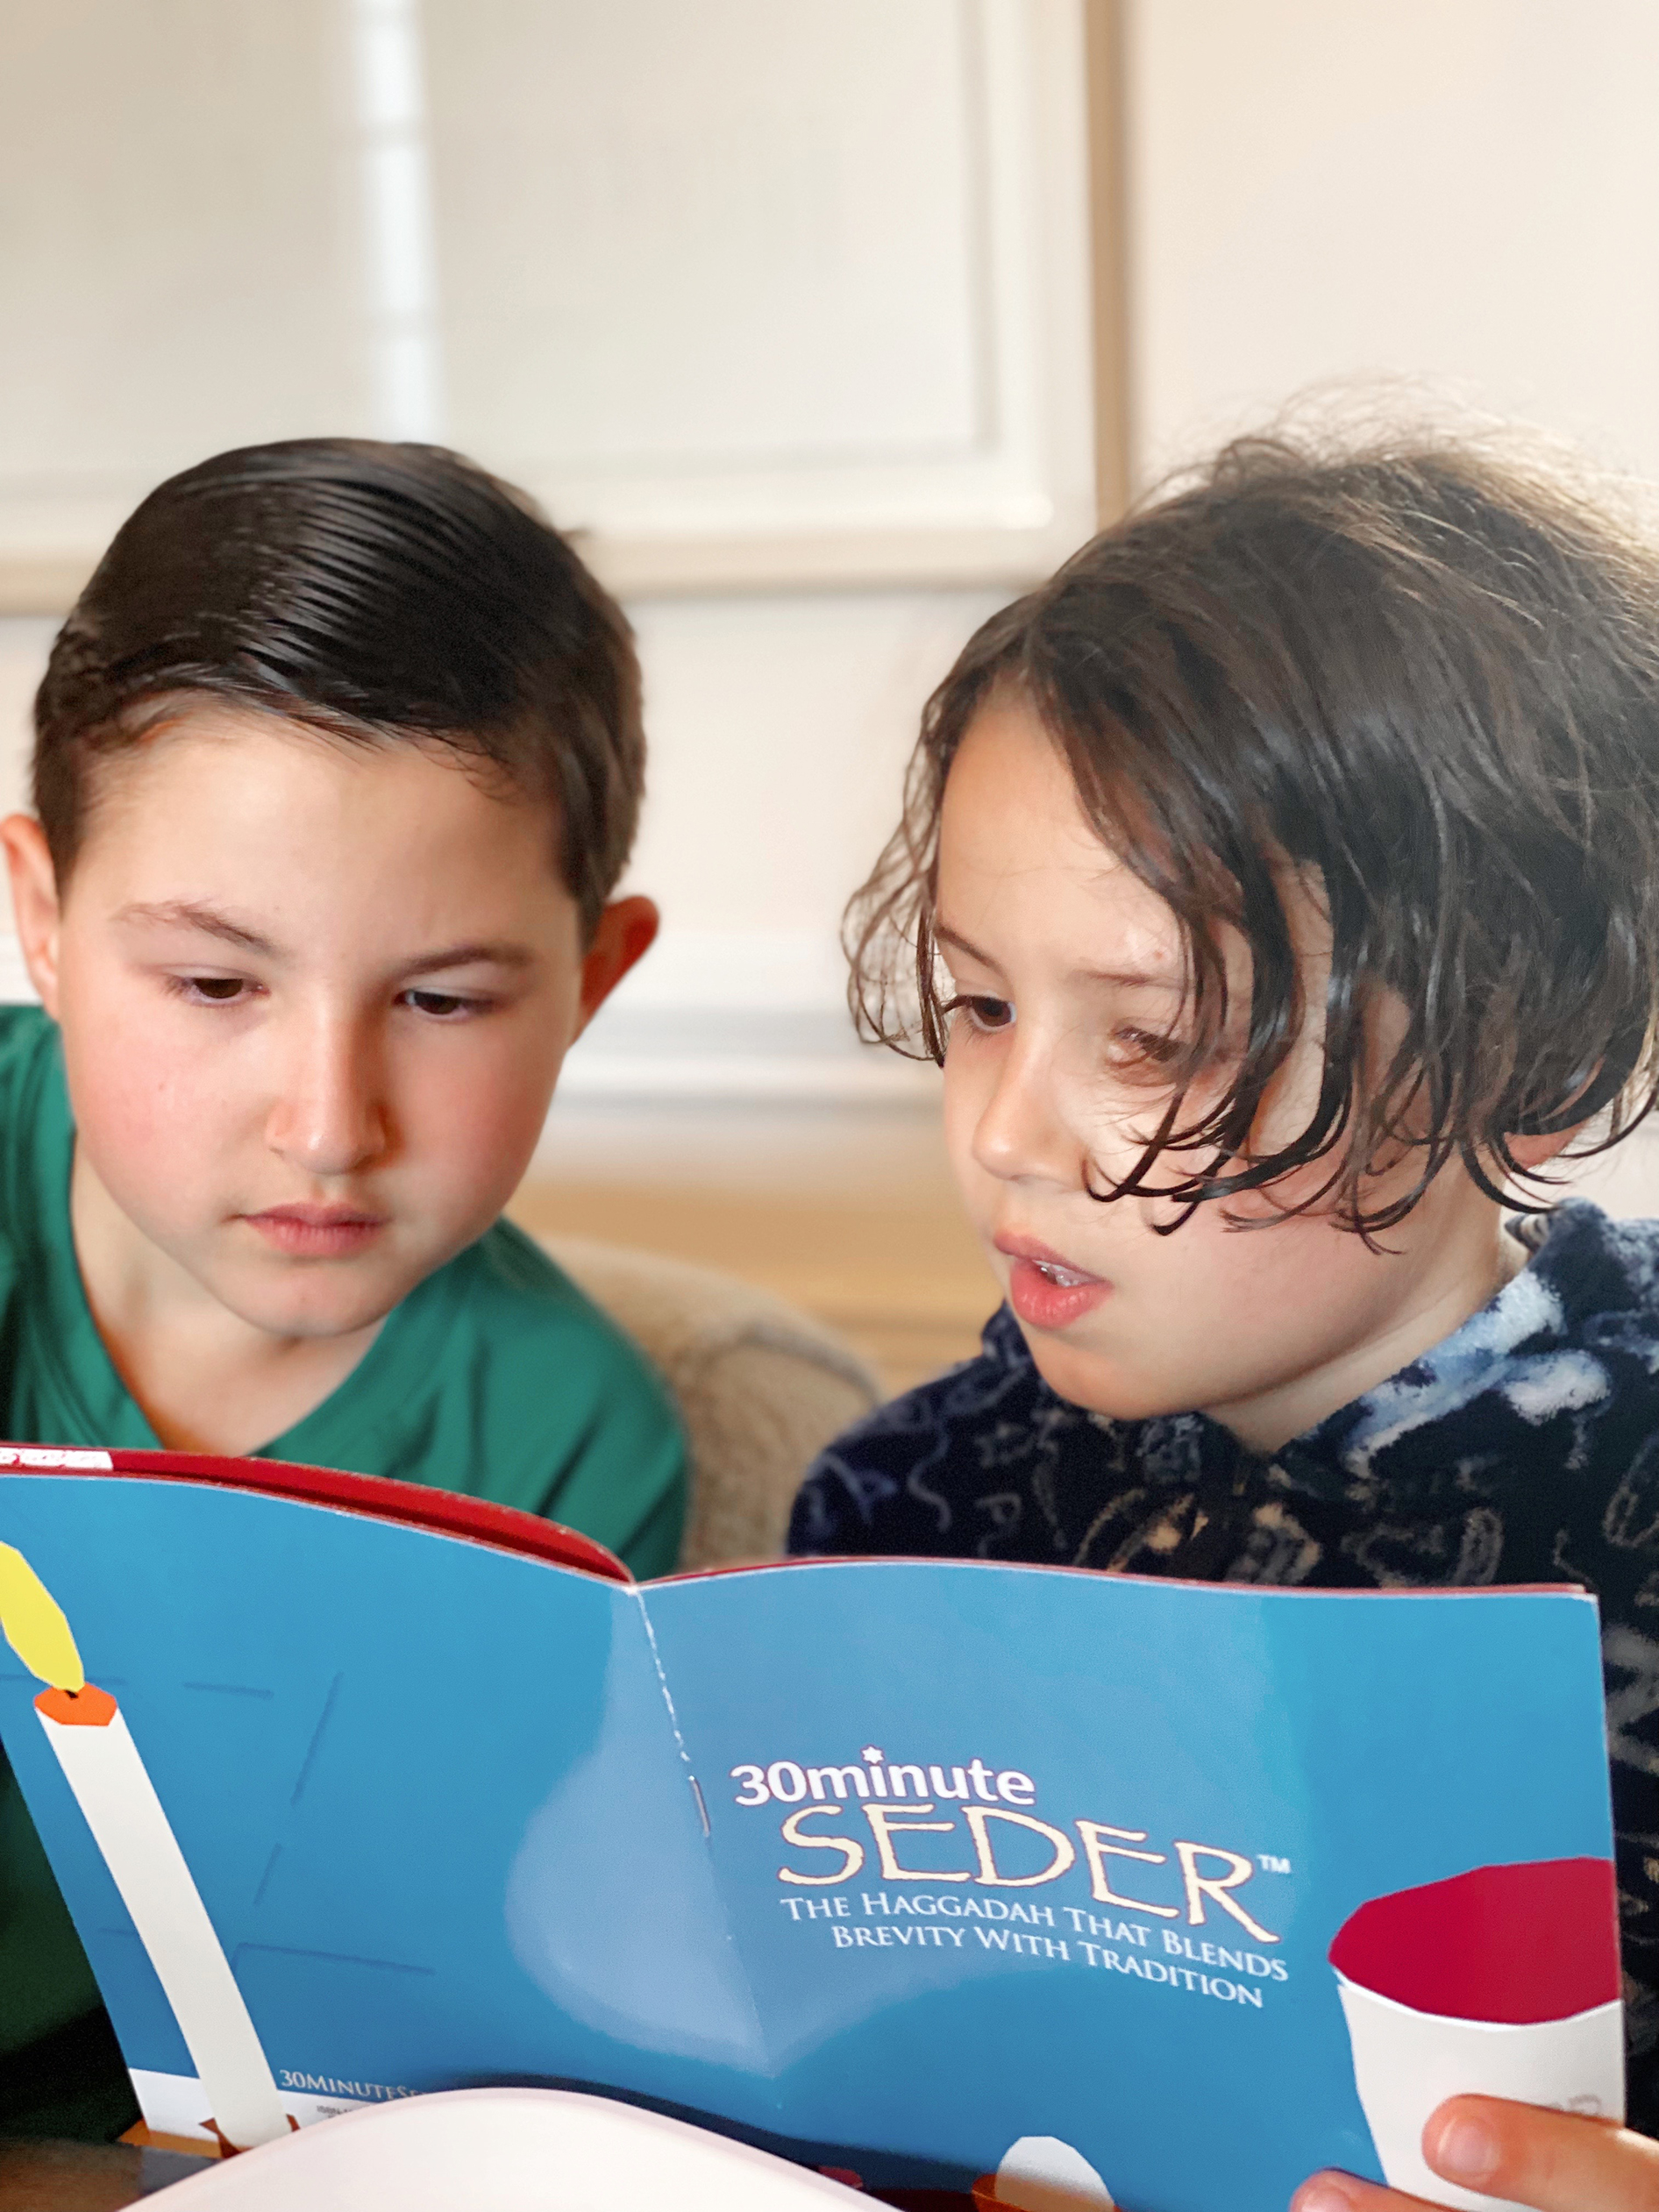
Tweaked it a bit and added a few desserts! Happy Passover in the dystopian year of 2025!
MENU
- Brisket
- Kugel
- Spinach Artichoke Quiche
- Matzo ball soup
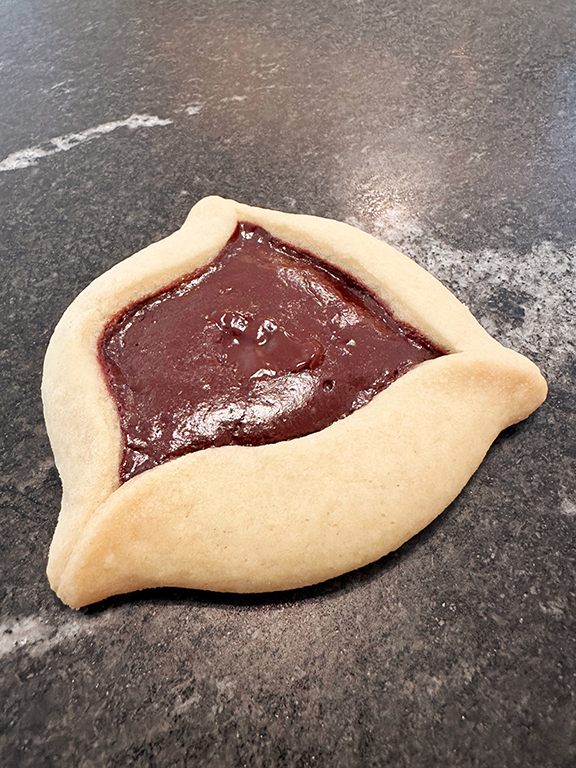
- Haroset
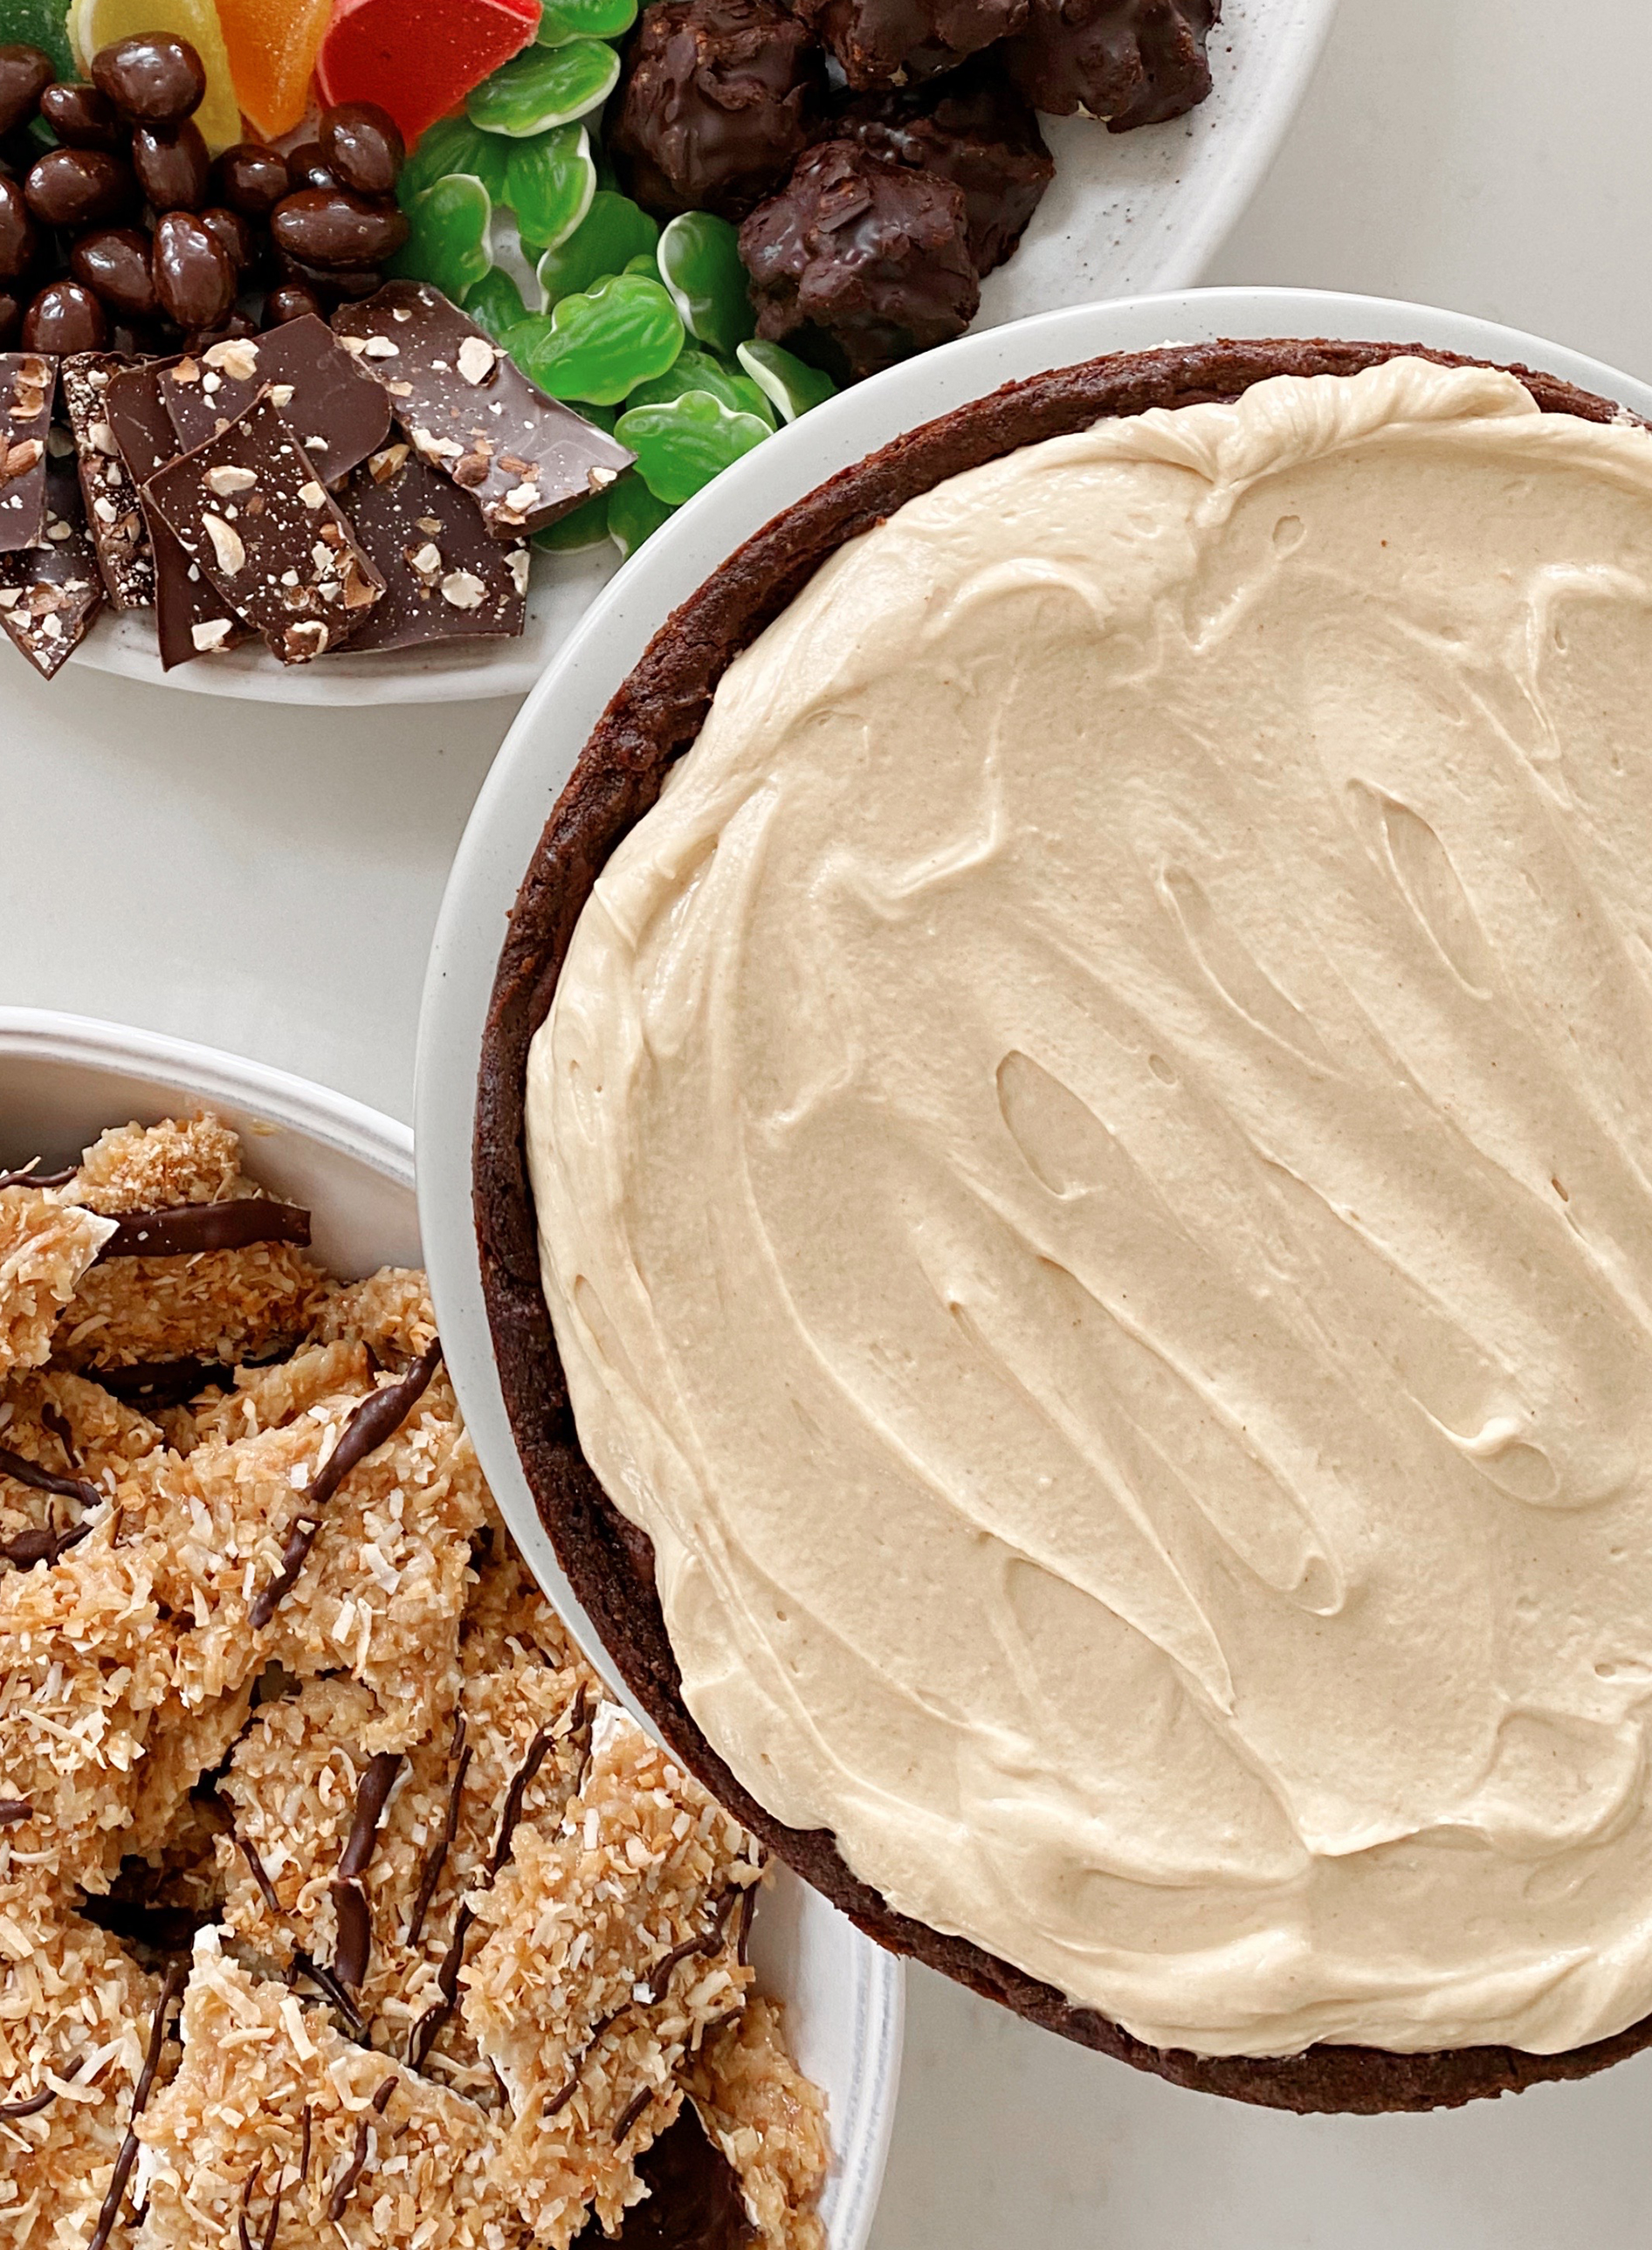
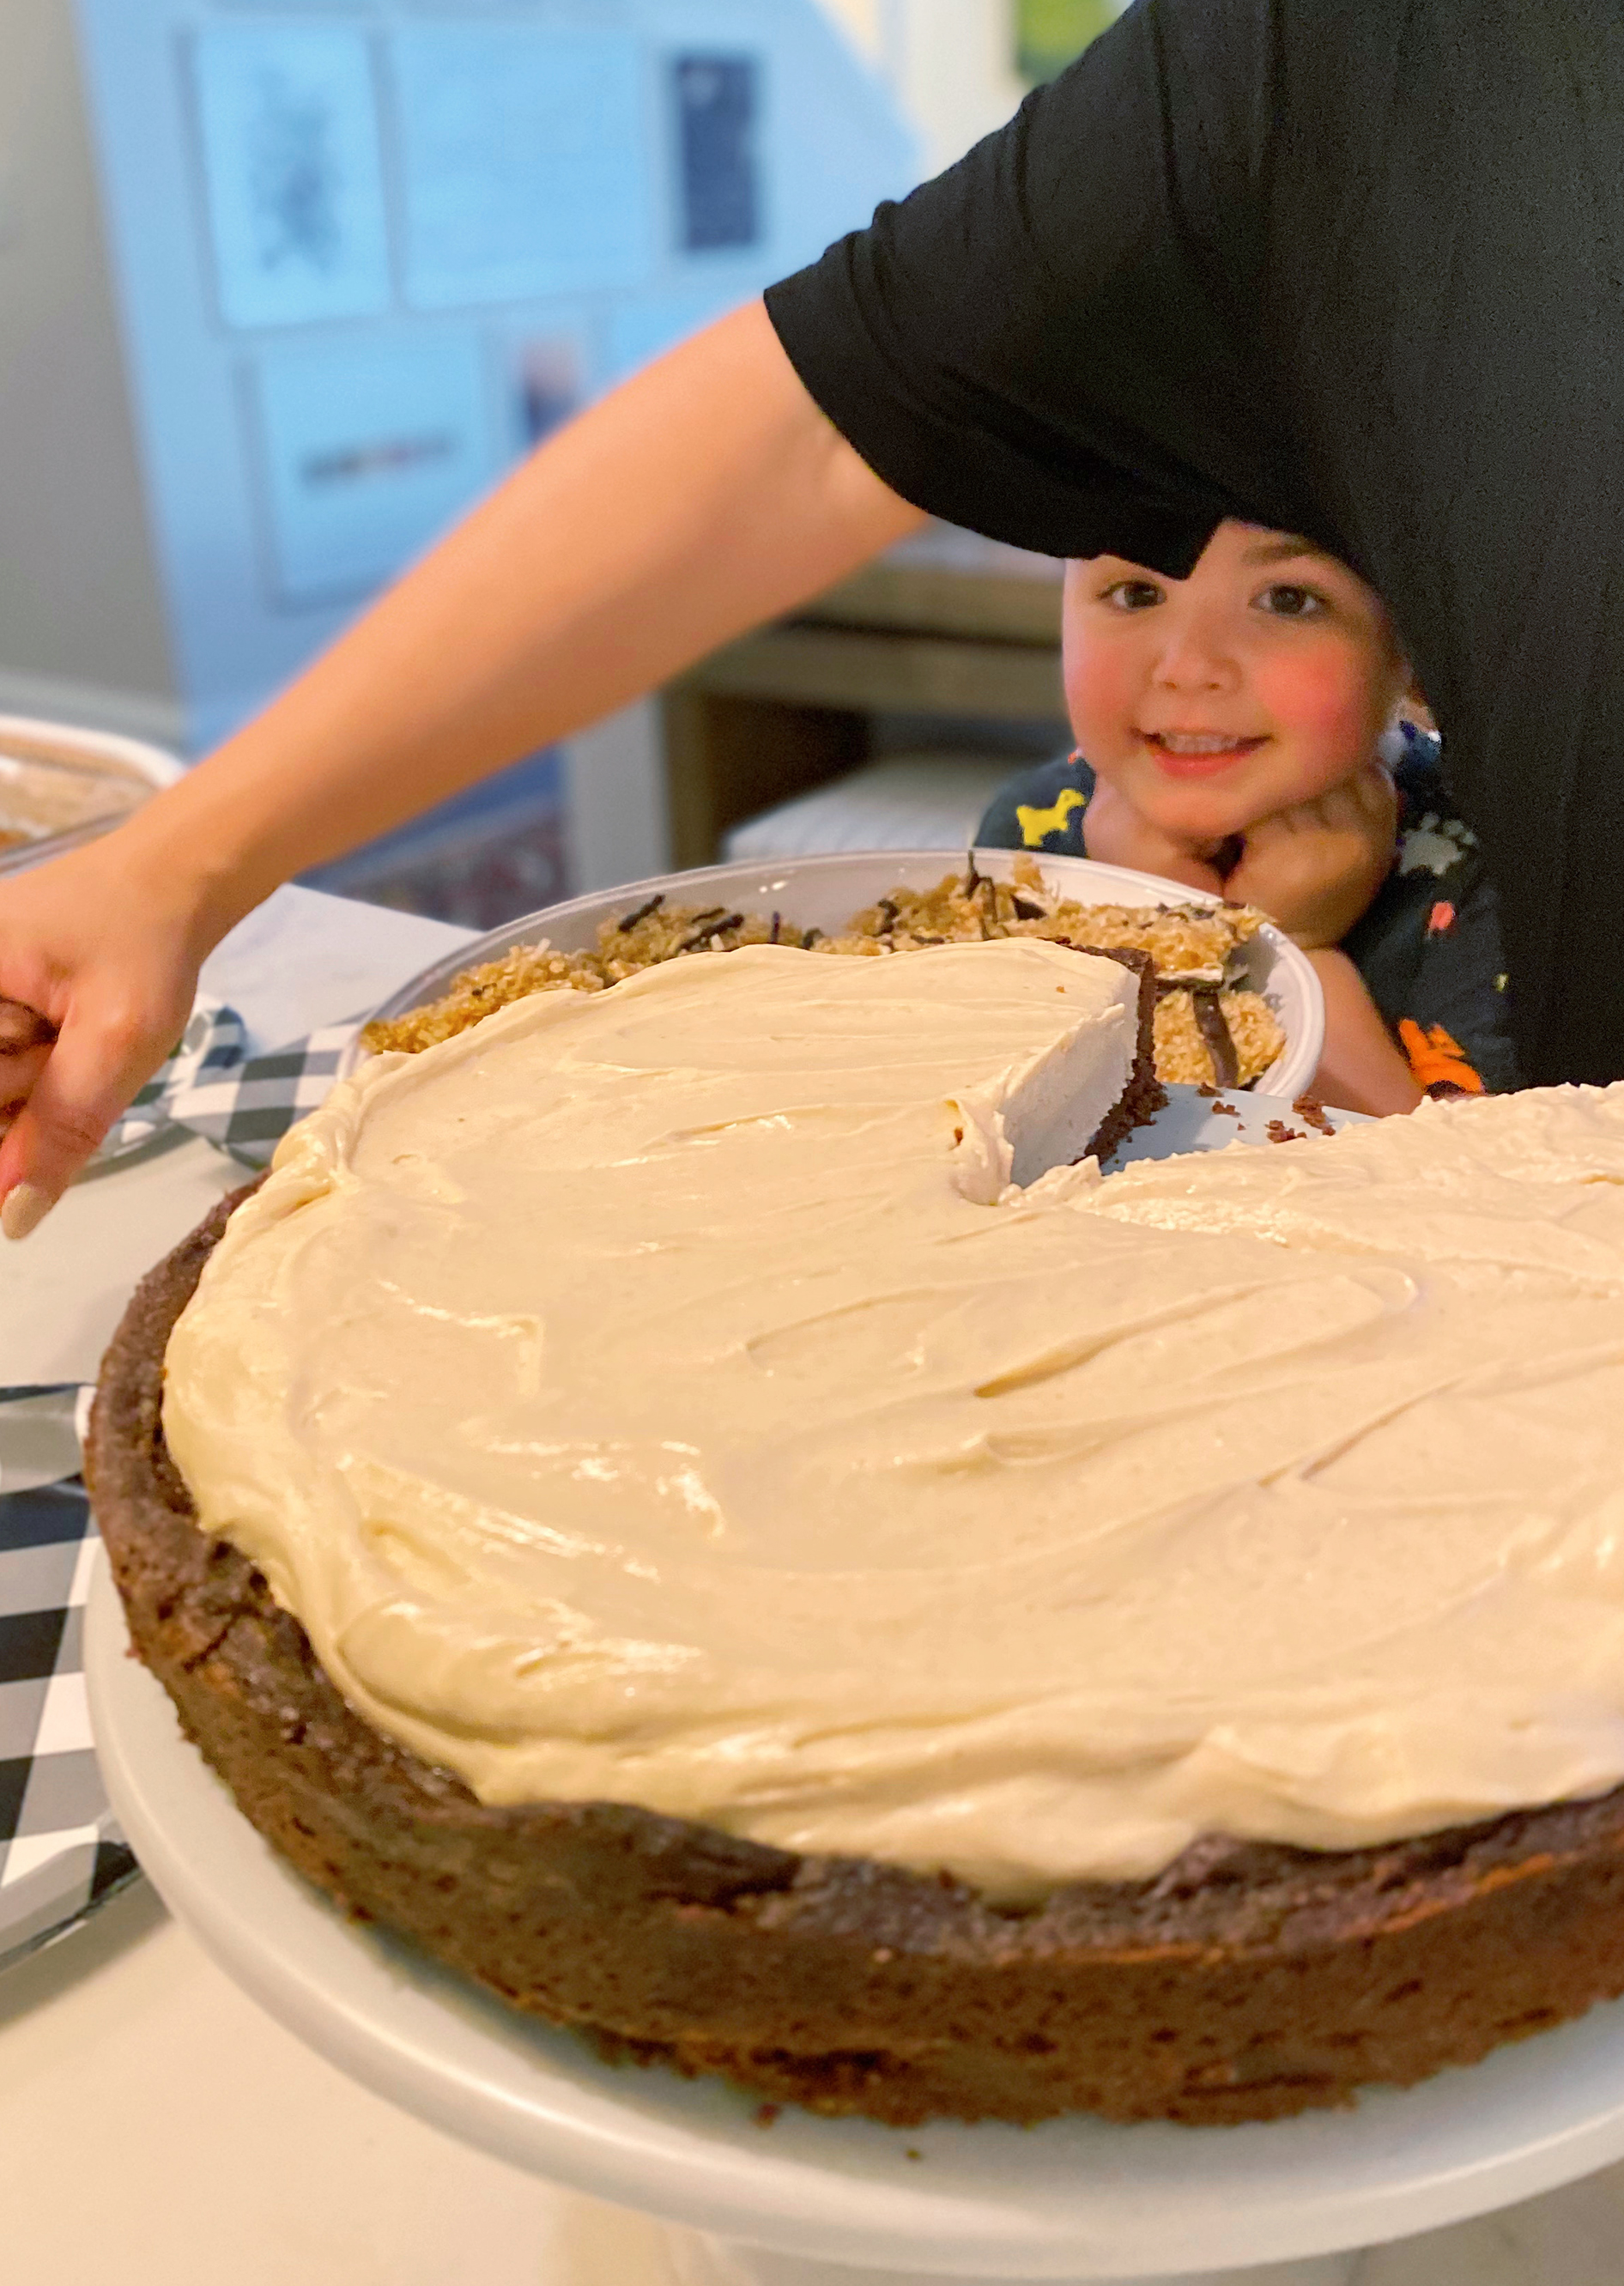
- Chocolate dipped macaroons
- Chocolate chip cookie bars
- Cinnamon sugar matzo crunch
** you’ll need 18 eggs… in this economy?!
SCHEDULE
2 days before:
- pick up the brisket and any fresh ingredients
- make sure you have parchment paper and heavy duty foil
- caramelize onions for the quiche (refrigerate)
- make the haroset (refrigerate)
- make macaroons (freeze)
- shred cheese for quiche
- grate the skin and chop the carrots for the brisket (refrigerate)
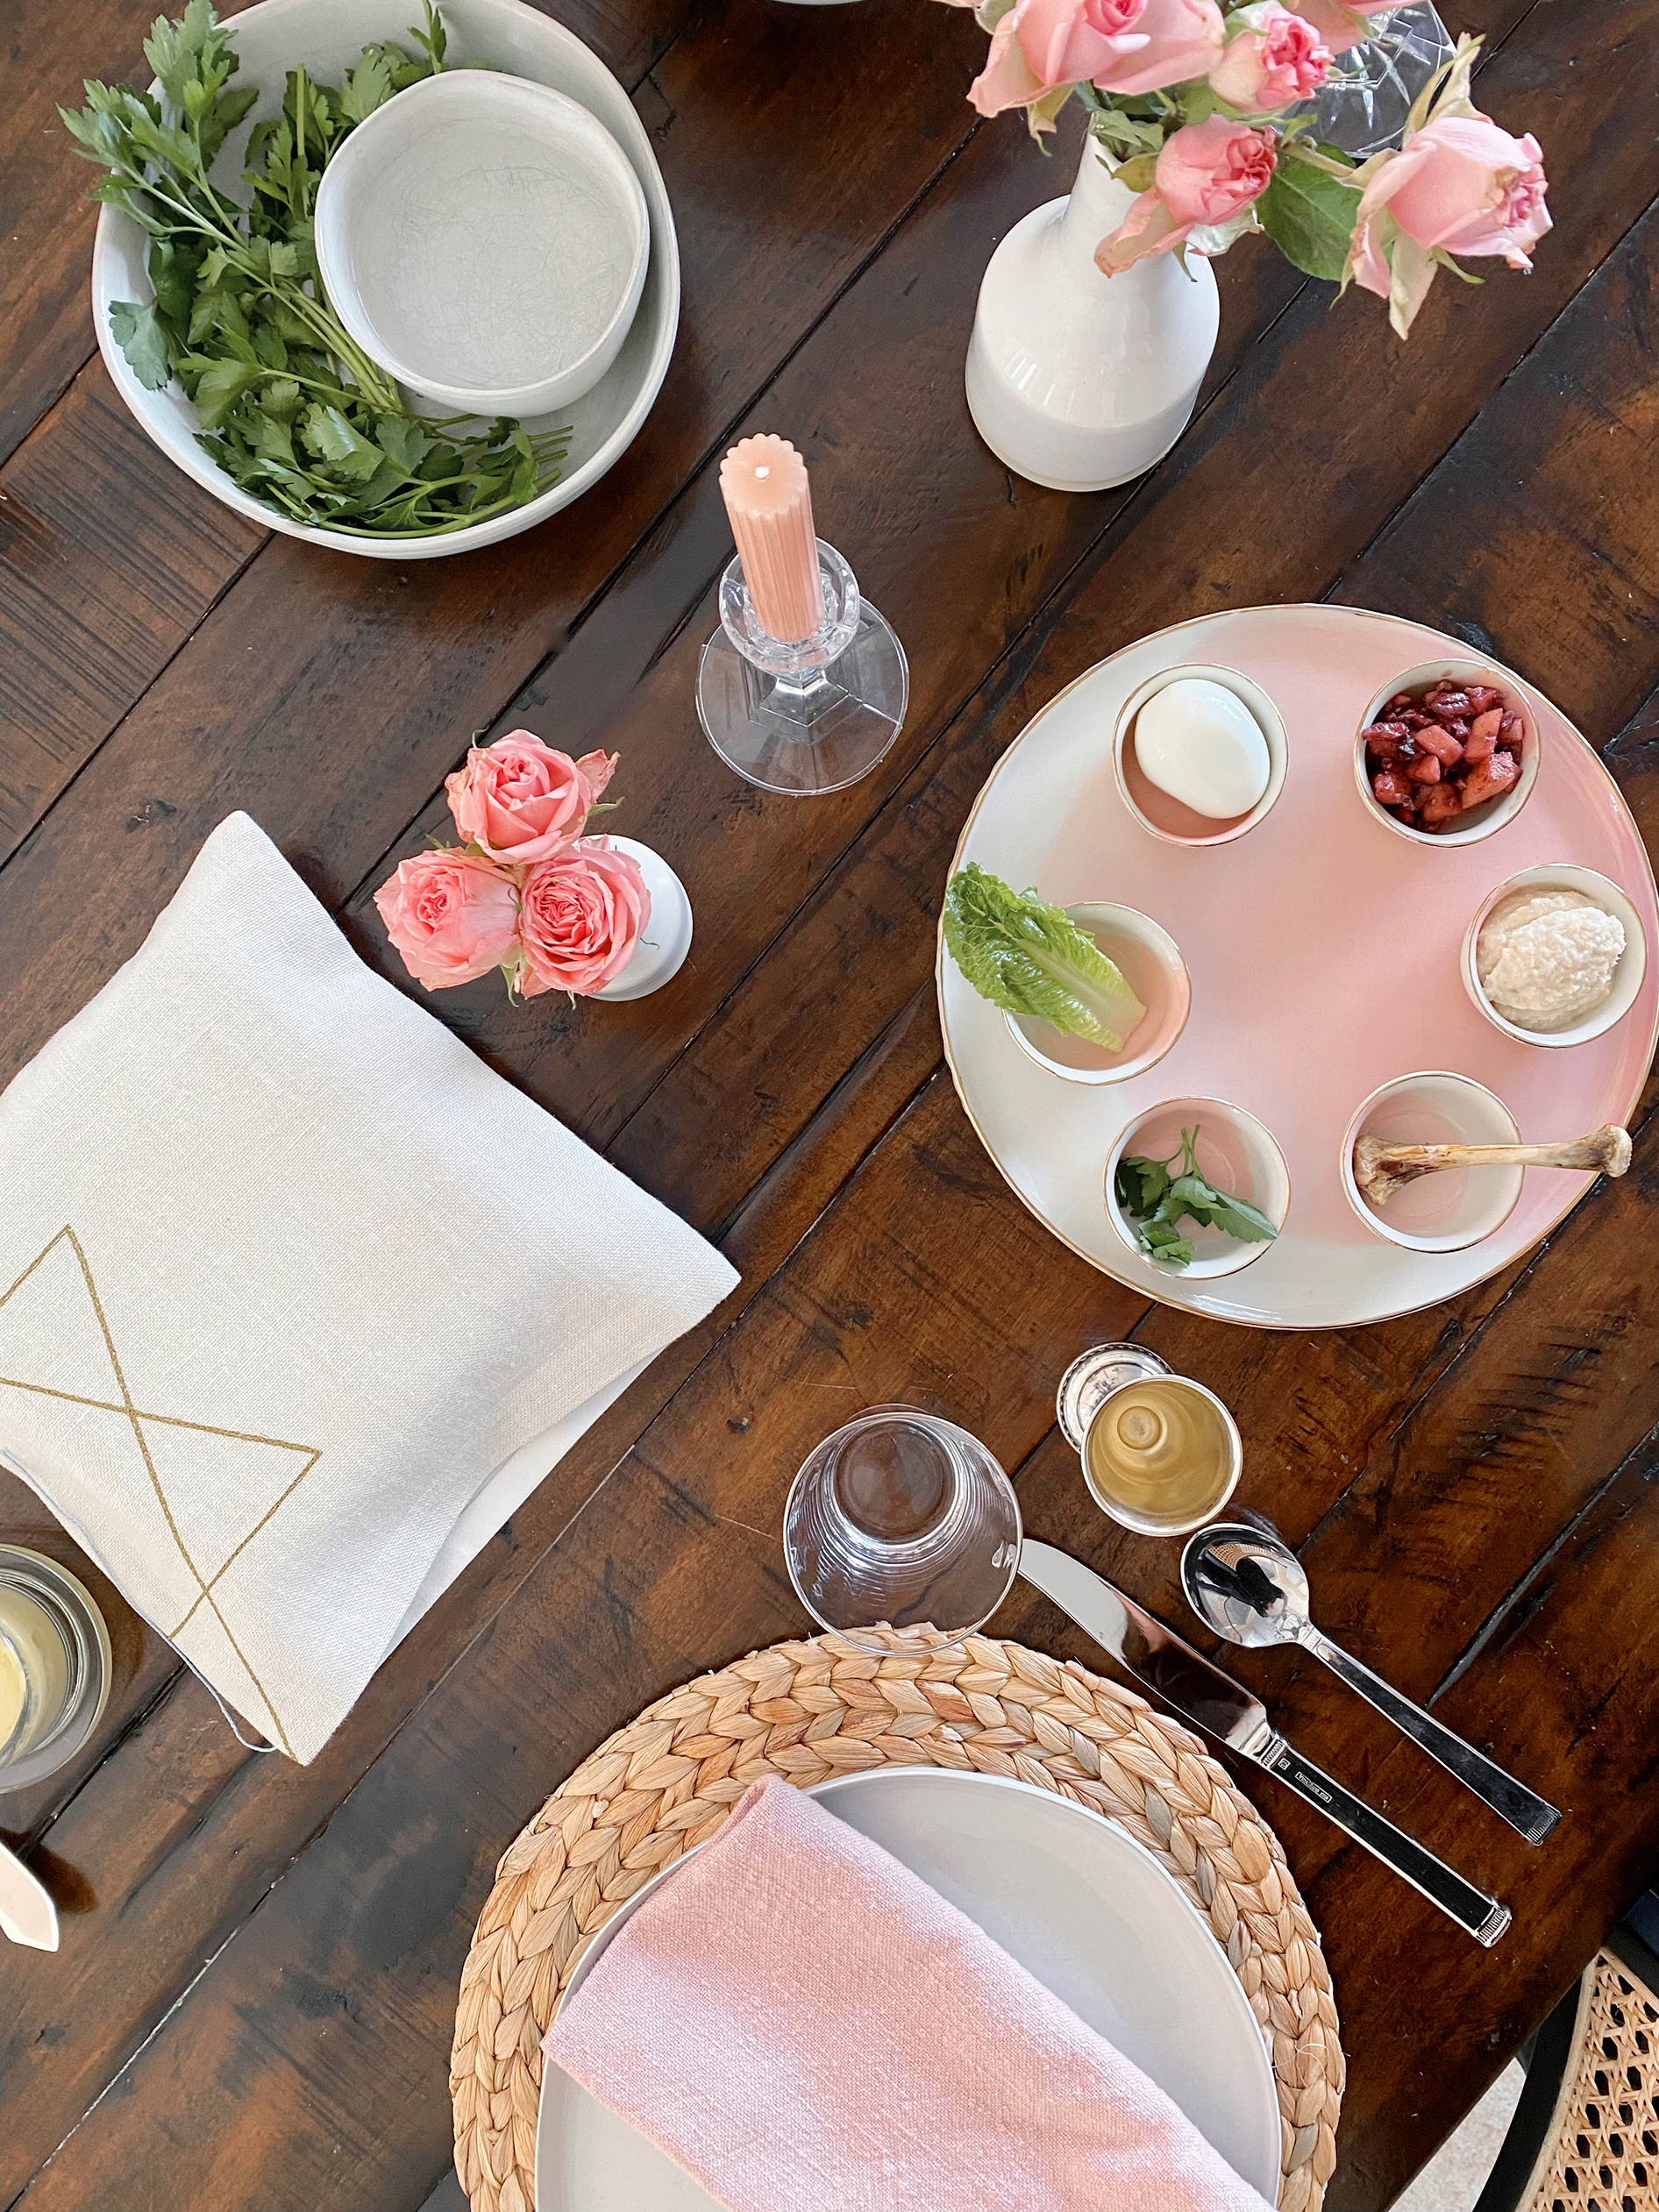
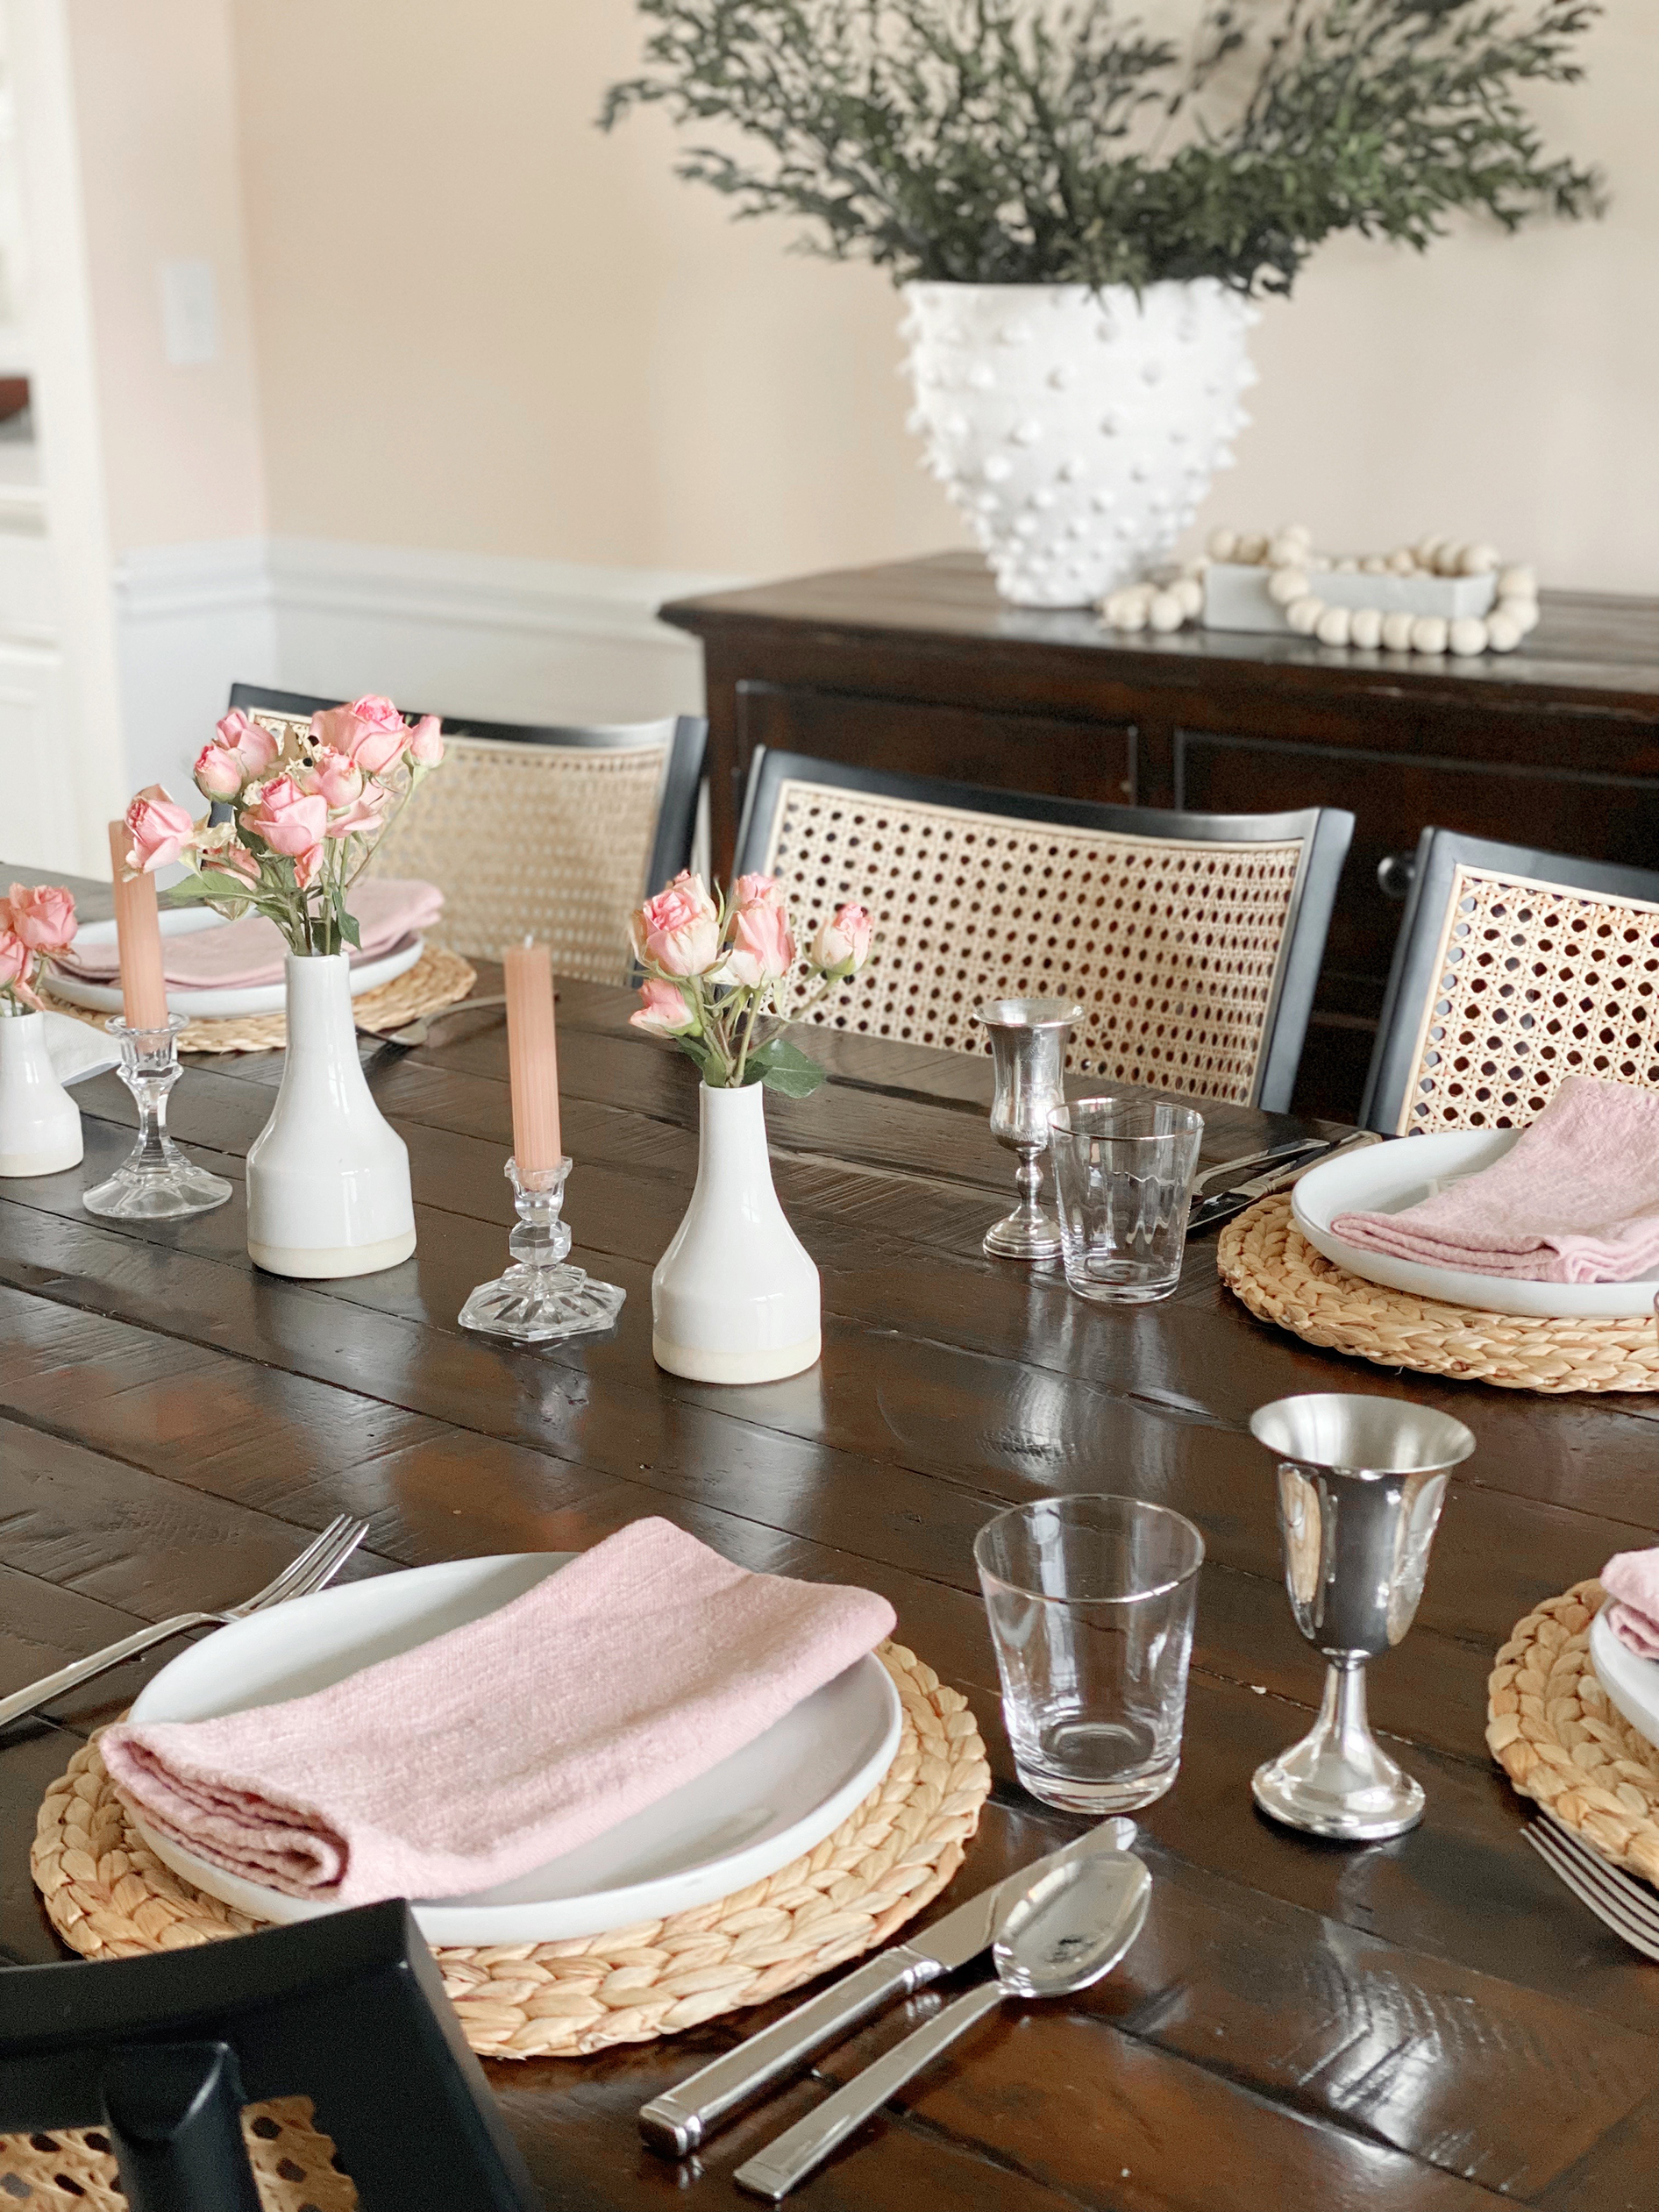
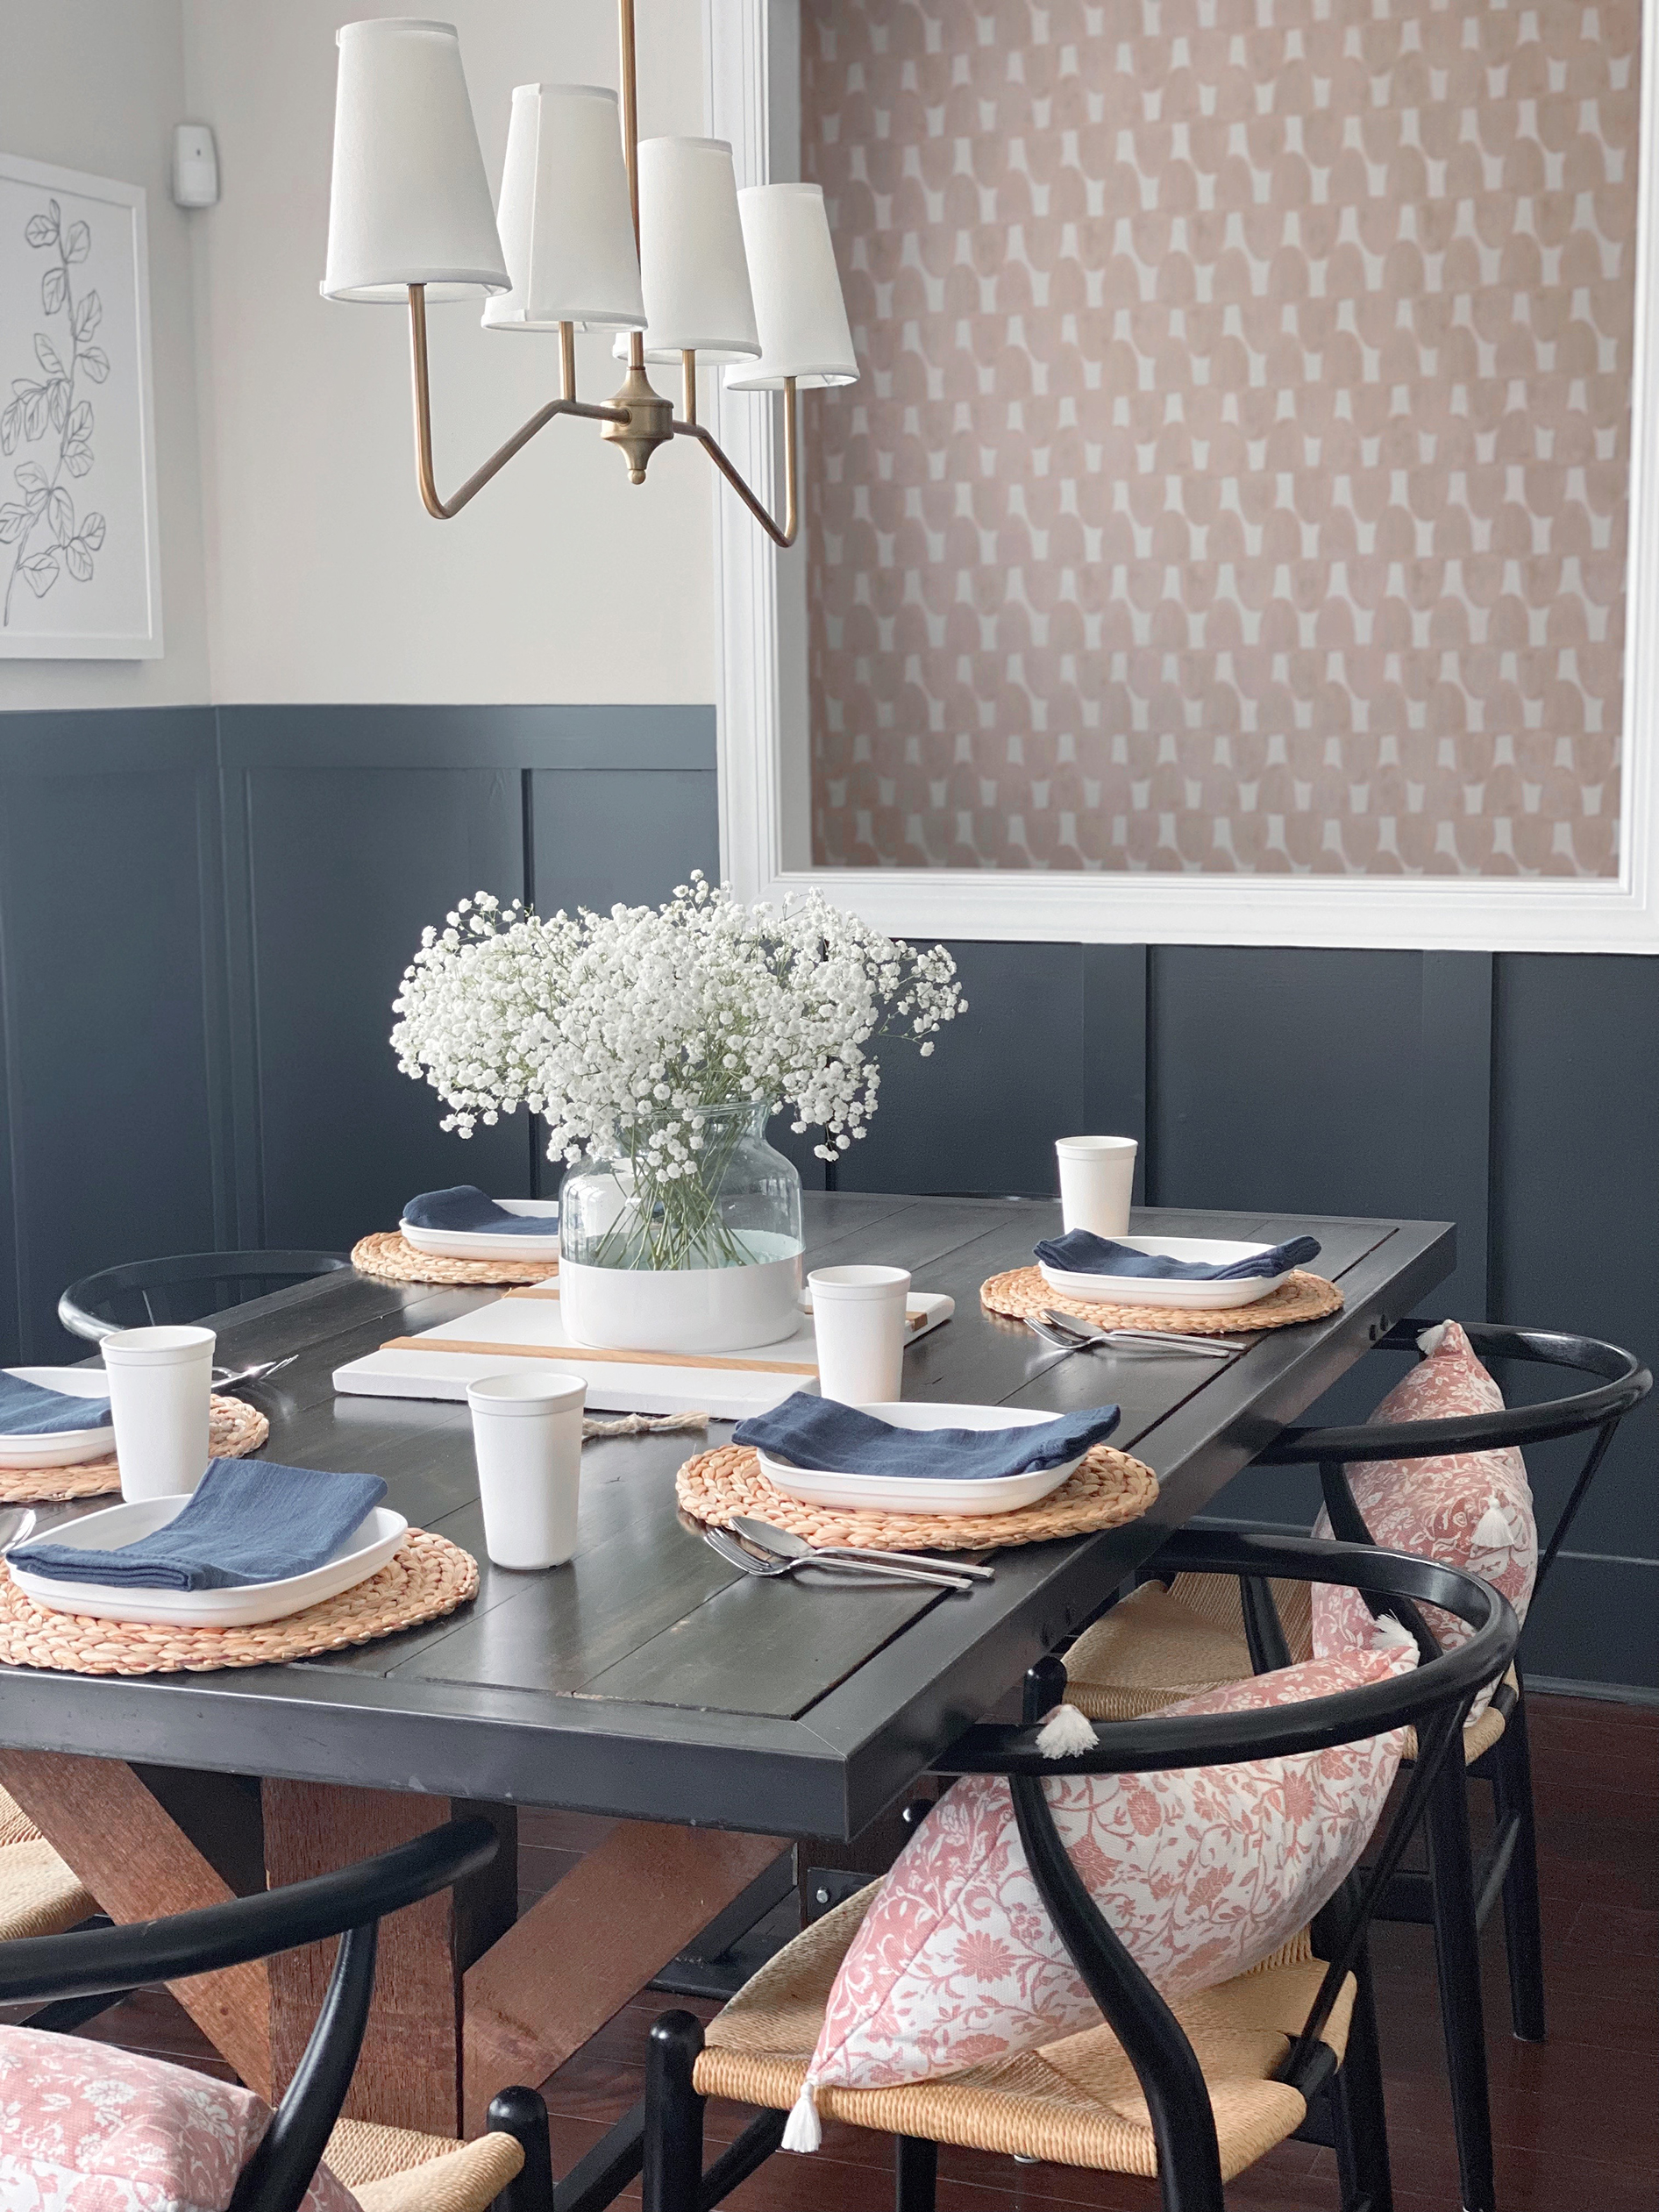
- set the table
1 day before:
- make the brisket, let cool, slice (refrigerate)
- make the quiche crust (refrigerate)
- make chocolate chip cookie dough (refrigerate)
- make matzo ball dough (refrigerate)
- chop veggies and fresh herbs for matzo ball soup (refrigerate)
- stir the haroset
The morning of:
- take out the cream cheese and butter for kugel to get to room temp.
- put the chocolate chip bars in the oven to bake
- assemble quiche
- once chocolate chip bars are out of the oven, put in the quiche to bake
- assemble the kugel
- once quiche is out of the oven, put in the kugel
- make cinnamon sugar matzo crunch
Mid-day:
- make the broth for the matzo ball soup (let simmer)
- make the seder plate + put out the matzo, parsley, etc. for the table
- take desserts out of the freezer to come to room temp.
One hour before people come over:
- cook the matzo balls in the soup
- heat the brisket at 300 degrees
- warm up the kugel and quiche for about 20-30 min
RECIPES

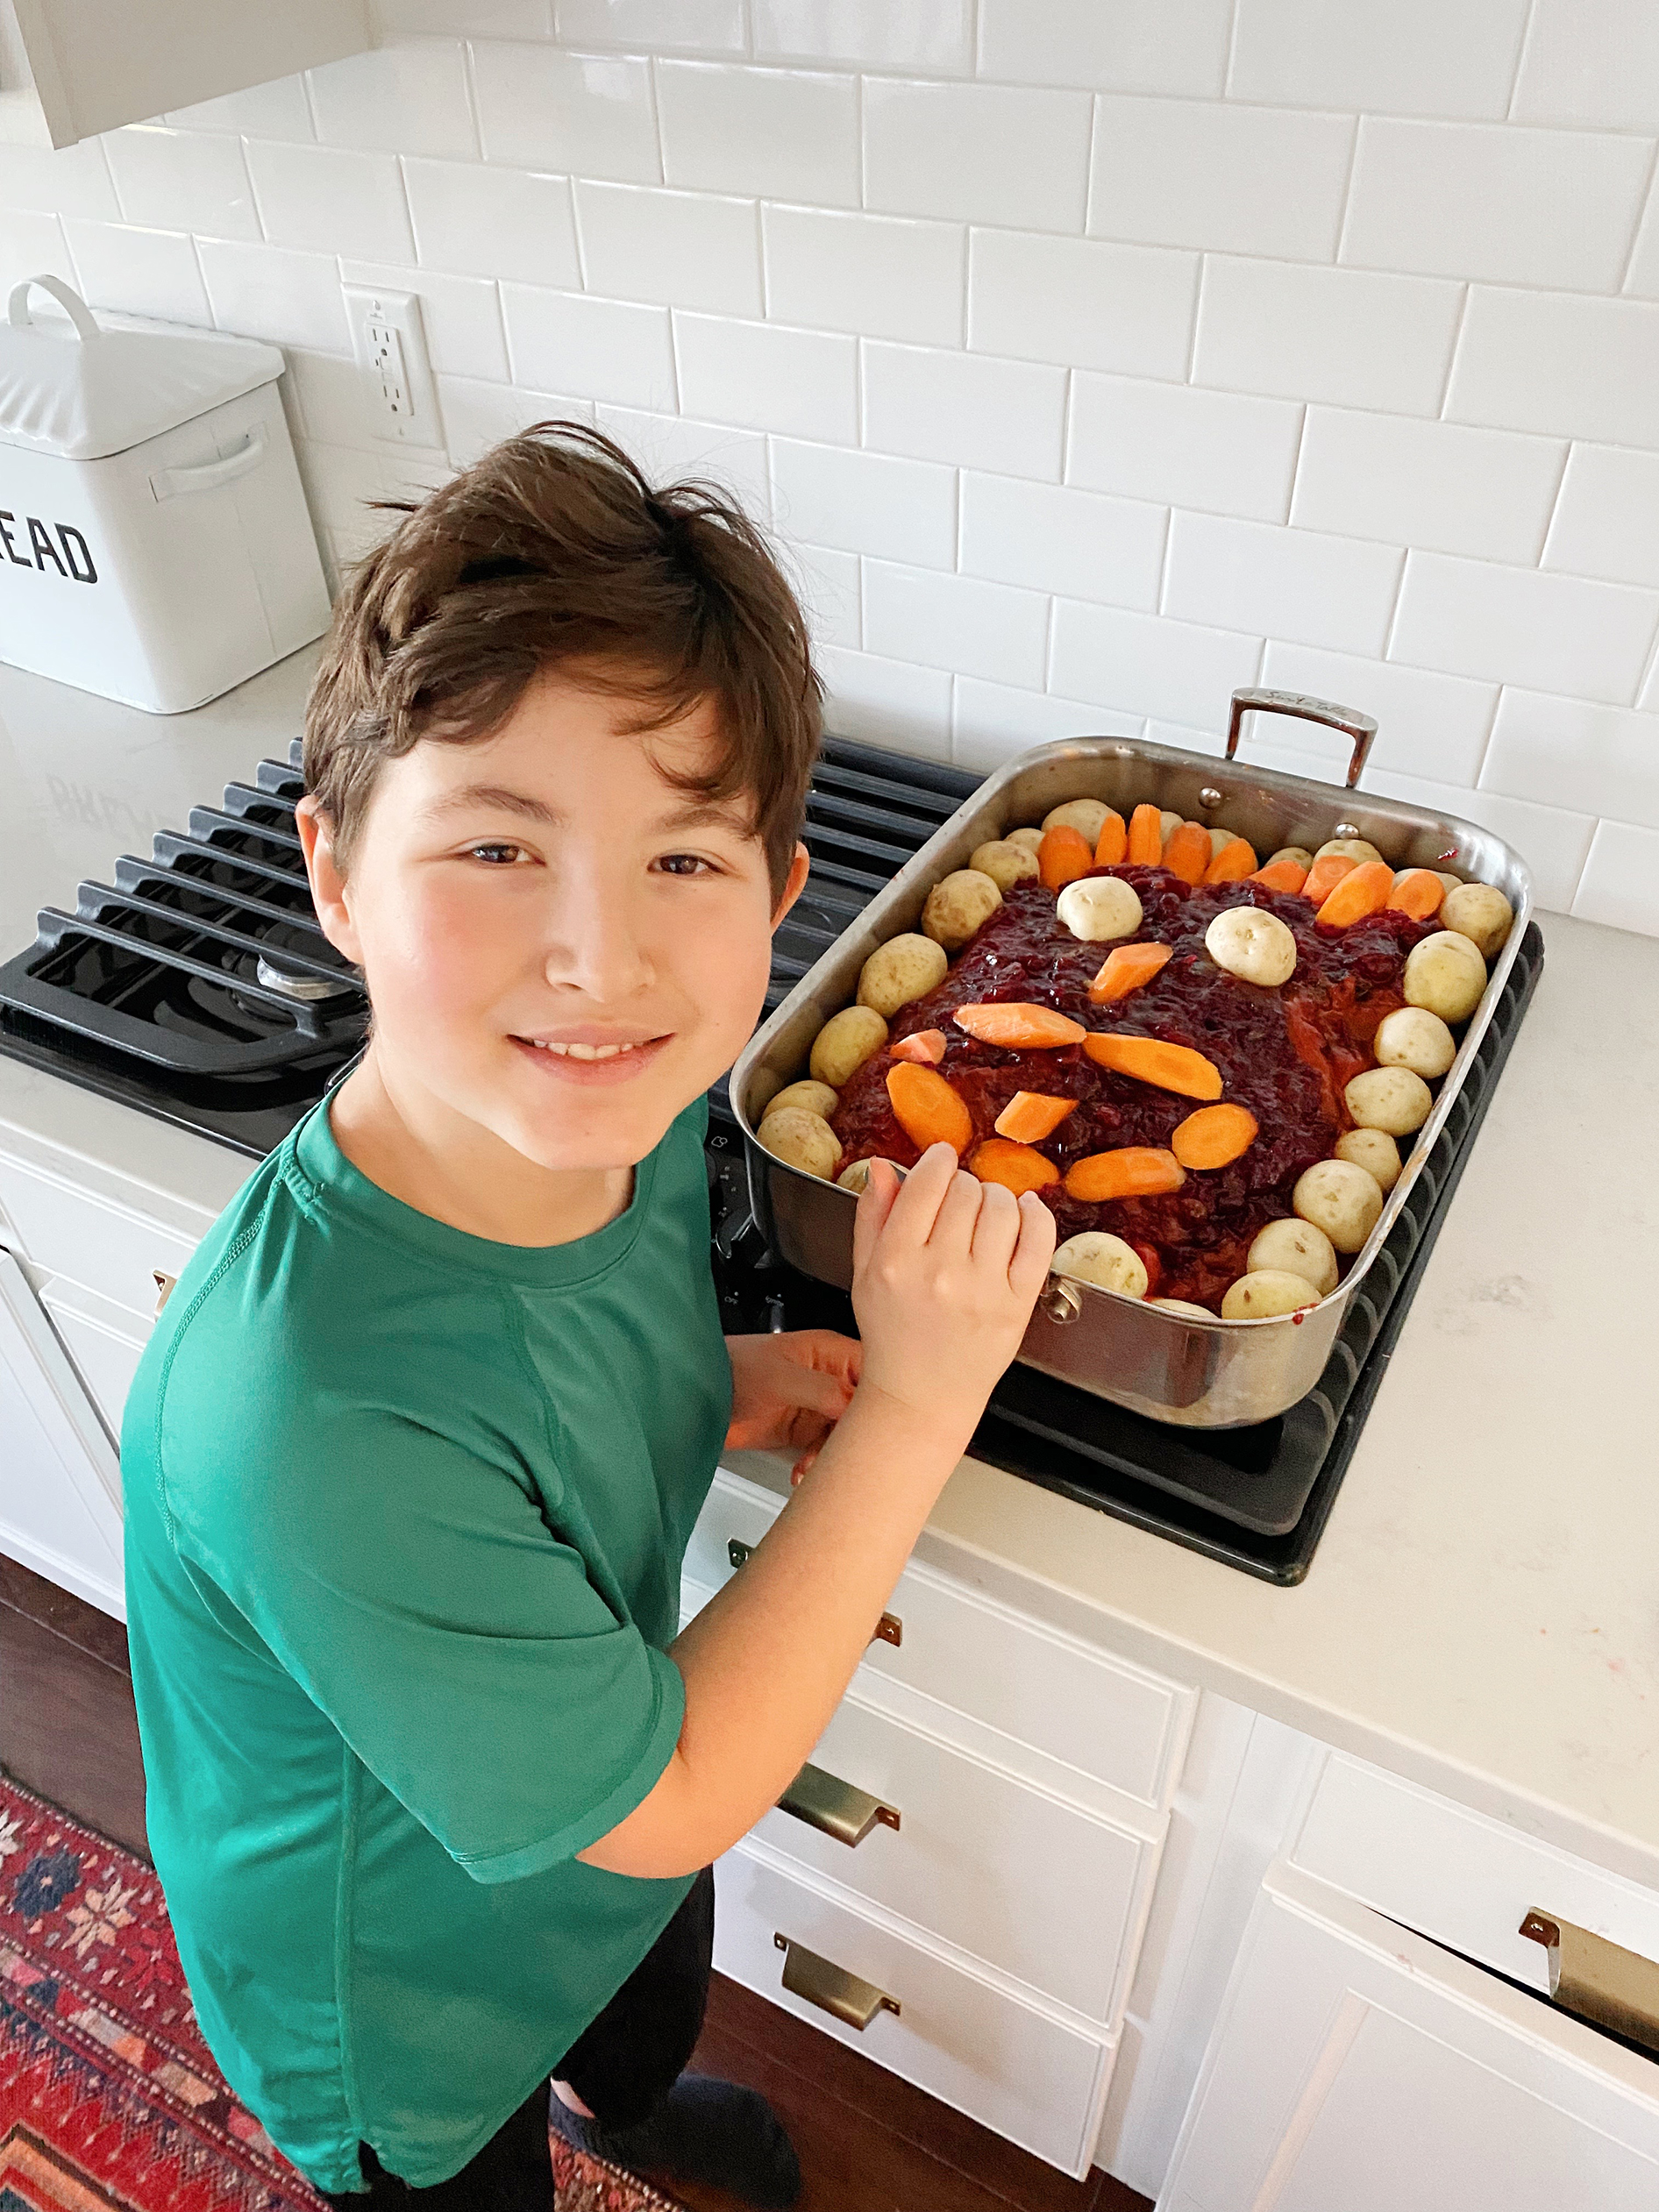
Josh’s first brisket!
AUNT ELAINE’S BRISKET
Make the day before
- 8-10 lbs point cut brisket – enough to fill a large roasting pan – usually around $80 for 8-10 people plus leftovers
- garlic powder
- pepper
- paprika
- 5 large onions, thickly sliced
- 32 oz. bottle of ketchup (enough to fully cover the brisket)
- 3 cans whole cranberries (you won’t taste them)
- 5 or so thickly sliced carrots
- 2 bags baby potatoes
- on the bottom of a large roasting pan, place sliced onions
- place meat on top
- liberally sprinkle seasonings on top- can’t go wrong with covering it like a rub
- spread ketchup and cranberries on top of that to fully cover the meat
- add potatoes and carrots around the meat
- add 3/4 cup water to the pan
- cover the top with a piece of parchment paper, then cover the entire pan tightly with foil
- bake 350 degrees for 4 hours
- let cool, then take the meat out, remove fat, and slice thickly. Replace the meat back into the sauce, cover, and refrigerate. I like to first portion half into a 9×13″ casserole dish so that it’ll fit into my oven for reheating purposes, especially if there are only 4-5 people eating it at a time.
- 1 hour before seder, reheat at 300 degrees.

HAROSET
Make 1-2 days ahead of your seder so the apples soak up all the flavor
I really don’t measure! This is just an approximation. My Grandma says to use 1 small apple per person. Make sure there’s enough wine to fully coat all of the mixture. The apples will soak up some of the wine, so you’d rather overdo it a little bit then have it be dry.
- 4 large honeycrisp apples, peeled and finely chopped
- 2 cups red wine (I use a decent red blend to give it a good flavor)
- 2-3 TBSP brown sugar (only if you’re using regular wine like I do. If you’re using sweet red wine like Manischewitz, skip this step)
- 2 tbsps cinnamon
- 2 cups pecans finely chopped
- Mix everything together. Stir several times throughout the day so that all the apples get coated. The liquid should be about 1/2 of the way up the bowl. The flavor gets better as it sits and the apples get soaked. Serve with matzo.

HOMEMADE MATZO BALL SOUP (VEGETARIAN)
Make Mazto balls and prep vegetables 1-2 days ahead
Vegetarian Matzo Balls:
Makes about 24
- 2 cups matzo meal
- 8 eggs
- 8 tbsp vegetable oil
- 8 tbsp water
- 4 tsp salt
Vegetarian Broth:
- 1 large yellow onion, diced
- 5 carrots, diced
- 5 stalks celery, diced
- 1-2 tbsp minced garlic
- Shallots (dried or fresh)
- Chives (dried or fresh)
- Garlic powder
- Onion powder
- Salt and Pepper
- Fresh thyme
- Fresh dill
- Zest and the juice of 1 lemon
- 3 – 32 oz boxes of vegetable broth
I tend to have a heavy hand with the spices and herbs – it’s up to you!
1. Make the Matzo Balls
Make ahead and refridgerate
Add eggs and oil to a medium bowl and whip with a fork. Mix in matzo meal, water, and salt until combined. Leave in the fridge for at least 15 minutes while you make the soup, but it can be made hours/days before.
2. Make the Broth
- Heat olive oil in a large pot on medium.
- Add diced vegetables and cook for a few minutes until just softened, maybe about 5 min.
- Stir in minced garlic, dried/fresh spices and herbs, the lemon zest and juice, and cook a few more minutes.
- Add vegetable broth and bring to a boil. Lower heat to a simmer and wait until 1 hour before dinner.
- 1 hour before dinner, add the matzo balls: Using a cookie/ice cream scoop (anywhere from 1″-2″), scoop up the dough then roll it in your hands to make sure it’s packed together.
- Drop in the matzo balls in the soup pot, then cover the pot tightly with a lid.
- Simmer for 40-60 minutes.
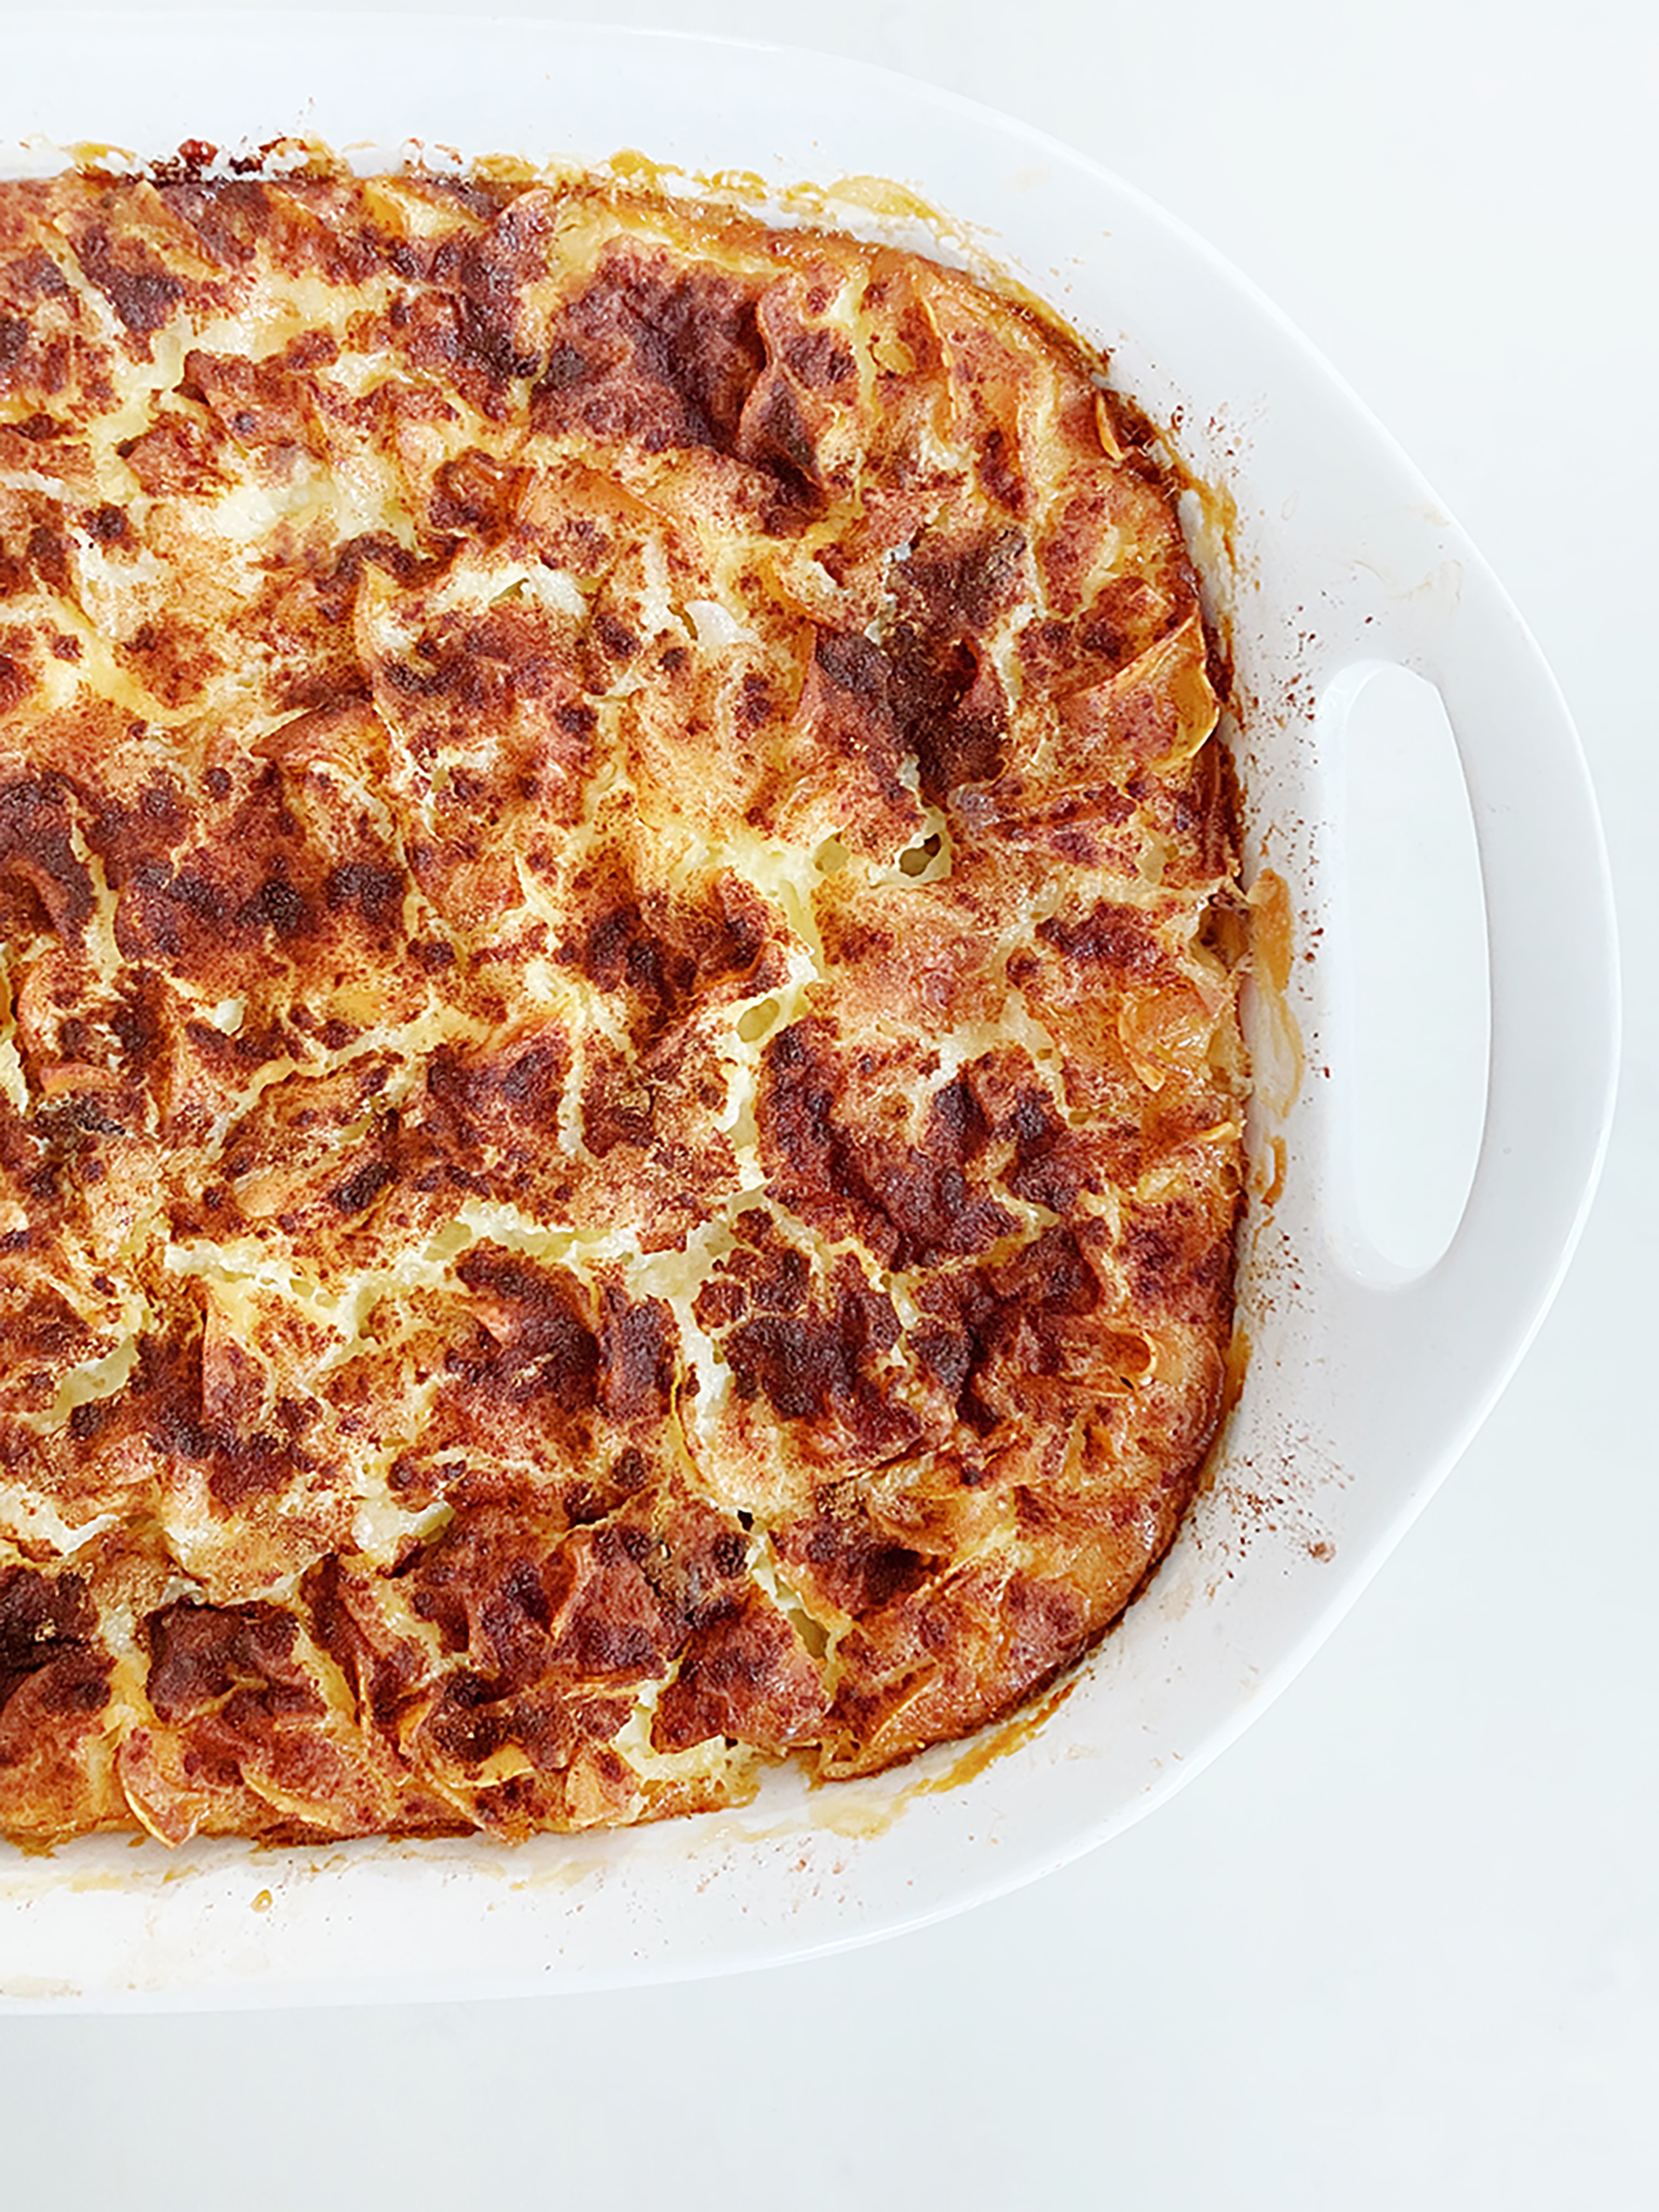
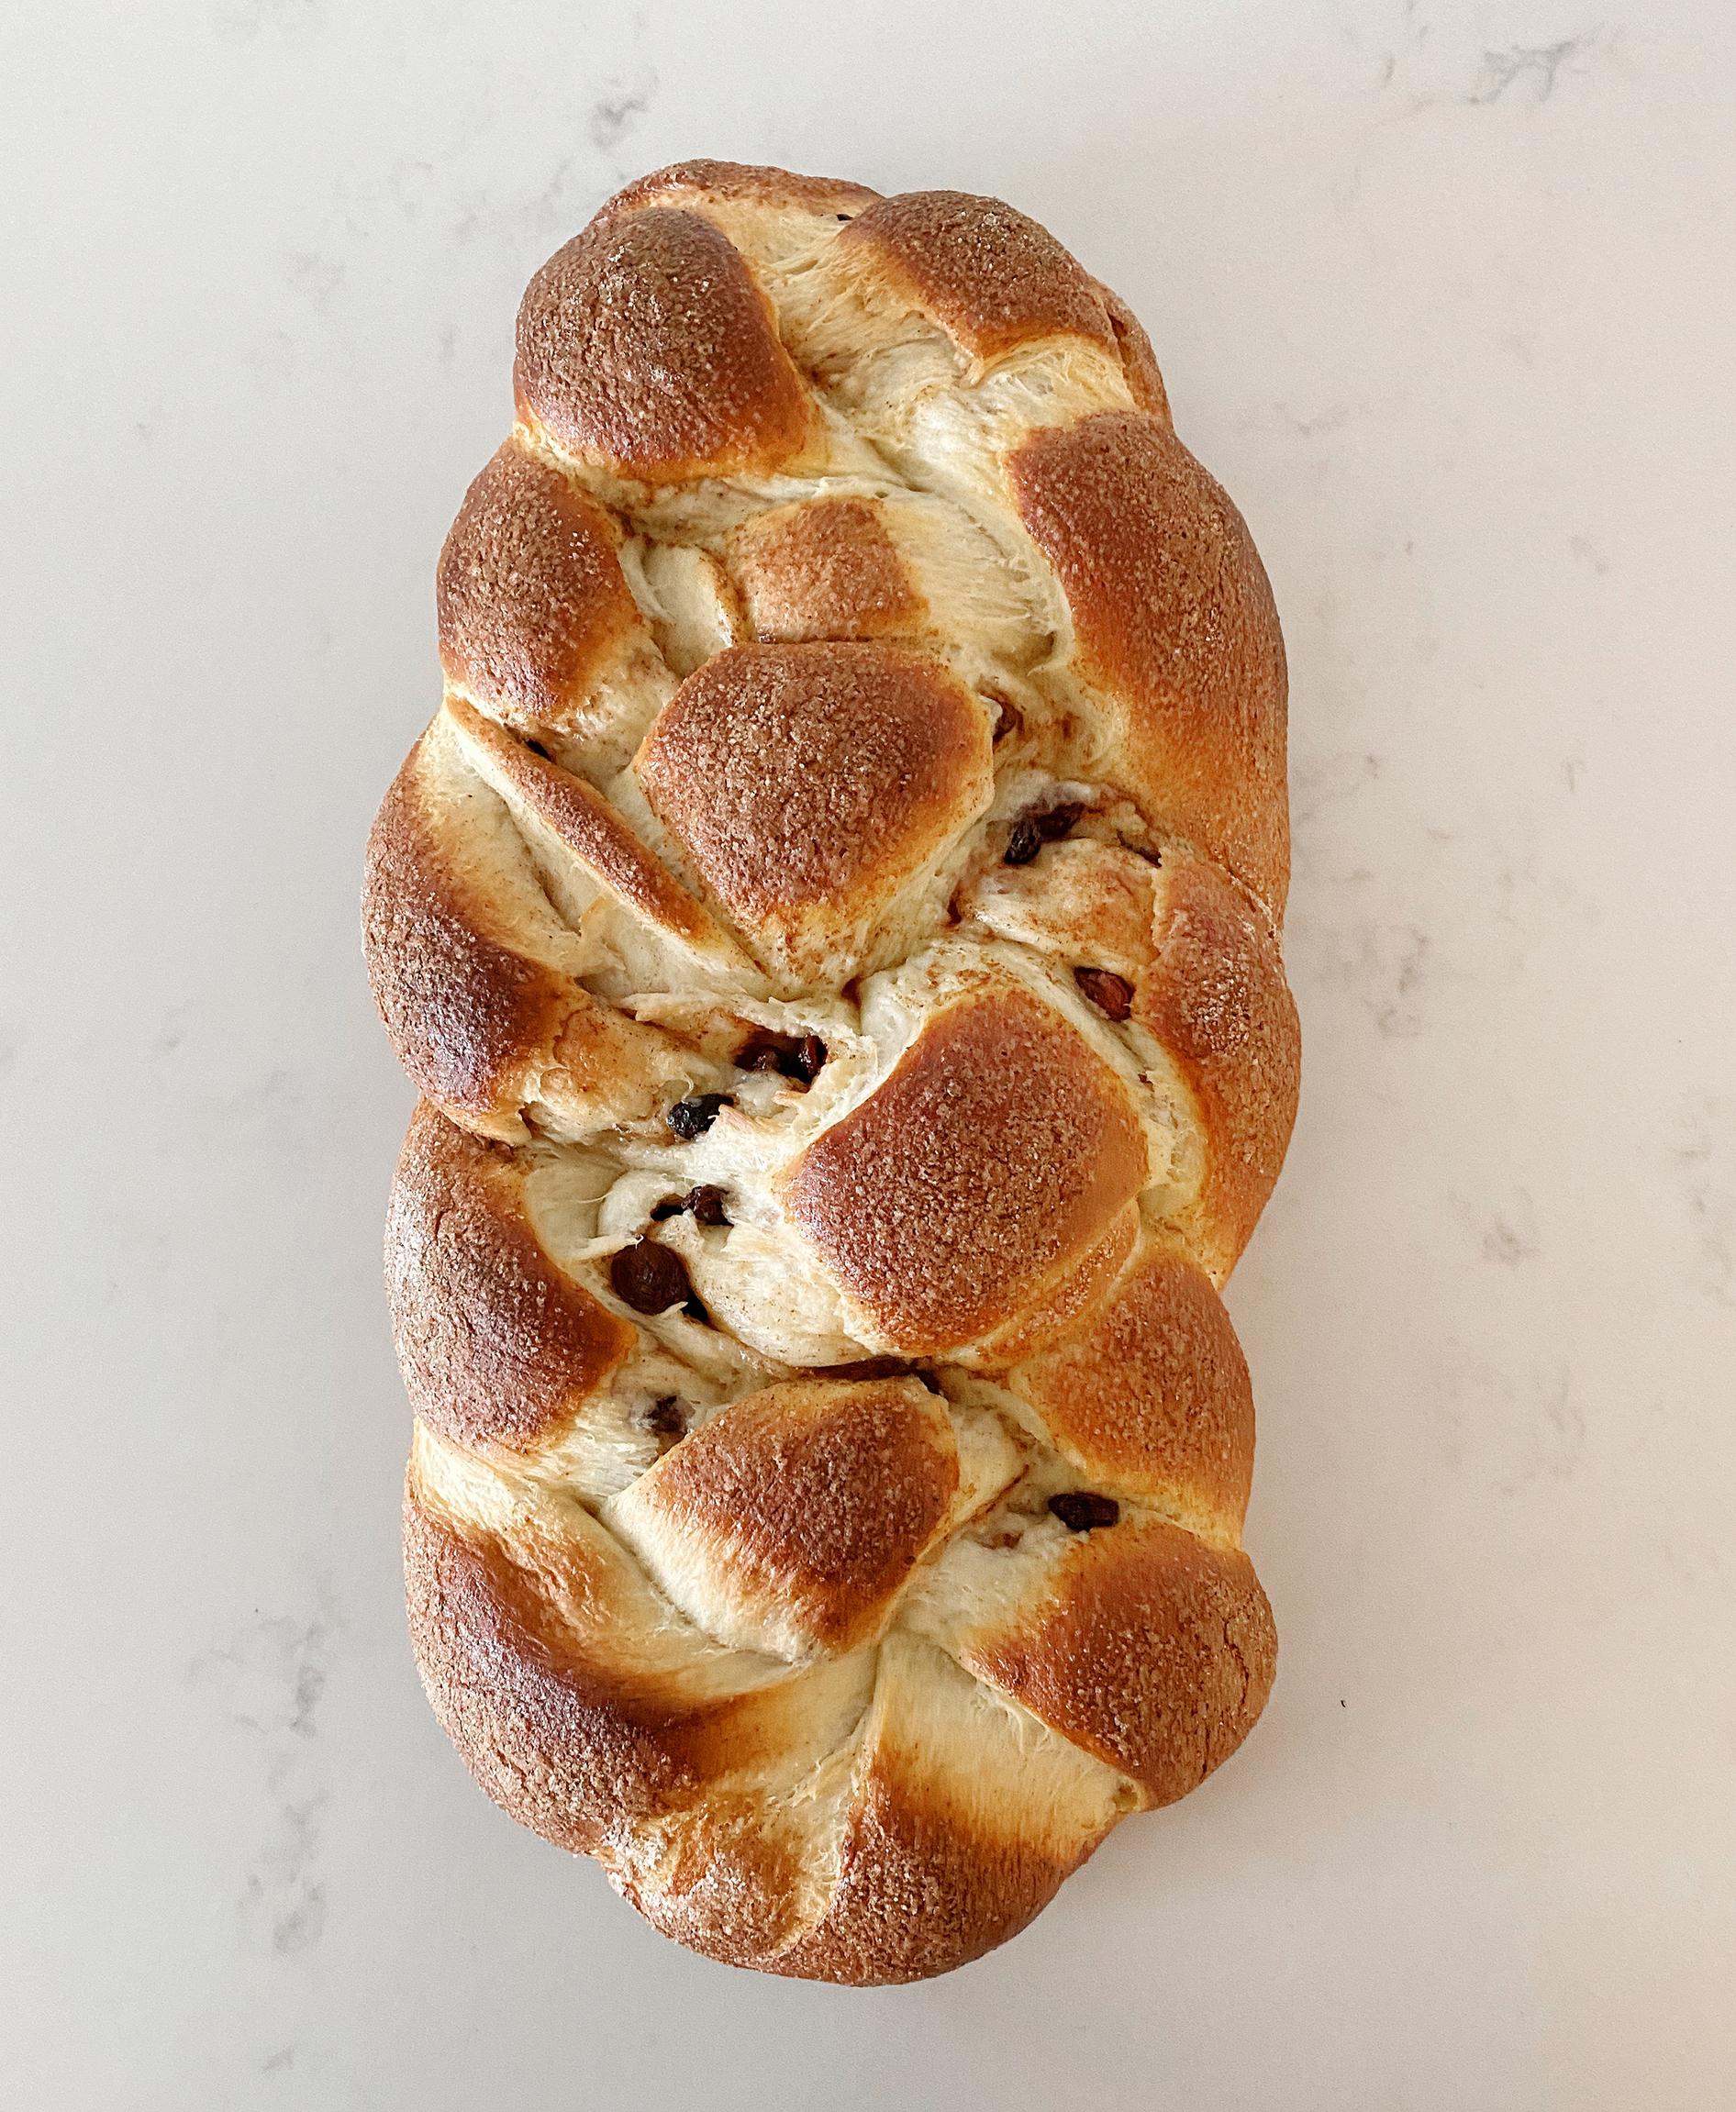
GRANDMA’S KUGEL
Make the day-of
Fits perfectly in a 8×8″ dish. Double if you’re serving a large group and use a 9×13″ dish.
- 4 oz. medium broad egg noodles (or any egg noodles are fine. Usually in the “international section”). * Boil the whole bag and save half to make buttered noodles for your picky eater*
- 1/2 stick of butter, room temp (plus more for greasing the pan)
- 4 oz. cream cheese, room temp
- 4 eggs
- 1/2 + 1/8 cup sugar
- 1/8 tsp salt
- 1 tsp vanilla
- 1/2 tsp lemon juice and a little lemon zest
- 2 cups whole milk (or 2% is fine)
- 1/4 cup or so of raisins
- lots of cinnamon
- preheat oven to 350 degrees
- barely boil the noodles- just 3-4 minutes until they just start to soften
- butter 8×8 casserole dish
- spread the noodles in the pan
- sprinkle raisins on top
- in a separate bowl, mix the butter and cream cheese until smooth
- add in eggs, sugar, salt, vanilla, lemon juice
- add milk and mix by hand – it’s soupy!
- pour wet mixture on top of the noodles and raisins
- fully cover the top with cinnamon- don’t be shy!
- bake 350 for 1 hr until a knife comes out clean.
Let it cool to room temp, then you can refrigerate if you make this in the morning. Reheat for 30 min or so before seder starts.

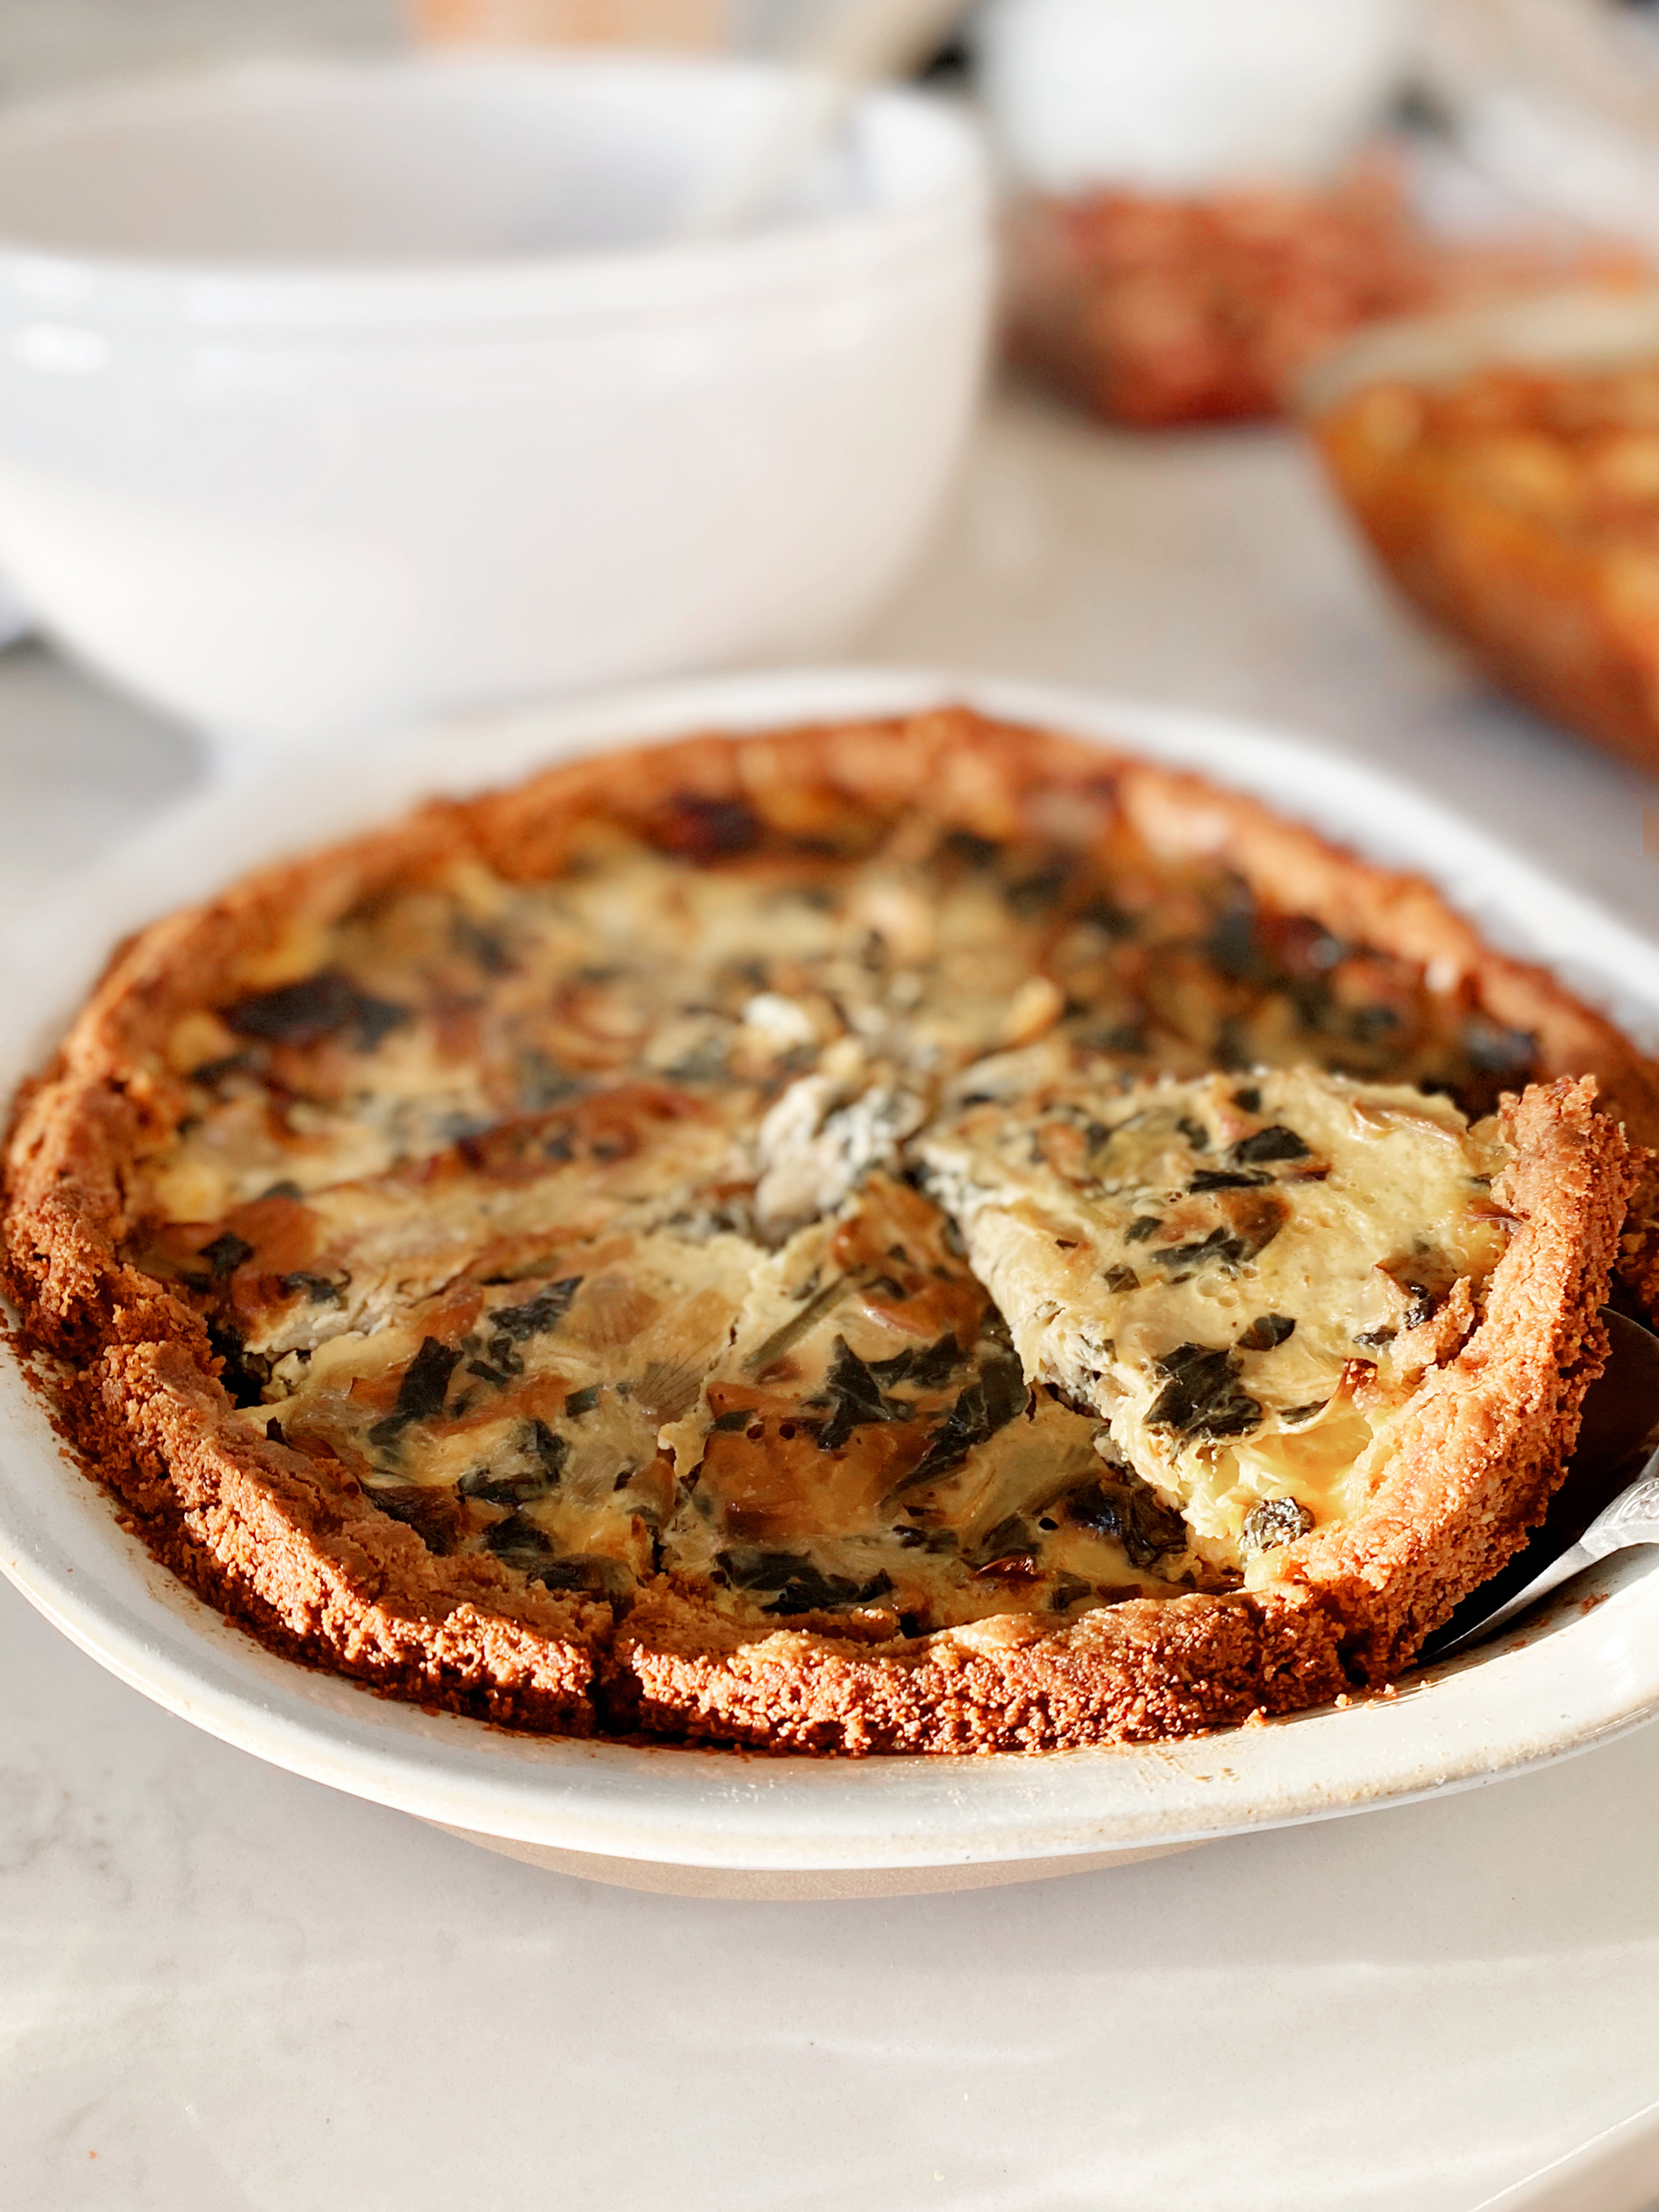
VEGETARIAN MAIN: SPINACH ARTICHOKE QUICHE
I make the crust and caramelize the onions 1-2 days before and refrigerate
CARAMELIZED ONION
- 1 tbsp butter + 1 tbsp olive oil
- 1 yellow onion
CRUST
- 6 tbsp cold butter, cut into small pieces
- 1 1/4 cup almond flour
- 1/4 cup matzo meal (or more almond flour and pecans if you don’t have it)
- 1/2 cup pecans
- 1/4 tsp salt
- 4 tbsp cold water
FILLING
- 1 tbsp garlic, minced
- 1/2 shallot, minced
- 5 oz. fresh spinach, chopped
- 1 yellow onion, chopped and caramelized.
- 1 jar marinated artichoke hearts
- greyere cheese, grated
- zest and juice of 1/2 lemon
- 3 eggs
- 3/4 cup milk
- Caramelize the onion: Melt 1 tbsp butter and 1 tbsp olive oil in a large sauté pan. Thinly slice or chop the onion and sauté on low heat, stirring every 10-20- minutes or so until the onions are a golden brown with some dark brown bits. This can take around one hour depending on how many onions you’re making. Store in an airtight container in the fridge. (Note: why caramelize one onion when you can do a ton at a time and use them in other recipes? I do 5 at a time to have on hand, just increase the butter and oil).
- Make the crust: Place the butter, almond flour, pecans, matzo meal, and salt in a food processor. Pulse a few times for a rough chop. Slowly add in the water and continue to pulse, just until it starts to come together as a dough. If you blend it too much, it’ll turn into a butter consistency. It’ll still taste good though, don’t worry! Press into a 9″ pie pan, press parchment paper on top, cover and refrigerate until you’re ready to bake the quiche.
- Assemble the quiche: Line the crust with a hearty amount of the cheese.
- Mix the filling: Whisk the eggs and milk together with a little salt and pepper in a large pyrex/bowl. Add in garlic, shallot, spinach, caramelized onions, artichoke hearts, zest and juice of the lemon. Mix together then pour on top of the crust. (I’ve sautéed the veggies and put them together with the eggs and I’ve put the veggies in without cooking them with the eggs. The finished quiche has the same flavor and texture, so I would just add all in raw, especially since the onions are already caramelized.)
- Bake 375 degrees for 50-60 minutes (check at 20 min. and cover the edges of the crust with foil because it could burn.)
- Let it come to room temp then refrigerate until about 30 min. before seder. Reheat.

CHOCOLATE CHIP COOKIE BARS
Make dough 1-2 days ahead and refrigerate. Best to bake the day-of.
Ingredients:
- 1 1/2 cup matzah cake meal which is just more finely ground matzah meal (grind yourself or use a sieve to get the finely ground parts of matzah meal)
- 1/4 cup almond flour
- 3/4 tsp baking soda
- 1/2 tsp salt
- 1/2 cup unsalted butter, room temp
- 3/4 cup brown sugar
- 1/4 cup granulated sugar
- 1 large egg, room temp
- 3 1/2 tsp vanilla extract
- 1 tbsp water
- 3/4 cup chocolate chips
- Line an 8×8″ pan with parchment paper
- In a small bowl, sift dry ingredients (matzah cake meal, almond flour, baking soda, salt)
- In a mixer, beat together butter and sugars 3-4 minutes
- Add egg, vanilla, water, and mix
- Add dry ingredients and beat on low until combined. If too crumbly, add a small amount of water.
- Add chocolate chips and mix
- Press into 8×8 pan, press parchment paper on top, cover and refrigerate until ready to bake
- Bake 350 degrees, 18-20 minutes until golden brown on the edges. Top with fleur de sel if you have it and a sprinkle of sugar. After cooling it, freeze until it’s firm and then cut into squares. Keep frozen until the day-of so it stays fresh.

CHOCOLATE DIPPED MACAROONS
Can bake 1-2 days before and freeze.
Makes about 24
Ingredients:
- 14 ounces sweetened condensed milk
- 8 ounces sweetened shredded coconut
- 6 ounces unsweetened shredded coconut
- 1 teaspoon vanilla extract
- 2 large egg whites, room temperature
- 1/2 teaspoon kosher salt
- 6 ounces dark (70%) chocolate, melted
- Heat the oven to 350°. Line a baking sheet with parchment paper.
- Combine the milk, coconut, and vanilla in a large bowl and stir to blend.
- Beat the egg whites and salt in the bowl of an electric mixer until soft peaks form and then fold into the coconut mixture.
- Using a small cookie scoop, drop mounds of coconut on the baking sheet.
- Bake until golden brown, about 20-25 minutes.
- Remove and cool completely on a rack.
- Dip half of each macaroon in the melted chocolate and let drip through a cooling rack.
- Refrigerate until set, then freeze until the day-of.

CINNAMON SUGAR MATZO CRUNCH
Best flavor and texture the day-of but one day before will be fine.
Ingredients:
- 3 sheets of matzo
- 6 tbsp of salted butter
- 1/2 tsp salt
- 1/2 cup granulated sugar
- lots of cinnamon
- Melt butter
- crumble in the matzo and toss
- add salt, sugar, cinnamon and toss
- bake 375 degrees for 14 minutes on a parchment-lined baking sheet
- take out of the oven, mix around a bit on the pan, and let it cool completely
- break apart and keep in an air tight container at room temp
Now for breakfast…..
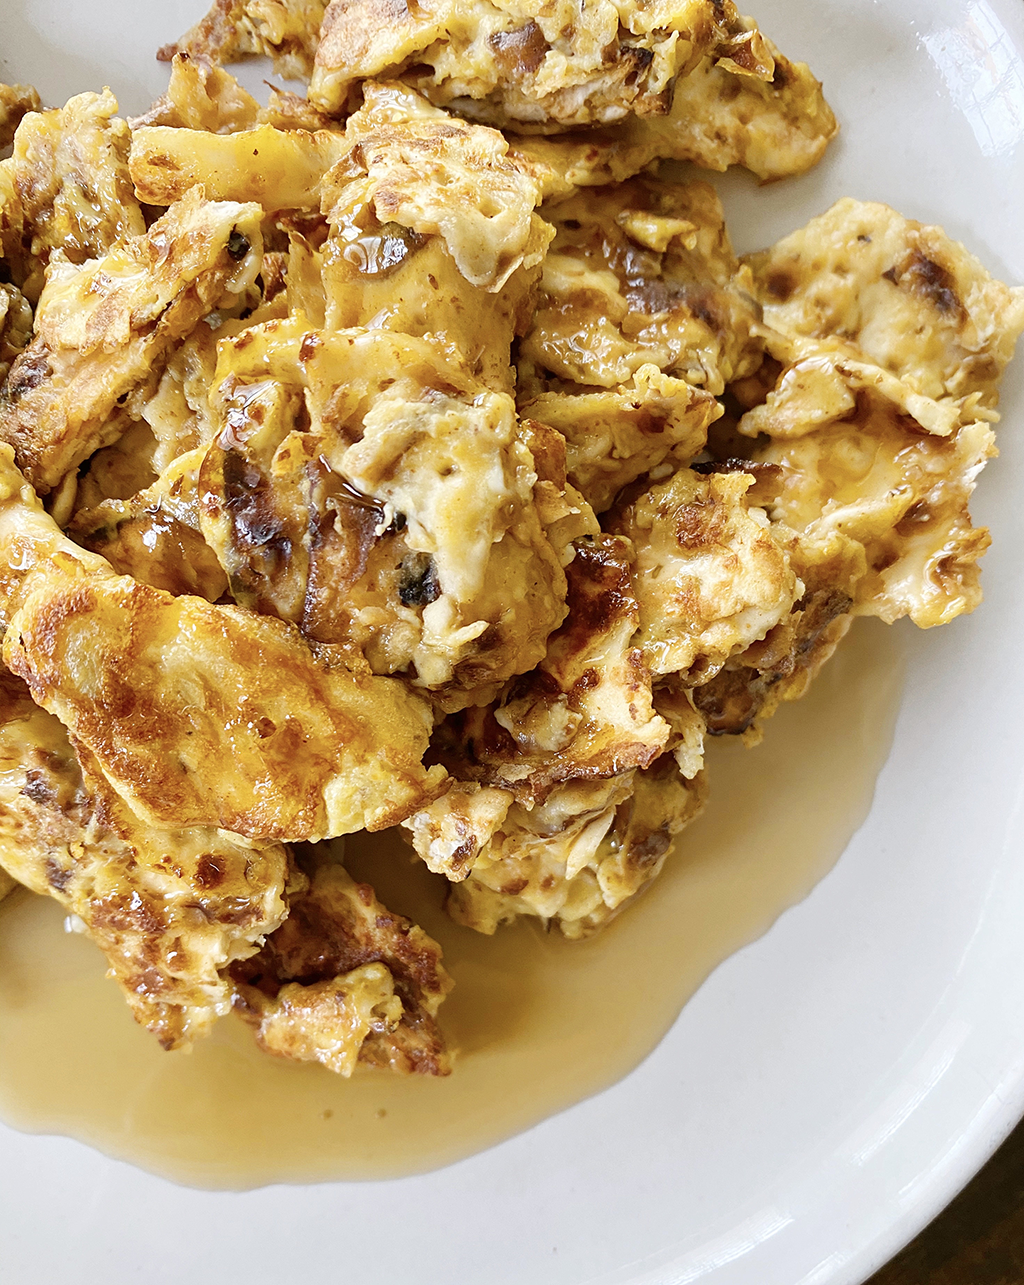
MATZO BRIE (for breakfast!)
So many good memories growing up eating my Grandma’s crispy matzo brie around passover, and my Grandpa’s more eggy version. Both so good with pure maple syrup!!
For 1 serving:
1 1/2 boards of matzo
1/2 cup milk
2 eggs, beaten
1/2 tsp vanilla
sprinkle of cinnamon
butter for the pan
Heat up milk in the microwave about 1 minute- I like to use a large glass pyrex or just a microwave save large bowl.
Break up the matzo in large pieces and put them into the hot milk for about 30 seconds just to soften the matzo.
Drain most of the milk out.
Add in eggs and cinnamon, and mix together.
Heat up a generous amount of butter in a skillet on medium, then pour in the matzo mix. I like to mix it up a bit to make sure all sides are coated and crispy. Or you could make it pancake style if you like a fluffy, eggy consistency better. Done when golden brown and egg is fully cooked. Top with of cinnamon and maple syrup.


HAPPY PASSOVER!!
xo
Leah