Soooooo, when I meant that I would share a more detailed post of the party favors from Amara’s 3rd birthday party on Monday…… yeah, I meant NEXT Tuesday! Yikes! So sorry for the delay. We are really trying to get back to our first love around here….. blogging. However, our Etsy shop has definitely taken up a lot of our time. We are so grateful, and we are loving it, but we also love sharing things with our readers on here so much!!
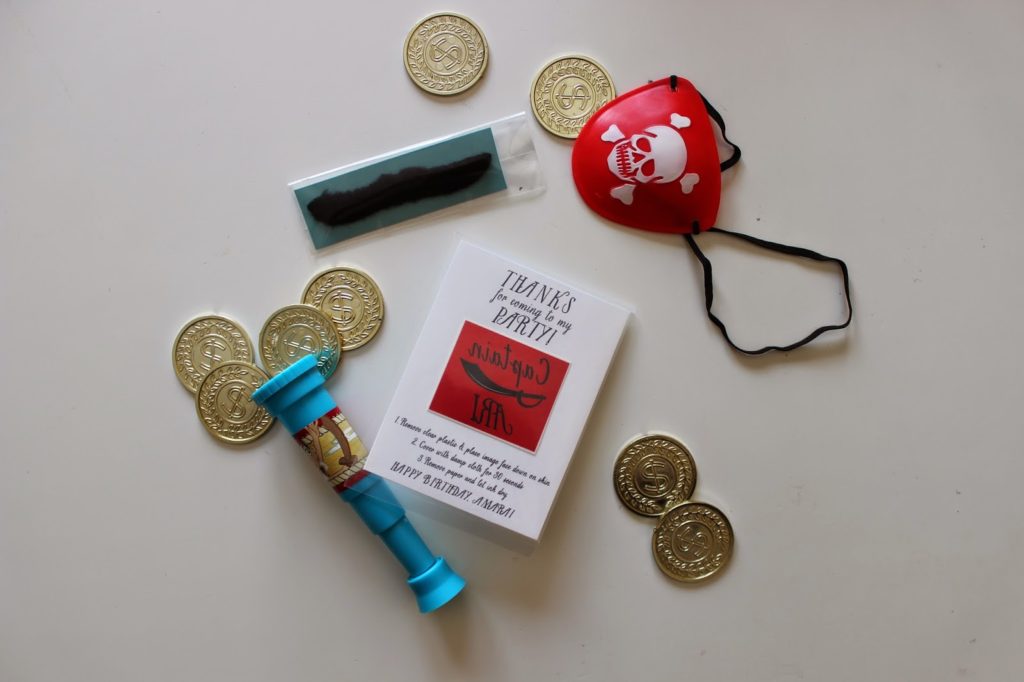
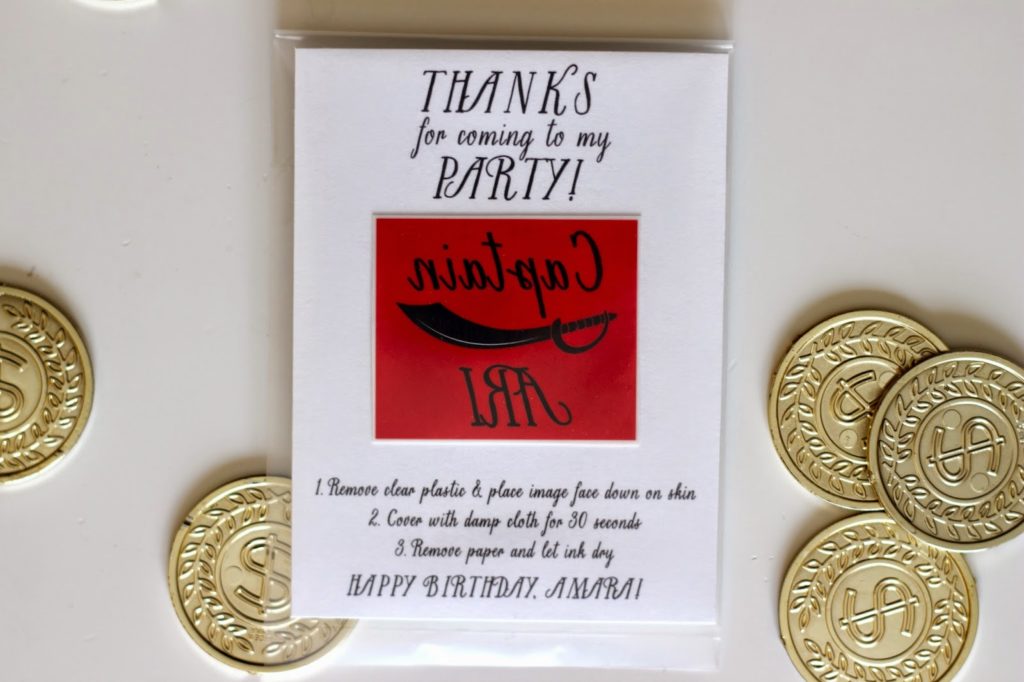
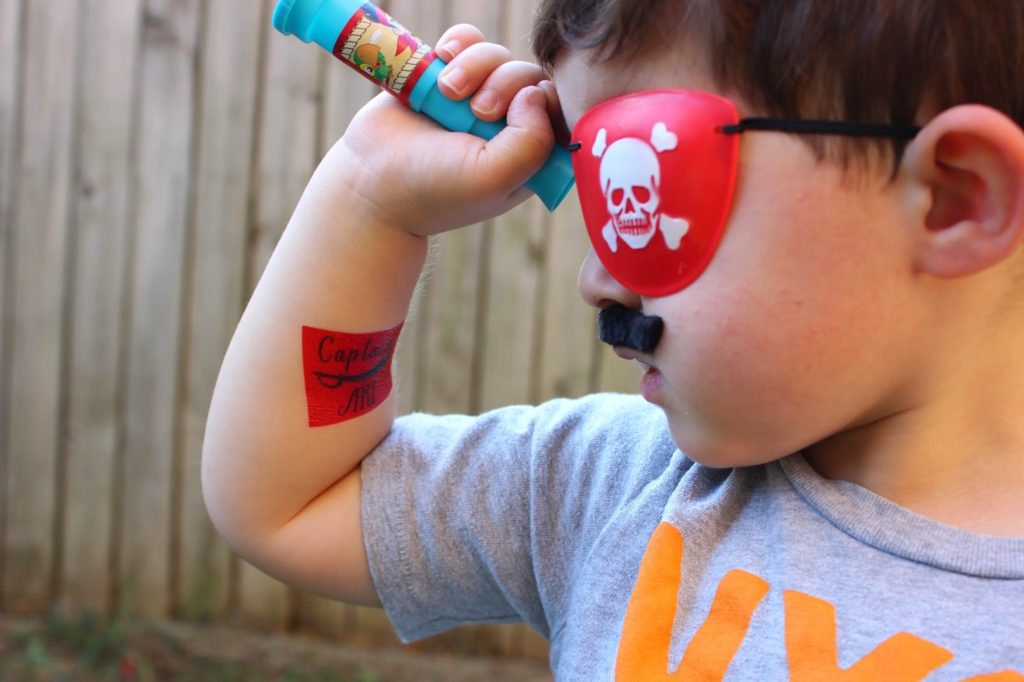
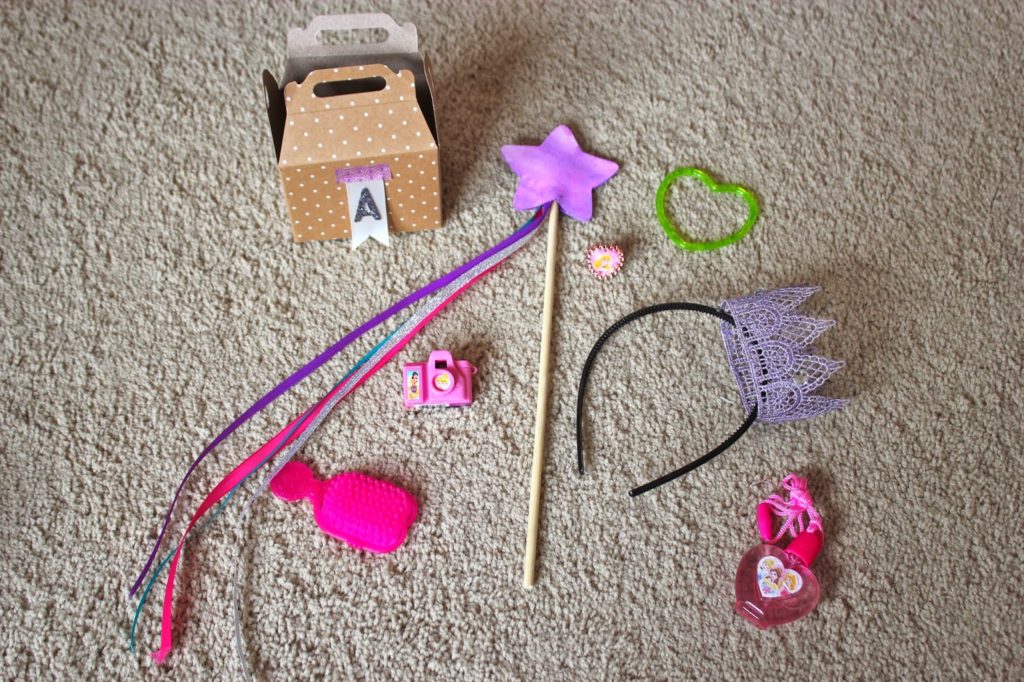
Ok, so here are the detailed photos of the party favors….
Everything for the pirate favor boxes was purchased at Party City.
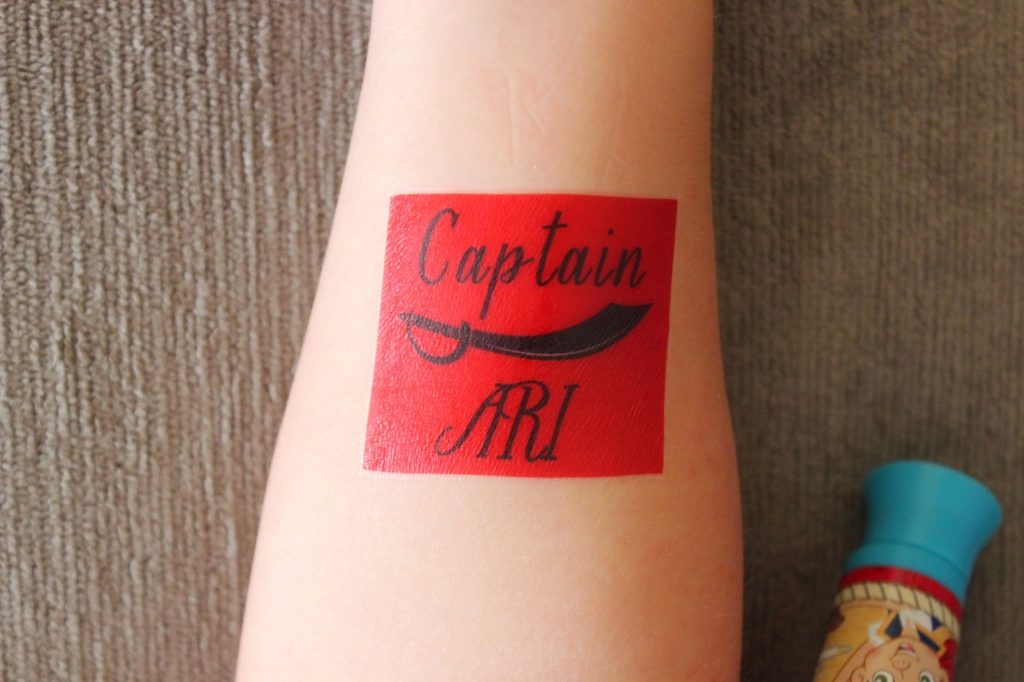
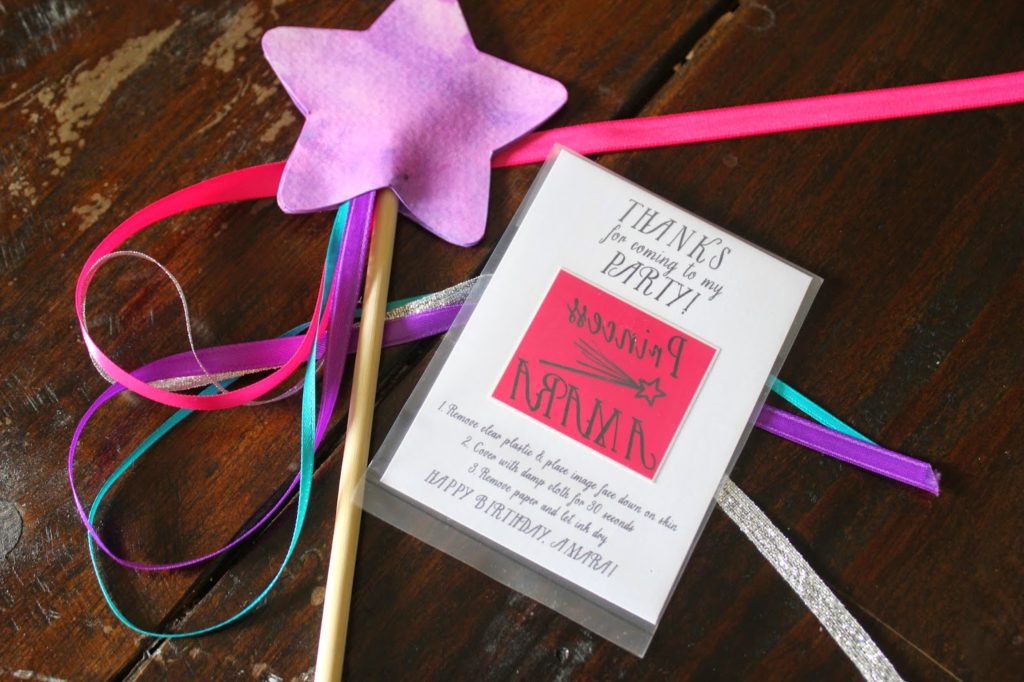
Except for the tattoos of course! Check out our Etsy shop for customized tattoos for your next event!!
I found all of these goodies at Party City as well. The little camera was quite the hit!! I made the wands using dowels, ribbon, and watercolor paper! So easy!! I just traced a star out with a cookie cutter and painted them purple and hot glued them to the dowel.
Below is a little tutorial on how I created the princess crowns…
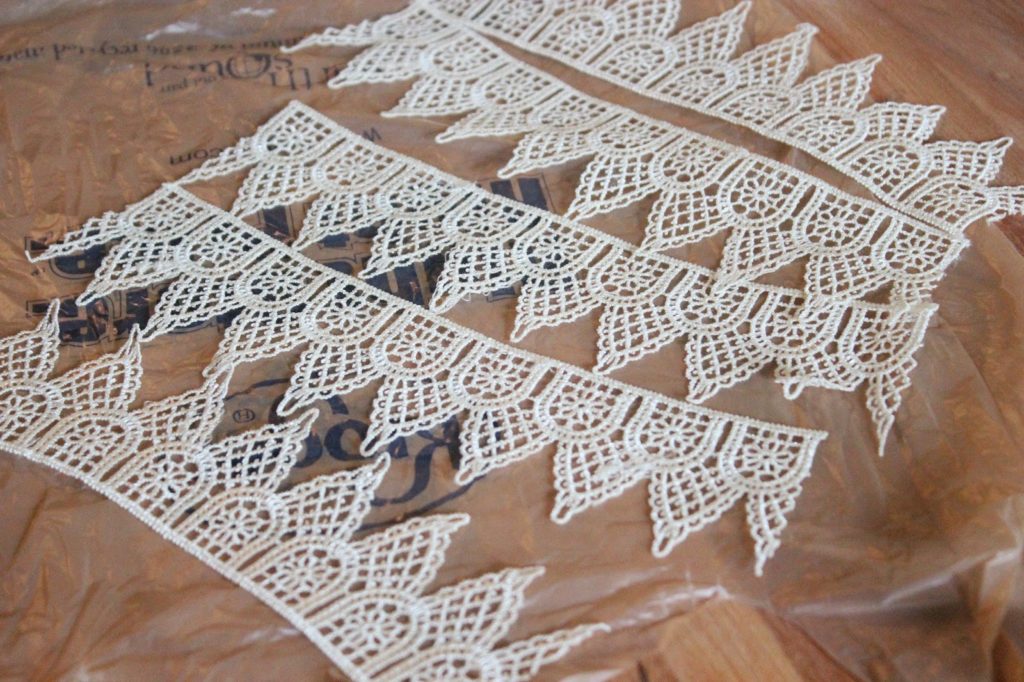
Cut your lace strips into the size that you want. I just wrapped it into the size circle I wanted, then measured each strip.
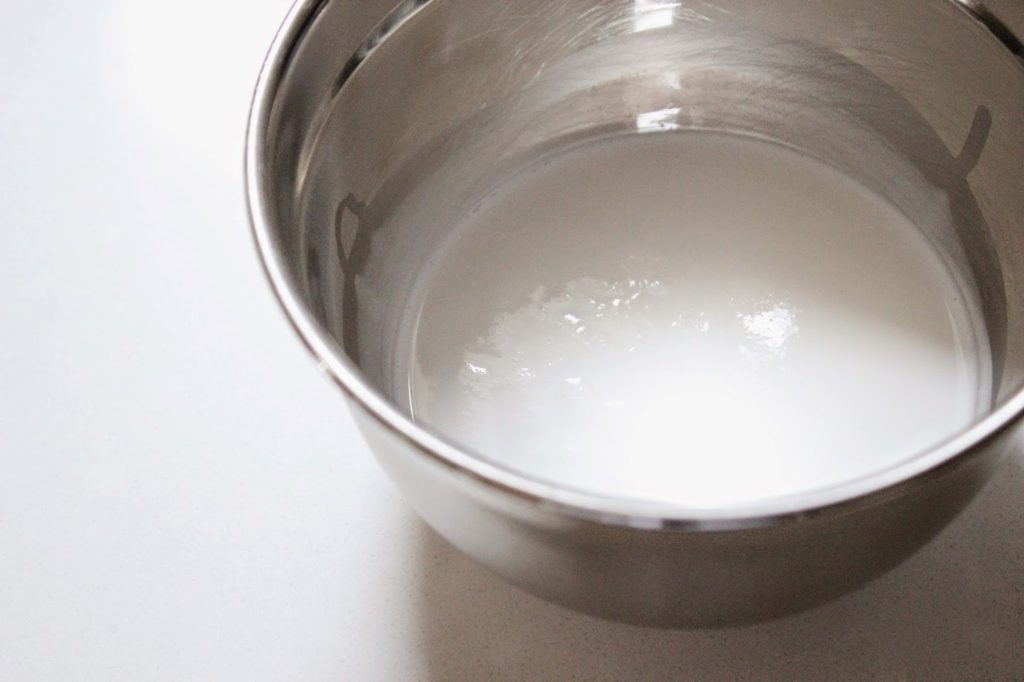
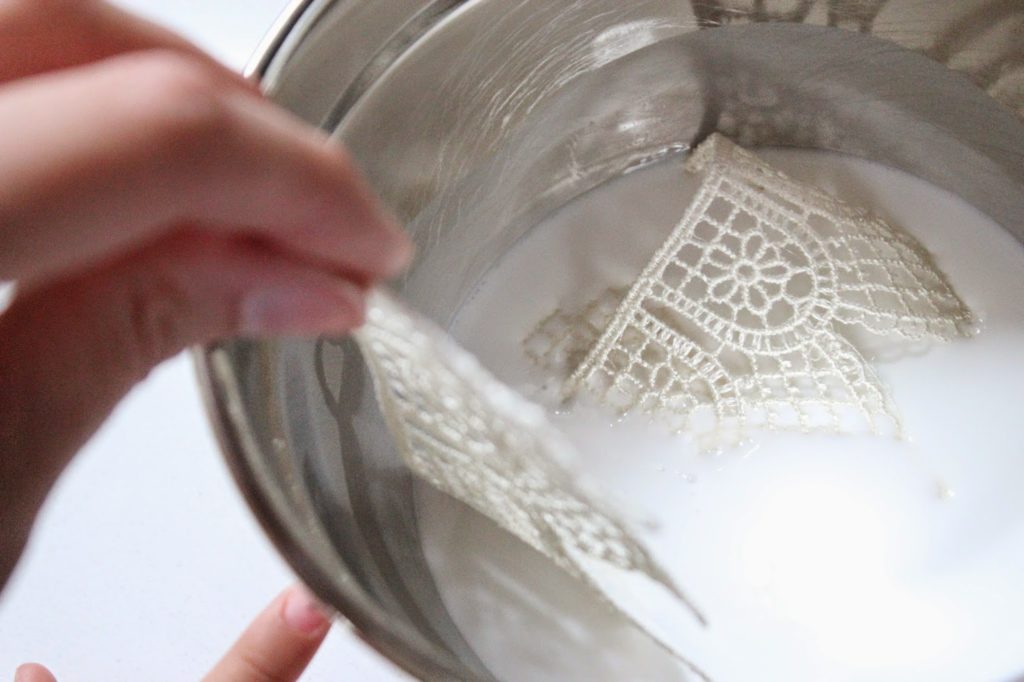
Completely submerge each lace strip into the stiffener.
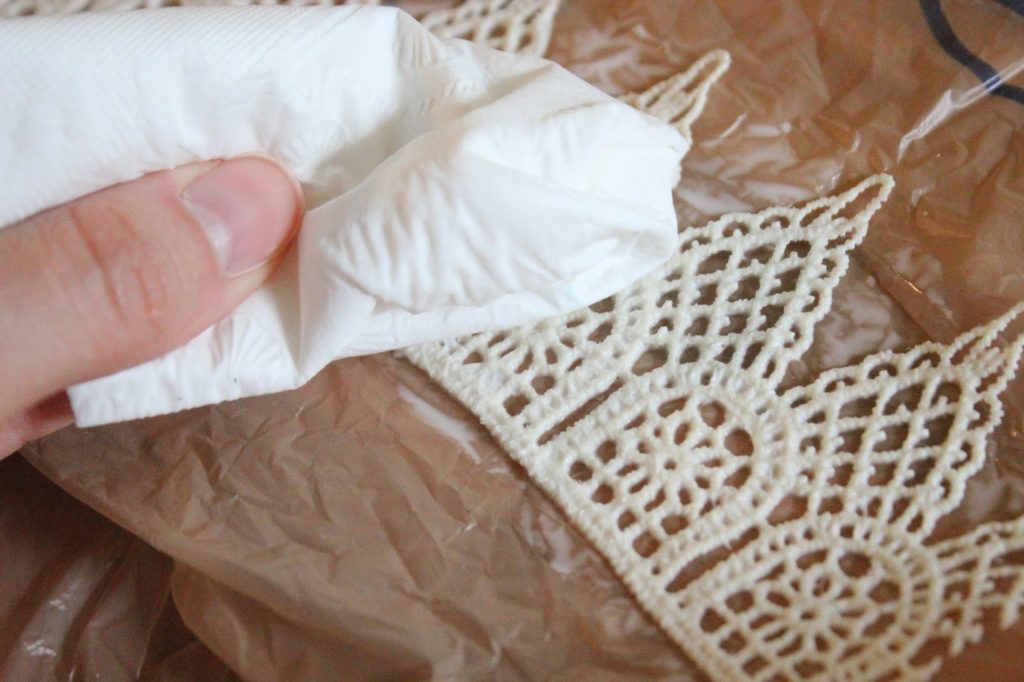
Blot off the excess on both sides and lay on a plastic bag so that they can dry partially.
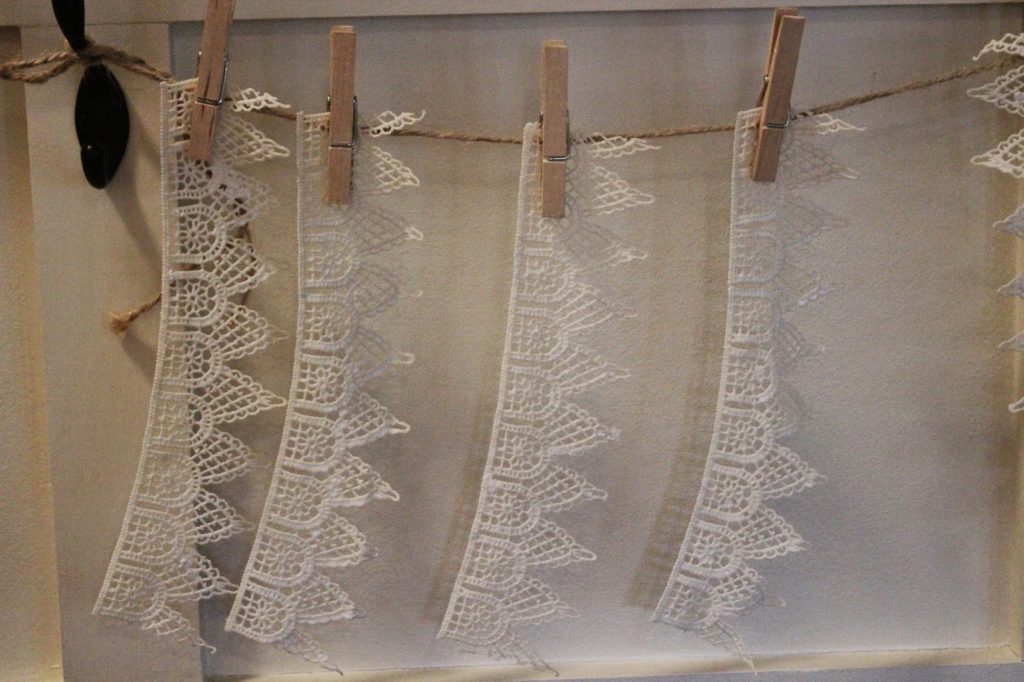
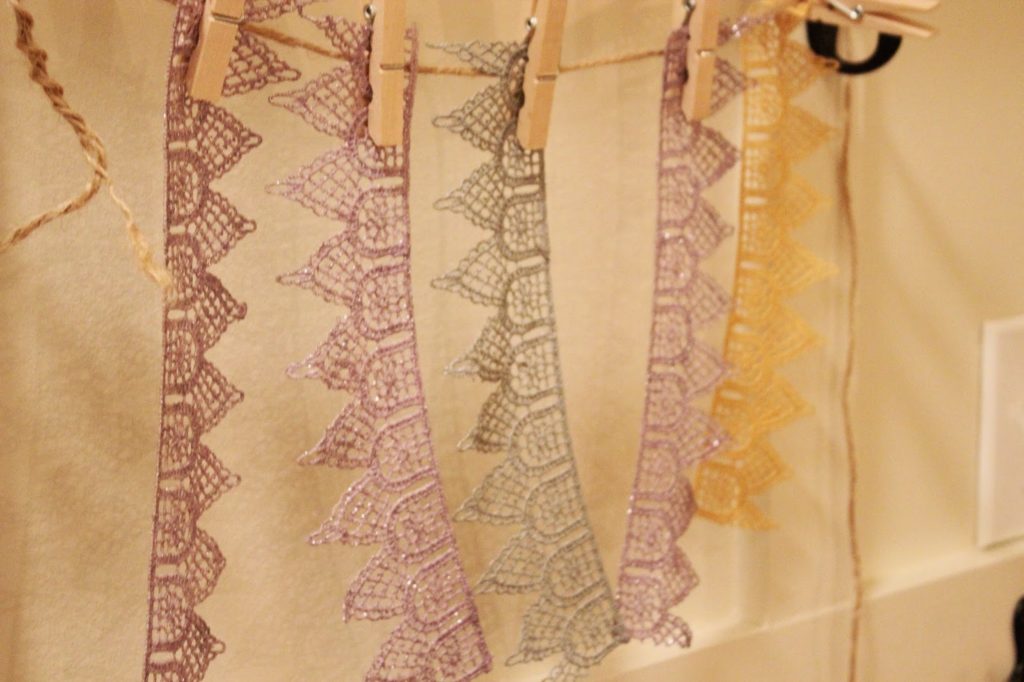
Once they start stiffening up, hang them on a “drying line” so they can completely dry on both sides.
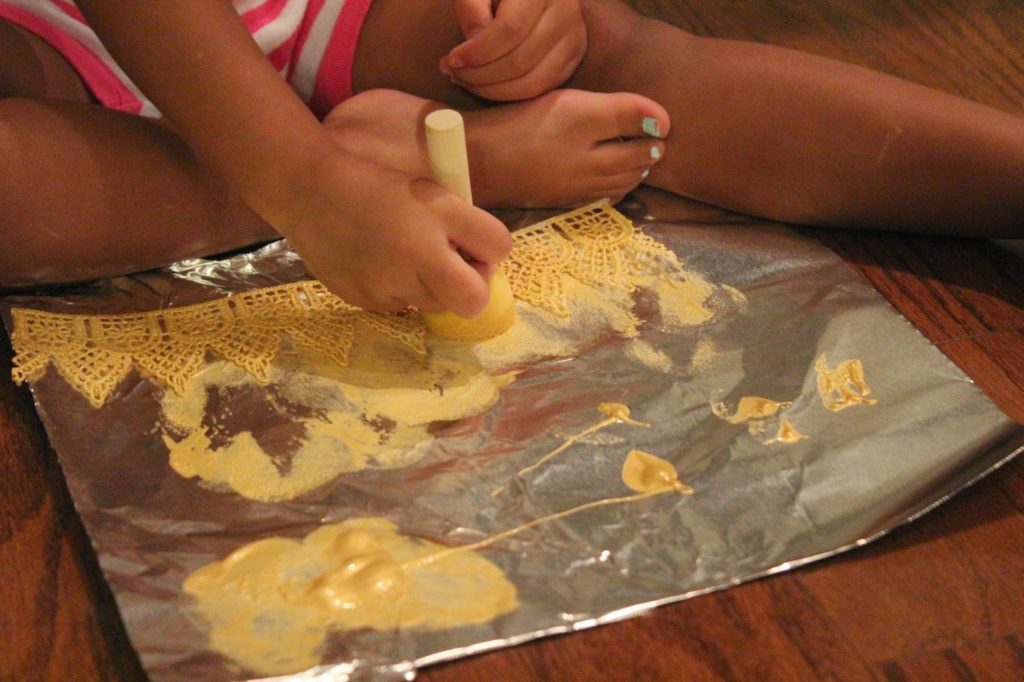
Let your little help! Take a sponge brush and dab each side until the lace strip is completely covered in your paint color of choice.
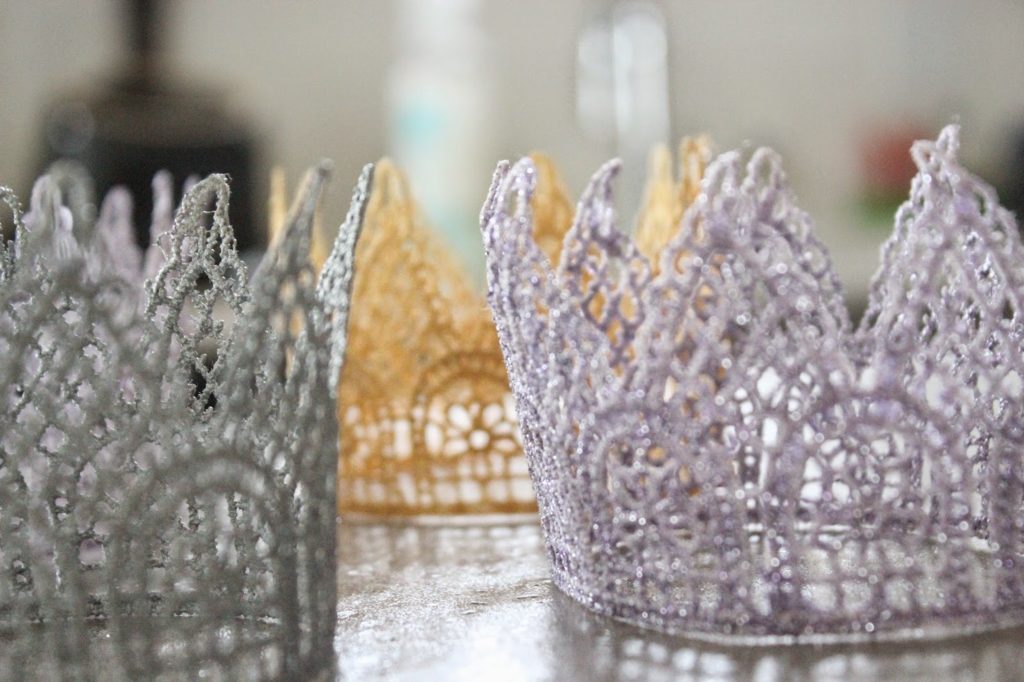
We opted for metallic gold, silver and purple.
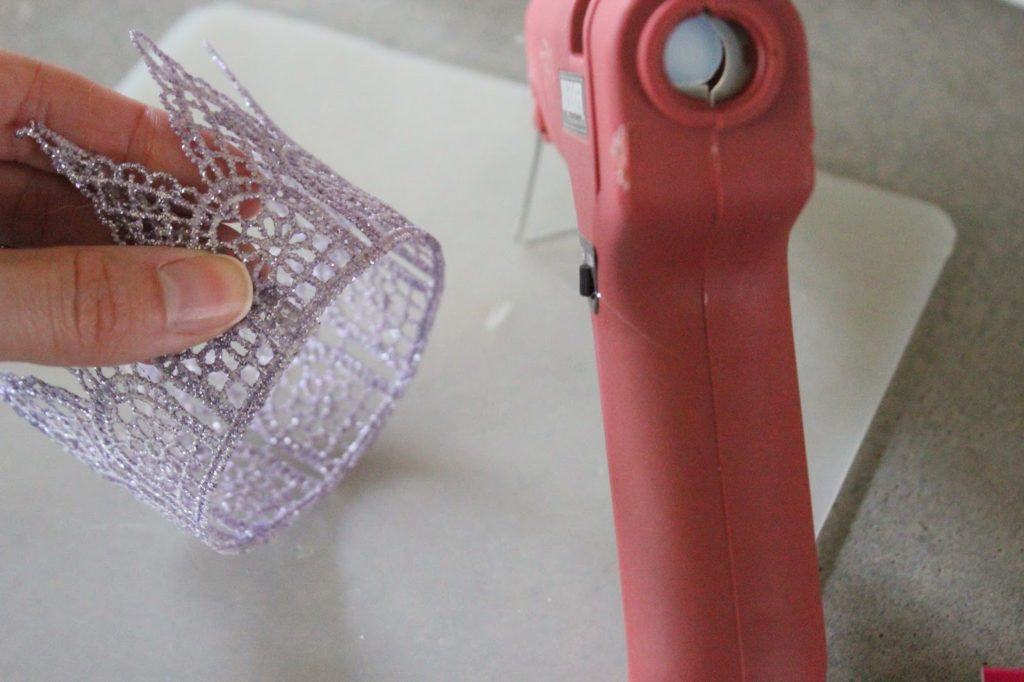
Wrap around and glue!
Voila! The last step ( which I failed to photograph…. I was in party mode) is to glue them to a headband , or even a hair clip. We also ended up glueing a couple of “gemstones” on each of them.
Enjoy!
