I just learned to crochet in December, and I’m loving it! My kids are loving all of their new amigurumi (crocheted stuffed toys) and have become little dictators on what I make next. Through YouTube and free tutorials I’ve found online, I’ve been able to come up with this super simple pattern for what could definitely almost pass as a t-rex. I’ve linked my favorite technique tutorials and materials below along with the pattern. When you first watch the tutorials, it all seems overwhelming! Just try it out on test yarn until you get the hang of it. My first crocheted piece looked lumpy and super weird, but my second looked better. Seriously… you can do this!
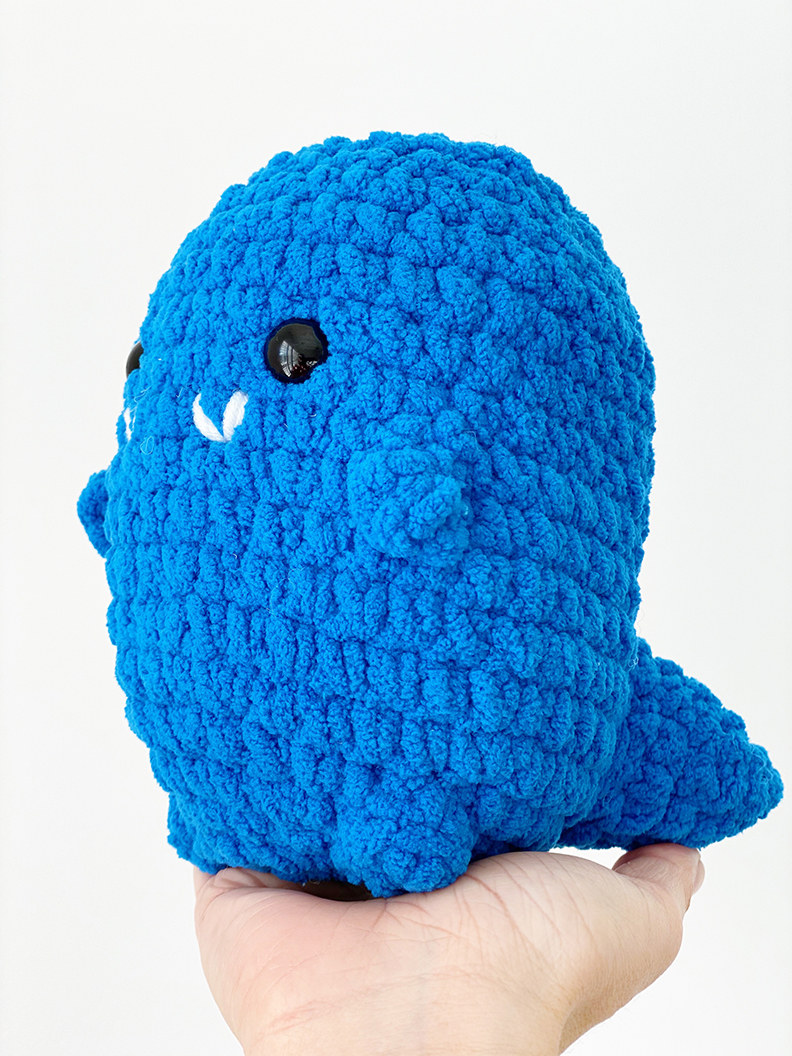
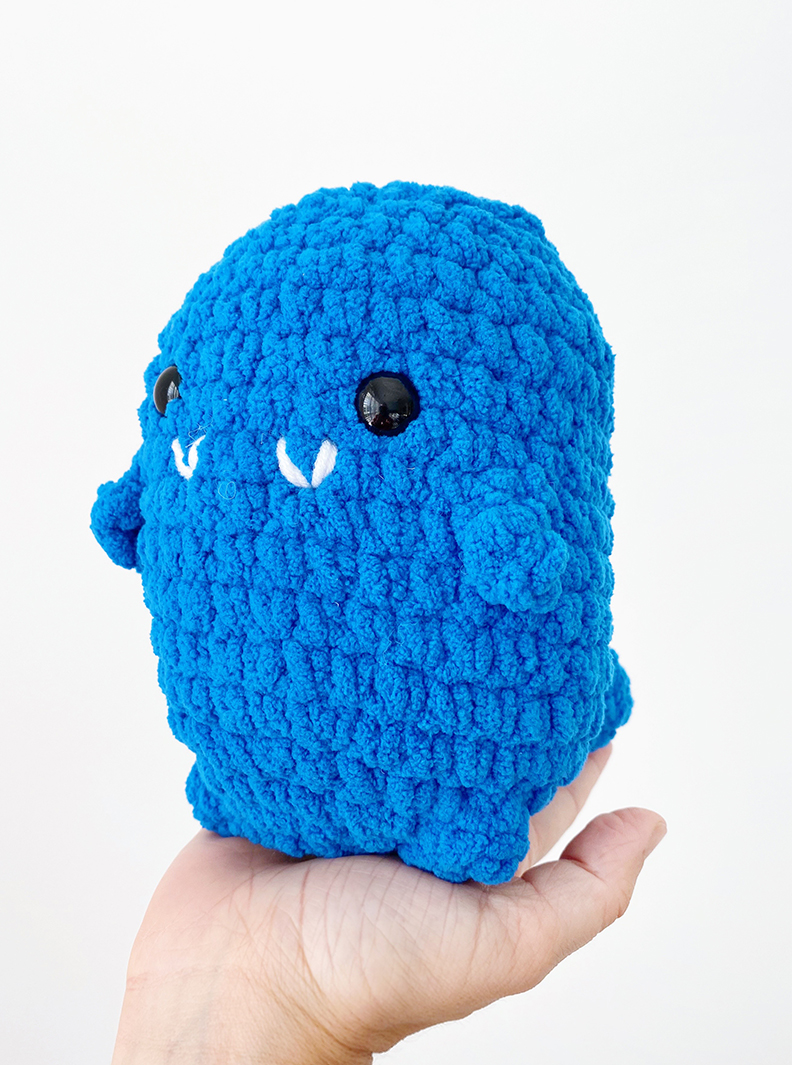
Big chonky dino
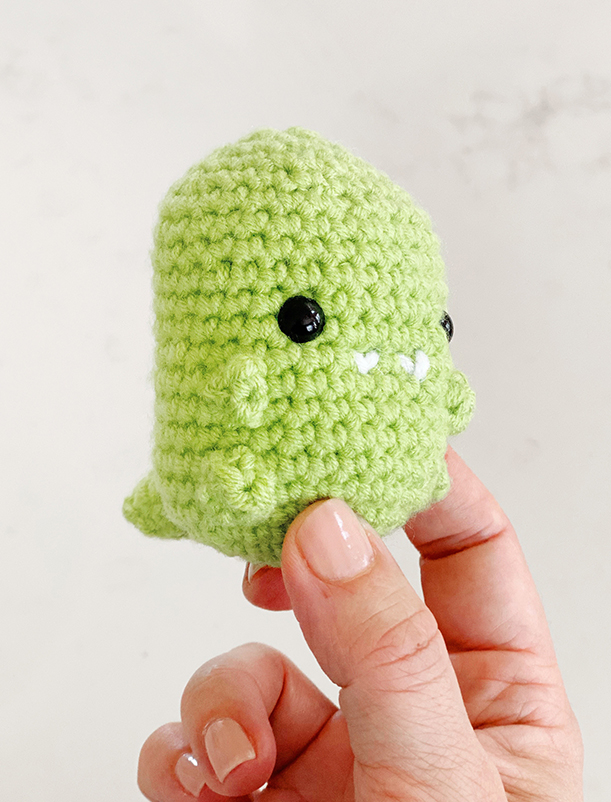
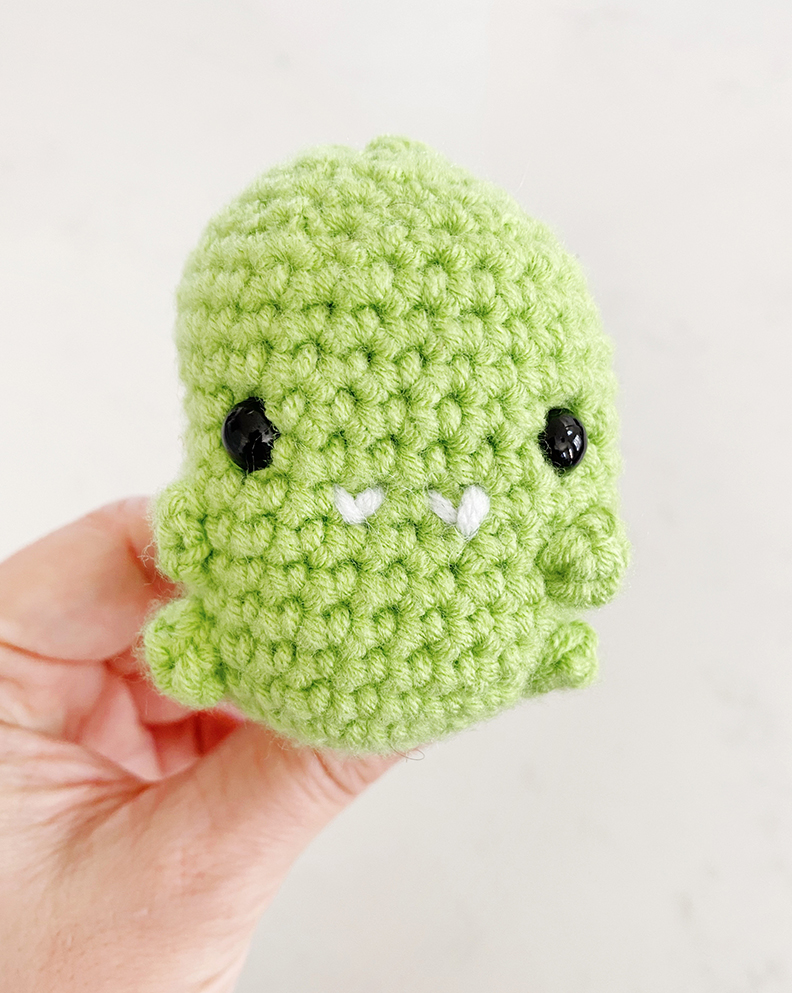
Teeny baby dino
MATERIALS I LOVE
This chunky yarn is sooo soft and great for making bigger things. Stitches are slightly harder to see when crocheting, but you’ll get the hang of it pretty quickly.
This yarn for making tiny babies. Great for beginners – you can see stitches easily and pull through the stitches smoothly. Yarn is soft. It doesn’t get ratty like other small yarns. I used this as the white yarn for the teeth for the chunky dino too.
Crochet hooks (your yarn will tell you what size to use, but this set has them all)
Sewing needle for yarn
Yarn cutter (or scissors, but I like to keep this in my knitting bag since it’s not pointy)
ABBREVIATIONS WITH LINKS
st = stitch
sc = single crochet
inc = increase (2 stitches in the same stitch)
dec = decrease
( ) = the number of stitches you should have at the end of each row
BODY
Row 1: make magic ring with 6 st (6)
Row 2: inc on each stitch (12)
Row 3: (1 sc, inc) x 6 (18)
Row 4: (2 sc, inc) x 6 (24)
Row 5: (3 sc, inc) x 6 (30)
Rows 6-17: 30 sc (30)
Add in your safety eyes between rows 13 and 14. Space the eyes out with 5 or 6 stitches in between.
Stuff with fiberfill almost up to the top (you’ll fill in the rest at the end)
Row 18: (3 sc, dec) x 6 (24)
Row 19: (2 sc, dec) x 6 (18)
Row 20: (1 sc, dec) x 6 (12)
Row 21: dec x 6 (6)
Finish stuffing with fiberfill and squeeze it around to get a good shape and firmness you like.
Cut the yarn with a long tail and thread a sewing needle through the end (fasten off). Pick up the front loop of each of the remaining 6 stitches and sew the body closed stitch by stitch (video here).
Thread the tail from the top of the body where you just closed the last row, down to the bottom center of the body. Thread back up to the head and cut the yarn close to the body. This sort of squares up the body so it’s not so egg-like. Push any remaining yarn into the body with your needle.
TAIL
Row 1: 4 st in magic ring (4)
Row 2: (1 sc, inc) x 4 (6)
Row 3: 6 sc (6)
Row 4: (1 sc, inc) x 3 (9)
Row 5: (1 sc, inc) x 4 (13)
Row 6: 13 sc
Cut yarn with a long tail. Slip the end of the tail through the last loop and pull tight. You’ll leave this open- don’t close it up like you did with the body.
Stuff with fiberfill.
Attach to rows 5-10 just by sewing through each loop onto the body. Pass the yarn through a few times before cutting off the access yarn.
ARMS + LEGS (make 4)
Row 1: magic ring 5 st
Cut yarn with a long tail. Slip the end of the tail through the last loop and pull tight.
Once you pull the tail it should make a C shape, but I like to sew it on in a little ball with a stitch.
Attach arms between rows 10-12 just to the sides of the eyes.
Attach legs between rows 3-5.
TEETH
Row 12 (from the bottom): Add 2 white v’s using any white yarn. You can space them one or 2 stitches apart (or touching like vv) just make sure they’re centered between the eyes.
Happy crocheting!
xo
Leah


