We recently purchased a fixer upper of our own, and have big plans for it. However, we are having to start small. One thing we did not have that I felt was an immediate need was a place to hang our jackets and bags and put our shoes. Our laundry room is the room we enter into from our garage, so I decided to make a small utility wall in there. The entire room is getting a makeover… new floors, cabinets, countertop, light fixture…. the works. Until then, I just needed a space to hang all of the crap that would make its way onto our sofa and living room floor. No Bueno!
I recently became obsessed with all things dalmatian, and wondered how I could incorporate this print into my home. I just wanted that one scene stealing wall in my home. I toyed with doing removable wallpaper, but truthfully, it was a bit pricey for a laundry room. Also, what if I want something different in the future? I just didn’t want to deal with removing wallpaper. With stencils, you can use paint and just paint right over it and even use the stencil on a different wall if you want. The more research I did, I felt confident that I could handle doing a stencil… on my own….for the first time. Well, I was at least going to try.
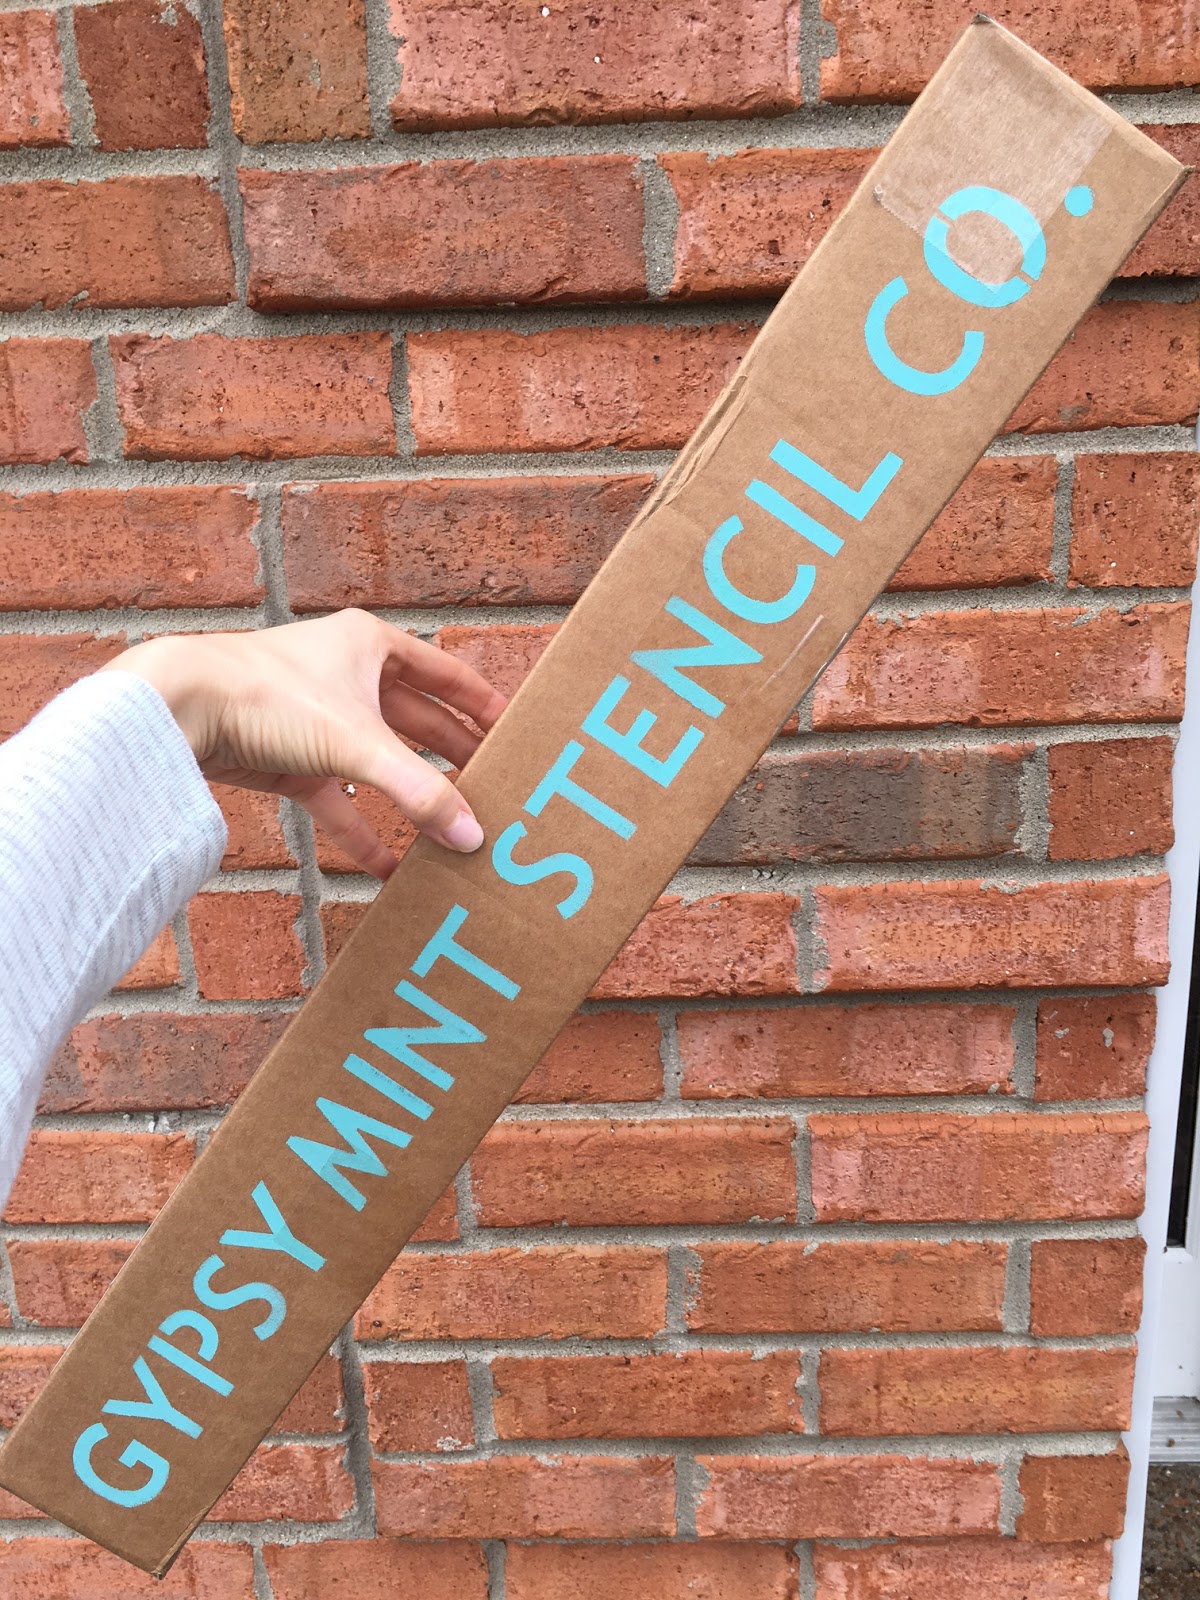
I came across the amazing stencils from Gypsy Mint, and fell. in. love! They were kind enough to send me their dalmatian pattern to try, and I could NOT wait to get it up on my wall. The best part was that they let me customize my stencil. They have such great designs ready for purchase, but customizing is their specialty, and it allowed me to get my stencil just the way I wanted it. I also really love this one for a little kids’ room as well as this one. They are just all so good friends!
First, I had to pick the colors that I wanted to use. White is not just white, and black is not just black guys. I wanted a specific warm white with a softer black shade. I ended up going with BM’s White Dove and Space Black. Space Black actually looks like a true navy when it is put up against something black, but on the wall…. it is “black” and perfect! This was my wall before ( kind of). I may have gotten a little paint happy before snapping this photo. It was just a dark grey room with no windows that needed some serious brightening.

The stencil comes with clear cut instructions on how to transform a wall in no time. I altered those instructions a tad so that I could work with what I had on hand rather than buying more supplies. For instance, I used painter’s tape to hold my stencil up rather than spray adhesive. It worked just fine. There was a little bleeding here and there, but I am such a perfectionist, that I was planning on doing touching up afterwards anyway. The stencil was extremely sturdy and such great quality!! I was really impressed!
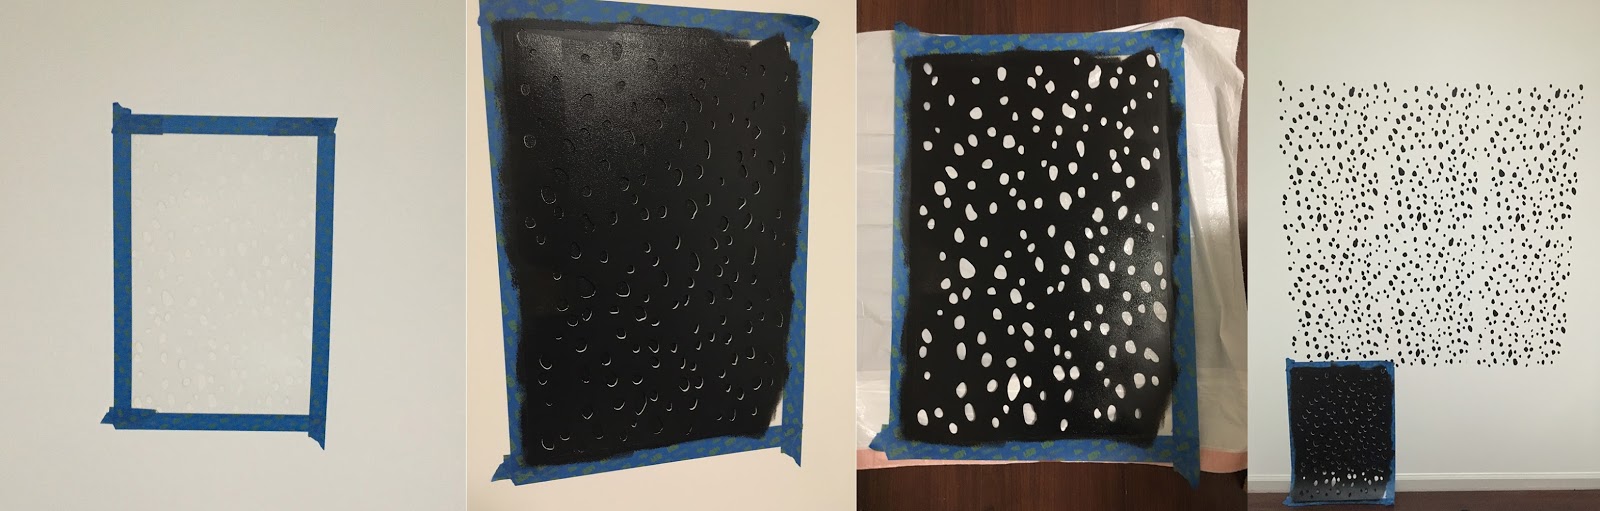
From left to right: I placed my stencil in the center of my wall as instructed. Then, I got the paint on my mini roller. I used a mini roller cover for a roller handle I already owned. I used a knit roller, NOT a foam roller. I rolled over the stencil after getting as much excess paint off as possible. I didn’t want it to bleed underneath the stencil. It is really really important to go slow and not get impatient. SO. HARD for me. I left the stencil on while the first (very thin) layer dried enough for me to add a second coat. Then, I removed the stencil and just laid it down until I was ready to place it in the next space. The great thing about this pattern is that you can’t really mess up! There are arrows on the stencil to help you with placement, but if there were spaces that had less spots, I just went back and added them at the end. I did the edges of the wall very last. I got as many full stencil coverings as possible first.
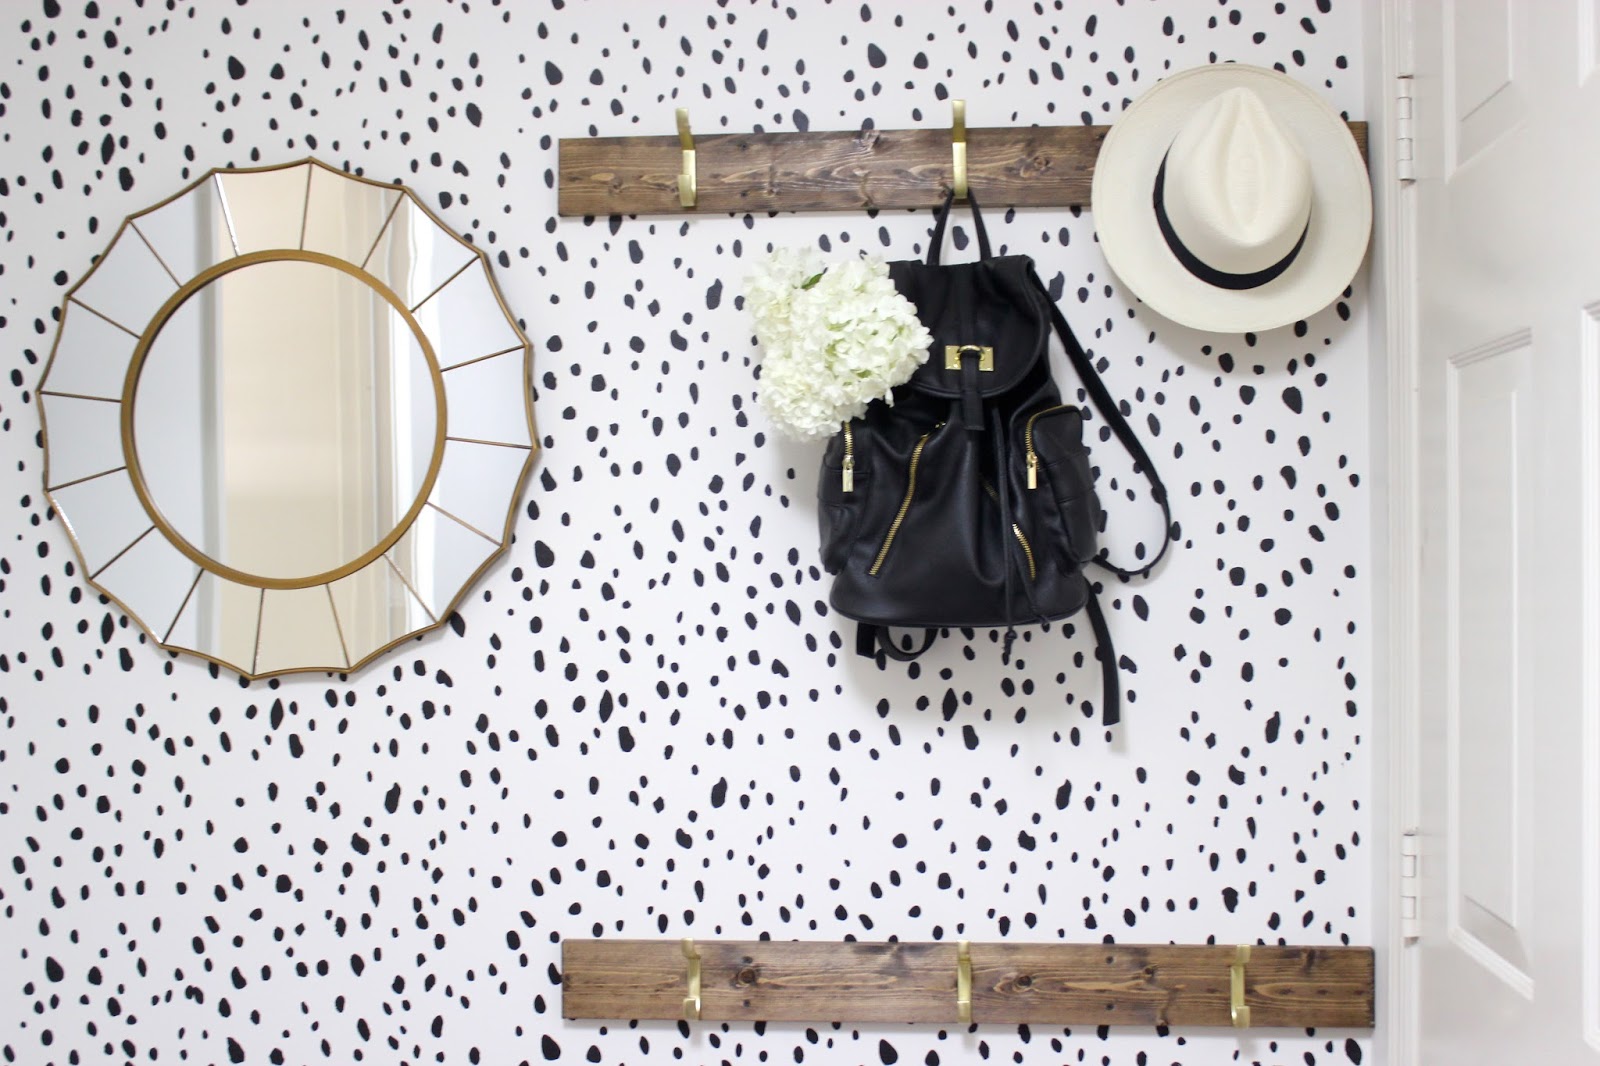
Here is what this tiny little Gypsy Mint box allowed me to create in my own home. I am obsessed with it, and it is by far my favorite thing to look at around my house. I can’t thank them enough!
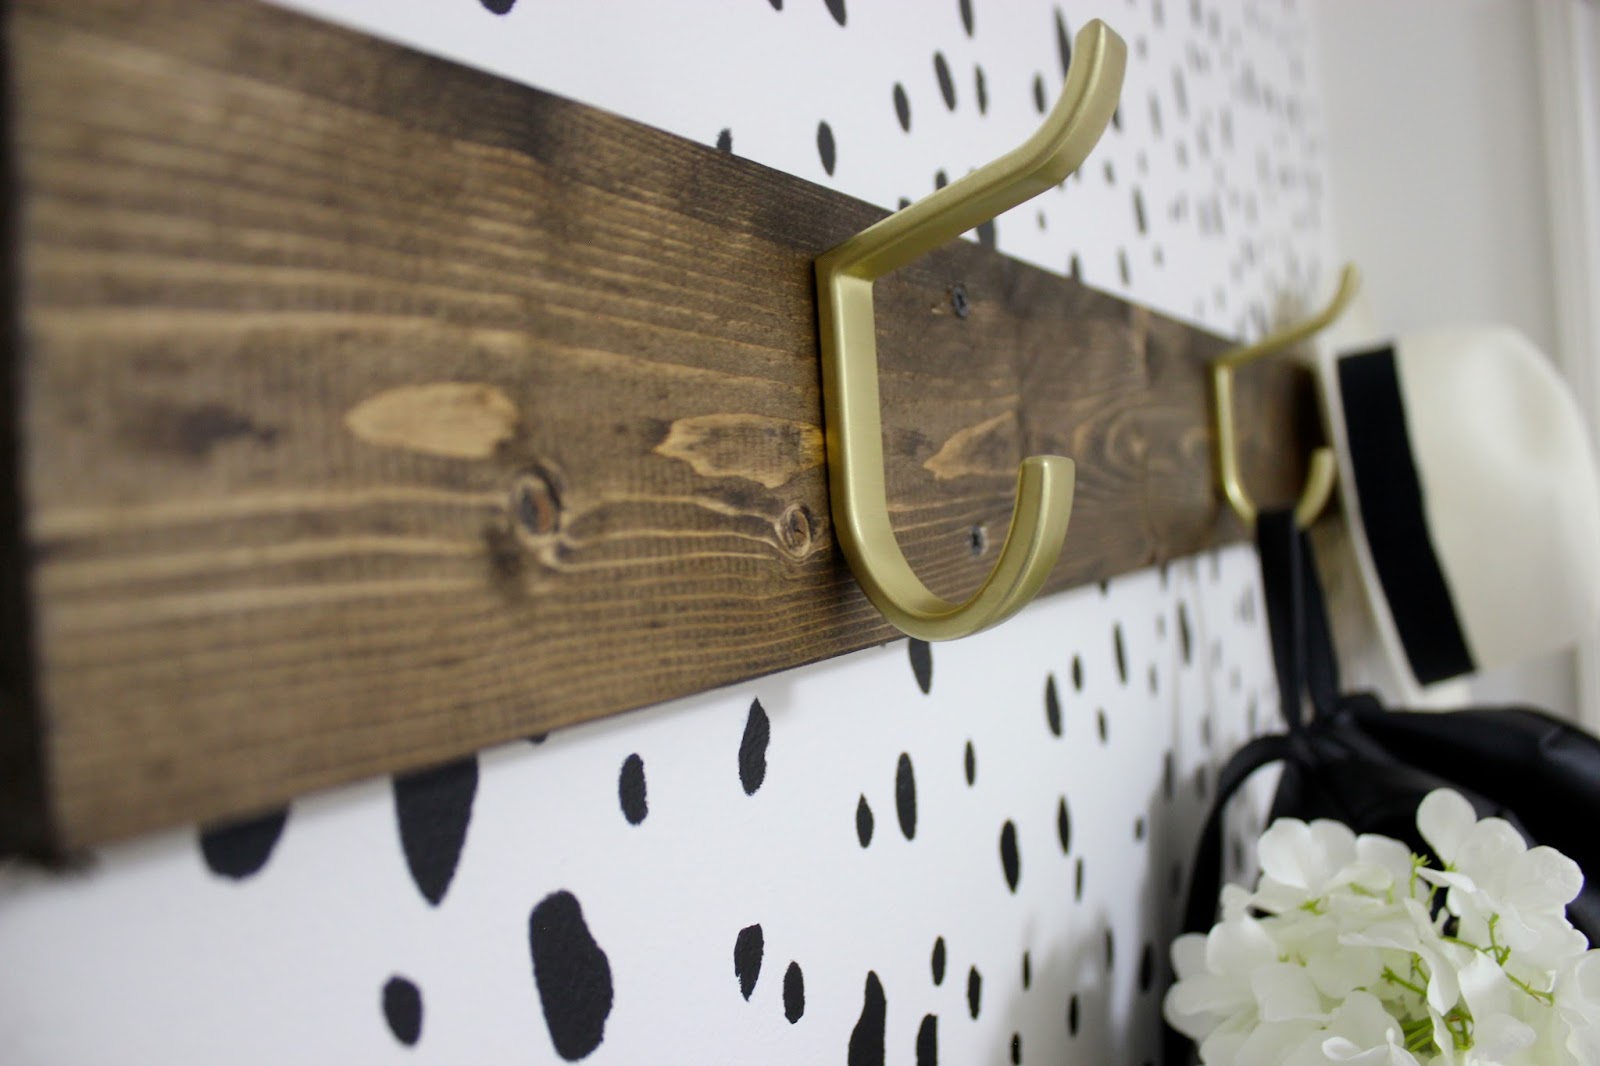


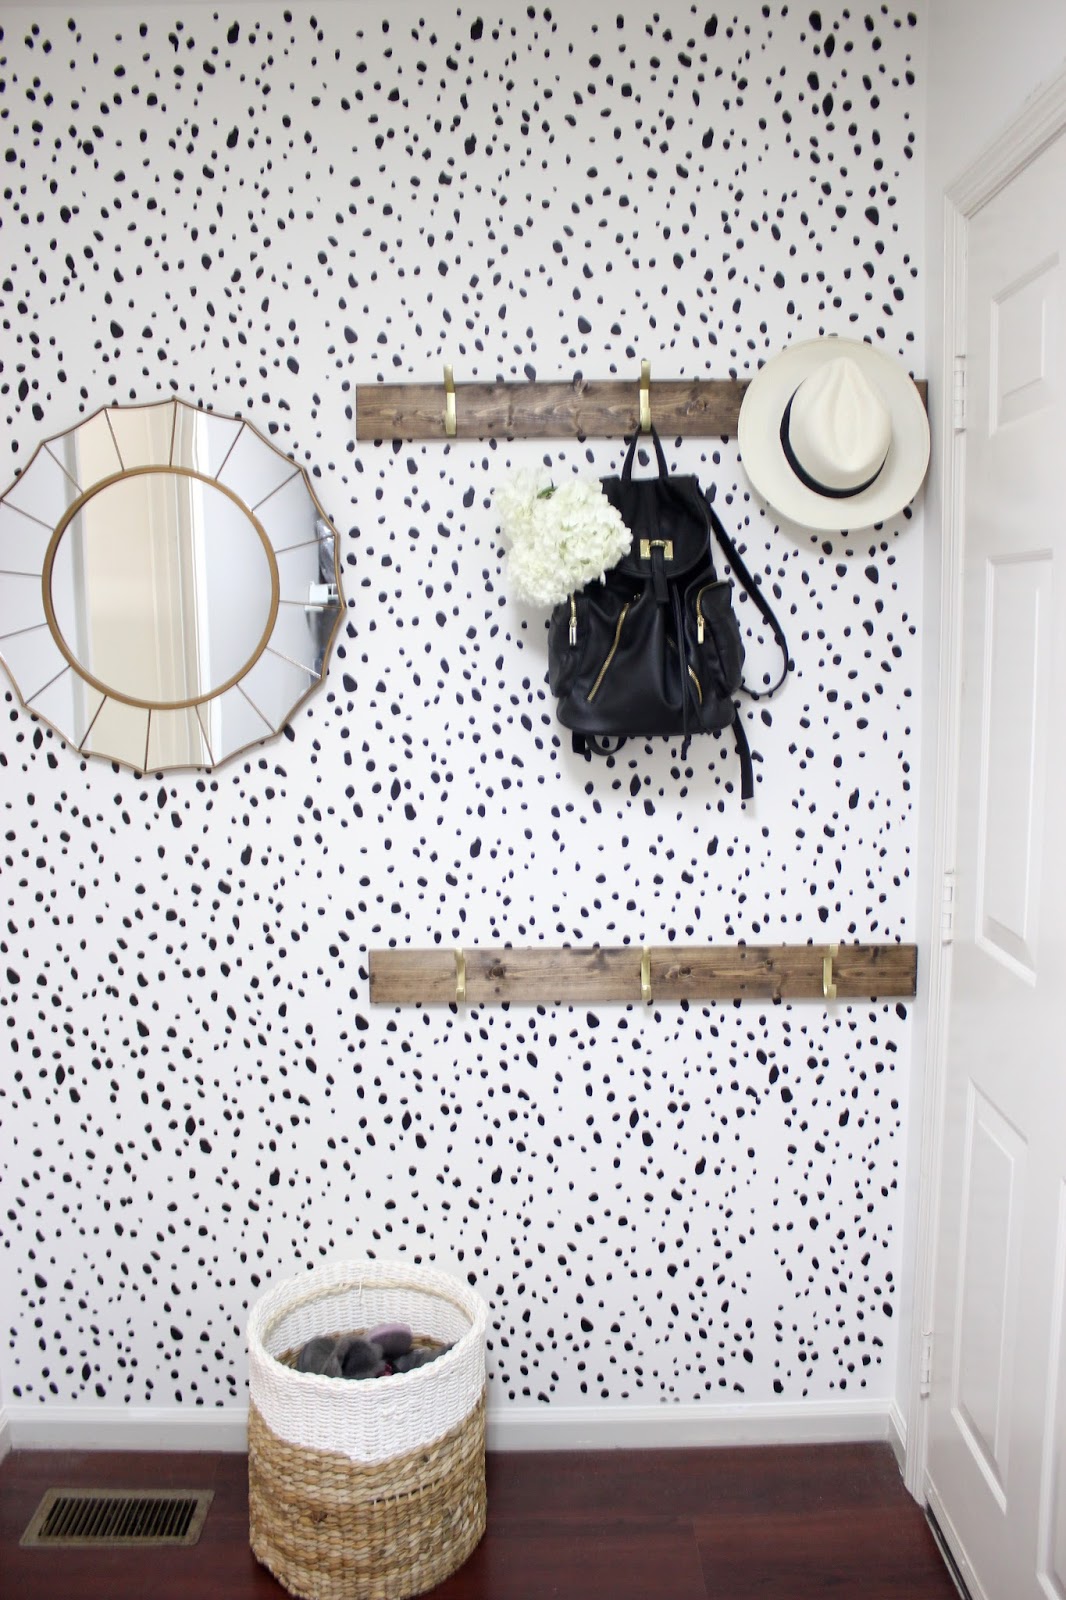
For our coat hooks, we simply took 2 1×4 planks, stained them with our stain of choice, and after searching, purchasing, hating, returning, and searching some more for the perfect brass hooks…. Target saves me. Have you guys seen their new brass hardware? Sigh…. I love you Target!! I cannot wait to reveal the entire room with you guys here in the next few weeks. Sad to say, I spend a lot of time doing laundry. An efficient room that is pretty to look at is just a must!


