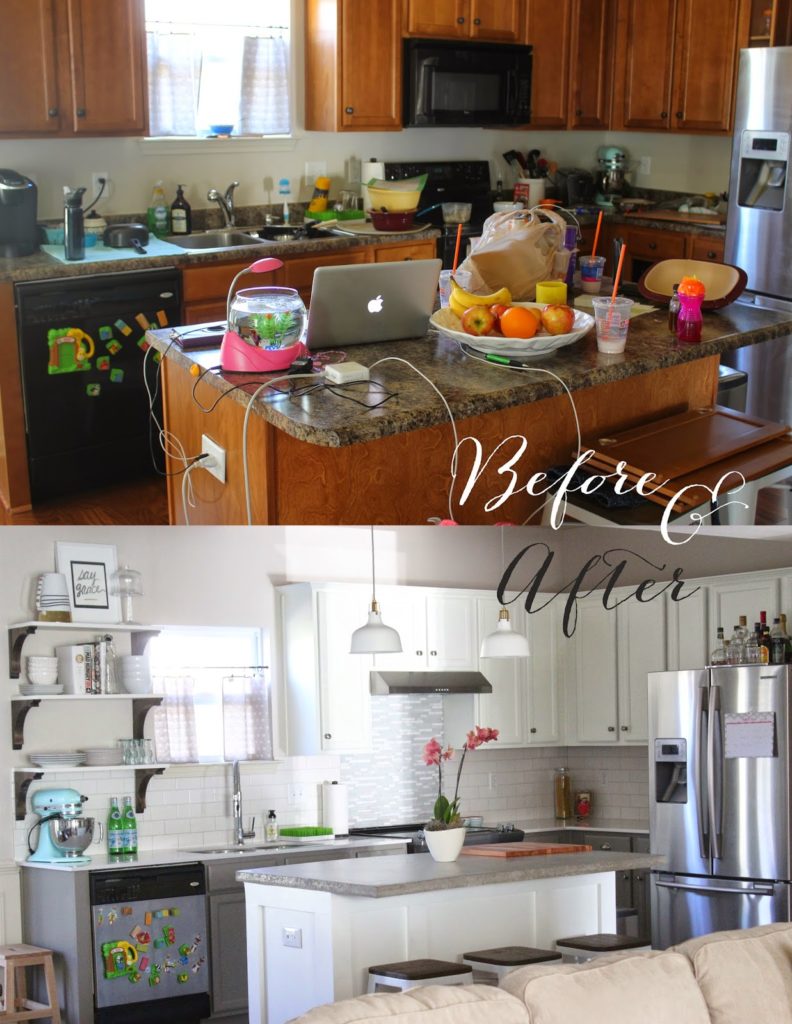
Yes, the very first bit of imagery you see in this post was how my kitchen looked at one time in my life. Embarrassing, but REAL. LIFE. I must say, the mess alone makes the “after” shot look pretty impressive. Haha!
Ok guys!! I feel like I teased you with a kitchen redo post many months ago. Theeeeeen, I got pregnant, L&L shop has bloomed so beautifully (and busily), and life in general brought us to a lot of roadblocks during this process. However, it is FINALLY done!!!
We started this process as a bit of a challenge! Could we actually do OUR OWN kitchen? on a budget? And paint our own cabinets? Would we totally screw them up? One day, we went and picked out cabinet paint colors just to keep for when we decided to actually got the guts decided to paint the first coat. Little did we know, it would be sooner than later. I think we went that week to buy our first gallon of primer. To be honest, there were MANY times that we wanted to quit during this process, but the good news is that…. you just can’t. Paying someone to finish what we started was just NOT an option.
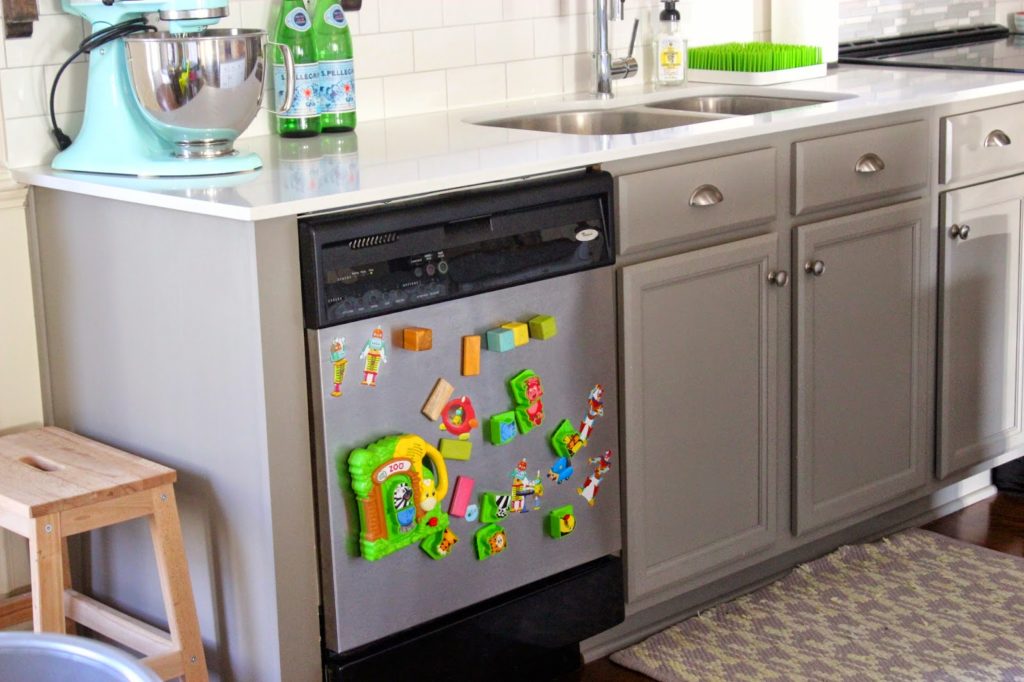
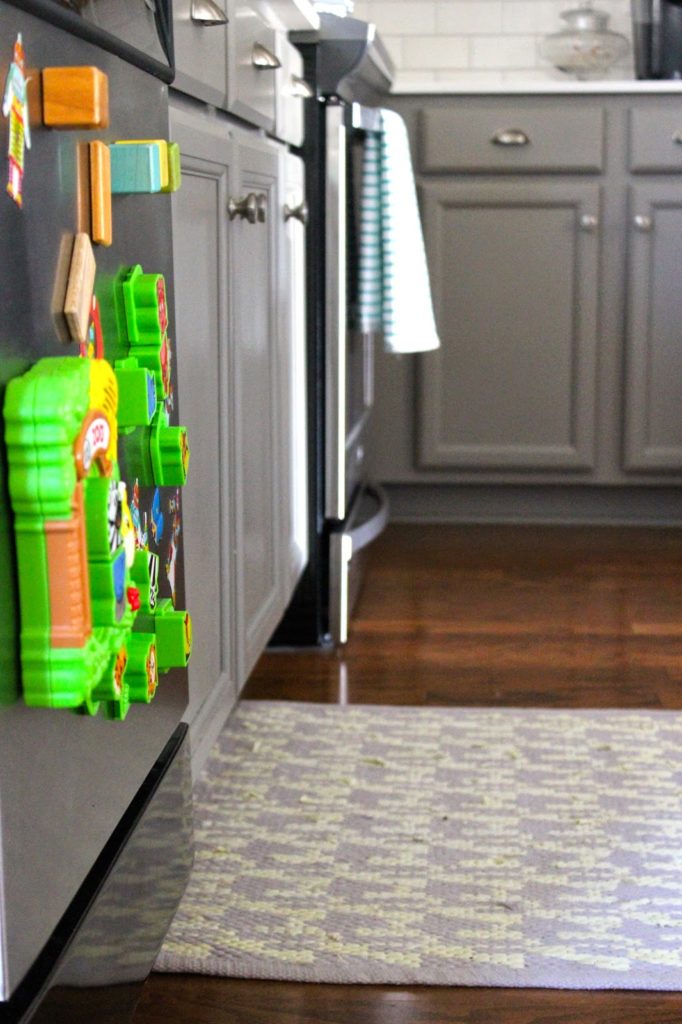
Our best investment while doing this kitchen was buying a paint sprayer. After lots of research by my hubby, we decided on this one. It didn’t break the bank and it worked beautifully. It really makes your cabinets look like they are professionally done. My biggest tip to anyone taking on a project like this is to be patient, and go through all of the steps…. properly!! Anytime we got antsy and wanted to knock out two coats of paint in one night vs. one…. we hit the brakes and gave ourselves a pep talk. We just really didn’t want anything to set us back! I plan on posting a tutorial on how WE painted our cabinets soon. I promise!!
Ok, enough talk…. here is what our kitchen looks like now!
^^DIY cafe curtains HERE. ^^
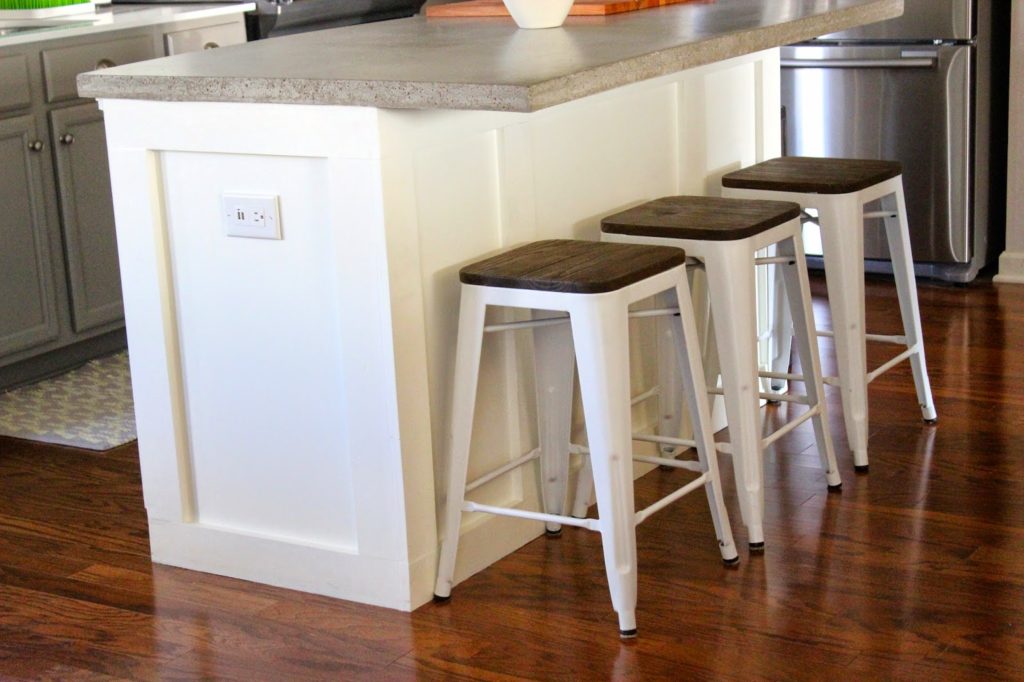
^^ Barstools from Target, aaaaand they are on sale now! Also, we ended up just paneling out our island. We wanted it to look a little more custom, but didn’t want to rebuild an entire island. We were happy with the way it came out! ^^
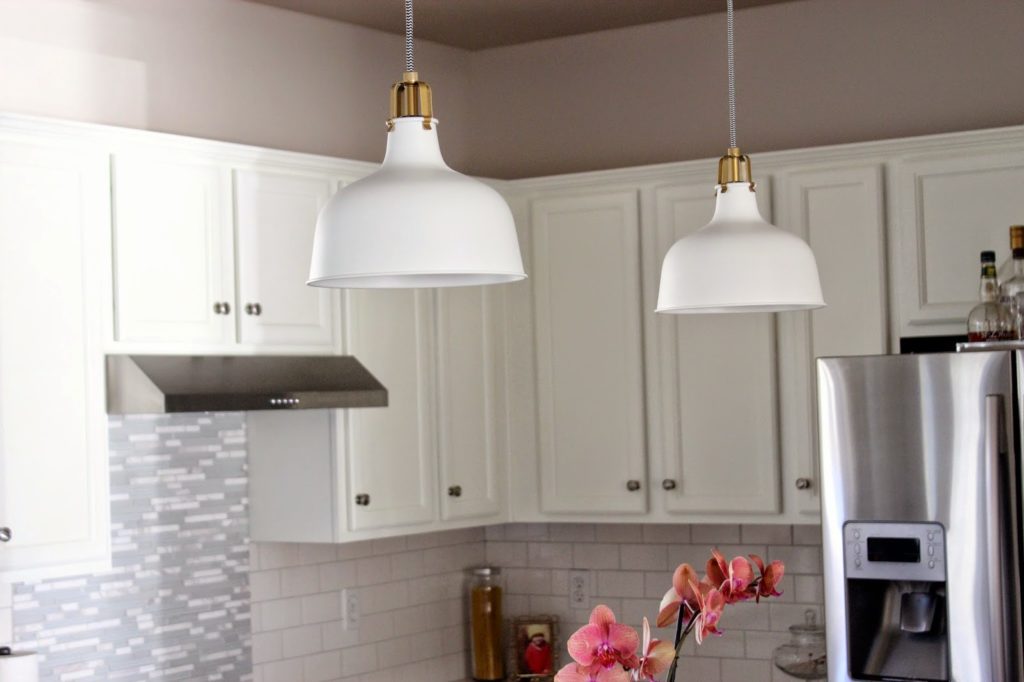
^^ Pendant lighting from Ikea ^^
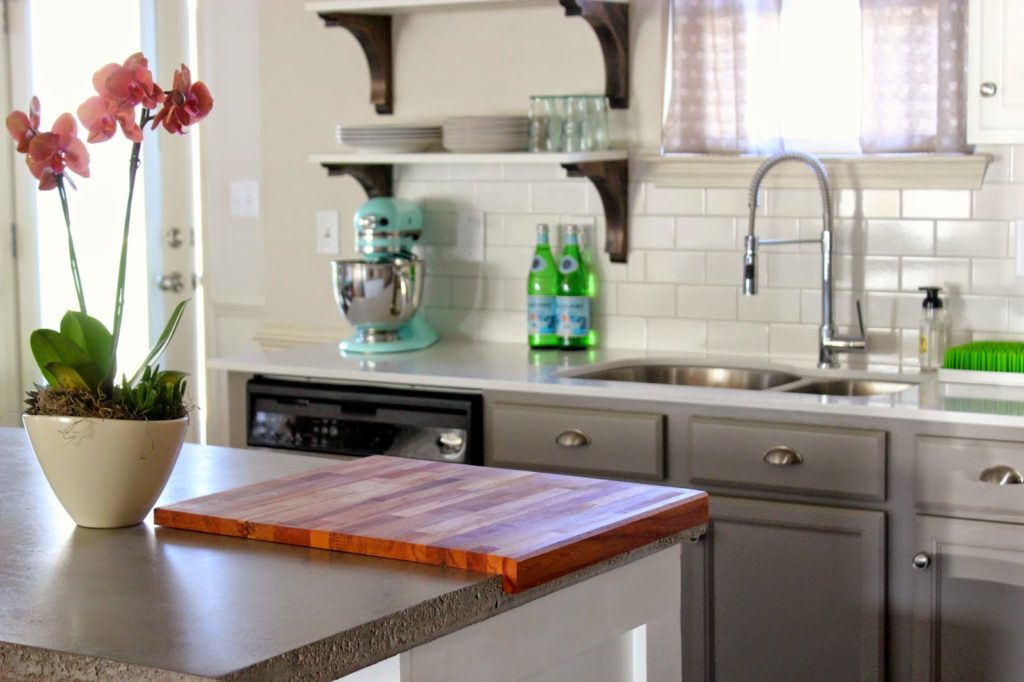
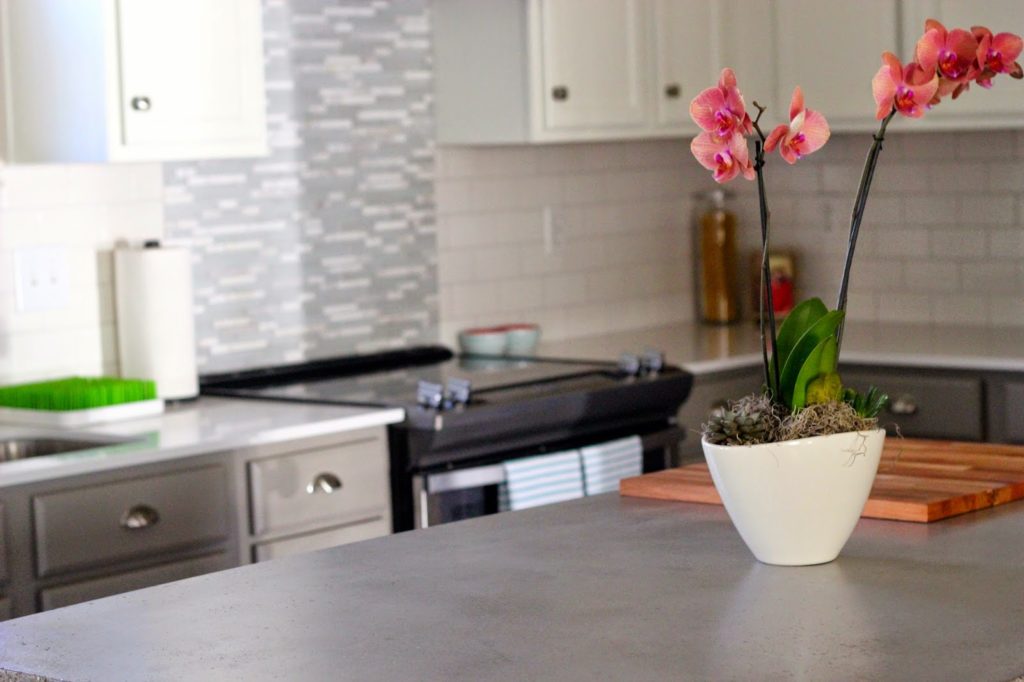
^^ Also, to stress ourselves the freak out cut costs, we opted for a concrete countertop for the kitchen island. We followed this tutorial. Let’s just pretend ours went just as smoothly as this tutorial makes it seem. Oooooook…. moving on….
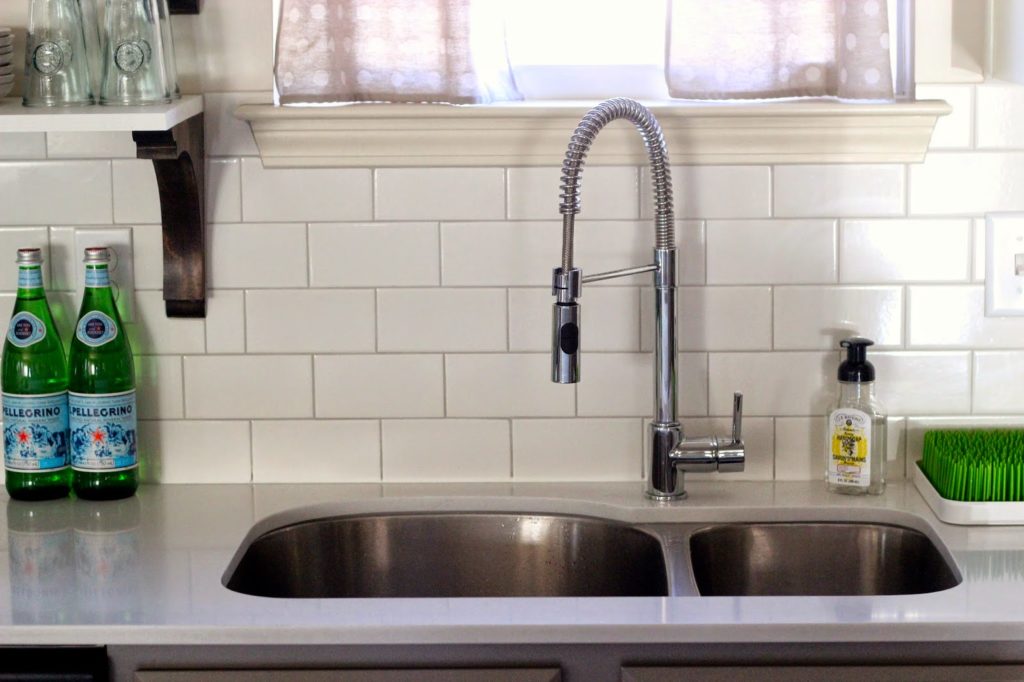
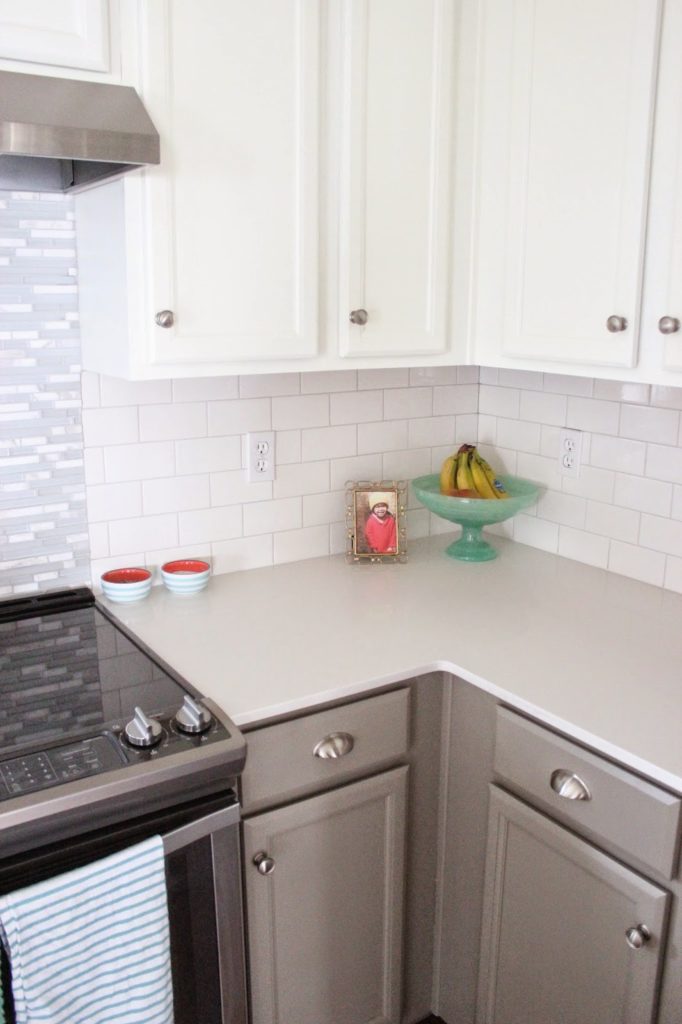
^^ We found our subway tile online… Ebay to be exact! Home Depot had a $2/per tile price tag. No thanks! We ended up getting ours for roughly .50 per tile. We were able to do our entire kitchen for $100. ^^
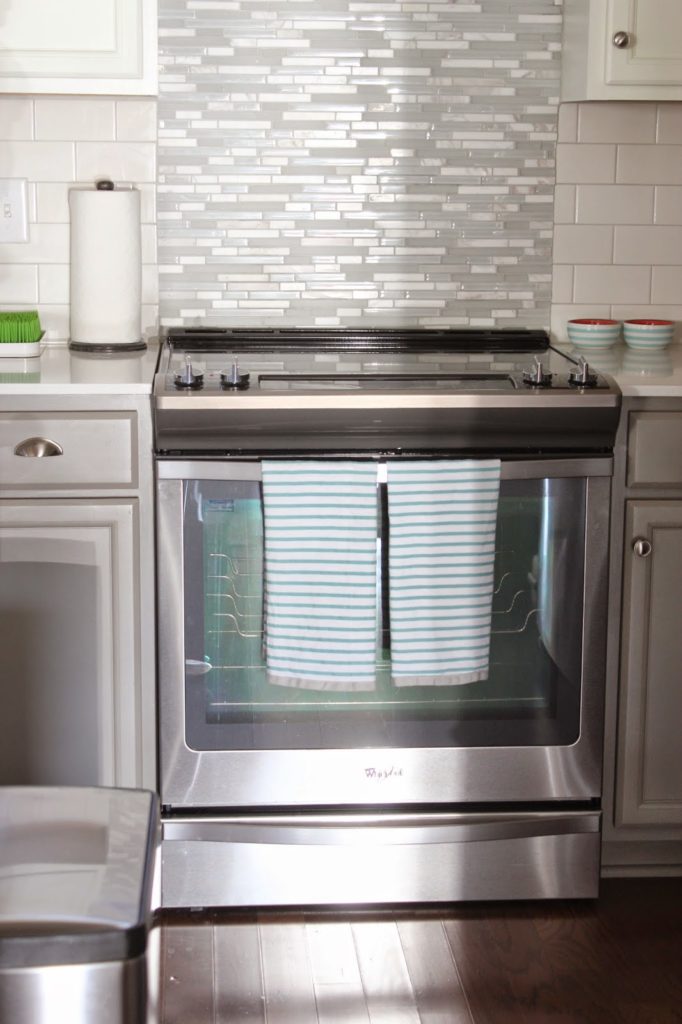
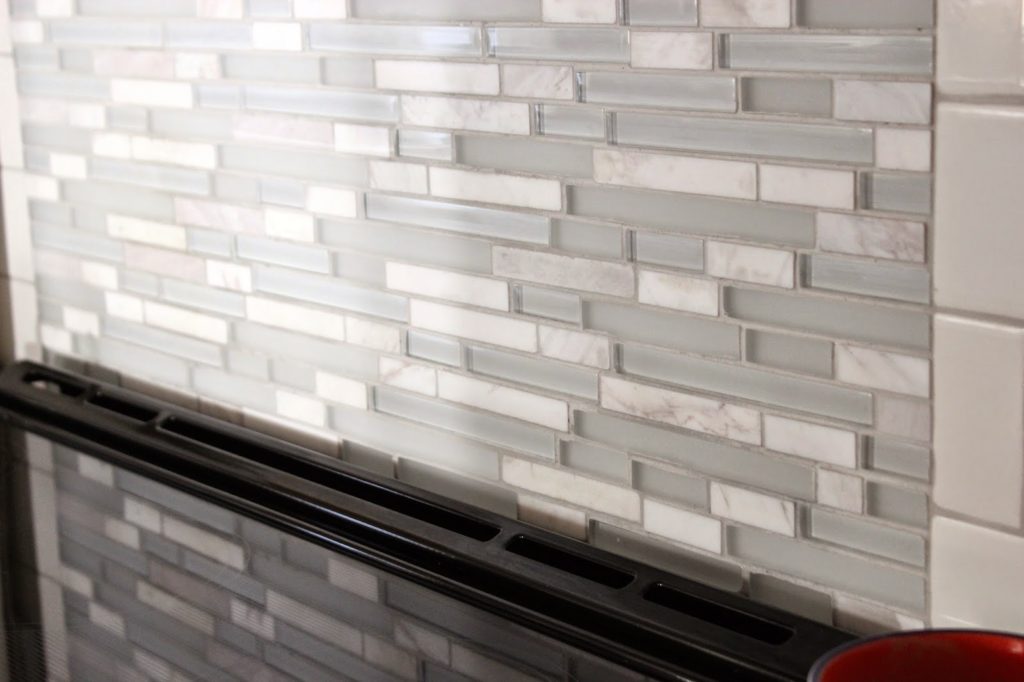
^^ The marble and glass tile was a last minute call. We had purchased it at Habitat for Hummanity Restore months before we started this process. We thought we would use it in a bathroom or something. It costed us $1/sq ft., and it was the perfect focal piece we needed for behind the oven.
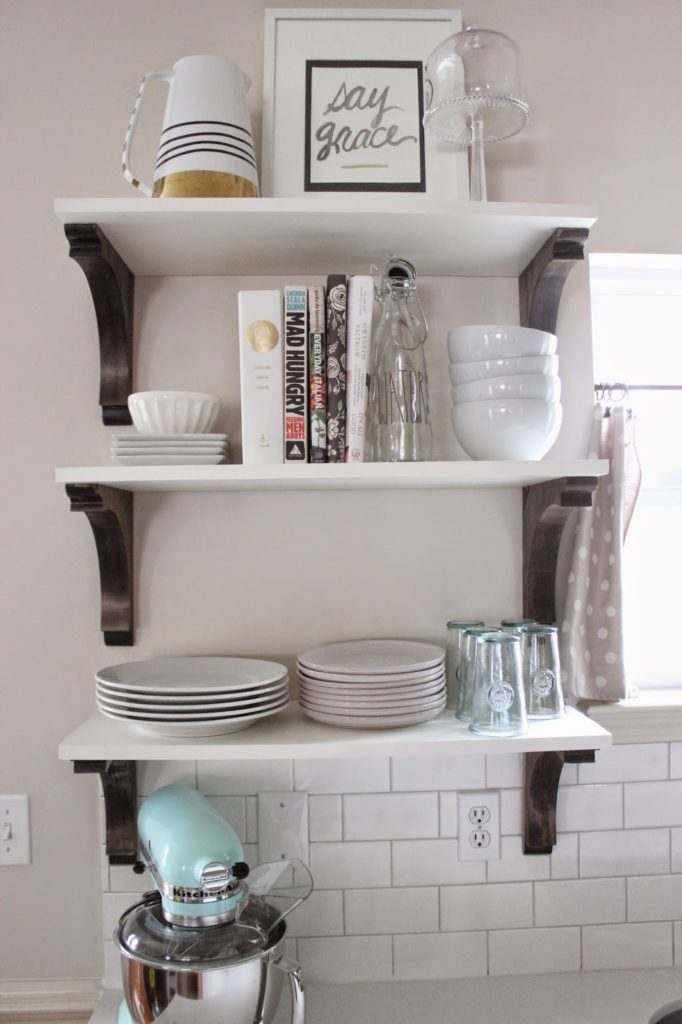
^^ You may have seen our open shelf styling post HERE. This still stands to be my favorite part of our kitchen redo. We simply bought corbels from Home Depot, stained them, and painted some slabs of plywood that my husband cut to size. Super simple DIY! ^^
Please comment and email us with any questions that you may need answered regarding a kitchen redo. We are no pros, but through trial and error, have learned a thing or two! We would be happy to share that knowledge!!
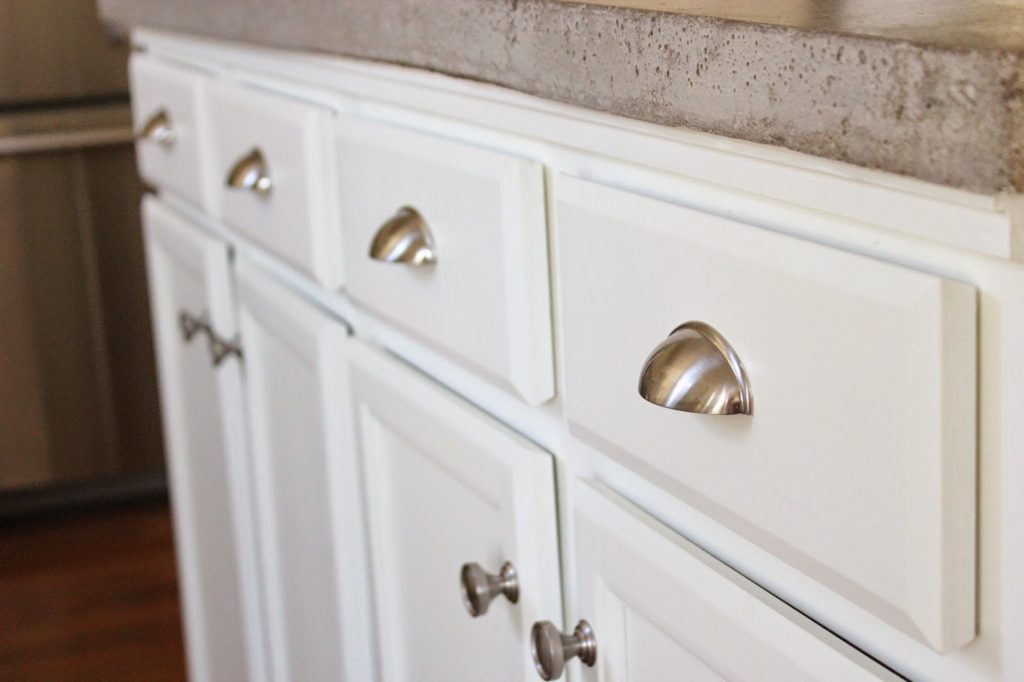
**All cabinet hardware was from Home Depot**
BE SURE AND ENTER OUR GIVEAWAY IF YOU HAVEN’T ALREADY!!! It ends today!!
