home tour

HOUSE TOUR: PLAYROOM

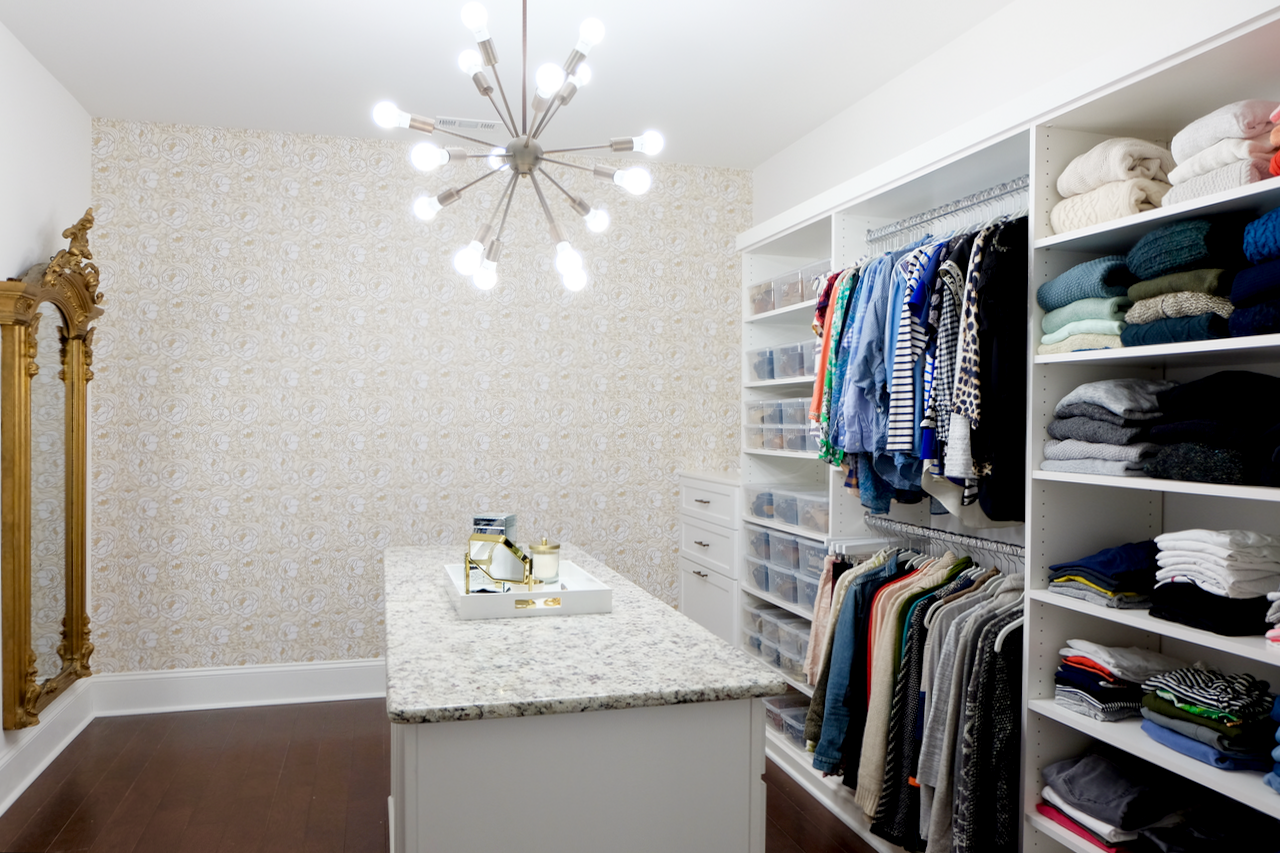
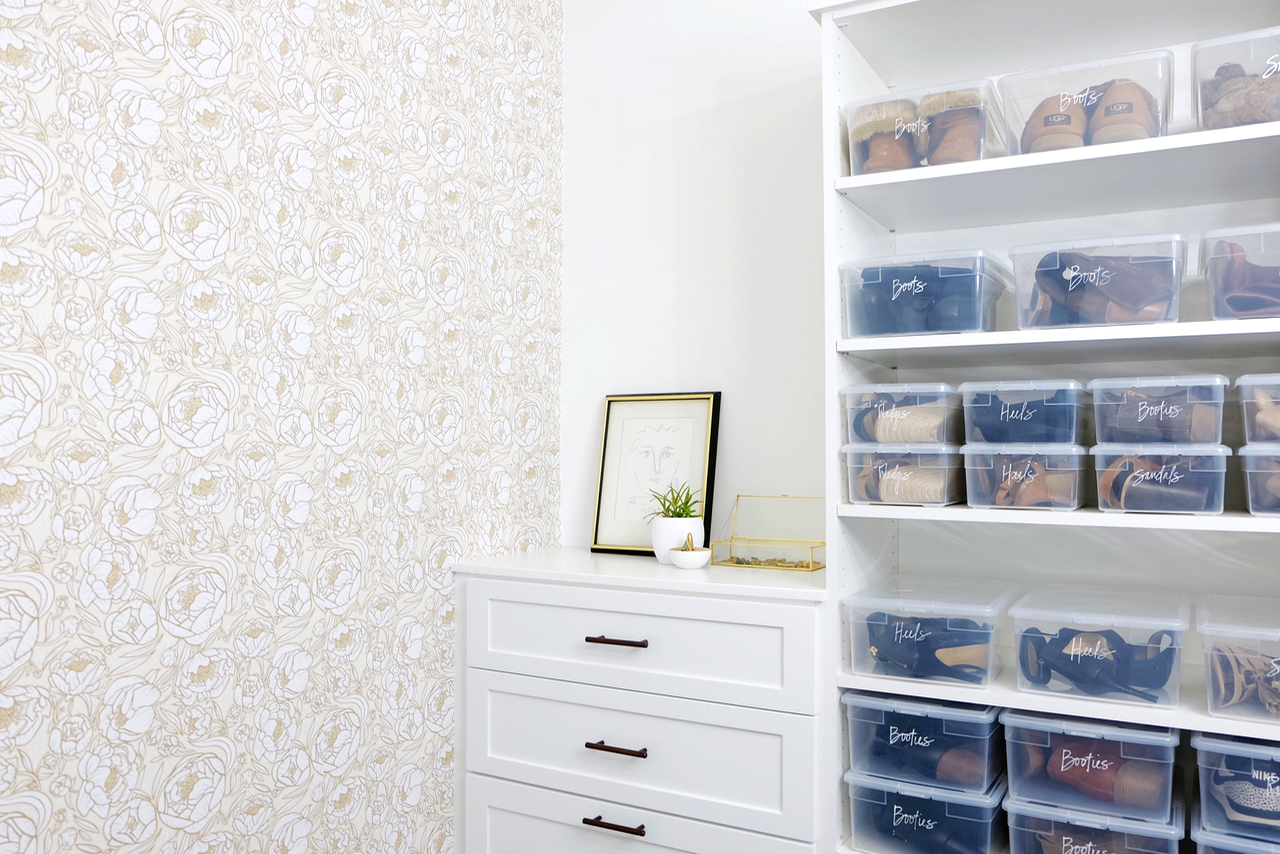
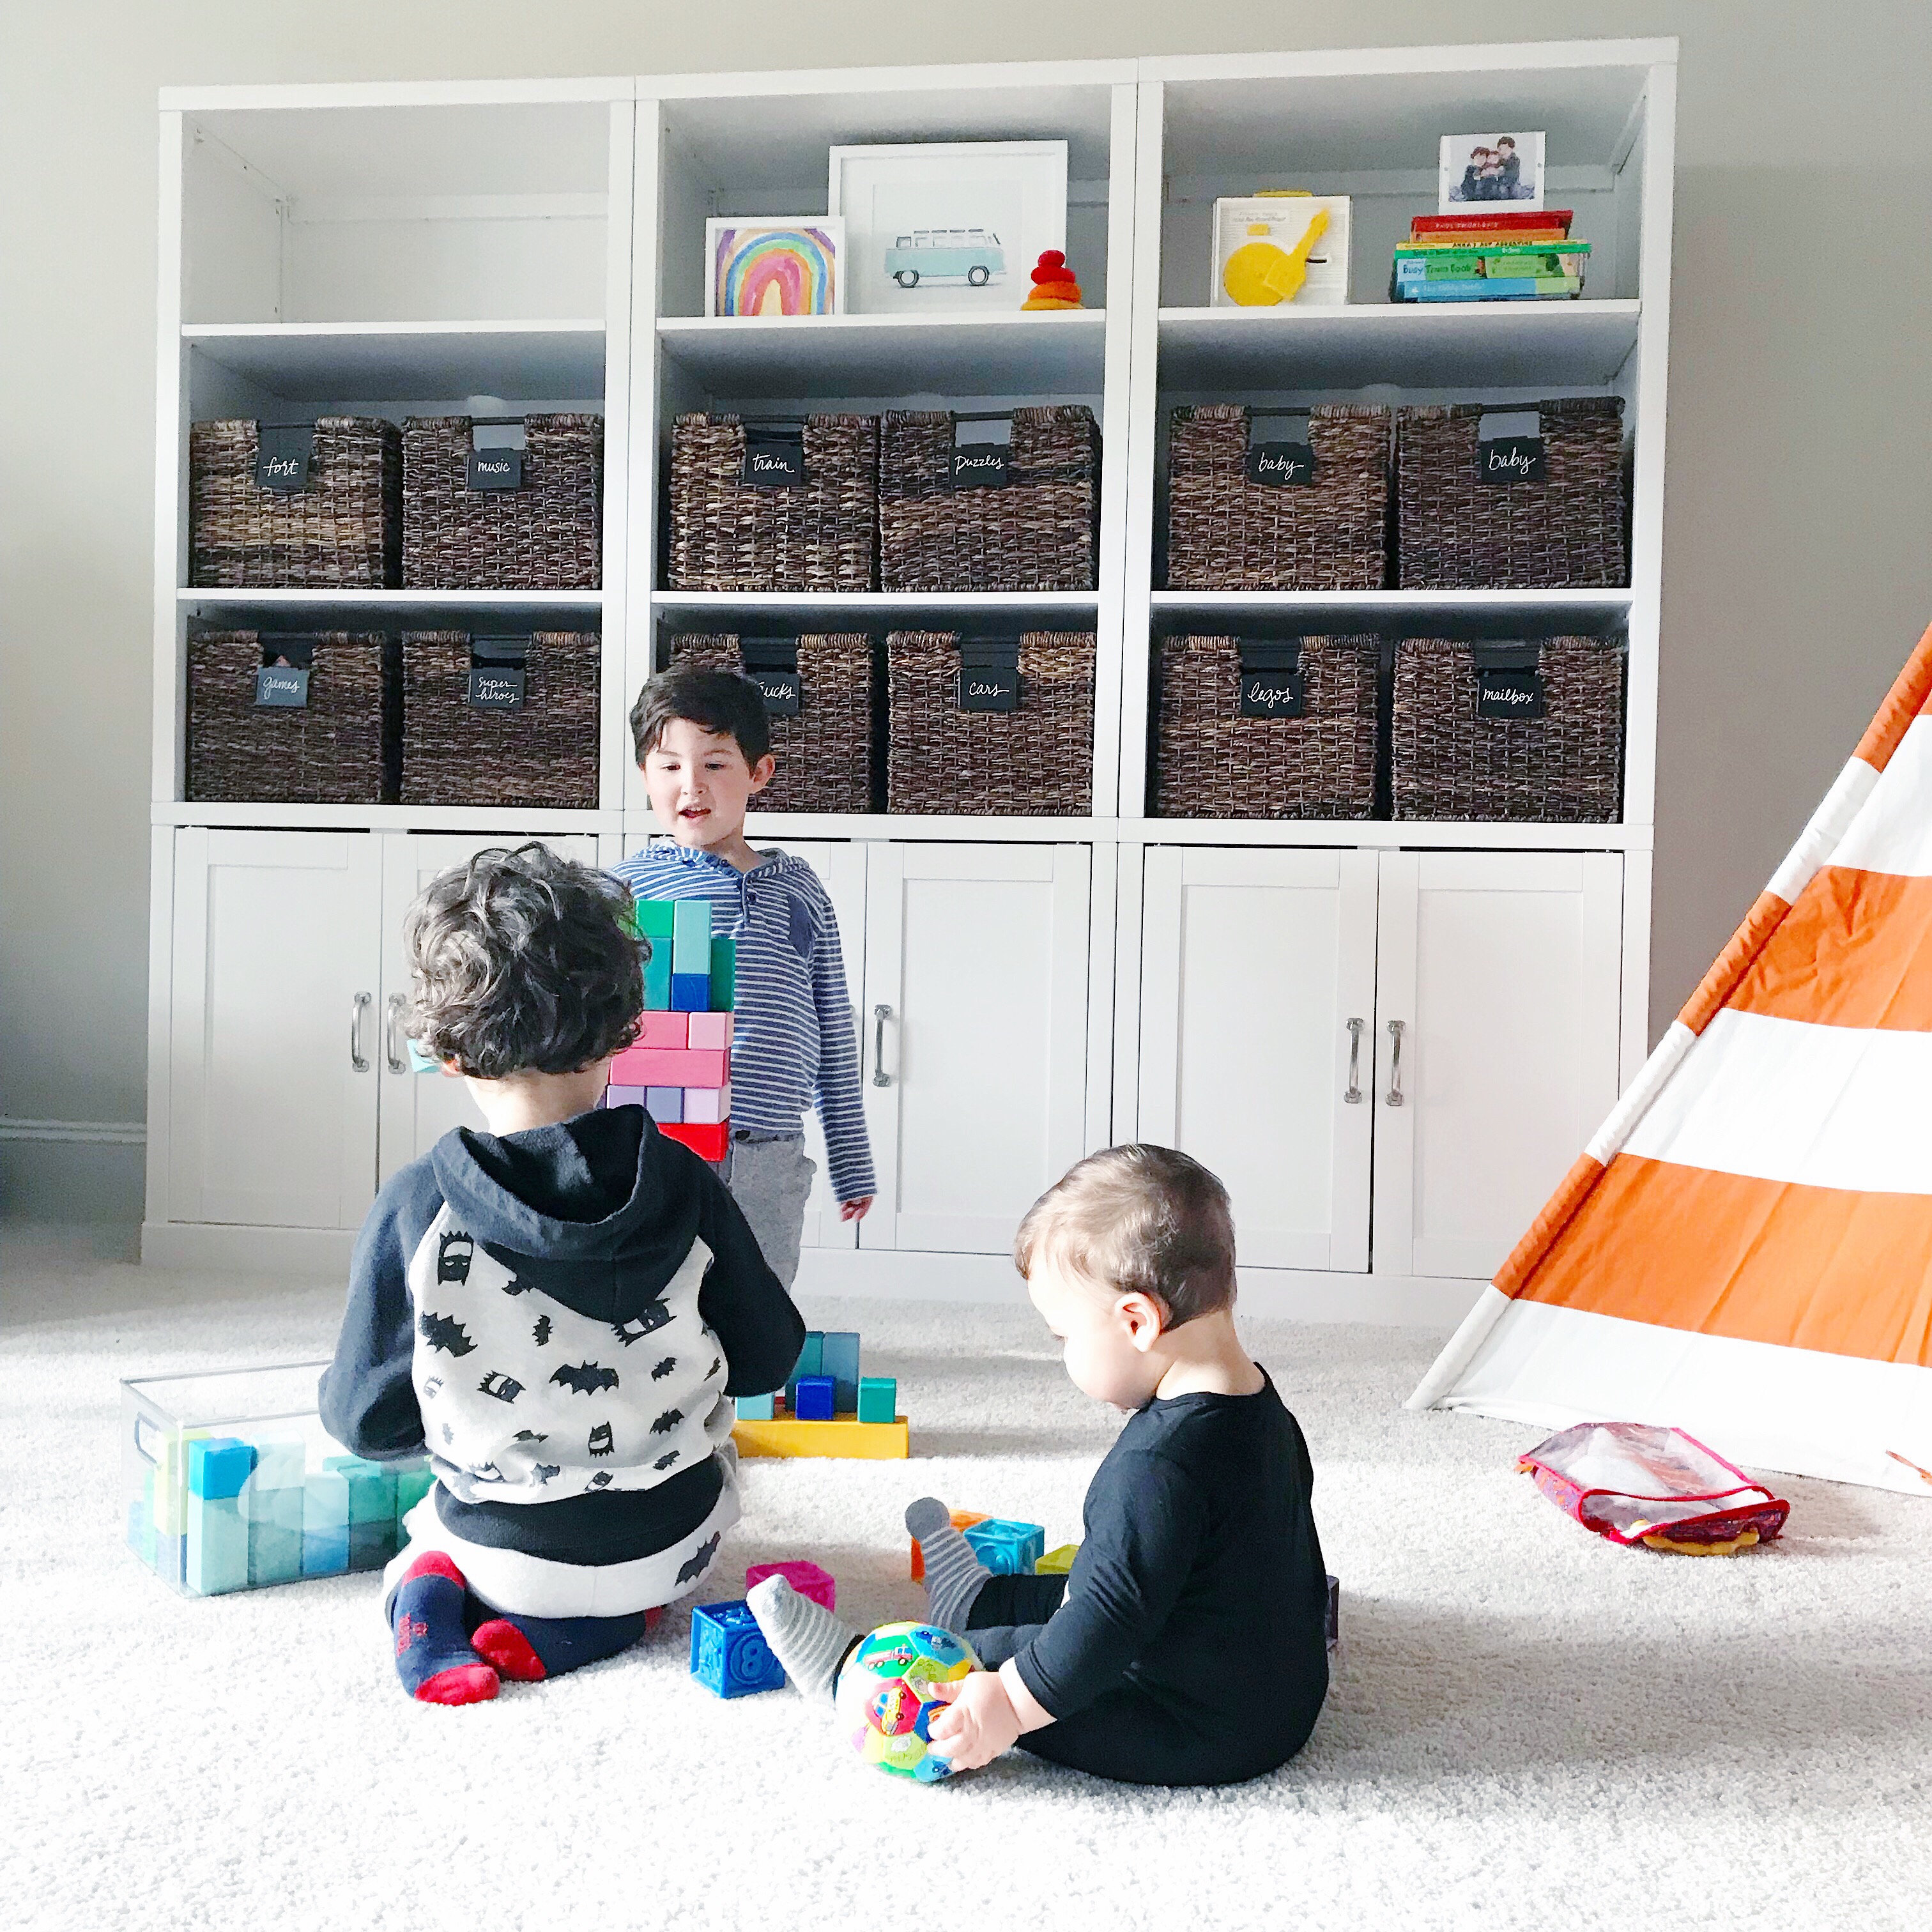
This has been a long time coming for me! Before I bought this system, ALL of these toys were just sitting on the floor. And by sitting on the floor, I mean strewn all over the floor which gave me an eye twitch. I don’t know if this is normal, but I dreaded going in there to play with the kids. It was so unorganized and stressed me out. Aesthetics are super important to me also. When something looks nice, it makes me feel nice. (Scroll down for source links)

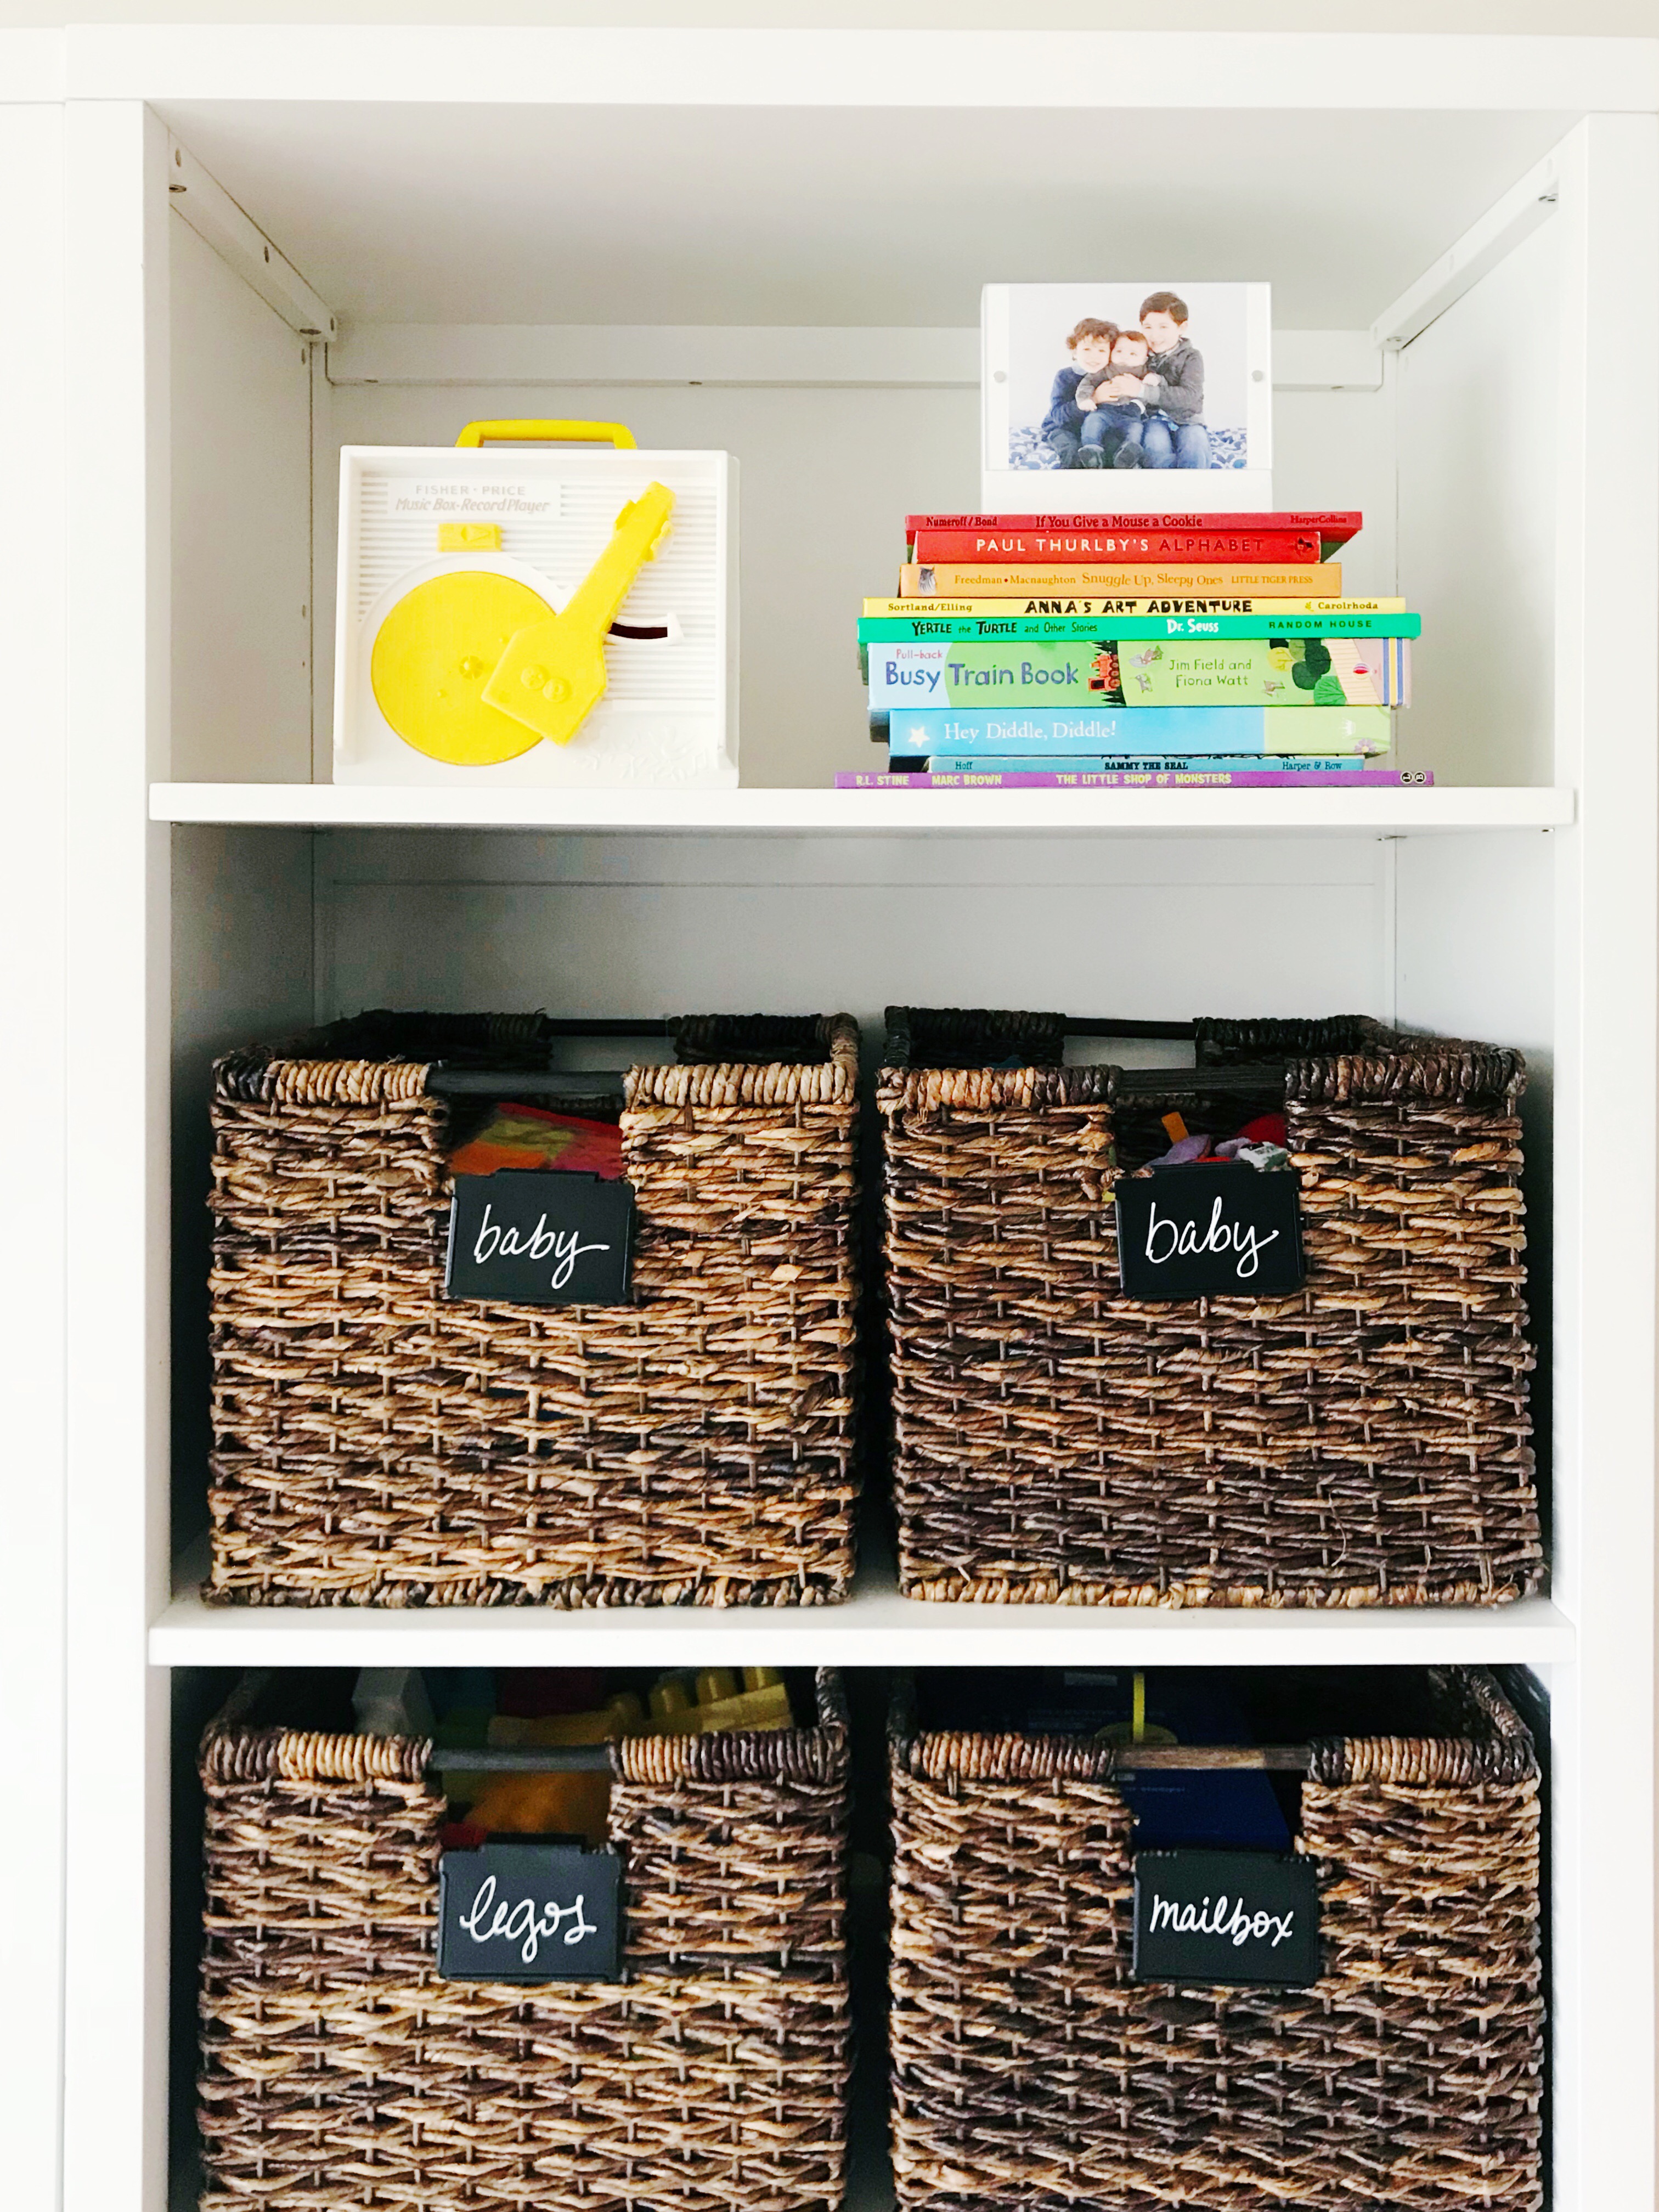
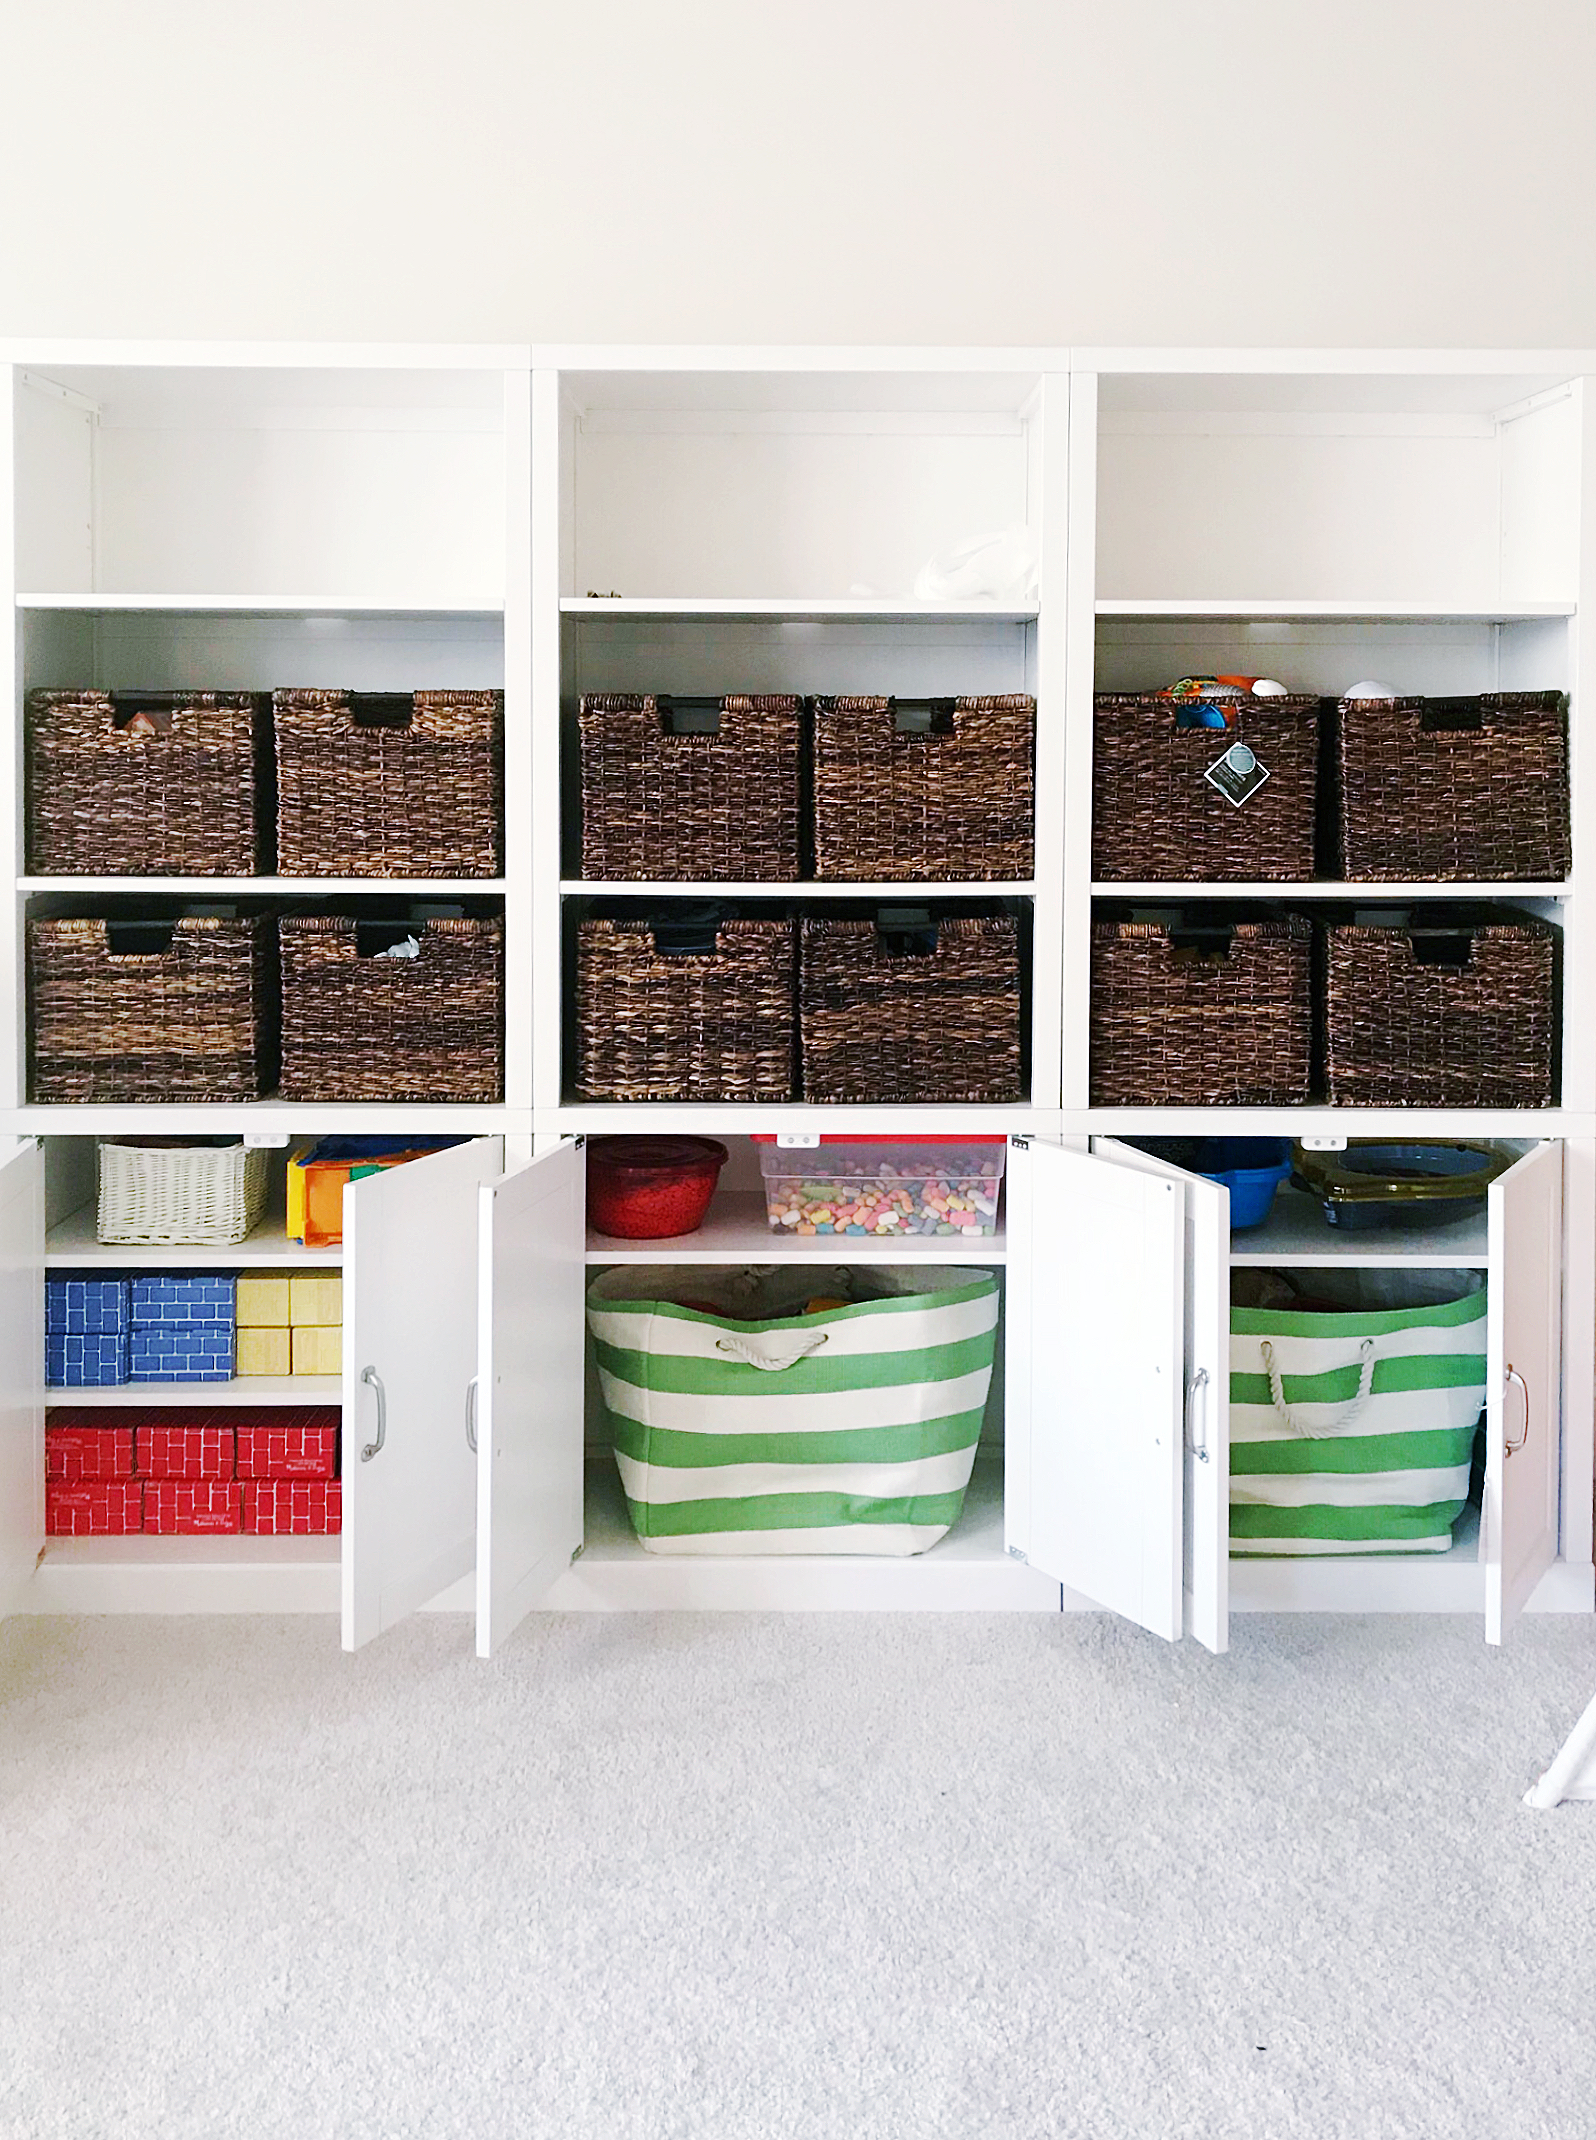
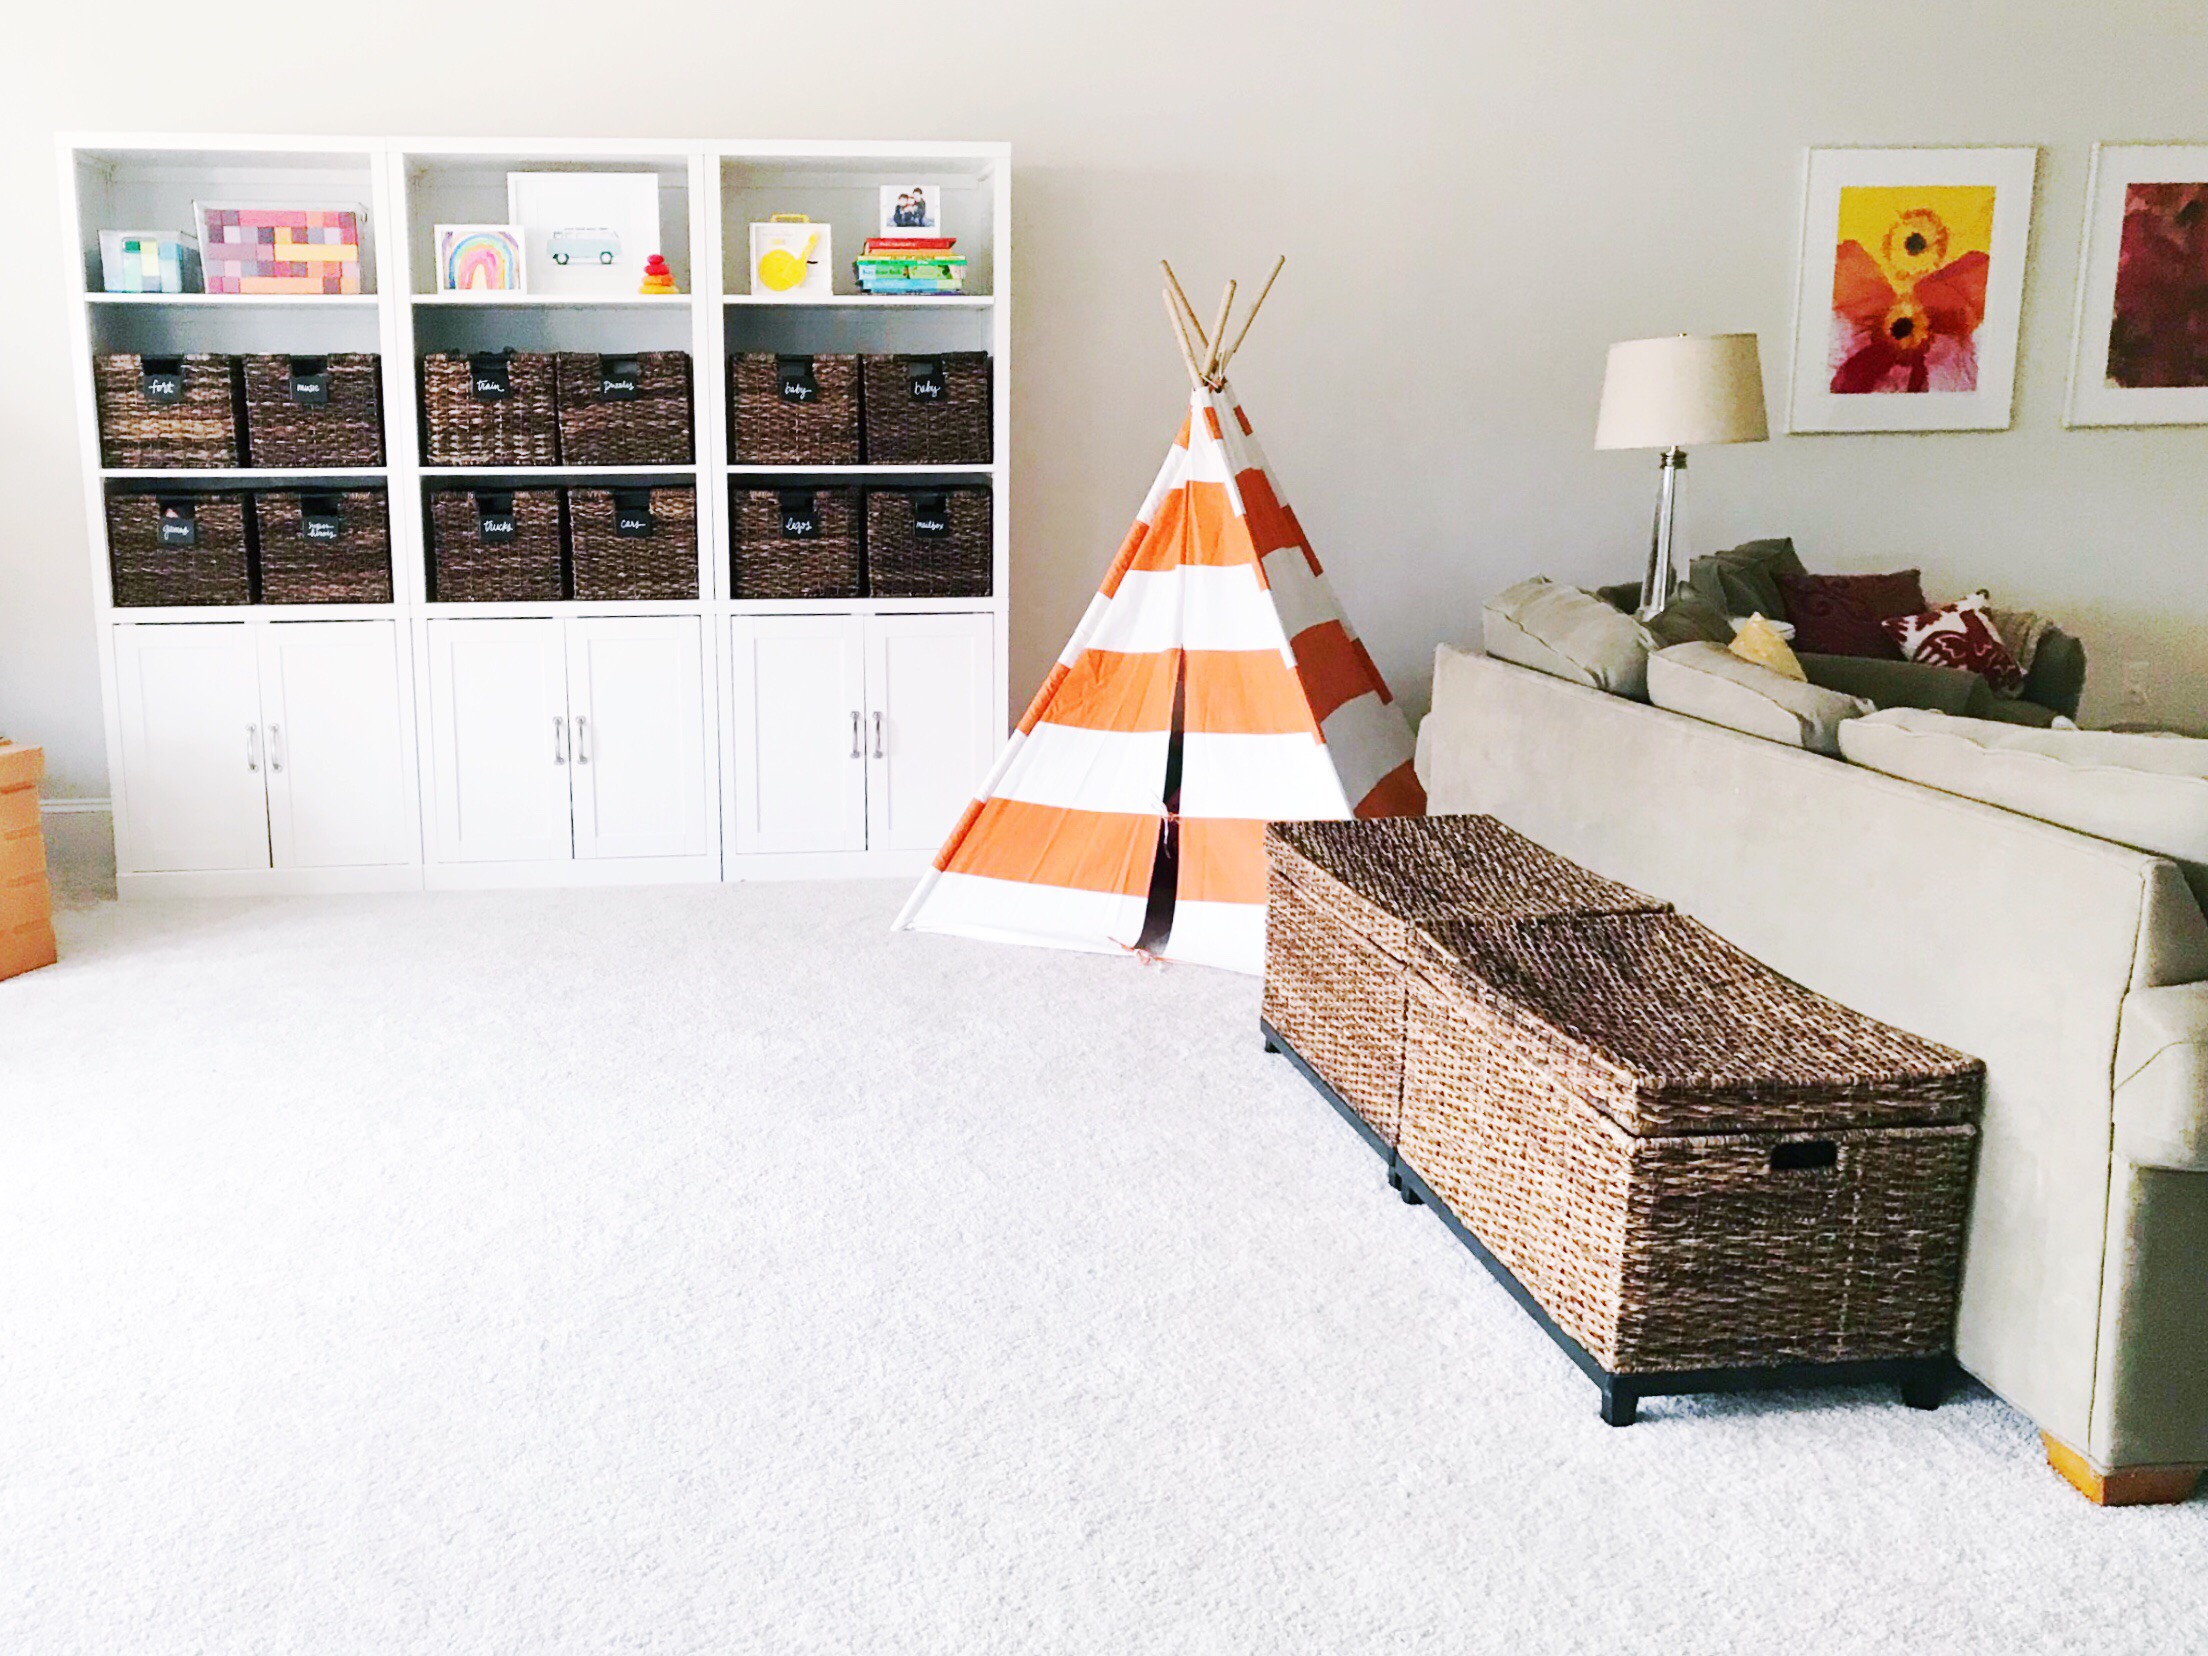
I took a page out of The Home Edit‘s book, and decided to organize the crap out of everything, label each basket nicely, and ROYGBIV the toys that are visible. Again… look pretty, feel pretty. Most everything magically fit in here after taking out toys the boys no longer play with! The bigger toys are in matching toy bins. Balls live in a round matching basket. I emptied out toys from their boxes and let them live in these baskets.

I’ve been eyeing Leslee Mitchell prints for a while and finally got my hands on one! They’re actually super inexpensive- you probably need at least one. I might go for a whole wall of the miniatures on another wall!

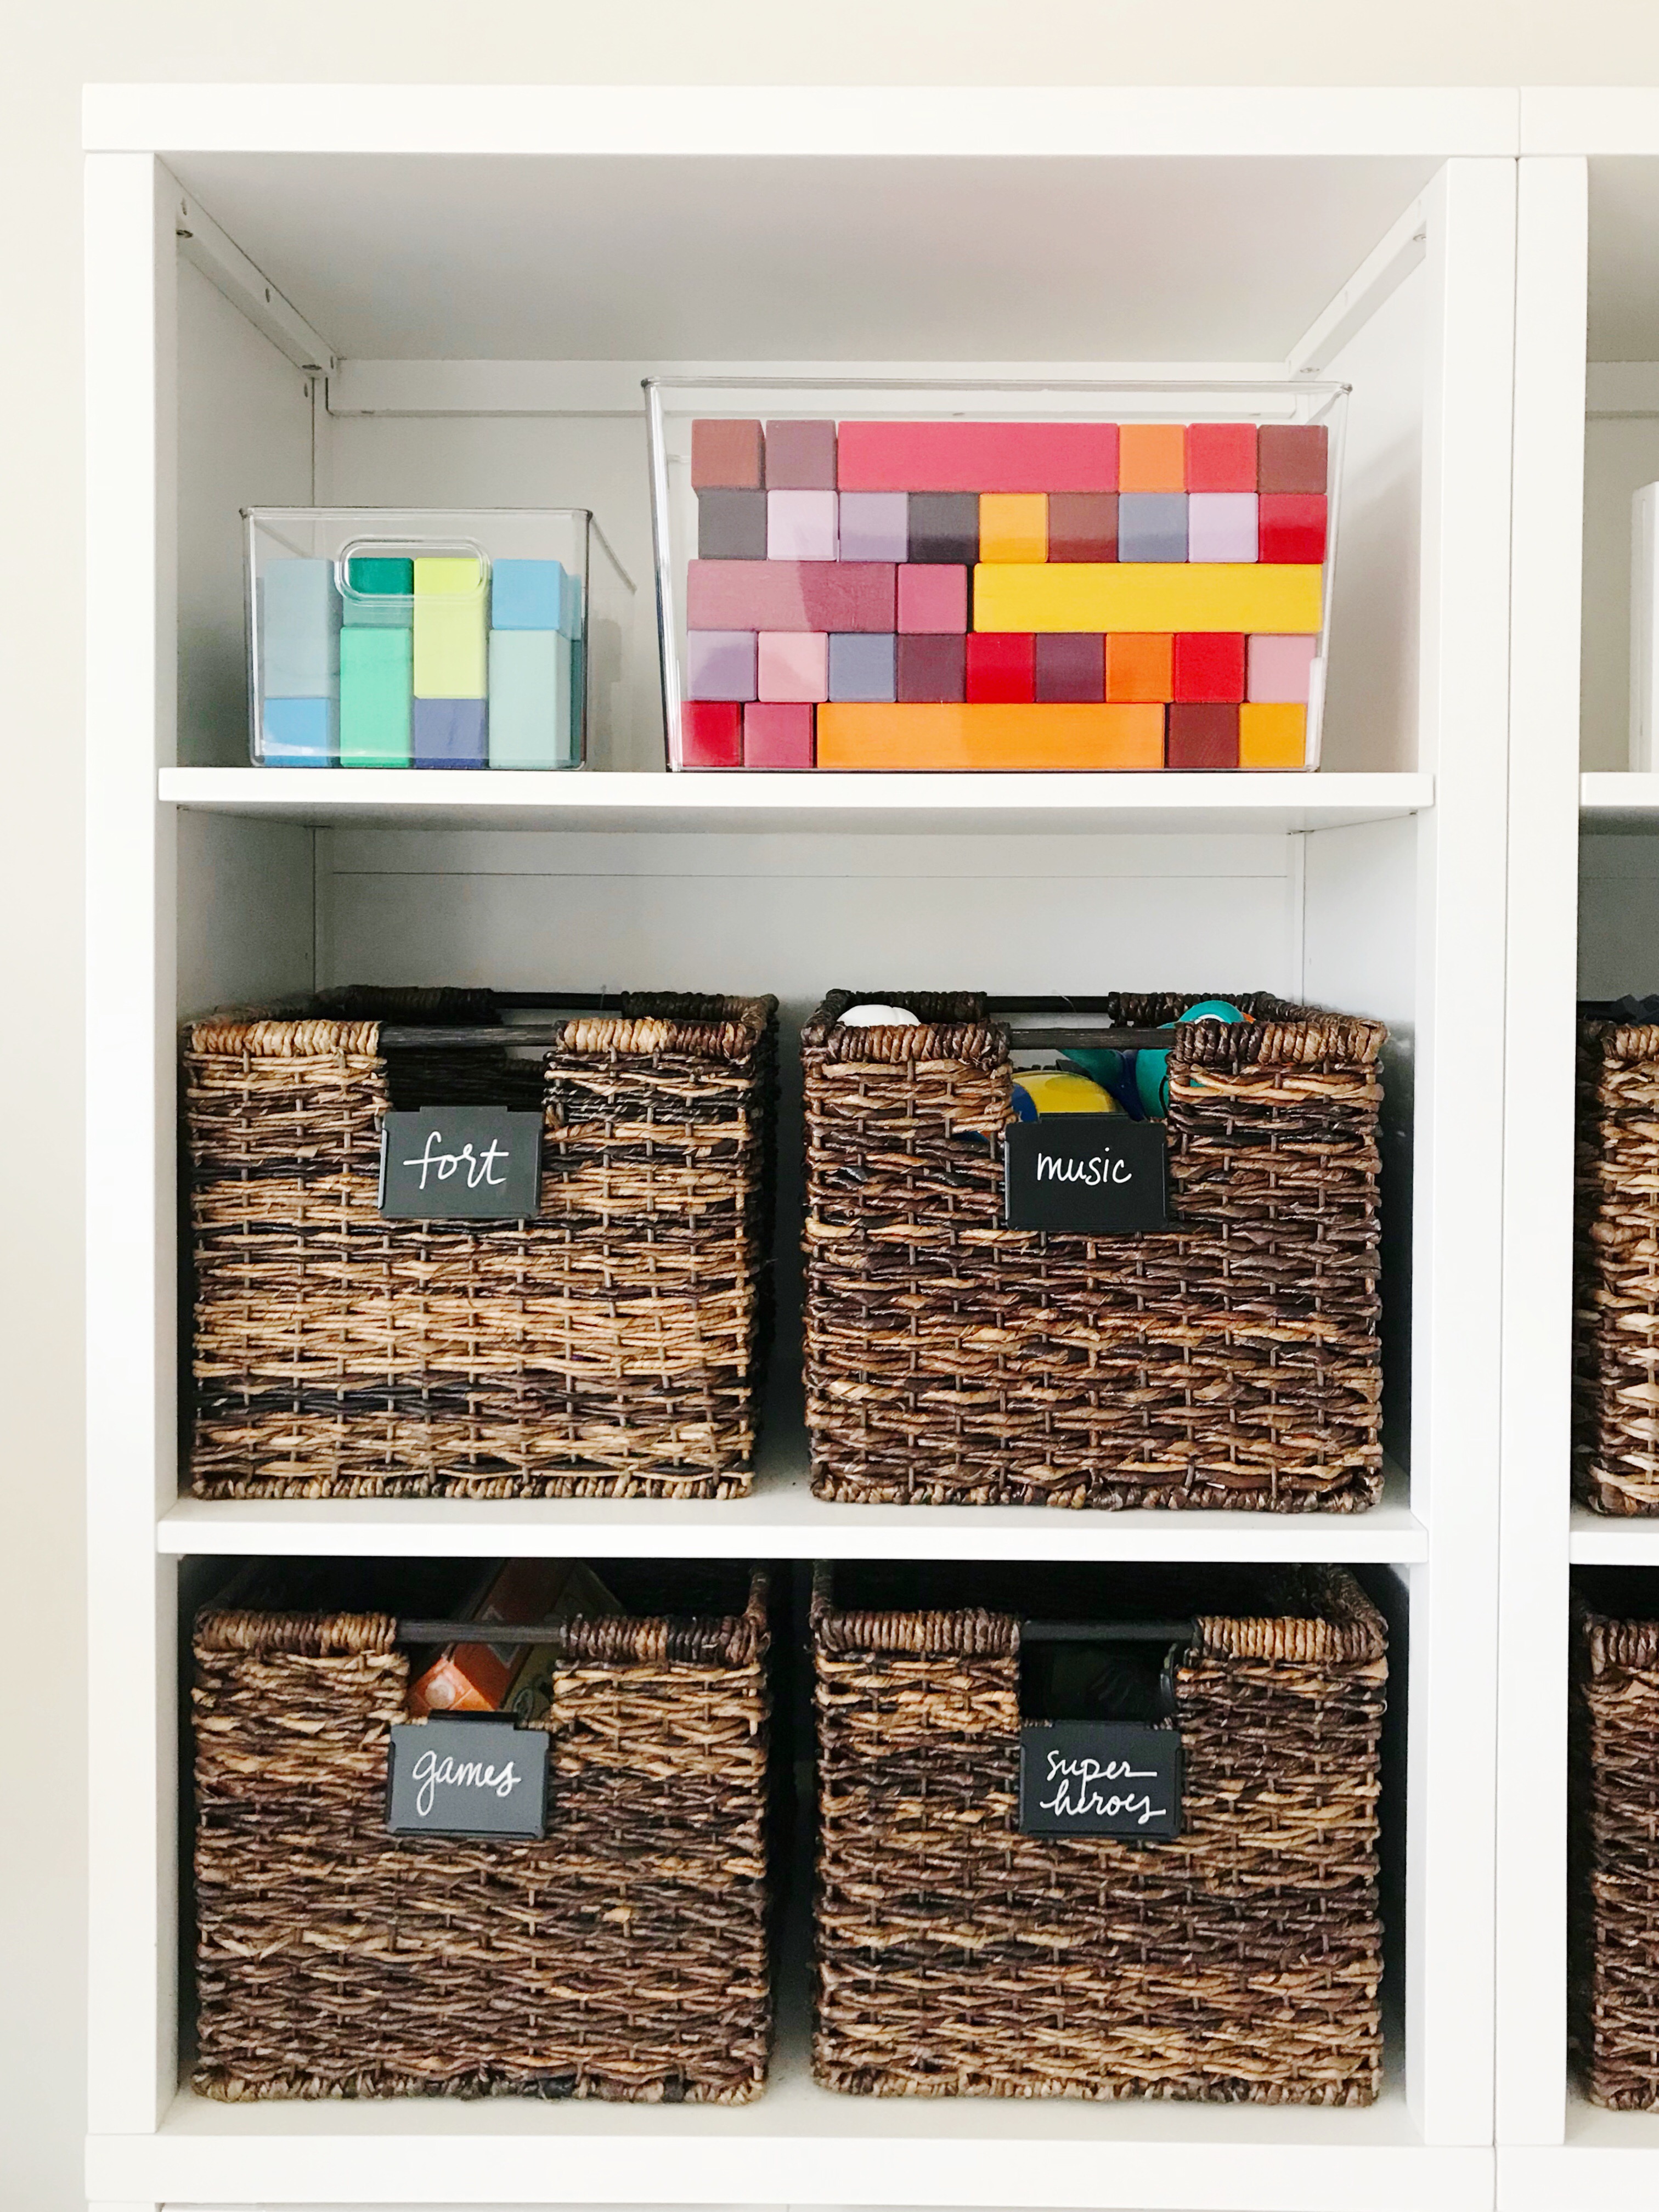
These rainbow blocks are not only beautful, but they’re so fun to play with! My boys are 7, 4, and 1, and all three are obsessed. I’m obsessed with putting them away in these clear bins by color! They’re definitely an investment toy… like I will save them for my grandchildren lol… but you get what you pay for! Gorgeous and functional.

Hope this helps you look pretty and feel pretty too!

xo

L


SOURCES:

Cabinet

Small baskets

Toy bins

Round basket

Clear bins

Bin clip labels

White pen for labels

Car artwork

Rainbow blocks

Stacking rocks

Teepee

Green and white storage bins (similar)

ROOM TOUR: LEAH’S MASTER CLOSET

My closet is finished!! I pretty much want to live the rest of my life in here, guys. Bye forever! The Home Edit organized and beautified my closet, nay, my life. I thought I had it organized really well before. Guess what? I didn’t. Joanna and Clea’s brains just work differently. They’ve revolutionized the business of home organizing, and I feel so fortunate to have them in my life! Do yourself a favor and check out their blog and instagram for daily inspiration. PS they’re also amazing human beings and friends, so there’s that. 
To top it all off, Chasing Paper so graciously gave us their gorgeous peel and stick wallpaper which gave the room a glamorous pop! I highly recommend Chasing Paper for an accent wall (though dreaming about papering my whole powder room in this print!!). Applying the paper was easy peasy. Sure, you have to work carefully, but the paper is VERY forgiving. If you mess up, simply peel off the panel and just reapply it. I did this multiple times with the same panel, and it 100% held up. Once you get the hang of it, it goes pretty quickly. It’s awesome if you’re in a rental or if you just change your mind a lot! It peels right off and doesn’t damage the paint underneath.
All photos by The Home Edit.
Scroll down for links!
 This antique mirror was Jeffrey’s Grandmother’s. It was the inspiration for all of the gold details.
The shoe wall, you guys, the shoe wall! The Home Edit labeled each box simply with “heels” “sandals” etc. Because if they had labeled by brand, the whole closet would say “Target”.
I found THIS jewelry box at Target to display my Nana’s charm bracelet from high school. Special little details!
That large drawer on the bottom is actually a tilt out laundry hamper! Yes please.
Joanna and Clea found out that I was a jewelry hoarder. They slimmed everything down and organized the crap out of me. Drawer organization on their favorites page.
 I love that they found my Nana’s old glasses and displayed them alongside all of my keepsake/antique jewelry.
Organizing shirts by color = instant style
Jeffrey gets one little corner…. ha! He has zero clothes! I need to work on this.
So so so happy with my closet! Thank you The Home Edit and Chasing Paper!!
LINKS IN PINK
Organization and styling: The Home Edit
Wallpaper: Chasing Paper
Closet installation: Closets by Design
Chandelier: Joss and Main
Jewelry displays: Target
Clothing hangers: Joy Mangano
Storage solutions: The Home Edit Favorites
Mirror: Antique
Painters: CertaPro
All photos by The Home Edit
xo
– L

KITCHEN REDO : BEFORE & AFTER

Yes, the very first bit of imagery you see in this post was how my kitchen looked at one time in my life. Embarrassing, but REAL. LIFE. I must say, the mess alone makes the “after” shot look pretty impressive. Haha!
Ok guys!! I feel like I teased you with a kitchen redo post many months ago. Theeeeeen, I got pregnant, L&L shop has bloomed so beautifully (and busily), and life in general brought us to a lot of roadblocks during this process. However, it is FINALLY done!!!
We started this process as a bit of a challenge! Could we actually do OUR OWN kitchen? on a budget? And paint our own cabinets? Would we totally screw them up? One day, we went and picked out cabinet paint colors just to keep for when we decided to actually got the guts decided to paint the first coat. Little did we know, it would be sooner than later. I think we went that week to buy our first gallon of primer. To be honest, there were MANY times that we wanted to quit during this process, but the good news is that…. you just can’t. Paying someone to finish what we started was just NOT an option.
Our best investment while doing this kitchen was buying a paint sprayer. After lots of research by my hubby, we decided on this one. It didn’t break the bank and it worked beautifully. It really makes your cabinets look like they are professionally done. My biggest tip to anyone taking on a project like this is to be patient, and go through all of the steps…. properly!! Anytime we got antsy and wanted to knock out two coats of paint in one night vs. one…. we hit the brakes and gave ourselves a pep talk. We just really didn’t want anything to set us back! I plan on posting a tutorial on how WE painted our cabinets soon. I promise!!
Ok, enough talk…. here is what our kitchen looks like now!
 ^^DIY cafe curtains HERE. ^^
^^ Barstools from Target, aaaaand they are on sale now! Also, we ended up just paneling out our island. We wanted it to look a little more custom, but didn’t want to rebuild an entire island. We were happy with the way it came out! ^^
^^ Pendant lighting from Ikea ^^

^^ Also, to stress ourselves the freak out cut costs, we opted for a concrete countertop for the kitchen island. We followed this tutorial. Let’s just pretend ours went just as smoothly as this tutorial makes it seem. Oooooook…. moving on….
 ^^ We found our subway tile online… Ebay to be exact! Home Depot had a $2/per tile price tag. No thanks! We ended up getting ours for roughly .50 per tile. We were able to do our entire kitchen for $100. ^^
 ^^ The marble and glass tile was a last minute call. We had purchased it at Habitat for Hummanity Restore months before we started this process. We thought we would use it in a bathroom or something. It costed us $1/sq ft., and it was the perfect focal piece we needed for behind the oven.
^^ You may have seen our open shelf styling post HERE. This still stands to be my favorite part of our kitchen redo. We simply bought corbels from Home Depot, stained them, and painted some slabs of plywood that my husband cut to size. Super simple DIY! ^^
Please comment and email us with any questions that you may need answered regarding a kitchen redo. We are no pros, but through trial and error, have learned a thing or two! We would be happy to share that knowledge!!
**All cabinet hardware was from Home Depot**
BE SURE AND ENTER OUR GIVEAWAY IF YOU HAVEN’T ALREADY!!! It ends today!!