ikea

ROOM TOUR: LIVING ROOM

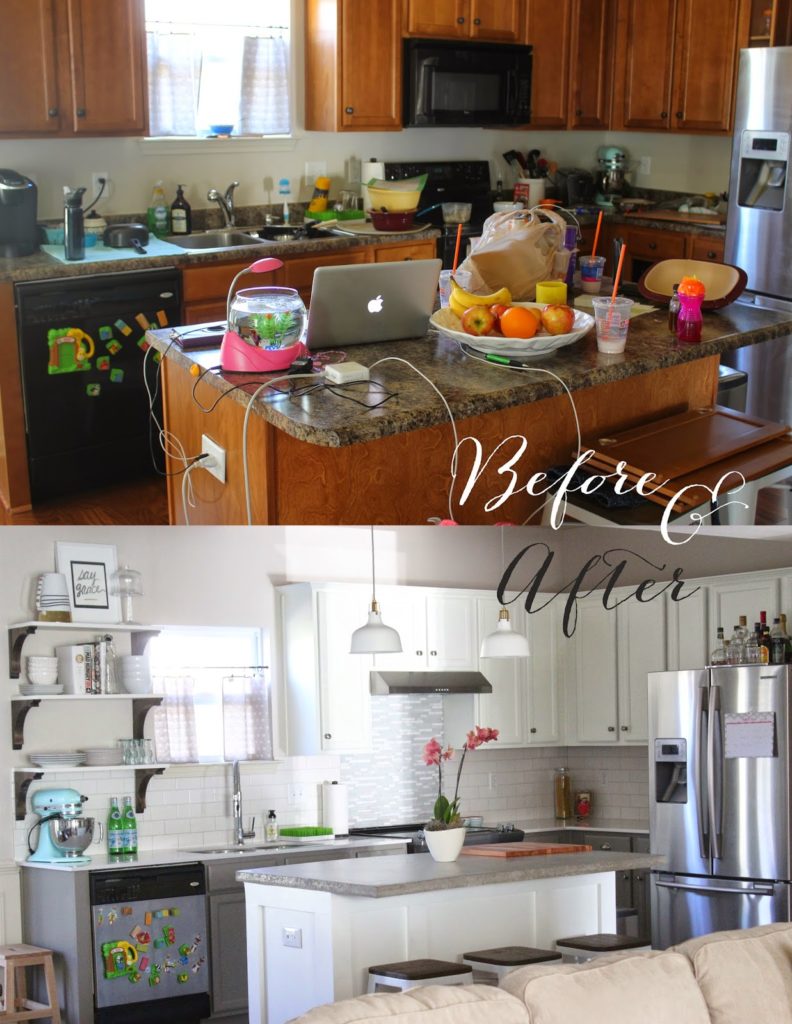
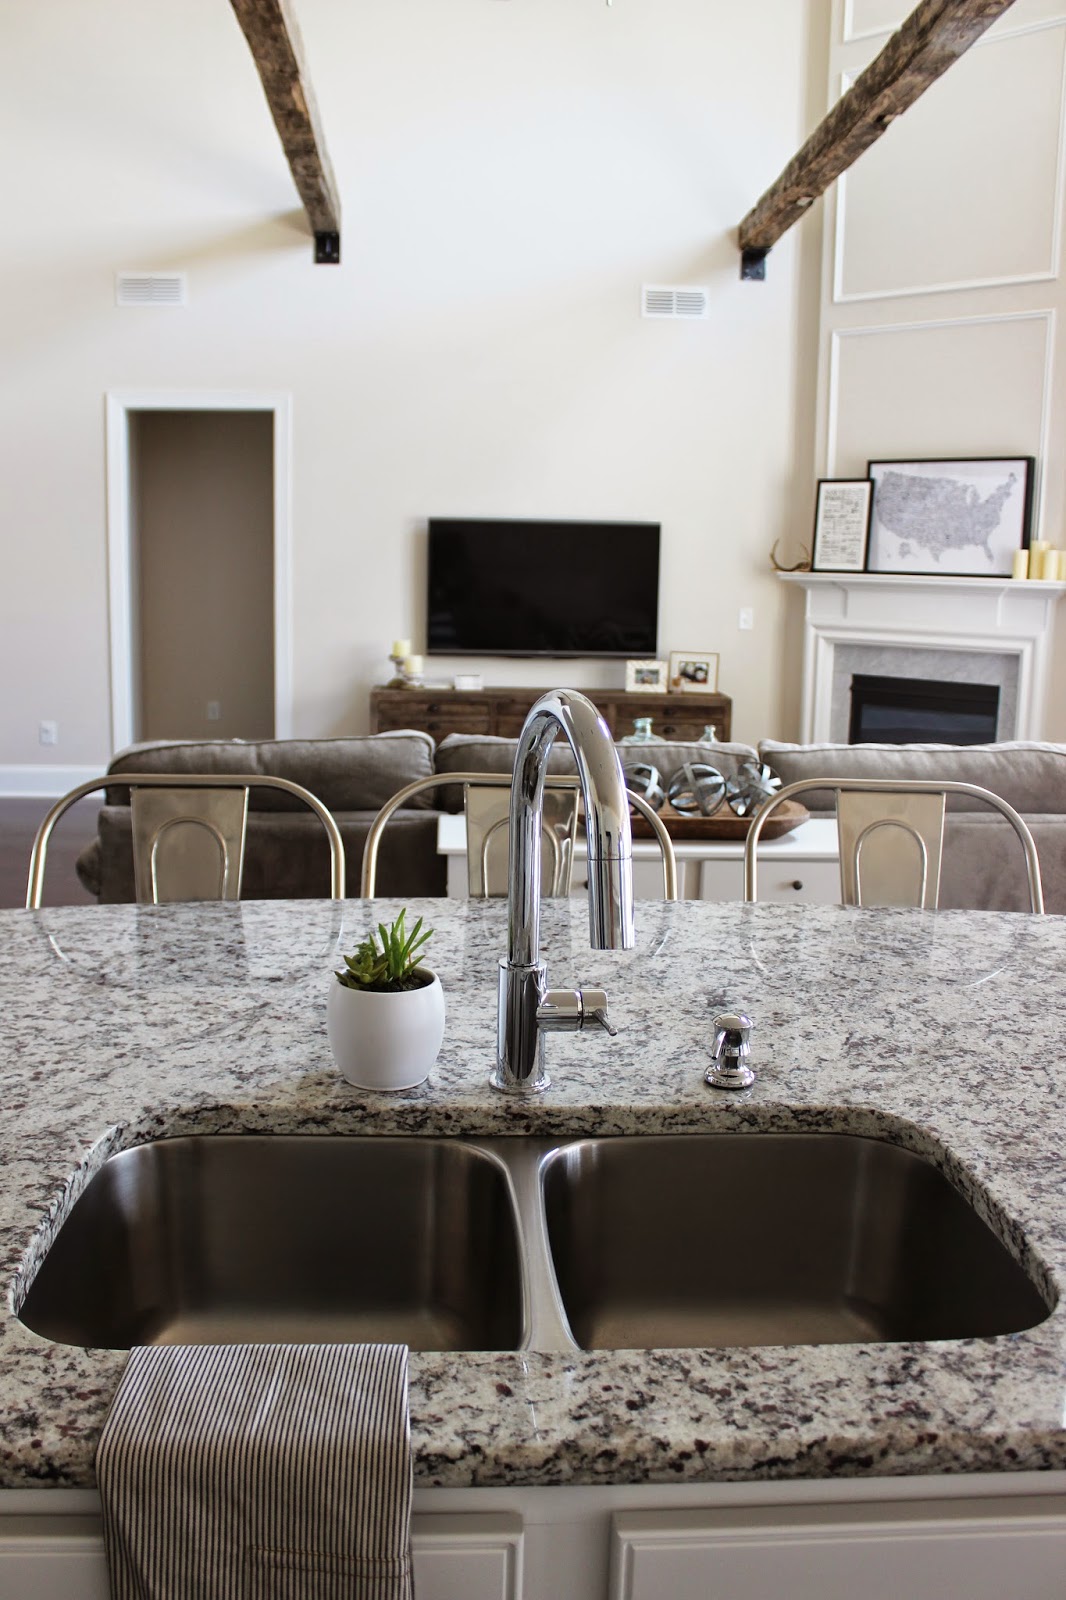
I had to capture the one moment in time my house was clean by photographing it! This is my living room which opens up to the kitchen (not clean enough to photograph). It’s not particularly “styled” with design pieces and plants (I wish) since my 1.5 year old would destroy it, but it’s just enough so it feels like home. 
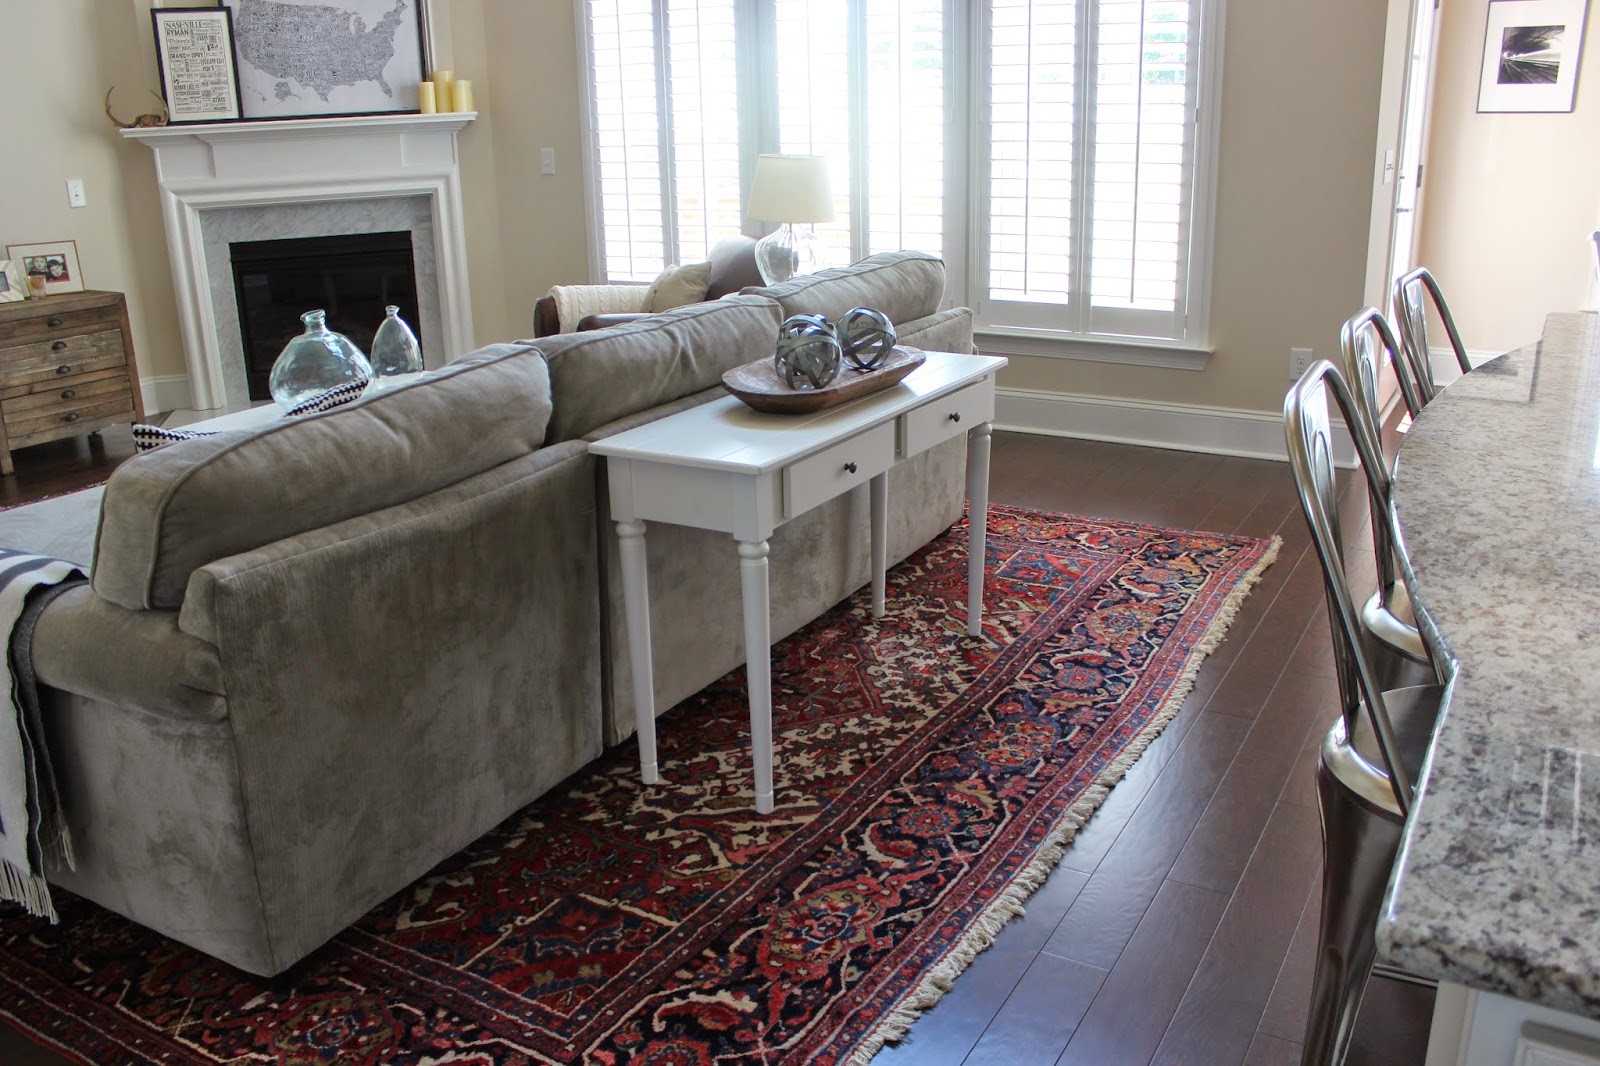
We love this room for two main reasons: the rug and the beams! The oriental rug was passed down to us from Jeffrey’s Nanaw (she truly was a fabulously glamorous lady), and I love every little detail on there. It makes the room warm and cozy, and we love thinking of Nanaw each time we look at it! 
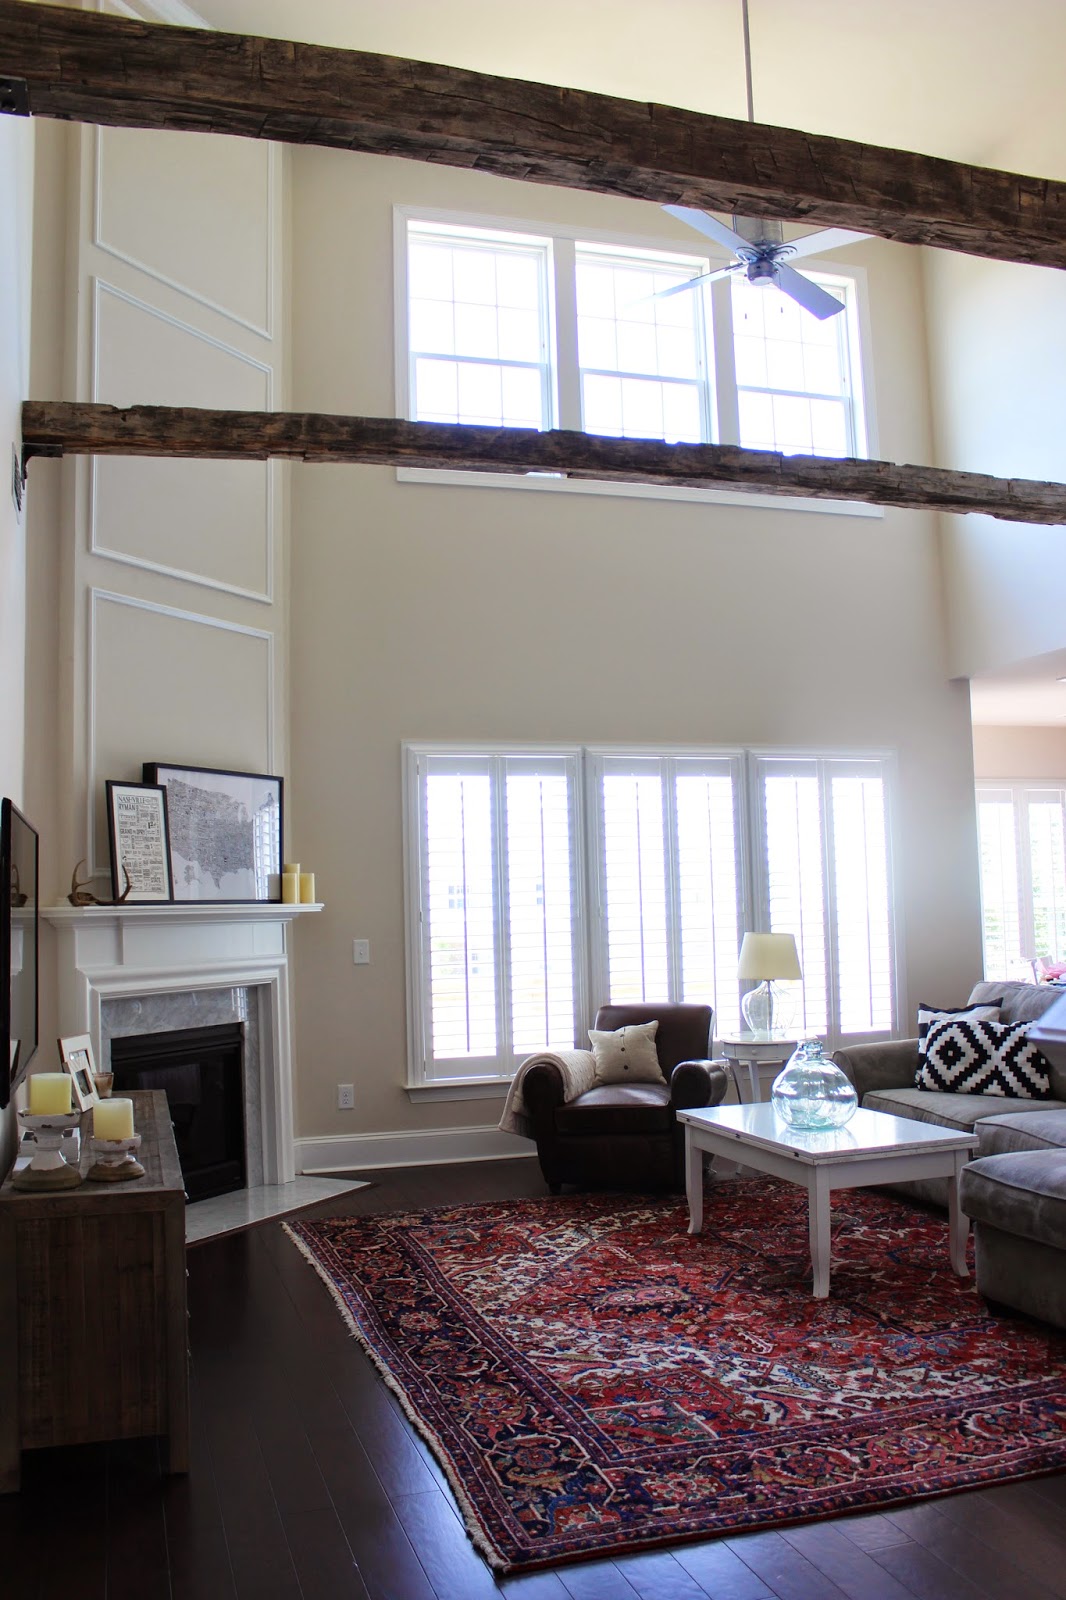
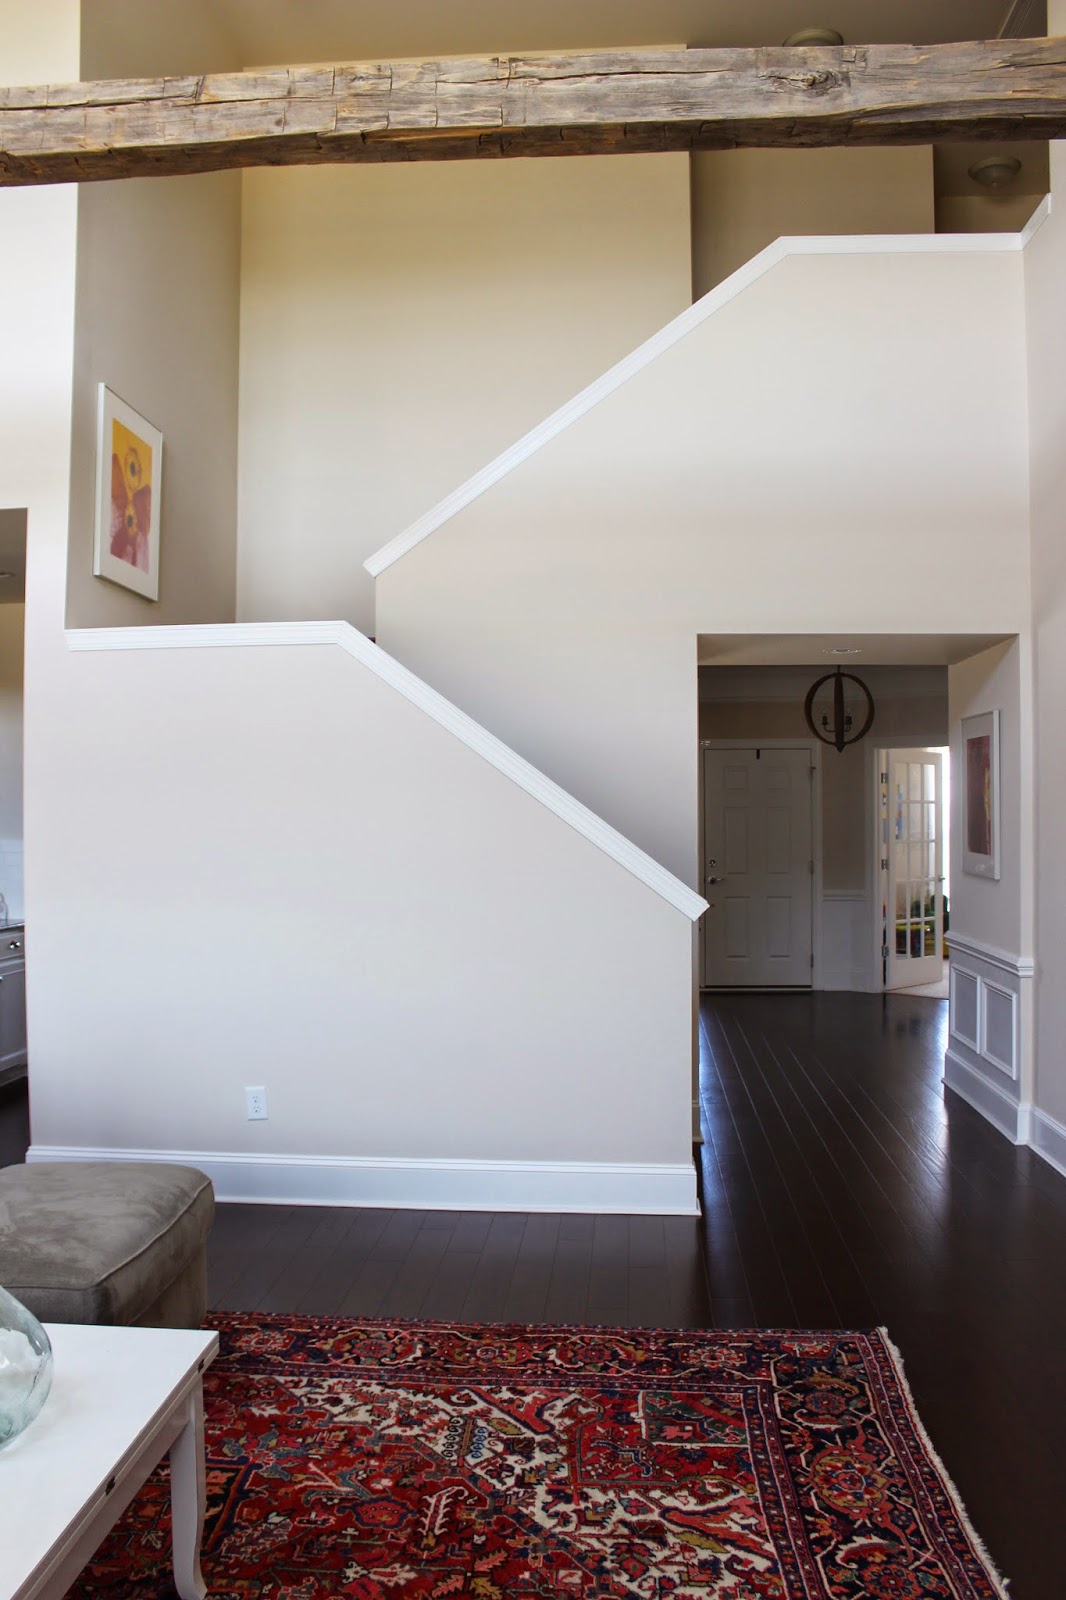
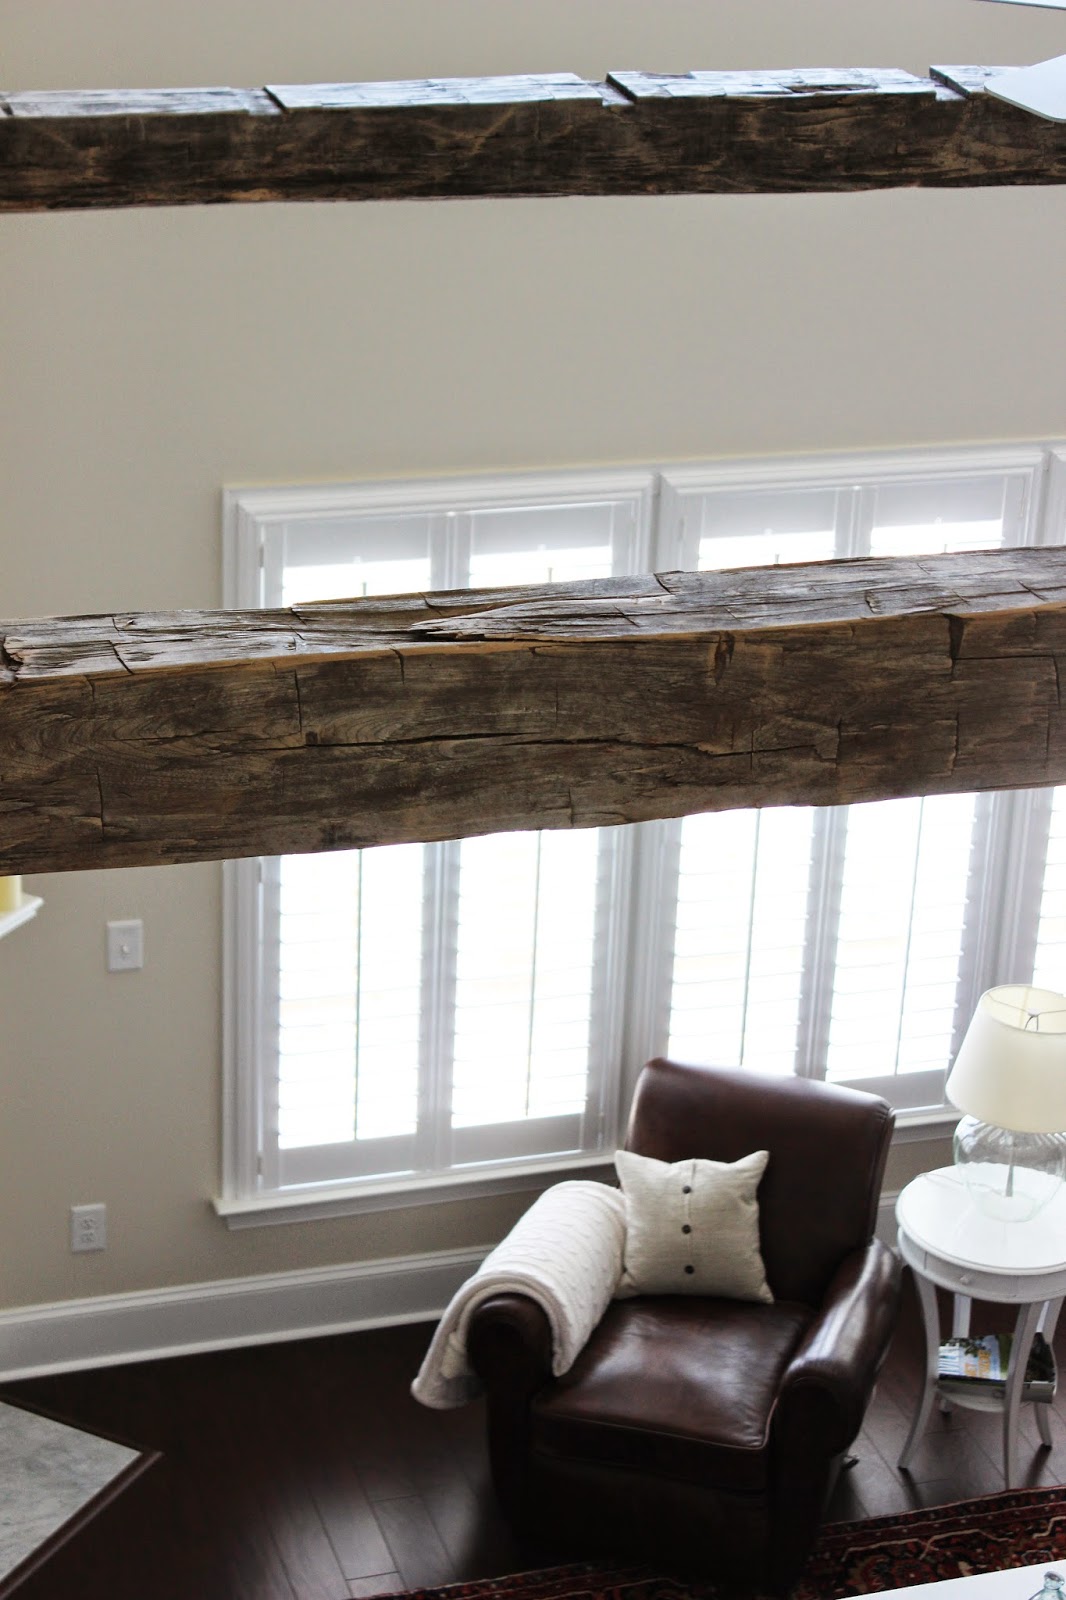
This room, being a double story felt a little too open and cold, so we added beams a couple months ago. It’s changed the whole feel of the house to us- we are obsessed! The Tenneessee Barn Project found these 100-year-old hand hewn beams in an old barn. We love all the beautiful inconsistencies in these beams and the iron supports that hold them up. Industrial chic at it’s finest! I still have plans for a laundry room makeover and a new kitchen table from them eventually!
Thanks for taking a peak! Click links below for sources.
-L
SOURCES:
Fan – Lumens
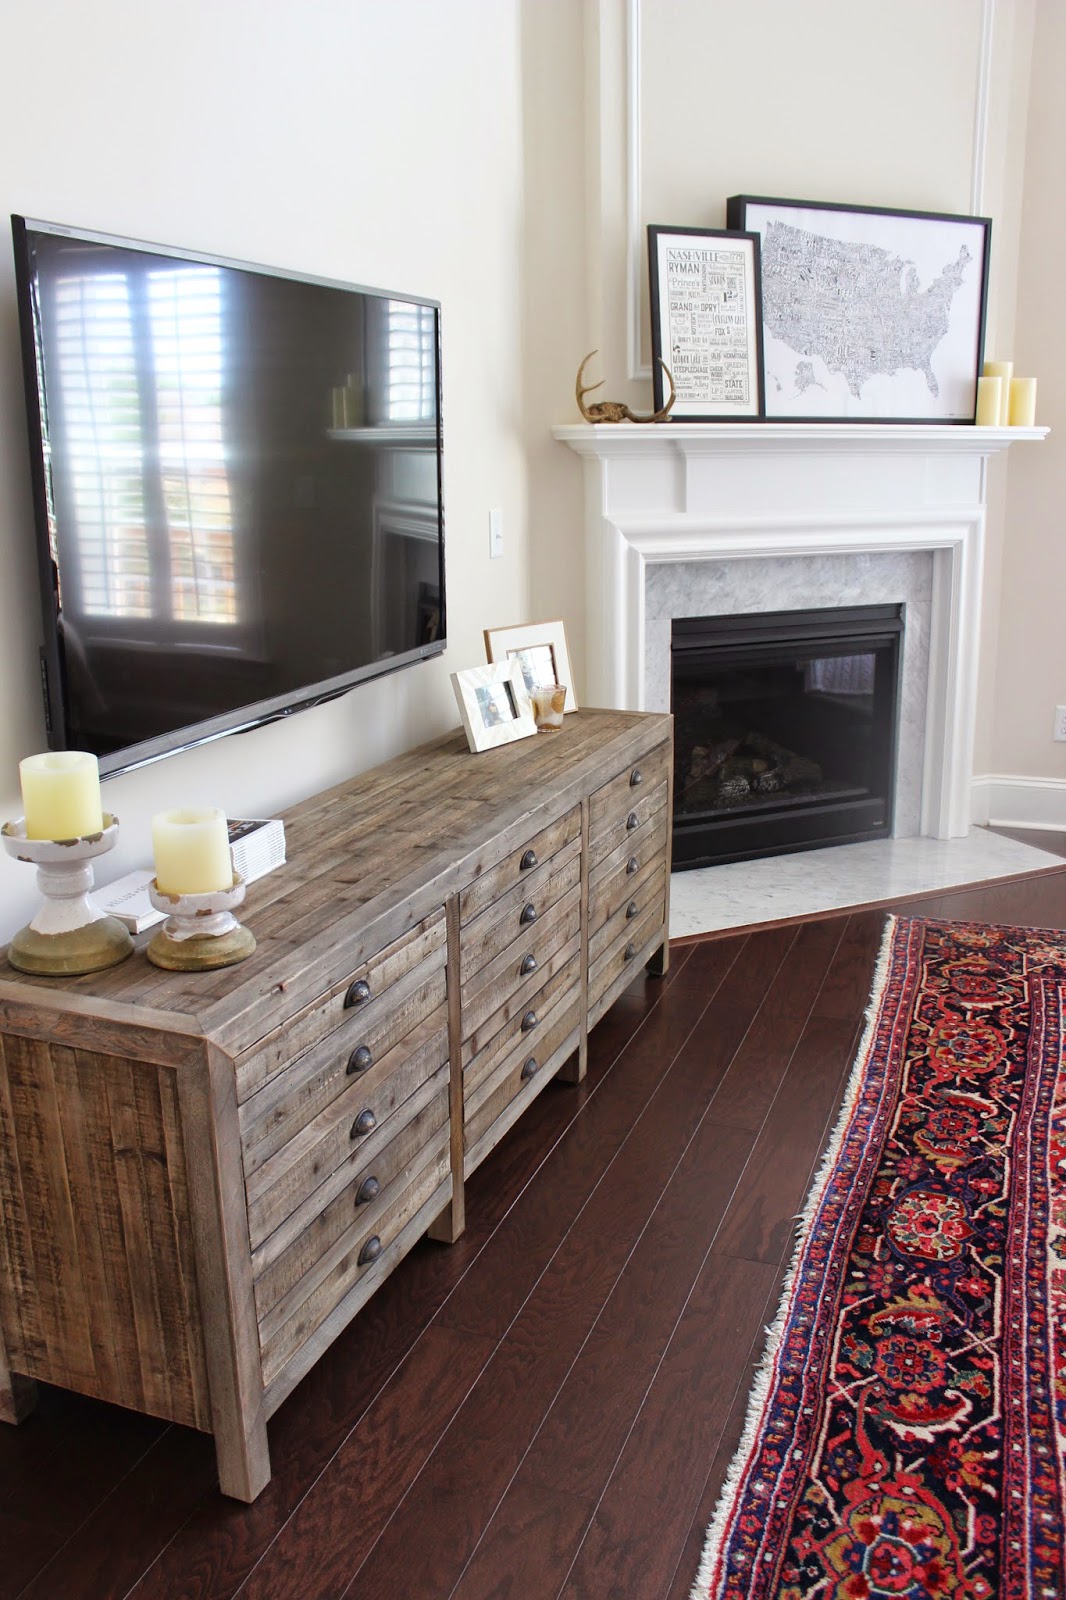
TV console – Restoration Hardware
Leather club chair – Restoration Hardware
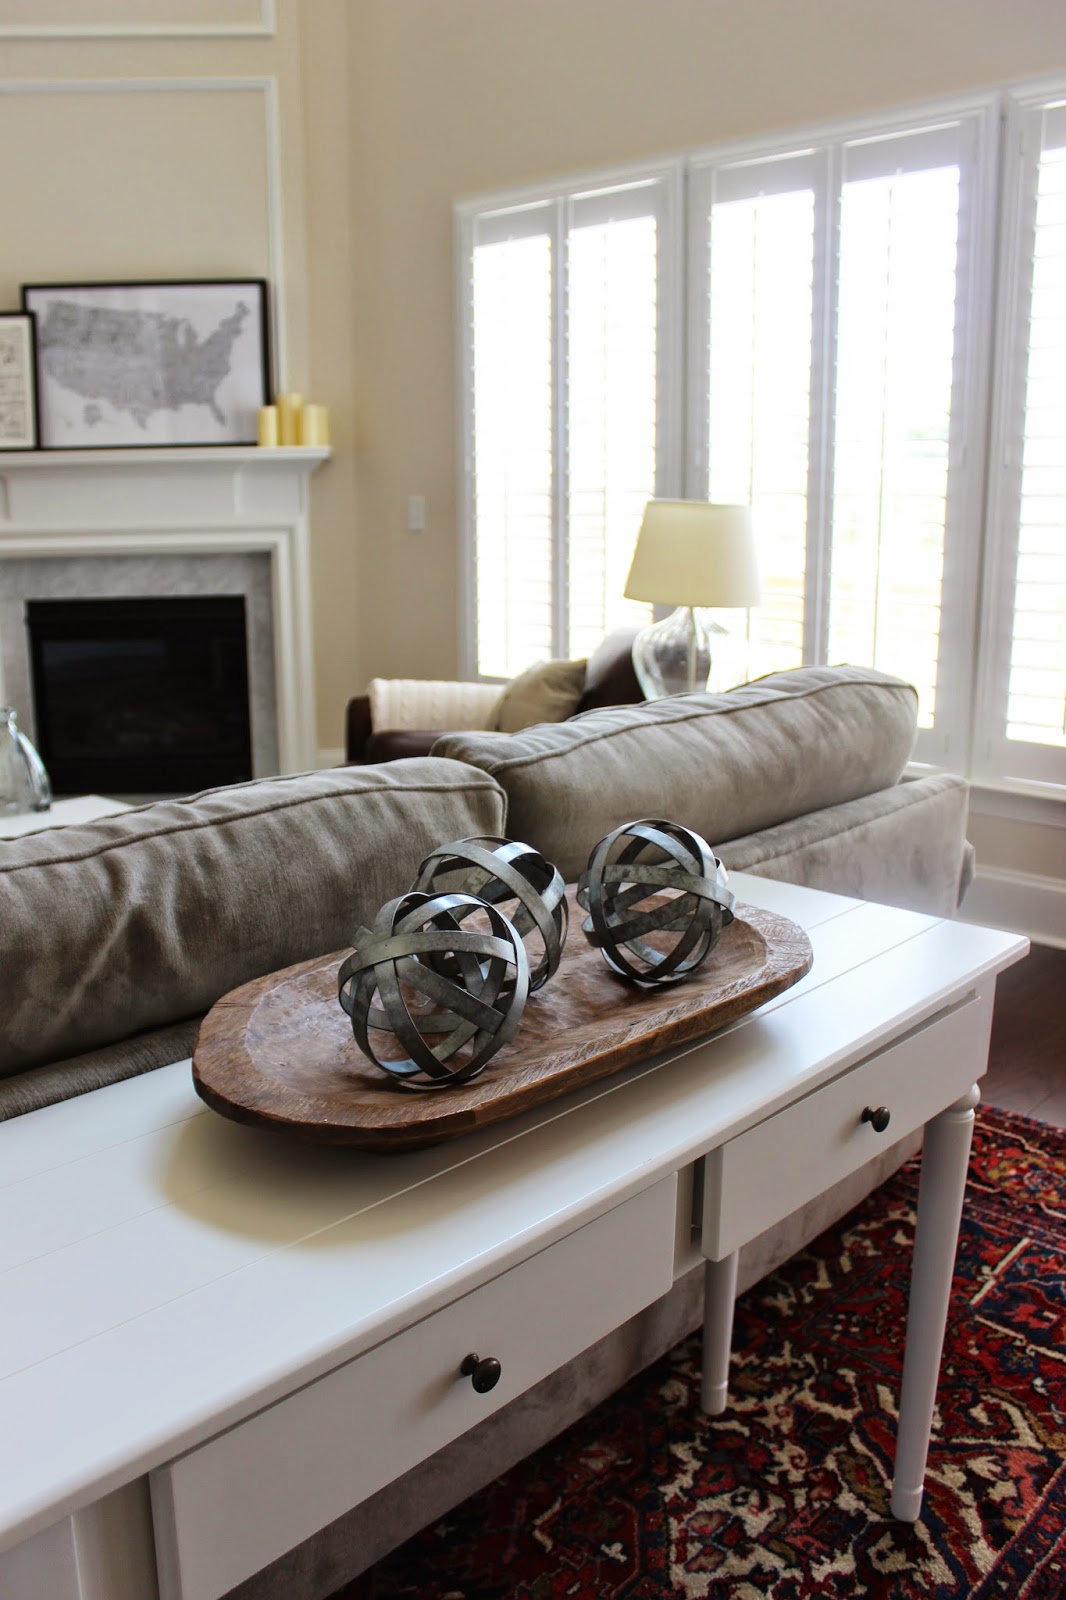
Coffee table – Crate & Barrel
Glass jugs – Haven
Couch – Havertys
All throw pillows – Ikea
Blanket – Jonathan Adler
Glass lamp – Ikea
USA map print – Alison Hardcastle
Nashville print – Rock Paper Scissors
Buffalo print – Animal Print Shop
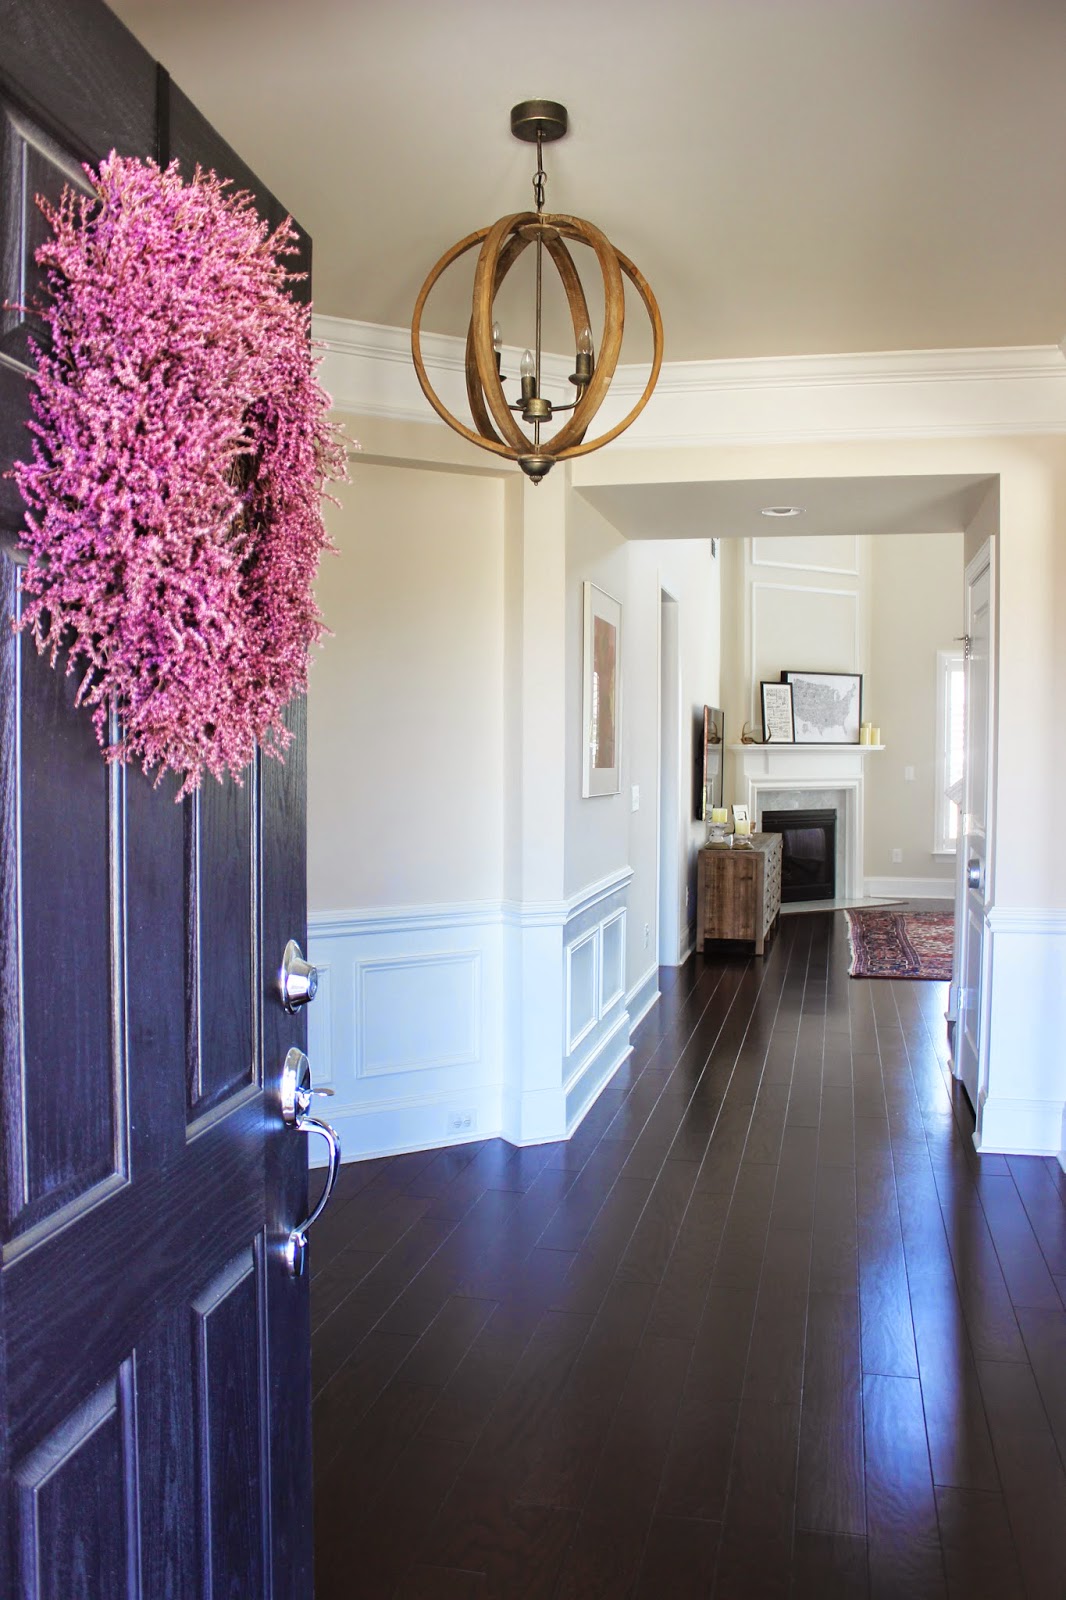
Entry way light fixture – Joss & Main
Door wreath – Target
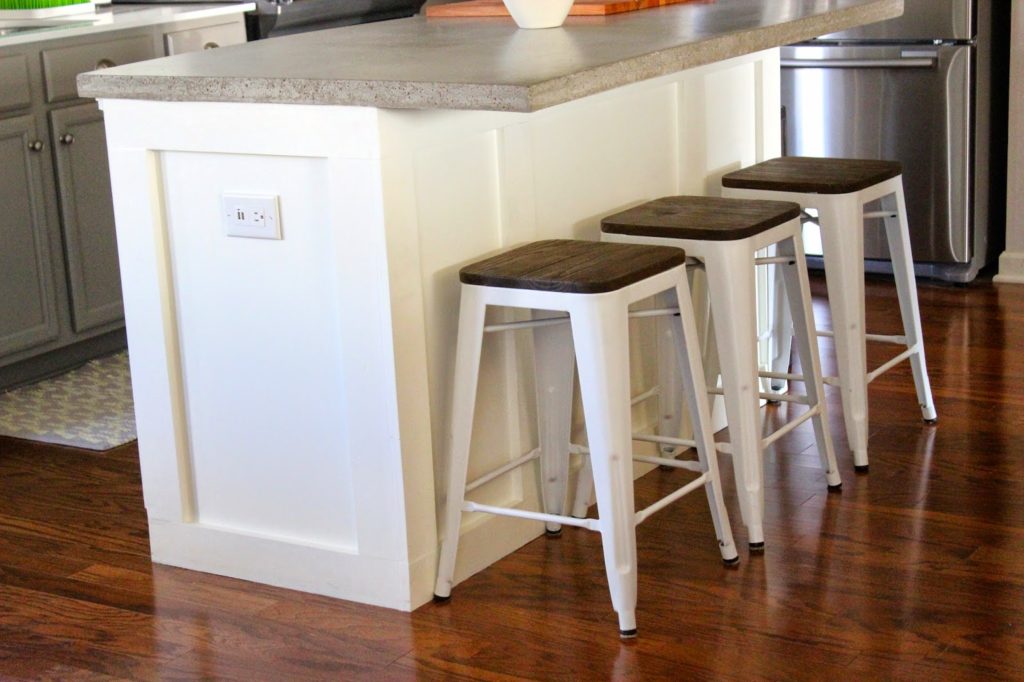
Kitchen bar stools – Restoration Hardware
Metal orbs (similar) – Target

KITCHEN REDO : BEFORE & AFTER

Yes, the very first bit of imagery you see in this post was how my kitchen looked at one time in my life. Embarrassing, but REAL. LIFE. I must say, the mess alone makes the “after” shot look pretty impressive. Haha!
Ok guys!! I feel like I teased you with a kitchen redo post many months ago. Theeeeeen, I got pregnant, L&L shop has bloomed so beautifully (and busily), and life in general brought us to a lot of roadblocks during this process. However, it is FINALLY done!!!
We started this process as a bit of a challenge! Could we actually do OUR OWN kitchen? on a budget? And paint our own cabinets? Would we totally screw them up? One day, we went and picked out cabinet paint colors just to keep for when we decided to actually got the guts decided to paint the first coat. Little did we know, it would be sooner than later. I think we went that week to buy our first gallon of primer. To be honest, there were MANY times that we wanted to quit during this process, but the good news is that…. you just can’t. Paying someone to finish what we started was just NOT an option.
Our best investment while doing this kitchen was buying a paint sprayer. After lots of research by my hubby, we decided on this one. It didn’t break the bank and it worked beautifully. It really makes your cabinets look like they are professionally done. My biggest tip to anyone taking on a project like this is to be patient, and go through all of the steps…. properly!! Anytime we got antsy and wanted to knock out two coats of paint in one night vs. one…. we hit the brakes and gave ourselves a pep talk. We just really didn’t want anything to set us back! I plan on posting a tutorial on how WE painted our cabinets soon. I promise!!
Ok, enough talk…. here is what our kitchen looks like now!
 ^^DIY cafe curtains HERE. ^^
^^ Barstools from Target, aaaaand they are on sale now! Also, we ended up just paneling out our island. We wanted it to look a little more custom, but didn’t want to rebuild an entire island. We were happy with the way it came out! ^^
^^ Pendant lighting from Ikea ^^

^^ Also, to stress ourselves the freak out cut costs, we opted for a concrete countertop for the kitchen island. We followed this tutorial. Let’s just pretend ours went just as smoothly as this tutorial makes it seem. Oooooook…. moving on….
 ^^ We found our subway tile online… Ebay to be exact! Home Depot had a $2/per tile price tag. No thanks! We ended up getting ours for roughly .50 per tile. We were able to do our entire kitchen for $100. ^^
 ^^ The marble and glass tile was a last minute call. We had purchased it at Habitat for Hummanity Restore months before we started this process. We thought we would use it in a bathroom or something. It costed us $1/sq ft., and it was the perfect focal piece we needed for behind the oven.
^^ You may have seen our open shelf styling post HERE. This still stands to be my favorite part of our kitchen redo. We simply bought corbels from Home Depot, stained them, and painted some slabs of plywood that my husband cut to size. Super simple DIY! ^^
Please comment and email us with any questions that you may need answered regarding a kitchen redo. We are no pros, but through trial and error, have learned a thing or two! We would be happy to share that knowledge!!
**All cabinet hardware was from Home Depot**
BE SURE AND ENTER OUR GIVEAWAY IF YOU HAVEN’T ALREADY!!! It ends today!!

FEATURED: DEVAN’S WINTER WOODLAND NURSERY

She did it again! Our dear friend Shara (remember her Shark Party HERE?!) is blowing our minds with her son’s dreamy gray and aqua nursery. It is styled. to. perfection. We’ve been stalking gently convincing her to let us show her whole house! One day, Shara, one day…. mwahahahaha!

SHARA:
When I was pregnant with my second, I was so sure I was having a girl that I went ahead and bought crib bedding and started planning out a perfect baby girl nursery. I was just SURE. Halfway through my pregnancy at the big ultrasound, the tech waved her magic wand, paused, and then asked me if I still had the receipt for that bedding… I was having another boy! I was shocked and kind of in denial, so I decided I didn’t need to do up another room for baby boy – he would just share a room with his big brother once he was old enough to move out of the bassinet in my room. 
Fast forward to a month before my due date. The urge to nest suddenly kicked in haaaaaaard and I just HAD to have a nursery. Jenni had thrown me the most perfect “snowy sprinkle” baby shower (see it HERE), and I worked from that idea to create a gender-neutral winter woodland nursery. The room was already painted grey (Valspar’s “Cement”), so I left it as is and used that as my starting point. Anyone who has been to my house knows how much I love the color aqua, so I (unsurprisingly) decided on a grey/aqua/white color theme, accented by warmer tones here and there to keep it from being too matchy-matchy or cold. It took more than a year to finish up the room – I had my hands kind of full with two little ones! – but I think that the extra time allowed the room to evolve into something even better than I had originally visualized. Now it’s one of my favorite rooms in the house!
PS. I never did return that girly bedding… it’s packed away carefully in hopes that maybe one day my pretty pink nursery will become a reality 😉


SOURCES:
Tree decals – WallDecorative
Arrows – Mineral and Matter
Feather mobile – DIY
Dreamcatchers – DIY
Bedding – skirt from Land of Nod, sheet & chevron knit throw from Target
Aqua book cart – Land of Nod
Rocking moose – Ikea
Chair and ottoman – Little Castle “Charleston”
Polar bear blanket – Land of Nod
Polar bear “skin” – eBay
Lamps – Target
Squirrel nightlight – Modcloth
Tree wood bead puzzle – Skip Hop
Bird mobile – Boon
Changing pad cover – Land of Nod
Curtains – Amazon (blackout lining added DIY)
Dresser, end table, book ledges – Ikea
“Things” organizer – Land of Nod
Grizzly bear wood block calendar – West Elm
Fox, raccoon and owl art – Sass and Peril
Antlers – White Faux Taxidermy
Clock – Target
Rocking bird – West Elm
Ceramic fox figurine and white fox speaker – Target
Moon globe – Urban Outfitters
Marquee arrow light – Target
Forest Love screen print – Sass and Peril
Young & Brave print – Billy and Scarlet
Paper deer – Template from French Melody
Name letters – DIY
Woven baskets – Walmart, spray painted teal
Owl vase – Target

BABY BOY NURSERY + VALENTINE GIVEAWAY (GIVEAWAY CLOSED)

My husband and I literally just dreamt up what we would like to see in our baby boy’s nursery a few days ago. We are in the process of getting our house ready to put on the market possibly, and since we are going through and taking things down, painting everything neutral and not really taking too many risks decor wise, I felt like I had NO freedom to do what I really wanted to do. 
It has actually occurred to me that what I love fits right in with our neutral colors and my husband’s ban on wallpaper. I love the idea of a woodland/under the stars kind of feel in the room. I also put my own personal ban on the use of gold….. silver tones have been calling my name.
My husband brought home a print that he picked up when he was traveling ( the Wonder print), so I kind of just started there. I love that he picked something out on his own and brought it home ;).
mobile / zinc monogram – Michael’s craft store / wonder print / moon print / giraffe / lamp / crib
arrows – found on etsy, but no longer available, so on the search for something similar / rug / accent table / dresser / ottoman / industrial bins
GIVEAWAY….
ALSO…… WE WANT TO SPREAD THE LOVE!! Leah and I are giving away goods from our Valentine’s Day party from this post. A party in a box if you will! Then, you can host your own little breakfast/ Valentine decorating soiree for your little and their friends!
Comment below and tell us your favorite Valentine’s Day memory or tradition. That. is. it! The box contains the following items:
– 2 mini mailing tubes (purchased at Michaels if you want to add more)
– custom mailing labels
– 4 children’s plates
– 8 red and white heart napkins
– 6 pink striped cups
– 4 hand painted mini scoops
– 8 mini ice cream cups (used for cereal)
– 6 paper straws with mini pink hearts
– “You’ve got Mail” banner
– 8 mini paper airplanes on twine
– fiber fill for clouds
– 3 handmade heart “globes”
Amanda!! You are our winner! Thanks for entering everyone! 
xo