EARTH DAY

Happy Earth Day! While I still have a TON to learn and change about how we live, one super simple way we’ve changed is by eliminating paper napkins and paper towels. We were going through an entire container every week it seemed! I promise you can do this with three disgusting- I mean- charming kids….they use their shirt as a napkin when they think I’m not looking anyway. I switched a couple years ago, and it’s seriously been so easy. I keep one roll of paper towels for like super gross bathroom messes because helloooo potty training, but we go through one paper towel roll every few MONTHS. Below are a few links of reusable cleaning cloths, napkins, and kitchen towels.


FAQ: Washing isn’t a big deal. One we use the napkins, I rinse off the food in the sink and wring out the water. I throw them in the laundry room sink (or you could have a dedicated bucket) until I’m read to put a load of laundry in. Wash the cloth napkins and towels and dry with your clothes. I only buy napkins and towels that don’t need ironing!! For the swedish dishcloths below, I put them in a mesh garment bag, so I can grab them out of the washer to air dry flat. One single dishcloth last months! I store the towels in a bigger kitchen drawer so they’re hidden away and the napkins in a smaller drawer where the kids can reach easily. I store the swedish dishcloths under the sink so they’re right there easy to grab.


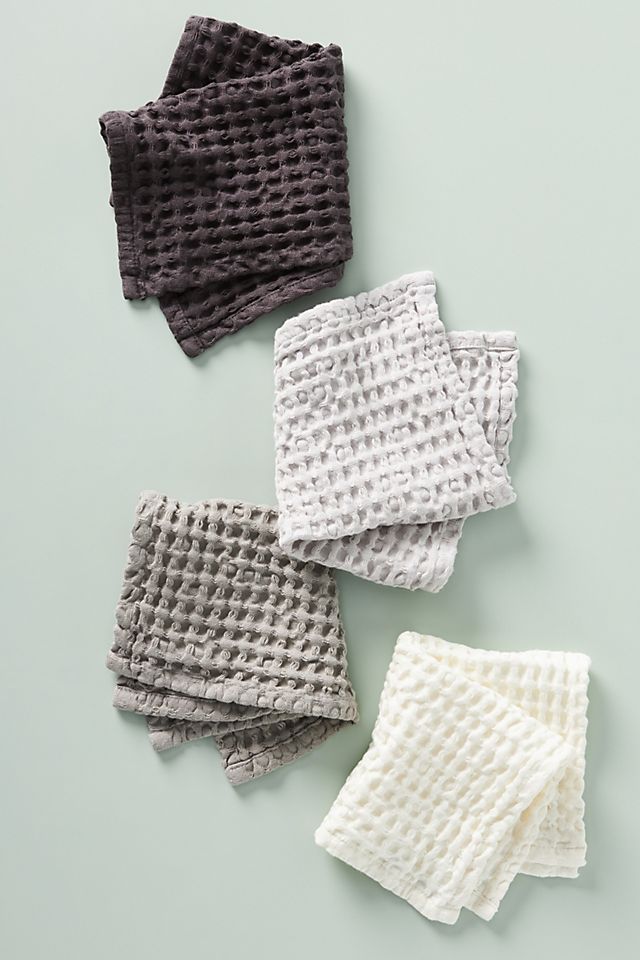
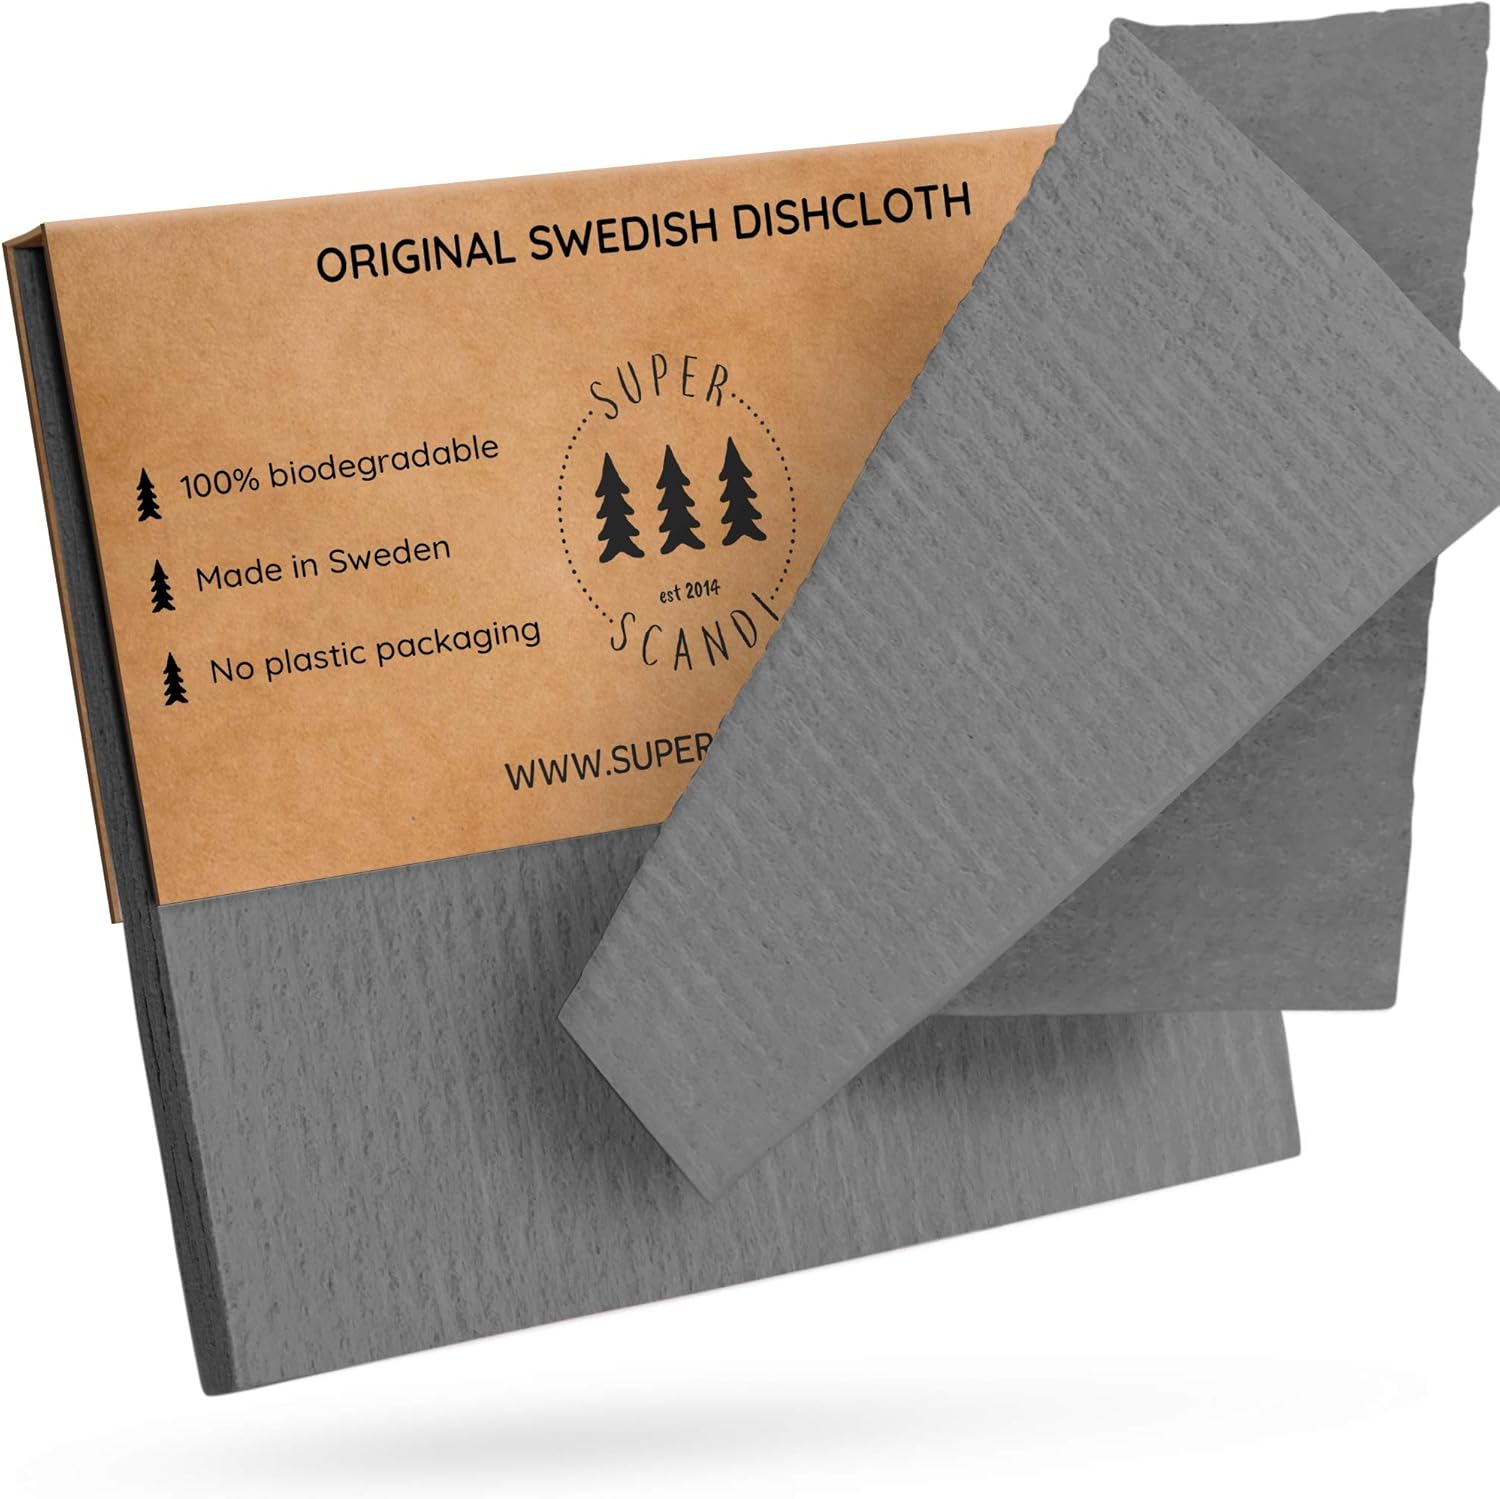
Instead of PAPER TOWELS, try Swedish dishcloths

I use just one to clean the counters and kitchen table after meals. Wash them in the washing machine in a mesh garment bag and just let them air dry. 
Instead of everyday PAPER NAPKINS, try cloth napkins
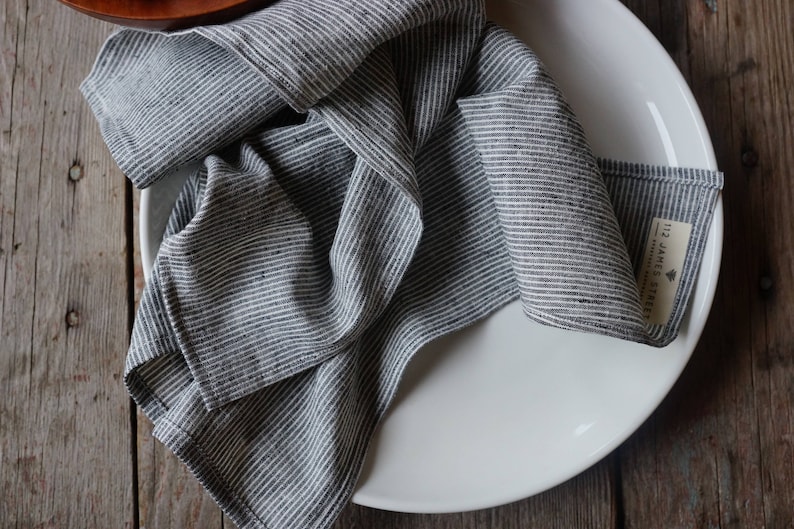
GRAY PINSTRIPES:  organic cloth napkins   zero waste kitchen 17 x 17  (set of 2)

or these

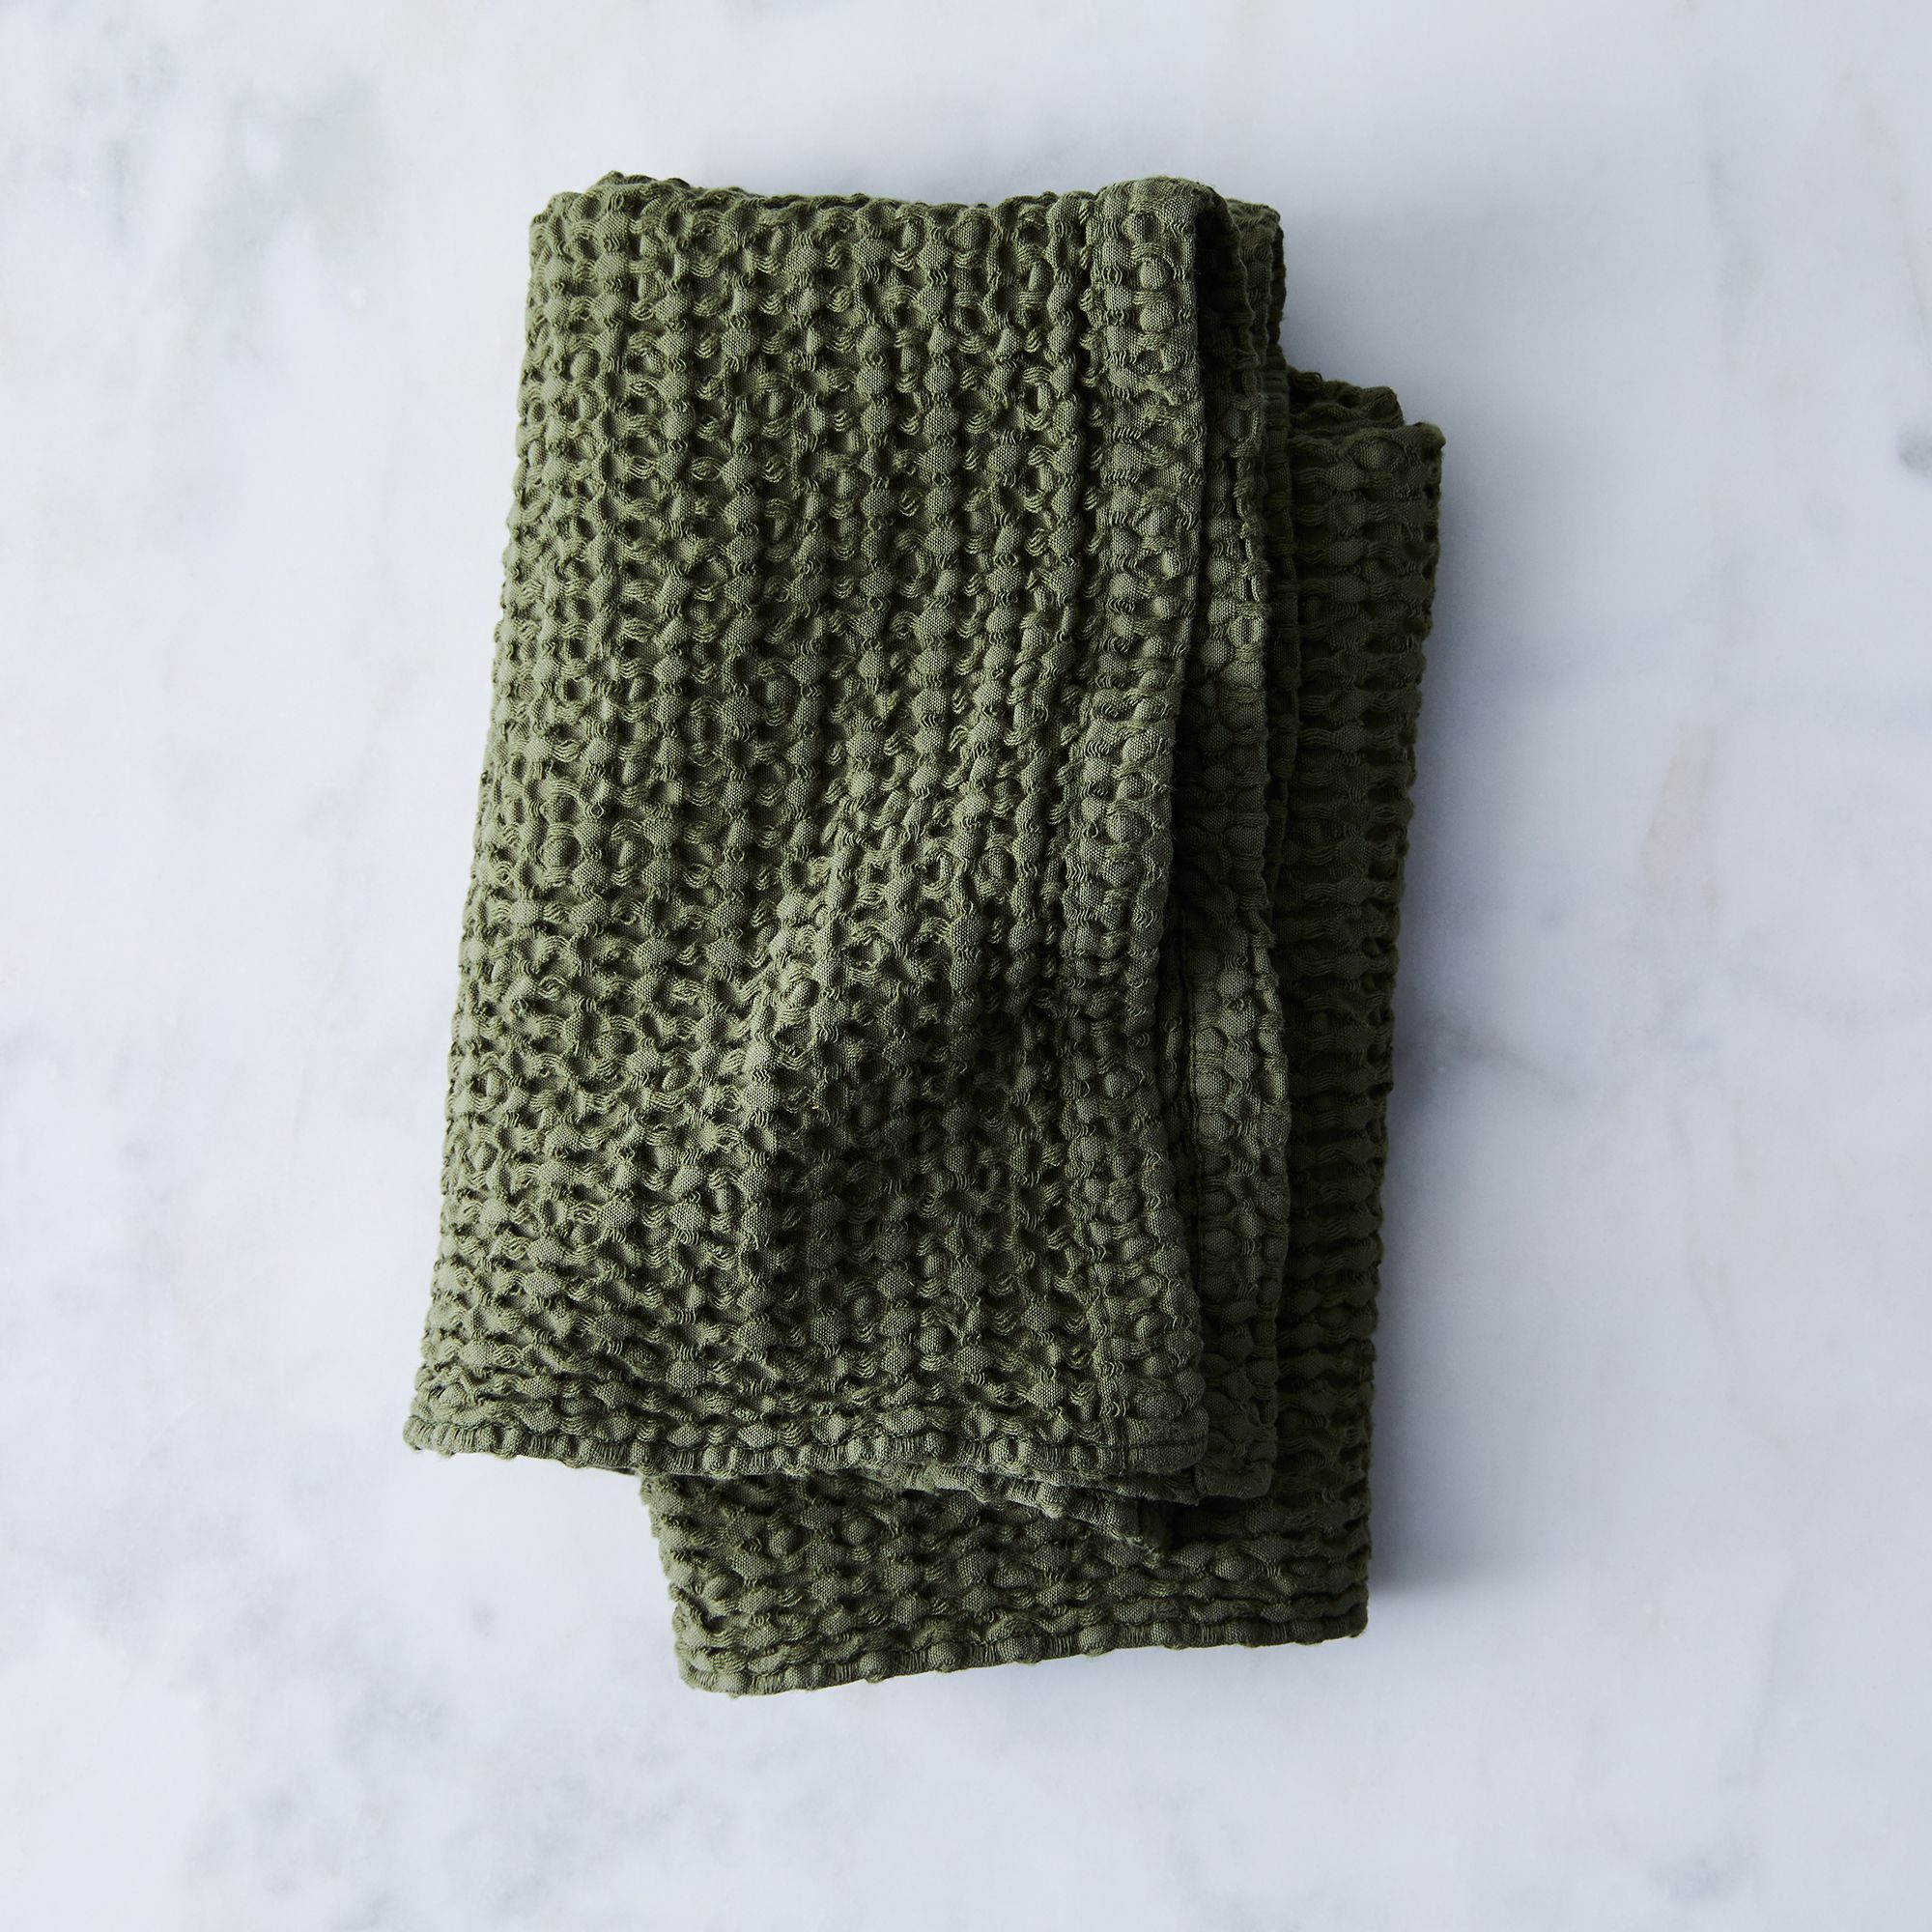
Instead of PAPER HAND TOWELS, try pretty kitchen towels

Coal Cotton Tea Towels (Set of 3)

or these

or these

I have these in our powder room

Hope this helps!

xo

Leah
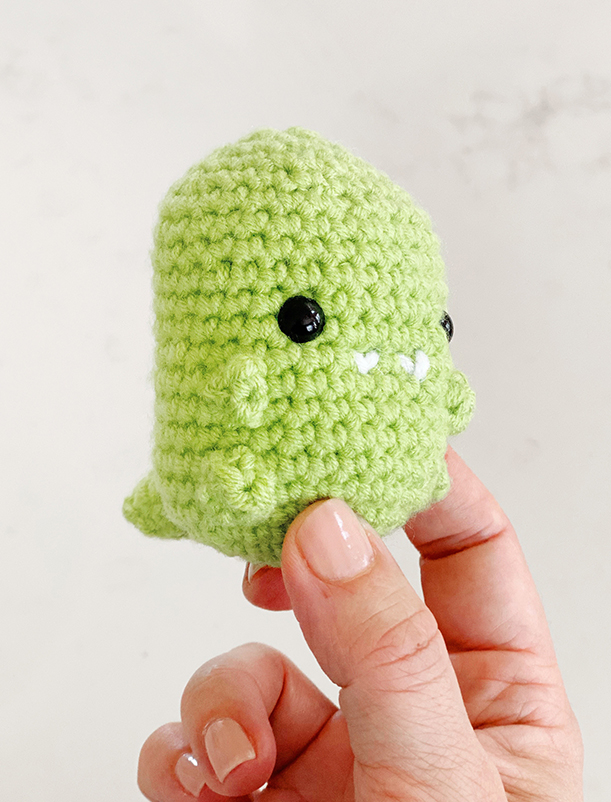
CROCHET DINO AMIGURUMI – FREE PATTERN

I just learned to crochet in December, and I’m loving it! My kids are loving all of their new amigurumi (crocheted stuffed toys) and have become little dictators on what I make next. Through YouTube and free tutorials I’ve found online, I’ve been able to come up with this super simple pattern for what could definitely almost pass as a t-rex. I’ve linked my favorite technique tutorials and materials below along with the pattern. When you first watch the tutorials, it all seems overwhelming! Just try it out on test yarn until you get the hang of it. My first crocheted piece looked lumpy and super weird, but my second looked better. Seriously… you can do this!

Big chonky dino

Teeny baby dino


MATERIALS I LOVE

This chunky yarn is sooo soft and great for making bigger things. Stitches are slightly harder to see when crocheting, but you’ll get the hang of it pretty quickly.

This yarn for making tiny babies. Great for beginners – you can see stitches easily and pull through the stitches smoothly. Yarn is soft. It doesn’t get ratty like other small yarns. I used this as the white yarn for the teeth for the chunky dino too.

Fiberfill

Crochet hooks (your yarn will tell you what size to use, but this set has them all)

Safety eyes

Sewing needle for yarn

Yarn cutter (or scissors, but I like to keep this in my knitting bag since it’s not pointy)


ABBREVIATIONS WITH LINKS

Magic ring

st = stitch

sc = single crochet

inc = increase (2 stitches in the same stitch)

dec = decrease

( ) = the number of stitches you should have at the end of each row


BODY

Row 1: make magic ring with 6 st (6)

Row 2: inc on each stitch (12)

Row 3: (1 sc, inc) x 6 (18)

Row 4: (2 sc, inc) x 6 (24)

Row 5: (3 sc, inc) x 6 (30)

Rows 6-17: 30 sc (30)

Add in your safety eyes between rows 13 and 14. Space the eyes out with 5 or 6 stitches in between.

Stuff with fiberfill almost up to the top (you’ll fill in the rest at the end)

Row 18:  (3 sc, dec) x 6 (24)

Row 19: (2 sc, dec) x 6 (18)

Row 20: (1 sc, dec) x 6 (12)

Row 21: dec x 6 (6)

Finish stuffing with fiberfill and squeeze it around to get a good shape and firmness you like.

Cut the yarn with a long tail and thread a sewing needle through the end (fasten off). Pick up the front loop of each of the remaining 6 stitches and sew the body closed stitch by stitch (video here).

Thread the tail from the top of the body where you just closed the last row, down to the bottom center of the body. Thread back up to the head and cut the yarn close to the body. This sort of squares up the body so it’s not so egg-like. Push any remaining yarn into the body with your needle.


TAIL

Row 1: 4 st in magic ring (4)

Row 2: (1 sc, inc) x 4 (6)

Row 3: 6 sc (6)

Row 4: (1 sc, inc) x 3 (9)

Row 5: (1 sc, inc) x 4 (13)

Row 6: 13 sc

Cut yarn with a long tail. Slip the end of the tail through the last loop and pull tight. You’ll leave this open- don’t close it up like you did with the body.

Stuff with fiberfill.

Attach to rows 5-10 just by sewing through each loop onto the body. Pass the yarn through a few times before cutting off the access yarn.


ARMS + LEGS (make 4)

Row 1: magic ring 5 st

Cut yarn with a long tail. Slip the end of the tail through the last loop and pull tight.

Once you pull the tail it should make a C shape, but I like to sew it on in a little ball with a stitch.

Attach arms between rows 10-12 just to the sides of the eyes.

Attach legs between rows 3-5.


TEETH

Row 12 (from the bottom): Add 2 white v’s using any white yarn. You can space them one or 2 stitches apart (or touching like vv) just make sure they’re centered between the eyes.


Happy crocheting!

xo

Leah

SOFT, SUGAR-COATED HAMENTASHEN

SOFT, SUGAR-COATED HAMENTASHEN

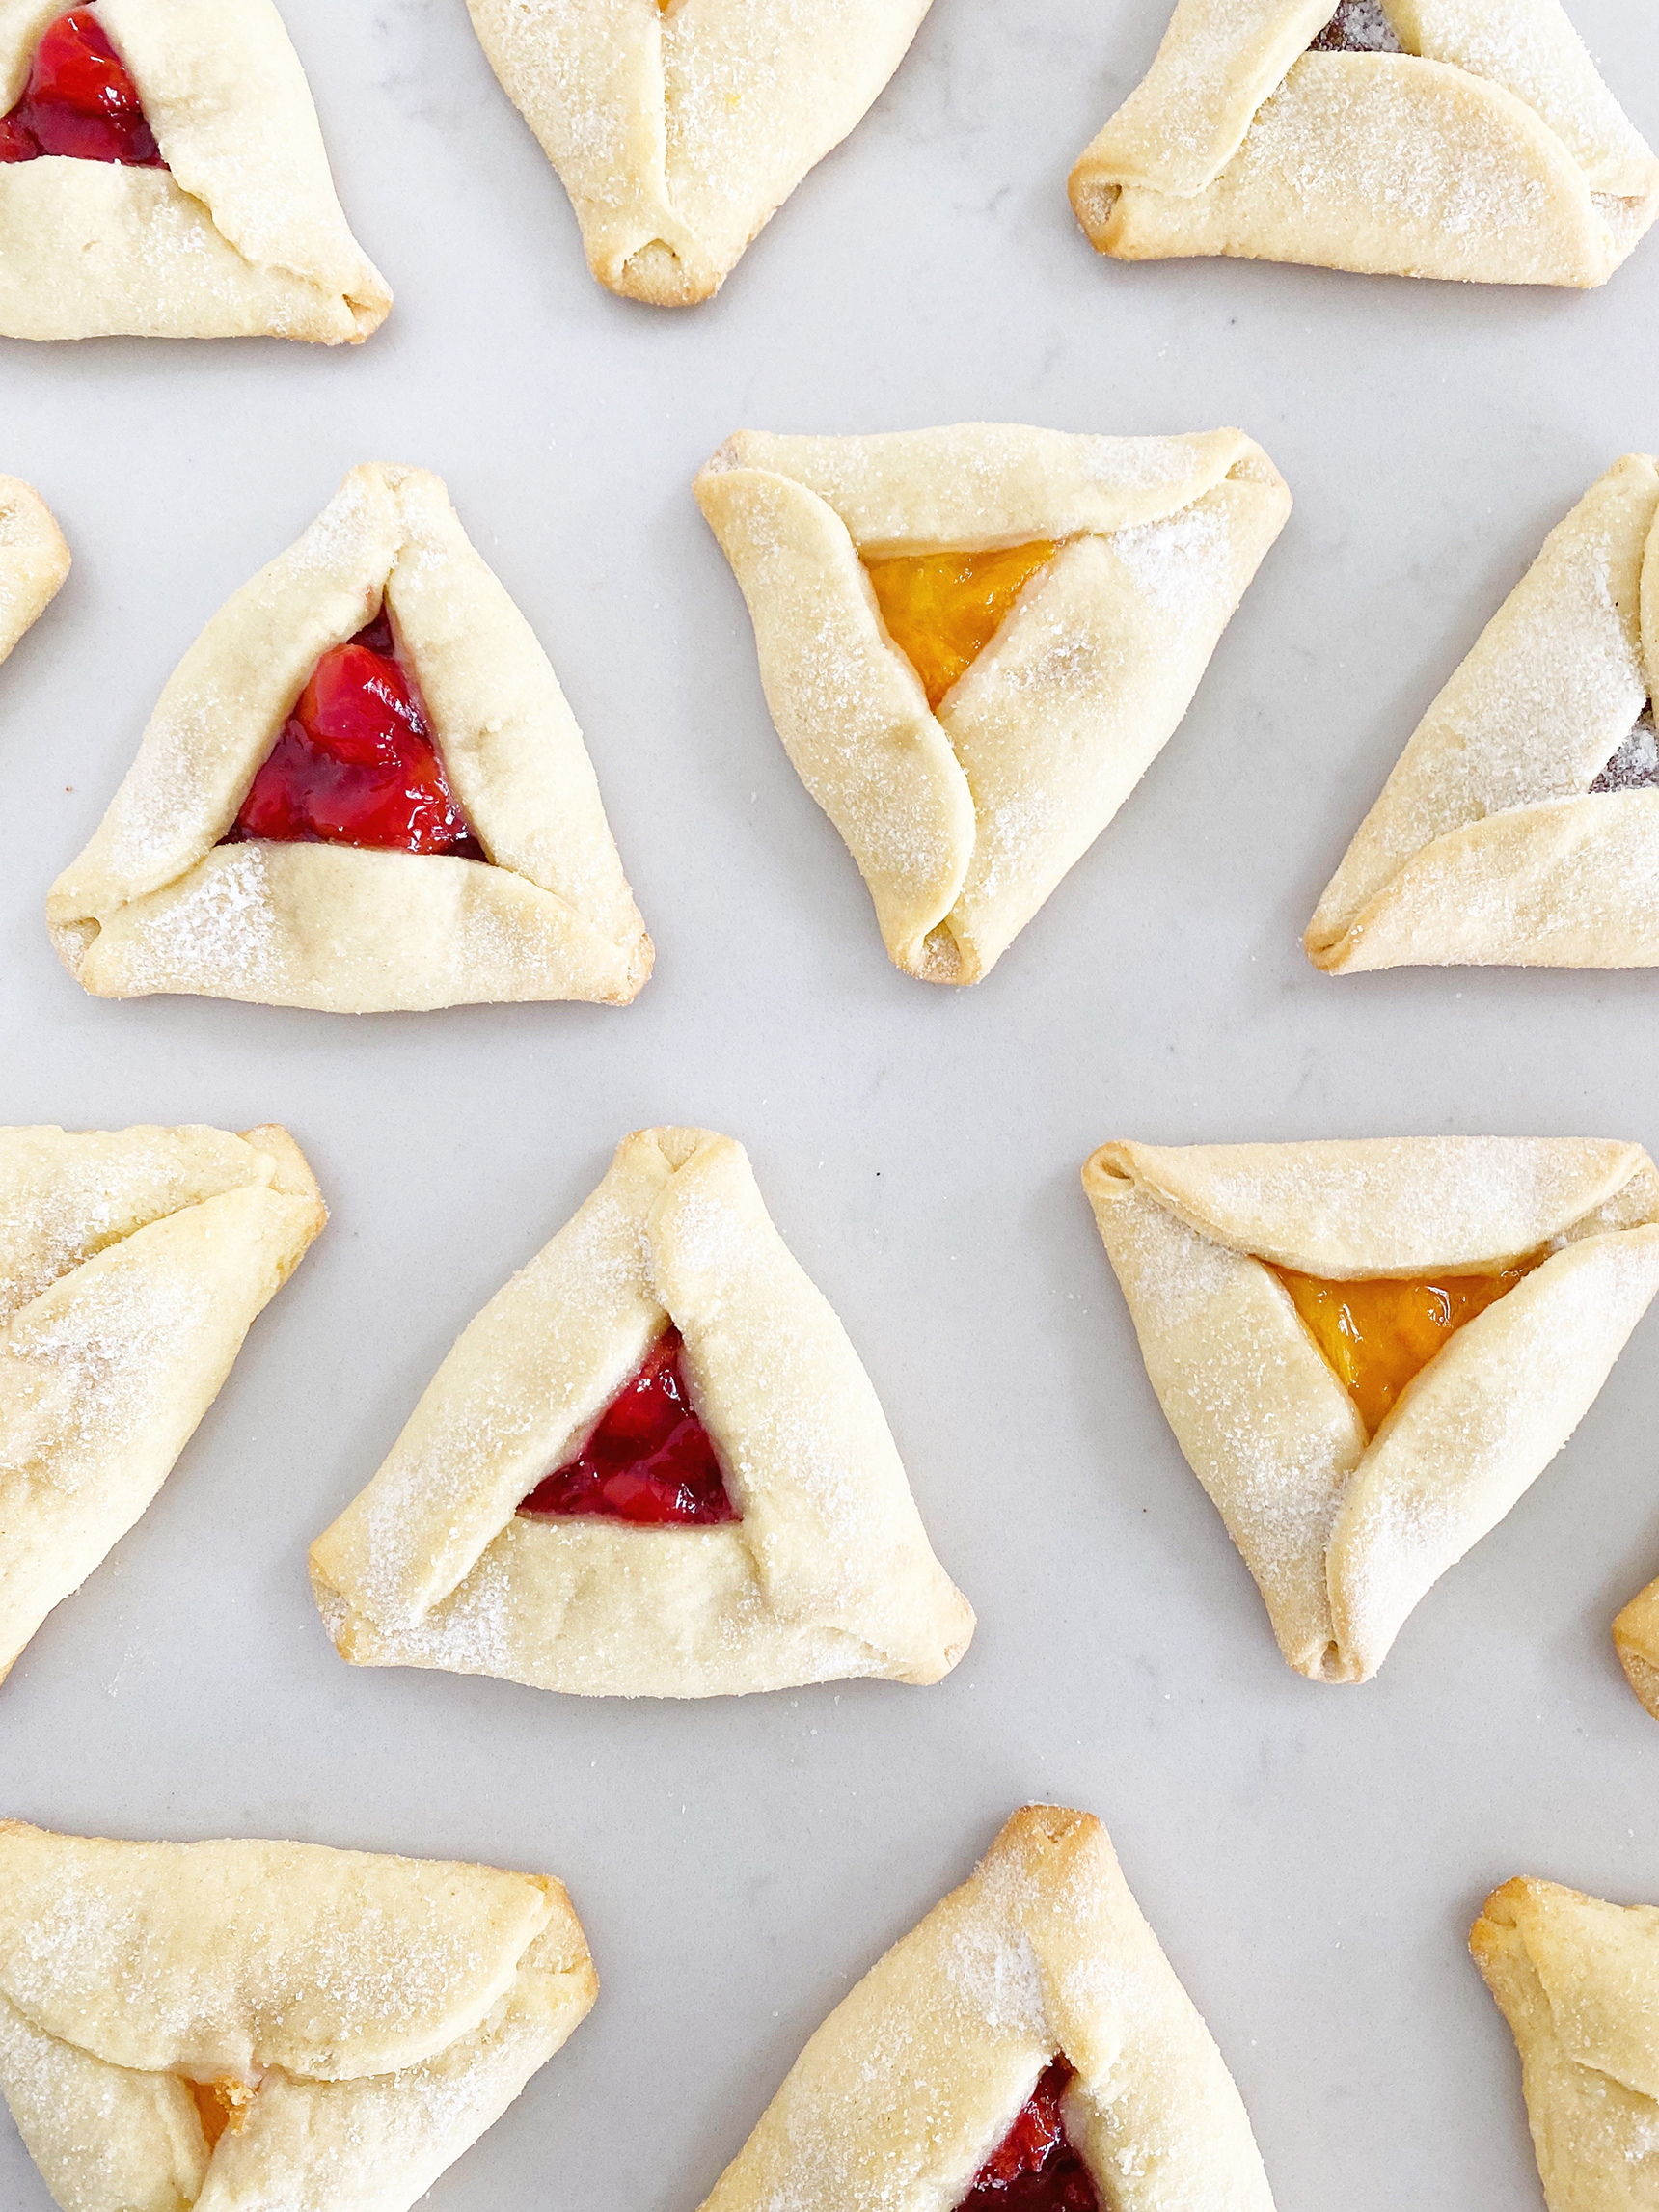
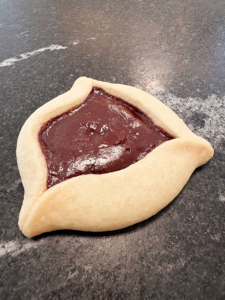
Hamentashen are a traditional three-cornered cookie we (Jews) make on Purim! I grew up in St. Louis, MO. There was this great Jewish bakery called Pratzels, and I would look forward to their hamentashen every year. Most other recipes I’ve tried are crunchy, crumbly, dry, or tasteless. But this bakery made them soft, filled them with a delicious pie filling situation, and covered them in sugar. Sadly it closed, but I think I made a pretty good sub recipe which also doubles as a great sugar cookie recipe! Because this dough is so soft, you can fold the corners over like you see in the photos rather than pinching the corners like you’ll see in traditional hamentashen. If the dough is just the right temp when you’re folding them, they’ll stay shaped as traditional triangles- just the luck of the draw! Either way, they’re going to taste the same

Check out my new Double Chocolate Hamentashen recipe here!

IMPORTATANT NOTES:
  1. I know it’s annoying, but you should chill the dough, either the night before or at least for a couple hours in the fridge. Divide the dough in quarters and wrap each in saran wrap. No need to make them into disks. The dough is super soft but keeps it’s shape. Stack them together and wrap in foil to avoid any odor contamination in your fridge.
  2. Before baking, you MUST chill the cookies. They’ll keep their shape that way! So this means after you add the filling, pinch into triangles, coat with sugar, then you MUST chill them in the freezer until they’re cold to the touch, and THEN you can bake them.
  3. Don’t overfill the cookies or have the topping be runny. I used a heaping 1 teaspoon of filling with a 3.5″ round cutter.
  4. If you’re using a bigger circle cookie cutter, you can add more filling and bake for about 12 minutes instead of 10.


RECIPE:

1 c. margarine, room temp (margarine lets the cookie keep it’s shape. If using butter, add 1/2 cup more flour but be prepared for melty but delicious cookies. Scroll to the bottom to see the difference)

1 c. granulated sugar

1 egg, room temp

2 tbsp whole milk, room temp (you can use half and half)

2 tsp real vanilla extract

3 c. flour / 360 grams (I always bake with bread flour)

1 tsp. baking soda

1 tsp. baking powder

1 tsp. salt

Filling: pie filling, really good jams, nutella, chocolate filling, sprinkles. My favorite combination with the dough is strawberry jam.

A little extra granulated sugar for the outside

3″ – 4″ round cutter- really any size is fine. You’ll just adjust your baking time. 3.5″ is about 10 minutes, 5″ about 12 minutes, etc.


INSTRUCTIONS:
  1. Sift all dry ingredients and set aside.
  2. Mix butter and sugar til fluffy 2-3 min.
  3. Add egg and mix well.
  4. Add vanilla.
  5. Slowly mix in dry ingredients alternating with milk.
  6. Mix until just combined.
  7. Divide the dough into four parts, plop each down on Saran Wrap and wrap each tightly. Stack them up and wrap them all in foil. Chill in the refrigerator overnight or at least stick them in your freezer for a couple hours.
  8. Take one disc out of the fridge and roll out on a lightly floured board, 1/8″ – 1/4″ thick.
  9. Cut circles and place on a parchment paper-lined tray.
  10. Chill in the freezer while you work on the next tray.
  11. Fill each circle with a SMALL amount of filling, about 1 tsp, and try to keep the runny parts to a minimum. The larger you make the circles, the more filling you can use and vice versa.
  12. Form triangles and pinch the corners together slightly to make sure they don’t fall apart and spill all the filling! This dough is really soft so I like to fold them over or pinch sharp corners but it depends on the exact consistency you have going on. I promise they’ll taste just as good whatever they look like.
  13. Wet the dough a little with your fingers or a brush and sprinkle the triangles generously with granulated sugar.
  14. Chill in the freezer again for 20 minutes or so. The longer they’re chilled, the more they will keep their shape. If you’re making way in advance, just keep them covered in the fridge.
  15. Bake at 350 degrees for just 10 minutes or until very slightly golden. The whole point is to keep these SOFT so please don’t over-bake them. Cool on the tray for a minute or two only, then slip the cookies still on the parchment paper off the tray to cool completely.


Structured cookie on the left used MARGARINE, the droopy cookie on the right used BUTTER and while they’re not pretty, they’re delicious!

Mazel tov, you’ve made delicious hamentashen!!


xo

Leah


THE BEST CHOCOLATE CAKE + 4 FROSTING RECIPES

The most m-0-i-s-t chocolate cake you’ll ever have. I promise! Jeffrey’s favorite combination is with the chocolate frosting recipe, and I think it’s incredible with marshmallow frosting or peanut butter frosting (all below). It’s definitely an impressive cake you’d make for company and the cake recipe everyone requests for their birthdays. VERY easy too, but you must keep an eye on it while you’re baking and follow my tips below.

SCROLL DOWN FOR CAKE AND 4 DIFFERENT FROSTING RECIPES.

For my favorite vanilla cake recipe, click HERE.

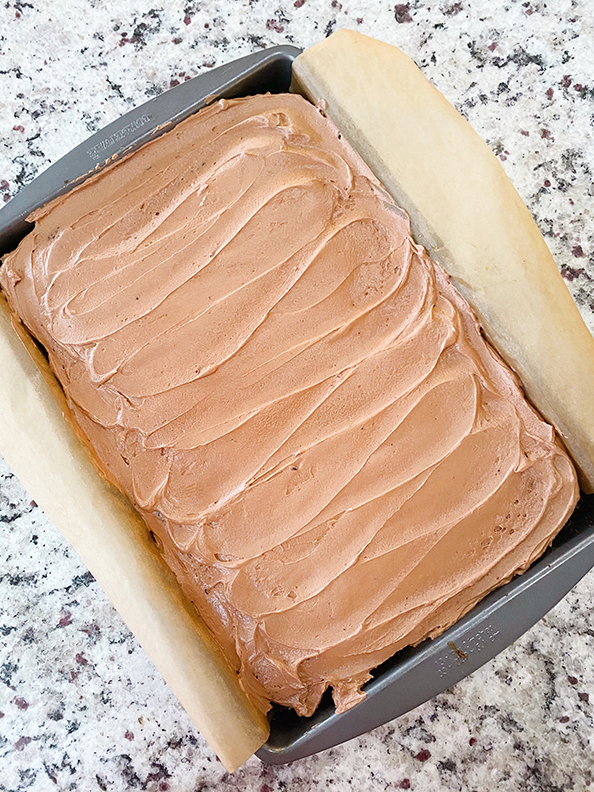
Here’s how a slice looks baked in a sheet pan- the easiest way to bake.

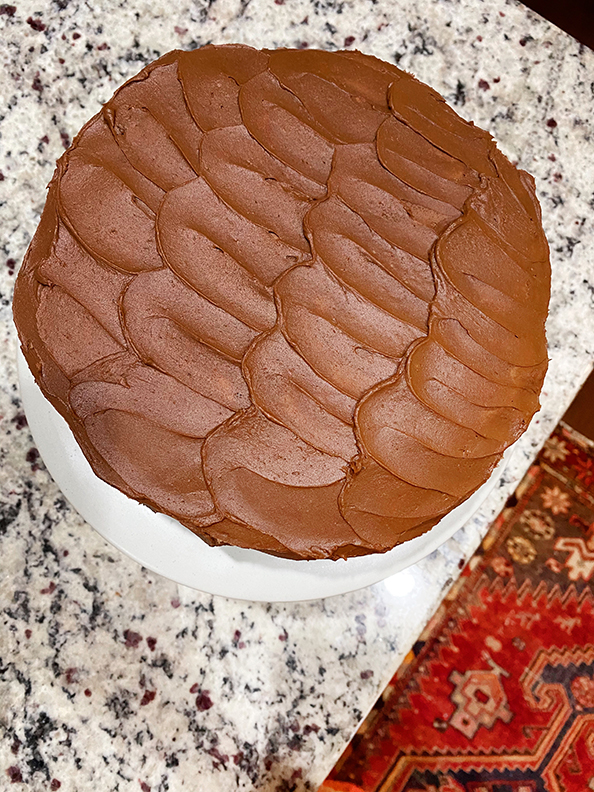
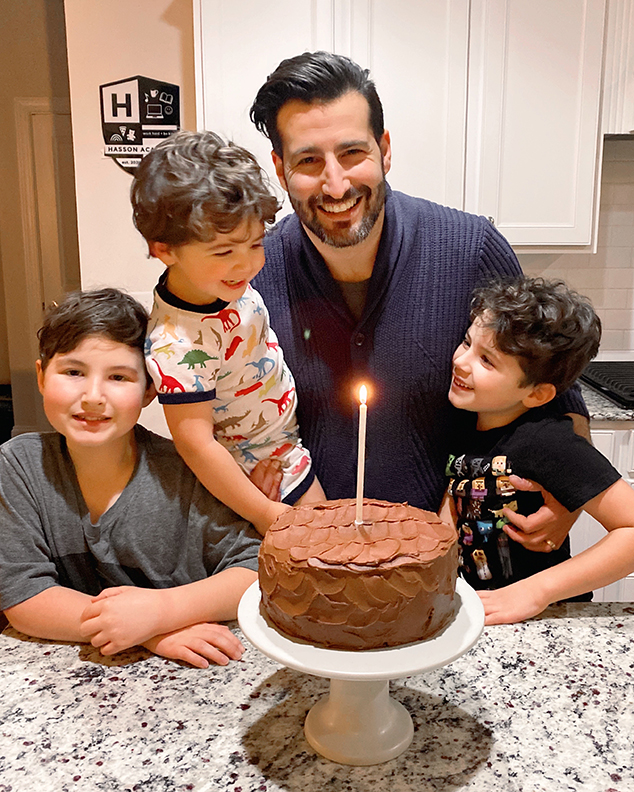
And here’s Jeffrey’s birthday cake from this year in 2 layer 8″ cake rounds:

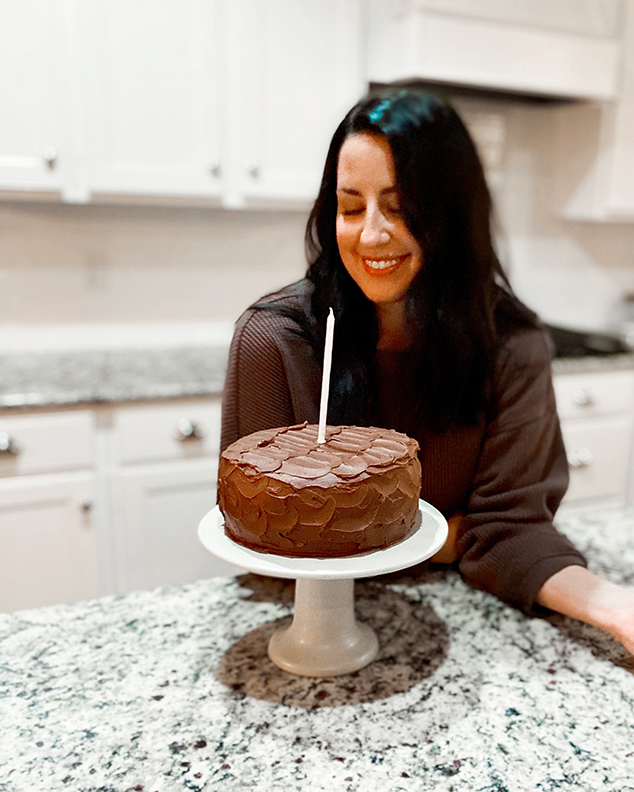
Here’s what I look like when I see cake:


CAKE RECIPE

Adapted from Ina Garten
Ingredients:
Butter, for greasing the pans
1 3/4 cups all-purpose flour, plus more for pans (I use bread flour)
2 cups sugar
3/4 cups (good!!) cocoa powder
2 teaspoons baking soda
1 teaspoon baking powder
1 teaspoon kosher salt
1 cup buttermilk, shaken
1/2 cup vegetable oil
2 extra-large eggs, room temperature
1 teaspoon (good) pure vanilla extract
1 cup freshly brewed hot coffee
Directions:
Preheat the oven to 350 degrees.
Butter two 8″ round cake pans or one 11×13″ sheet pan (I use a metal brownie pan)
Line with the bottom of the pan with parchment paper, then butter and flour (or use cocoa powder) the pans.
If you’re using a sheet pan, have the parchment paper hang off on either side so you’ll have little handles to pop it out when you’re ready to cool it.
  1. In a large bowl with a whisk, sift the flour, sugar, cocoa, baking soda, baking powder, and salt, and mix until combined. I actually don’t like using an electric mixer with this recipe- it’s too liquidy
  2. In a medium bowl, take the whisk and mix together the buttermilk, oil, eggs, and vanilla.
  3. Slowly add the wet ingredients to the dry and mix with a spatula or spoon.
  4. Slowly add the coffee and stir just to combine, scraping the bottom of the bowl.
  5. Immediately pour the batter into the prepared pans and bake about 20-25 minutes. Always bake for a few minutes less if you’ve never made this recipe before, so you don’t over-bake the cakes. You can always add more time, you can’t take away. When you start to smell it, it’s probably almost done. Give the pan a jiggle when you start smelling it. Keep adding 3 minutes on your time and checking it again. It should jiggle like solid pudding, not like jello. It will continue baking in your pan after you take it out of the oven. If you’re unsure, you can put a knife in the middle and it should come out with a few crumbs. The center of the cake tends to sink a little but that’s okay! It will be delicious and moist and covered with frosting anyway. 
  6. Cool in the pans for 5 minutes (unless you’ve over-baked it*). Run a knife around the edges so the cake will come out more easily. Turn the cake out onto a cooling rack lined with greased parchment paper. It’s a gooey cake, so the parchment paper on the cooling rack is KEY to keeping things neat. If you’re baking it in a sheet pan, you’ll already have the parchment paper to just pop off and place on the cooling rack. Cool completely before frosting it or the frosting will melt.
*If you’ve accidentally over-baked your cake, pop it out of the cake pan immediately to cool on a cooling rack or it will keep baking. Scrape off any crispy parts. Combine 1/4 cup of milk with 1/4 tsp vanilla. Brush it all over the surface of the cake then cool completely before frosting.

CHOCOLATE FROSTING RECIPE

Adapted from Magnolia Bakery
* If frosting a sheet cake, I like to halve this recipe since you’re not covering as much area. This frosting is rich!
Ingredients:
1 1/2 cups (3 sticks) unsalted butter, softened to room temp
2 tablespoons whole milk or half & half, room temp
12 ounces chocolate, melted and cooled (I use Ghiradelli 60% bittersweet chocolate)
1 small pinch fleur de sel / sea salt / kosher salt
1 teaspoon (good!!) vanilla extract
2 1/4 cups sifted confectioners’ sugar
Directions:
  1. To melt the chocolate, place in a double boiler over simmering water on low heat for about 5-10 minutes. Add a tiny pinch of sea salt. Stir occasionally until completely smooth and no pieces of chocolate remain.
  2. Remove from the heat and let cool completely.
  3. In a large bowl, on the medium speed of an electric mixer, beat the butter until creamy, 3 minutes
  4. Add the milk carefully and beat until smooth
  5. Add the melted chocolate and beat for 2 minutes.
  6. Add the vanilla and beat for 3 minutes.
  7. Gradually add the sugar and beat on medium until fluffy.
Your frosting might be a little melty so keep your mixer and beater attachment out. Refrigerate the frosting in the mixing bowl for 30 min or until the frosting is more solid, then re-whip it with the mixer right before frosting the cake.

MARSHMALLOW FROSTING

This will make the cake taste like a s’mores! We all LOVE this combo too;

* If frosting a sheet cake, I like to halve the recipe since you’re not covering as much area.


Ingredients:

1 cup salted butter, room temp (or add 1/4 tsp salt to unsalted butter)

14 ounces Marshmallow Fluff

2 cups powdered sugar

1 teaspoon good vanilla


Directions:

Whip all of the ingredients together. Refrigerate for a bit if it’s too melty. You’ll be able to make prettier swirls if it’s cooled slightly.


PEANUT BUTTER FROSTING

Ina Garten
* If frosting a sheet cake, I like to halve the recipe since you’re not covering as much area. This frosting is rich!
Ingredients:
2 cups powdered sugar
2 cups creamy peanut butter
10 tbsp butter, room temp
1 tsp vanilla
1/2 tsp salt
2/3 cup heavy cream
Directions:
Beat all ingredients except the cream in a mixer on low until creamy. Add the cream and beat on high until fluffy and smooth.

GROCERY STORE BAKERY-STYLE FROSTING

This tastes exactly like the super sweet frosting at a grocery store bakery- in the best way possible! It actually balanced out the flavor of the chocolate cake since I use more bittersweet chocolate in the cake. The frosting is stiff so it’s perfect for decorations. It’s almost like soft play dough! If you want it easier to spread, use a tablespoon or so more milk.
Ingredients:
(If you don’t need extra for decorating/piping, halve this recipe. Plus only half will fit comfortably in a Kitchenaid mixer- see notes for tips!)
2 cups vegetable shortening, room temp
1 cup butter, room temp
2 tbsp vanilla
1 tsp salt
8 tbsp milk
4 lbs powdered sugar
Instructions:
  1. whip together the shortening and butter
  2. add half of the powdered sugar gradually
  3. add in vanilla, salt, and milk* (read notes here)
  4. add the second half of the powdered sugar gradually*
  5. finish whipping so it’s fully mixed and fluffy
Notes:

*If you want this more spreadable and not for decorations, add a tablespoon or so more milk.

*If your mixer is a typical Kitchenaid size like mine, you will not have room in the bowl to mix this completely! After you mix the vanilla, salt, and milk in to the bowl (step 3), scoop out half of the mixture into another bowl and set aside. Add 1 lbs of powdered sugar to your Kitchenaid and mix. Transfer that finished frosting to another bowl. Place your other mixture back in your Kitchenaid and then add the remaining 1 lb of powdered sugar. Now you have 2 bowls of finished frosting.


You are going to LOVE this!! Enjoy!
-L

CARAMEL COVERED CINNAMON ROLLS

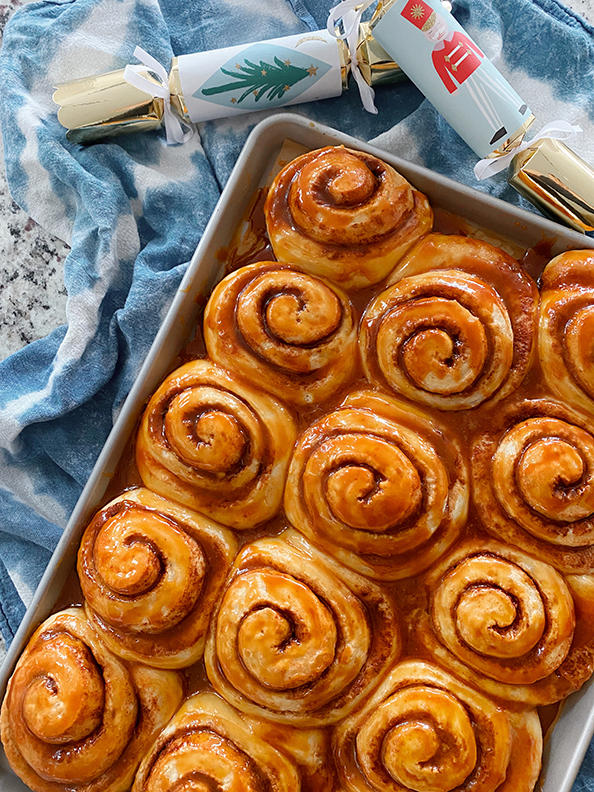
My mom usually makes these for special brunches, but these are so good they should be shared with all of you! You must make the dough OVERNIGHT – sorry! But the good news is you’ll just pop them in the oven, make the caramel sauce while they bake, and have the yummiest smell filling your home! It’s Christmas Eve, and I just put the rolls into the fridge to rise overnight. Cannot wait to bake them tomorrow!


CINNAMON ROLL INGREDIENTS

2 packages of yeast (or 4 1/2 tsps)

5-6 cups bread flour

1 1/2 tsp salt

1/2 cup sugar

1 1/2 cup very hot water

1/2 cup softened butter

2 eggs


FILLING INGREDIENTS

1/4 cup melted butter

1/2 cup sugar

2 tbsp cinnamon (mix with the sugar)


CARAMEL SAUCE INGREDIENTS

1/2 cup butter

1 cup sugar

1/2 cup buttermilk

1/2 tsp baking soda

1 tbsp karo syrup (you can sub maple syrup)


MAKE THE DOUGH THE NIGHT BEFORE:

Combine TWO CUPS of the flour, yeast, sugar, and salt.

Add hot water to dry ingredients all at once.

Beat with electric mixer at medium speed for 2 minutes.

Add butter.

Add eggs one at a time,

Stir in remaining 3-4 cups of flour gradually. Use just enough to make soft dough which leaves the sides of the bowl.

Turn onto floured counter and knead 5-10 minutes or use a bread dough hook and mix for 3 minutes.

Cover with plastic then a towel and let it rest for 20 minutes.

Roll dough into a about a 12×24″ rectangle.

Spread melted butter then sprinkle the sugar-cinnamon mixture on top.

Roll up length wise (on the 24″ side).

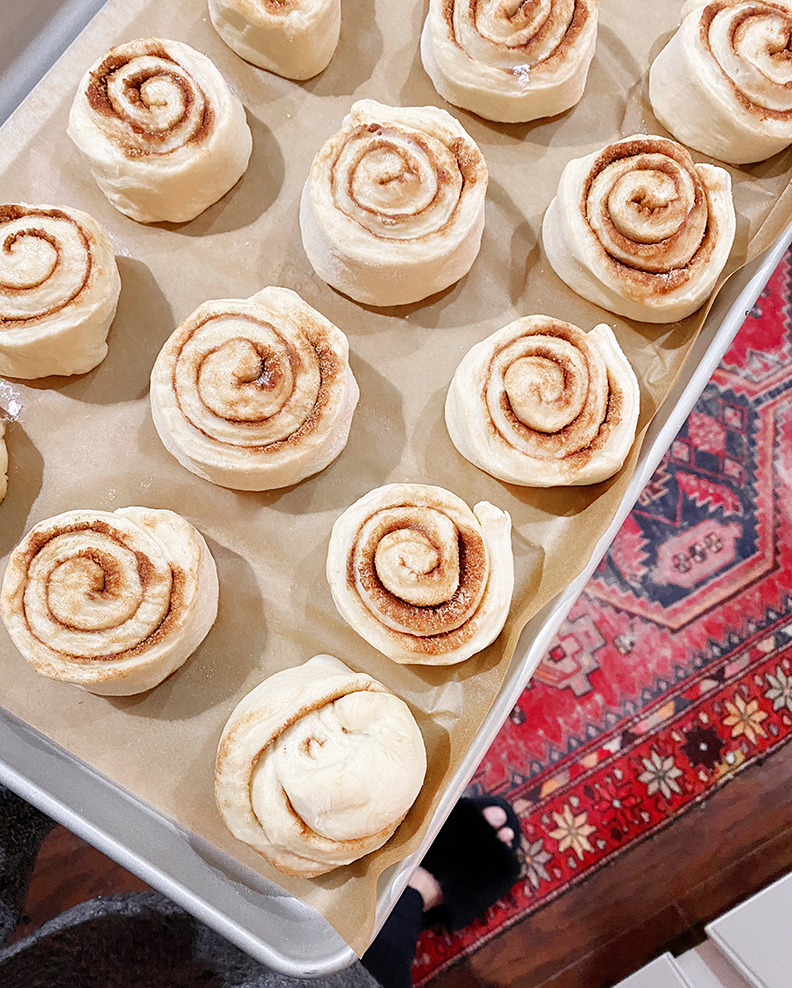
Cut with a serrated knife into about 12 slices (see my ugly little bun on the corner? That was the two ends of the roll mushed together lol.

Place face side up on a parchment paper lined rimmed baking sheet WITH SPACES in between. They will puff up lots and fill up most of the space on the tray. Made that mistake before and OMG they were massive and weird looking.

Cover with plastic wrap and refrigerate overnight.


When ready to bake, remove from the refrigerator, uncover, and let stand 10 minutes while preheating the oven to 375 degrees.

Puncture any surface bubbles with a greased toothpick.

Bake 20-25 minutes. (check centers with toothpick until comes out just clean. Rolls will be slightly browned but don’t overdo it! I would always rather they were a little gooey than a little dry!


MAKE THE CARAMEL SAUCE:

While the rolls are baking, place 1 stick of butter, 1 cup of sugar, 1/2 cup buttermilk, 1/2 tsp baking soda, and 1 tbsp Karo syrup in a large saucepan.

Boil slowly for approximately 10 minutes.

Keep a careful watch and stir it down if it boils up high at first. Let cook until deep caramel colored but don’t let it burn! This happens very quickly.

Pour over the rolls as soon as they’re out of the oven.

Enjoy!