recipe

DOUBLE CHOCOLATE + RASPBERRY HAMENTASHEN

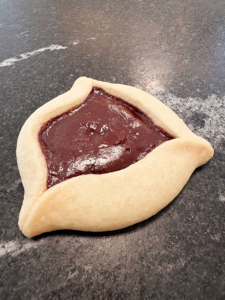
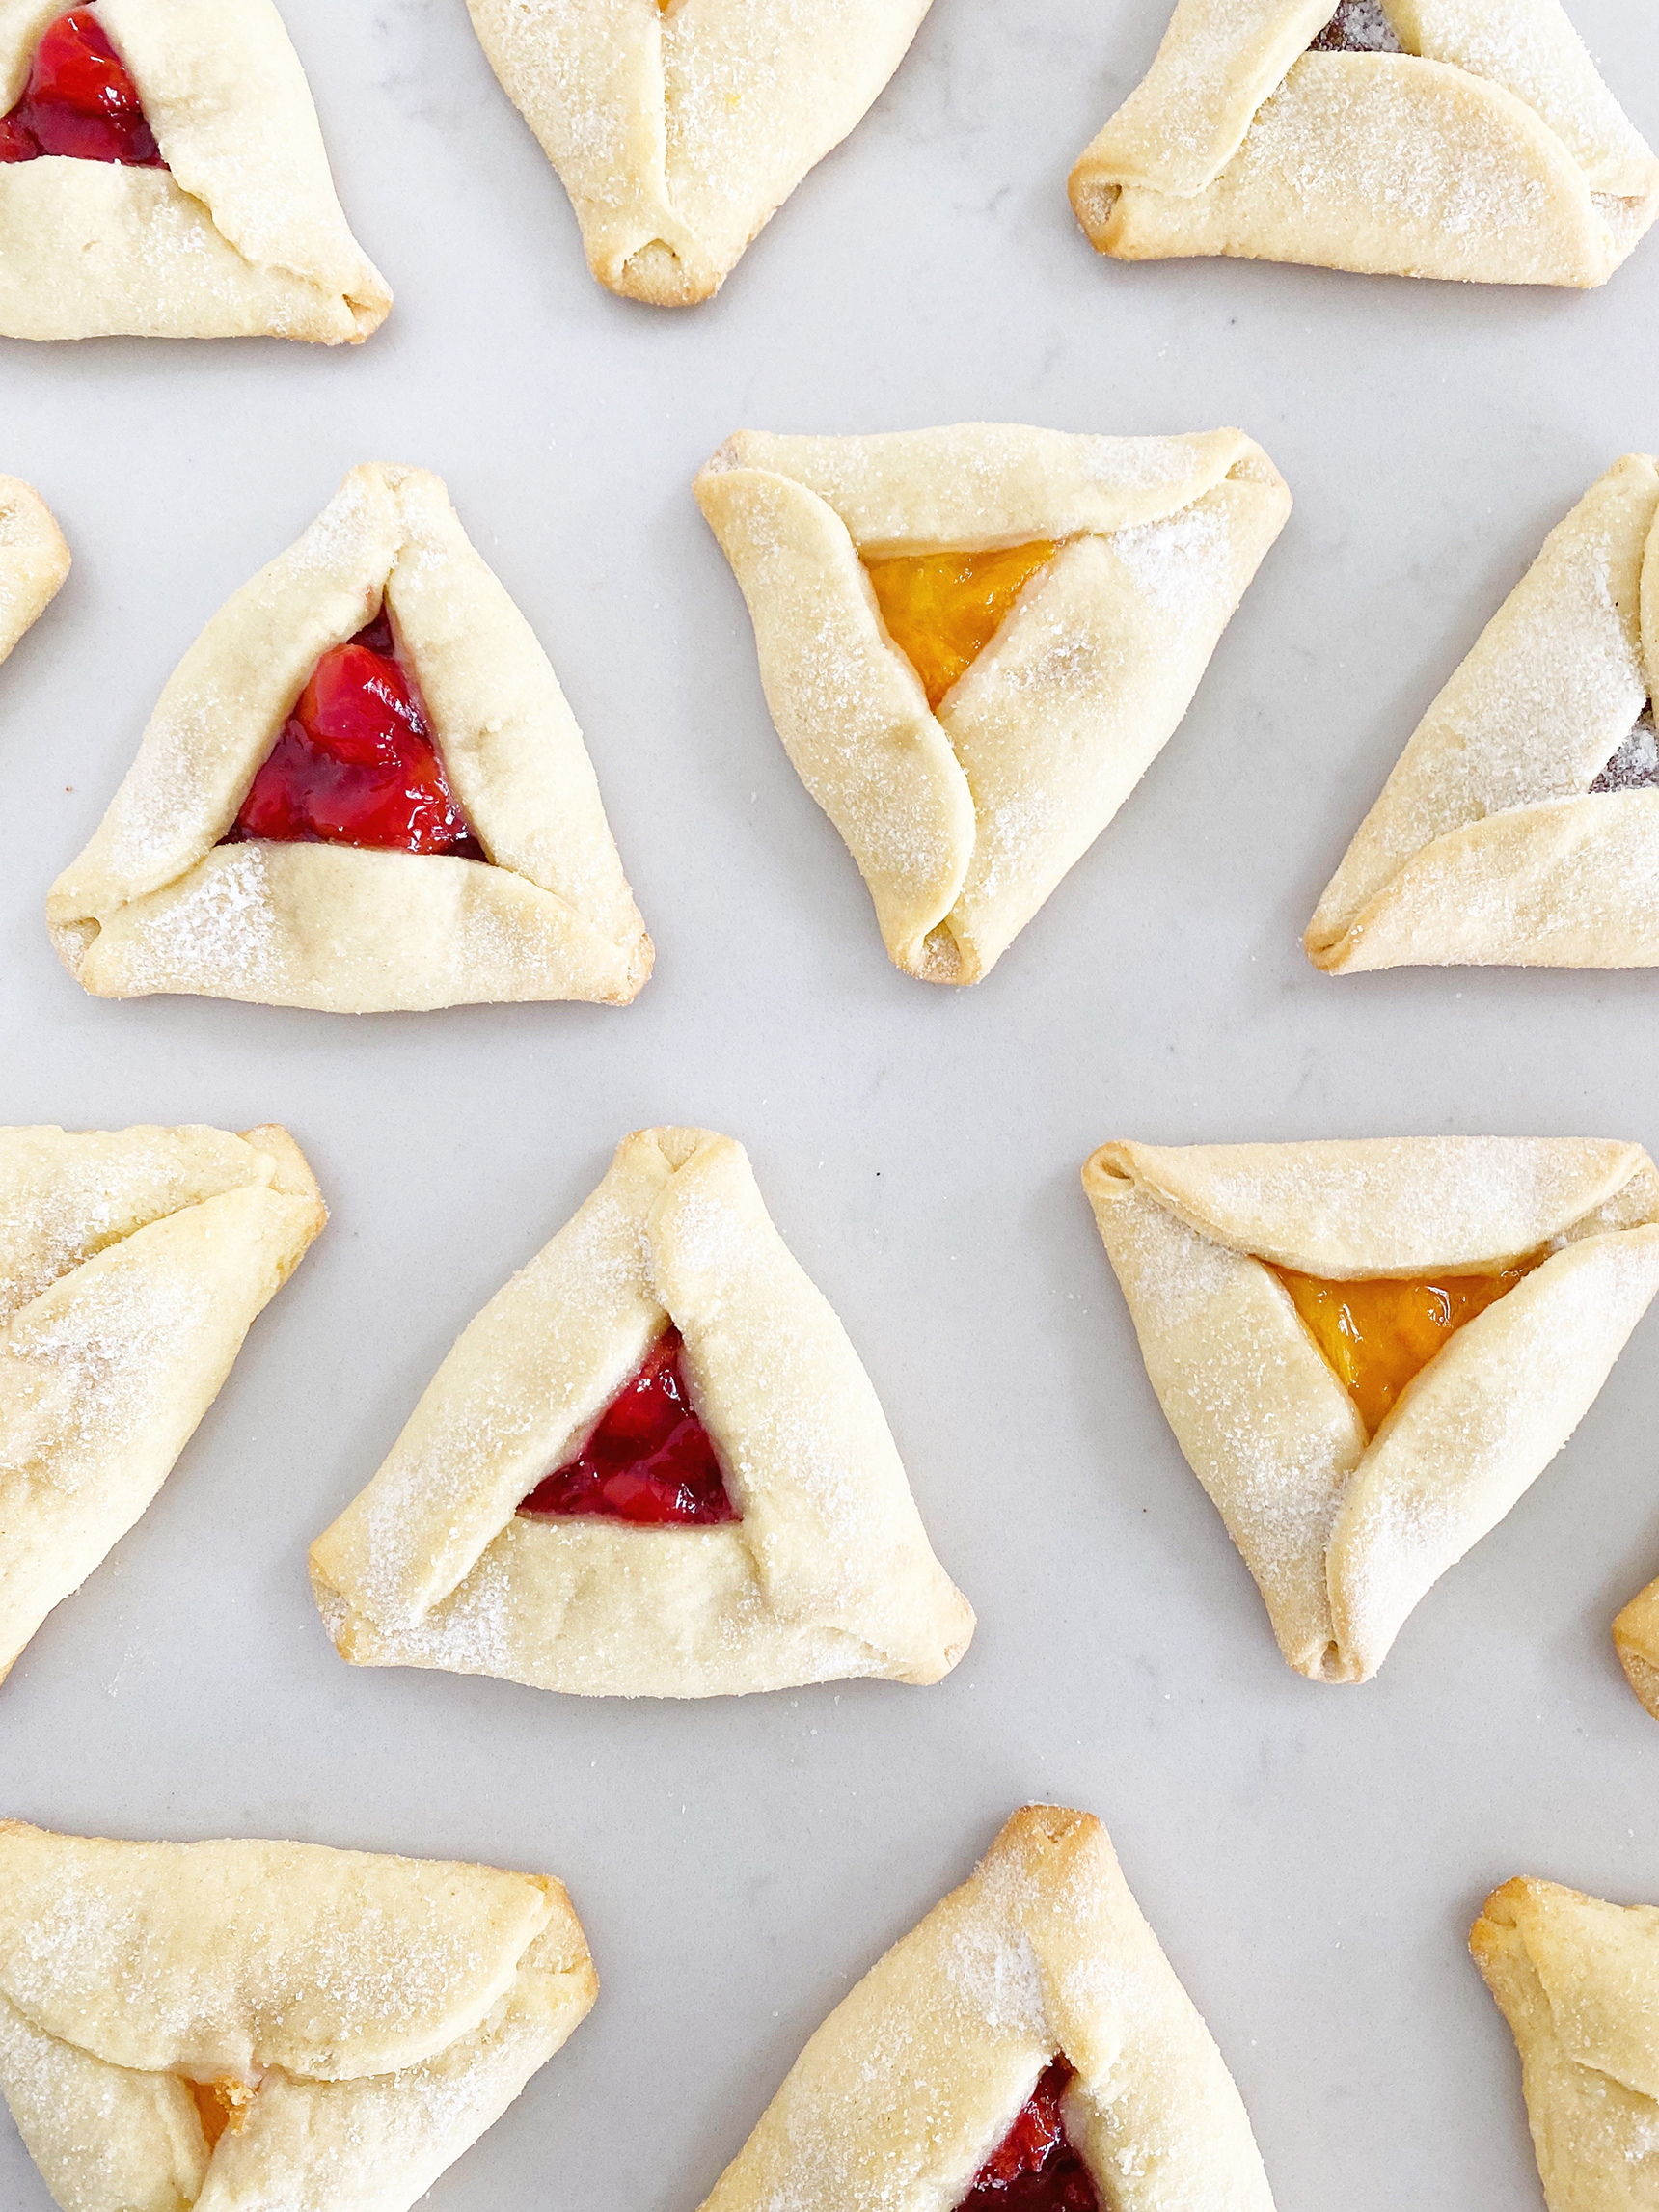
Hamentashen are a traditional three-cornered cookie we (Jews) make on Purim! For a more traditional soft vanilla sugar cookie hamentashen, see my regular recipe HERE  though I must say “traditional” in my mind means crumbly cookies, whereas my recipe is soft. For these double chocolate hamentashen, I wanted to experiment with flavor. The dough is still pretty soft, bittersweet, and the filling has a brownie flavor- almost pudding-like. The combination bite together is not too sweet- just right. I like a little raspberry jam in there too for a sweeter flavor. Sprinkle a little fleur de sel on top right before you bake them for a more in depth flavor.


IMPORTATANT NOTES:
  1. I know it’s annoying, but you should chill the dough, either the night before or at least for a couple hours in the fridge. Divide the dough in quarters and wrap each in saran wrap. No need to make them into disks. The dough is super soft but keeps it’s shape. Stack them together and wrap in foil to avoid any odor contamination in your fridge.
  2. Before baking, you MUST chill the cookies about 10-20 minutes. They’ll keep their shape that way! So this means after you add the filling, pinch into triangles, coat with sugar, then you MUST chill them in the freezer until they’re cold to the touch, and THEN you can bake them.
  3. Don’t overfill the cookies or have the topping be runny. I used a heaping 1 teaspoon of filling with a 3.5″ round cutter.
  4. If you’re using a bigger circle cookie cutter, you can add more filling and bake for about 12 minutes instead of 10.


CHOCOLATE FILLING:

Filling can be made up to a week ahead and stored, covered, in the fridge.


Ingredients

  • 1/2 cup granulated sugar
  • 6 oz heavy cream or half-and-half
  • Pinch kosher salt
  • 6 ounces extra bittersweet chocolate, preferably between 66 and 74 percent cocoa, coarsely chopped OR Ghiradelli 60% dark chocolate chips work perfectly. If you don’t have a scale, that’s a little less than 1/2 a cup.
  • 8 tablespoons unsalted butter, diced, at room temperature
  • 2 teaspoons vanilla extract


Instructions

  1. In a small saucepan over medium heat, combine sugar, cream and salt. Simmer, stirring occasionally, until sugar completely dissolves, about 5 minutes.
  2. In a separate small container, add chocolate, butter and vanilla.
  3. Pour the sugar mixture into the chocolate container and mix until smooth.
  4. Let cool to room temperature. It should be the consistency of thick pudding. If you made it ahead, you can scoop it into the cookie dough straight out of the fridge.


CHOCOLATE DOUGH:

Ingredients

  • 1 c. margarine, room temp
  • 2 tbsp butter, room temp
  • 1 1/4 c. granulated sugar
  • 1 egg, room temp
  • 2 tbsp whole milk, room temp (you can use half and half)
  • 2 tsp real vanilla extract
  • 2 1/2 c. flour (I always bake with bread flour)
  • 1/2 cup good cocoa powder
  • 1 tsp. baking soda
  • 1 tsp. baking powder
  • 1 tsp. salt

extra granulated sugar and sea salt to sprinkle on top

Raspberry jam (Optional! You can keep it chocolate chocolate too)

round cookie cutter – any size, but I used 3.5″ round. Anywhere from 3″ to 4″ is typical.


Instructions

  1. Sift all dry ingredients and set aside.
  2. Mix butter and sugar til fluffy 2-3 min.
  3. Add egg and mix well.
  4. Add vanilla.
  5. Slowly mix in dry ingredients alternating with milk.
  6. Mix until just combined.
  7. Divide the dough into four parts, plop each down on Saran Wrap and wrap each tightly. Stack them up and wrap them all in foil. Chill in the refrigerator overnight or at least stick them in your freezer for a couple hours.
  8. Take one disc out of the fridge and roll out on a lightly floured board, 1/8″ – 1/4″ thick.
  9. Cut circles and place on a parchment paper-lined tray.
  10. Fill each circle with 1/2 tsp raspberry jam and spread around a bit, leaving a good border of dough. Add a heaping 1 tsp of chocolate filling for a 3″ – 3.5″ round cookie. The larger you make the circles, the more filling you can use and the longer they bake. Just make sure you can pinch the corners around the filling.
  11. Form triangles and pinch the corners together slightly to make sure they don’t fall apart and spill all the filling.
  12. Sprinkle the triangles generously with granulated sugar and a touch of sea salt.
  13. Chill in the freezer completely while you work on the next tray for 20 minutes or so. The longer they’re chilled, the more they will keep their shape. If you’re making way in advance, just keep them covered in the fridge.
  14. Bake at 350 degrees for just 10 minutes. The whole point is to keep these SOFT so don’t over-bake them. Cool on the tray for a minute or two only, then slip the cookies still on the parchment paper off the tray to cool completely.

Happy Purim!

xo

Leah
PASSOVER MENU + COOKING SCHEDULE

This Passover meal was absolutely delicious and even included some vegan options! My friend, Joanna, is vegan and I really wanted her to have something good to eat. I’m a vegetarian, so there was lots for me to eat as well.

MENU

  • Brisket
  • Kugel (vegetarian)
  • Spinach Artichoke Dip-Style Quiche (vegetarian)
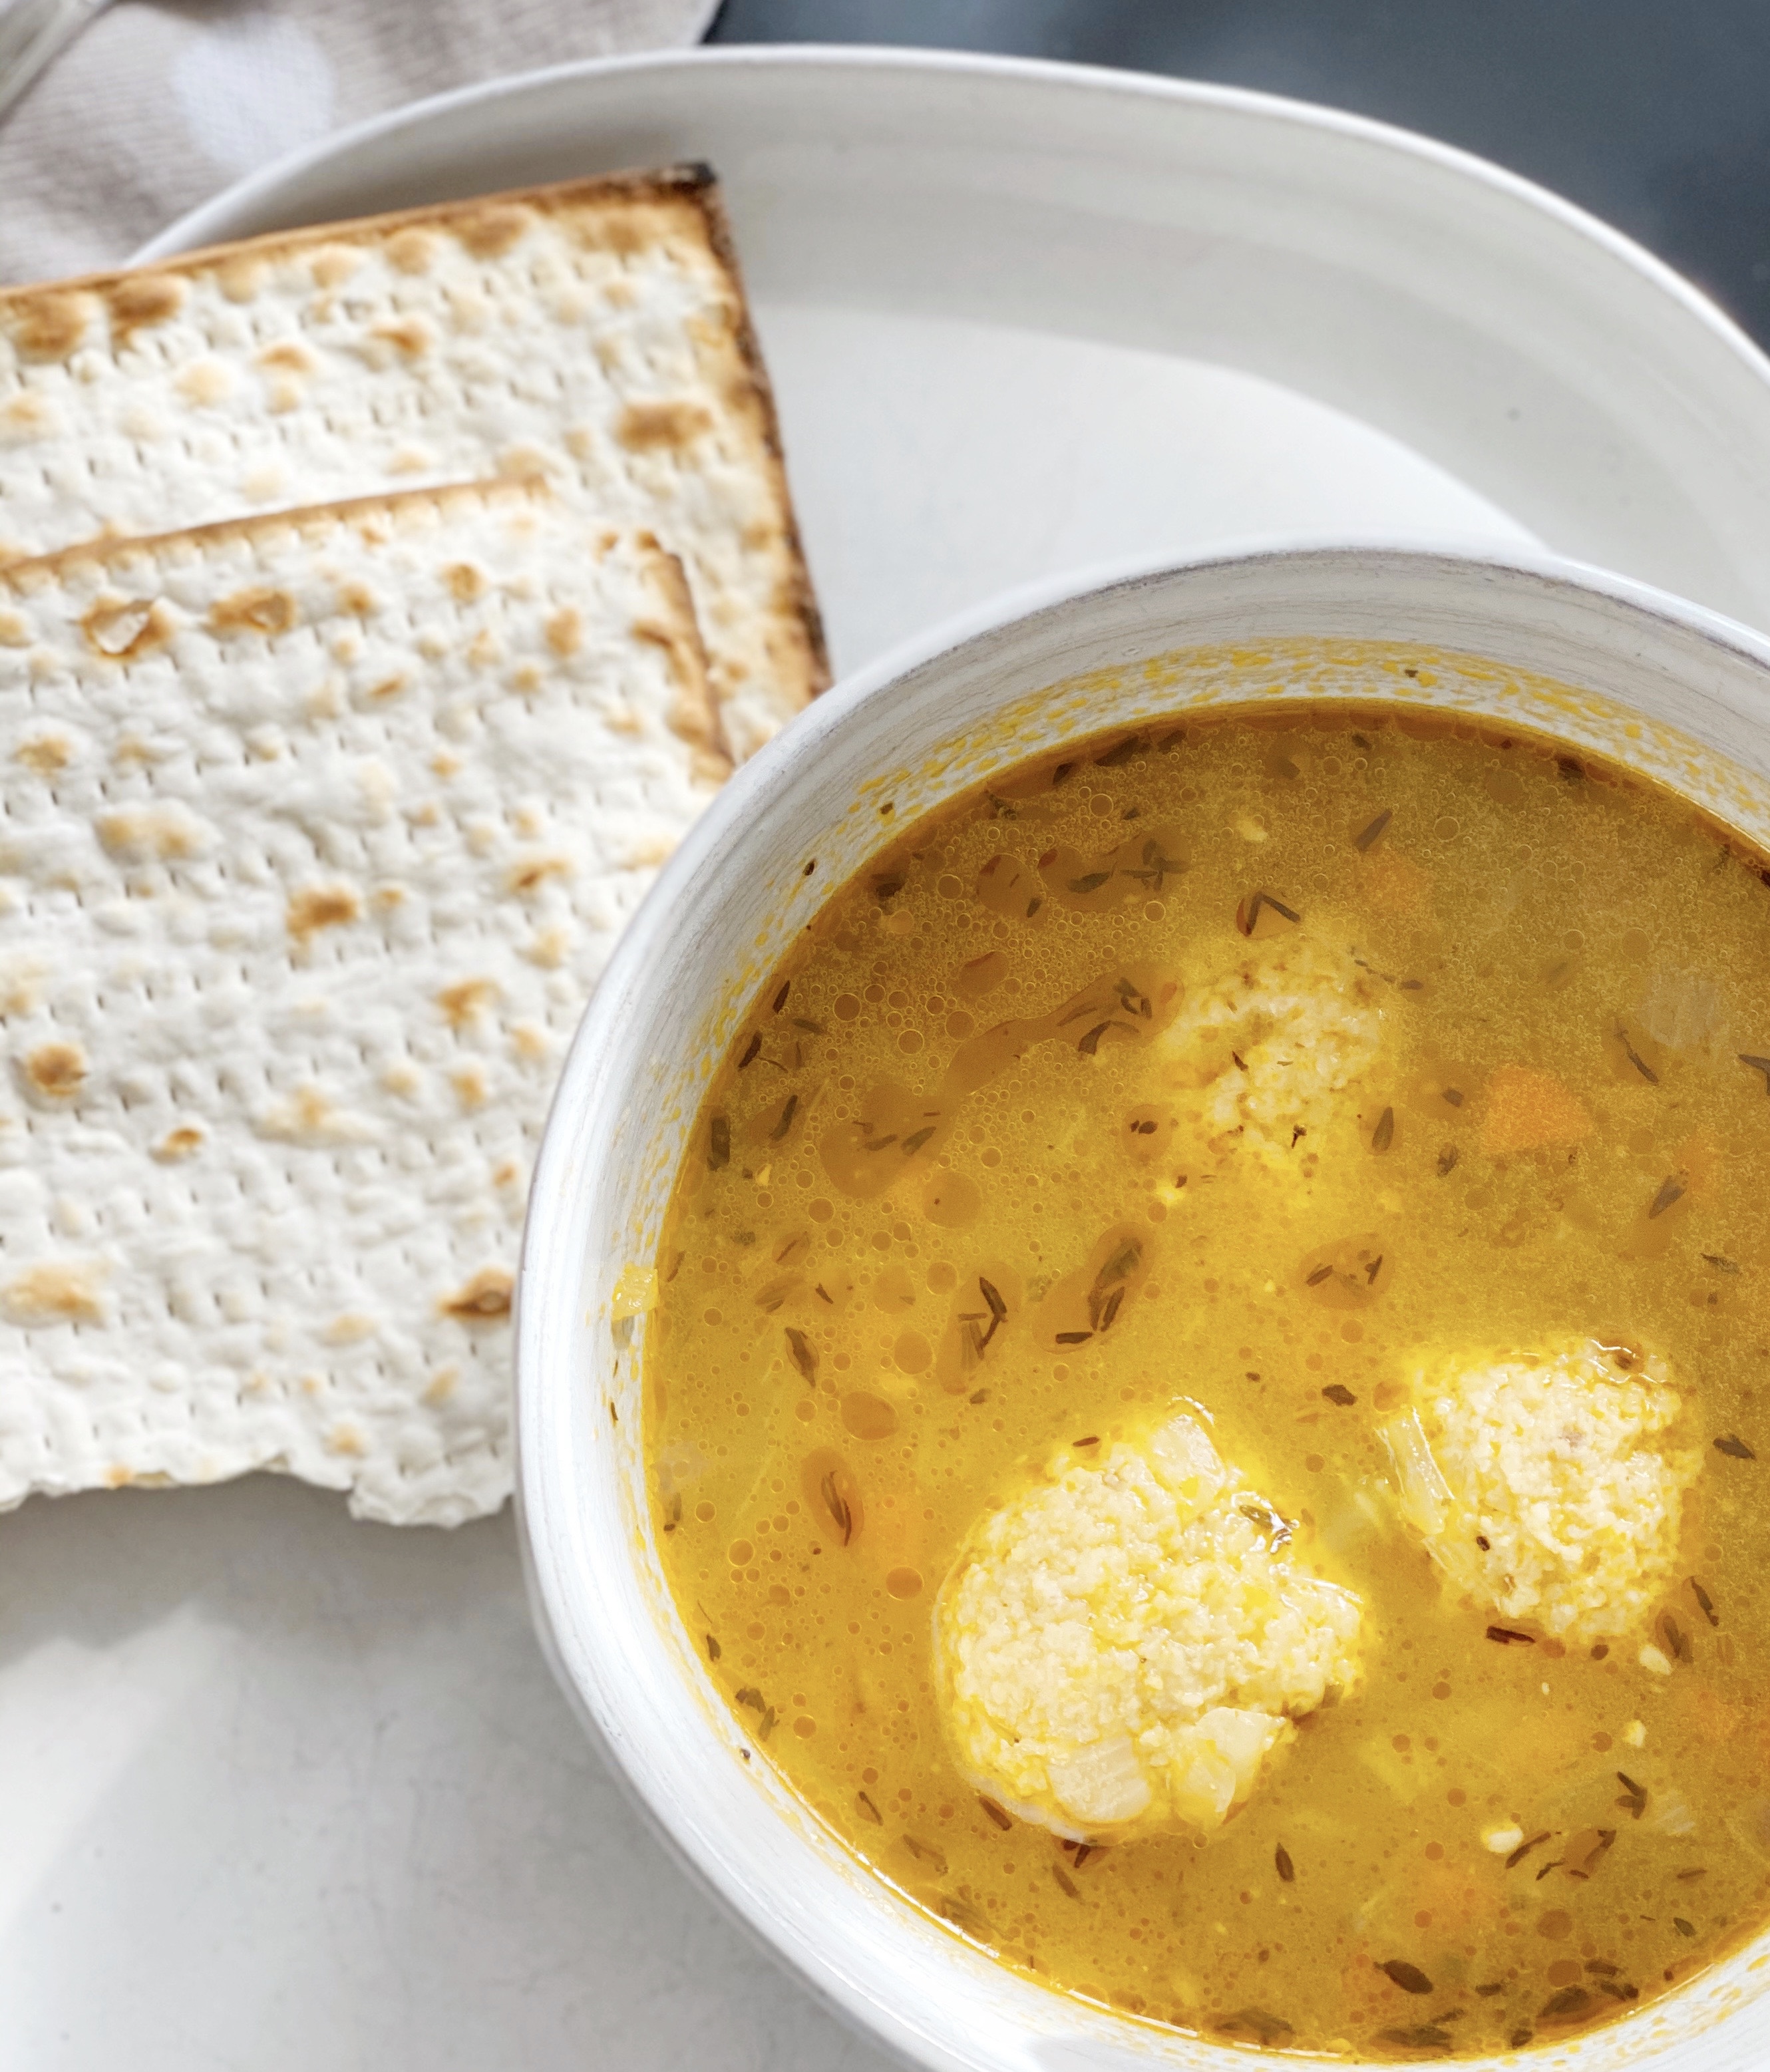
  • Matzo ball soup (vegetarian + vegan option)
  • Haroset
  • Matzo Samoas (vegan)
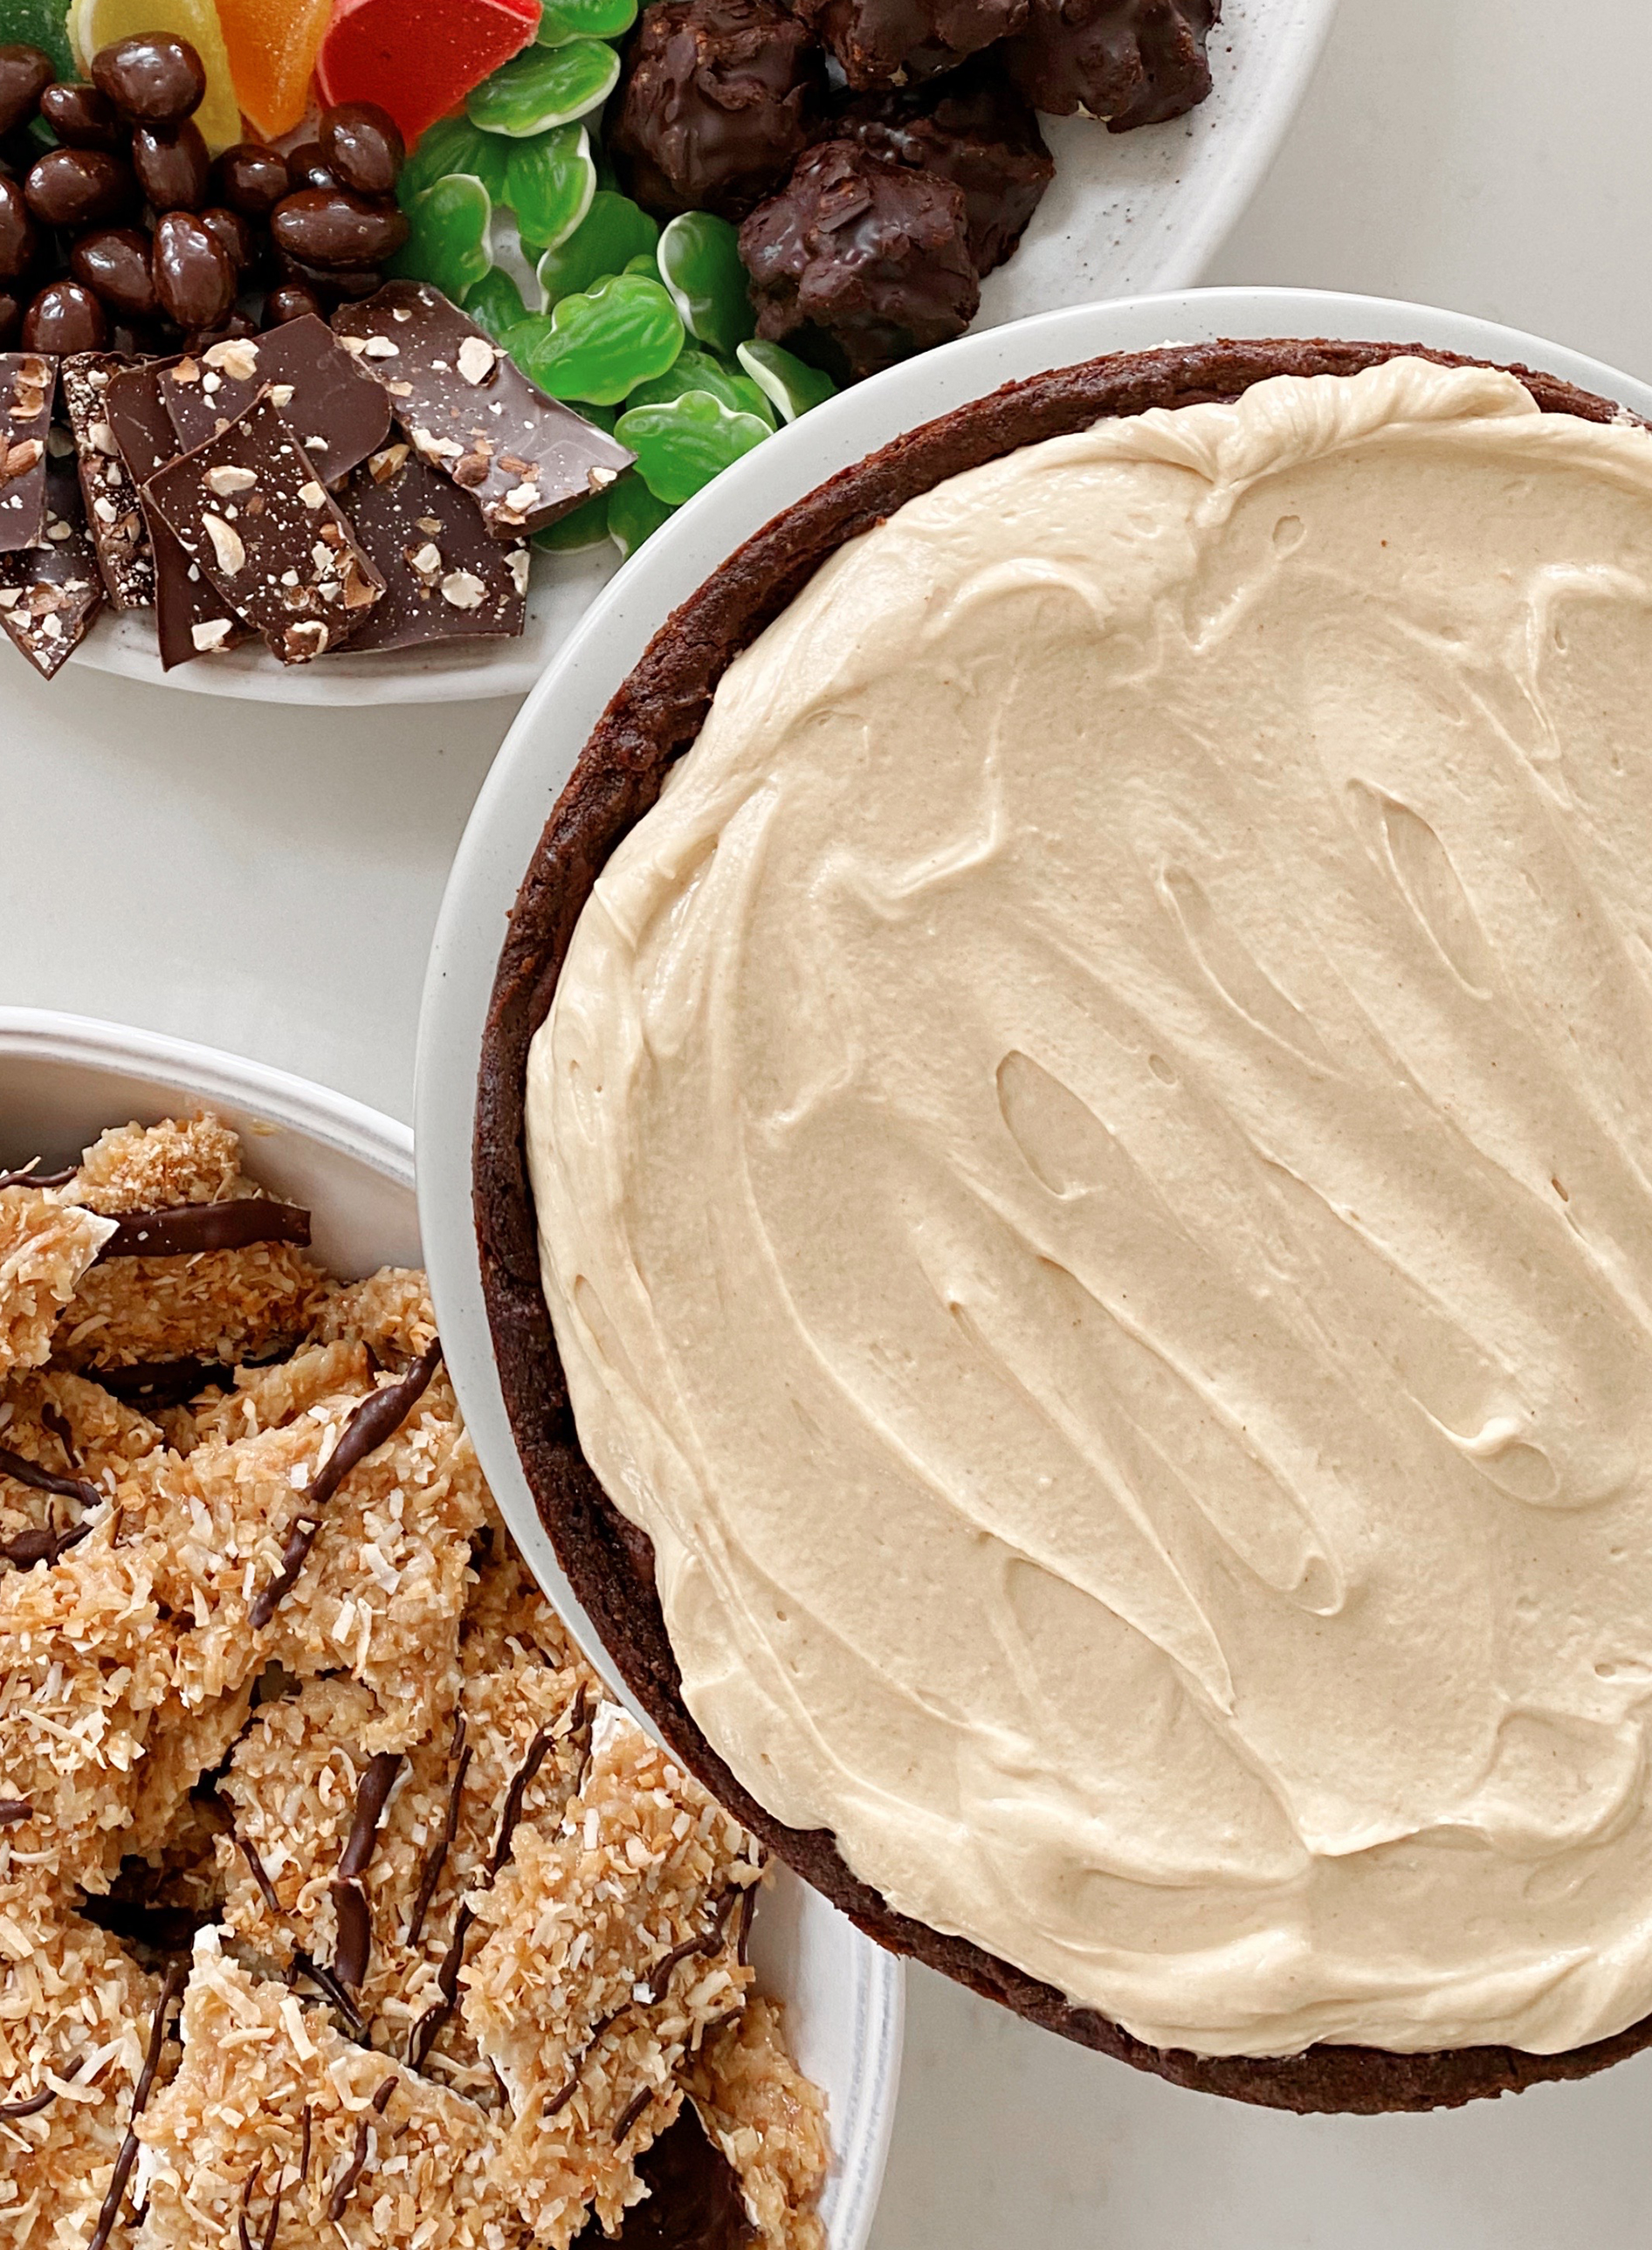
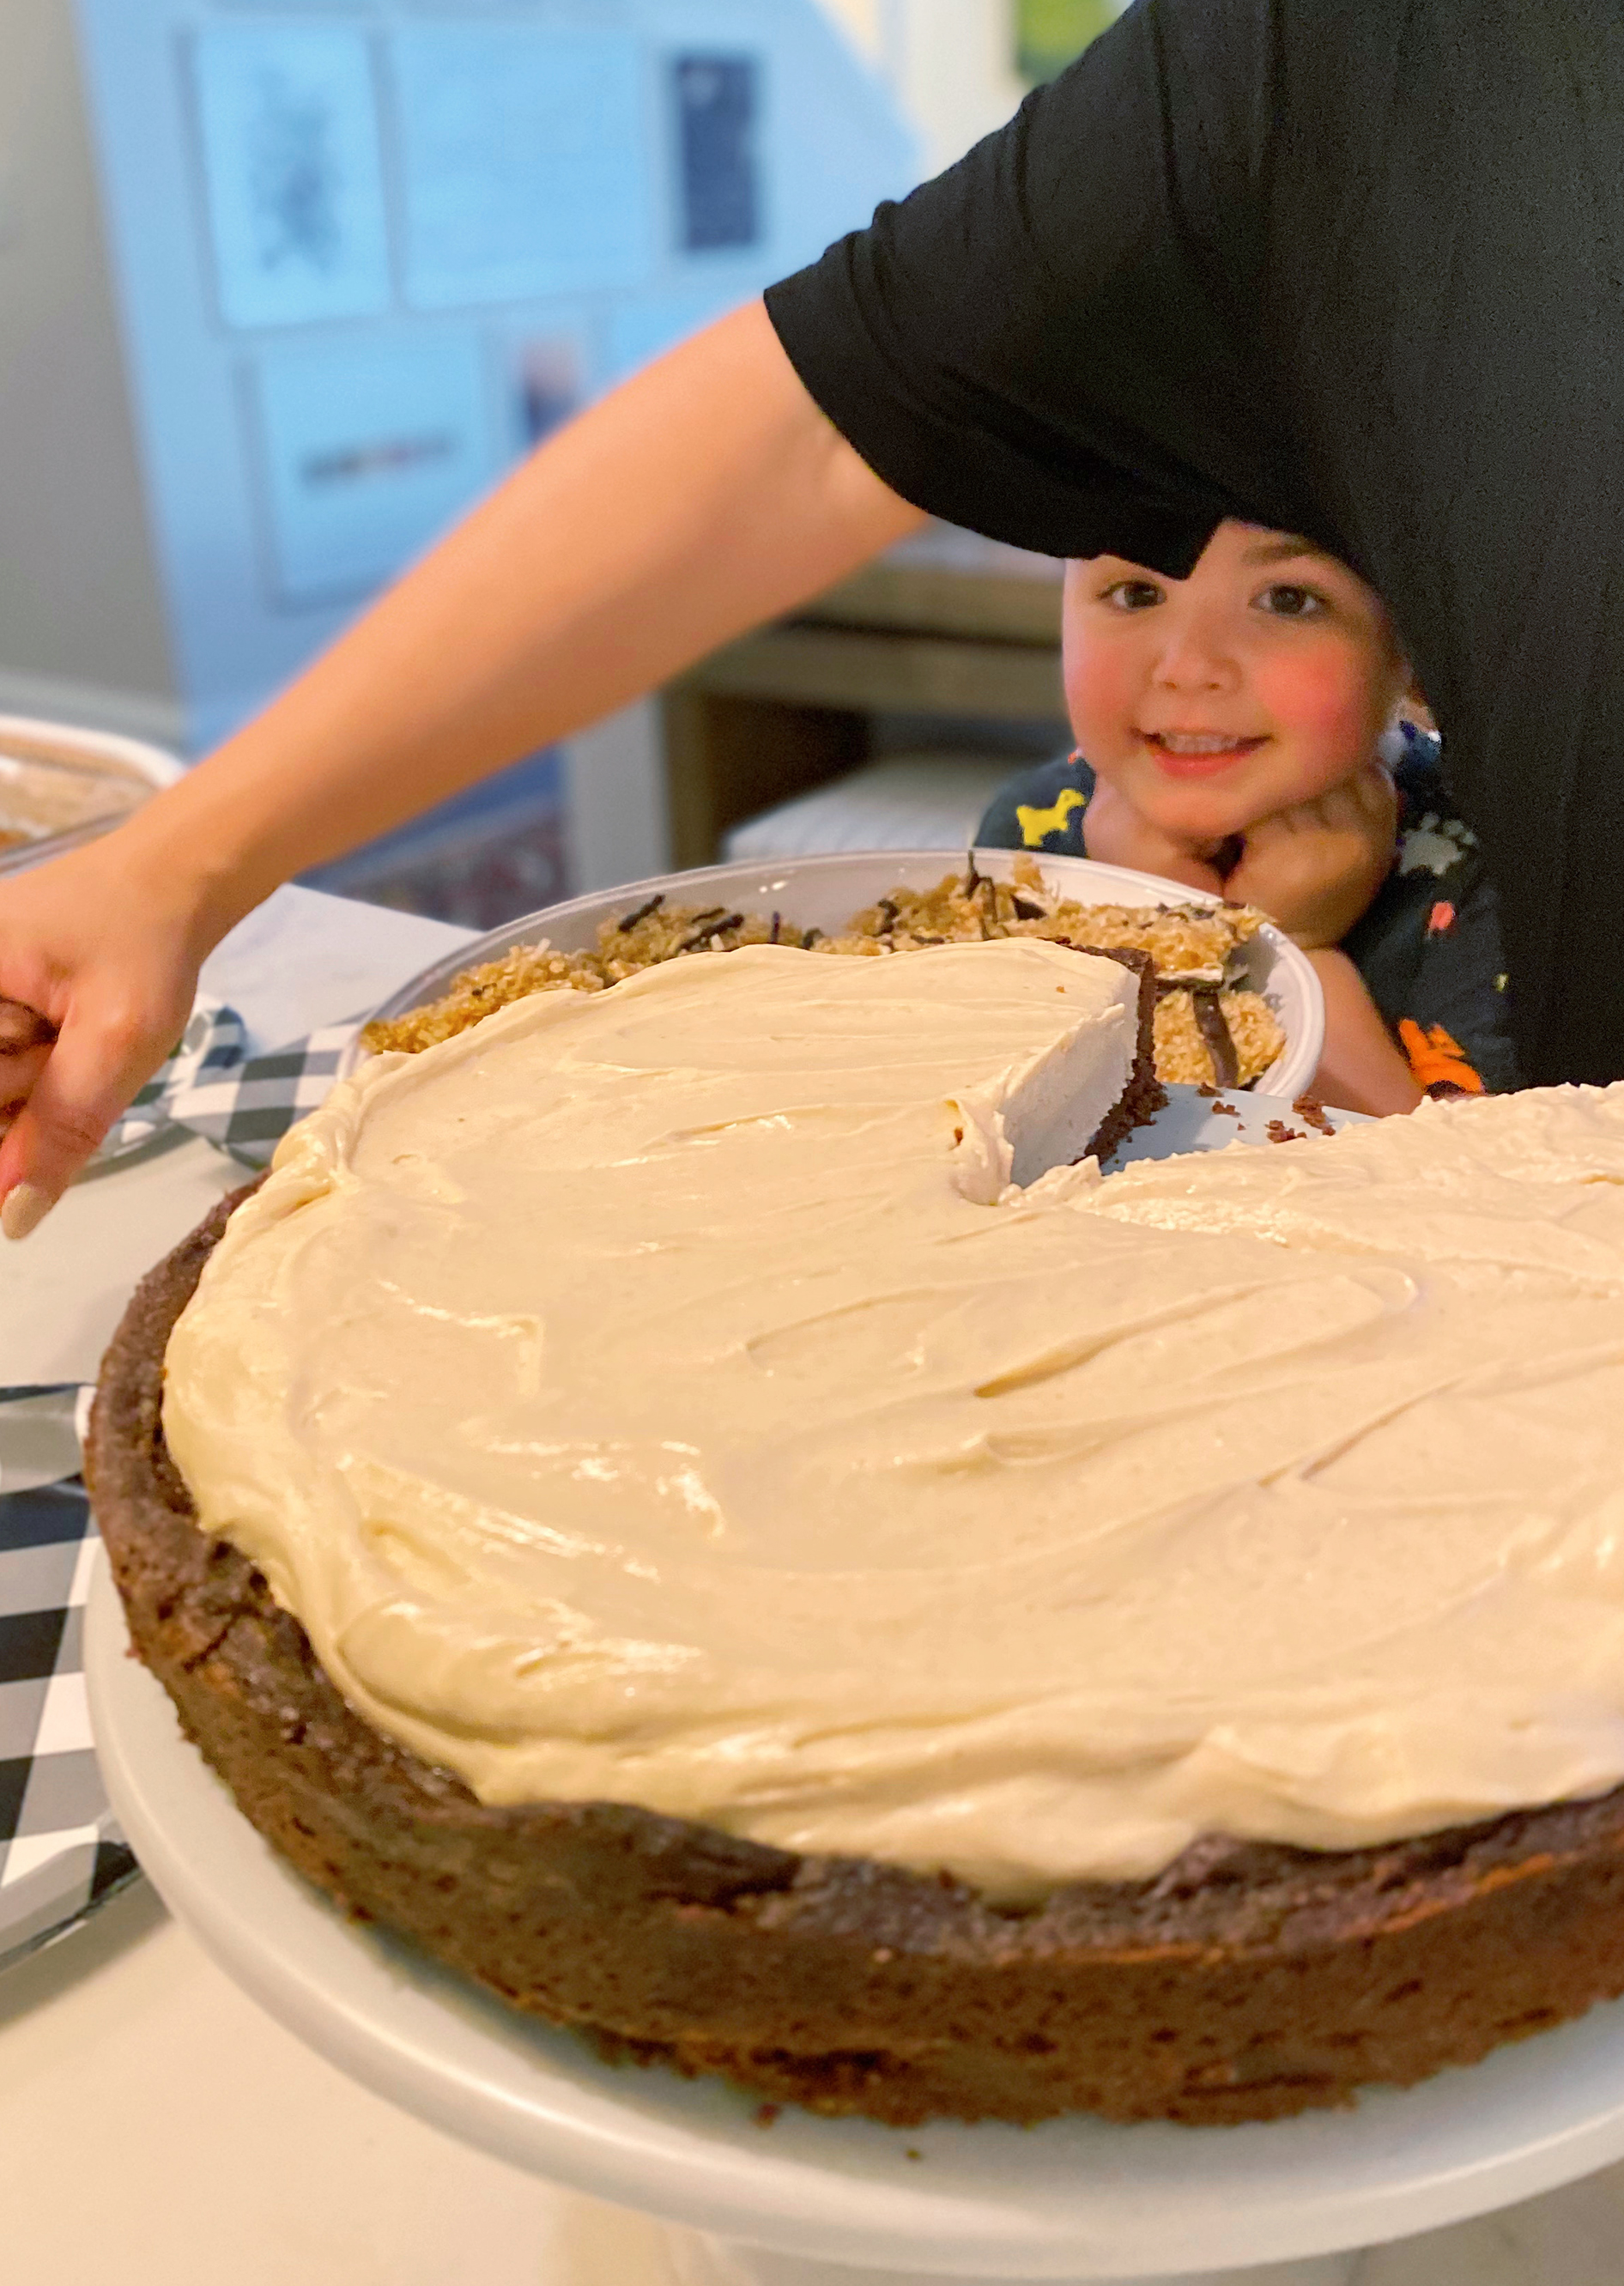
  • Chocolate Peanut butter pie


SCHEDULE

Not going to lie, making a huge dinner is a lot of work. Here’s the schedule that helped me organize.

2 days before:
  • pick up the brisket and any fresh ingredients
  • hard boil the eggs (refrigerate)
  • make the caramel sauce (refrigerate)
  • toast the coconut (room temp)
  • make the haroset (refrigerate)
  • set the table if you can
1 day before:
  • make the brisket (refrigerate)
  • caramelize onions (refrigerate)
  • make the quiche crust (refrigerate)
  • make the chocolate pie crust (freeze)
  • brown the butter for ganache (refrigerate)
  • make the samoa bark (freeze)
The day of:
  • take out the cream cheese to get to room temp.
  • make the kugel
  • while that bakes, make the pie and refrigerate
  • make the quiche
  • make the matzo balls (refrigerate)
  • make the broth (let simmer)
  • make the seder plate + put out the matzo, parsley, etc. for the table
One hour before:
  • cook the matzo balls in the soup
  • heat the brisket 300 degrees
  • warm up the kugel and quiche for about 20-30 min


RECIPES


AUNT ELAINE’S BRISKET

* best to make the day before if possible

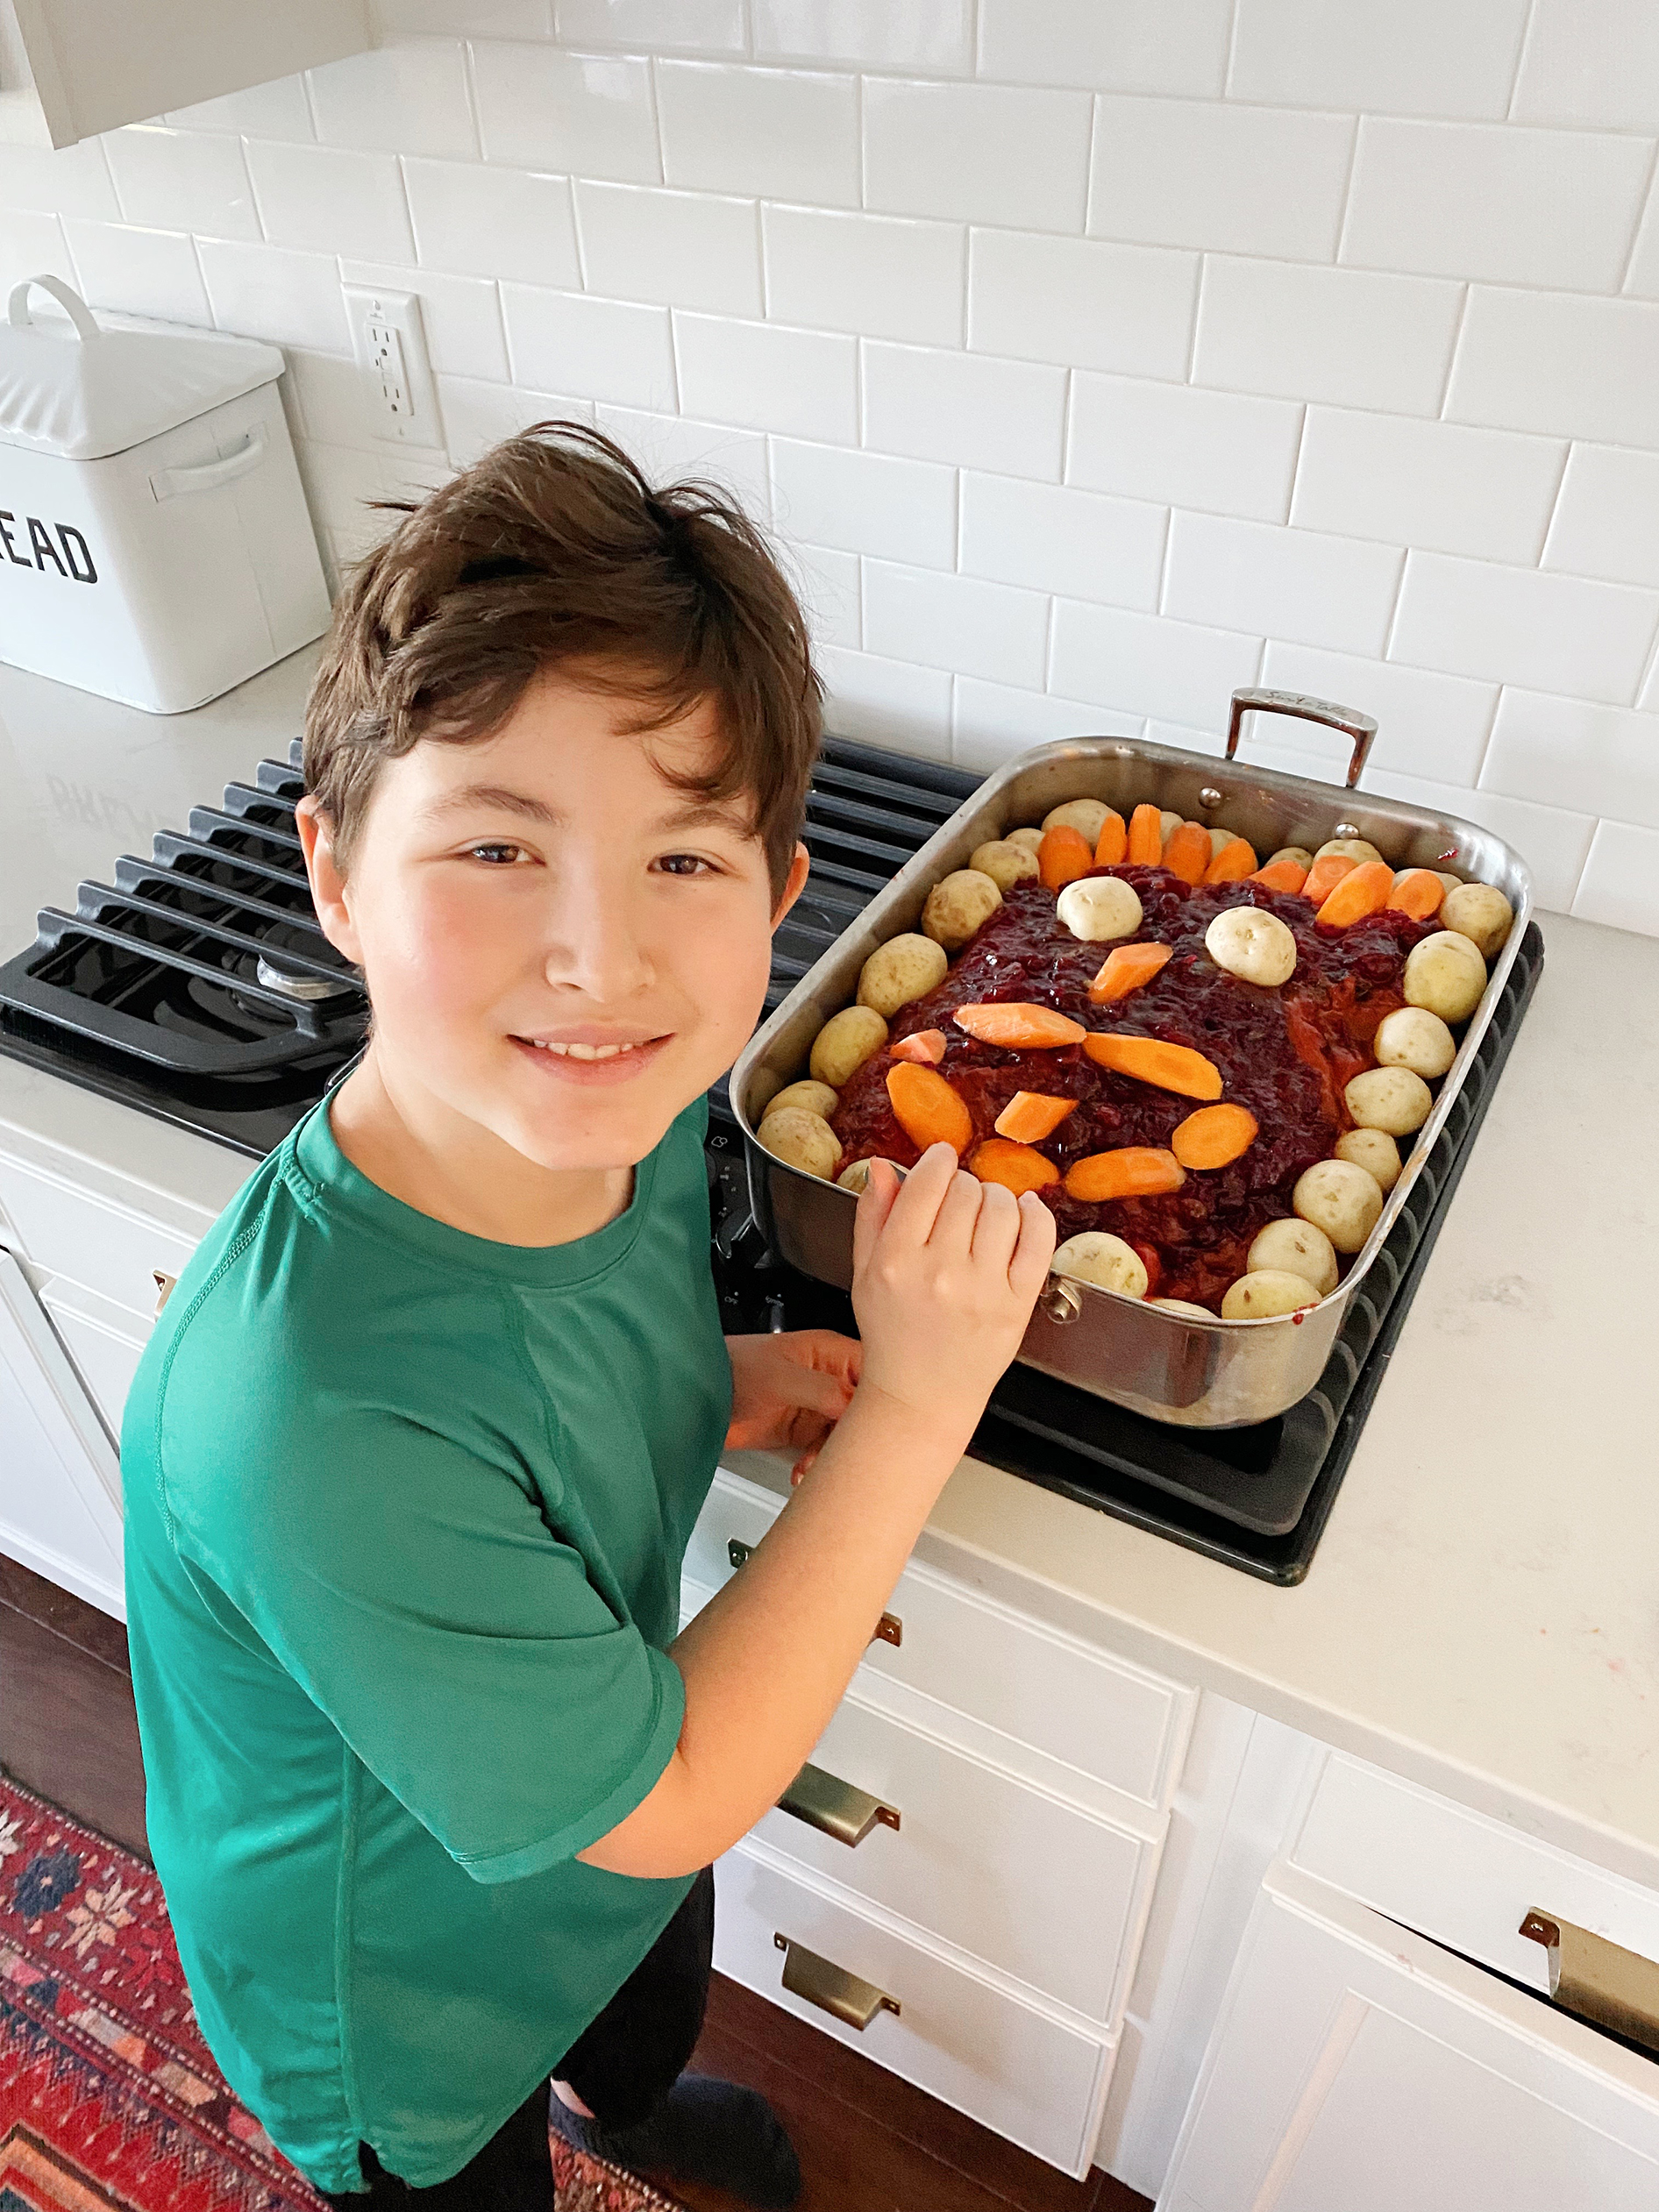
Ari has made the brisket 3 years in a row now. He makes a “meat man” which makes it more fun. I added more carrots before cooking, but it didn’t go with the face 🙂

  • 5-6 lbs brisket
  • garlic powder
  • pepper
  • paprika
  • 5 large onions, thickly sliced
  • Bottle of ketchup (enough to fully cover the brisket)
  • 3 cans whole cranberries (you won’t taste them)
  • 5 or so thickly sliced carrots
  • 2 bags baby potatoes


  1. on the bottom of a large roasting pan, place sliced onions
  2. place meat on top
  3. liberally sprinkle seasonings on top- can’t go wrong with covering it like a rub
  4. spread ketchup and cranberries on top of that to fully cover the meat
  5. add potatoes and carrots around the meat
  6. add 3/4 cup water to the pan
  7. cover the pan tightly with foil
  8. bake 350 degrees for 4 hours
  9. let cool, then take the meat out and slice thickly. Replace the meat back into the gravy, cover, and refrigerate. I like to first portion half into a 9×13″ casserole dish so that it’ll fit into my oven for reheating purposes, especially if there are only 4-5 people eating it at a time. This year, I put the remainder in to-go containers to give to my sister and friends.
  10. 1 hour before seder, reheat at 300 degrees.


HAROSET

I really don’t measure! This is just an approximation. My Grandma says to use 1 small apple per person. Make sure there’s enough wine to fully coat all of the mixture. The apples will soak up some of the wine, so you’d rather overdo it a little bit then have it be dry.

Make 1-2 days ahead of your seder so the apples soak up all the flavor
  • 4 large honeycrisp apples, peeled and finely chopped
  • 2 cups red wine (I use a decent red blend to give it a good flavor)
  • 2 TBSP brown sugar (only if you’re using regular wine like I do. If you’re using sweet red wine like Manischewitz, skip this step)
  • 1 tbsp or more cinnamon
  • 1 cup pecans finely chopped

Mix everything together. Stir several times throughout the day so that all the apples get coated.  The liquid should be about 1/2 of the way up the bowl. The flavor gets better as it sits and the apples get soaked. Serve with matzo.


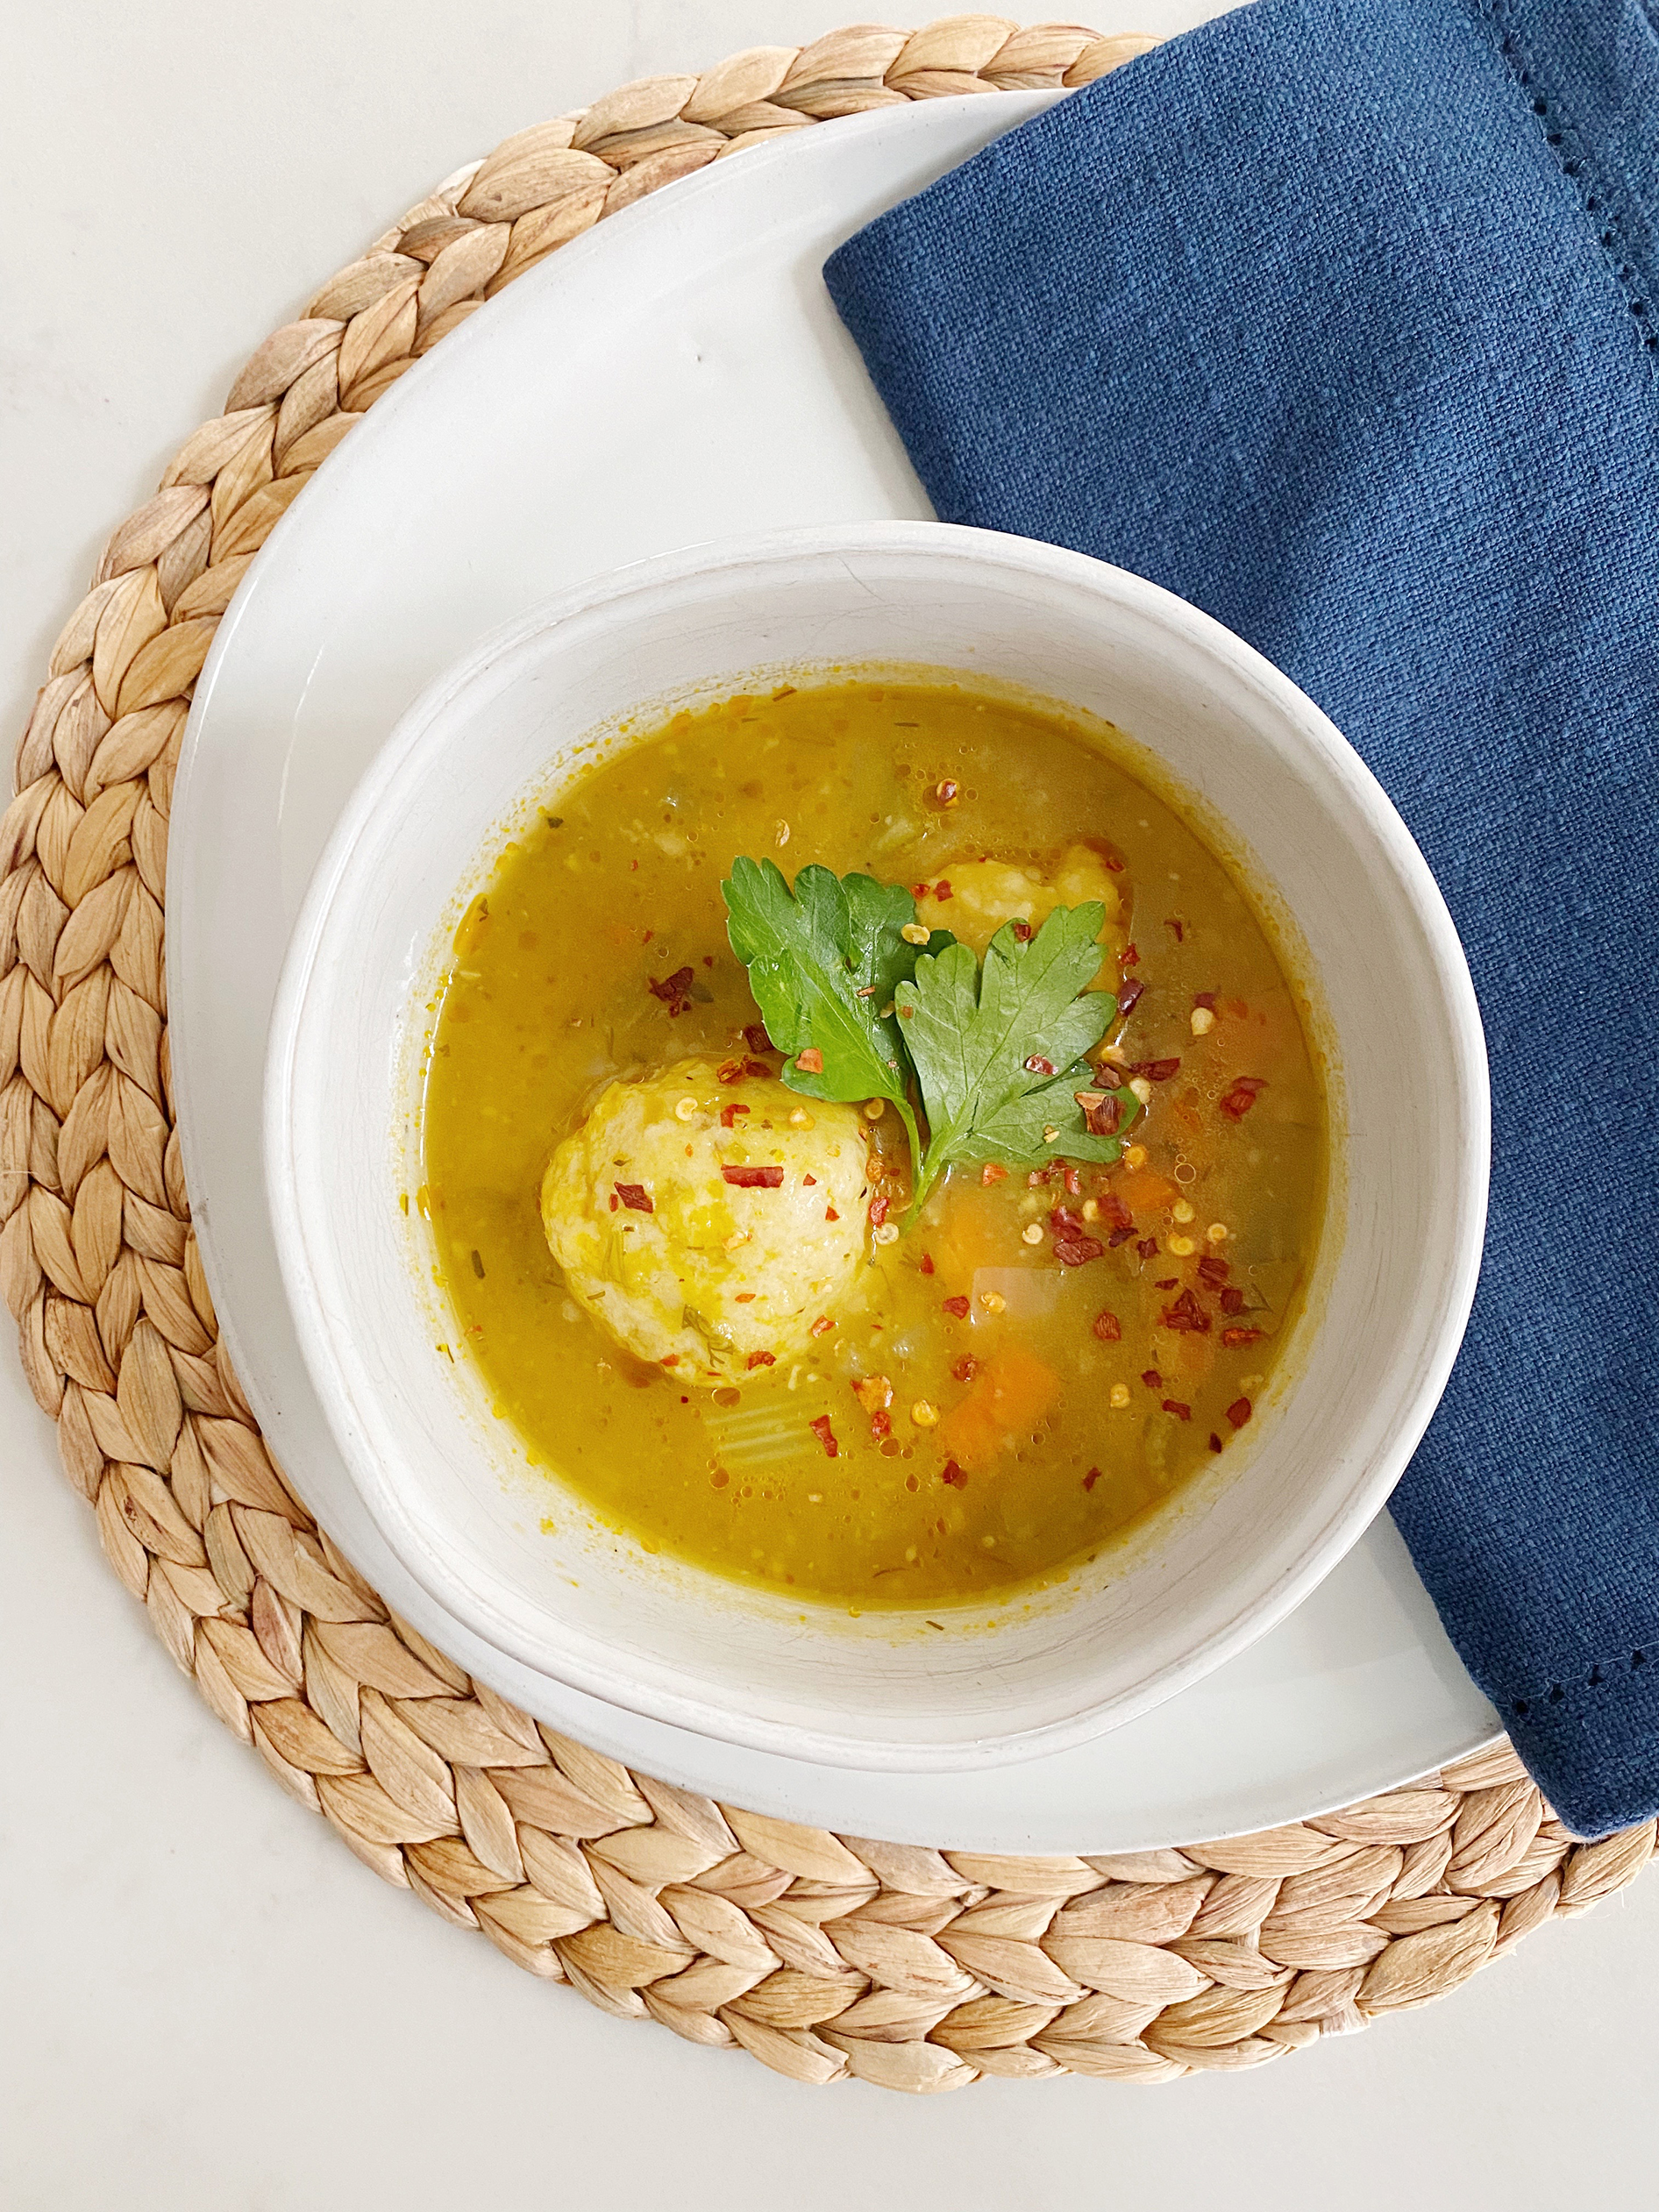
HOMEMADE MATZO BALL SOUP (VEGETARIAN + VEGAN OPTION)

I’m NOT a fan of the pre-made soup mix. It’s too salty and not enough flavor for my taste. My family loves this recipe, and below there’s a vegan option for the matzo balls. We seriously could not taste the difference! The only visible difference is the balls when cooked in the broth, thickened the broth.

Vegetarian Matzo Balls:
Makes about 12
  • 1 cup matzo meal
  • 4 eggs
  • 4 tbsp vegetable oil
  • 4 tbsp water
  • 2 tsp water
Vegan Matzo Balls:
Makes about 6
  • 1/2 cup matzo meal
  • 1/8 cup potato starch
  • 1/4 teaspoon baking soda
  • 1/4 teaspoon baking powder
  •  Kosher salt and black pepper
  • 1/8 cup olive oil
  • 1/2 cup chickpea cooking liquid from 1 15-ounce can
Vegetarian Broth:
Enough for about 18 matzo balls
  • 1 large yellow onion, diced
  • 5 carrots, diced
  • 5 stalks celery, diced
  • 1 heaping tbsp minced garlic
  • 1 tbsp or more to taste of  THIS spice which is absolutely magical, but you could recreate it with salt, freeze-dried shallots, chives, garlic, onion and green peppercorns.
  • Salt and Pepper
  • 1 tsp fresh thyme
  • 2 tbsp of fresh dill
  • 3 – 32 oz boxes of vegetable broth


1. Make the Matzo Balls

For Vegetarian Matzo Balls: Add eggs and oil to a medium bowl and whip with a fork. Mix in matzo meal, water, and salt until combined. Leave in the fridge for at least 15 minutes while you make the soup, but it can be made hours before.

For Vegan Matzo Balls: In a medium bowl, mix the matzo meal, potato starch, baking soda, and baking powder with 1 teaspoon salt and 1/8 teaspoon pepper. Add the olive oil and enough chickpea liquid to make a slightly sticky mixture that’s not too wet or loose, about the texture of oatmeal. (The matzo meal will absorb lots of the liquid.) Refrigerate for at least 30 minutes.


2. Make the Broth

  1. Heat olive oil in a large pot on medium.
  2. Add diced vegetables and cook for a few minutes until just softened, maybe about 5 min.
  3. Stir in minced garlic and dried/fresh seasoning and cook a few more minutes.
  4. Add vegetable broth and bring to a boil.
  5. While you wait for the pot to boil, grab the matzo ball dough from the fridge.
  6. Using a cookie/ice cream scoop (anywhere from 1″-2″), scoop up the dough then roll it in your hands to make sure it’s packed together.
  7. If you’re making both vegetarian and vegan options, transfer some of the broth to another pot to use to cook the vegan matzo balls.
  8. Drop in the matzo balls in the soup pot, then cover the pot tightly with a lid.
  9. Simmer for 40-60 minutes.
  10. Top with a little parsley and crushed red pepper if you want… but no one in my family likes either 🙂


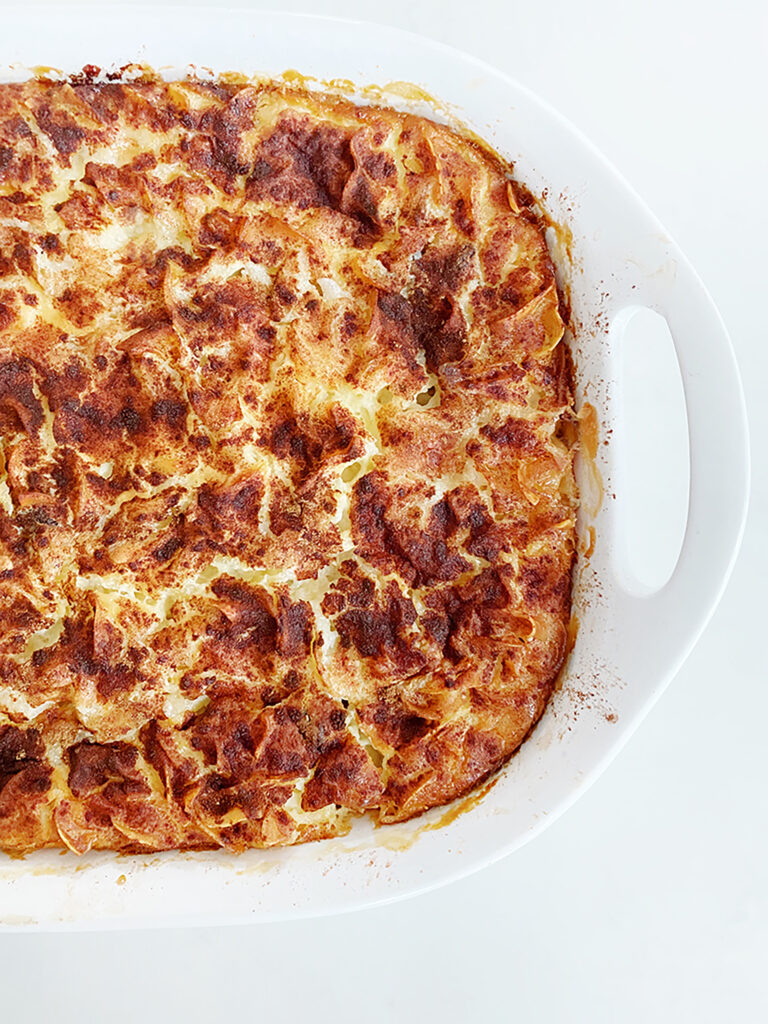
GRANDMA’S KUGEL

This year I halved the recipe, so it fit perfectly in a 8×8″ dish. Double if you’re serving a large group and use a 9×13″ dish.
  • 4 oz. medium broad egg noodles (or any egg noodles are fine. Usually in the “international section”)
  • 1/2 stick of butter, room temp (plus more for greasing the pan)
  • 4 oz. cream cheese, room temp
  • 4 eggs
  • 1/2 + 1/8 cup sugar
  • 1/8 tsp salt
  • 1 tsp vanilla
  • 1/2 tsp lemon juice
  • 2 1/4 cup whole milk
  • 1/4 cup or so of raisins
  • lots of cinnamon


  1. preheat oven to 350 degrees
  2. barely boil the noodles- just 2-3 minutes until they just start to soften
  3. butter 8×8 casserole dish
  4. spread the noodles in the pan
  5. sprinkle raisins on top
  6. in a separate bowl, mix the butter and cream cheese until smooth
  7. add in eggs, sugar, salt, vanilla, lemon juice
  8. add milk and mix by hand – it’s soupy!
  9. pour wet mixture on top of the noodles and raisins
  10. fully cover the top with cinnamon- don’t be shy!
  11. bake 350 for 1 hr until a knife comes out clean.

Let it cool to room temp, then you can refrigerate if you make this in the morning. Reheat for 30 min or so before seder starts.


SPINACH ARTICHOKE DIP STYLE QUICHE

Sort of made this one up and it turned out amazing! The flavor and texture was so good and a great main course for me since I’m a vegetarian. The crust is obviously not going to be as good as a regular crust, but hey it’s kosher for passover and did the trick for sure. *You can make the crust and caramelize the onions a day before and refrigerate*

  • 6 tbsp cold butter, cut into small pieces
  • 1 1/4 cup almond flour
  • 1/2 cup pecans
  • 1/4 tsp salt
  • 4 tbsp cold water
  • olive oil
  • 1 tbsp minced garlic
  • 5 oz. fresh spinach, chopped
  • 1 yellow onion, chopped and caramelized.
  • 1 jar marinated artichoke hearts, chopped
  • greyere cheese, grated
  • fontina cheese, grated
  • 3 eggs
  • 1 cup milk
  1. Make the crust: Place the butter, almond flour, pecans, and salt in a food processor. Pulse a few times for a rough chop. Slowly add in the water and continue to pulse, just until it starts to come together as a dough. If you blend it too much, it’ll turn into a butter consistency. Press into a 9″ pie pan and refrigerate until you’re ready to bake the quiche.
  2. Make the filling: Heat 1/2 tbsp olive oil in a pan and add the garlic. Cook for a minute or so then add in the fresh spinach with a little salt and pepper. Cook a couple minutes until the spinach has wilted. Add in the artichokes and onions until well heated just to get the flavors blended. Let that cool a bit. Whisk the eggs and milk together with a little salt and pepper, then mix into the vegetables to create the filling.
  3. Assemble the quiche: Line the crust with enough of the shredded cheese to cover it. Pour in the filling. Bake 375 degrees for 40 minutes (check at 20 min. and cover the edges of the crust with foil because it could burn…like mine did as you can see in the photo)
  4. Let it come to room temp then refrigerate until about 30 min. before seder. Reheat.


VEGAN SAMOA BARK

Okay this was amazing! The recipe is by Rebekah Lowen. They were chewy with a crunch from the chocolate matzo. I made the caramel sauce and toasted coconut a day before, then mixed everything together and assembled the day of the seder. I froze the rest, and the next day they were just as good. You can definitely make this a couple days before and keep in the freezer. If you don’t need this recipe to be vegan, use THIS recipe for the caramel sauce which I use for most recipes, I but this vegan one was seriously good too.

  • 45 sheets standard-sized matzo
  • 6 cups shredded sweetened coconut, divided (I used a combination of both sweetened and unsweetend) 
  • 2 cups bittersweet chocolate chips, divided
  • 1 1/2 cup brown sugar
  • 3 cans full fat coconut milkfrom the can – (you’ll get about 2 cups of the thick part of the coconut milk from 3 cans)
  • 1/2 teaspoon fleur de sel or coarse sea salt


  1. Prep the matzo: Line a large baking sheet with parchment paper and place the matzo sheets on top. Create a double-boiler by filling a large soup pot with 1-2 inches of water and bringing to a simmer; place a medium sauce pot (or heatproof metal or glass mixing bowl) on top. The idea is for the second, upper pot to fit inside of the larger pot without actually touching the water. Melt 1 1/2 cups of the chocolate chips in this double boiler. Use an icing spatula to spread the chocolate onto each piece of matzo, then place the entire baking sheet into the freezer to harden while you prepare the other ingredients.
  2. Toast the coconut: Preheat your oven to 350ºF. Line a large baking sheet with parchment paper, then pour the coconut flakes on top. Bake the coconut for about 5 minutes, then remove from the oven and use a wooden spoon to mix to give the whole batch a chance to evenly brown. Bake for an other 3 minutes, then remove and stir; bake for another 2-4 minutes or until evenly browned all over. Once removed from the oven, measure out about 1/2 cup of coconut and set aside; then, let all of the coconut cool. (Note: In total, you’ll bake the coconut for 10-12 minutes, but the stirring is necessary to avoid over-browning. Coconut burns easily.)
  3. Make the caramel: Scoop or strain out just the thick part of the coconut milk. From 3 cans, you should get around 2 cups of this and it’s fine if you need to add some of the other liquid to get up to 2 cups. Heat a pot over medium high heat. Add the sugar and stir around the pot for about 1 minute to heat through. Add the coconut milk and and sea salt stir to combine. Bring to a boil. Reduce to a simmer at low medium heat and let simmer for about 15 minutes, until caramel has thickened, stirring occasionally. It should be sticking to the back of your spatula or spoon but it will really thicken up after it sits in the fridge so don’t worry. Remove pan from heat. Allow to cool slightly for 10 minutes then transfer to a jar with a lid. Cover jar, and place in fridge to cool further for at least two hours to thicken.
  4. Make the coconut-caramel topping: Pour the coconut flakes into a large mixing bowl, then add 3/4 of the caramel and mix to combine.
  5. Assemble all of the ingredients: Remove the now-hardened chocolate-covered matzo from the freezer and carefully flip each piece over (the chocolate side should be the “bottom” or underside of each piece). Divide and pour the 1/4 remaining caramel onto each piece of matzo, using an angled icing spatula or dinner knife to spread it evenly across each piece. (This first layer will help the coconut-caramel mixture adhere to each piece of matzo.) Using your fingers or a flat icing spatula, press on the coconut-caramel mixture firmly (it’s fine if you break the matzo!). It’s tough to get all-over coverage, so where there are “gaps,” sprinkle on some of the retained 1/2 cup of toasted coconut flakes you set aside earlier.
  6. Create the classic “Samoa” design: Melt the remaining cup of chocolate chips in a double broiler or a small bowl in the microwave on low heat, stirring every 30 seconds so it doesn’t burn. Spoon the melted chocolate into a small sandwich bag, use scissors to snip a small hole off of one of the corners. Pipe diagonally across the top of each sheet of matzo in long, parallel lines to mimic the look of a Samoa cookie. Sprinkle with a small amount of flaky sea salt, if desired. Allow the chocolate to set at room temperature or in the freezer for about an hour, then break the matzo squares apart into smaller pieces, plate, and serve.

CHOCOLATE PEANUT BUTTER PIE

A mix of recipes by Buttermilk by Sam and The Pioneer Woman.

Crust:

  • 1/2 cup butter, unsalted and softened
  • 1/2 cup powdered sugar
  • 1/4 cup dutch process cocoa
  • 1 large egg yolk
  • 1/2 tsp fine sea salt
  • 1 1/4 cups almond flour 

Ganache:

  • 7 tablespoons butter, browned
  • 200 grams bittersweet chocolate chips or chopped from a bar
  • 200 grams heavy cream
  • 1 tsp pure vanilla extract
  • pinch flaky sea salt / fleur de sel

Filling:

  • 1 cup Creamy Peanut Butter
  • package (8 Ounce) Softened Cream Cheese
  • 1 1/4 cup Powdered Sugar
  • package (8 Ounce) Cool Whip, Thawed


  1. Brown the butter: Place the butter in a skillet over medium heat. Cook as it melts, then sputters and foams. When it stops sputtering and is nearly silent, and you see brown bits at the bottom. Scrape it all, including brown bits into a heatproof bowl and set aside to cool or refrigerate for a couple days if you’re making this ahead.
  2. Make the crust: Either in a food processor or in the bowl of a stand mixer fitted with the paddle attachment, combine the sugar and butter until blended then add remaining ingredients and pulse/mix until the dough sticks together when you press it. Press the dough into the bottom and up the sides of a 9 or 10” round tart pan with a removable bottom. Set crust in the freezer for 10-15 minutes and preheat the oven to 350 F. Poke the bottom all over with a fork. Bake for 30 minutes. Let the crust completely chill before adding the ganache and filling.
  3. Make the ganache: Bring the browned butter to room temp or warm in the microwave for a bit. Okay if it melts. Warm the cream in a pot until it’s bubbling on the sides, this will happen in a few minutes (careful not to overheat it!). Pour the chocolate and browned butter in the pot and mix, adding the vanilla and stirring until you have a smooth ganache. Pour into the chilled crust and set in the fridge.
  4. Make the filling: Beat the peanut butter with the cream cheese until smooth. Add powdered sugar and beat until smooth. Add in the thawed Cool Whip and beat mixture until smooth, scraping the sides as needed. Pour filling into crust, evening out the top with a knife or spatula. Chill for at least an hour before serving.


Now for breakfast…..

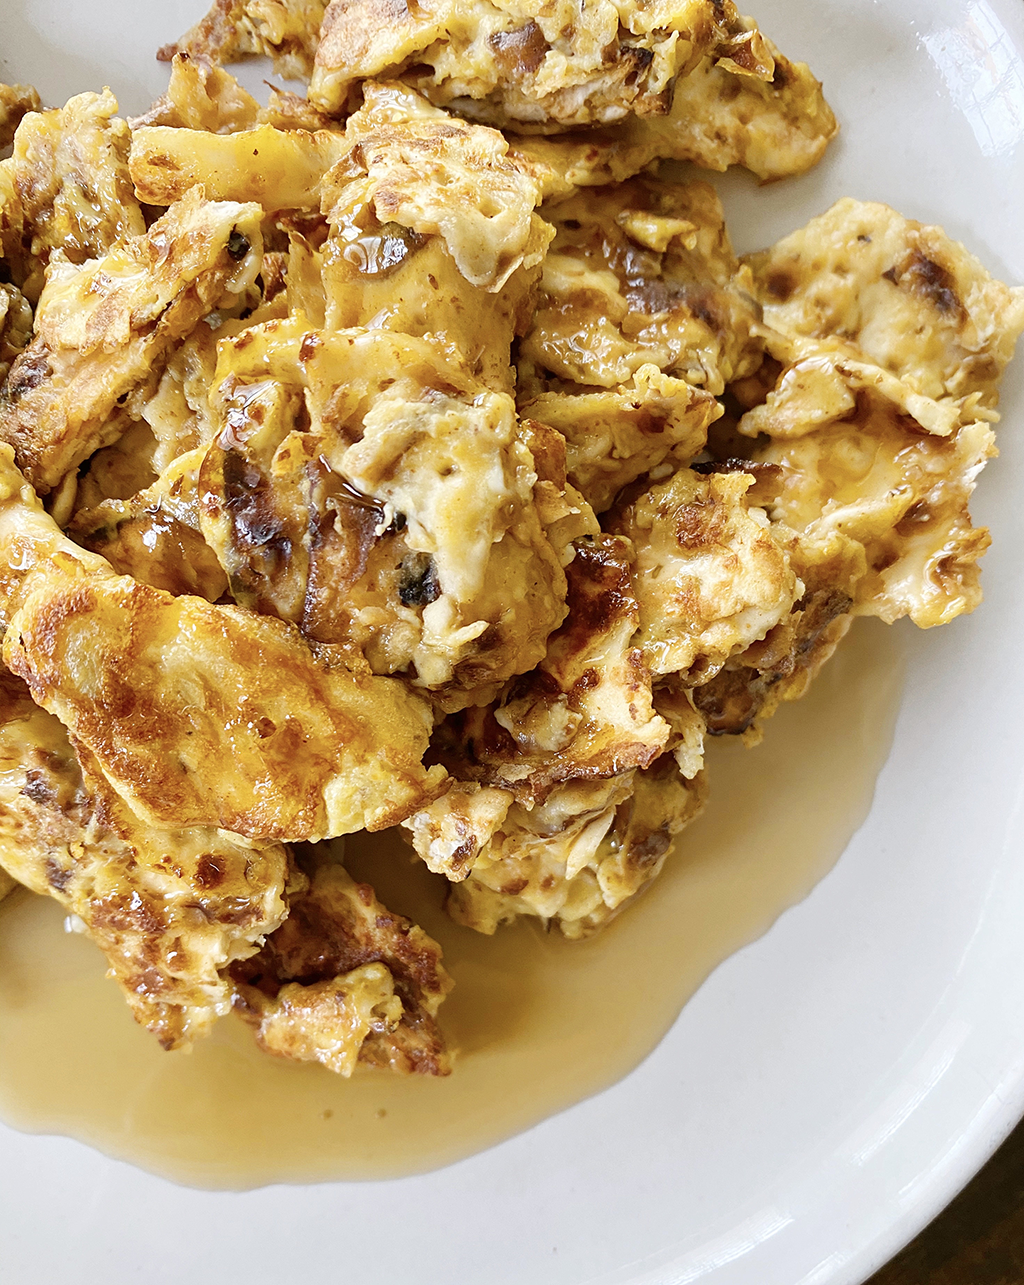
MATZO BRIE (for breakfast!)

So many good memories growing up eating my Grandma’s crispy matzo brie around passover, and my Grandpa’s more eggy version. Both so good with pure maple syrup!!

For 1 serving:

1 1/2 boards of matzo

1/2 cup milk

2 eggs, beaten

1/2 tsp vanilla

sprinkle of cinnamon

butter for the pan


Heat up milk in the microwave about 1 minute- I like to use a large glass pyrex or just a microwave save large bowl.

Break up the matzo in large pieces and put them into the hot milk for about 30 seconds just to soften the matzo.

Drain most of the milk out.

Add in eggs and cinnamon, and mix together.

Heat up a generous amount of butter in a skillet on medium, then pour in the matzo mix. I like to mix it up a bit to make sure all sides are coated and crispy. Or you could make it pancake style if you like a fluffy, eggy consistency better. Done when golden brown and egg is fully cooked. Top with of cinnamon and maple syrup.


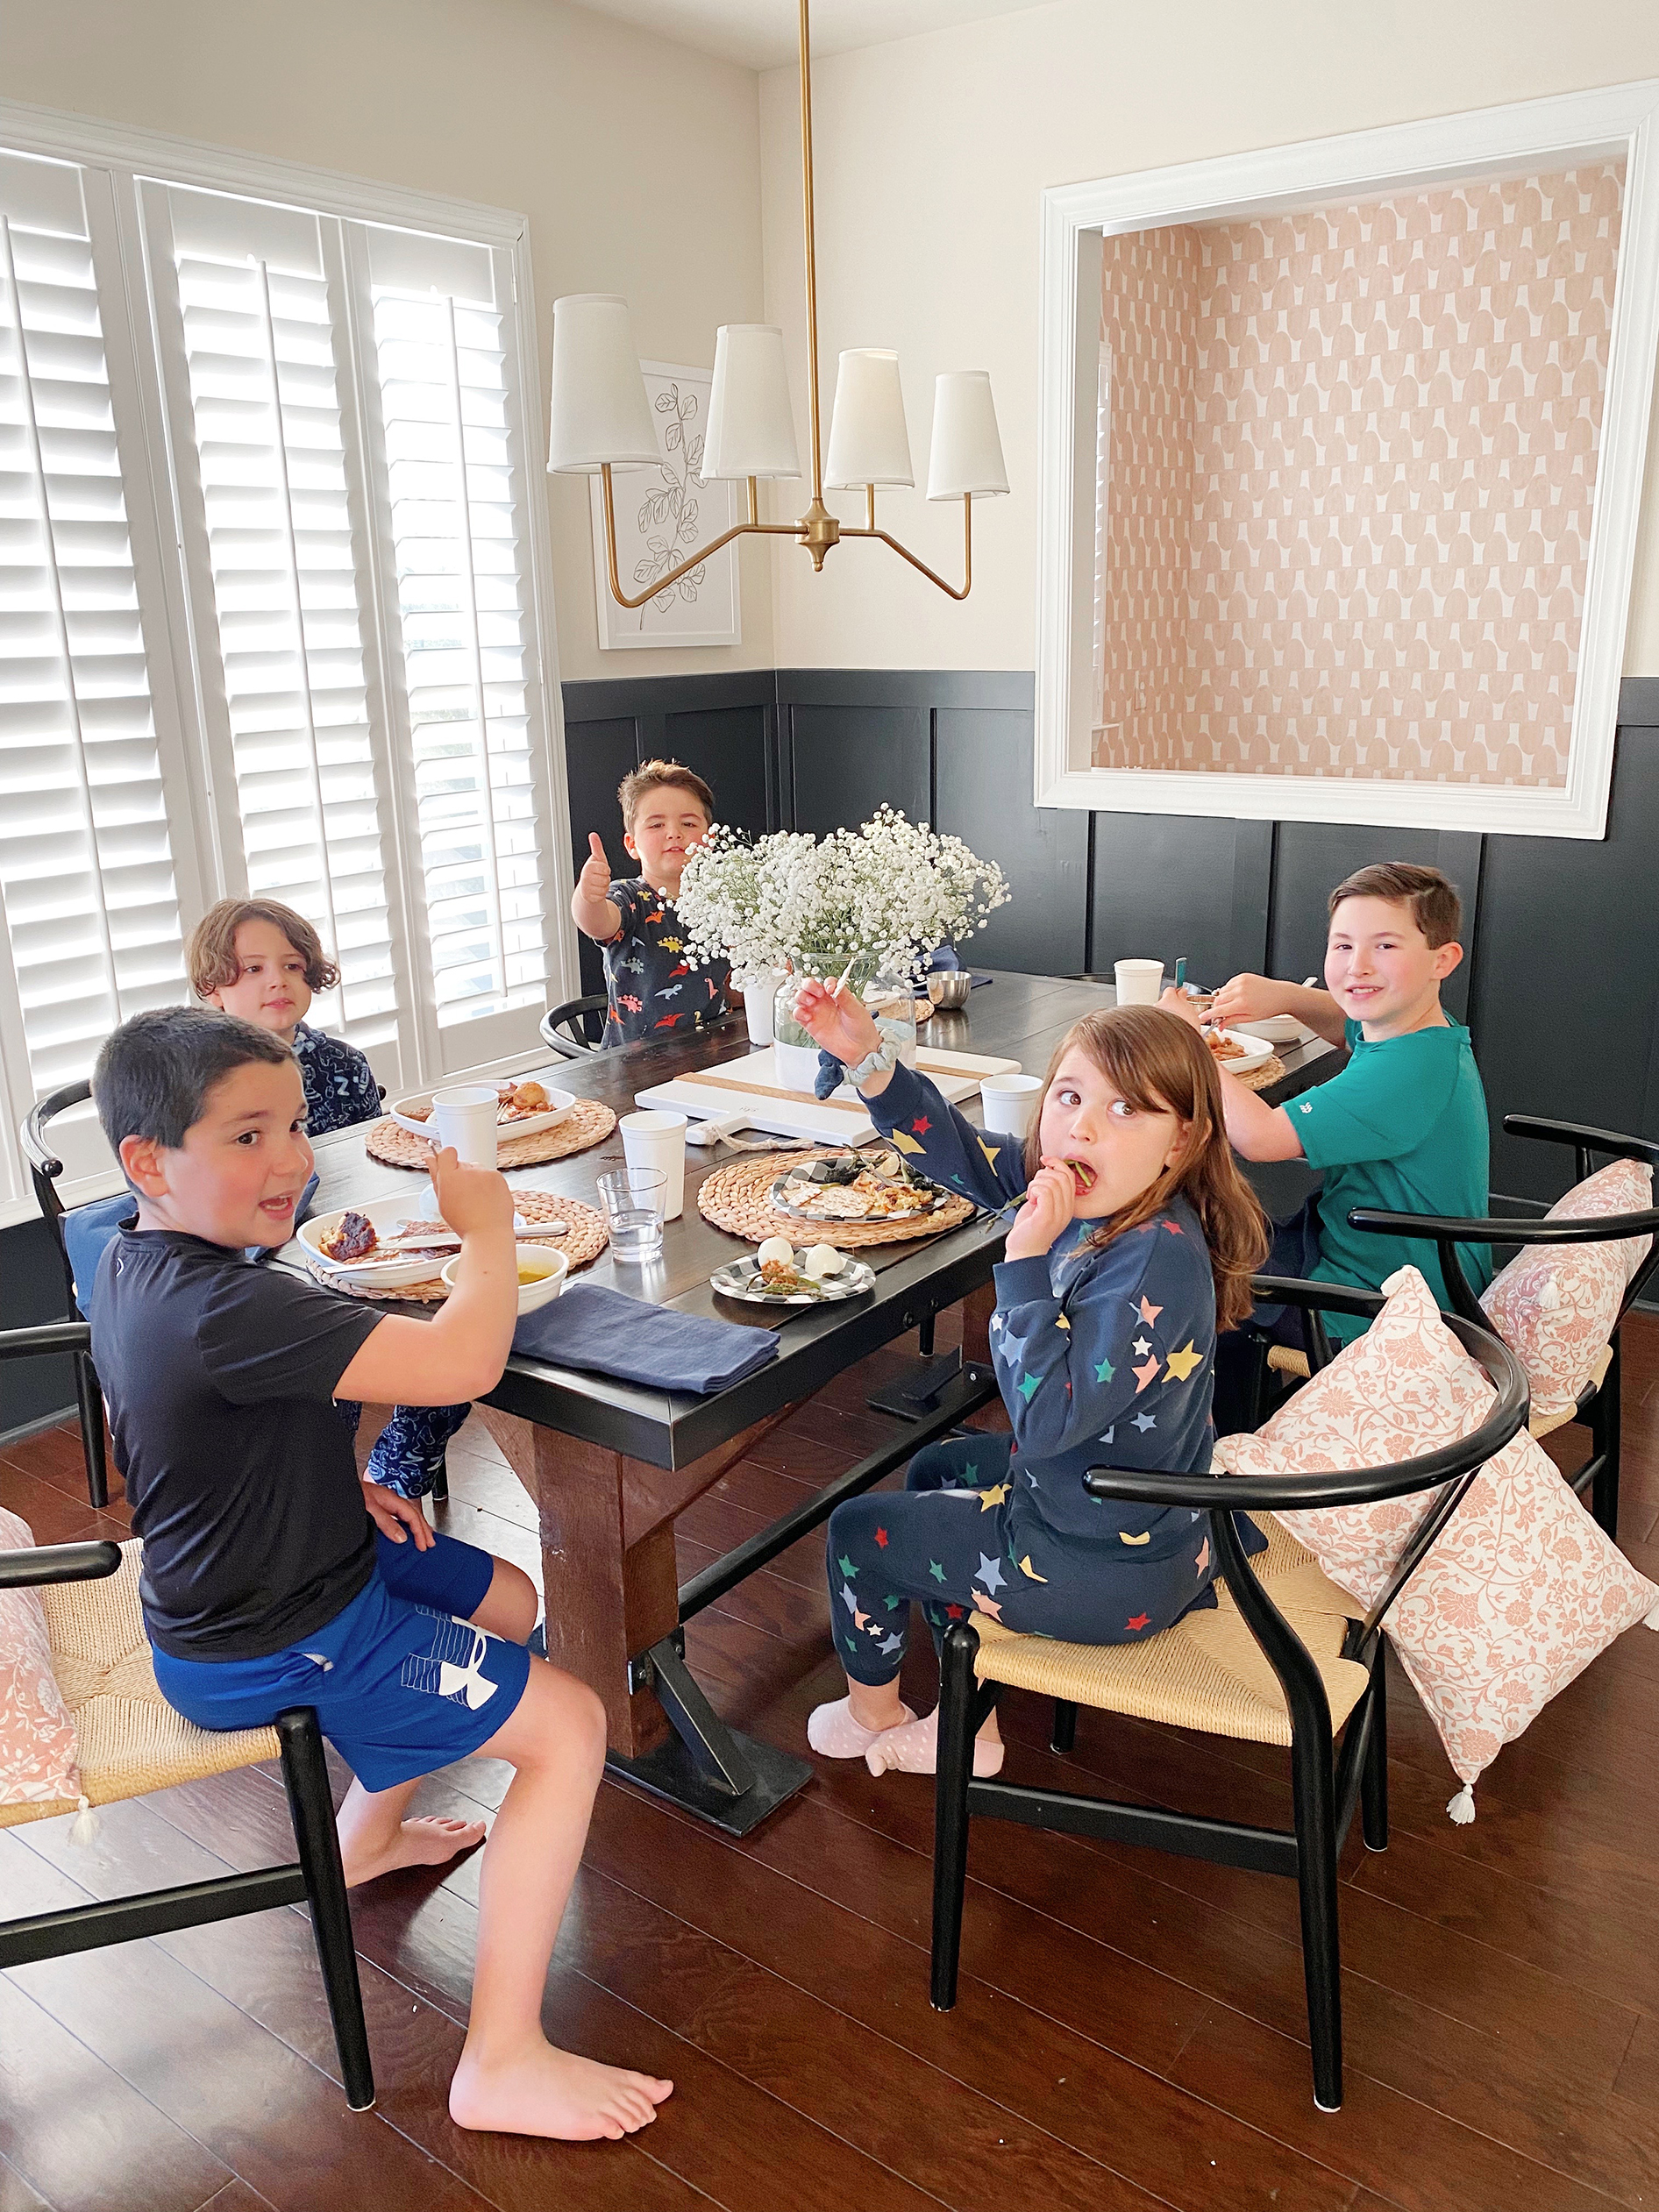
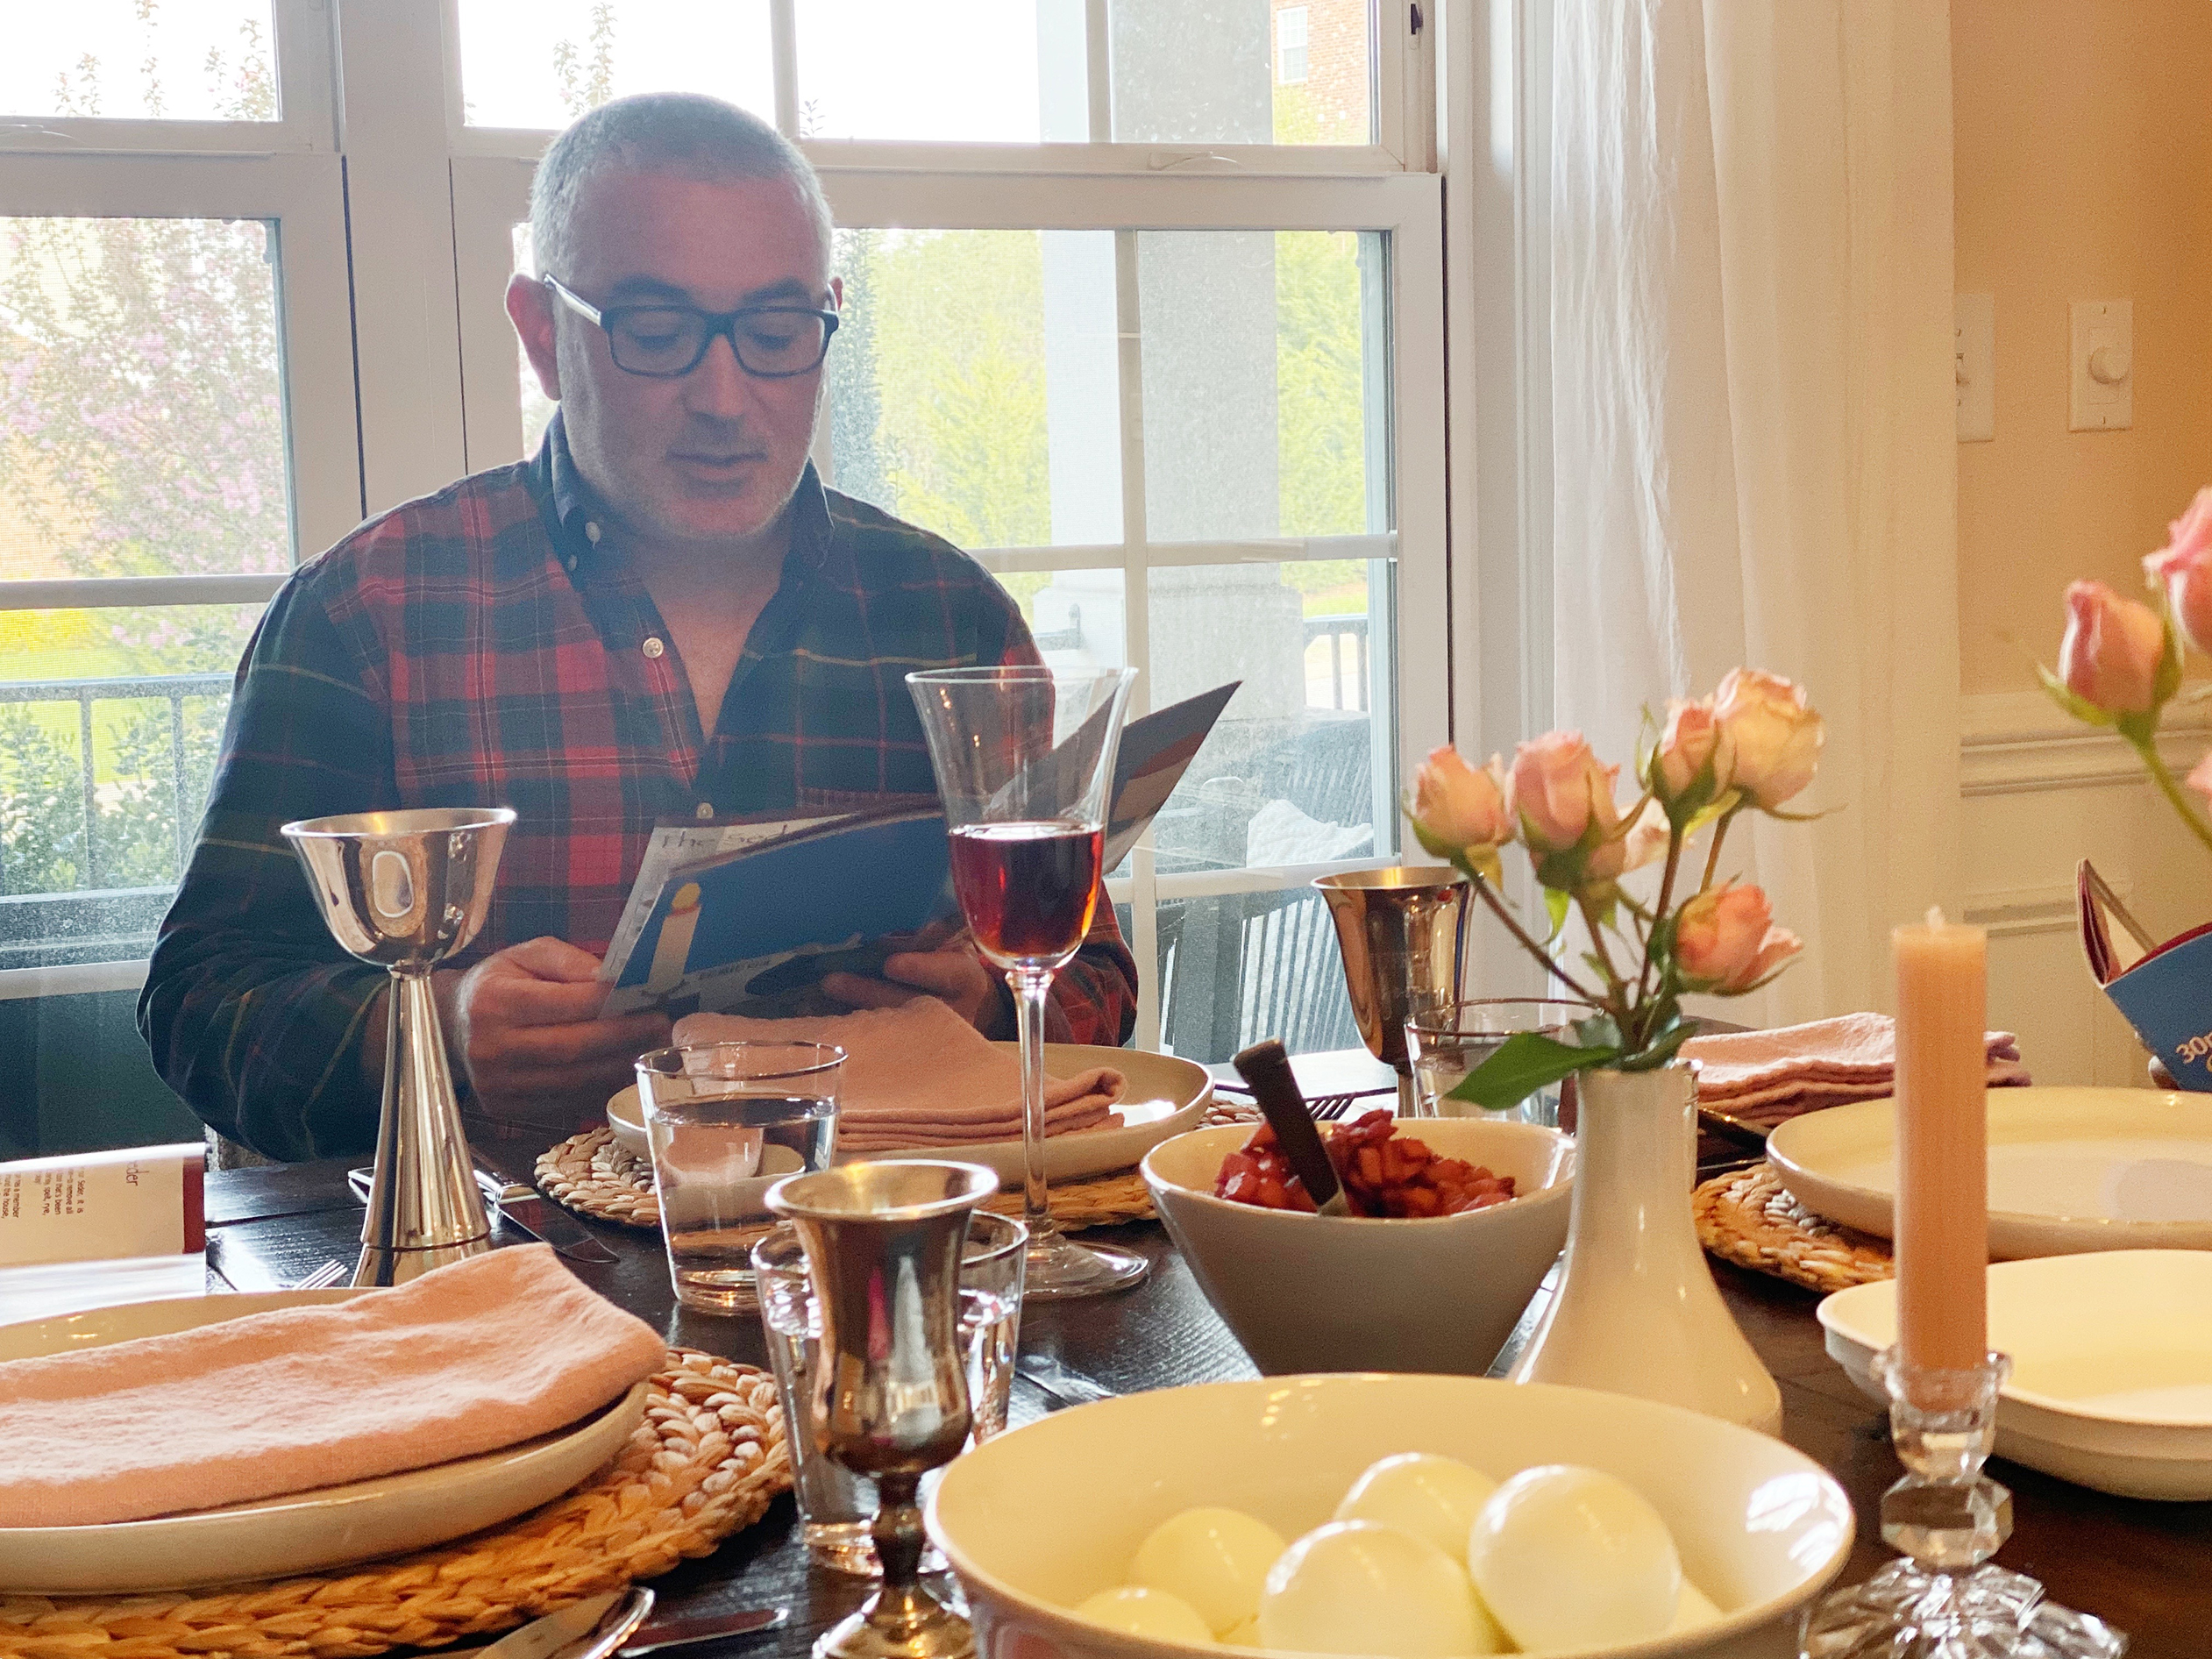
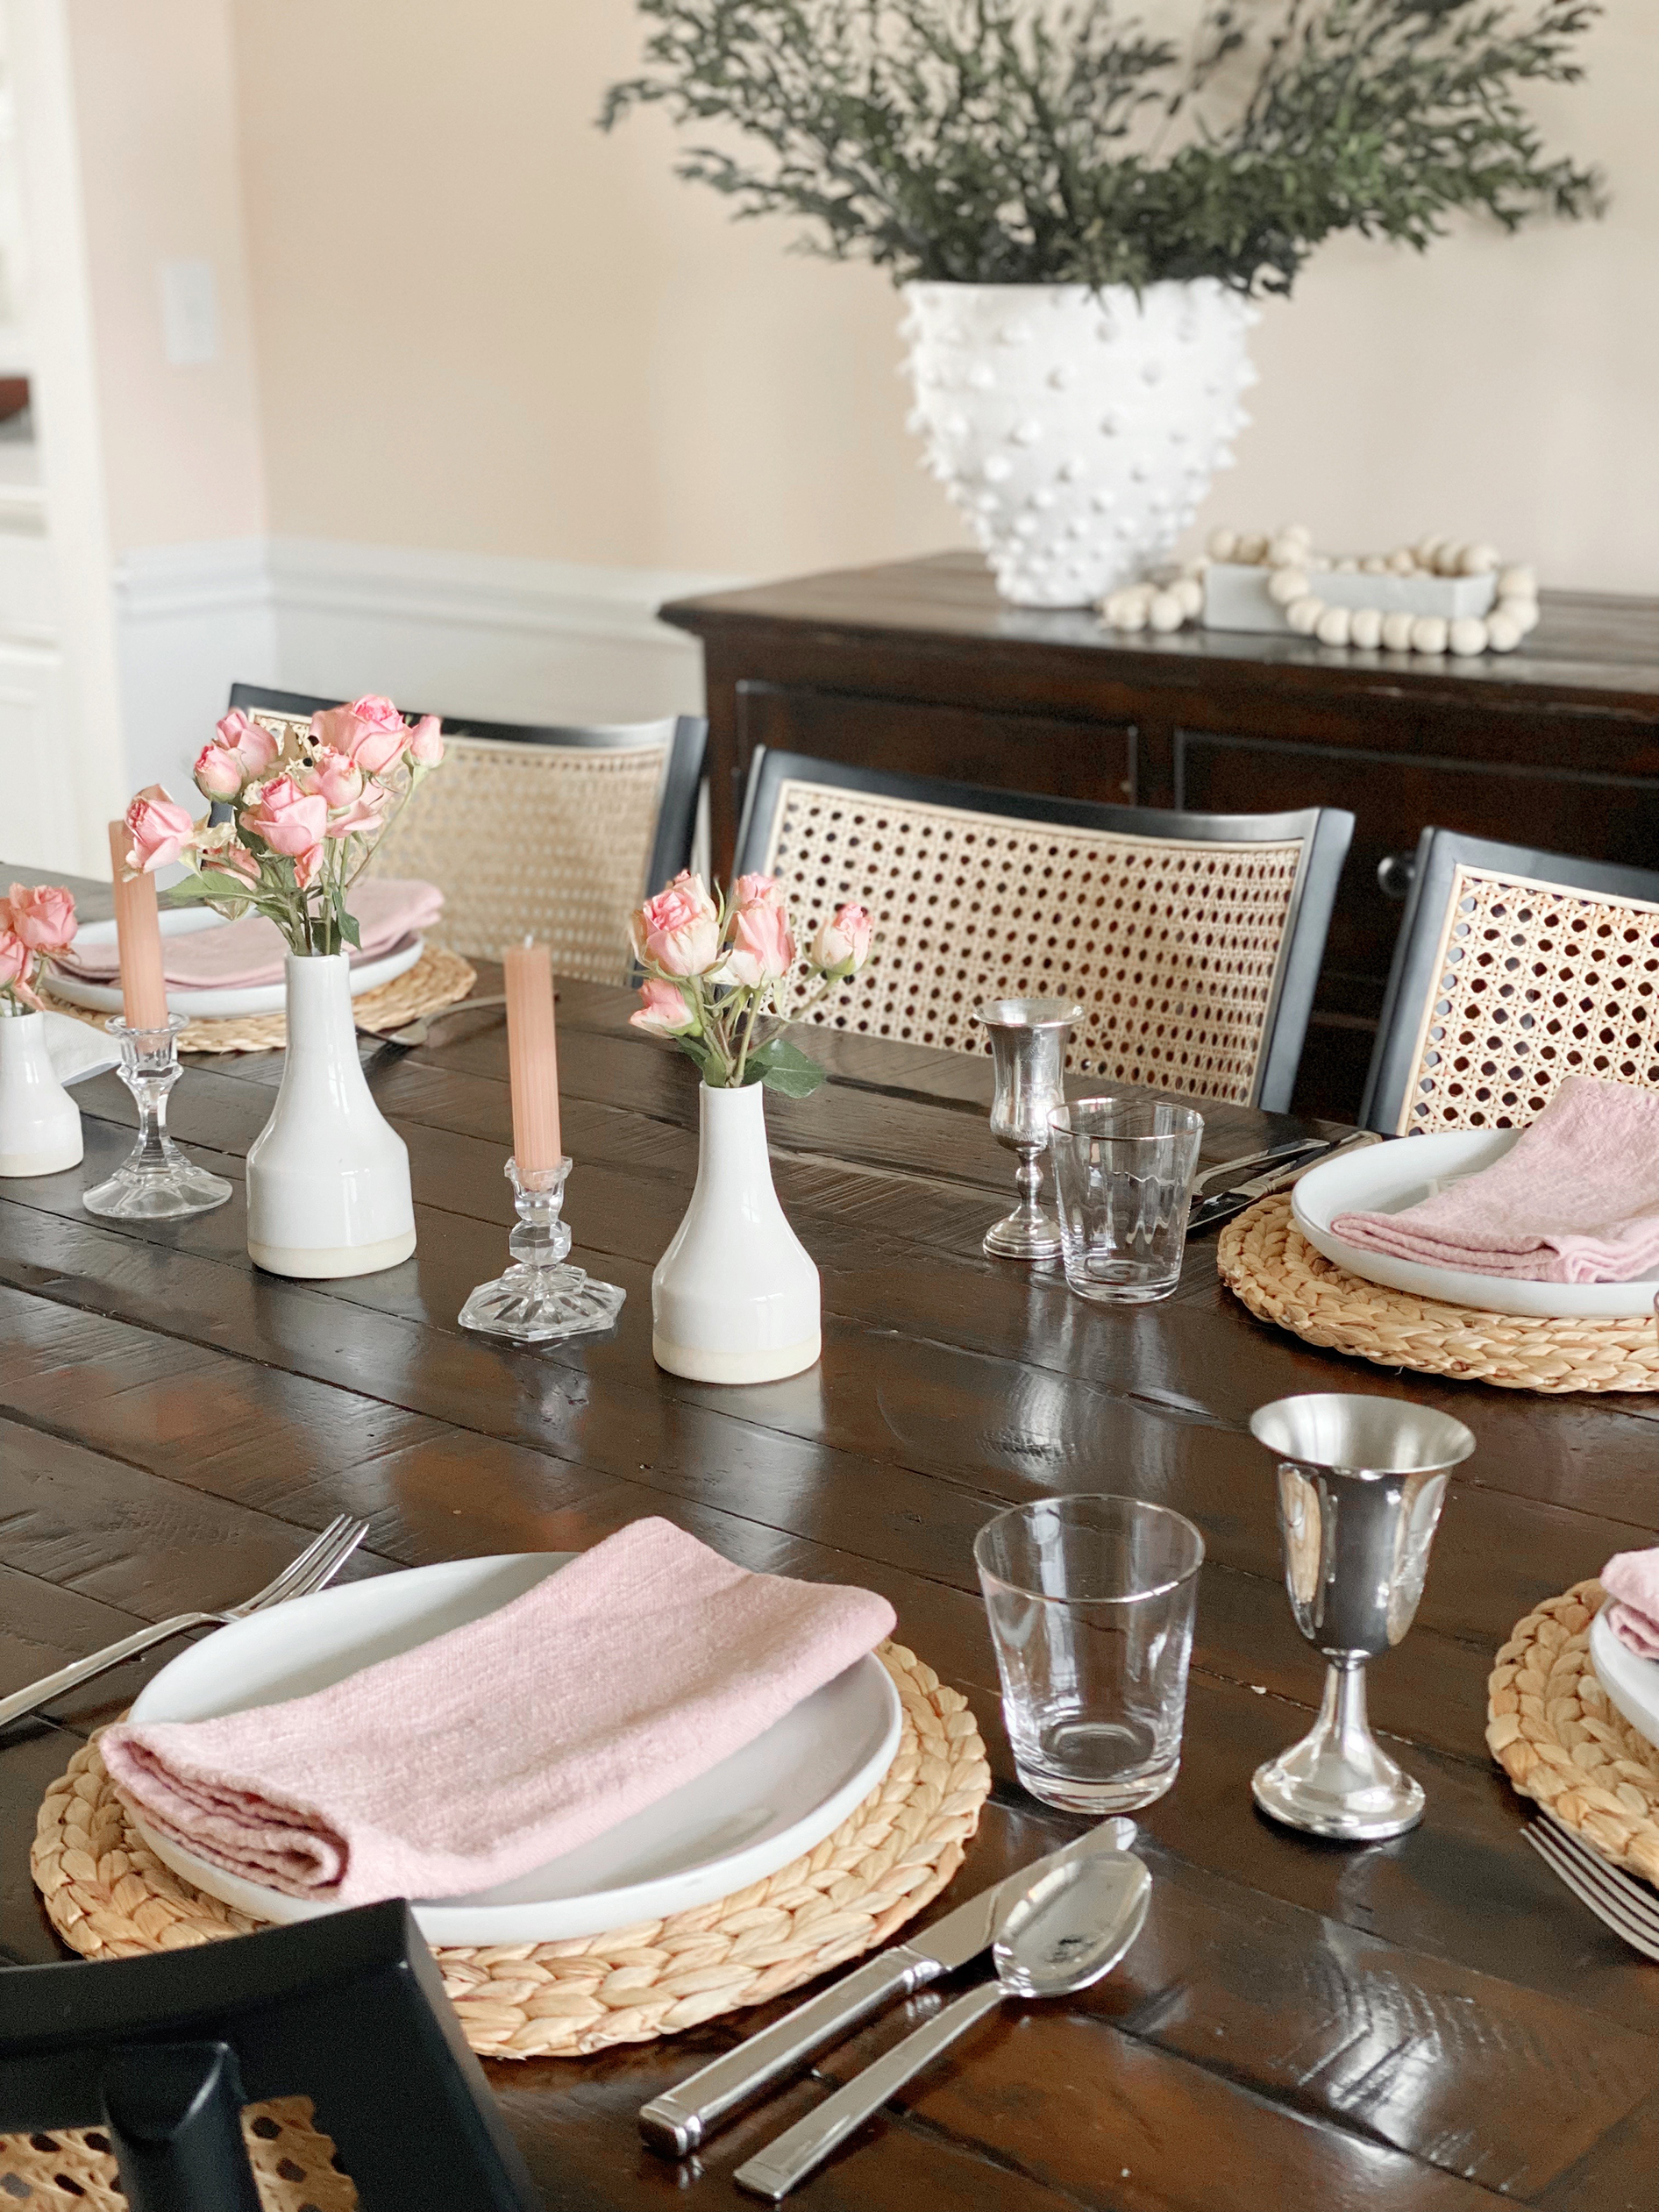
SOME PICS FROM OUR SEDER

and links:

Chargers

Napkins

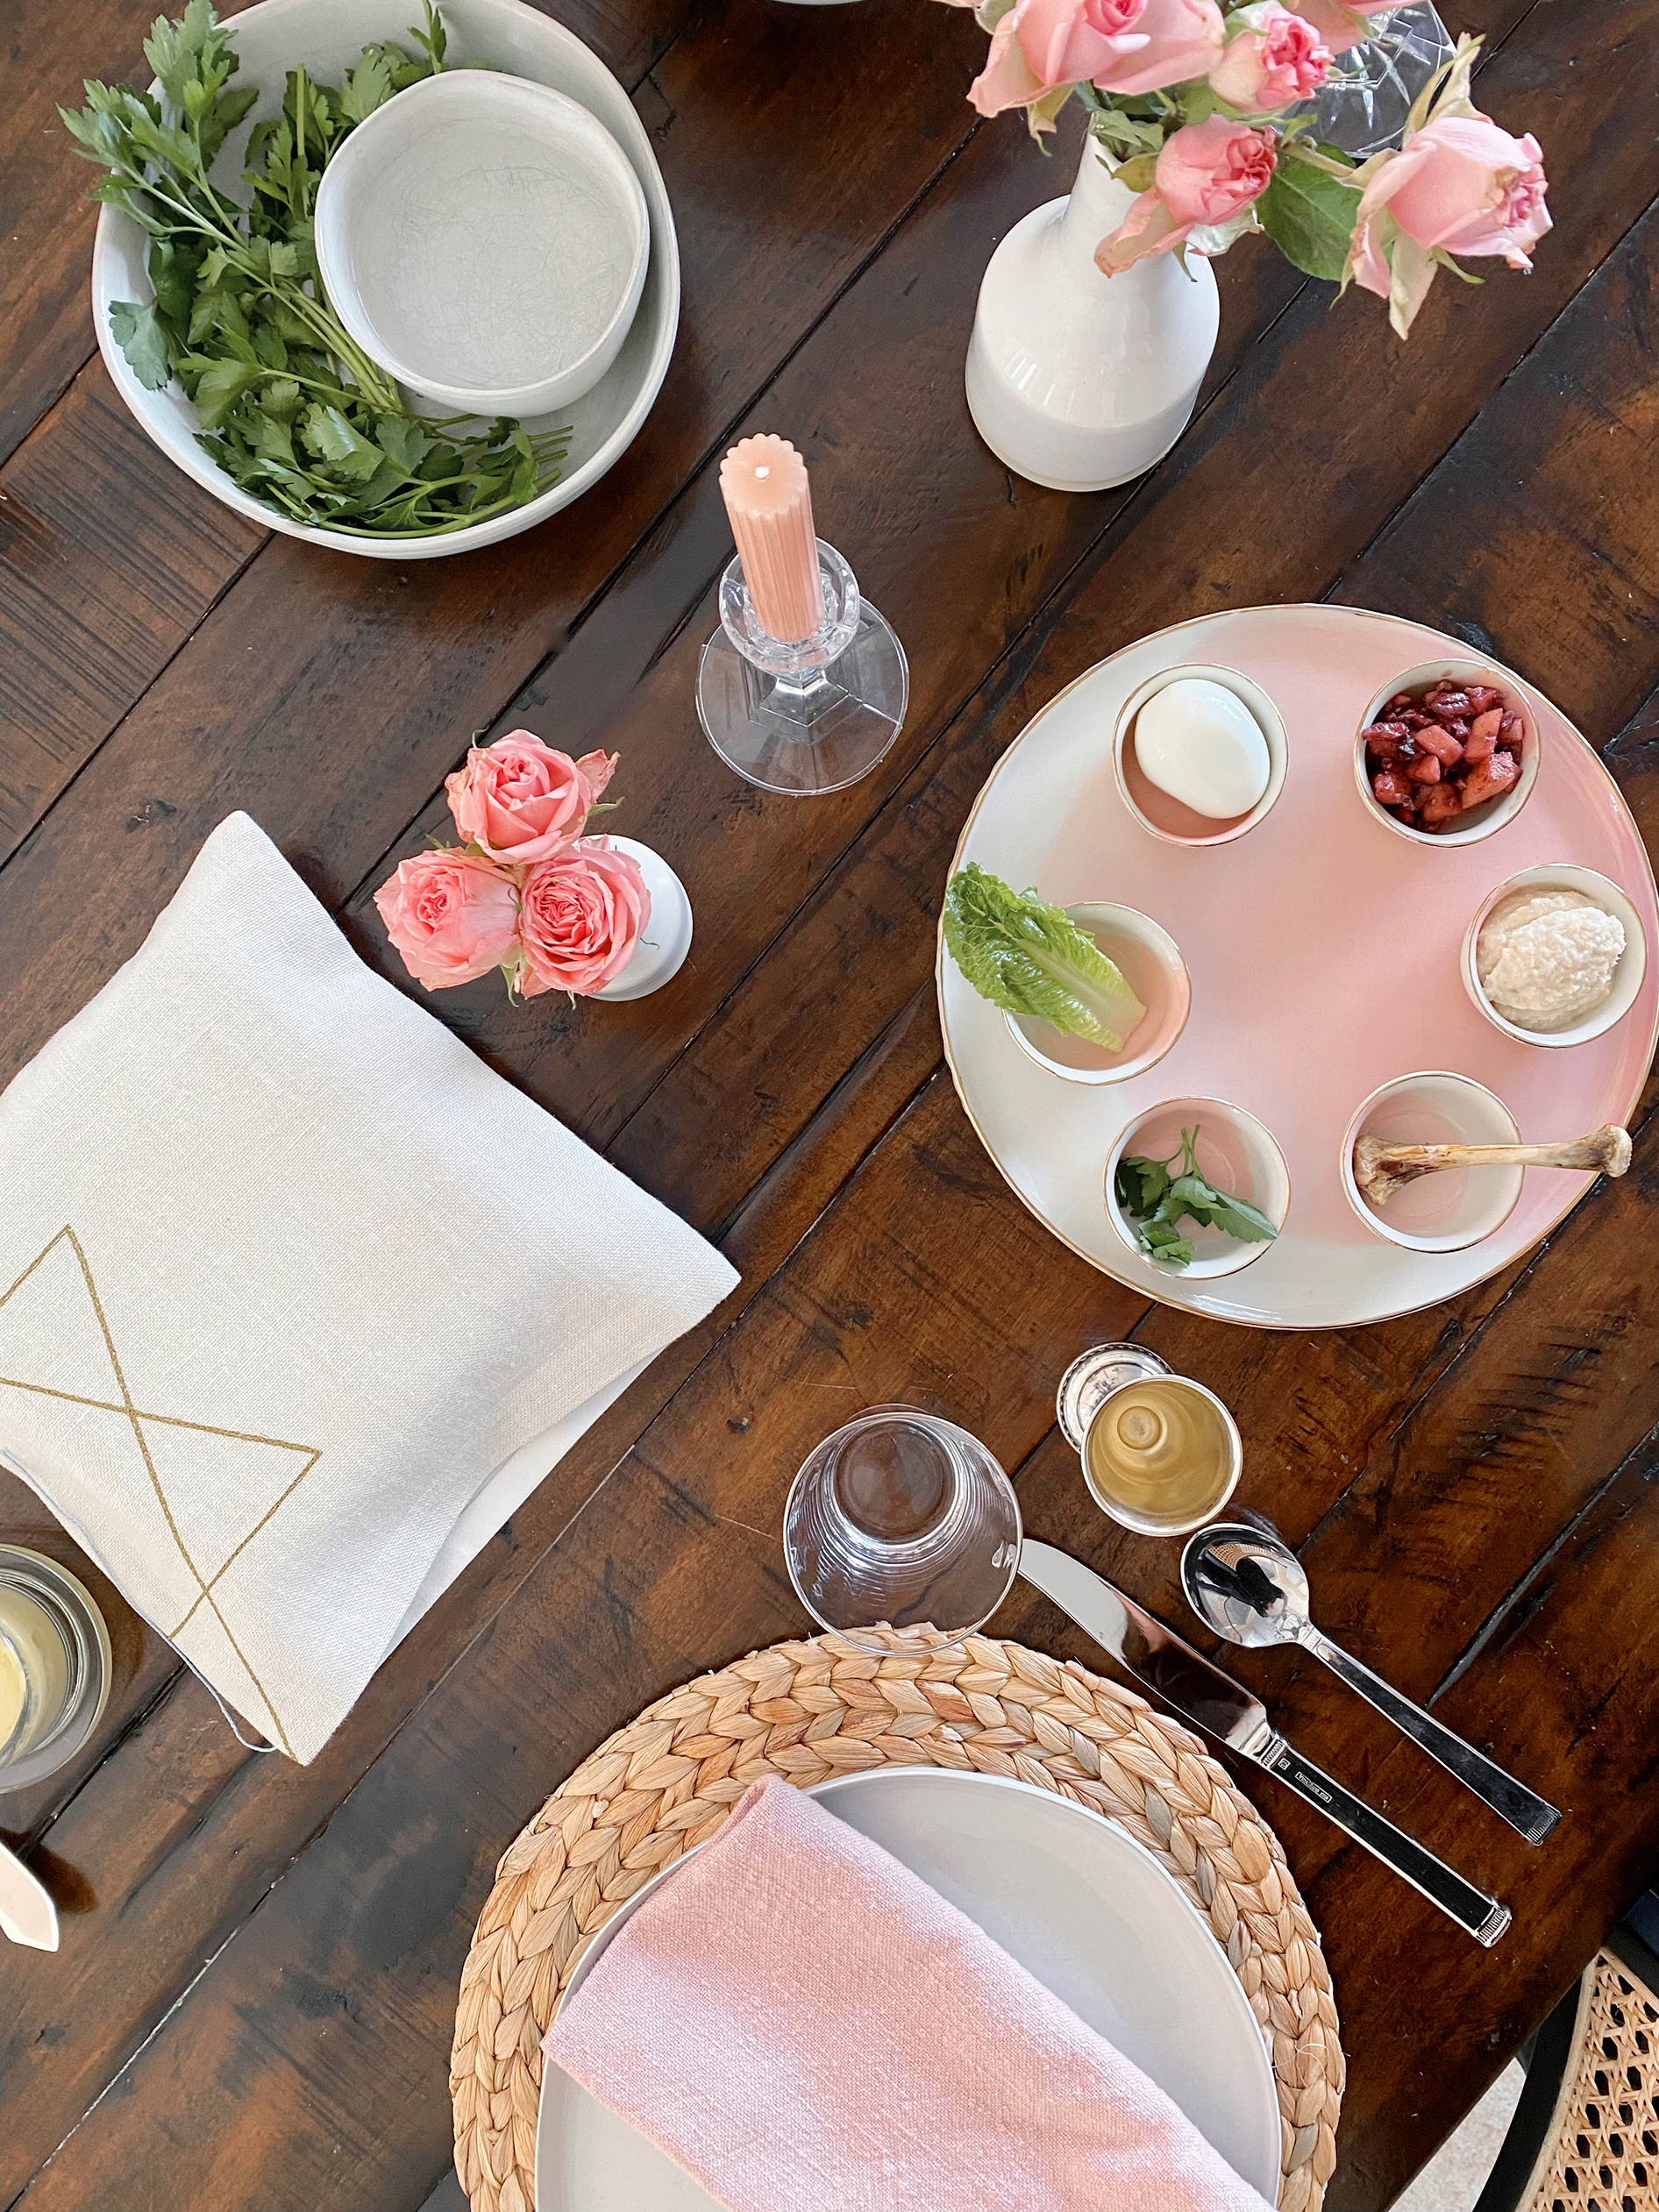
Seder plate

Pink Candles

Kids’ plates, bowls, cups

30 min. seder Haggadah


HAPPY PASSOVER!!

xo

Leah

SOFT, SUGAR-COATED HAMENTASHEN

SOFT, SUGAR-COATED HAMENTASHEN

Hamentashen are a traditional three-cornered cookie we (Jews) make on Purim! I grew up in St. Louis, MO. There was this great Jewish bakery called Pratzels, and I would look forward to their hamentashen every year. Most other recipes I’ve tried are crunchy, crumbly, dry, or tasteless. But this bakery made them soft, filled them with a delicious pie filling situation, and covered them in sugar. Sadly it closed, but I think I made a pretty good sub recipe which also doubles as a great sugar cookie recipe! Because this dough is so soft, you can fold the corners over like you see in the photos rather than pinching the corners like you’ll see in traditional hamentashen. If the dough is just the right temp when you’re folding them, they’ll stay shaped as traditional triangles- just the luck of the draw! Either way, they’re going to taste the same

Check out my new Double Chocolate Hamentashen recipe here!

IMPORTATANT NOTES:
  1. I know it’s annoying, but you should chill the dough, either the night before or at least for a couple hours in the fridge. Divide the dough in quarters and wrap each in saran wrap. No need to make them into disks. The dough is super soft but keeps it’s shape. Stack them together and wrap in foil to avoid any odor contamination in your fridge.
  2. Before baking, you MUST chill the cookies. They’ll keep their shape that way! So this means after you add the filling, pinch into triangles, coat with sugar, then you MUST chill them in the freezer until they’re cold to the touch, and THEN you can bake them.
  3. Don’t overfill the cookies or have the topping be runny. I used a heaping 1 teaspoon of filling with a 3.5″ round cutter.
  4. If you’re using a bigger circle cookie cutter, you can add more filling and bake for about 12 minutes instead of 10.


RECIPE:

1 c. margarine (I know, right? Just trust me), room temp

1 c. granulated sugar

1 egg, room temp

2 tbsp whole milk, room temp (you can use half and half)

2 tsp real vanilla extract

3 c. flour (I always bake with bread flour)

1 tsp. baking soda

1 tsp. baking powder

1 tsp. salt

Filling: pie filling, really good jams, nutella, chocolate filling, sprinkles. My favorite combination with the dough is jam.

A little extra granulated sugar for the outside

3″ – 4″ round cutter- really any size is fine. You’ll just adjust your baking time. 3.5″ is about 10 minutes, 5″ about 12 minutes, etc.


INSTRUCTIONS:
  1. Sift all dry ingredients and set aside.
  2. Mix butter and sugar til fluffy 2-3 min.
  3. Add egg and mix well.
  4. Add vanilla.
  5. Slowly mix in dry ingredients alternating with milk.
  6. Mix until just combined.
  7. Divide the dough into four parts, plop each down on Saran Wrap and wrap each tightly. Stack them up and wrap them all in foil. Chill in the refrigerator overnight or at least stick them in your freezer for a couple hours.
  8. Take one disc out of the fridge and roll out on a lightly floured board, 1/8″ – 1/4″ thick.
  9. Cut circles and place on a parchment paper-lined tray.
  10. Chill in the freezer while you work on the next tray.
  11. Fill each circle with a SMALL amount of filling, about 1 tsp, and try to keep the runny parts to a minimum. The larger you make the circles, the more filling you can use and vice versa.
  12. Form triangles and pinch the corners together slightly to make sure they don’t fall apart and spill all the filling! This dough is really soft so I like to fold them over rather than pinch sharp corners like traditional hamentashen, but it depends on the exact consistency you have going on. I promise they’ll taste just as good whatever they look like.
  13. Wet the dough a little with your fingers or a brush and sprinkle the triangles generously with granulated sugar.
  14. Chill in the freezer again for 20 minutes or so. The longer they’re chilled, the more they will keep their shape. If you’re making way in advance, just keep them covered in the fridge.
  15. Bake at 350 degrees for just 10 minutes or until very slightly golden. The whole point is to keep these SOFT so please don’t over-bake them. Cool on the tray for a minute or two only, then slip the cookies still on the parchment paper off the tray to cool completely.


Mazel tov, you’ve made delicious hamentashen!!


xo

Leah
 

THE BEST CHOCOLATE CAKE + 4 FROSTING RECIPES

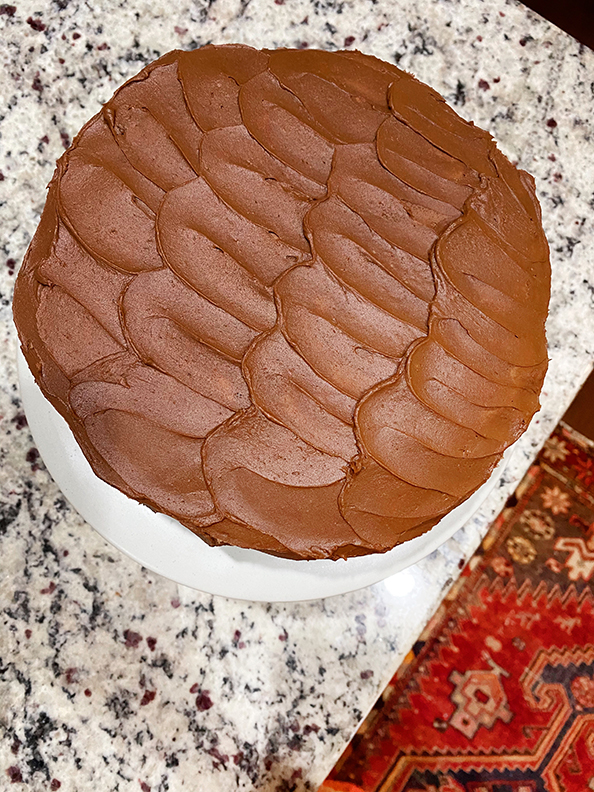
The most m-0-i-s-t chocolate cake you’ll ever have. I promise! Jeffrey’s favorite combination is with the chocolate frosting recipe, and I think it’s incredible with marshmallow frosting or peanut butter frosting (all below). It’s definitely an impressive cake you’d make for company and the cake recipe everyone requests for their birthdays. VERY easy too, but you must keep an eye on it while you’re baking and follow my tips below.

SCROLL DOWN FOR CAKE AND 4 DIFFERENT FROSTING RECIPES.

For my favorite vanilla cake recipe, click HERE.

Here’s how a slice looks baked in a sheet pan- the easiest way to bake.

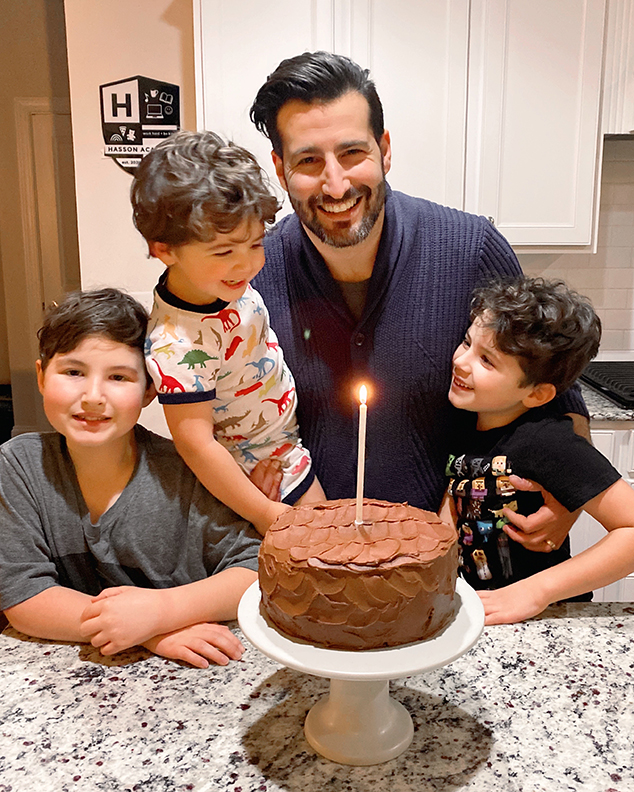
And here’s Jeffrey’s birthday cake from this year in 2 layer 8″ cake rounds:

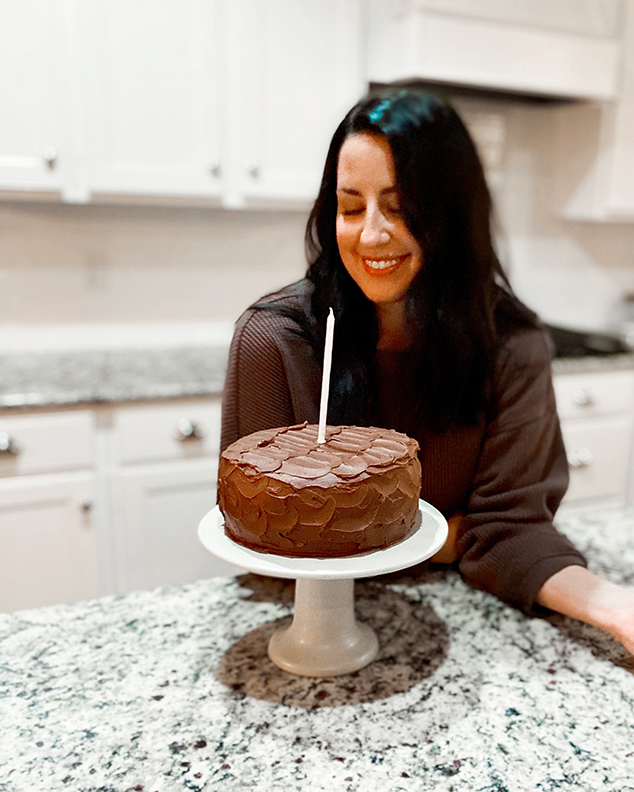
Here’s what I look like when I see cake:


CAKE RECIPE

Adapted from Ina Garten
Ingredients:
Butter, for greasing the pans
1 3/4 cups all-purpose flour, plus more for pans (I use bread flour)
2 cups sugar
3/4 cups (good!!) cocoa powder
2 teaspoons baking soda
1 teaspoon baking powder
1 teaspoon kosher salt
1 cup buttermilk, shaken
1/2 cup vegetable oil
2 extra-large eggs, room temperature
1 teaspoon (good) pure vanilla extract
1 cup freshly brewed hot coffee
Directions:
Preheat the oven to 350 degrees.
Butter two 8″ round cake pans or one 11×13″ sheet pan (I use a metal brownie pan)
Line with the bottom of the pan with parchment paper, then butter and flour (or use cocoa powder) the pans.
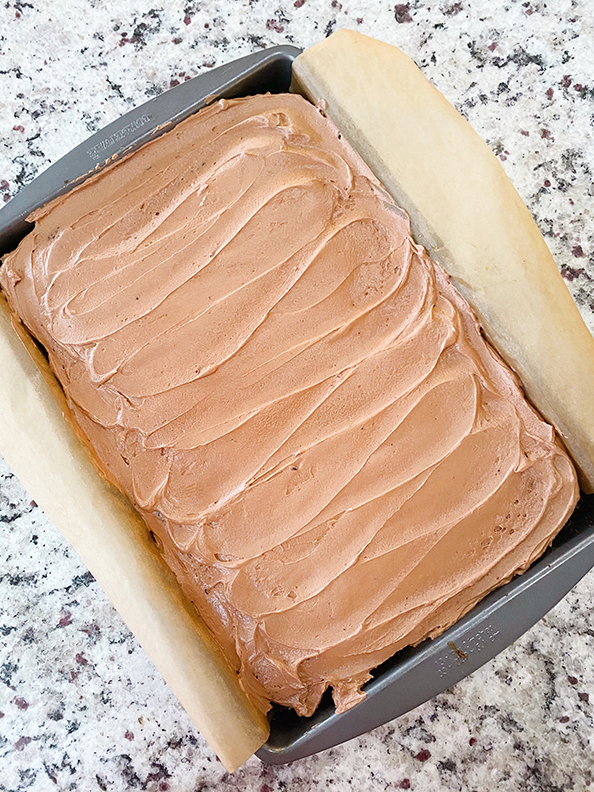
If you’re using a sheet pan, have the parchment paper hang off on either side so you’ll have little handles to pop it out when you’re ready to cool it.
  1. In a large bowl with a whisk, sift the flour, sugar, cocoa, baking soda, baking powder, and salt, and mix until combined. I actually don’t like using an electric mixer with this recipe- it’s too liquidy
  2. In a medium bowl, take the whisk and mix together the buttermilk, oil, eggs, and vanilla.
  3. Slowly add the wet ingredients to the dry and mix with a spatula or spoon.
  4. Slowly add the coffee and stir just to combine, scraping the bottom of the bowl.
  5. Immediately pour the batter into the prepared pans and bake about 20-25 minutes. Always bake for a few minutes less if you’ve never made this recipe before, so you don’t over-bake the cakes. You can always add more time, you can’t take away. When you start to smell it, it’s probably almost done. Give the pan a jiggle when you start smelling it. Keep adding 3 minutes on your time and checking it again. It should jiggle like solid pudding, not like jello. It will continue baking in your pan after you take it out of the oven. If you’re unsure, you can put a knife in the middle and it should come out with a few crumbs. The center of the cake tends to sink a little but that’s okay! It will be delicious and moist and covered with frosting anyway. 
  6. Cool in the pans for 5 minutes (unless you’ve over-baked it*). Run a knife around the edges so the cake will come out more easily. Turn the cake out onto a cooling rack lined with greased parchment paper. It’s a gooey cake, so the parchment paper on the cooling rack is KEY to keeping things neat. If you’re baking it in a sheet pan, you’ll already have the parchment paper to just pop off and place on the cooling rack. Cool completely before frosting it or the frosting will melt.
*If you’ve accidentally over-baked your cake, pop it out of the cake pan immediately to cool on a cooling rack or it will keep baking. Scrape off any crispy parts. Combine 1/4 cup of milk with 1/4 tsp vanilla. Brush it all over the surface of the cake then cool completely before frosting.

CHOCOLATE FROSTING RECIPE

Adapted from Magnolia Bakery
* If frosting a sheet cake, I like to halve this recipe since you’re not covering as much area. This frosting is rich!
Ingredients:
1 1/2 cups (3 sticks) unsalted butter, softened to room temp
2 tablespoons whole milk or half & half, room temp
12 ounces chocolate, melted and cooled (I use Ghiradelli 60% bittersweet chocolate)
1 small pinch fleur de sel / sea salt / kosher salt
1 teaspoon (good!!) vanilla extract
2 1/4 cups sifted confectioners’ sugar
Directions:
  1. To melt the chocolate, place in a double boiler over simmering water on low heat for about 5-10 minutes. Add a tiny pinch of sea salt. Stir occasionally until completely smooth and no pieces of chocolate remain.
  2. Remove from the heat and let cool completely.
  3. In a large bowl, on the medium speed of an electric mixer, beat the butter until creamy, 3 minutes
  4. Add the milk carefully and beat until smooth
  5. Add the melted chocolate and beat for 2 minutes.
  6. Add the vanilla and beat for 3 minutes.
  7. Gradually add the sugar and beat on medium until fluffy.
Your frosting might be a little melty so keep your mixer and beater attachment out. Refrigerate the frosting in the mixing bowl for 30 min or until the frosting is more solid, then re-whip it with the mixer right before frosting the cake.

MARSHMALLOW FROSTING

This will make the cake taste like a s’mores! We all LOVE this combo too;

* If frosting a sheet cake, I like to halve the recipe since you’re not covering as much area.


Ingredients:

1 cup salted butter, room temp (or add 1/4 tsp salt to unsalted butter)

14 ounces Marshmallow Fluff

2 cups powdered sugar

1 teaspoon good vanilla


Directions:

Whip all of the ingredients together. Refrigerate for a bit if it’s too melty. You’ll be able to make prettier swirls if it’s cooled slightly.


PEANUT BUTTER FROSTING

Ina Garten
* If frosting a sheet cake, I like to halve the recipe since you’re not covering as much area. This frosting is rich!
Ingredients:
2 cups powdered sugar
2 cups creamy peanut butter
10 tbsp butter, room temp
1 tsp vanilla
1/2 tsp salt
2/3 cup heavy cream
Directions:
Beat all ingredients except the cream in a mixer on low until creamy. Add the cream and beat on high until fluffy and smooth.

GROCERY STORE BAKERY-STYLE FROSTING

This tastes exactly like the super sweet frosting at a grocery store bakery- in the best way possible! It actually balanced out the flavor of the chocolate cake since I use more bittersweet chocolate in the cake. The frosting is stiff so it’s perfect for decorations. It’s almost like soft play dough! If you want it easier to spread, use a tablespoon or so more milk.
Ingredients:
(If you don’t need extra for decorating/piping, halve this recipe. Plus only half will fit comfortably in a Kitchenaid mixer- see notes for tips!)
2 cups vegetable shortening, room temp
1 cup butter, room temp
2 tbsp vanilla
1 tsp salt
8 tbsp milk
4 lbs powdered sugar
Instructions:
  1. whip together the shortening and butter
  2. add half of the powdered sugar gradually
  3. add in vanilla, salt, and milk* (read notes here)
  4. add the second half of the powdered sugar gradually*
  5. finish whipping so it’s fully mixed and fluffy
Notes:

*If you want this more spreadable and not for decorations, add a tablespoon or so more milk.

*If your mixer is a typical Kitchenaid size like mine, you will not have room in the bowl to mix this completely! After you mix the vanilla, salt, and milk in to the bowl (step 3), scoop out half of the mixture into another bowl and set aside. Add 1 lbs of powdered sugar to your Kitchenaid and mix. Transfer that finished frosting to another bowl. Place your other mixture back in your Kitchenaid and then add the remaining 1 lb of powdered sugar. Now you have 2 bowls of finished frosting.


You are going to LOVE this!! Enjoy!
-L

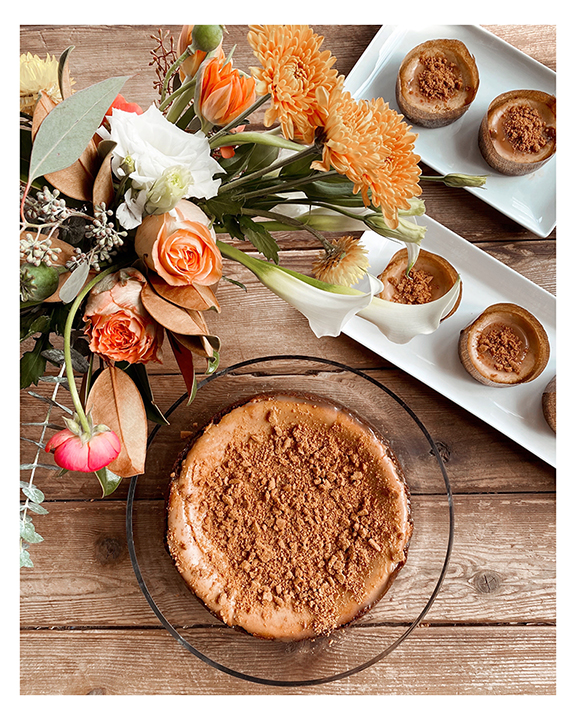
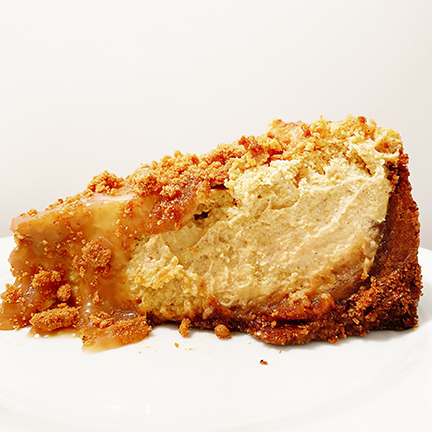
GINGERSNAP CARAMEL PUMPKIN CHEESECAKE


I found these gingersnaps… mainly purchased for the tin… and OMG they are so good! I thought that in order to not eat the entire tin in one day, I better use them for a pie to be shared. Thanksgiving is the perfect excuse to turn these cookies into the crust for a gingersnap caramel pumpkin cheesecake! I had extra batter since I used a smaller springform pan, and made 6 minis- so cute and easy. I actually liked the balance between crust and filling on the minis better than the cake… both great, don’t get me wrong. If you have extra minis, they would be perfect to drop off on a neighbor’s porch (which I did) since many cannot get home to see their families. Effing Covid.

Gingersnap Caramel Pumpkin Cheesecake Recipe

Scroll down for the mini version (you don’t necessarily need to make a crust for this- just use the unbroken cookie as the base).


Crust and cheesecake via The Pioneer Woman

Caramel sauce via The Brown Eyed Baker


Crust Ingredients (for minis you just need the cookies):

12 oz. (about 54) gingersnaps plus 8-10 extras for the topping – THESE are the best!

6 tbsp unsalted butter, melted

2 tbsp brown sugar

1/2 cup chopped pecans

1 dash of salt


Caramel Sauce Ingredients:

1 cup granulate sugar

6 tbsp unsalted butter, room temp

1 tsp sea salt

2/3 heavy cream


Filling Ingredients:

packages (8 0z. packages) cream cheese

1 1/2 c. sugar

can 15-ounce pumpkin puree (NOT pumpkin pie filling)

1 tsp ground cinnamon

1 tsp. allspice

1/2 tsp. nutmeg

4 whole eggs

2 tbsp. heavy cream


Equipment:

food processor (or ziplock bag and a rolling pin could substitute)

9″ or 10″ springform pan

muffin liners or ramekins if you’re making minis

parchment paper

rimmed baking sheet


1. Make the crust:

Lightly butter a 9″ or 10″ springform pan. In a food processor (or large Ziploc bag), crush gingersnaps. Add chopped pecans, melted butter, brown sugar, and salt, and pulse (or mix) until thoroughly combined. Press into bottom and sides of the springform pan. Chill crust for 20-30 minutes.


2. Make the caramel sauce:

In a 3-quart saucepan, heat the sugar over medium-high heat, whisking as the sugar begins to melt. Some of the sugar will harden into clumps, but that’s okay – it will melt eventually – just keep whisking. Continue to cook the sugar until it reaches a dark amber color. At that point, whisk in the salt, and then add the butter all at once and whisk until it is completely incorporated into the sugar. Remove the pan from the heat and pour in the heavy cream (it will foam up when first added). Continue to whisk until it forms a smooth sauce. Allow to cool for 10-15 minutes before using.


3. Make the filling:

In a mixing bowl, beat cream cheese and sugar until light and fluffy. Add pumpkin and spices and mix again. Add eggs one at a time, mixing for 20 seconds between each addition. Add cream and mix until just combined.


4. Assemble the cake:

Line a rimmed baking sheet with parchment paper. I did not not do this and the caramel leaked through and burned my oven… yikes. Pour a little less than half of the caramel sauce onto the crust (I prefer more on top of the cake), moving the springform pan around so that it coats the sides and bottom. Save the rest of the caramel in an airtight container for the top of the cake before serving. Put the crust back in the fridge to set. Pour the filling into the caramel-coated crust and fill up to the top of the crust. If you have extra filling, see below suggestion for minis. Place the cheesecake on top of the parchment paper lined rimmed baking sheet. Bake 350 degrees, 1 hour and 15-30 minutes until jiggly but not soupy. Cool on the counter for 30 minutes. Cover and chill for 4 hours or overnight. Remove rim of the pan then use a spatula to carefully remove the bottom of the pan and transfer it to a serving platter. Pour the rest of the caramel sauce on top. Top with crumbled gingersnaps. Slice and eat!


For minis:

Line a rimmed baking sheet with parchment paper. Place muffin liners or ramekins (lightly butter these) on the baking sheet. Instead of making a crust, just place a whole gingersnap cookie on the bottom of the liner. Cover it with a little caramel. When this bakes, the cookie and caramel will fuse together into a soft delicious crust. Fill each about half way with the cheesecake filling. Bake 350 degrees for 25 minutes until jiggly but not soupy. Cool on the counter for 30 minutes. Cover and refrigerate 4 hours or overnight. They look cute in their liners or ramekins plus… it’s easier… no need to transfer! Top each mini with remaining caramel sauce and crumbled gingersnaps before serving.


xo

Leah
MY FAVORITE PASSOVER RECIPES

I love passover food! I like to make a simple but delicious menu with a couple things you can make in advance.

The day before: Make the brisket, haroset, hard boiled eggs, matzo bark, and any other desserts you can freeze

The day of: Make the noodle kugel, mazto ball soup, and set the table. Easy!


HAROSET

I really don’t measure! This is just an approximation. My Grandma says to use 1 apple per person. Make sure there’s enough wine to fully coat all of the mixture. The apples will soak up some of the wine, so you’d rather overdo it a little bit then have it be dry.


*you can make a day ahead of your seder

3-4 large honeycrisp or sweet apples, peeled and finely chopped

1-2 cups sweet red wine (or any red wine + a few TBSP brown sugar)

1 tbsp or more cinnamon

1 cup pecans or walnuts, finely chopped


– Mix everything together and let it sit in the fridge while you make the rest of the dinner. Stir several times so that all the apples get coated.  The liquid should be about 3/4 of the way up the bowl. The flavor gets better as it sits and the apples get soaked.

– Serve with matzo


AUNT ELAINE’S BRISKET

* best to make the day before if possible


5-6 lbs brisket

garlic powder

pepper

paprika

4 large onions, thickly sliced

1/2 bottle of ketchup

2-3 cans whole cranberries (you won’t taste them)

1 bag baby carrots or thickly sliced carrots

1 bag baby potatoes


  1. on the bottom of a large pan you can cover with a top or with foil, place sliced onions.
  2. place meat on top
  3. liberally sprinkle seasonings on top
  4. spread ketchup and cranberries on top of that
  5. add potatoes and carrots around the meat
  6. add 3/4 cup water to the pan
  7. bake 350 degrees in a covered pan for 4 hours
  8. if you make this the day before, slice when cold against the grain. Replace the meat back into the gravy and reheat


HOMEMADE MATZO BALL SOUP (VEGETARIAN)

I make mine vegetarian but also roast some chicken, shred it, and add to everyone else’s bowls. Quarantine style… I defrosted chicken breasts, placed them on a foil-lined baking sheet, drizzled with olive oil, salt, pepper, then baked them in the oven for 15 min. Shred and add to the bowls who want chicken!

You can add as many or as little vegetables as you want. It’s mostly about the seasoning and the matzo balls.

I’m NOT a fan of the pre-made soup mix. It’s too salty and not enough flavor for my taste. If that’s all you have, consider at least adding these veggies and seasonings to the broth!
Makes about 6 servings


1/2 cup matzo meal

2 eggs

2 tbsp vegetable oil
2 tbsp water

1 tsp water

1 large yellow onion, diced

3 carrots, diced

3 stalks celery, diced

1 heaping tbsp minced garlic

lots of dried or fresh seasoning: I added a couple teaspoons of  THIS spice which is absolutely magical, but you could recreate it with salt, freeze-dried shallots, chives, garlic, onion and green peppercorns. I also added about 1 tsp thyme, and a dash of dill. I’m the only one who loves spicy things, so I add crushed red pepper just to my bowl.

2 – 32 oz boxes of vegetable broth


  1. Add eggs and oil to a medium bowl and whip with a fork. Mix in matzo meal, water, and salt until combined. Leave in the fridge for 15 minutes while you make the soup.
  2. Heat olive oil in a large pot on medium.
  3. Add diced vegetables and cook for a few minutes until just softened, maybe about 5 min.
  4. Stir in minced garlic and dried/fresh seasoning and cook a few more minutes.
  5. Add vegetable broth and bring to a boil.
  6. While you wait for the pot to boil, grab the matzo ball dough from the fridge.
  7. Using a cookie/ice cream scoop (anywhere from 1″-2″), scoop up the dough then roll it in your hands to make sure it’s packed together.
  8. Drop in the matzo balls in the soup then cover the pot tightly with a lid.
  9. Simmer for 40-60 minutes.
  10. Top with a little parsley and crushed red pepper if you want… but no one in my family likes either 🙂


GRANDMA’S KUGEL

8 oz. medium broad egg noodles (or any egg noodles are fine! Usually in the “international section”

1 stick of butter, room temp (plus more for greasing the pan)

8 oz. cream cheese, room temp

8 eggs (!!)

1 1/4 cup sugar

1/4 tsp salt

2 tsp vanilla

1 tsp lemon juice

4 1/2 cup milk

1/2 cup or so of raisins

cinnamon


  1. preheat oven to 350 degrees
  2. barely cook the noodles- just a couple minutes
  3. butter 9×13 casserole pan
  4. spread the noodles in the pan
  5. sprinkle raisins on top
  6. in a separate bowl, beat butter and cream cheese until smooth
  7. add in eggs, sugar, salt, vanilla, lemon juice
  8. add milk and mix by hand – it’s soupy!
  9. pour wet mixture on top of the noodles and raisins
  10. cover the top with cinnamon- don’t be shy!
  11. bake 350 for 1 hr until a knife comes out clean. The top noodles should be crispy and the inside moist.


MAZTO BARK

*you can make a day or two ahead and freeze in a ziplock bag


CHOCOLATE SALTED TOFFEE
Ingredients:
2 sticks unsalted butter
3/4 cup packed brown sugar
1/2 tsp vanilla
fleur de sel (or course sea salt)
6 sheets of matzo or your fav crackers
10 oz. bittersweet chocolate chips
toppings – fleur de sel, toasted almonds, sprinkles, candy, peanut butter chips… the list goes on!
  1. Preheat oven to 350 degrees
  2.  Line baking tray with parchment paper. Cover tray with matzo, edge to edge.
  3. Melt butter and sugar in a pan over medium heat til boiling. Boil 3-4 minutes. Remove from heat and add vanilla and a large pinch of sea salt
  4. Immediately pour over matzo and spread with an offset spatula. This will turn into a sea of bubbling toffee so it will sort of spread out naturally- don’t stress if it’s not perfect.
  5. Bake 10 or so minutes until toffee is bubbly and brown. Watch or it will burn!
  6. Remove from oven and immediately sprinkle chocolate chips on top. Cover loosely with foil. After 5 minutes remove foil and spread the now-melted chocolate chips evenly over toffee. Sprinkle with your fav toppings.
  7. Put the tray in the freezer for about 30 minutes until chocolate is hardened. Break into pieces and keep in a ziplock bag in the freezer. This will keep it from getting all melty.


CHOCOLATE COVERED MACAROONS

This one is based on Ina Garten’s but a little less sweet. CLICK HERE


MATZO BRIE (for breakfast!)

So many good memories growing up eating my Grandma’s crispy matzo brie around passover, and my Grandpa’s more eggy version. Both so good with pure maple syrup!!

For 1 serving:

1 1/2 boards of matzo

1/2 cup milk

2 eggs, beaten

sprinkle of cinnamon

butter for the pan


Heat up milk in the microwave about 1 minute- I like to use a large glass pyrex or just a microwave save large bowl.

Break up the matzo in large pieces and put them into the hot milk for about 30 seconds just to soften the matzo.

Drain most of the milk out.

Add in eggs and cinnamon, and mix together.

Heat up butter in a skillet on medium, then pour in the matzo mix. I like to mix it up a bit to make sure all sides are coated and crispy. Or you could make it pancake style if you like a fluffy, eggy consistency better. Done when golden brown and egg is fully cooked. Top with a shake of cinnamon and maple syrup. Yum!


HAPPY PASSOVER!!

xo

Leah

RECIPE: NANA’S GINGER MOLASSES COOKIES

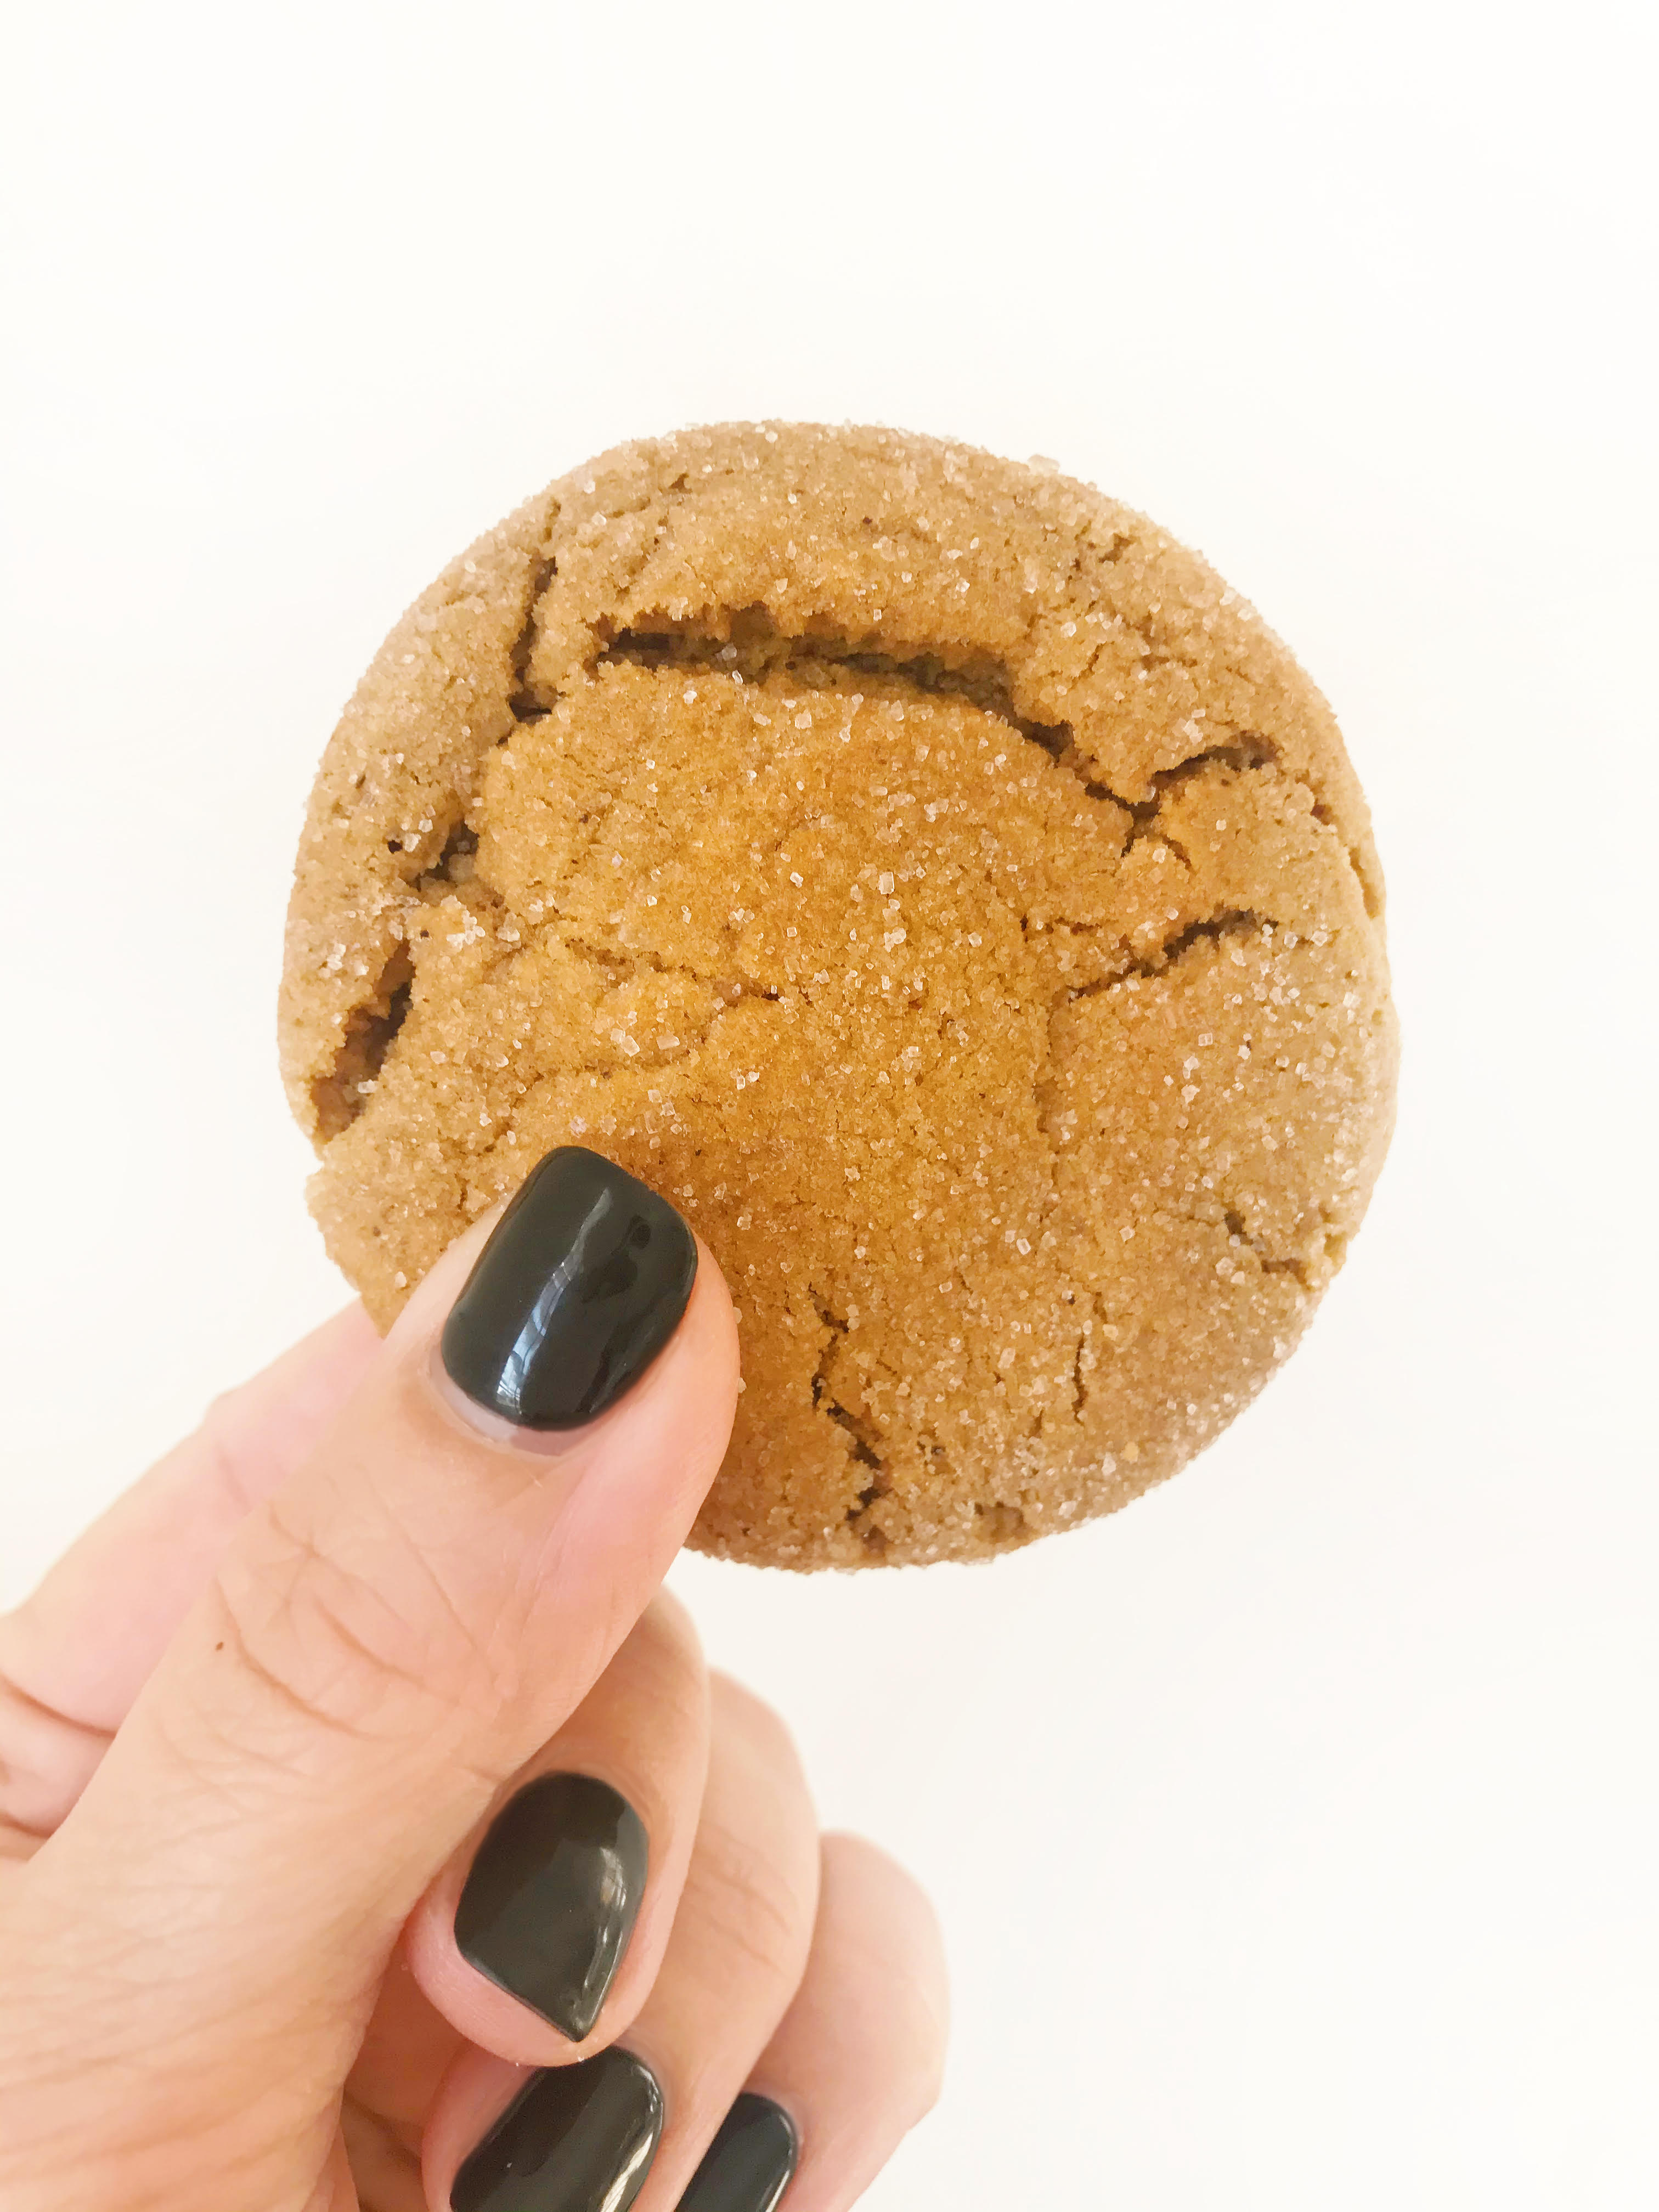
Lightly spiced and lightly sweet, these soft ginger molasses cookies are the BEST. They’re super pretty and stack well, so they would be nice holiday gifts for neighbors or teachers! I make these every December just like my nana and mom did. Enjoy!


INGREDIENTS:

1 cup granulated sugar (plus more for topping)

3/4 cup unsalted butter, room temp

1 egg, room temp and beaten

1/4 cup molasses

3 cups flour (I always use bread flour, but use what you have)

3 tsp baking soda

1/2 tsp salt

1 tsp cloves

1 tsp ginger

1 tsp cinnamon


  1. preheat oven to 350 degrees
  2. cream butter and sugar until smooth, about 5 min.
  3. mix in egg and molasses
  4. add dry ingredients gradually until just combined
  5. scoop dough with a cookie scoop or tablespoon, roll into a ball in your hands first, then roll in granulated sugar (I put the sugar in a shallow bowl so it doesn’t get messy)
  6. bake on a parchment paper-lined baking sheet for 8-10 minutes until cracked and golden.
  7. let cool for a few minutes on the tray… then eat warm!

RECIPE: CHOCOLATE TOFFEE BARK

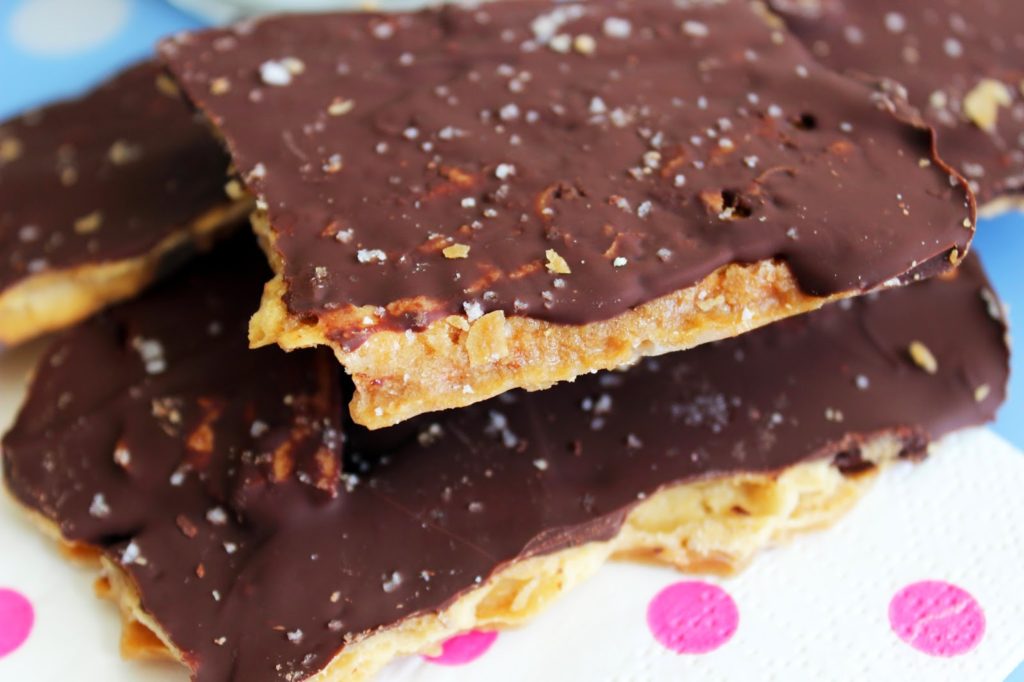
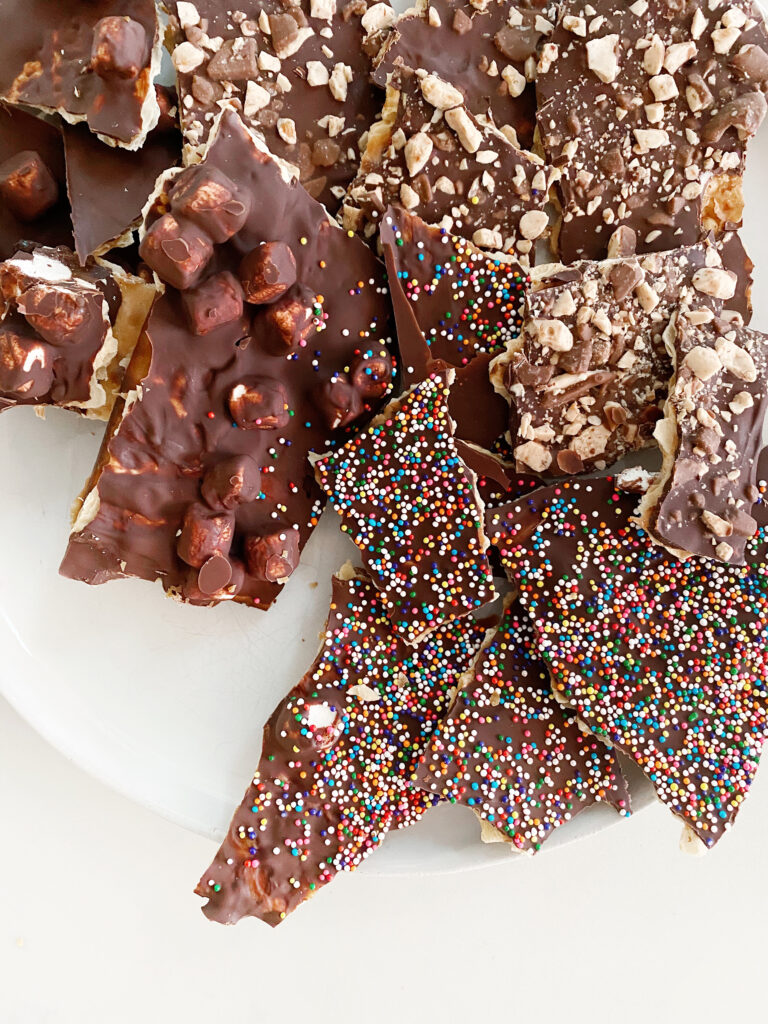
You know when you’re eating something and every time you take a bite, you have to say how good it is? Even if you’re by yourself? Ooooooor is that just me? I think this crack chocolate salted toffee cracker will have you doing just that. Crunchy, rich, and sweet with a touch of salty. Since Passover starts Friday, we made ours with matzo, but you could certainly use Ritz crackers or Saltines.
Scroll down for the super simple recipe.
Rich bittersweet chocolate topped with fleur de sel
 
Sprinkles by Fancy Sprinkles!
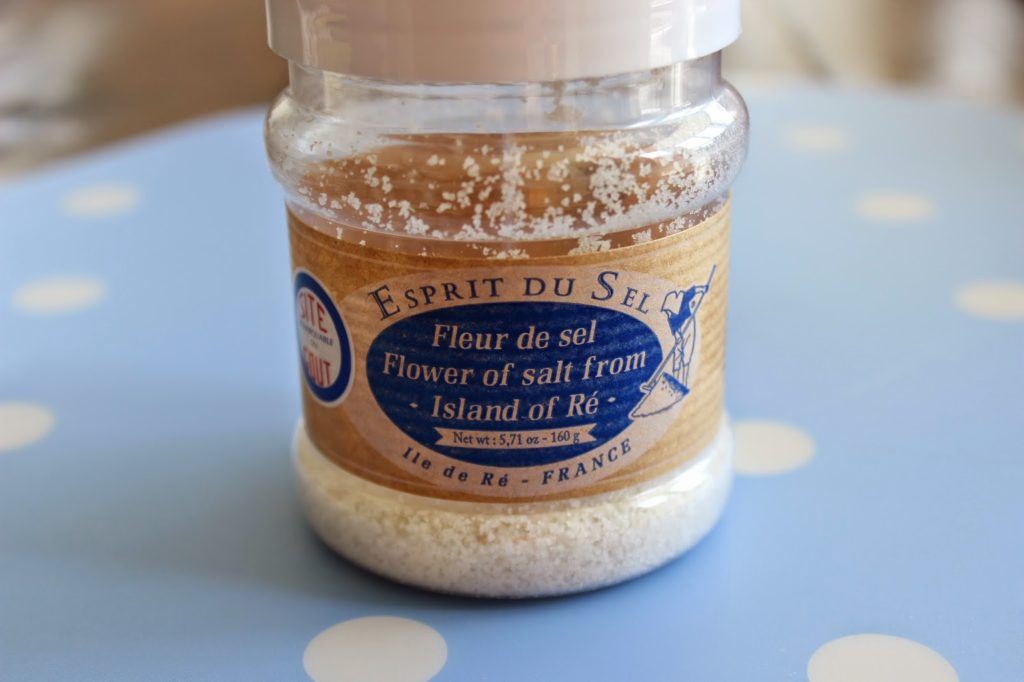
This is the best baking investment you can make. I sprinkle this on every chocolate dessert I bake.
RECIPE
CHOCOLATE SALTED TOFFEE CRACK(ERS)
Ingredients:
2 sticks unsalted butter
3/4 cup packed brown sugar
1/2 tsp vanilla
fleur de sel (or course sea salt)
6 sheets of matzo or your fav crackers
10 oz. bittersweet chocolate chips
toppings – fleur de sel, toasted almonds, sprinkles, candy, peanut butter chips… the list goes on!
1. Preheat oven to 350 degrees
2. Line baking tray with parchment paper. Cover tray with matzo, edge to edge.
3. Melt butter and sugar in a pan over medium heat til boiling. Boil 3-4 minutes. Remove from heat and add vanilla and a large pinch of sea salt
4. Immediately pour over matzo and spread with an offset spatula. This will turn into a sea of bubbling toffee so it will sort of spread out naturally- don’t stress if it’s not perfect.
5. Bake 10 or so minutes until toffee is bubbly and brown. Watch or it will burn!
6. Remove from oven and immediately sprinkle chocolate chips on top. Cover loosely with foil. After 5 minutes remove foil and spread the now-melted chocolate chips evenly over toffee. Sprinkle with your fav toppings.
7. Put the tray in the freezer for about 30 minutes until chocolate is hardened. Break into pieces and keep in a ziplock bag in the freezer. This will keep it from getting all melty… and hide it from view…
-L

RECIPE: DONUT CAKE

 This cake may look insane and tricky, but it’s the EASIEST cake you could make! Decadent? Yes. Delicious? Yes. Difficult? NOT AT ALL!
INSTRUCTIONS:
1. Buy a store bought cake or make one from a box… normally I’d say absolutely not, but when you’re going to cover it with donuts, you might as well. I made this one with an angel food cake box mix since that’s my mom’s fav and it was her birthday!
2. Buy plain or glazed donuts in regular and mini sizes from the store. Donut holes would have been really cute, but they didn’t have any that day. The minis were from a Hostess bag!
3. Make the glaze (recipe below). I divided the glaze up into three bowls and tinted them with food coloring
4. Pour the glaze just on top of the cake and let the sides drip down. Top with sprinkles and let dry.
5. Dip the tops of the donuts in the glaze and top with sprinkles and let dry.
6. Pile up the donuts on top of the cake and secure with tooth picks. That’s it.
GLAZE RECIPE:
2 cups powdered sugar
2 tbsp butter, very soft
1 tsp vanilla
1 tbps hot milk
Mix all together. If the glaze is too thick to be drippy, add a little more milk. If it’s too runny, add more powdered sugar. Divide the glaze into three bowls with a little more glaze in the color you’ll use for the cake. The glaze dries pretty quickly so make sure to cover with saran wrap pressed to the top if you make ahead of time.

This is a great glaze for frosting sugar cookies too!

This would be so yummy with a chocolate ganache or caramel or peanut butter… yum the list goes on!
ENJOY!
-L

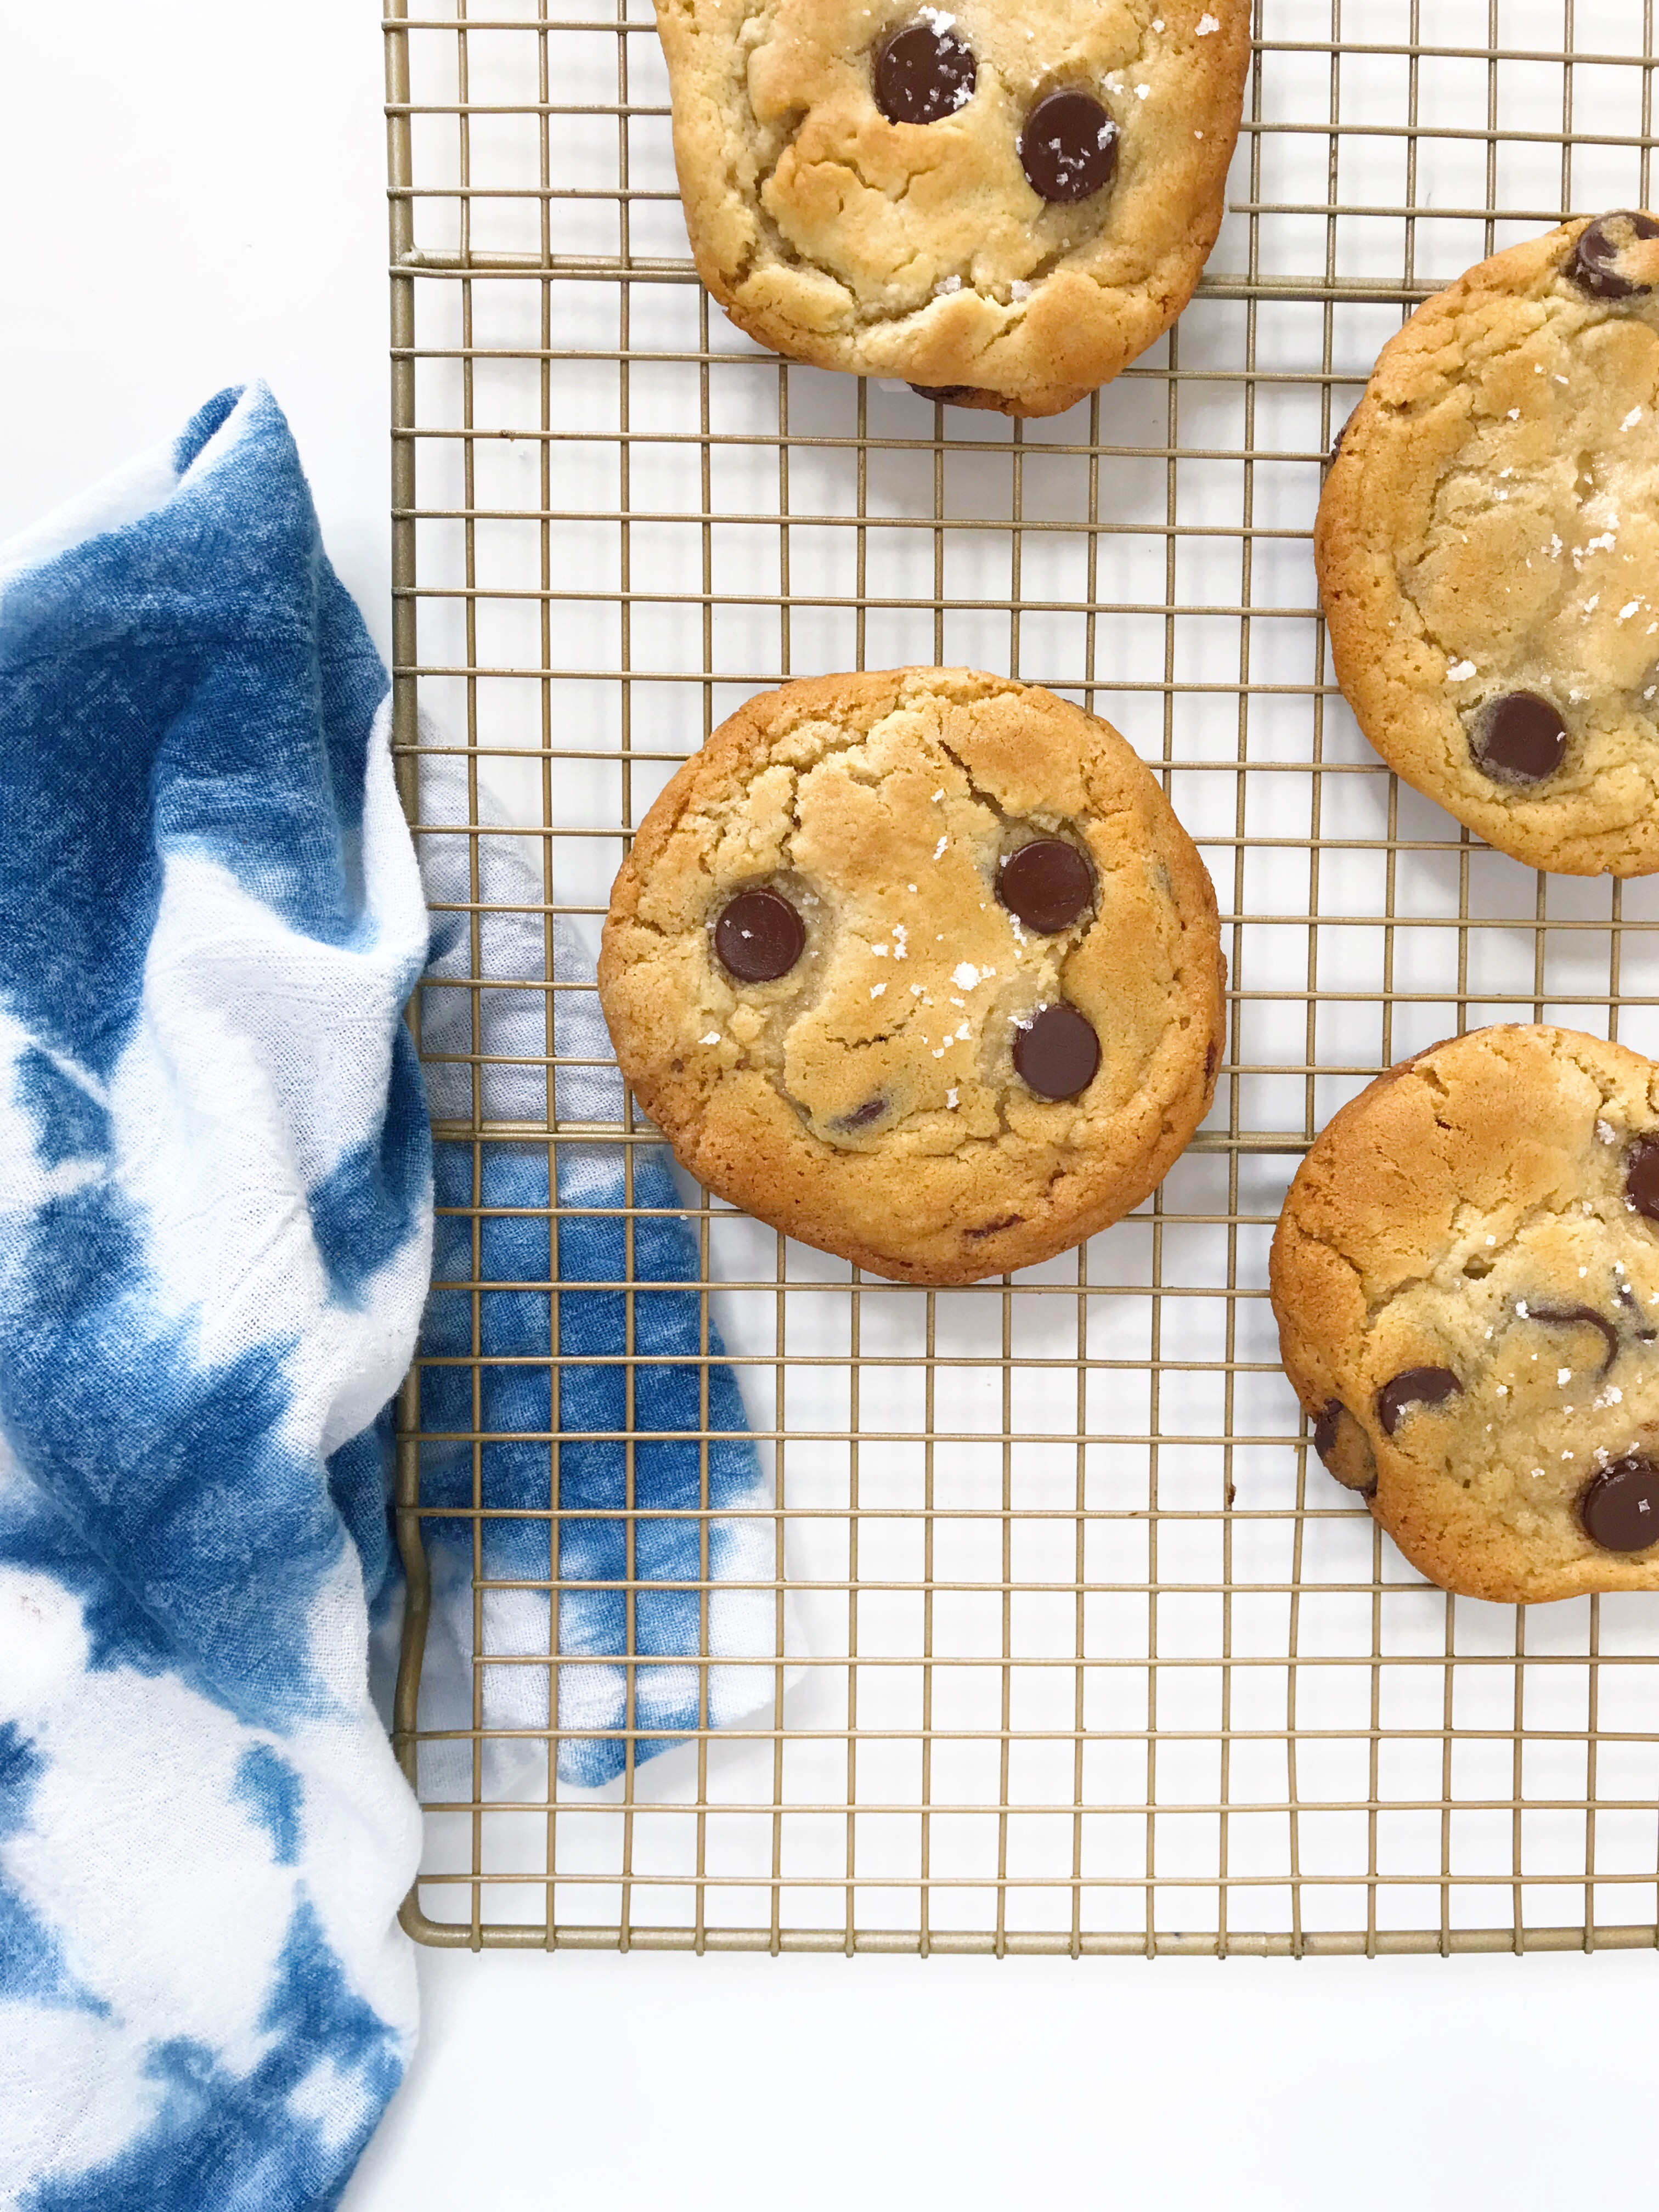
RECIPE: BEST EVER CHOCOLATE CHIP COOKIE

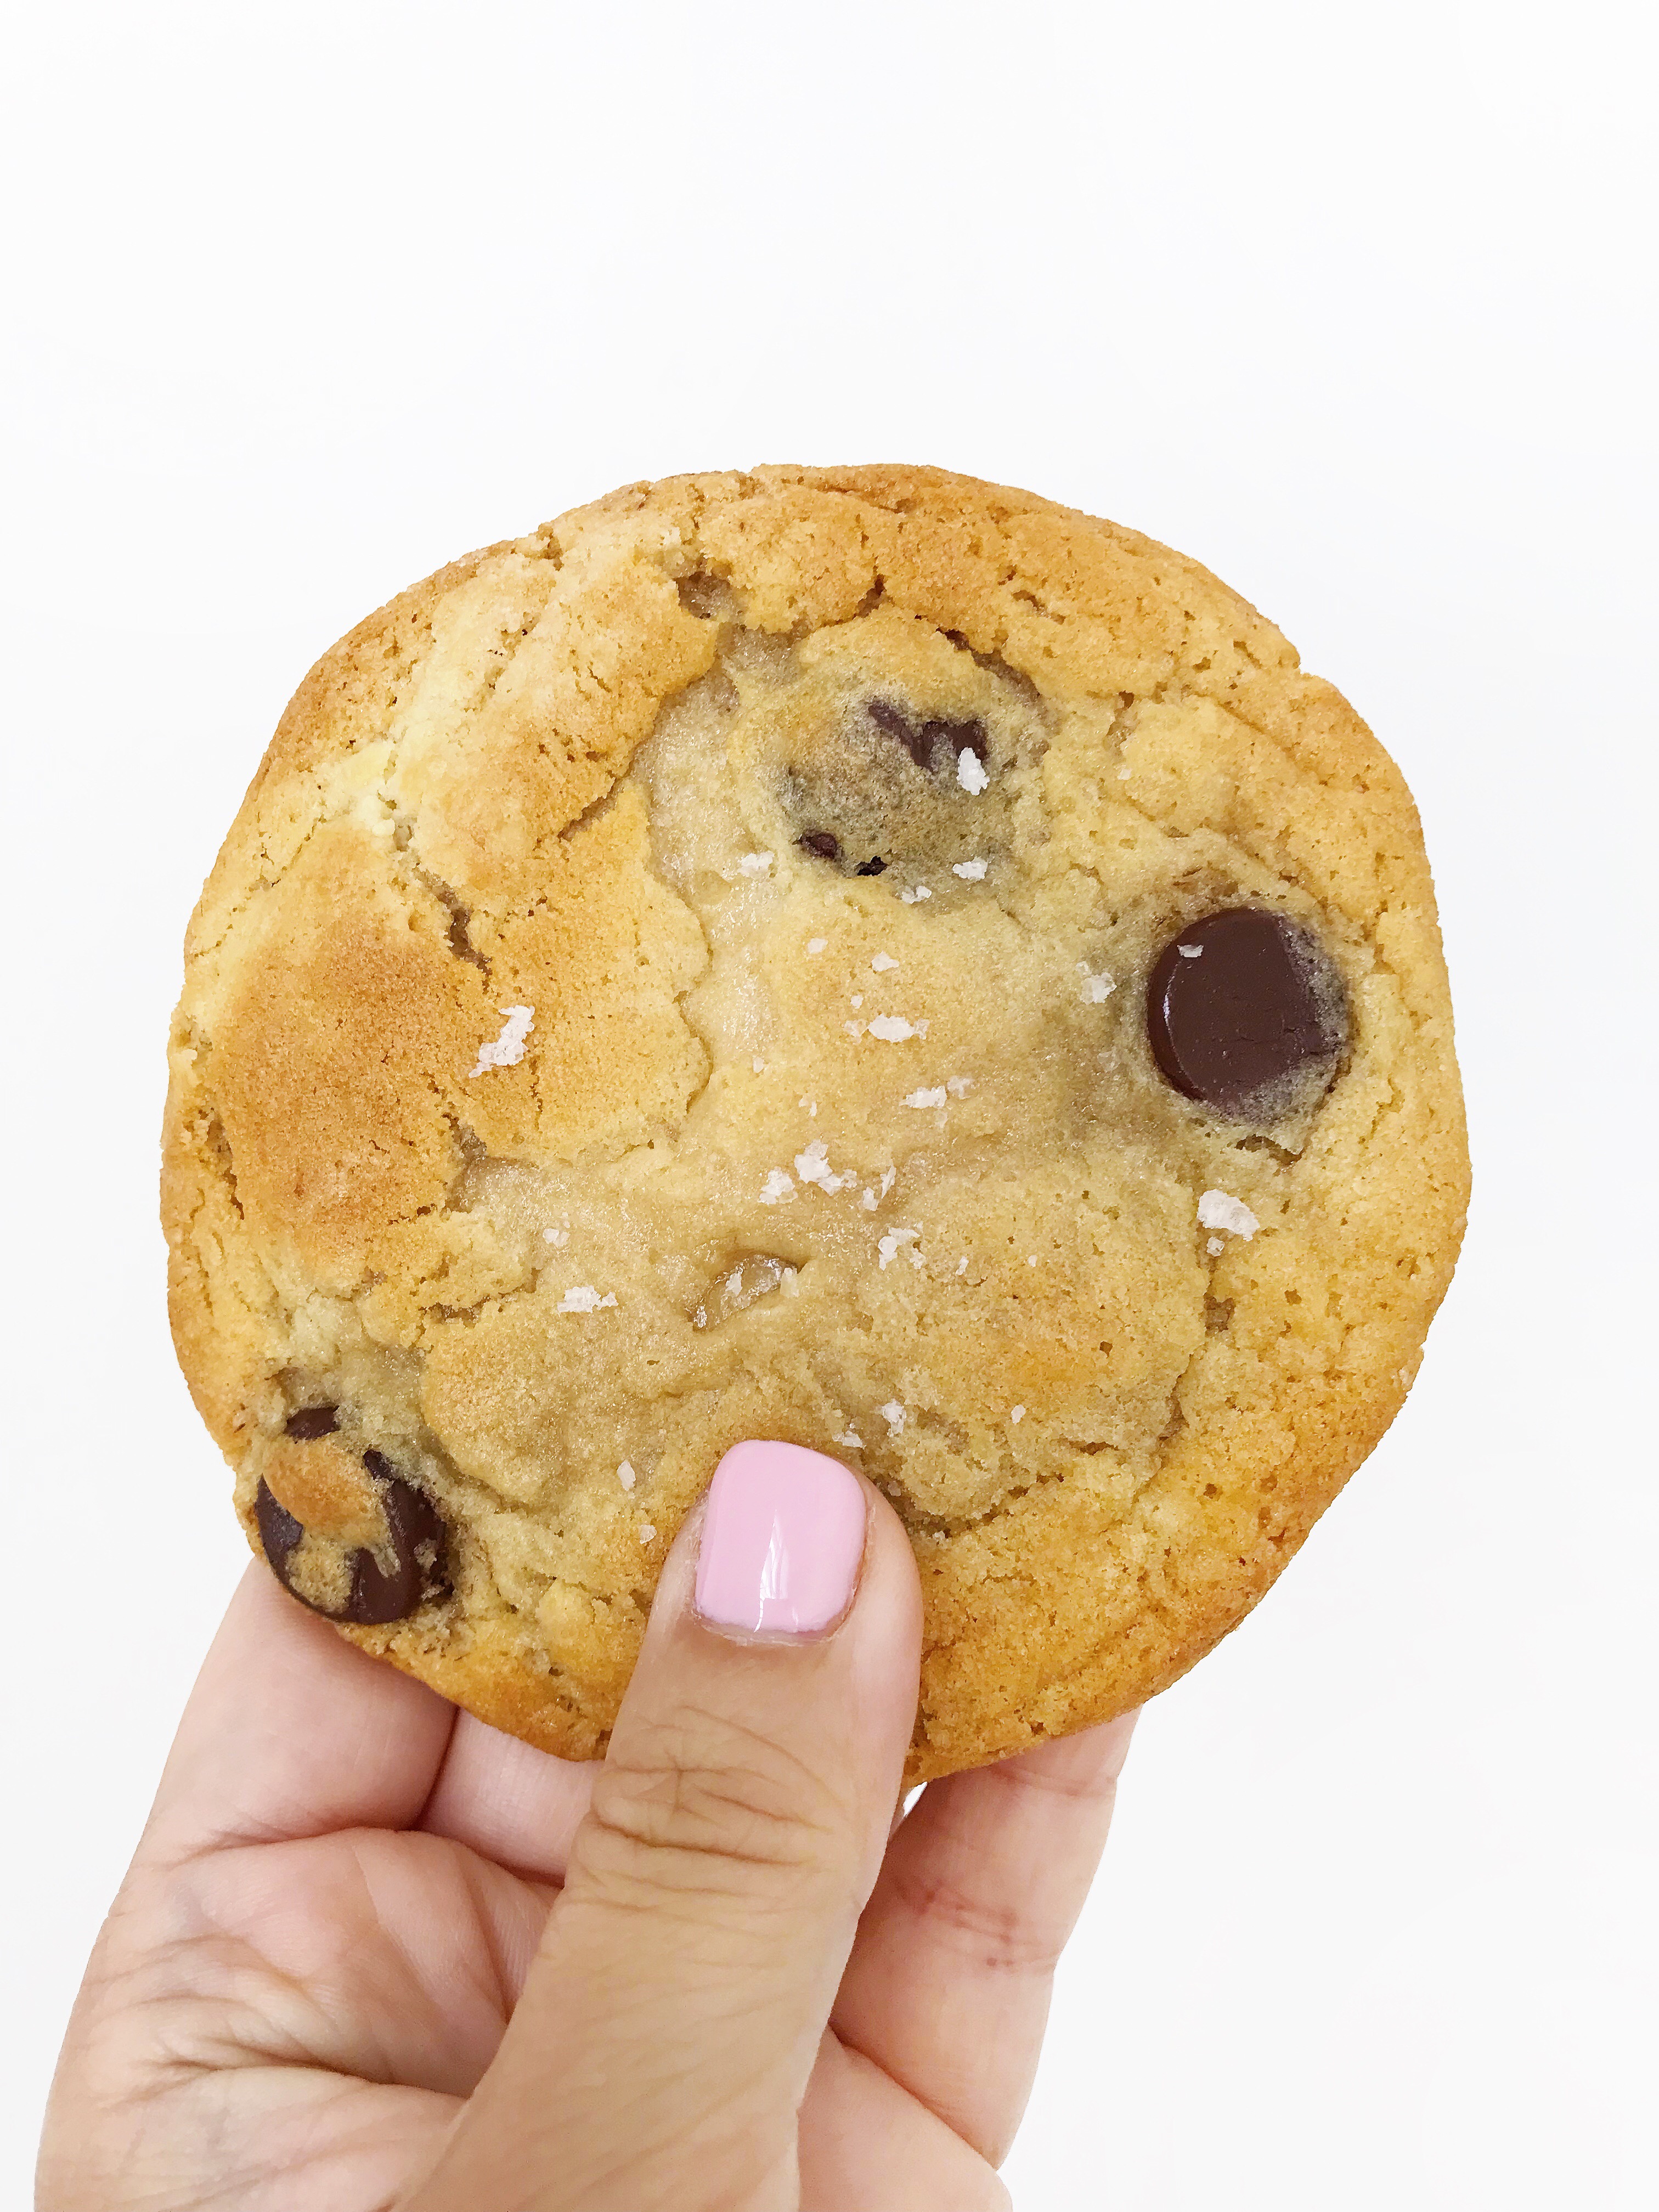
We all have our favorite chocolate chip cookie recipe that is our go-to. Jenni’s is soft and chewy with a brown sugar flavor, while mine is salty, chewy, and crisp on the edges. I have this dough in my fridge most of the time, just ready to scoop out what we want at the moment. So good for those late night cravings or for your kids after school treat!
I’ve made these with lots of variations as far as add-ins. These are perfect with just bittersweet chocolate chips, but I also love to add dried cherries… trust me on this one. So. Freaking. Good.
Although this has the most amazing flavor, you really need to let the dough refrigerate for at least 24 hours. Sorry. But it makes a huge difference. We’ve found that three days has the best flavor.
RECIPE and super helpful TIPS below!
PS. the towel is from my sweet friend’s company Earthin’ Out!
RECIPE:
Chocolate Chip Cookies
INGREDIENTS:
*Need to refrigerate at least 24 hours
– 2 c. minus 2 tbsp cake flour
– 1 2/3 c. bread flour
– 1 1/4 tsp baking soda
– 1 1/2 tsp baking powder
– 1 1/2 tsp kosher salt
– 2 1/2 sticks of unsalted butter, room temp
– 1 1/4 c. light brown sugar
– 1 c. plus 2 tbsp granulated sugar
– 2 eggs, room temp
– 2 tsp vanilla
– 1 c. bittersweet chocolate chips
– additional mix-ins if you want! The cookies pictured have crushed Heath bar pieces and chocolate chips.
– a pinch of fleur de sel or kosher salt for tops of cookies
INSTRUCTIONS
– cream butter and sugar for 5 minutes
– combine all dry ingredients besides mix-ins while you wait
– add in eggs one at a time to the butter and sugar, mix well in between
– add vanilla
– slowly add flour mixture
– when there’s only a little bit of flour left, add in the toppings and mix until JUST combined. Do not overmix at this point
– press saran wrap on the dough in the bowl and refrigerate at least 24 hours for best flavor (more in tips)
– when ready to bake, set oven to 350. Using a large ice cream scoop, scoop out dough onto a parchment paper lined baking sheet
– bake 16-18 minutes or until edges are golden and the center looks light
– sprinkle immediately with a little kosher salt or fleur de sel
– let cool on the tray for about 5 minutes, then slide the parchment paper off to cool completely… or eat warm… you’re welcome.
TIPS:
* Though the dough tastes amazing RIGHT away, you need to refrigerate for at least 24 hours for the best flavor when you bake. Three days is best! Just trust me!!
* Only scoop out what you want to eat! We keep the bowl of dough in the fridge with saran wrap pressed down on top of the dough. Just scoop out and bake what you want to eat at the moment. No need to let the dough come to room temp first.
* If you bake all the cookies and don’t eat right away, freeze them immediately to keep fresh. These are amazing fresh out of the oven, but get stale VERY quickly.
* Bittersweet chocolate chips are best with this in my opinion. The cookie is already sweet- it doesn’t need sugary sweet chocolate in there too. I love 60% Ghirardelli.
* A good cookie starts with good ingredients. Use GOOD vanilla, good butter, etc. It only makes sense right? What you put in, you get out.
* A sprinkling of fleur de sel on top after the cookies finished baking really brings out the chocolate flavor.
Enjoy!
-L

THE PERFECT CUPCAKE

Yes, you read that right! We have theeeee perfect cupcake recipe for you today. Leah may have “stolen” it from a NYC bakery. Shhh! These are our go to cakes for any grown up secret eating time after our kids go to bed and no one is watching celebration, but ESPECIALLY Valentine’s Day, right? I am not a box of chocolates girl myself, but put a piece of cake in front of me, and its gone in two seconds flat. What can I say? These cupcakes will eat any other cupcake for dinner. And the frosting….. Ohemmmmmgeeeeee! The lightest, fluffiest, not overdone buttercream frosting we have ever tasted! 
Our secret baking tip (well, I guess its not a secret) is to under bake. Even if it means cutting off the last few minutes. It makes such a difference in the moisture of the cake here. Promise!!
CUPCAKE:
(Makes 30 cupcakes)
-1 3/4 c cake flour
-1 1/4 c unbleached all-purpose flour
-2 c sugar
-1 T. baking powder
-3/4 tsp. salt
-1 c (2 sticks) unsalted butter
-4 large eggs
-1 c whole milk
-1 t. vanilla
Preheat oven to 325 degrees. Combine flour, sugar, baking powder & salt. Add butter, mixing just until coated. In a separate bowl, whisk together eggs, milk, vanilla. Add the wet mixture to the dry mixture in three parts. Bake 17-20 minutes. REMEMBER… We underbake. I am always checking mine around the 15 minute mark. I stick a toothpick in and take them out just before the toothpick comes out completely clean.
*rotate pan half way through cooking for even baking!*
BUTTERCREAM FROSTING: 
(Makes 4 1/2 cups)
1 c butter, softened (not melted)
1/4 tsp. salt
1 (32 oz.) package powdered sugar
6 to 7 T. milk
1 T. vanilla extract ( alter if you like. I love the frosting with or without the vanilla)
Beat butter and salt at medium speed with an electric mixer 1-2 minutes or until creamy; gradually add powdered sugar alternately with 6 Tbsp. of milk, beating at low speed until blended and smooth after each addition. Get it to your desired consistency and then stir in vanilla. 
* The one thing I adore most about this frosting is that it is perfectly spreadable right after its made. No refrigerating necessary!*
We promise you….. you will thank us!
XO!