california

RECIPE: THE BEST EVER OATMEAL COOKIE

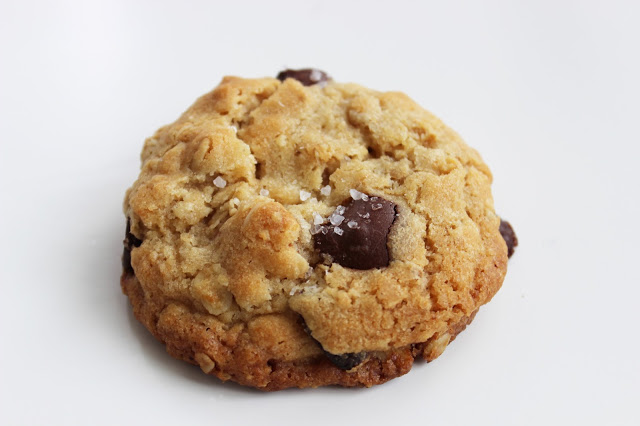
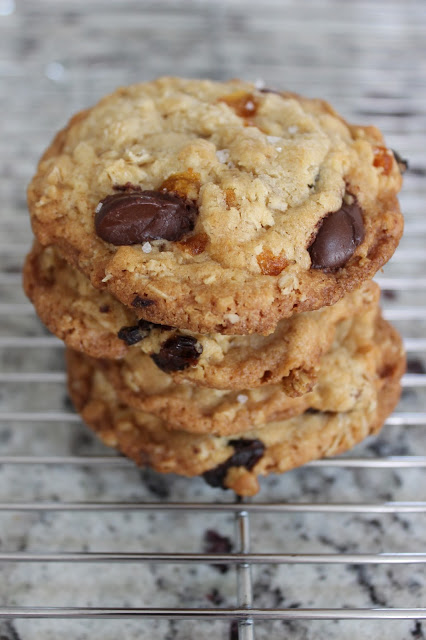
I am a cookie snob. And I’m telling you… these are the BEST oatmeal cookies ever. I guess that’s bragging, but I’ve gotta share the love with you! I’ve tried to copy them from my fav bakery, Wild Plum, in Pacific Grove, CA where my husband and I lived before moving to Nashville. I can’t quite get the consistency the same, but the flavors are all there. In fact, every year we visit and if they don’t have them out… I beg them to make a batch before I leave town, and they always do!
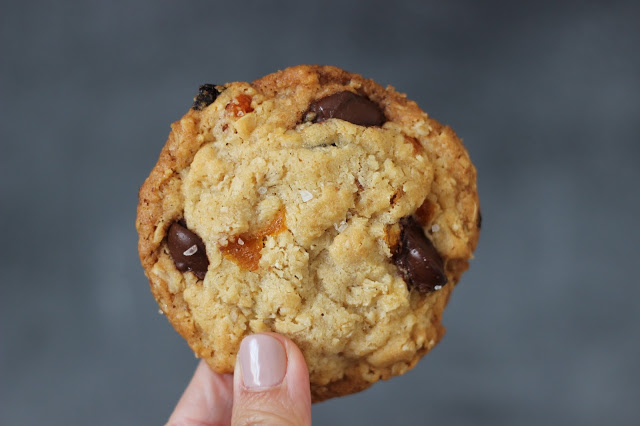
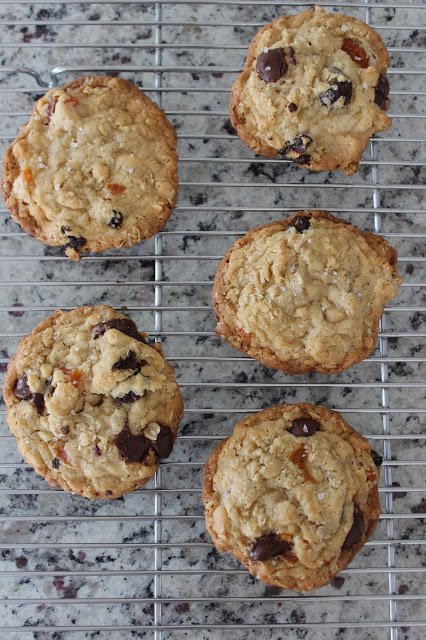
You can use any mix-ins you like with these oatmeal cookies! This is just a great base. I used bittersweet chocolate chips, dried apricots, and dried tart cherries. If I’m not using apricots and using chocolate chips or m&m’s instead, I like to omit the cinnamon. Just doesn’t have the right flavor profile!
Please make sure to note that you need to let the dough refrigerate for at least 2 hours. I know…torture. You can eat the dough in the meantime. The longer you leave the dough, the better the flavors will combine. 12 hours is great, 24 hours is better. If you bake after 1 or 2 hours they’ll taste great but the dough will spread out pretty thin. I’ll stop blabbing… scroll down for recipe!

RECIPE:

The Best Ever Oatmeal Cookie

Ingredients:

1 cup unsalted butter, room temp
3/4 cups granulated sugar
3/4 cups brown sugar
1 egg, room temp
1 tsp good vanilla
1 1/2 cups + 1/8 cup bread flour
1 1/2 cups old fashioned oats
1 tsp baking powder
1/2 tsp salt
1/2 tsp cinnamon (I omit if using only chocolate mix-ins or if I’m not adding apricots)
fleur de sel / kosher salt
Optional mix-ins:
dried apricots, quartered
dried tart cherries
bittersweet chocolate chips
m&m’s
(I use 1 cup apricots, 1/4 cherries, 1/4 chocolate chips)

Directions:

1. Mix together dry ingredients and mix-ins in a separate bowl. Set aside.
2. Beat butter and sugars for 5 minutes.
3. Add egg and mix until combined. Add vanilla.
4. Add dry ingredients until just mixed.
5. Press plastic wrap down directly on the dough then cover the bowl. Refrigerate for at least 2 hours
(12-24 hrs is best for flavor and texture!)
6. Scoop 2″ balls and pack firmly together*
7. Bake 350 degrees for 18-20 minutes until edges are browned and the tops are starting to brown.
8. Sprinkle tops with fleur de sel or kosher salt and let the cookies cool on the tray for 10 minutes.
Eaaaaaaat!
*Bake only what you want to eat at that time for the freshest experience! Dough keeps really well in the fridge for a week.
-L

FEATURED: HOLIDAY CENTERPIECE TUTORIAL

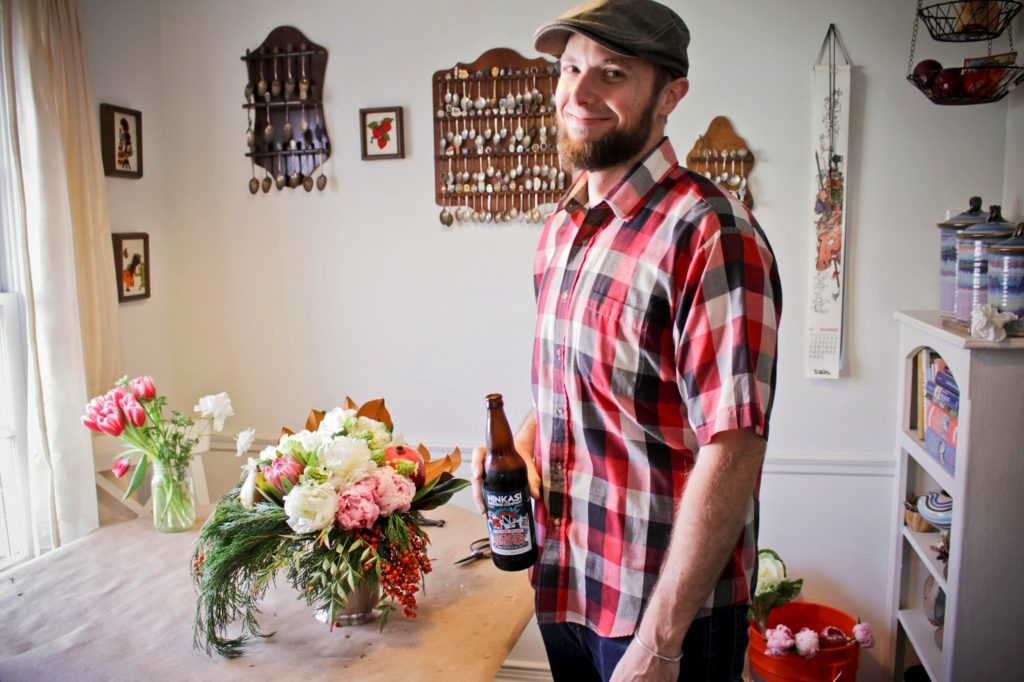
Anyone else in need of an incredible centerpiece for the holidays and have no clue how to do it? Luckily, my extremely talented friend, Matt Bollwinkel, just started a new floral business THISTLE BE FLORAL based out of LA and is graciously giving us a tutorial! I love how he uses unique textures, colors, and shapes that you’d never think of for a centerpiece. He’s seriously so talented and funny, and his wife happens to be the same. My face literally hurts from laughing after I hang out with them. They’re pretty much one of my fav couples ever.
If you’re in the LA area, contact Thistle Be Floral. Immediately. 
He’s the next big florist that you wish you knew before everyone else did… and now you do!

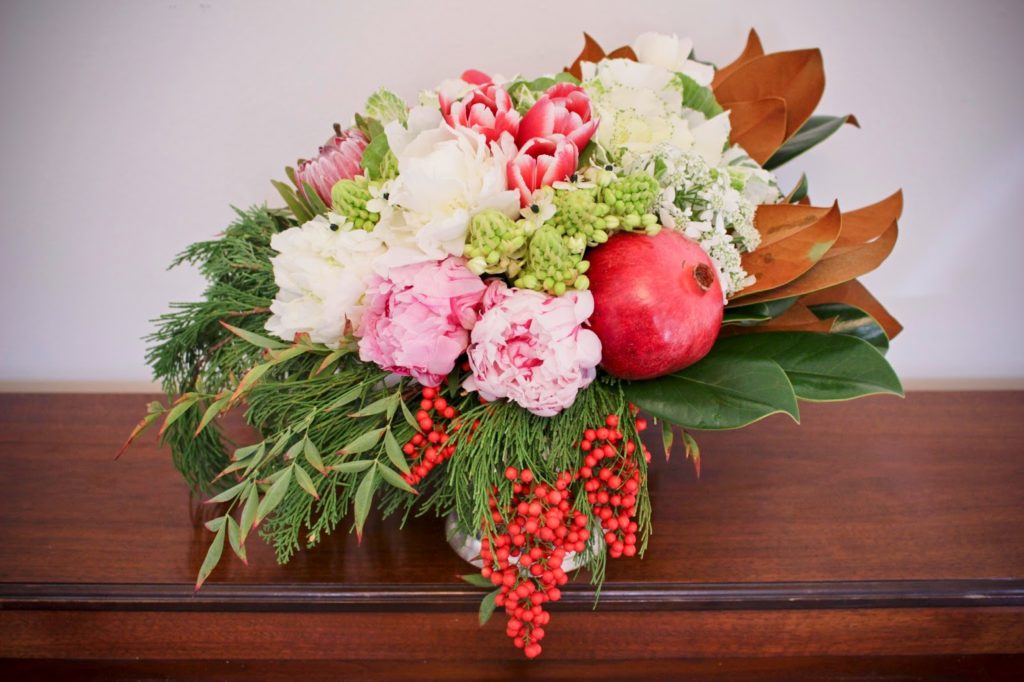
“MOM’S FAVORITE CHILD” HOLIDAY CENTERPIECE
Photographs by Sara Bollwinkel
Is your holiday table naked? Hide your shame with a homemade centerpiece that suggests you have your s*#t together. 

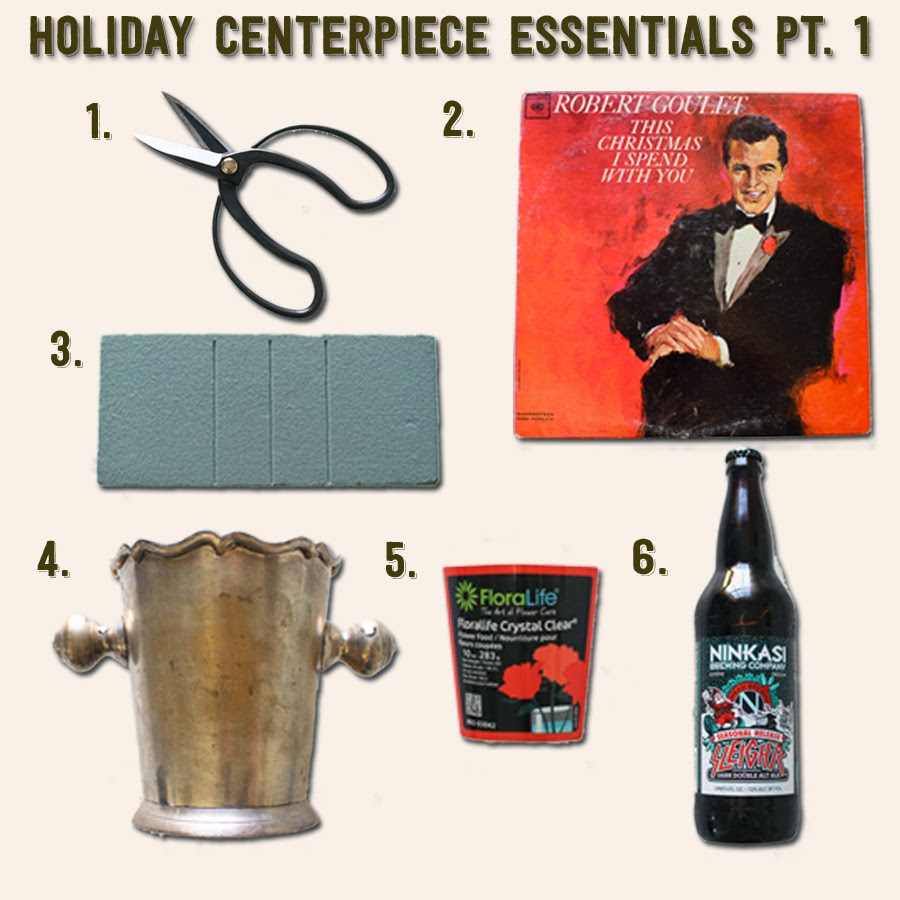
Here is what you will need… 

1. Fancy Shmancy Japanese flower arranging scissors. Or regular kitchen shears… (Anything between a machete to safety scissors will do)

2. Robert Goulet – “This Christmas I Spend with You”. This is not optional.
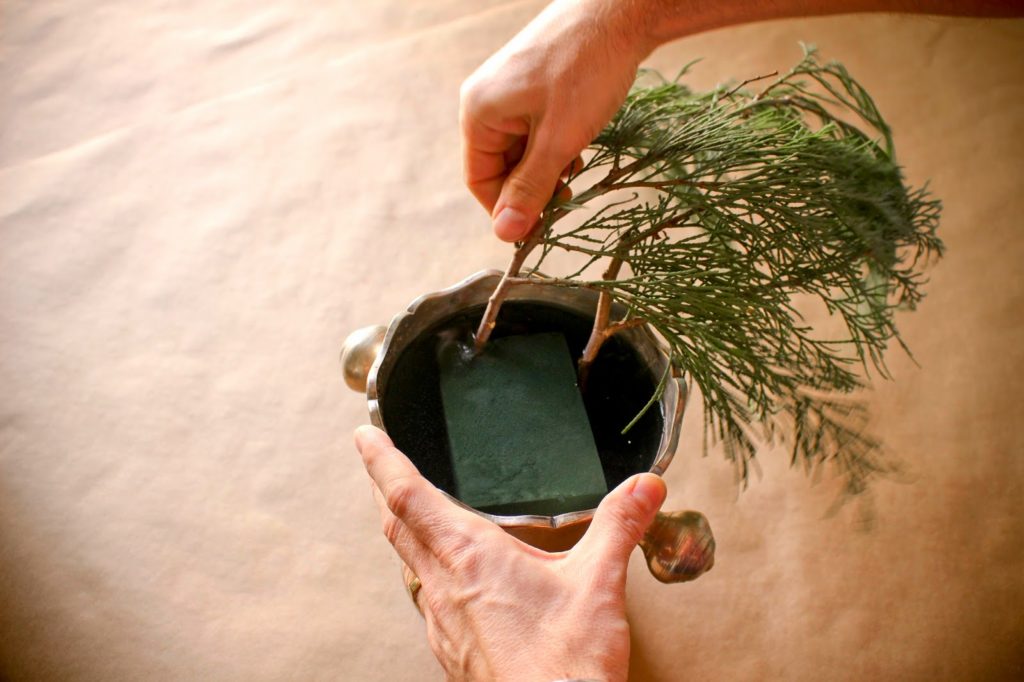
3. Oasis Floral Foam
4. A cool vessel…such as this tremendous silver antique champagne bucket.
5. Flower Food – pro tip: One packet of flower food and a quarter teaspoon of bleach in your water will make your plants die slower…or last longer if you are an optimist. Pro tip: if you don’t have bleach, use mouthwash!
6. Human Food – Your favorite holiday beer (or wine/scotch/kool-aid)

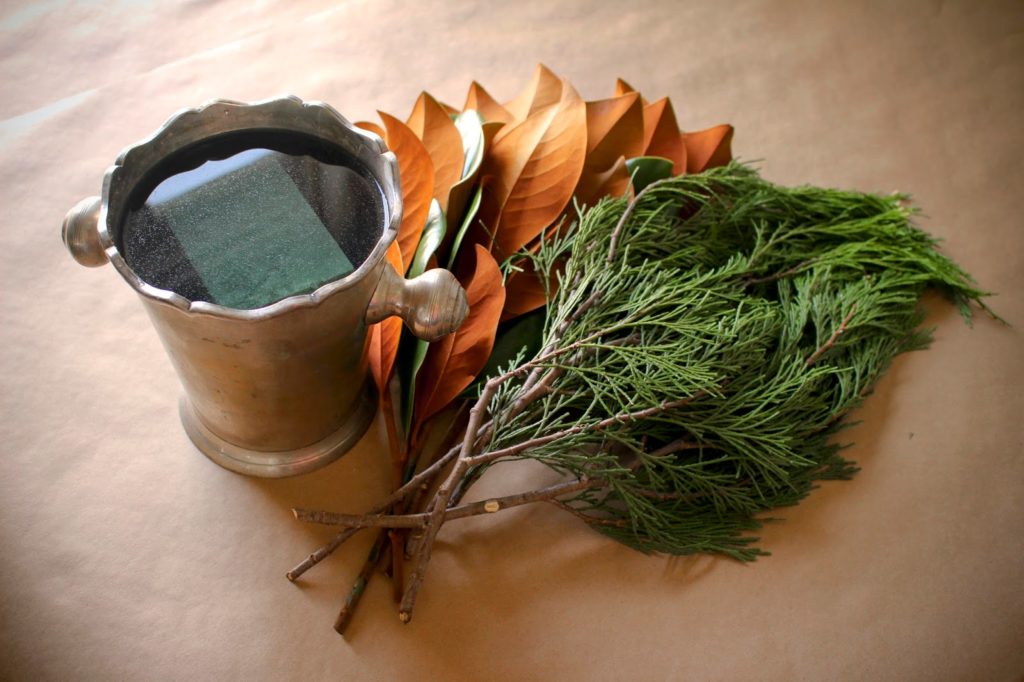
To prep your vessel for the flower invasion, cut the Oasis floral foam to fit and fill with water, flower food, and bleach. Allow this mixture to soak for a few minutes and pop open your human food.
Let’s get down to business.

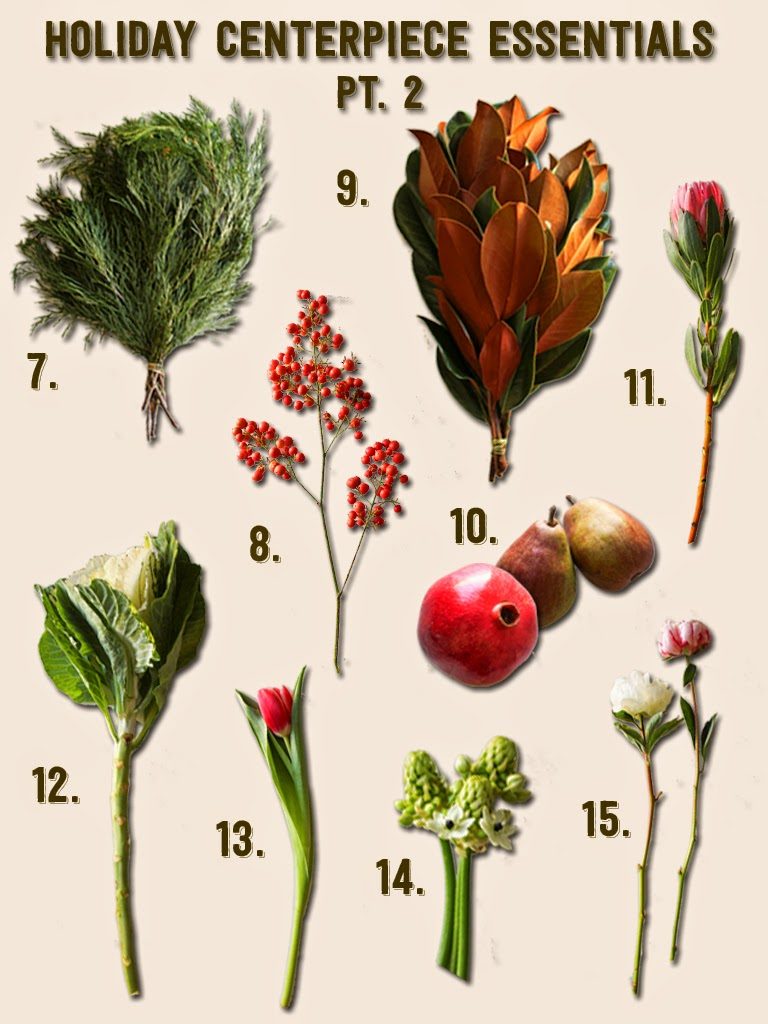
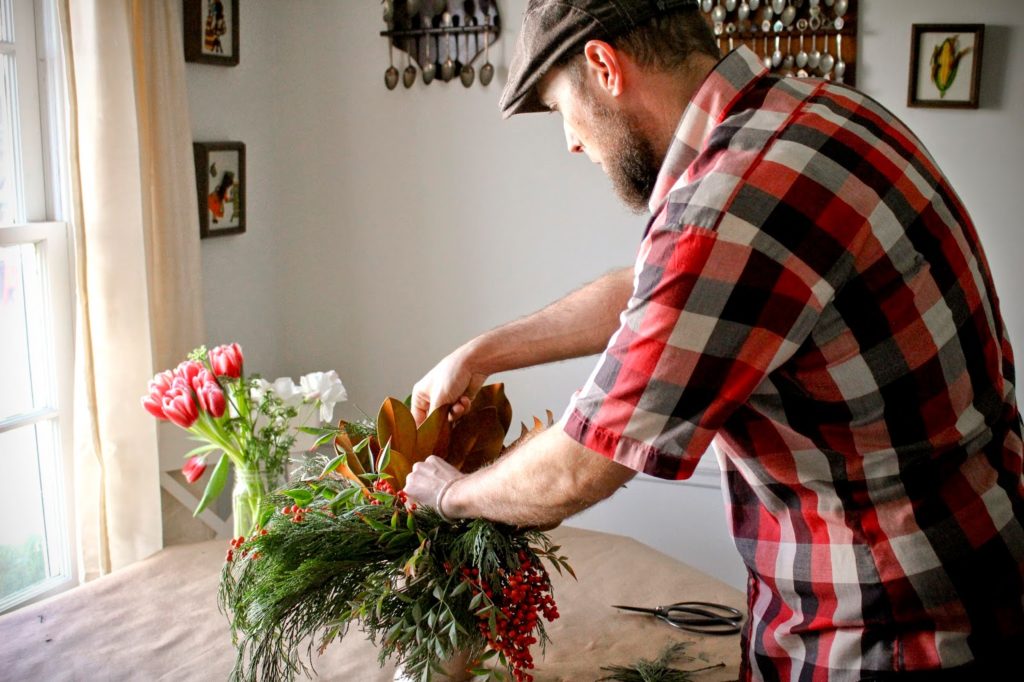
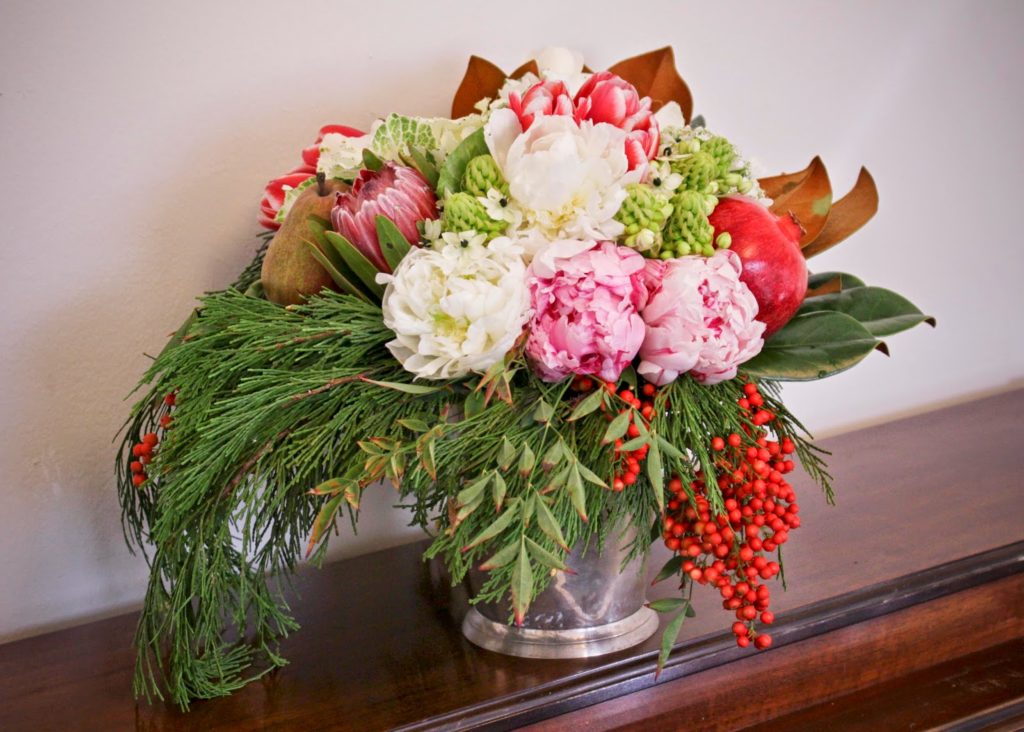
7. Greenery – take some clippings from the christmas tree, your local forest, or a neighbor you feel like stealing from. Source your pretty greens as this is where it all begins. 


8. Random “Foraged” (stolen) Berries – If you have dogs or children, use with caution.

9. Magnolia Leaves – these are a classic holiday accent to any arrangement or wreath. Some people spray paint them gold, but who has time for that?

10. Holiday Food – Pomegranates, Pears, Persimmons, Pumpkins etc. Anything that starts with the letter P will do. (Pinecones…not food but totally acceptable)

11. Protea – This is a great “focal flower” that will last the duration of your family’s stay and into the new year. Succulents are another great option.

12. Ornamental Kale – Hippie/Hipster approved. These take up a lot of real estate. If you are super lazy, this is a solid addition.

13. Tulips – Great color splash – check out french tulips if you want a sassy option.

14. Star of Bethlehem – Cause its Christmas y’all. (Note they also last for a long time and will continue to bloom for weeks).

15. Peonies – This is the popular girl in school. She hangs out with the funny chicks (tulips) but steals their boyfriends. This is your other focal flower of choice. (Caution: much like the popular girl in school, they are fragile and fall apart easily)

Now that you have your flowers together, you need to process them by removing excess leaves from your stems. The idea is to keep all vegetation other than stems out of the water. The longer your water stays clean (and free of flower goo) the longer your flowers will last! 

The first stems to enter your vessel should be the greens.
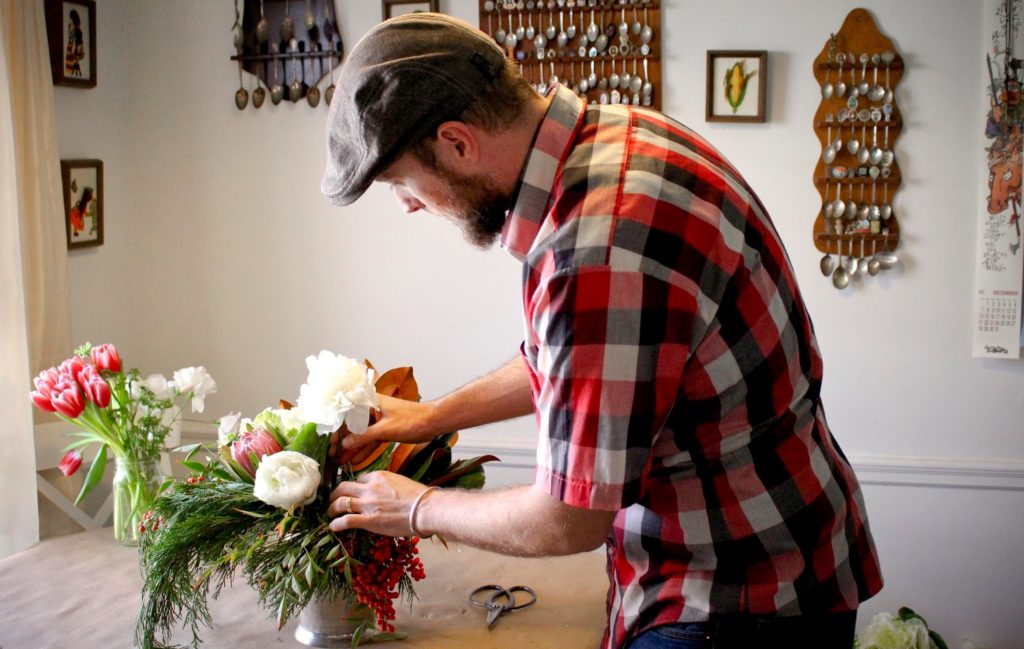
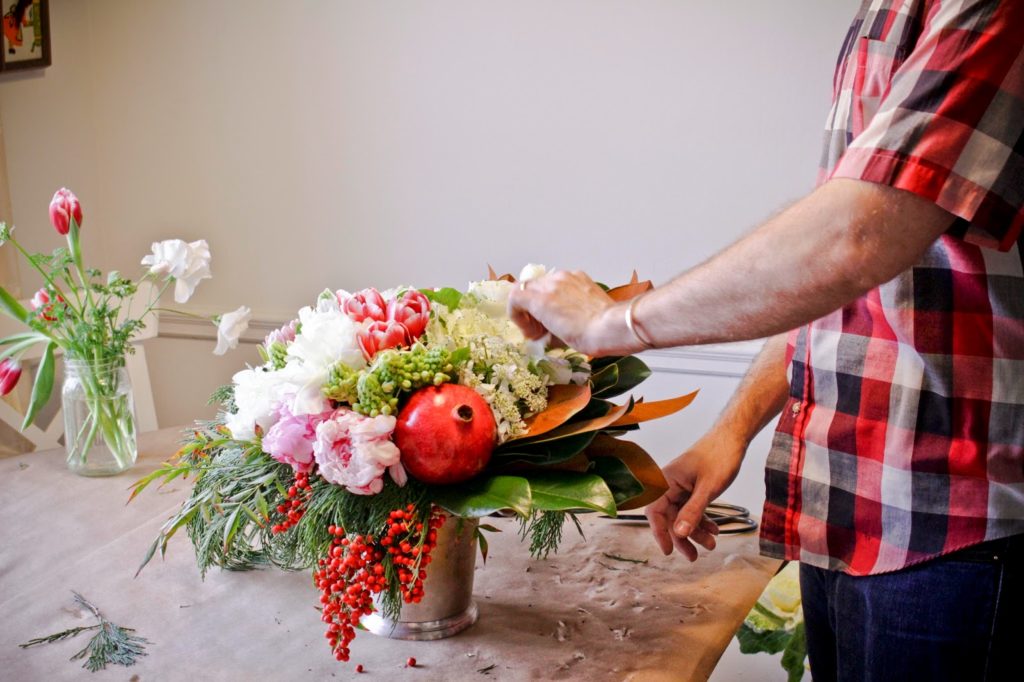
Follow up the greens with accent greenery such as your magnolia leaves, or the berries I “borrowed” from my neighbors yard. This is the fitted sheet…totally necessary.
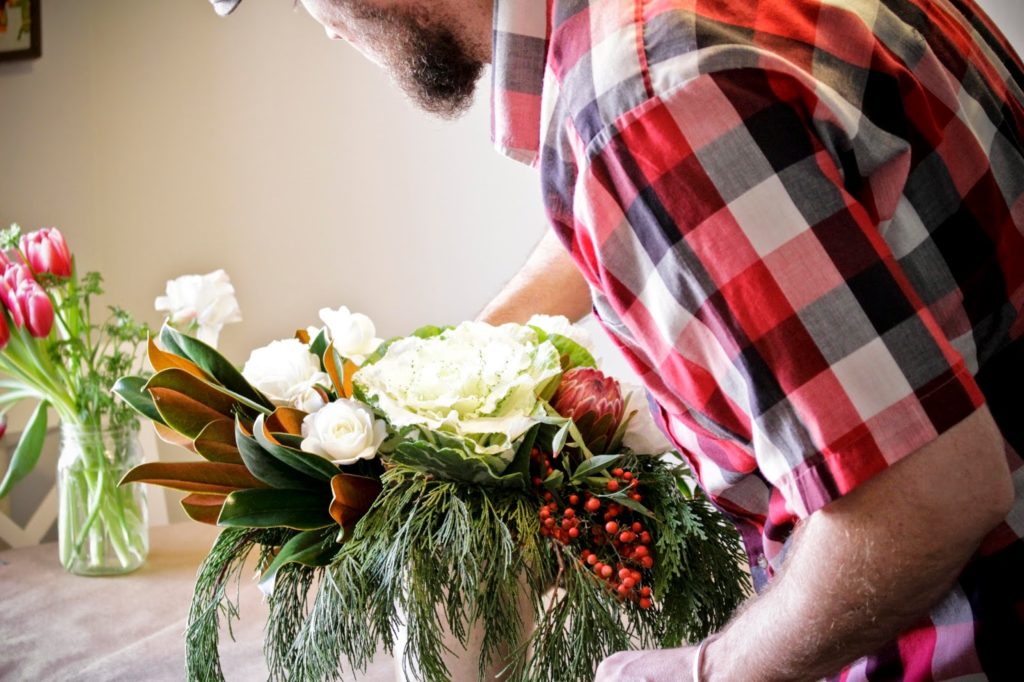
Next add your ornamental kale and focal flowers. Do this in a not boring way.
Fill in gaps with beautiful pieces of fruit or pine cones etc. To do this, carefully stab a wooden skewer into your fruit (make sure you don’t run the skewer all the way through). Cut the exposed skewer to the depth of your vessel (so no stick is showing and the fruit sits in the arrangement snug as a bug.)
After you have gotten this far, take a step back, grab a drink and give your eyes a minute to rest. Revisit it with fresh eyes in 10 minutes.
Now add your finishing detail elements. Tulips and star of bethlehem are great at filling in the gaps and will add lovely bursts of color as they continue to blossom.
Now step back, admire your work, quit your job, and become a florist.
Happy Holidays Yall!
<3 Matt 
INSTAGRAM: @thistlebefloral
EMAIL COMPLAINTS: info@thistlebefloral.com

Thistle Be is Matthew P. Bollwinkel, who was born in Sibu Sarawak Malaysia in the winter of 1980 to missionaries Mark and Elizabeth (Bonnie) Bollwinkel. Upon their return to the United States, the family spent the subsequent years moving from town to town in California and Nevada with various churches. To this day, the place Matt calls “home” is the San Francisco Bay area.

Matt’s artistic inspiration includes Japanese imagery and culture, feminism, loud and dissonant music, photographs in old medical encyclopedias, animals, rust, dirt, gold, and and the love he has for his wife Sara and their two dogs Albert and Norman. Matt is a studio musician, a baker, and a business man. His love for flowers began when he was a young boy, but his draw to floral design began in the winter of 2013 when his community began commissioning his work. Matt’s notoriety has circulated primarily by word of mouth, as he operates out of his home in Los Feliz in Los Angeles, CA (or in a glass case of emotion….or on location).

For more information or to set up a consultation please contact: