Archives for October 2014

LAST MINUTE DIY HALLOWEEN COSTUMES

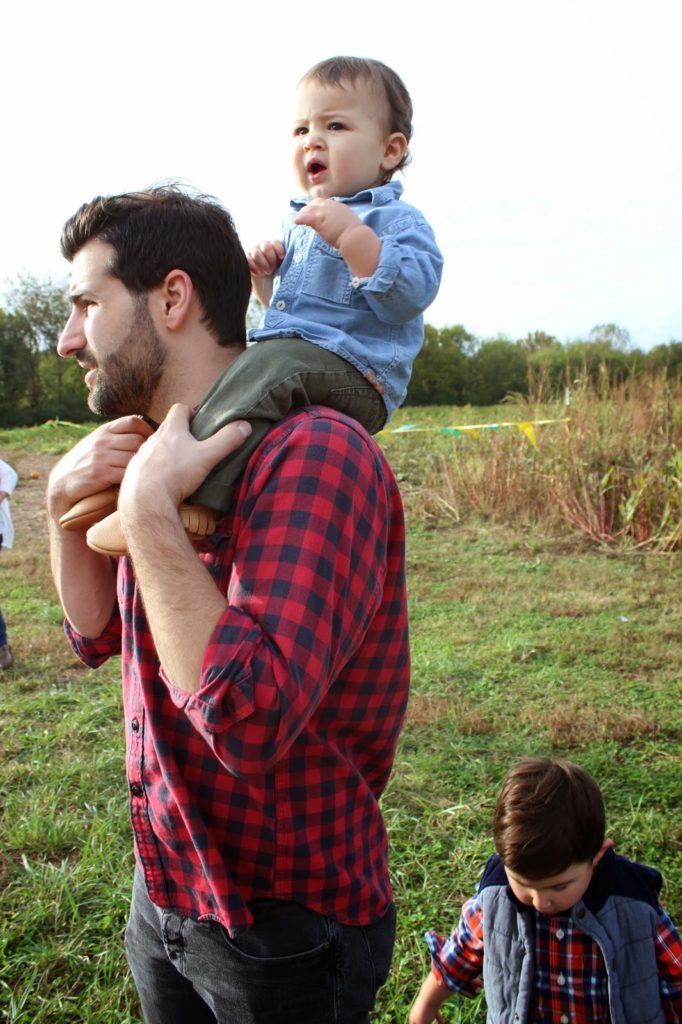
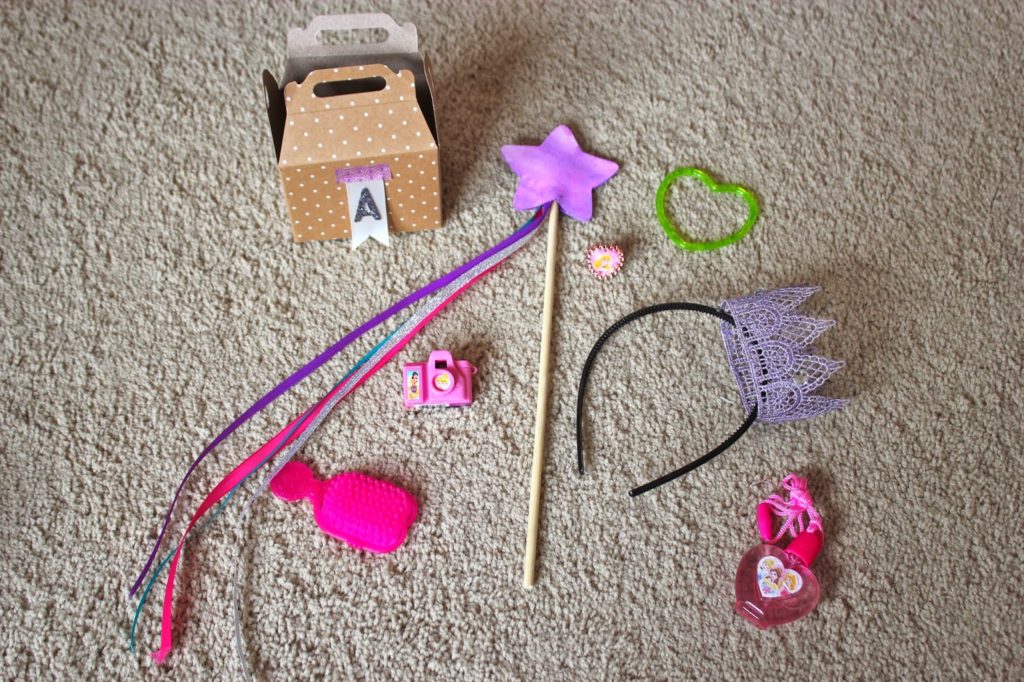
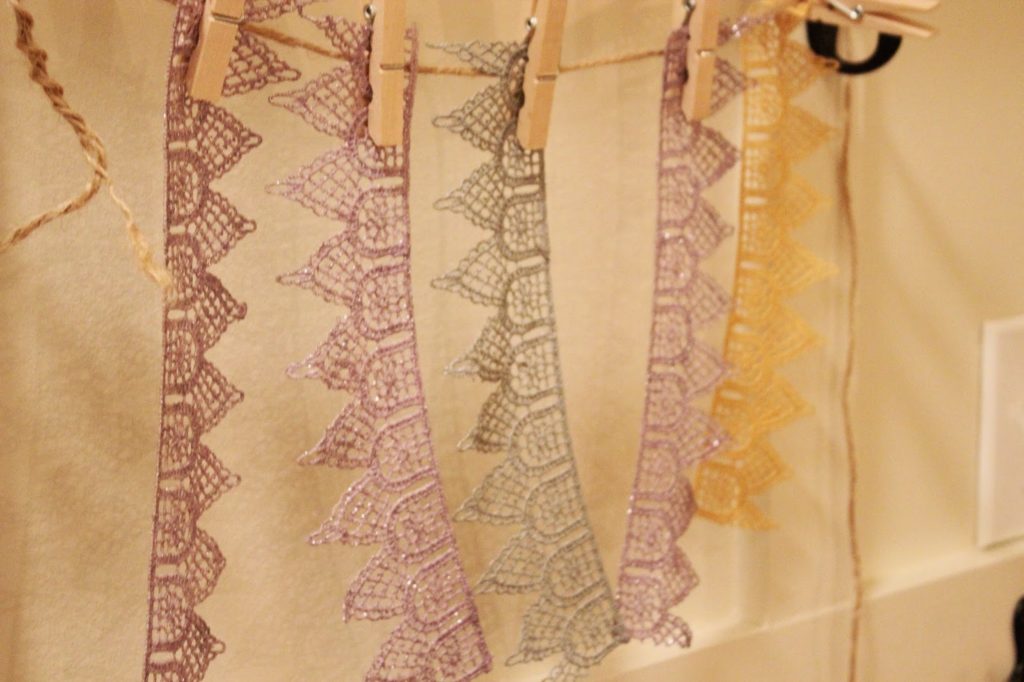
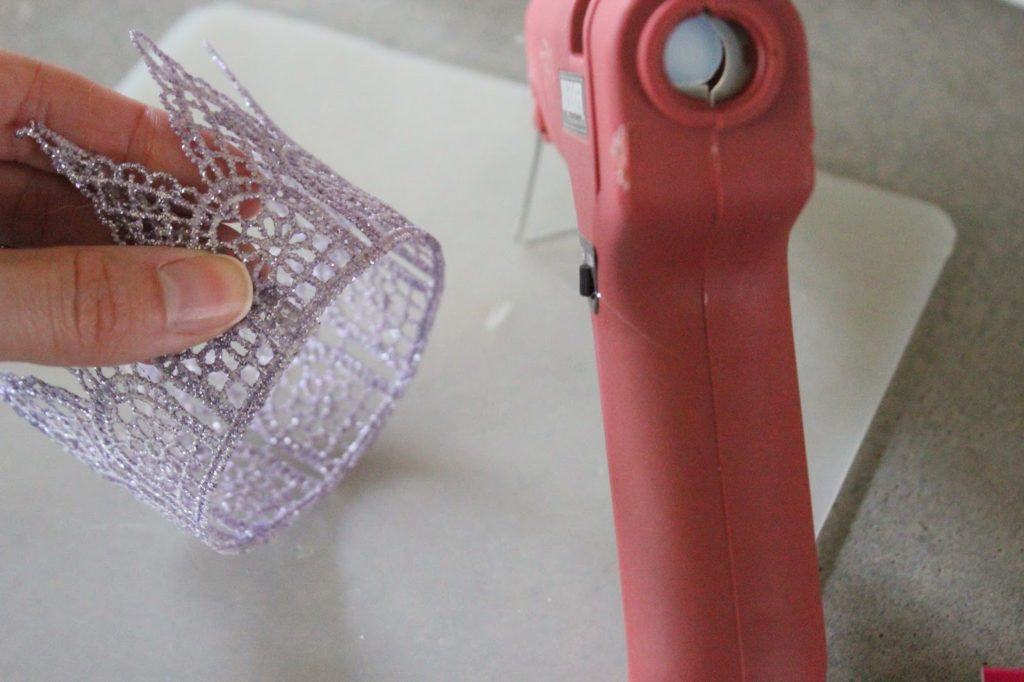
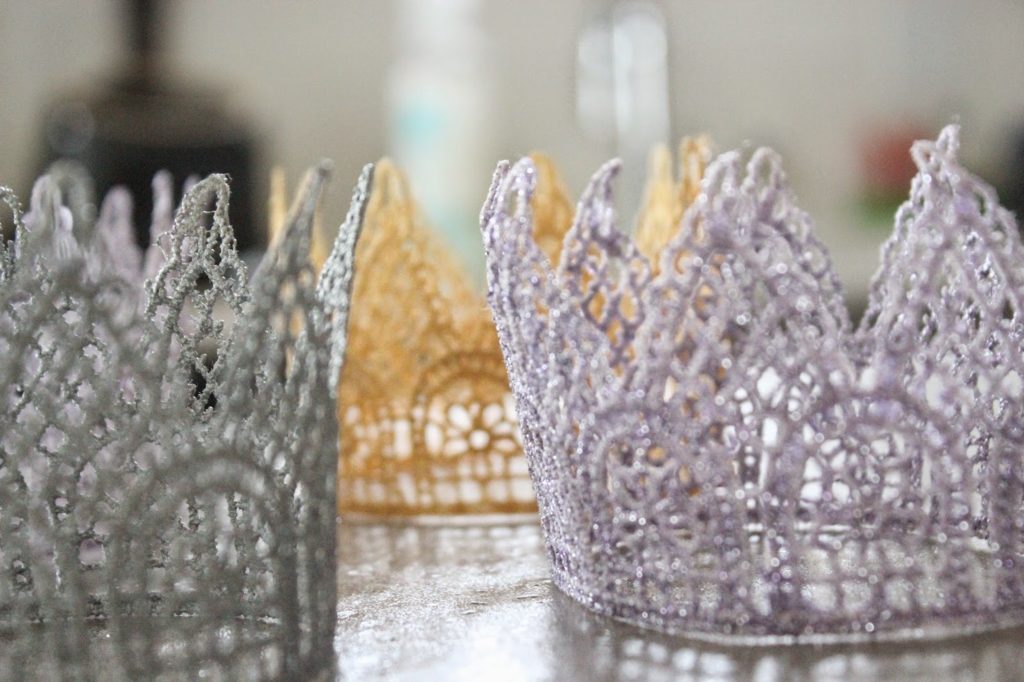
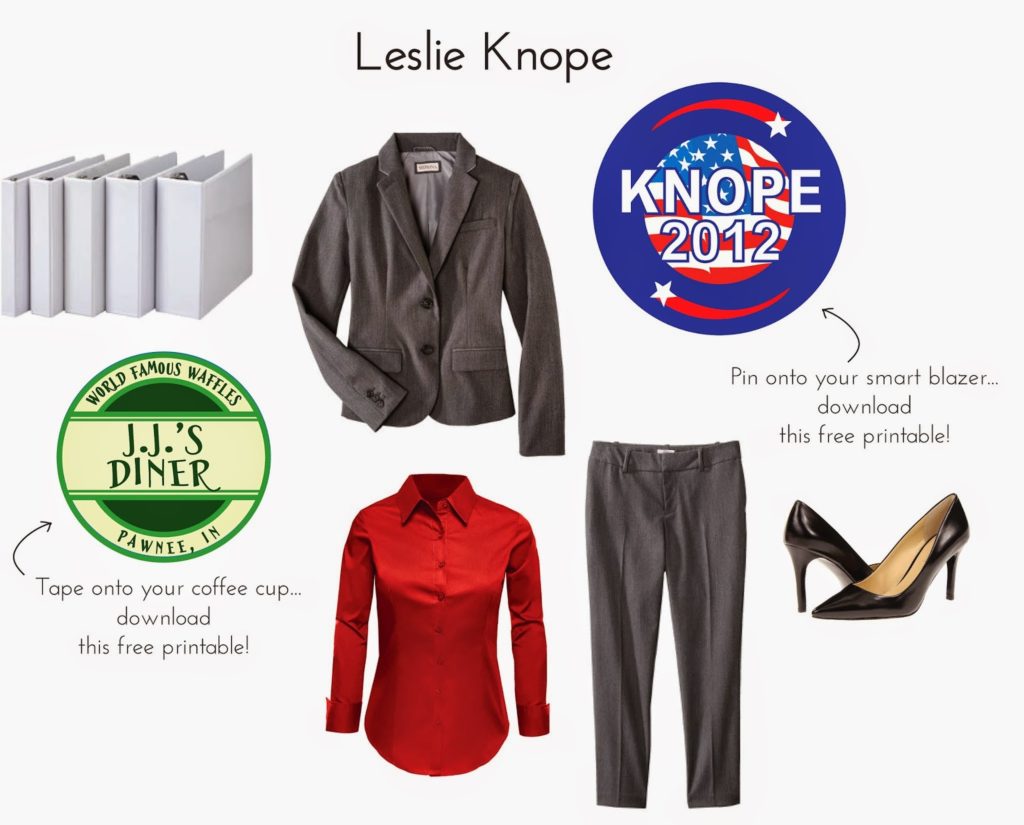
Tired? Check. Lazy? Check. Not about to go to a Halloween store 3 days before Halloween? Check. Here are two costumes you probably have in your closet for two of my favorite fictional women!
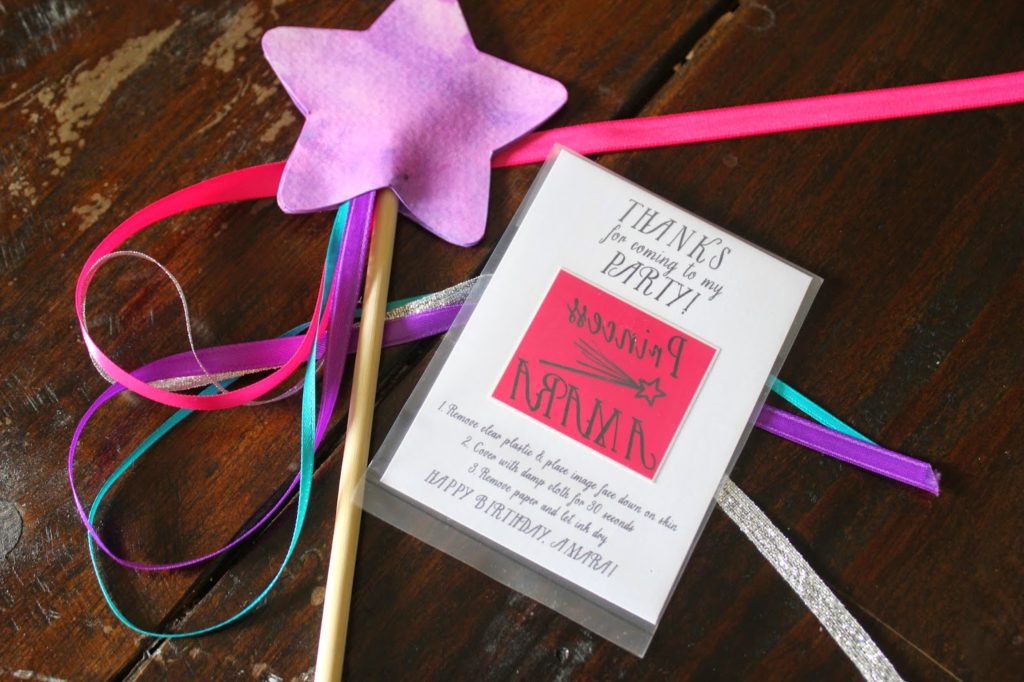
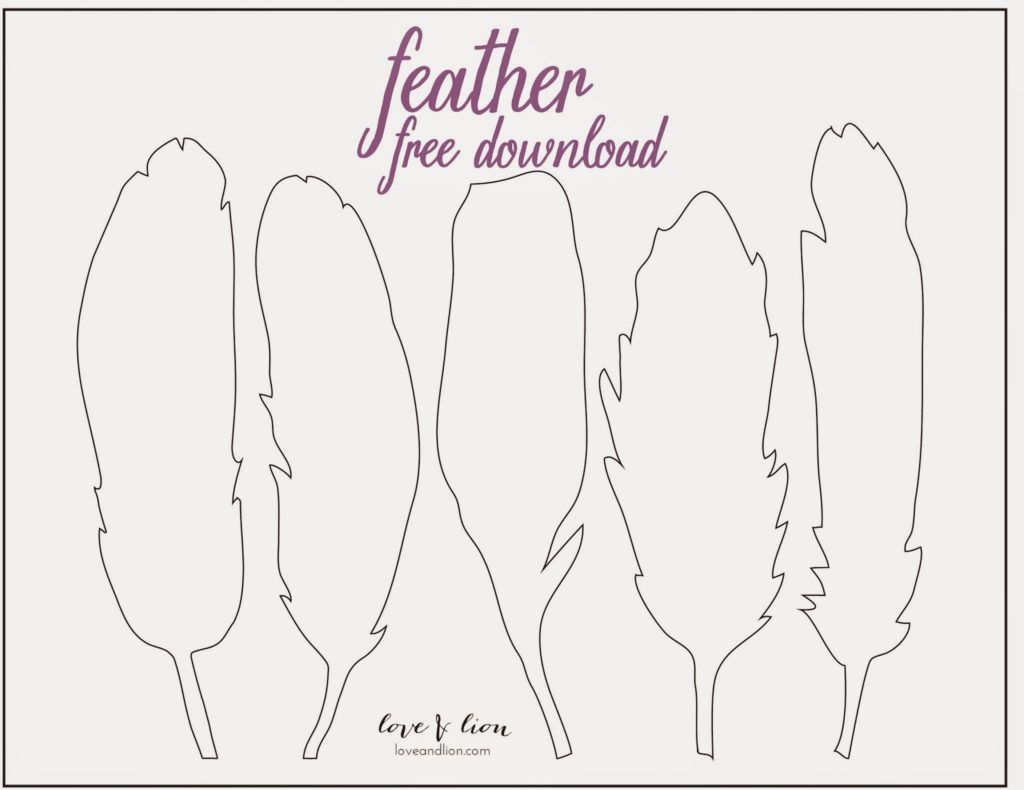
I designed some free printables HERE for you to add to your easy costume! Yooooouuu’re welcome. 
Happy Halloween, nerds.
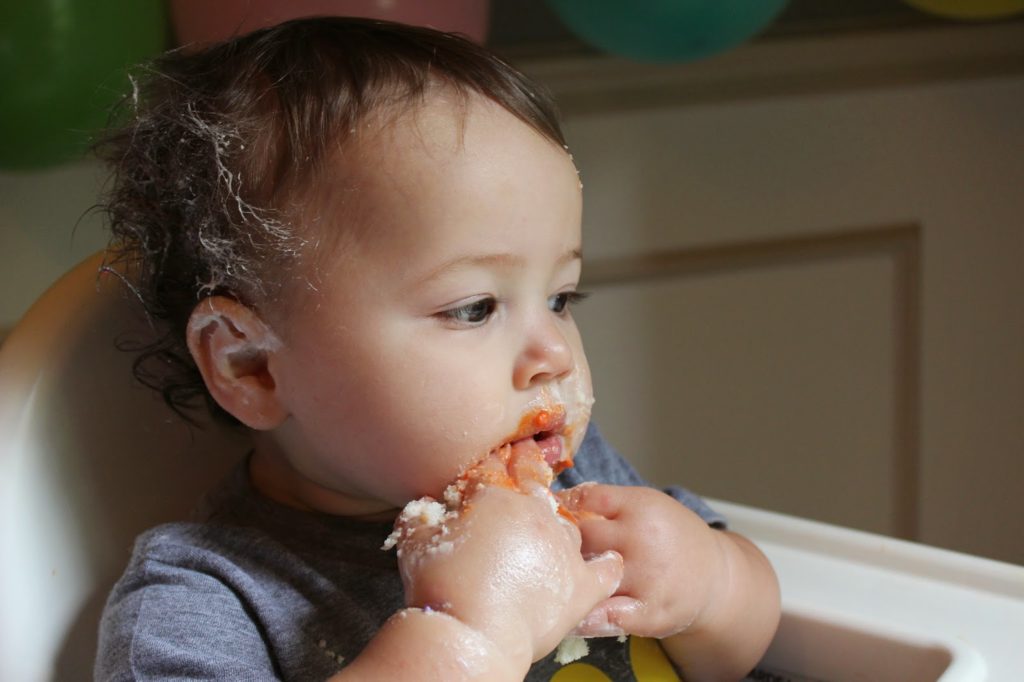
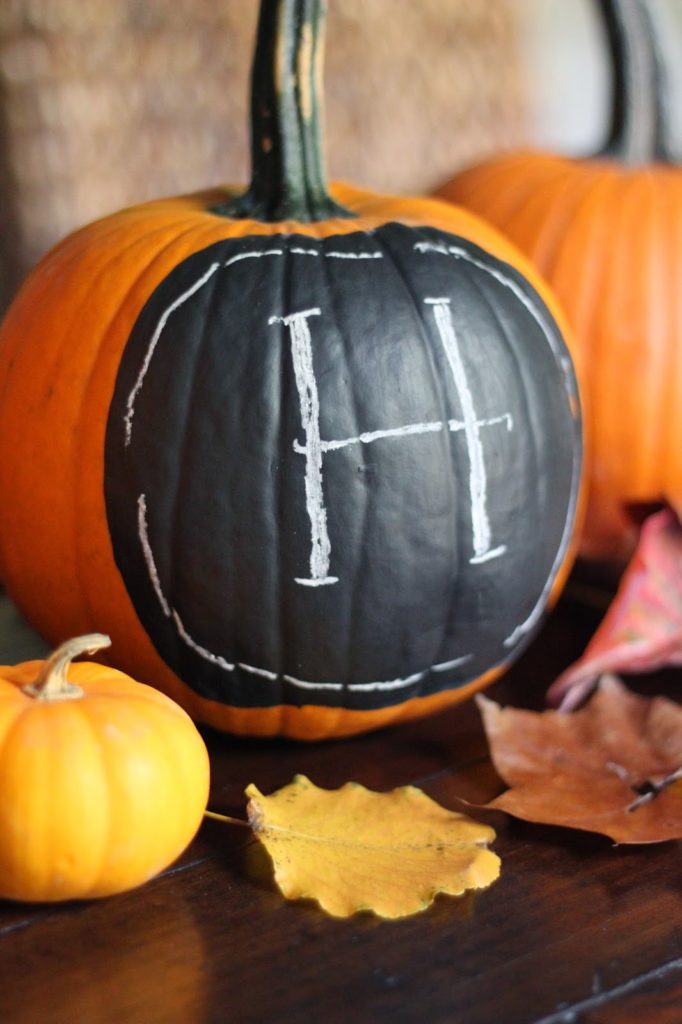
Oh, and this is my baby Max in tribute to the one and only Jimmy Fallon- my husband and I are giant fans of him and The Tonight Show! Can’t you just hear the dancing Hashtag music?
Download Hashtag the Panda’s name tag HERE
For more ridiculous DIY Halloween costumes for littles, click HERE!
-L

FALL MANTEL DECOR

Hey friends!! I (Jenni) haven’t been posting much on here due to pregnancy woes and such, but I THINK I am at the end of the worst part for me. I am always so curious to hear other women’s stories about pregnancy because it affects us all so differently. I personally am a major sicko my first trimester  (and usually the first bit of my second), which is just no. freaking. fun. I am grateful to have a healthy baby so far and a healthy pregnancy though, so I will stop my whining now.
Among the many things that have been lacking in my life, my fall mantel decor is one of them. I bought a couple of lanterns on sale one day at Target. I came home so excited to put my mantel together during nap time. Yeah….. I got everything OFF of my mantel, however, I did not put anything new or “fallish” back up on my mantel for weeks. I decided to partake in nap time most days. Anyway, by default I ended up with our perfect mantel decor. I just wanted simple and neutral all the way. I love to use decor that I can leave up until Thanksgiving. I may add a few feathers and other little things, but the overall decor stays the same.

I already owned everything I used for my decor except for the lanterns, which I got for $30 and the chevron pumpkin. I think it was $10. I will use them year after year though and bought them on sale so I am okay with it. I made the book page garland last year. I actually stored it away in a box to get rid of it, but hadn’t gotten around to it. I am glad I had it to pull out and put to good use. 
Below are some other inspirational mantels that I loved while searching through Pinterest for ideas for my own. One thing for me that is important is to not spend a lot of money on mantel decor. I like to just find things outside, thrift shops, around my house or simply get my craft on. 

MAX’S 1ST BIRTHDAY – ROUND PARTY!

When people asked what theme Max’s first birthday was going to be, and I said “round”… they were like… ummm cool. Okay so Max is round, he loves balloons and balls- those are round, and honestly I couldn’t think of anything that hadn’t been done a million times before! Plus it’s so simple- just my style. 
The party was supposed to be in our backyard with lanterns strung from the trees, circular picnic blankets, ring toss, bubbles, etc. Guess what? It poured every. single. day. that week including the day of the party. Super dark outside too for pictures. Fantastic. We’re still in our rental (egg yolk and old lady sage walls), so basically my plan was to camouflage the grossness with tons and tons of balloons. I think it turned out really well, and most importantly, everyone had a great time! And let’s be honest, when you’re dealing with one to four-year-olds really all they need are toys and cake. Cake is clutch. 
FOOD:
See what I mean? Cake is clutch.
I baked two batches of white cake in sheet pans so the layers would be thin, froze the layers, cut with a 2.5″ biscuit cutter, then just piped colorful frosting in between. 
 All round food!
 Complete with Aunt Ellie’s Campfire Crispies! They are SO. GOOD. Do yourself a favor and order these babies.

DECOR:

Had to cover the nasty chandelier 🙂
Monthly photos of Maxie cut out into circles, naturally.
I made this little picnic blanket out of a drop cloth. Draw two concentric circles in pencil and paint in the lines. Make sure to paint the circle before you cut. That way it’ll look nice and neat! 
FAVORS:
Party crowns, tattoos, hula hoops, bouncy balls
Custom temporary tattoos with each kid’s name from our Etsy shop!
ACTIVITIES:
RING TOSS
I ordered the rings on Amazon and got bottles from the dollar section at Target. Since the party was supposed to be outside, I had painted wooden dowels to hammer into the grass. Sigh. Still a fun activity for the kids though! 
DIY GIANT SURPRISE BALL
Getting a surprise ball was a tradition at my sister and my birthday parties growing up. I decided to supersize it by using a container from Party City as the center to make this huge!
Each kid got to unwrap a color, once that streamer color ended, they got the prize and gave the ball to the next kid. It ACTUALLY worked! Couldn’t believe how patient the kids were waiting for their turn! So fun!
INVITATIONS:
I got the beach balls from Oriental Trading Company and wrote on them with neon Sharpies. Here’s the thing… they can’t fold totally flat, so they were considered a parcel… which means they were $3 each to mail! I took them to the post office and got 5 different stamps, which actually looked pretty cool. Thankfully I only invited a handful of people, and I hand-delivered most!
 On the back of the ball it said:
ROLL on over to Max’s
(address)
It was a sweet day for my sweet, round little Maxie!
-L
And the winner of the Freshly Picked Giveaway is….
Kelly Vance!
Woohoo!! Please email us at loveandlion@gmail.com!
Thank you all for entering! Many more giveaways to come!

SIMPLE PUMPKIN DECOR DIY

Contrary to popular belief, I’m extremely lazy. I could sit on the couch in my jams all day watching movies, eating snacks, and trolling around on Pinterest. Maybe squeeze in a couple hours of reading. That’s actually my dream day. When it comes to decor in my own house (not for a client and not for one of my kid’s birthdays) I’m just like… no. Too tired. 
So here’s the easiest possible one step above nothing fall decor for you!
CHALKBOARD PUMPKIN
1. Sketch a circle/oval/fancy shape on your pumpkin.
2. Paint in the shape with chalkboard paint. The bottle I bought said to paint 2 coats. You can see the first coat below left a few bald spots. Two or three coats is perfect.
3. Um… that’s it.
We’ve been using this as a countdown to Halloween for the kids!
The only thing I’d say about this is that if you use this over and over, the paint starts to chip. Just paint another quick coat of chalkboard paint and you’re done.
I brought the pumpkin inside and used it as a centerpiece when we had friends over for dinner this weekend (with takeout…like I said- lazy!). Ari collected pretty leaves for the table. It made our dinner a little fancier.
I bet you could take this idea and run with it! 
Tag us on your instagram photos @loveandlion, so we can see!
-L

TRIP TO THE PUMPKIN PATCH + FRESHLY PICKED GIVEAWAY!

Fall is my favorite time of year! Love the colors, love the weather, and adore fun fall activities. Jeffrey and I took the kiddos to Gentry’s Farm this past weekend to pick pumpkins and take a billion pictures. My twin sis, Ellie, was in town (always a ridiculous amount of laughs), so we made a day of it and afterwards went to one of our fav standbys for dinner, Burger Up. Ari ordered salmon and salad. What. A. Little. Weirdo. But he’s MY little weirdo. Meanwhile Ellie and I ordered Hatcher Farm milkshakes. So… anyway…
You know you all dress your littles up when you go to the pumpkin patch. You’ve gotta, right?! Luckily, Max can fit into all of Ari’s old clothes, but shoes are a different story. Jenni and I are OBSESSED with Freshly Picked Moccs. We might have one or three or five pairs for our littles and can’t stop won’t stop. The are THE softest shoes in the most beautiful colors. They’re absolutely perfect for almost walkers like Max too. He is a turbo crawler and these babies have elastic that slip right on and don’t fall off. Seriously. The only shoes that Max can’t pull off. Also one of the only shoes that fit his chubby feet! The soft, buttery leather and the elastic work their magic.
Jenni and I are so obsessed with Freshly Picked Moccs that we wanted to share the love with you! Scroll down for deets on how to enter the Freshly Picked Moccasins giveaway.
Max is wearing the Butterscotch mocc. Such a yummy color and perfect for fall!
Can’t cut those curls. Baby mullet.
**GIVEAWAY IS NOW CLOSED**
And now for the
FRESHLY PICKED MOCCASINS GIVEAWAY!
The lucky duck will win one pair of Freshly Picked Moccs in their choice of color and size.
TO ENTER:
1. Comment on THIS blog post with what color mocc is your fav. See all the beauties right here.
On your cell? Comments only work on the full web version, NOT mobile- blerg
2. Follow @loveandlion and @freshlypicked on Instagram
3. Tag 3 friends on our giveaway Instagram post (@loveandlion)
That’s it! 
Contest closes Thursday, October 23 at 12:00am CST.
We will announce the randomly selected winner* on Friday, October 24th right here on the blog.
*Winner must ship to US only and must not have won a giveaway including Freshly Picked Moccs in the last 60 days.
**GIVEAWAY IS NOW CLOSED**
We so appreciate you coming by our little ol’ blog, and hope you stick around. Rad parties, crafts, recipes, style, and snippets of our lives!
xo
-L

PRINCESS & PIRATE PARTY FAVORS + DIY PRINCESS CROWNS

Soooooo, when I meant that I would share a more detailed post of the party favors from Amara’s 3rd birthday party on Monday…… yeah, I meant NEXT Tuesday! Yikes! So sorry for the delay. We are really trying to get back to our first love around here….. blogging. However, our Etsy shop has definitely taken up a lot of our time. We are so grateful, and we are loving it, but we also love sharing things with our readers on here so much!!
Ok, so here are the detailed photos of the party favors….
Everything for the pirate favor boxes was purchased at Party City. 

 Except for the tattoos of course! Check out our Etsy shop for customized tattoos for your next event!!

 I found all of these goodies at Party City as well. The little camera was quite the hit!! I made the wands using dowels, ribbon, and watercolor paper! So easy!! I just traced a star out with a cookie cutter and painted them purple and hot glued them to the dowel.

Below is a little tutorial on how I created the princess crowns…

 Cut your lace strips into the size that you want. I just wrapped it into the size circle I wanted, then measured each strip.
 Completely submerge each lace strip into the stiffener.
 Blot off the excess on both sides and lay on a plastic bag so that they can dry partially.
 Once they start stiffening up, hang them on a “drying line” so they can completely dry on both sides.
 Let your little help! Take a sponge brush and dab each side until the lace strip is completely covered in your paint color of choice.
 We opted for metallic gold, silver and purple.
 Wrap around and glue!

Voila! The last step ( which I failed to photograph…. I was in party mode) is to glue them to a headband , or even a hair clip. We also ended up glueing a couple of “gemstones” on each of them. 
Enjoy!

FEATURED: ROWEN’S SHARK PARTY

We’ve been bugging our crazy-talented friend, Shara, for pictures of Rowen’s Shark Party since we walked through the door of the party… and had our mind’s blown. Modern, clean, fun, creative touches EVERYWHERE. Crafty in the coolest way, clever menu, fun games for kiddos…so good.
Shara used two slightly different colors of crepe paper and twisted them to create “water”. She hung all the sharks from string so they would appear to float on top of the waves. Genius.
 One of our favorite things of the party was this shark wreath! Shara spray painted a foam wreath core gray then hot glued plastic sharks (here) all around to simulate a shark attack feeding frenzy!
The fins on the mantel were pin-on fins for the kids to wear. Shara made them using stiffened felt and a template found here.
 I mean… really
Cake topper here

 Menu:
Shark Bait sandwiches (tuna salad)
Shark Fin sandwiches (cheese triangles)
Slow Swimmer Salsa and Sea Algae Guacamole with Fins (blue tortilla chips)
Shark Teeth (Bugles)
Whale and Goldfish crackers
Vegetarian Shark Food (crudites)
Watermelon Shark fruit salad (carved by Shara’s husband after she showed him pictures on Pinterest and convinced him it would be easy! Ha!)
Sea Dogs (hot dogs)
Great White Sugar Cookies
Fish Kabobs (gummy fish and shark candies on a stick)
Life Preservers (mini sugar donuts with red gel icing)
Jaws cupcakes (vanilla cake with vanilla whipped frosting and gummy sharks
Shark Attack cupcakes (blue velvet cake with coconut cream cheese icing and fondant fins)
Chum Punch
Shark Infested Lemonade
 Shara’s favorite things about the sharks hung from the ceiling were the shadows they created when the light was turned on. The slight movement of the sharks and the big shadows made it look like there were actually sharks swimming around the room.
Party Activities: 
Shark Dress Up Bucket- shark, sailor, and captain costumes, beach ball, surfboard, sunglasses, flower leis, blow up shark, beach paraphemalia
Air swimmer remote-controlled helium shark (Amazon)
Pink the Fin on the Shark (Amazon)
Make Your Own Shark Game craft station
Let’s Go Fishing Game
Finding Nemo Movie
 
Ari LOVED this activity… we still have his shark on the fridge!
 Favor buckets: “shark tank” bubbles, “under the sea” coloring book, shark stickers and tattoos, bag of shark and fish gummy candies, shark squirter toy, fish stamps, sunglasses, and glow bracelet
Invitation, favor tags, and thank you notes here
Gummy fish kabob!
Big Birthday Boy Rowen!
Thank you for sharing your party with us, Shara! We loved every minute of it (oh and so did our kids!!). 

A PRINCESS PARTY IN THE PARK

Our little Amara turned a whopping 3 years old at the end of September. I am really late in getting this post up, so I apologize! Anyway, we have a lot going on right now, and the end of summer/ beginning of Fall is always such a busy season for our family ( lots of birthdays and travel). So, I decided to keep Amara’s party simple this year! The biggest thing for me was NOT hosting it at my house. Last year, we did her party at a local vineyard ( 2nd birthday here ), and it was so nice not having a huge mess to clean up at my house afterwards. 
With that being said, the park seemed like a good choice. Kid’s could play, the weather is so gorgeous this time of year, and it is easy clean-up. You always take a risk having your party at a public place. There were NO empty pavilions for decorating, so we worked with what we were given. It all turned out nicely.

 The party favors were a mix of handmade and store bought items. There will be a more detailed breakdown of the favors on Monday! So, be sure to check back!

 Princess (fruit) wands were a hit…
 Pirate’s Booty (Amara’s favorite) snack bags!
 Our cupcakes began to melt in the sun, which didn’t make for a pretty photo-op, but I got some horse figurines from the Target dollar section to resemble “Minimus” from Sofia the First.
 I made sure all of the food was grab and go…. stuff that you could stand around and eat. 
 It is always good to save. I had tons of straws leftover from Amara’s party last year, so I just put them to use this year. 
 We hired an amazing face painter, and she was definitely the hit of the party. I could have stood there and watched her paint every single face. Such a talent!


Amara takes it VERY seriously…. 


Mastering her new number…

DIY FALL DOOR DECOR

We’re stiiiiill in our rental- two more months to go before our house is finished!!- but that doesn’t mean we shouldn’t make it feel homey and festive for fall! Or at least that’s what Jenni keeps telling me. This was a super easy and quick craft project that I did during nap time. You can do it too… promise! I made a free download for the template you can get right here.
What you need:
1 piece of Kraft paper or other color card stock
Metallic Sharpie (or you could use paint!)
Scissors
String
Stick
Washi tape
Glue and glitter if you want to make it glitzy
1. Print template… Click HERE to download
2. BEFORE you cut out the feathers, color in designs with a gold sharpie or paint designs. It’ll make less messy that way!
3. Cut out the feathers shapes then score by using your fingernail tracing along the middle- I sort of did this in a curved shape to give the feather more dimension. Gently fold the feather up. 
4. Cut thin diagonal lines all the way down the sides of the feather. Run your fingers up and down the fringe to give the feather some texture.
5. You could stop here… or you could get a little messy and add glitter! I used Martha Stewart’s Florentine Gold Glitter. 
See that fun fringy texture?
6. Find a stick…
 Tip: toddlers are low to the ground and can find the best sticks. And oh yeah… boys love sticks.
 See that pretty texture? Score, Ari!
7. Attach string to each feather with a little piece of washi tape then simply tie the string to the stick. 
Happy fall y’all! 
(I only say “y’all” in print… it just doesn’t sound right in my midwestern accent!)
-L