gold

JENNI’S CONCERT THEMED SHOWER

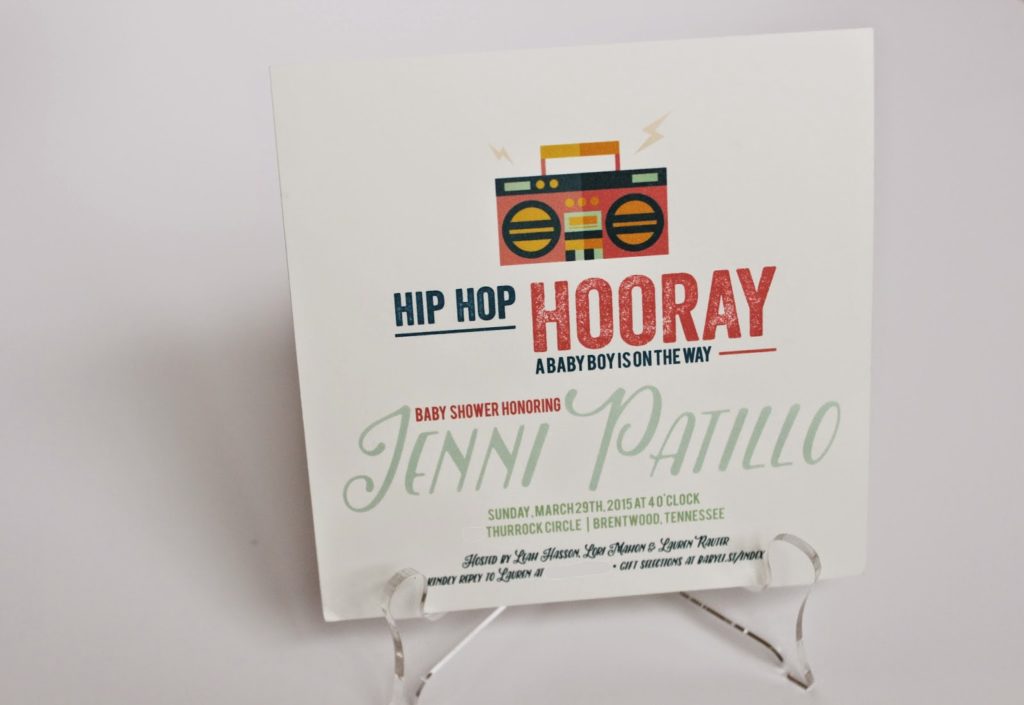
HIP HOP HOORAY! A baby boy is on the way!
Jenni is due soooo soon with her second baby, Remy! Don’t you love the name for a sweet baby boy by the way? Two great friends, Lori Mahon and Lauren Rauter, co-hosted with me. We decided to throw a concert-themed baby shower since Jenni currently thinks at one point thought she could be a country singer, and her husband Gabe a singer/performer/song writer (and for that matter Lori, Lauren’s husband, and my husband are all in the music industry as well! It is Nashville, after all). A nod to 90’s hip hop, Jenni’s love of country music, and concert references mixed together to create our decor.
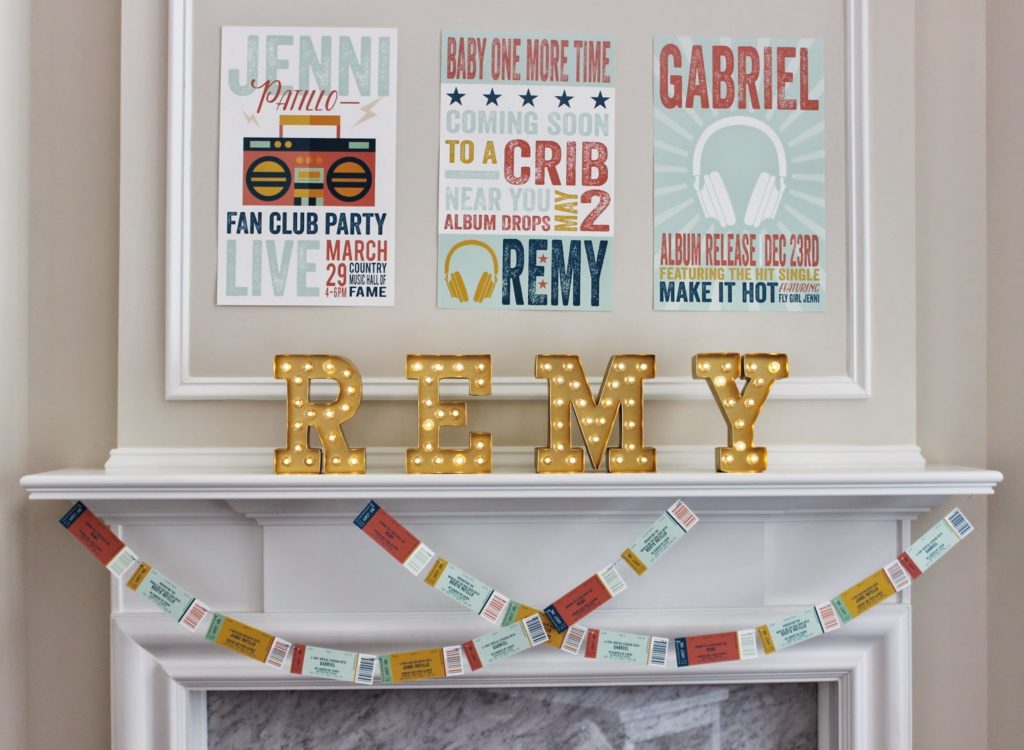
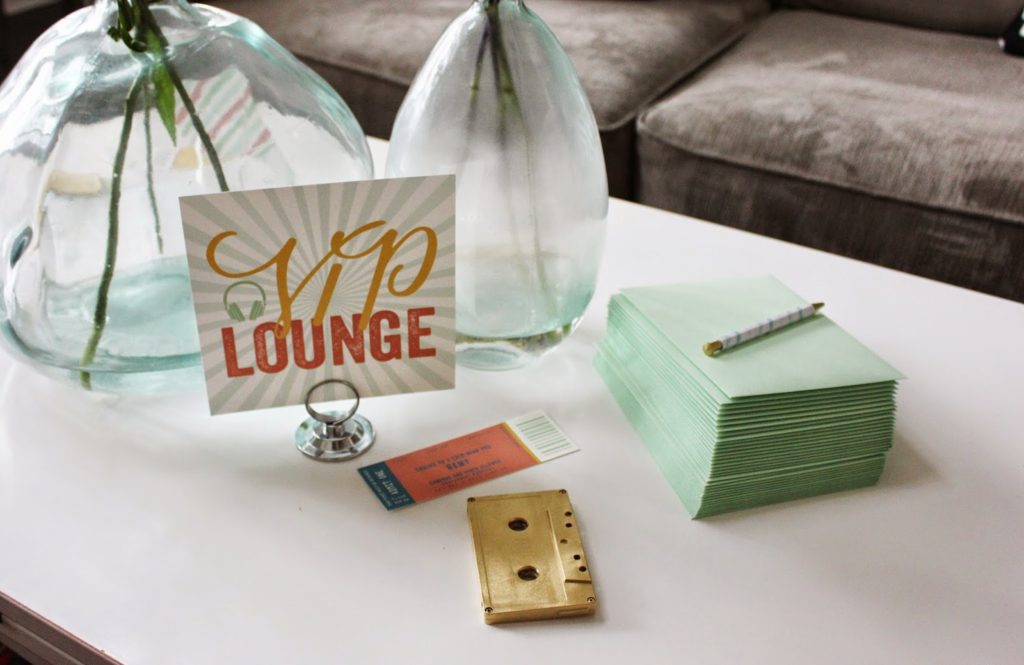
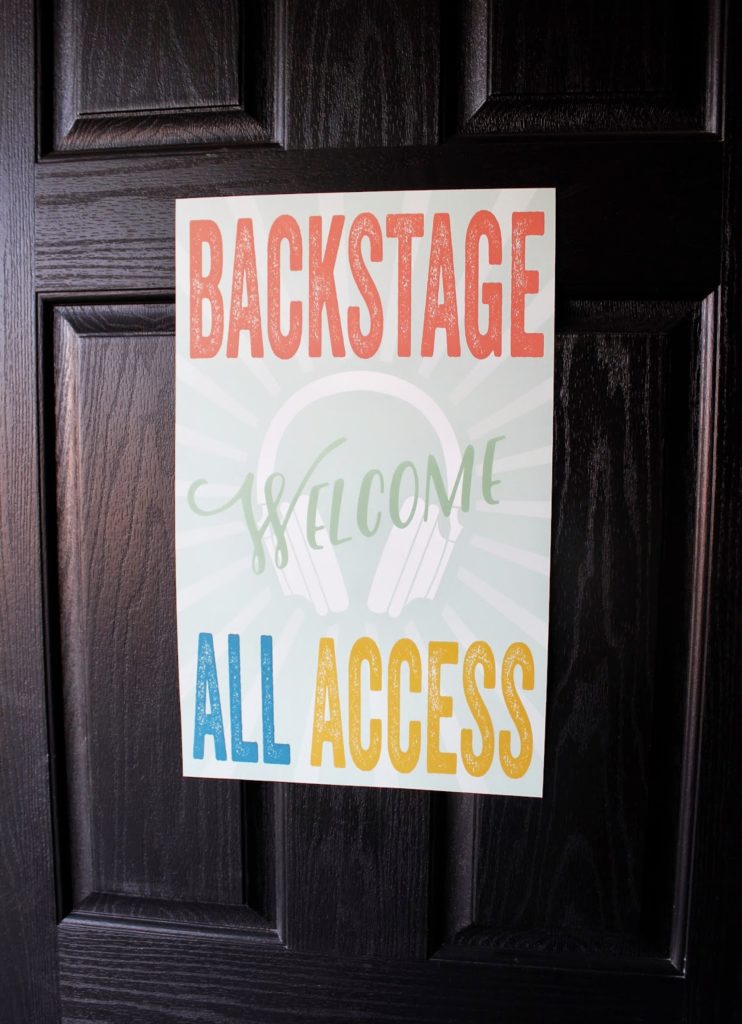
It all started with the invitation, designed by Lauren of Rock Paper Scissors. Actually all of the paper materials you see here were all printed by Lauren. Geez it’s handy having a graphic designer bestie.
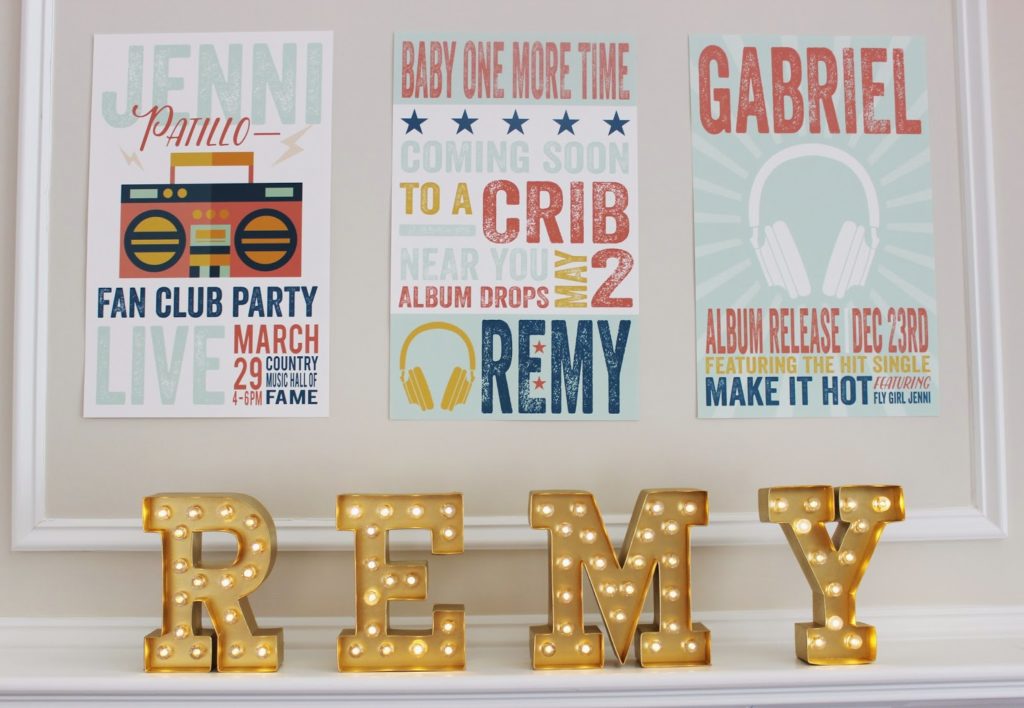
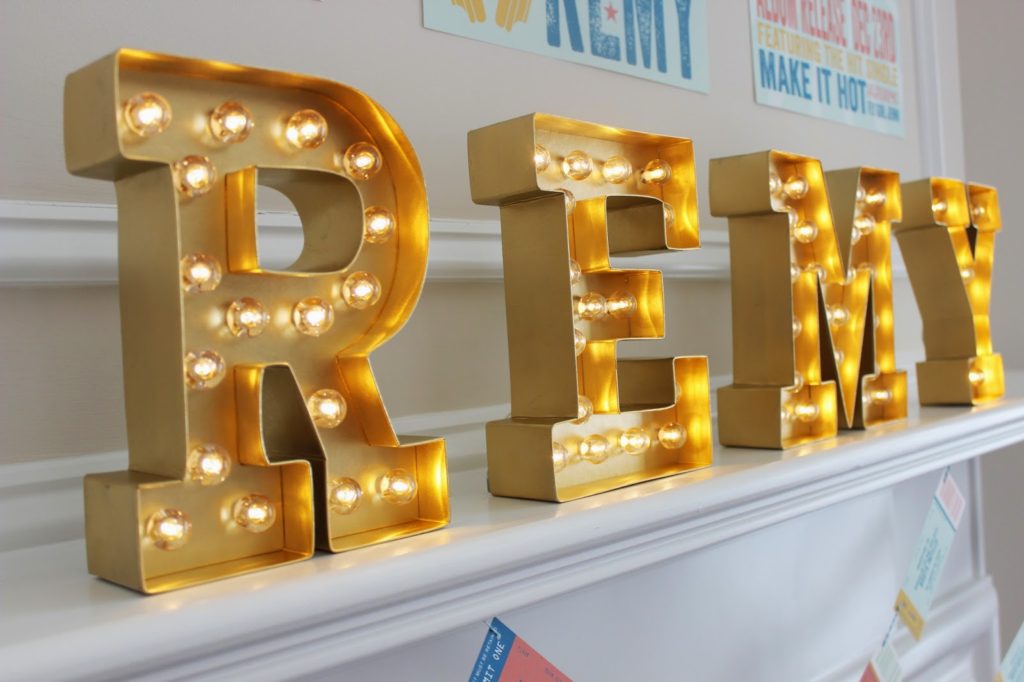
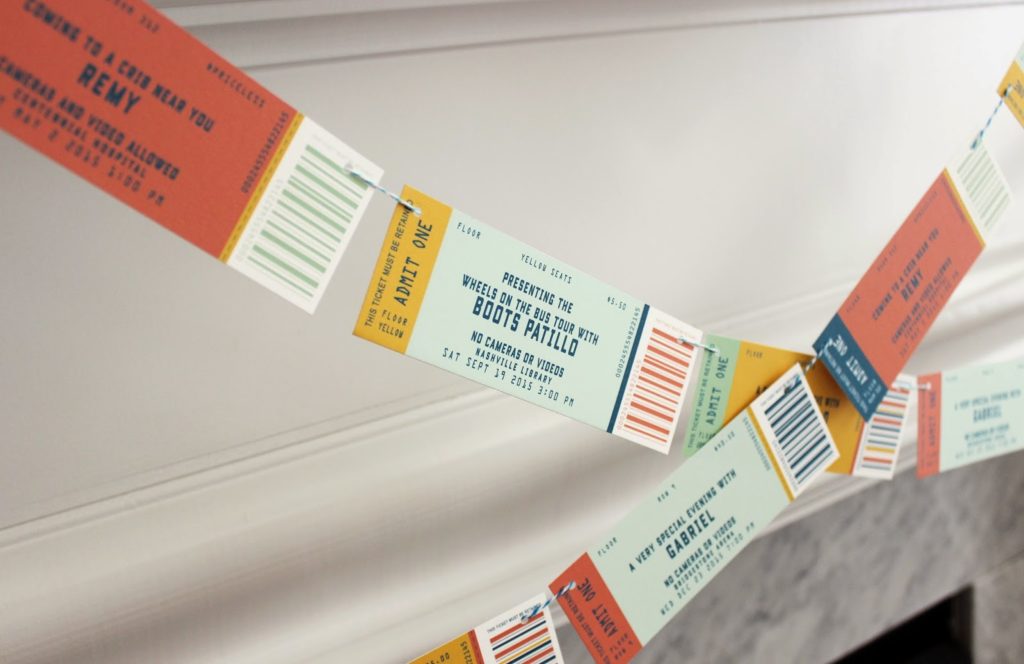
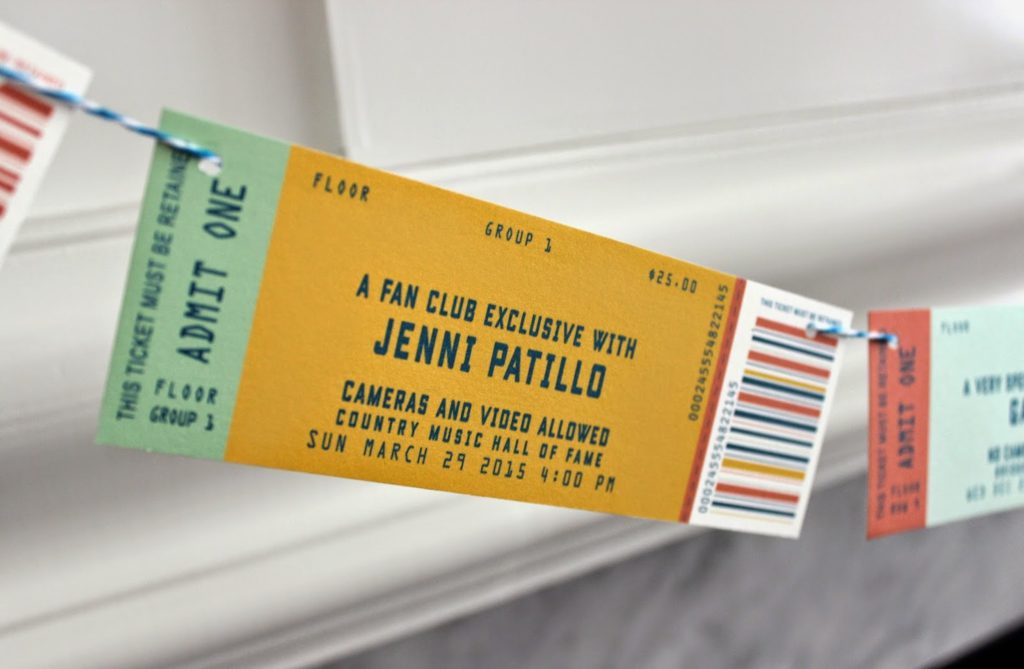
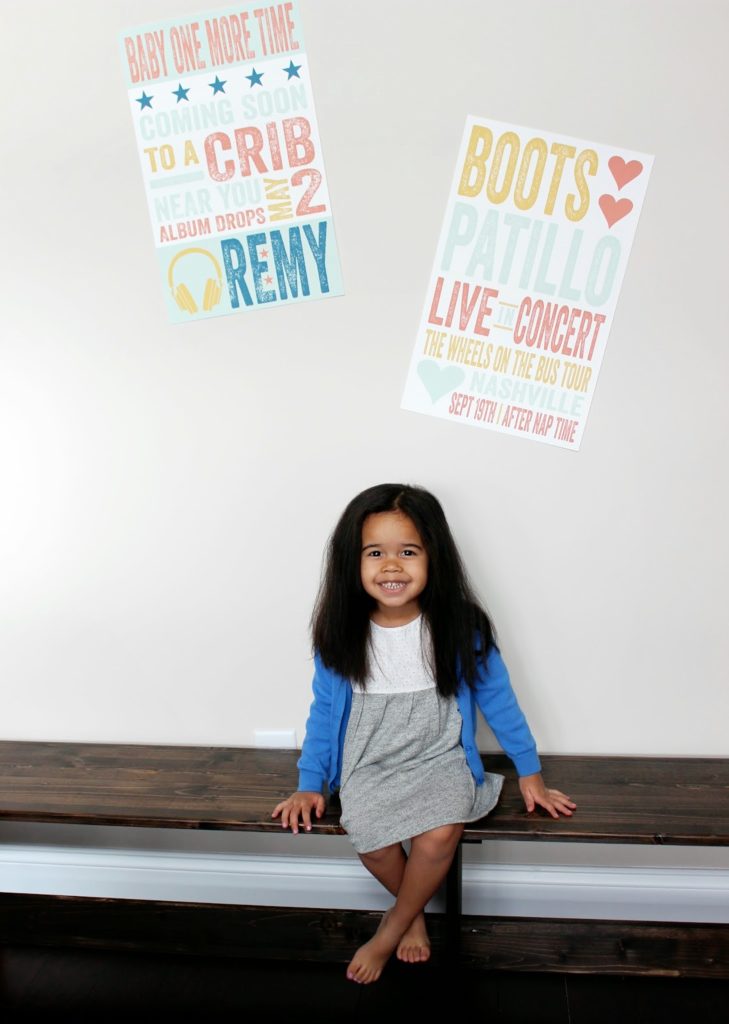
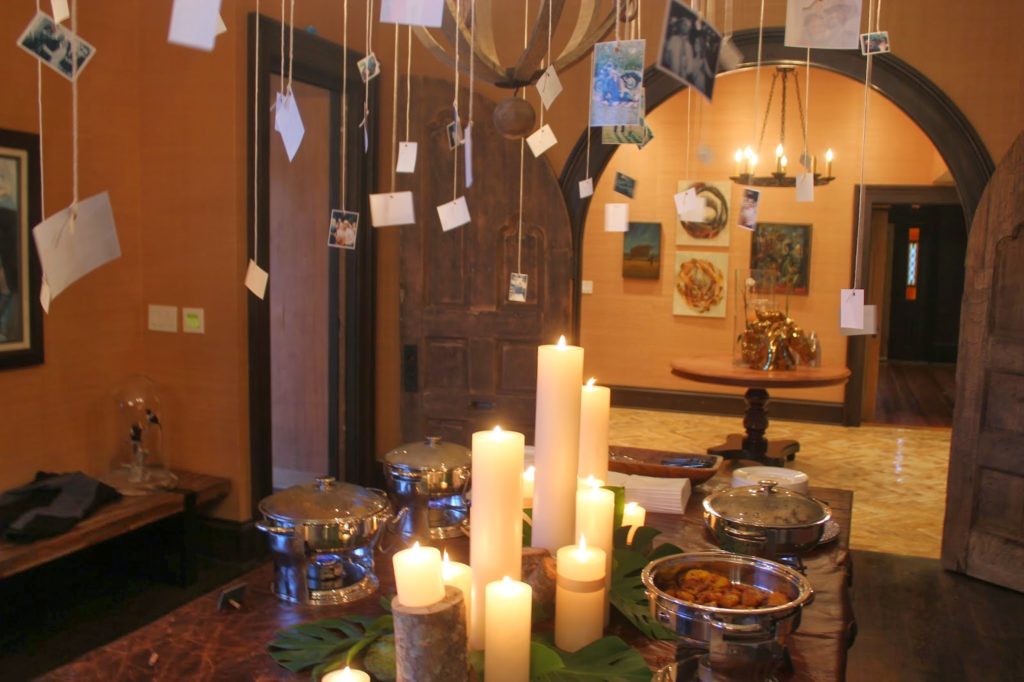
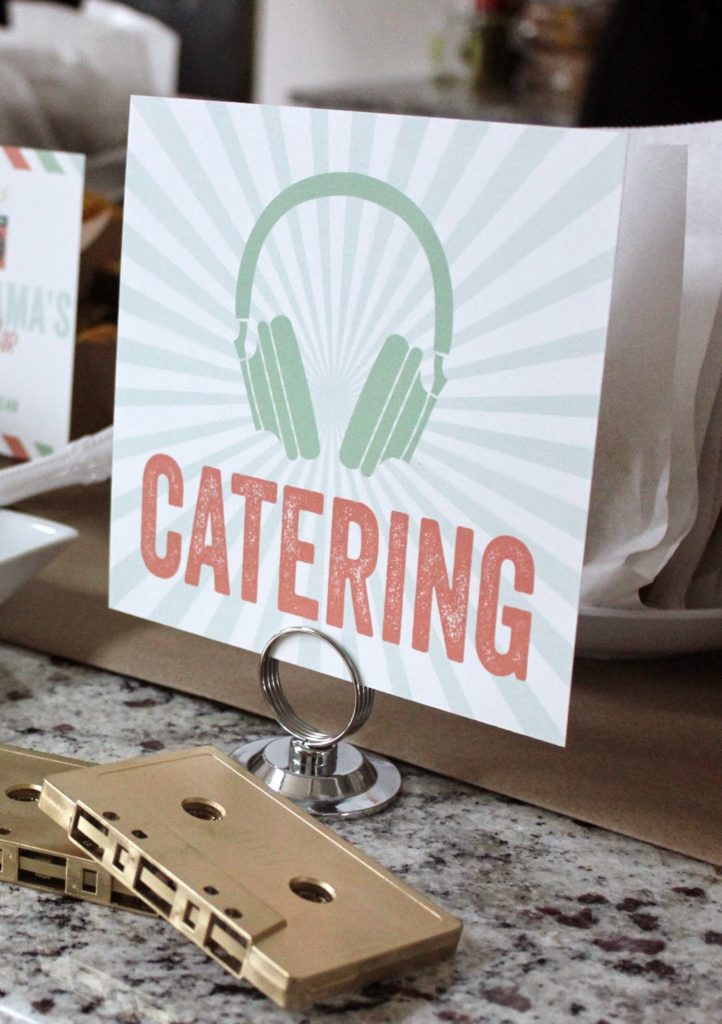
Concert posters, concert ticket garlands, and DIY marquee lights were the main decor, offset by cassette tapes and a boom box I got off of Ebay and spray painted gold!
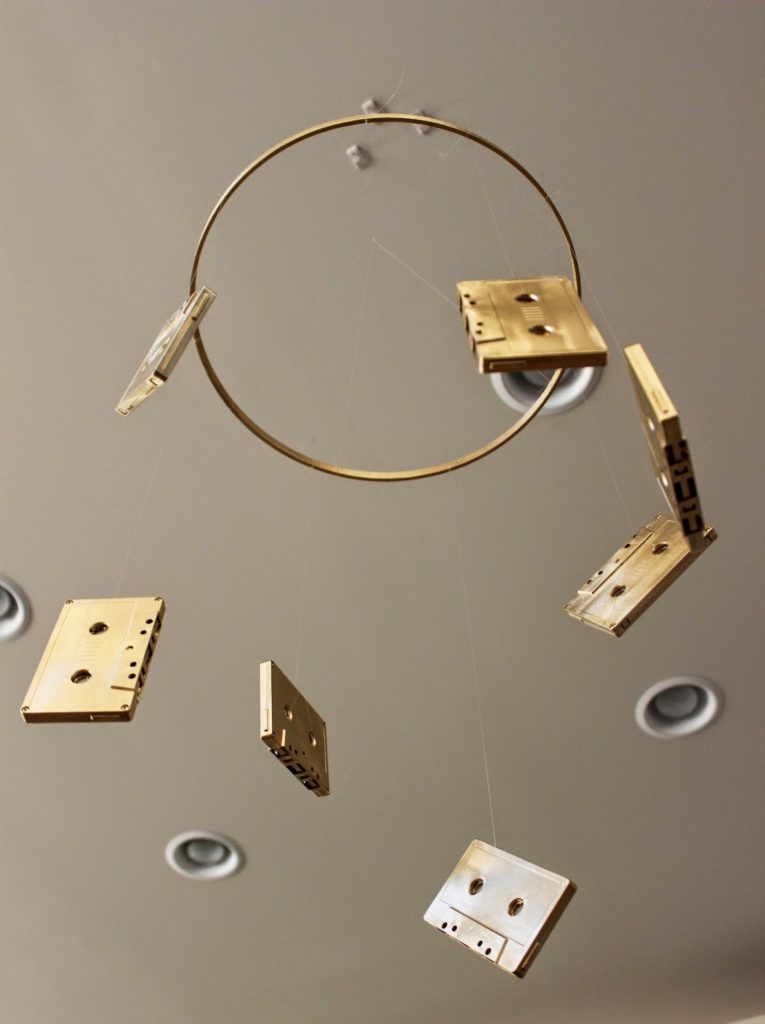
Below is a DIY cassette tape mobile! I spray painted an embroidery hoop and cassette tapes gold, then used fishing line to attach. Command ceiling hooks held up perfectly.
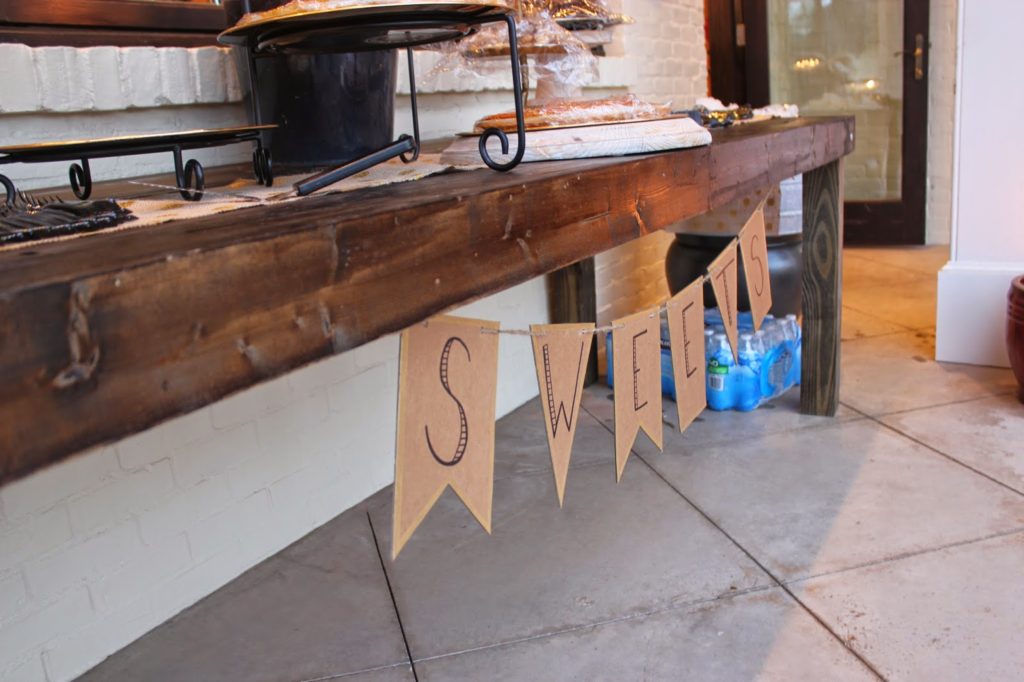
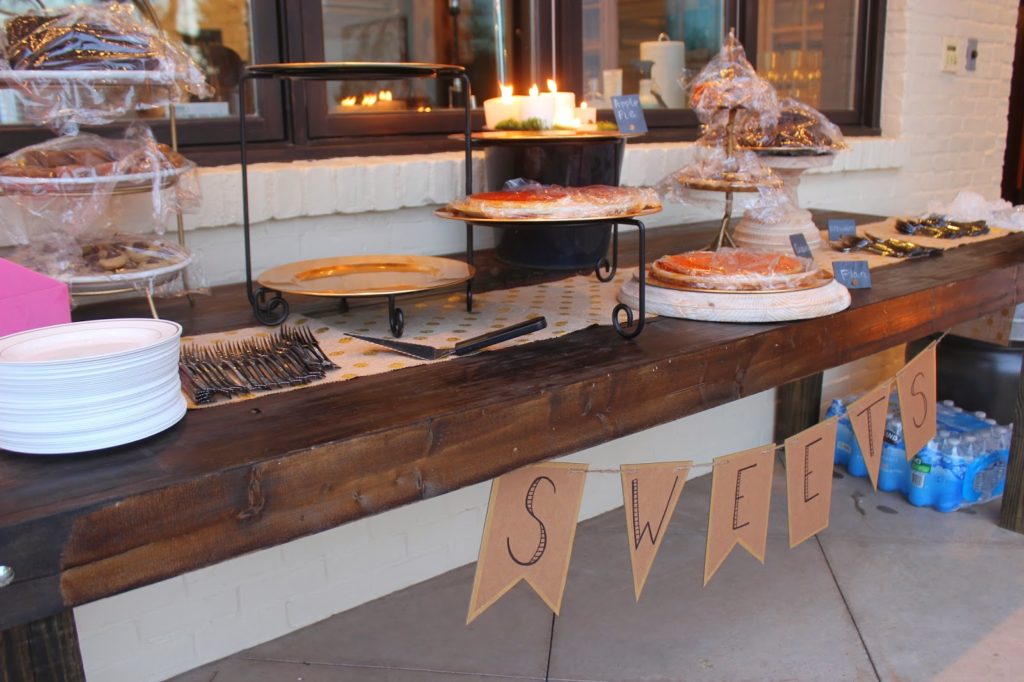
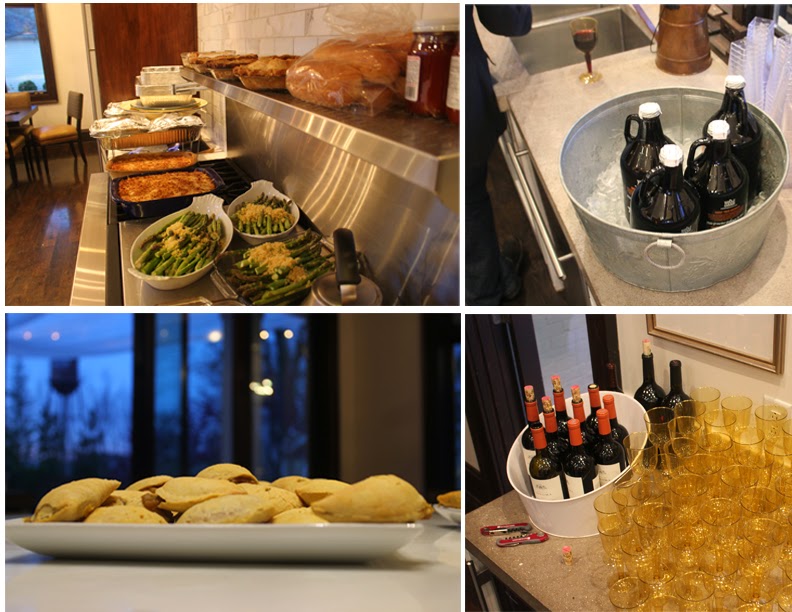
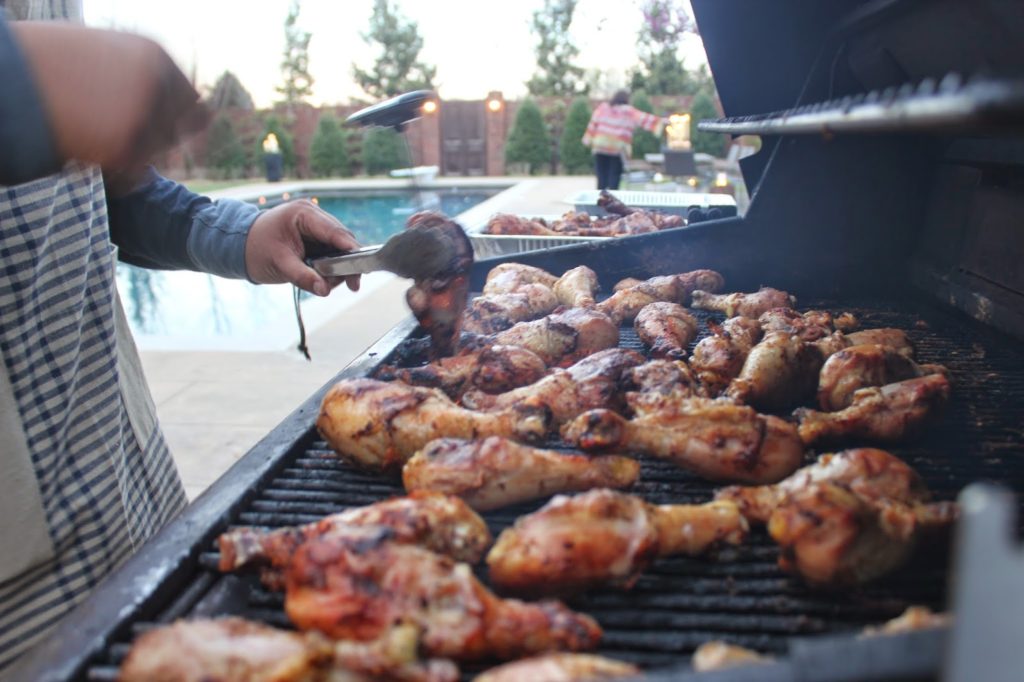
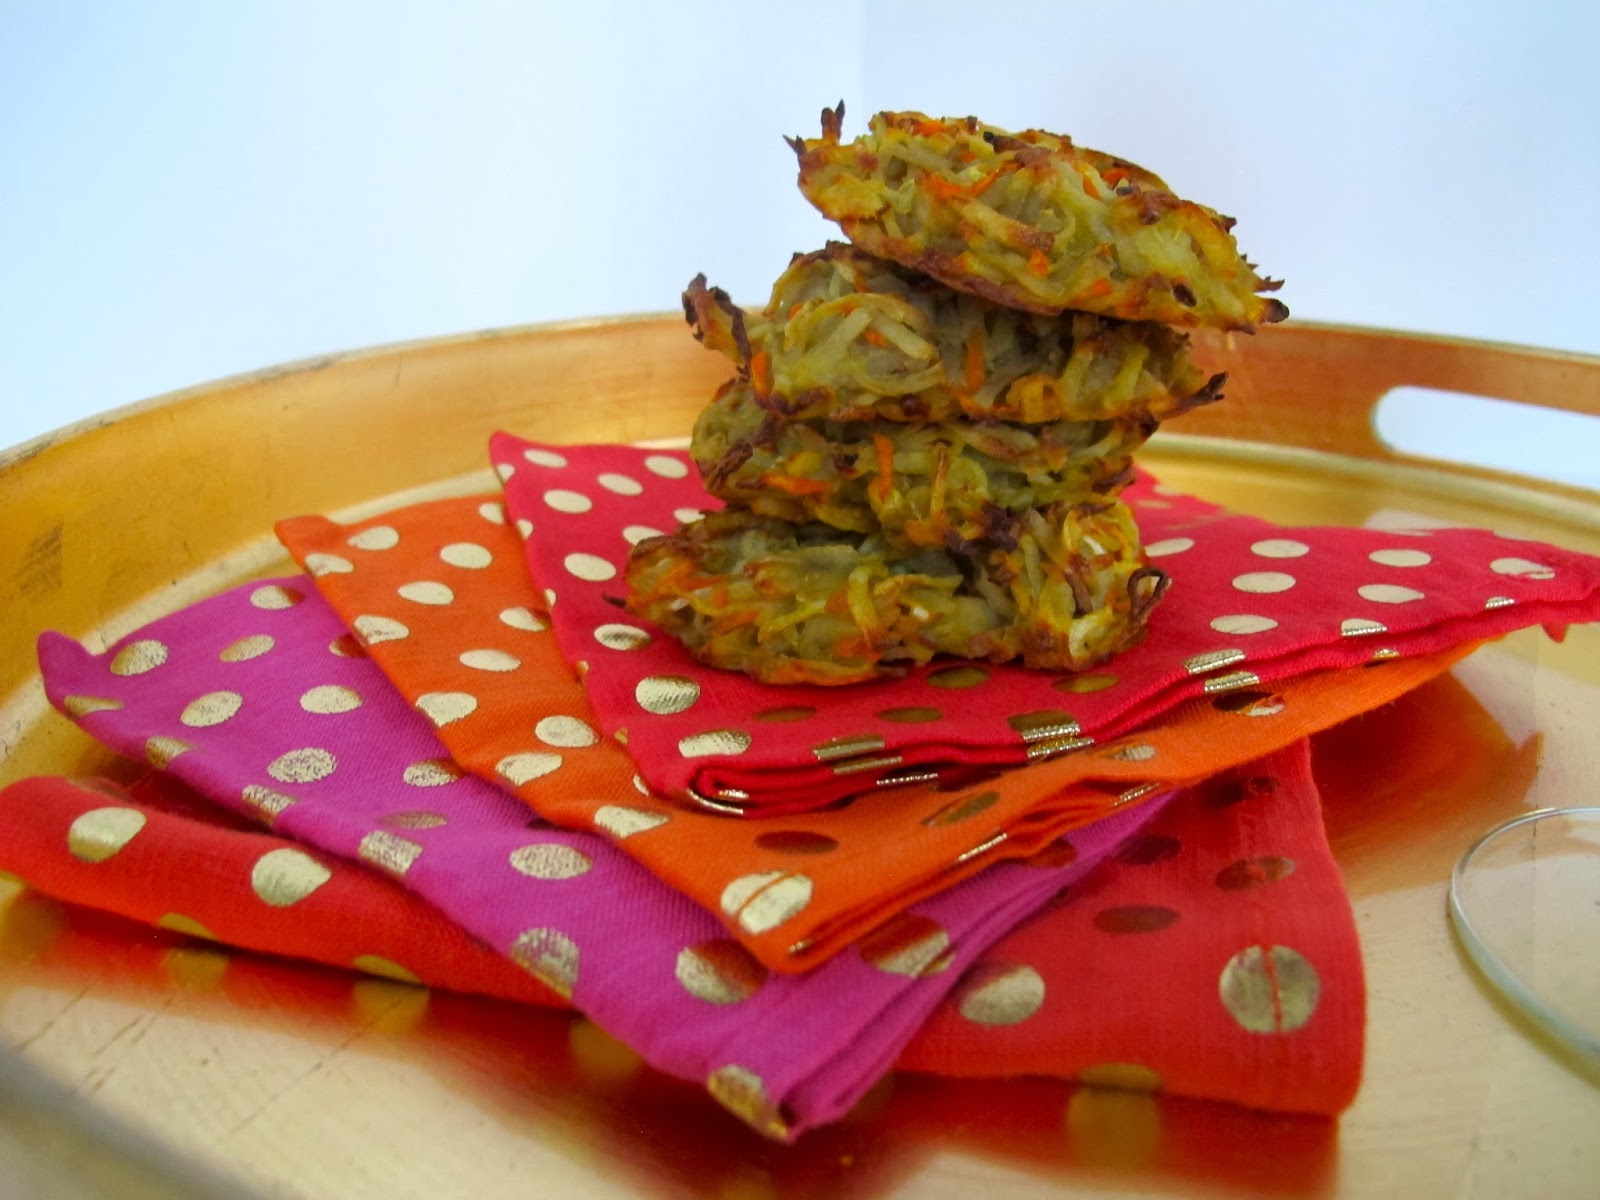
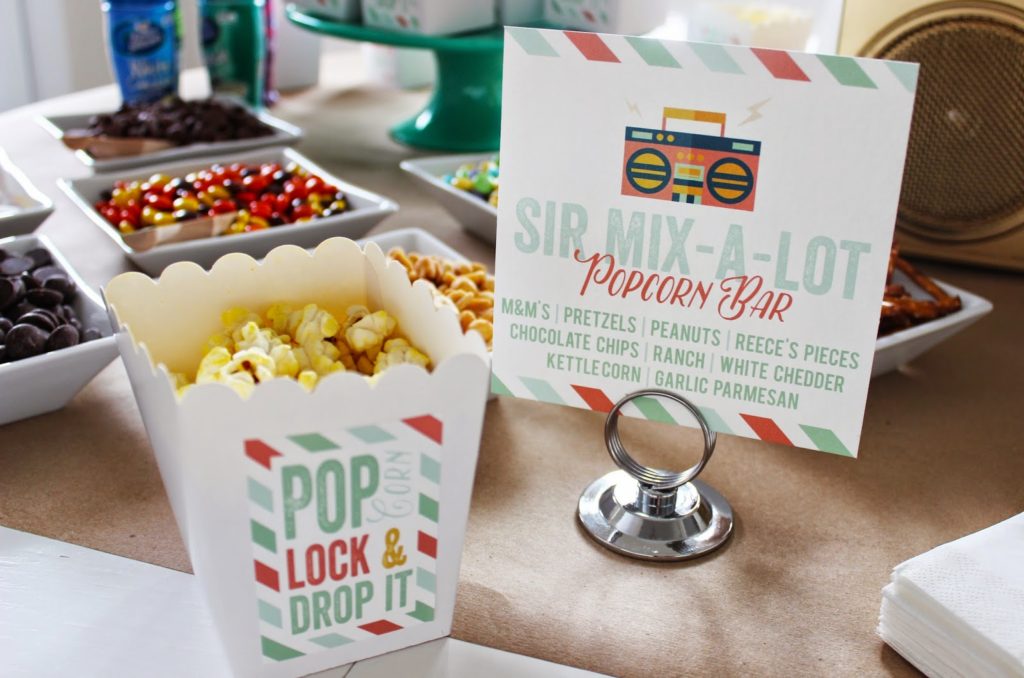
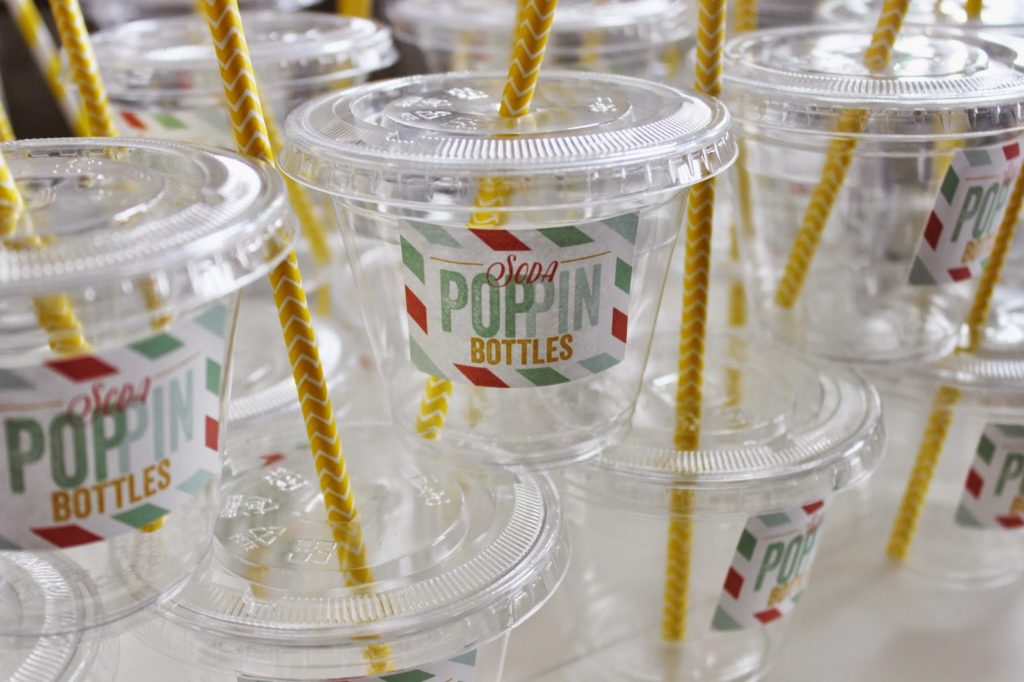
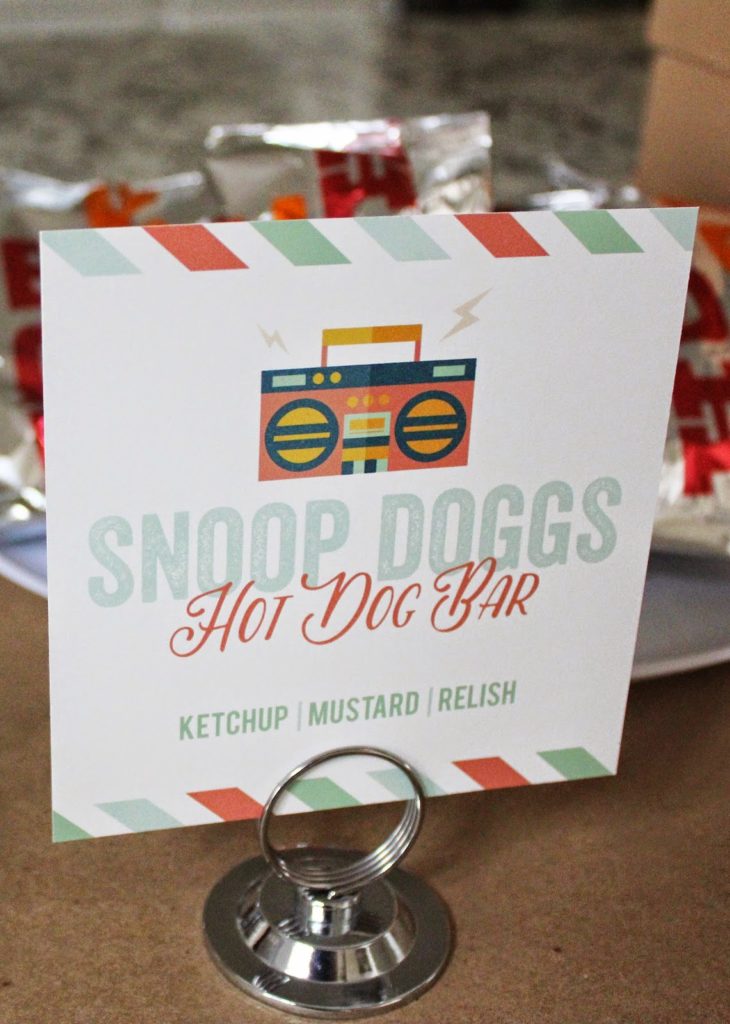
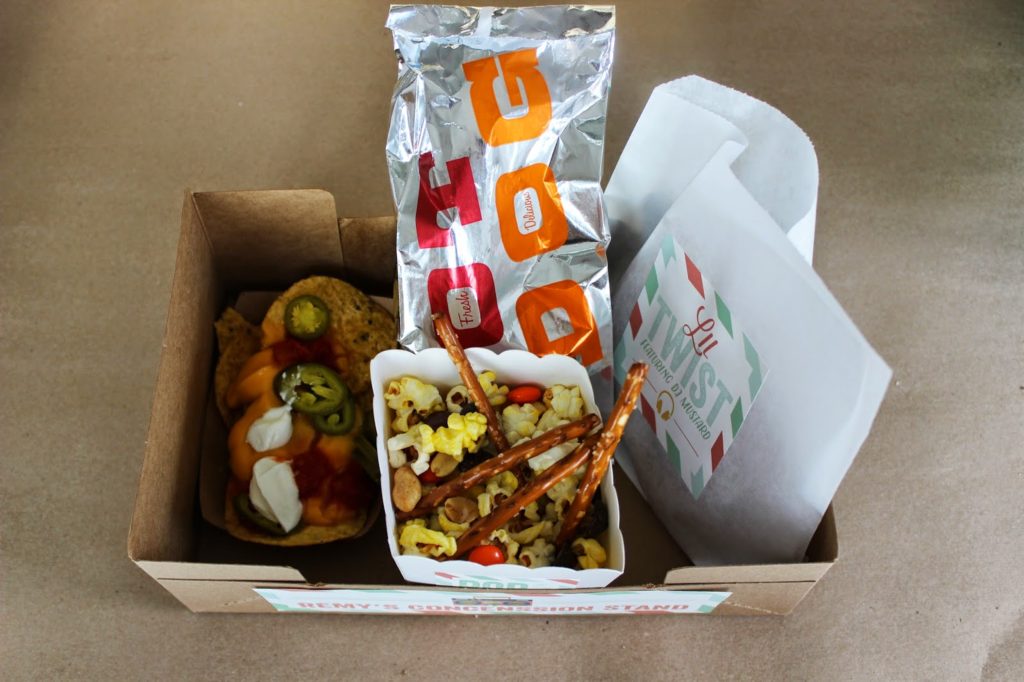
For food, we did all concert food: hot dogs, nachos, soft pretzels, popcorn, and soda all held together in a food tray so it was easy for guests to carry around. 
Note the music themed names we gave all of the food… we crack ourselves up.
 Custom painted scoops sold on our Etsy shop.
Jenni’s fav Sugarfina gummies in the shape of sneakers! Perfect for our hip hop theme!

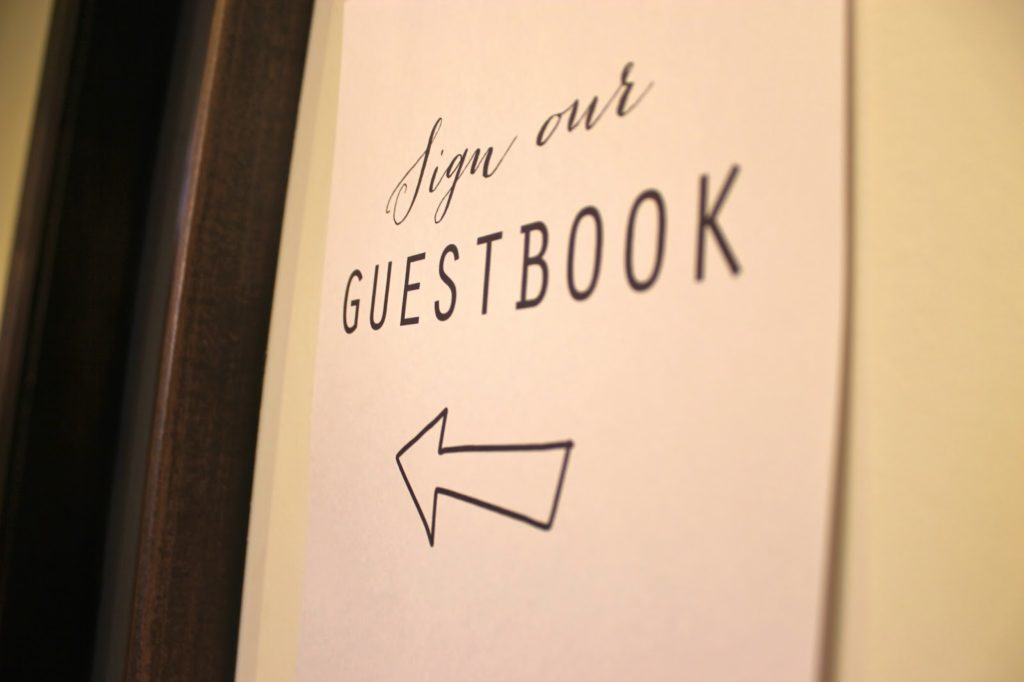
At every shower we throw, we like to have the guests write their address on the envelopes for Jenni’s thank you notes! Saves a ton of time for the mama-to-be.
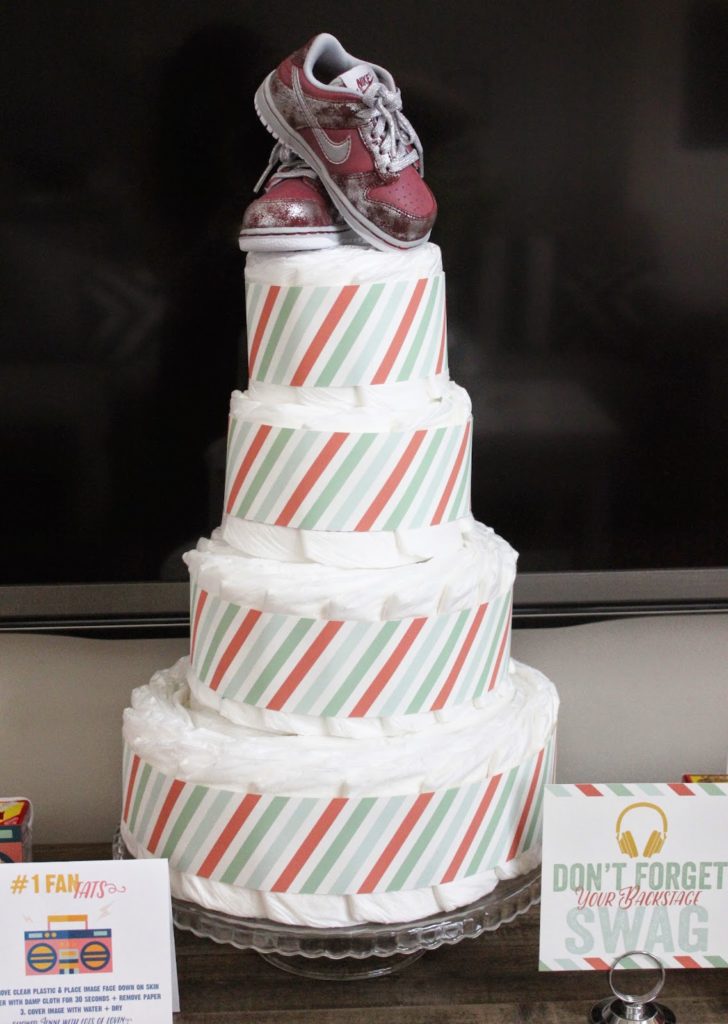
Of course, we have the diaper cake – tutorial HERE – topped with baby Nike Dunks, Jenni’s request for her baby boy!
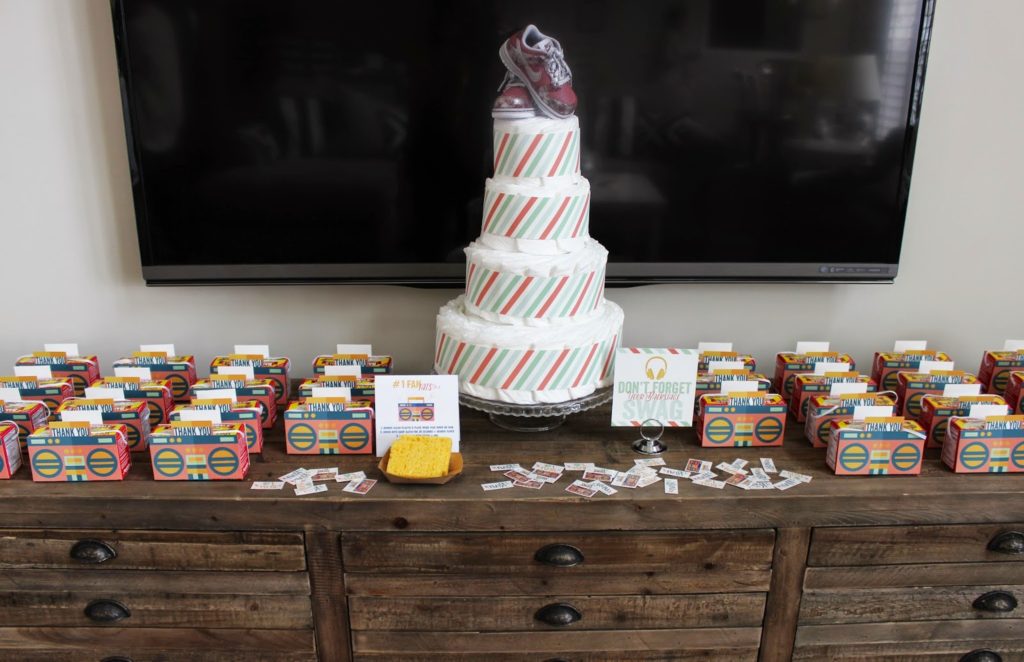
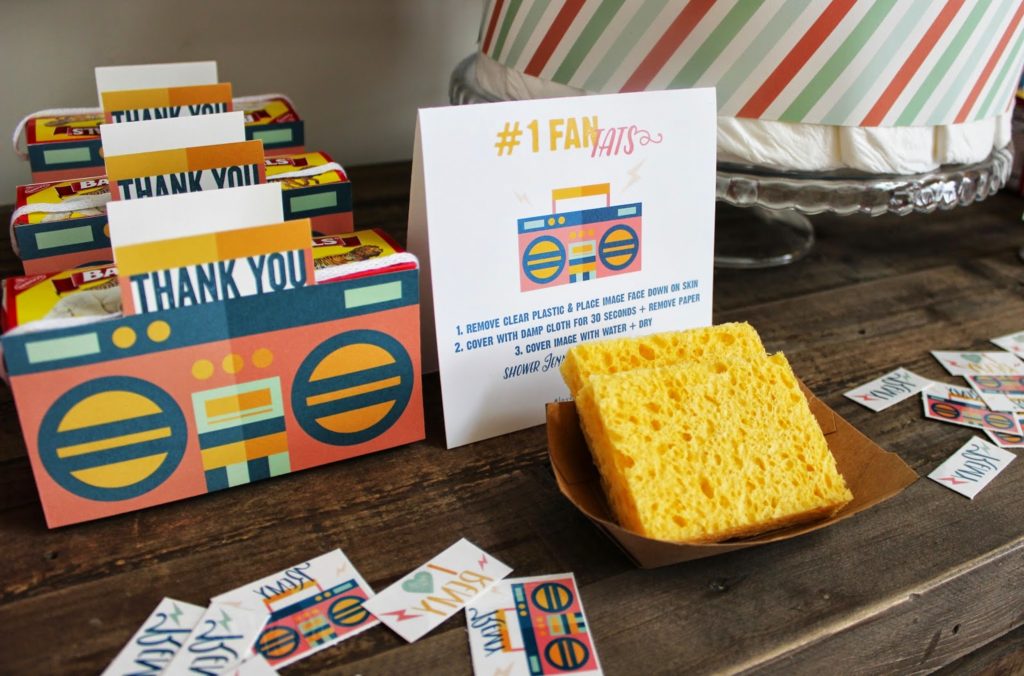
For favors, Lauren made these little boom boxes wrapped around an animal crackers box.
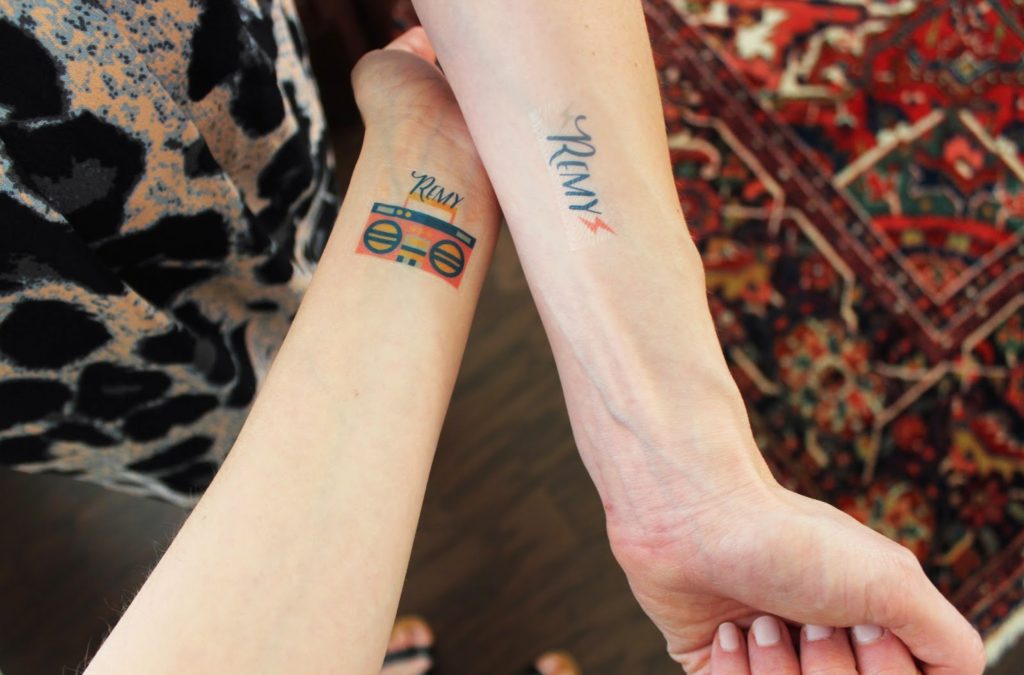
 Being a Love & Lion shower, we had to have a tattoo bar 🙂
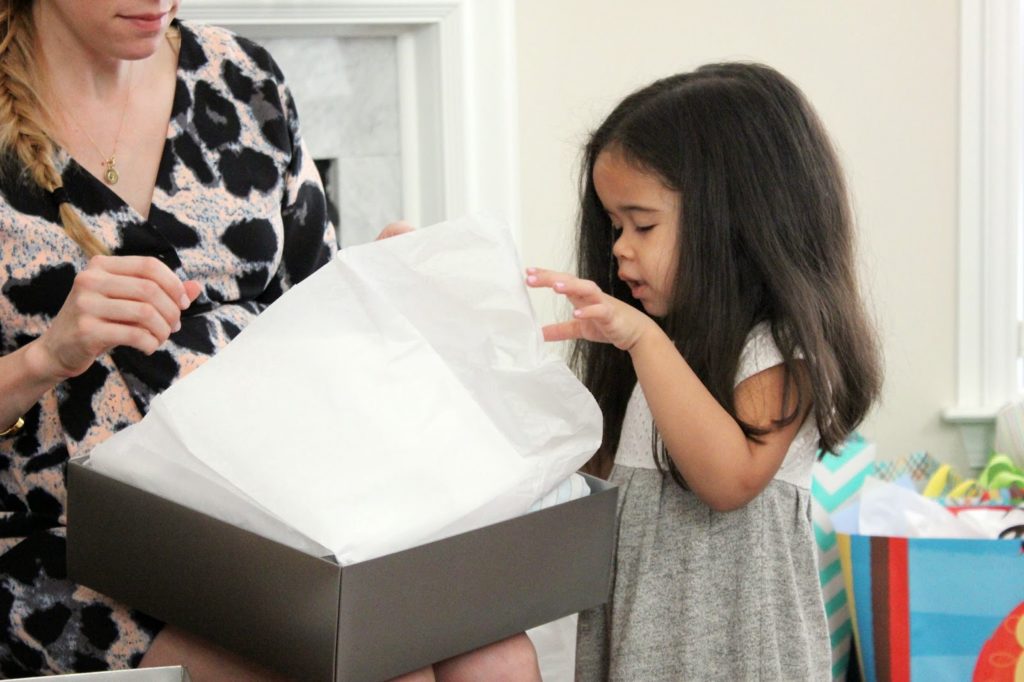
Big sis-to-be, Amara, helped open all of the prezzies.
 Gorgeous mama Jenni!!
We LOVED throwing you this shower, Jenni! You’re already an incredible mom, and we know you’re going to be a pro with two. Love you!
-L

DIY HOLIDAY CARDS DISPLAY

This is so easy… I don’t even know why I’m posting it. BUT I think it turned out pretty cute. So. I’m also procrastinating cleaning my house. Typically when I’m at my most creative.
I just received my first two holiday cards! One from my bestie since college, and one from my sweet little nieces and nephews! Last year I was so lazy (read: just had my second baby) that I put all of my cards in a pretty bowl on the coffee table. This year I’m stepping it up a tiny notch. 
All you need for this easy DIY is:
– 1 wire wreath form
– 1-2 packs of plain clothes pins
– 1 roll of fun washi tape
– 1 clear command hook (sticks on the wall and removes without damaging the paint!) See below:
I found this pretty Meri Meri washi tape at our fav shop Rock Paper Scissors.
 Measure by sticking a clothes pin on the tape
 Cut tape
Bend around the sides of the clothes pin. Use the back of your finger nail to really stick it on there well. And… that’s it. Told you it was easy! You could totally spray paint the wreath form gold or silver first, but it’s going to get covered up with cards anyway, right? She says to convince herself.
I still have to finish decorating my mantel. Cannot find the rest of my decor!! It’s probably in storage somewhere. Ugh. Ooh and I’m waiting on a sparkly banner from The Bannerie! I’m a tad obsessed.
Happy decorating!
-L

DIY FALL DOOR DECOR

We’re stiiiiill in our rental- two more months to go before our house is finished!!- but that doesn’t mean we shouldn’t make it feel homey and festive for fall! Or at least that’s what Jenni keeps telling me. This was a super easy and quick craft project that I did during nap time. You can do it too… promise! I made a free download for the template you can get right here.
What you need:
1 piece of Kraft paper or other color card stock
Metallic Sharpie (or you could use paint!)
Scissors
String
Stick
Washi tape
Glue and glitter if you want to make it glitzy
1. Print template… Click HERE to download
2. BEFORE you cut out the feathers, color in designs with a gold sharpie or paint designs. It’ll make less messy that way!
3. Cut out the feathers shapes then score by using your fingernail tracing along the middle- I sort of did this in a curved shape to give the feather more dimension. Gently fold the feather up. 
4. Cut thin diagonal lines all the way down the sides of the feather. Run your fingers up and down the fringe to give the feather some texture.
5. You could stop here… or you could get a little messy and add glitter! I used Martha Stewart’s Florentine Gold Glitter. 
See that fun fringy texture?
6. Find a stick…
 Tip: toddlers are low to the ground and can find the best sticks. And oh yeah… boys love sticks.
 See that pretty texture? Score, Ari!
7. Attach string to each feather with a little piece of washi tape then simply tie the string to the stick. 
Happy fall y’all! 
(I only say “y’all” in print… it just doesn’t sound right in my midwestern accent!)
-L

FEATURED: GEORGE + HENRY’S SHARED TODDLER ROOM

Can we say “perfection”? Tamie, mommy to George and Henry, created a black and gold oasis for her boys that we can’t stop staring at…. or wishing that we could have a sleepover in. Is that weird?
 We truly feel like simplicity wins in this particular space. A basic color palette, minimal (but meaningful) artwork, soft white walls, and no clutter is definitely the way to go in our book. We are going to quit blabbing so that you can tour this space already. Scroll down for sources.
TAMIE: I’m from the Black Hills in South Dakota. This room is a nod to where I grew up. Gold mining was huge, and my great uncle actually built, owned, and ran his own gold mine for years. The Stand By Mine was an iconic piece of architecture until it had to be torn down. Everyone in my family was either directly or indirectly involved in supporting the industry.
TAMIE: I’m not someone who can go to a thrift shop and refinish a dresser. I don’t have that skill set. I knew I wanted something more substantial than what a big box store could offer (two little boys CLIMB!) and that meant something mid century and sturdy. The dresser is stout and was half the cost, including white glove delivery, than major retailers. It’s perfect. And those pulls? Forget it, I’m in love.
Photographs are printed from Prinstagram and affixed with gold washi tape.
SOURCES:
(links in bold)

G & H Wall Letters: Land of Nod
Bedside Table: Pottery Barn
Clock: Kit Cat Clock (the first time I saw Henry he was swaddled and his eyes were darting around the room checking everything out, I immediately thought of the clock!!)
Dresser lamp: Target
Gold lamp: Target
Mirror: Target
Rug: IKEA
Silhouettes: Disney world souvenir
Dresser: Etsy
“I love my family” Print: Etsy
”Be you bravely” Print: Etsy
Quilts: Etsy
Box spring cover: West Elm
Photographs are printed from Prinstagram and affixed with gold washi tape
Paint: Benjamin Moore Tundra (walls), Day’s End (in chalkboard paint on the ceiling), Modern Masters Gold Rush (ceiling border)
Stunning job, Tamie! All of your hard work certainly paid off. We know George and Henry will have many adventures in this room!
xo

RYAN AND CHRISTY’S RUSTIC WEDDING : PART TWO

After the beautiful ( super emotional …. I am a crier) ceremony ended, we headed to the reception space. It was held in an absolutely gorgeous barn. Guests enjoyed a little cocktail hour which also included a nacho bar. The bride loves her nachos! Great way to keep those tummies full while they get their drink on, haha!  

There was a taco buffet set up on the bottom level of the barn. DEEEEELICIOUS, and so festive! 
I had so much fun doing these tables. I had two men ( wedding guests who offered to help set up that morning) channeling their inner florist. It was amazing, and I was so grateful! Christy wanted 3-4 brass candle sticks on each table and beautiful greenery intertwined throughout them. Super simple and elegant. We topped each table off with a few light pink and cream roses to accommodate their color story. I used live moss to add a little something extra to the bridal party/family tables. My favorite touch by far. I didn’t get a picture of it, but I also filled window boxes along the side of the barn with the moss as well. It is such an inexpensive way to make such an impact. So classy and so natural, which is exactly what we were going for.
Our sweet friend, Lori (aaaand her dear hubby), spent the ENTIRE morning assembling these napkins with a letters to their guests with cream ribbon. She worked her little heart out you guys!! These were placed on each place setting. Since the catering was done buffet style, Christy opted for these to make the impact of “plates” if you will. Such a beautiful letter written to share their hearts and express gratitude to their guests.
The dessert table was filled with mostly homemade goods and then some yummy treats from Whole Foods. The dessert table was devoured in no time!! We used custom made tree trunk cake stands, brass pieces and glass to make all of the treats look pretty.

Homemade cobbler and “strawberry shortcakes”….. oh my gawwwwwsh!

A friend of the couple made this stunning gluten – free cake for the big day! Look at those brass pinwheel cake toppers!!! Love! We simple wrapped the cake in live moss and a few roses.

While the reception was going on upstairs, guests were encouraged to come downstairs and take photos in the photo booth. The props were so fun, and you also were able to leave a video for the happy couple before your little photo session started. Then, the photo booth operator printed out photo strips for each guest….. one for them to keep, and the other to place into a book for the newlyweds.
These people can dance….. alllllll night long!
The lovely sparkler goodbye. Never gets old to me. Then, they rode off into the night on their motorcycle. (yes, I say “their” because it is no longer JUST Ryan’s bike, right?) hehe.
I am sorry, but I have to add some more photos (just because). You don’t mind, right?

Thanks for reading!! Ryan and Christy….. I was so honored to be a part of this day ( both as help and as a guest). You are both such special, giving, serving, genuine and loving people….. and oh so much fun! Wishing you all the happiness this world could possibly give you!
-J
You can see part ONE of Ryan and Christy’s wedding HERE

A WEDDING SHOWER: PARTY UNDER THE LIGHTS!

Hi Friends!! I know it probably seems like we have forgotten how to blog here, but I can assure you we have not just been sitting on the couch eating bon bons. Although, that sounds nice. One half of us is about to put a house on the market ( we all know how stressful that is in itself) while the other is in the thick of wedding celebration planning and styling for a sweet sweet couple. Exciting stuff, right!?!
I just wanted to share a few photos from a wedding shower that I helped throw with some other lovely ladies! The engaged couple are such dear friends of ours, and we were all so thrilled and honored to host such a sweet night for them. It was a “Party Under the Lights” theme, so we just wanted candles and garden lights galore. Oh! And LOTS of dancing. It helps when there is a beautiful home as a backdrop! I was in crazy party mode, so my sweet hubby took these photos. Btw, it is so interesting to see what details draw him in vs. what draws me in. There were a few detailed shots that we missed, but I am grateful to him for getting these shots. It will help you get a feel for the party.

^^ My favorite thing about the shower was the “balloon chandelier” over the dining table. I attached photos of the couple with baker’s twine to each balloon. The pics were all different sizes and the twine was cut at different lengths just to add some dimension. I couldn’t stop looking at it all night. ^^

^^ the not completely set up dessert table 😉 ^^
^^ Jerk chicken anyone? Our friend, Damien, knows how to do it right you guys!”^^
^^ We had several chairs set up around a fire pit so the groom – to – be could enjoy some cigars with his buddies! ^^

^^ Another one of my favorite touches was filling these planters with living moss and candles. So simple and so beautiful. It was a great way to fill the planters that have yet to be “springified” 😉 ^^

^^ We set up a guestbook table for everyone to come in and snap their photo and write a little note of encouragement to the happy couple. ^^ 
Such a lovely night. Friends, family and good food make for a perfect party!
-J

GOLD, WHITE, AND BURLAP INSPIRATION BOARD

My dear friend, Beth, is turning the ripe old age of 31 only 29 this week and is throwing a fabulous dinner party for friends. She wanted a party with a gold, white, and burlap color story. Elegant but a touch rustic. Jenni and I put together an inspiration board for decor. See our Pinterest board for even more ideas, many of them inexpensive and DIY which of course we love! 
Happy Birthday, Beth! You are simply stunning- inside and out- and deserve only the BEST. Love you!!
-L
P.S. We love to put together boards like this if any of you have parties you’re throwing- let us know!

NEW YEARS EVE PARTY IDEAS

We’ve been scouring the interweb for the coolest NYE ideas and recipes. Whether you’re throwing a big shindig or a having a cozy night at home, there’s always something special you can add. DIY garlands, fun balloons, confetti, glitter!!, yummy dips and apps, and of course…champagne! Check out our pinterest board for all things NYE.

THAT’S A WRAP! [PART 1]

It is nearly impossible to make it through December without hosting or attending a holiday party of some kind. We decided to be on the hosting end this year, and throw a wrapping party. Wrapping gifts and eating every holiday treat out on the market is truly our idea of the perfect night! 
Cocoa drizzled popcorn cups with peppermint Oreos!

Wrap buffet…
We served Prosecco and peppermint hot chocolate. We are so in love with these drink toppers. Wouldn’t they be perfect for a NYE party as well!?!

Our bestie, Lauren of Rock Paper Scissors, came with these beautiful and tasty antipasto skewers.

No cup of hot chocolate is complete without christmas tree marshmallows. 
We placed mini ornaments (found in the Target dollar section) in shot glasses to add to the “buffet/bar” theme. They just looked so pretty!
You can find these little guys almost anywhere. We got ours from the dollar section as well. We spray painted him gold, and added a festive Santa hat. 

We are so in love with this garland, it pains me to think of taking it down in a couple of weeks!
(Tutorial coming this week incase you would like to make one of your own!)
Remember that large branch that adorned the top of my Thanksgiving tablescape? Well, I kept it around and hung “falling snow” and a couple of snowflakes on it. Just string cotton balls onto fishing line, and voila! So easy, but so beautiful we think!
Our finished products coming up in the next post!
We hope you all are enjoying your holidays and spending time with the people you love so dearly! It truly is the most wonderful time of the year! 

HOLIDAY GIFT GUIDE SERIES (FOR HER)

1 / 2 / 3 / 4 / 5 / 6 / 7 / 8 / 9 / 10 
(1) We are absolutely LOVING this emerald shade suede bootie. It adds a subtle touch of color to any outfit.
(2)  Genius!! Bake a little bit of your batter in this nibble pan so you can taste test without cutting into your cake.
(3) If you haven’t tasted Jeni’s ice cream…. you haven’t lived. We sincerely mean that! We make it part of every girls night. The lovely lady in your life will thank you.
(4) Who doesn’t love a great nail color? With this Advent mani set, you will calm your color cravings all month long. Beautiful!
(5) We all love photos, and using calendars make us more responsible (kind of). These are ALWAYS good gifts for any occasion.
(6) A stylish way to listen to a good audio book or iPod.
(7) We are dying over this beautiful leather clutch that charges your iPhone. Stunning colors to choose from also.
(8) These rings are the sweetest, most stylish reminder of those you love most. Whether it be your kids, spouse, or your imaginary friend… initials never go out of style.
(9) Perfect pair of PJ’s! Classic and comfy.
(10) Rock these with a leather jacket and ankle boots or just around the house when you want to get out of your lounge pants that you have had since college (we all have them… your secret is safe here). They will make you feel cute for sure!

LATKES AND VODKAS

It’s the 6th night of Hannukah, and we’re having latkes and vodkas over at our house! 
A latke (rhymes with vodka) is a potato pancake cooked in oil- a traditional food we eat on Hannukah. My dad created a baked version that is just as good and is super easy to make, not to mention way healthier… though go ahead and fry those babies if you chose! To go along with your crispy latkes, we’re having sparkling cranberry orange cocktails, concocted by my sis. A festive fizzy drink perfect for the holiday season! Scroll down for recipes. 
Not the most attractive food, but they’re absolutely delicious!
Fizz, pop, clink!
I made the drink stirrers with a skewer, 5 folded circles of paper, and double stick tape. Easy peasy! Tape together any extra circles on fishing line, and you have a simple and sparkly garland.
BAKED LATKES
makes about 12
3 potatoes 
1 carrot
1/4 onion
1 tbsp salt
1 tbsp flour
1 egg
*serve with sour cream or chunky applesauce 
Preheat oven to 450 degrees.
Peel and shred potatoes (I used a food processor) and mix in 1 tbsp salt. Let sit while you prepare the rest of the ingredients.
Line 2 baking trays with parchment paper.
Shred carrot and onion.
Drain access water from potatoes and squeeze with paper towels.
Mix together potatoes, carrots, onions, flour and egg. 
Scoop 3″ rounds loosely on parchment paper.
Bake 12-15 minutes per side until brown and crispy.
Best baked right away before potatoes turn brown. They’ll still taste good but won’t look so hot!
Delicious savory with sour cream or sweet with applesauce.
SPARKLING CRANBERRY ORANGE COCKTAIL
1 oz vodka
1 oz dry sparkling wine
Splash of cranberry juice
Orange simple syrup to taste – boil half sugar and half water with a couple strips of orange peels
Fresh cranberries
Shake together vodka, juice, and syrup. Strain into a champagne flute, top with sparkling wine, and serve with a cranberry garnish.
ENJOY!
-L