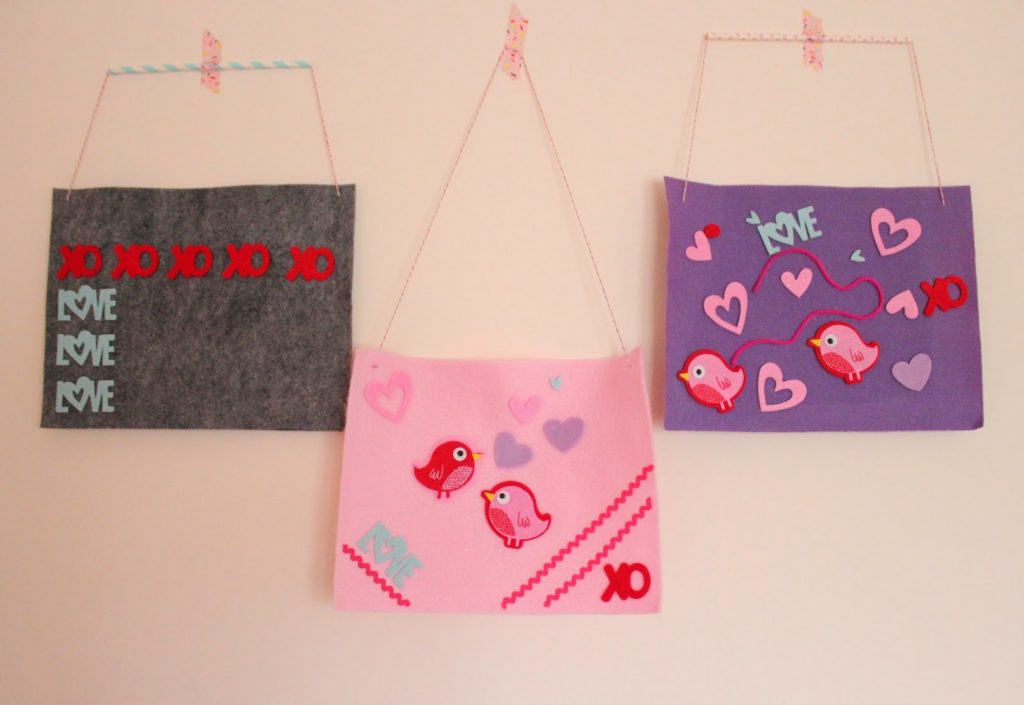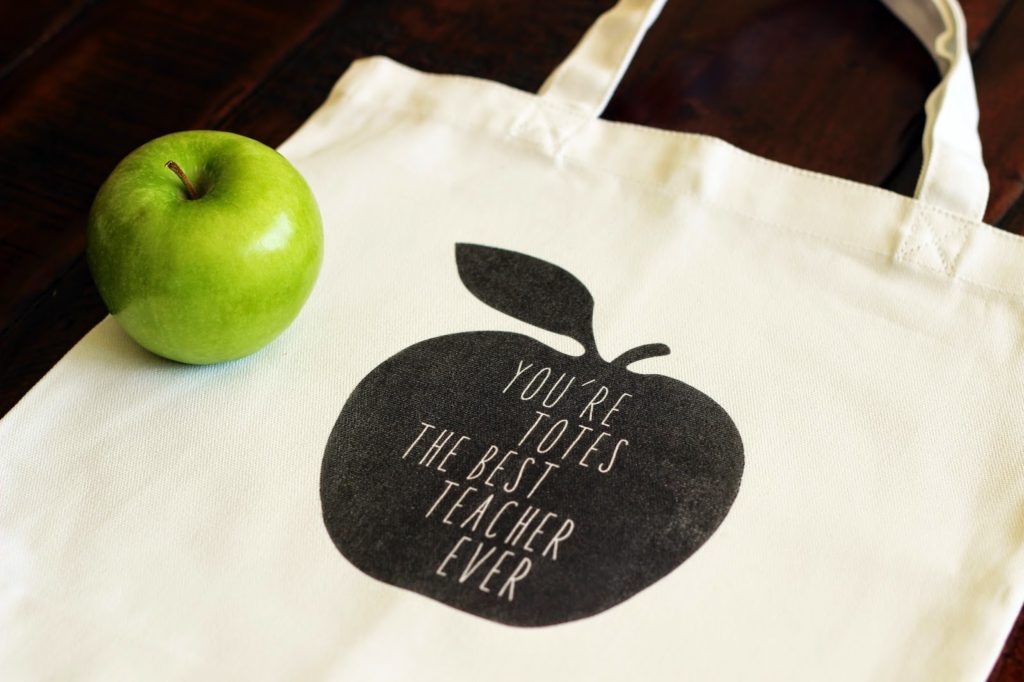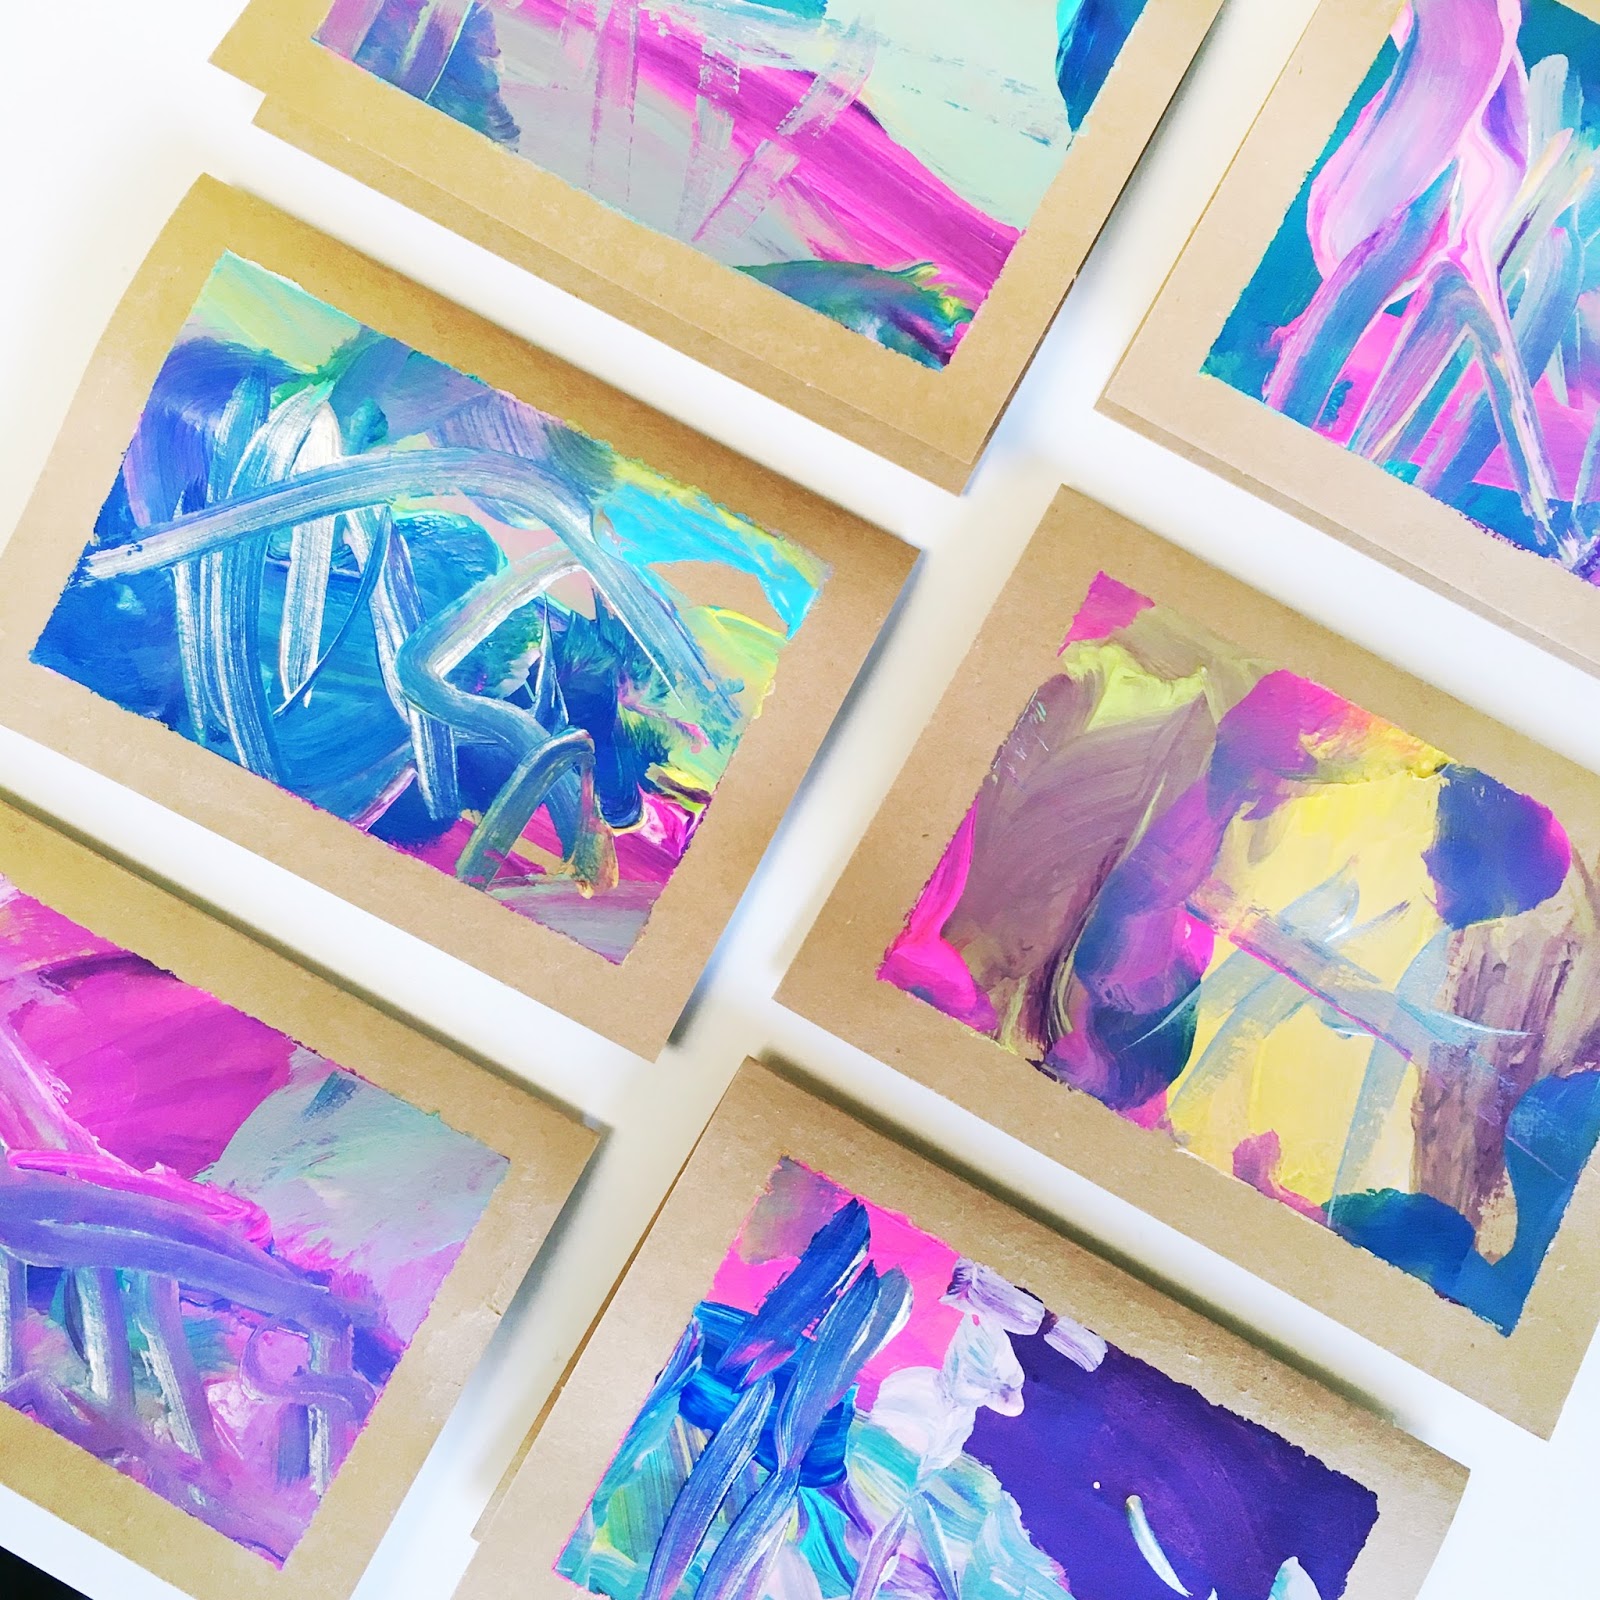
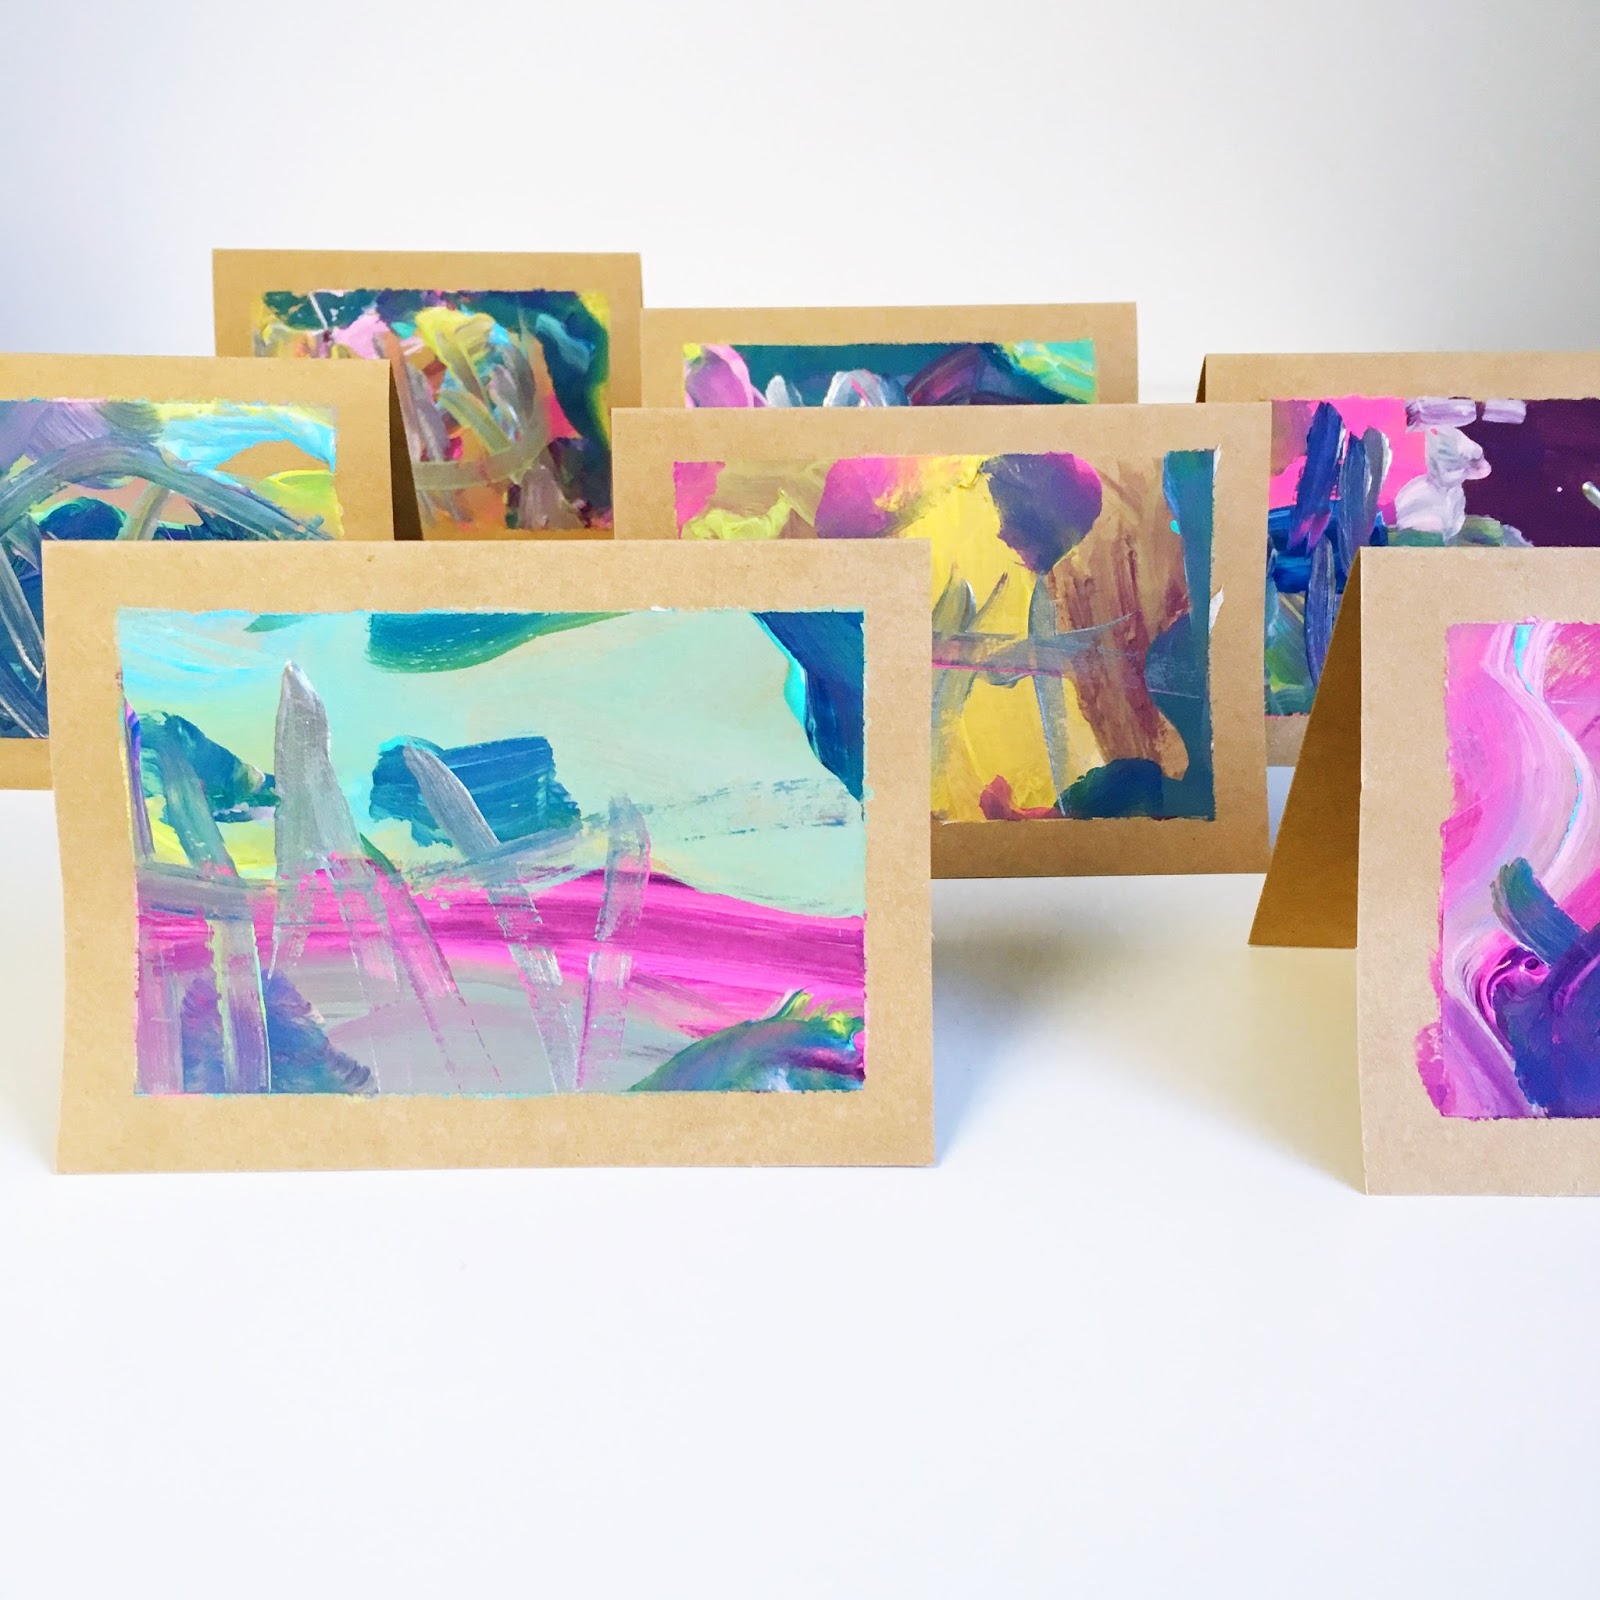
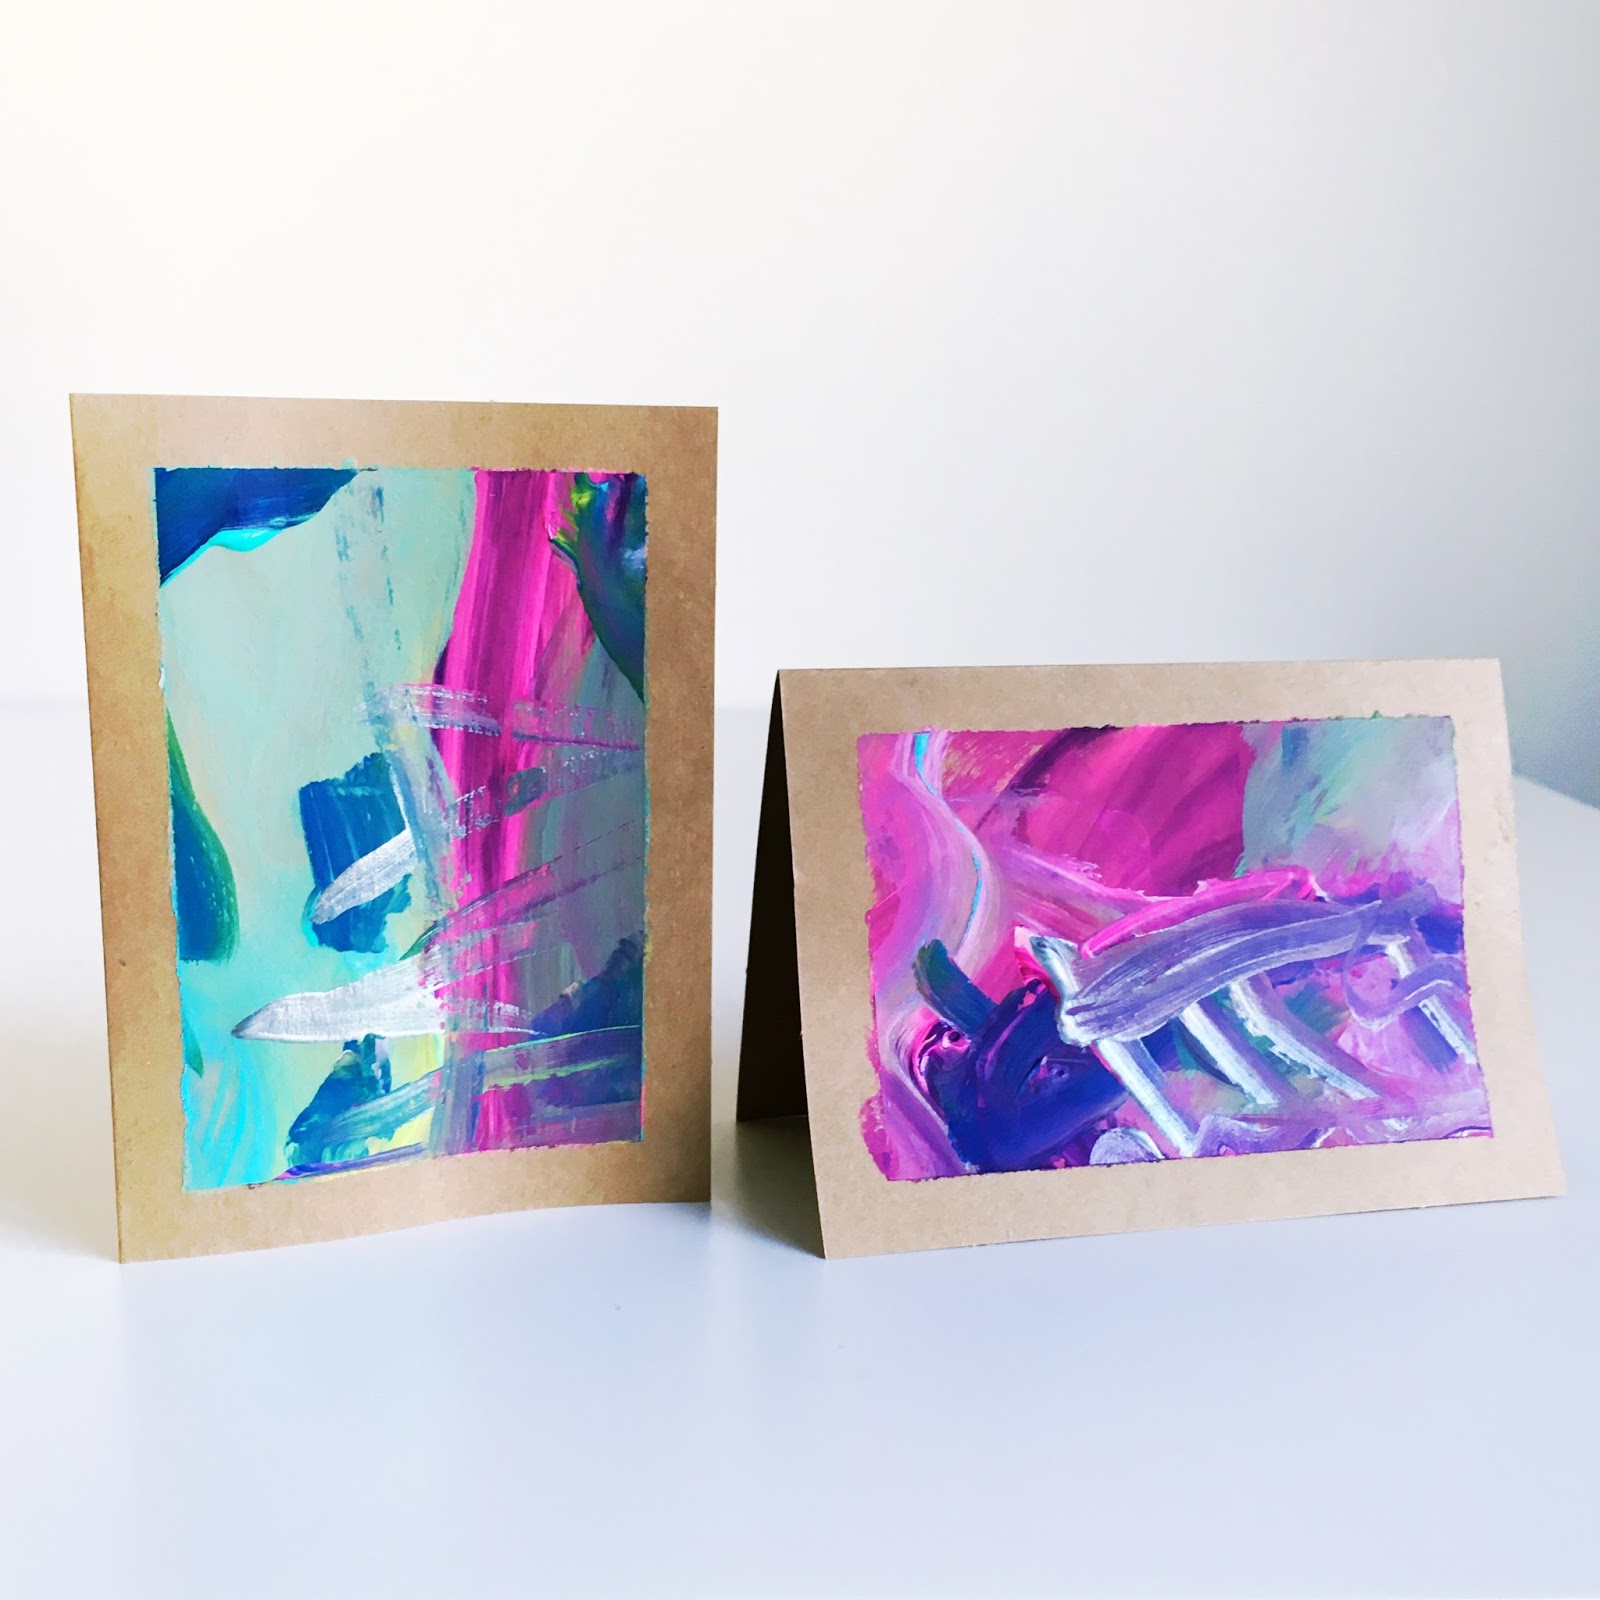
A perfect art project for Teacher’s Appreciation Day or Mother’s Day. By simply taping the edges of fold-over notes, it creates a clean border for the chaos within. Then write your sweet note inside and send! Or make a few and bundle them together with twine and give as custom stationery. Step-by-step tutorial below.
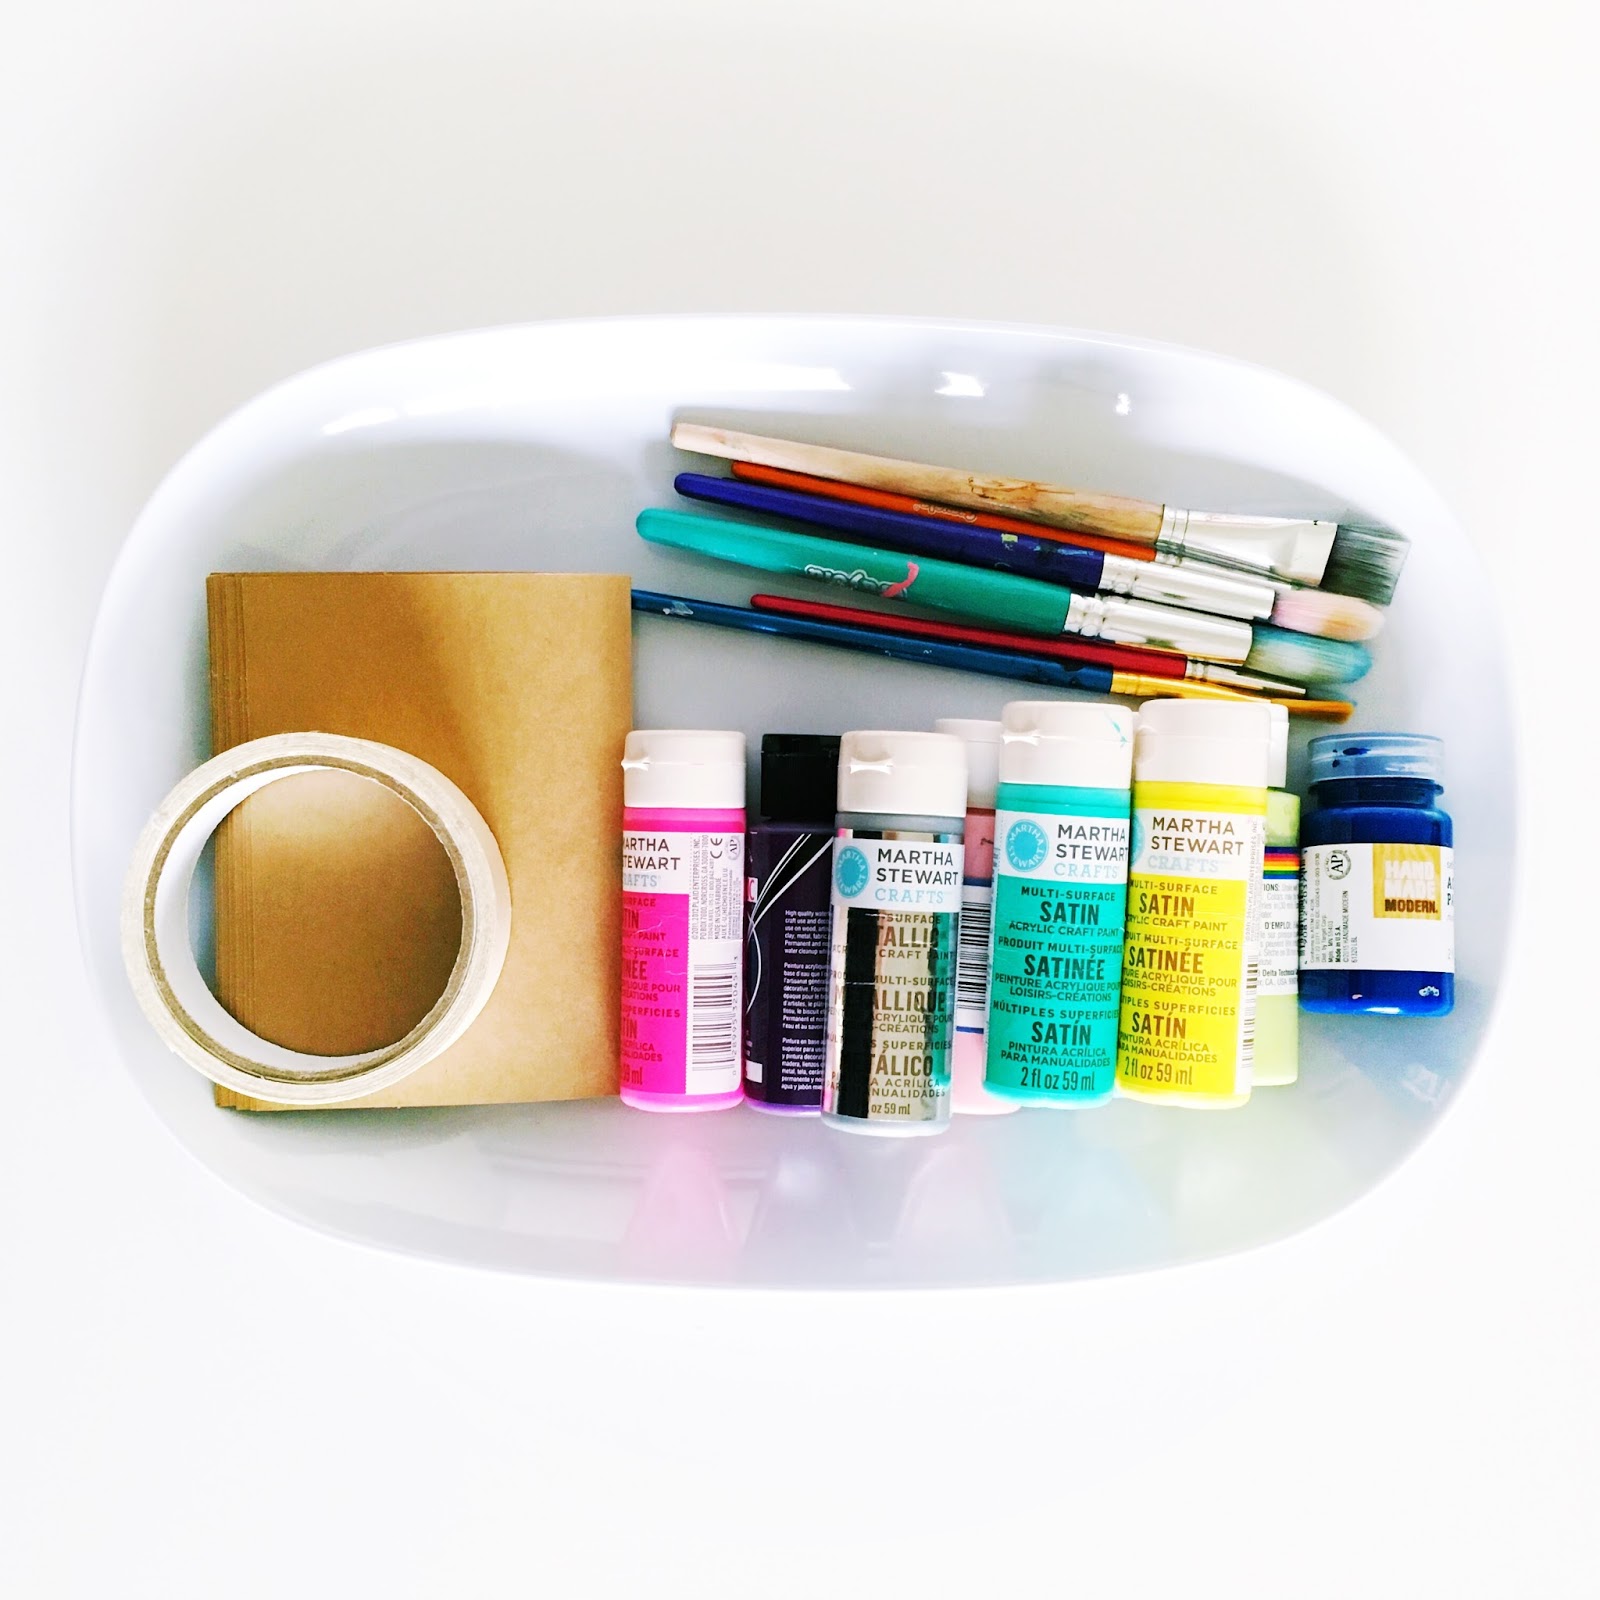
WHAT YOU NEED:
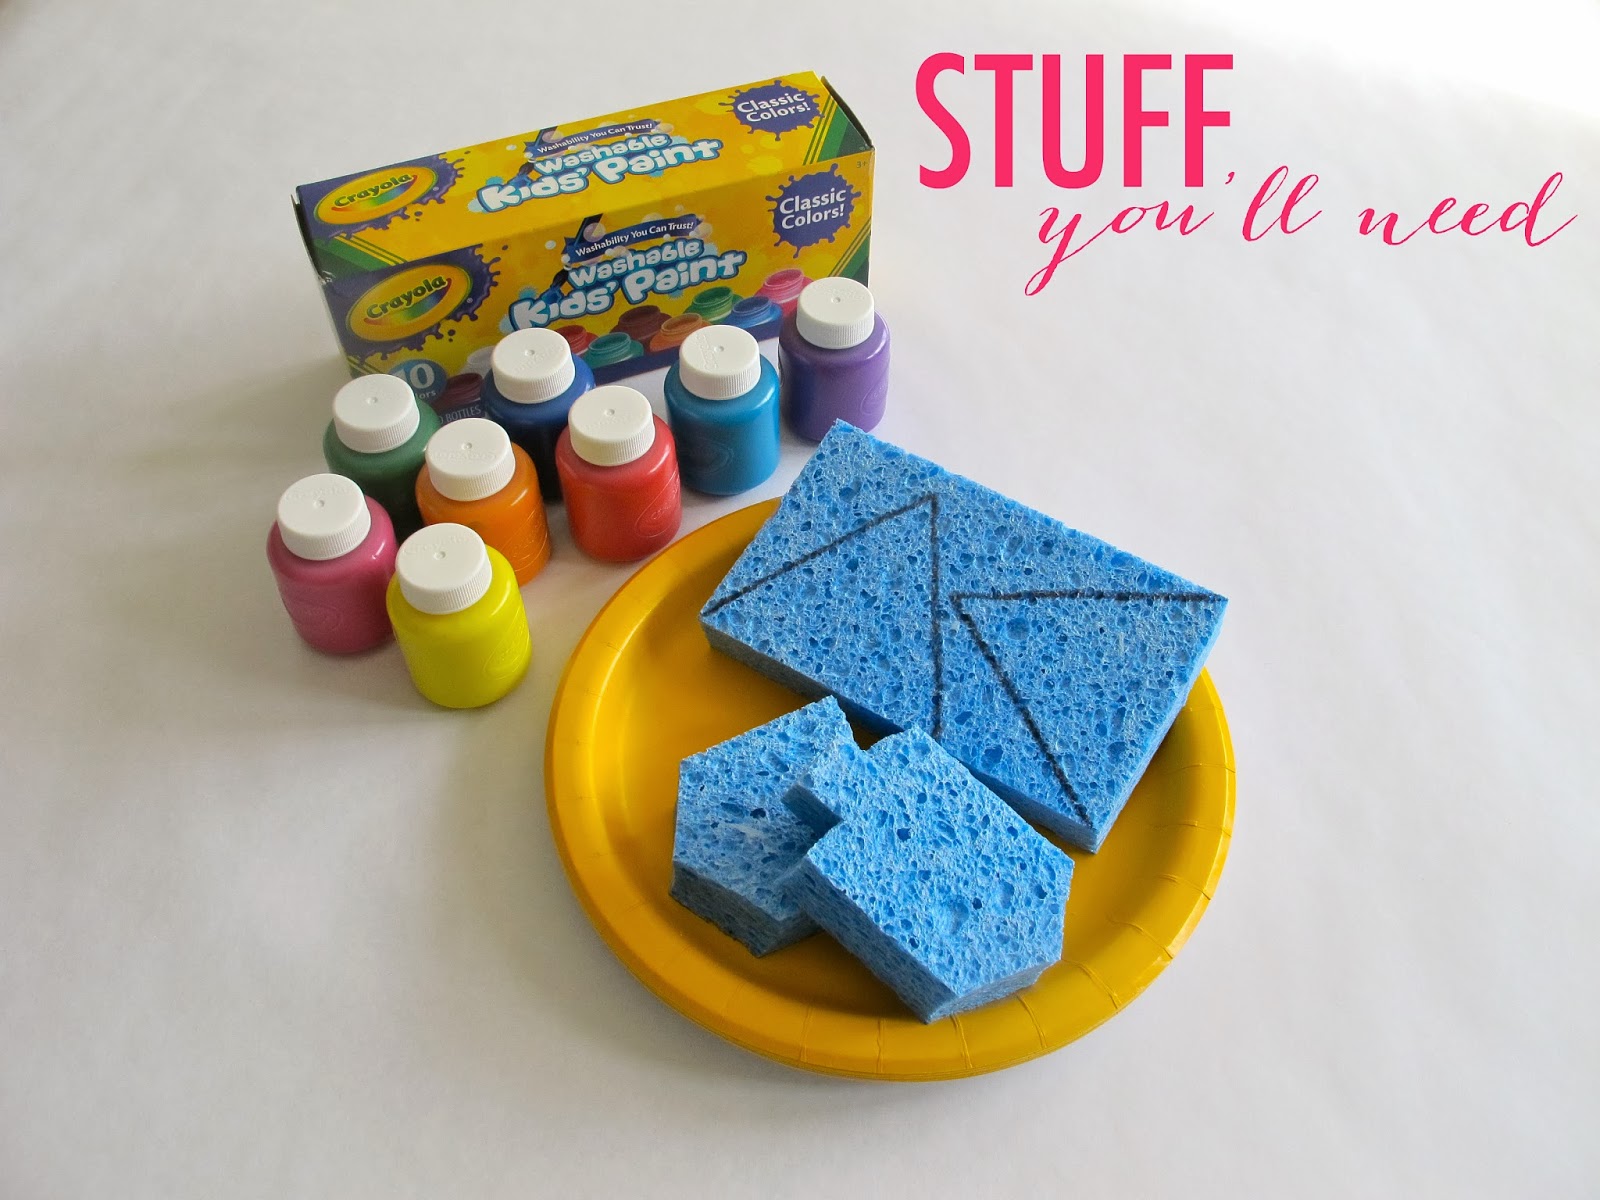
acrylic or oil paints
paint brushes
masking tape or painters tape
foldover notes or cardstock
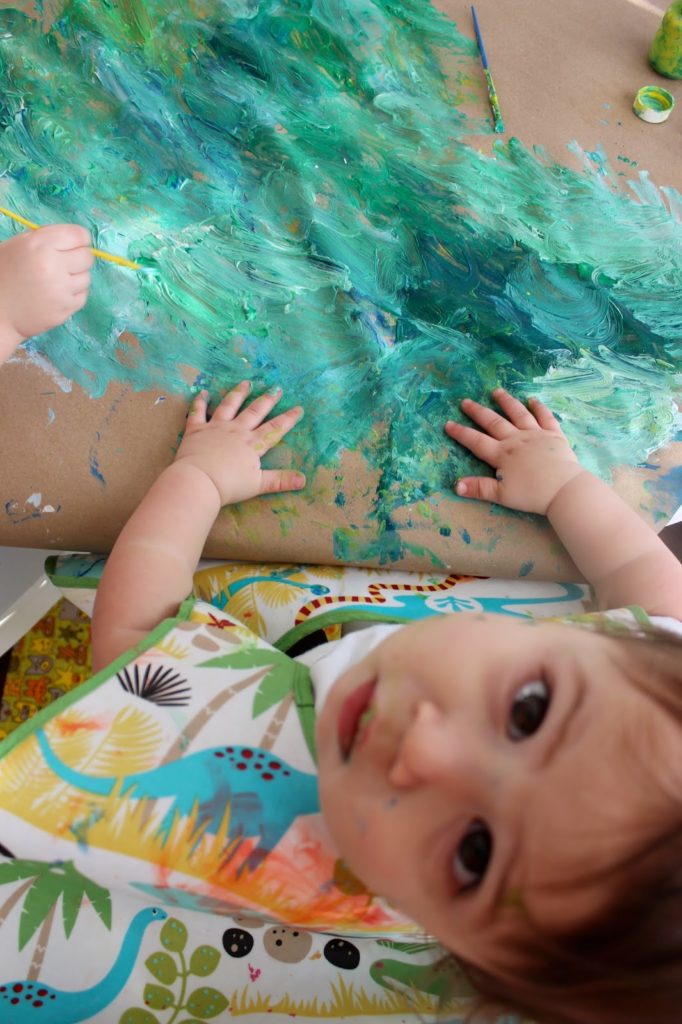
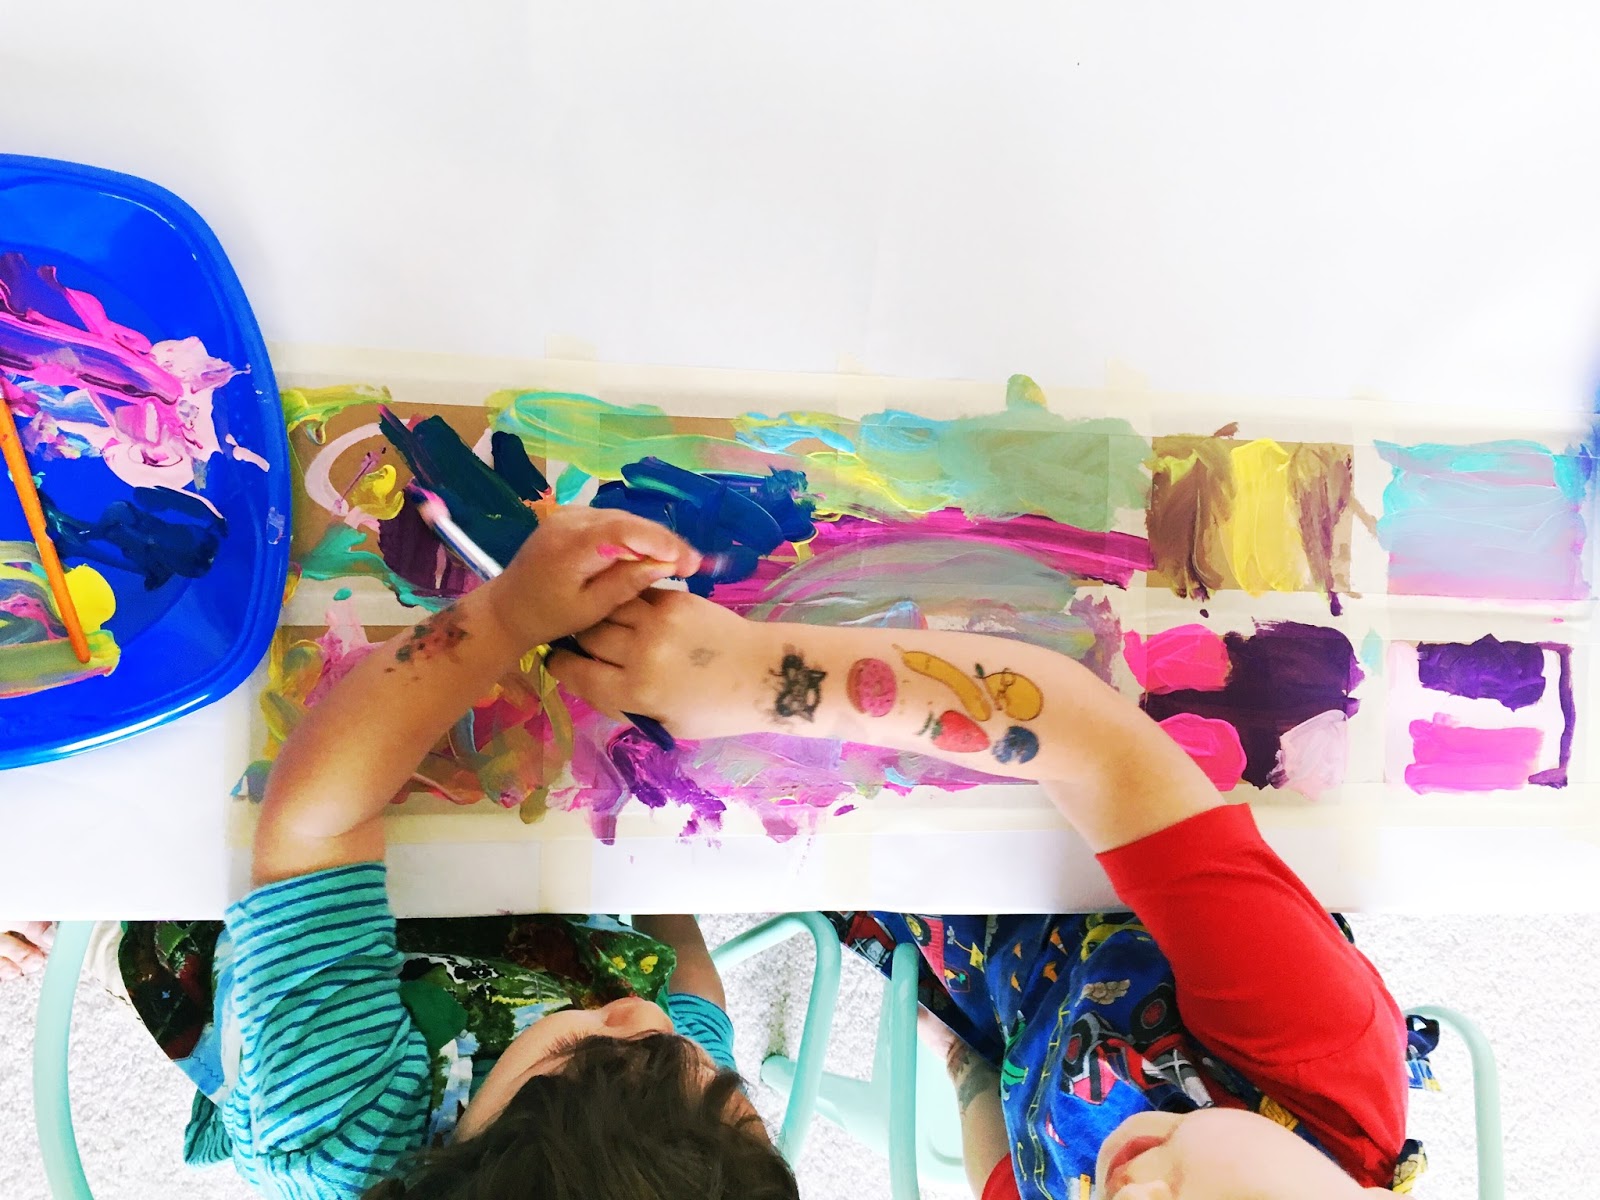
willing children
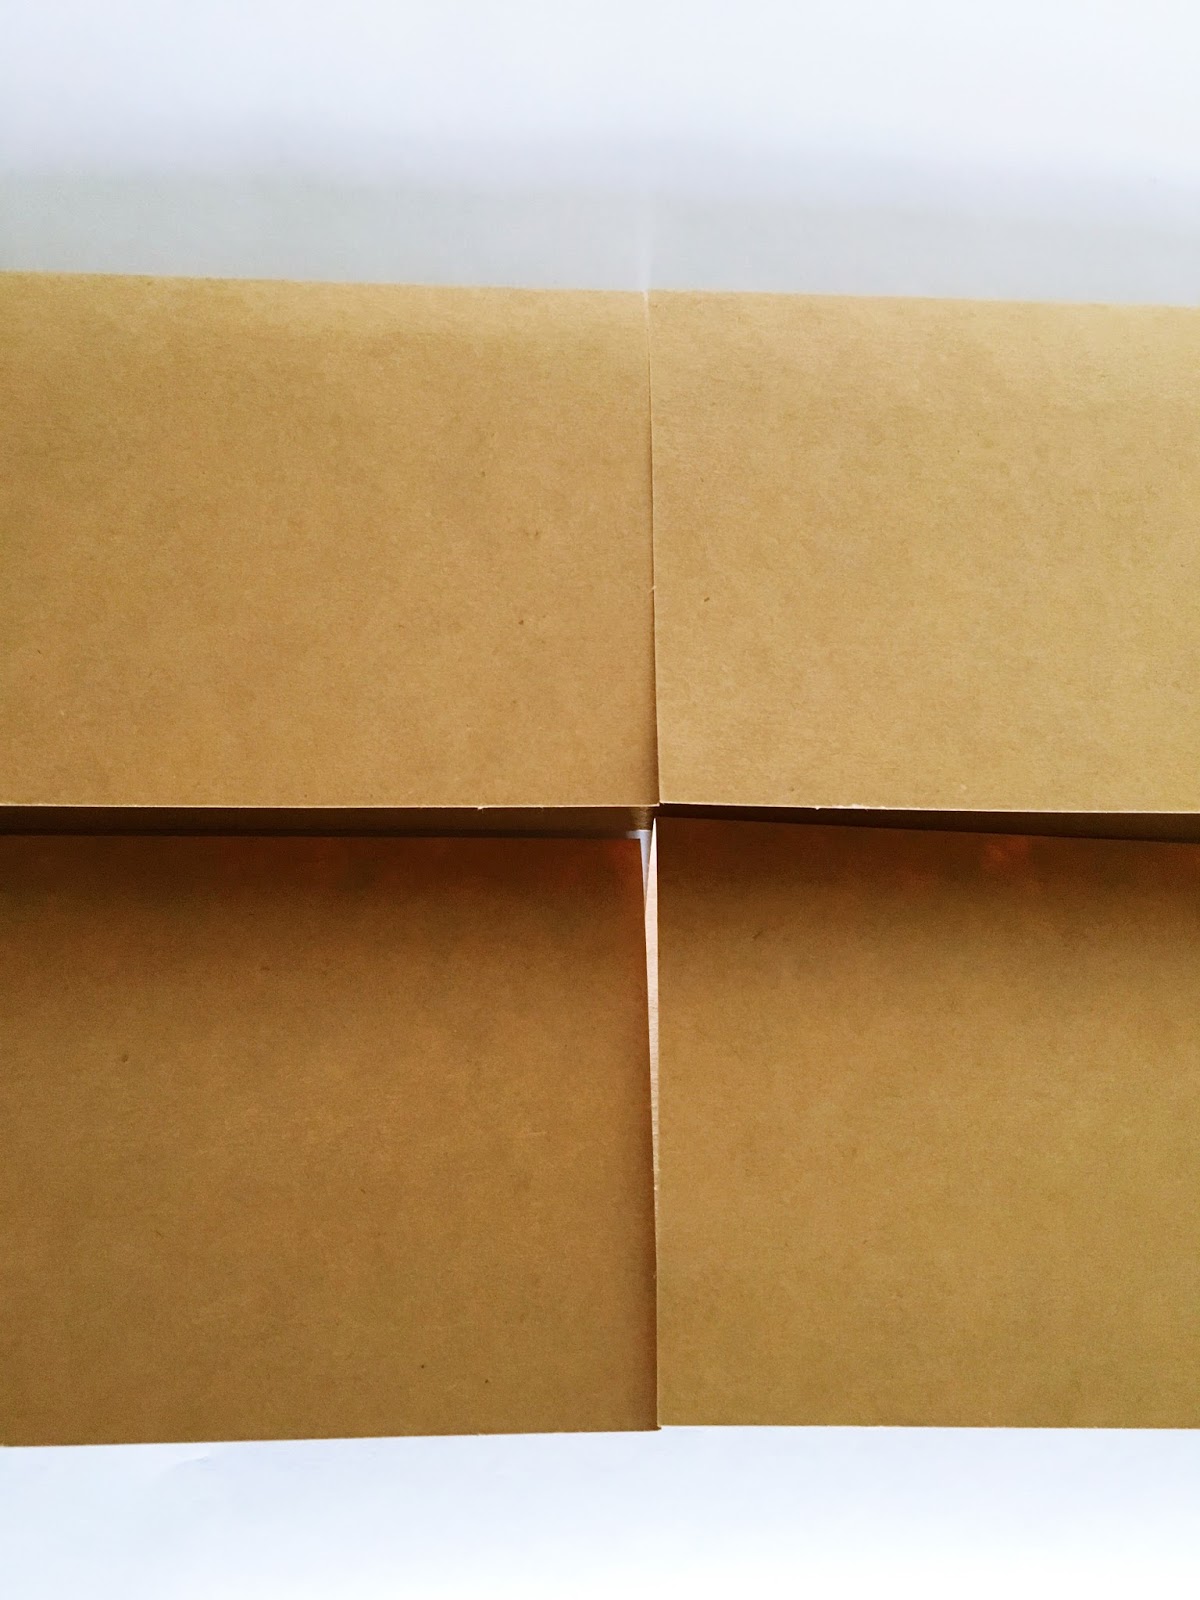
STEP 1:
Line up all notecards so that the sides are touching
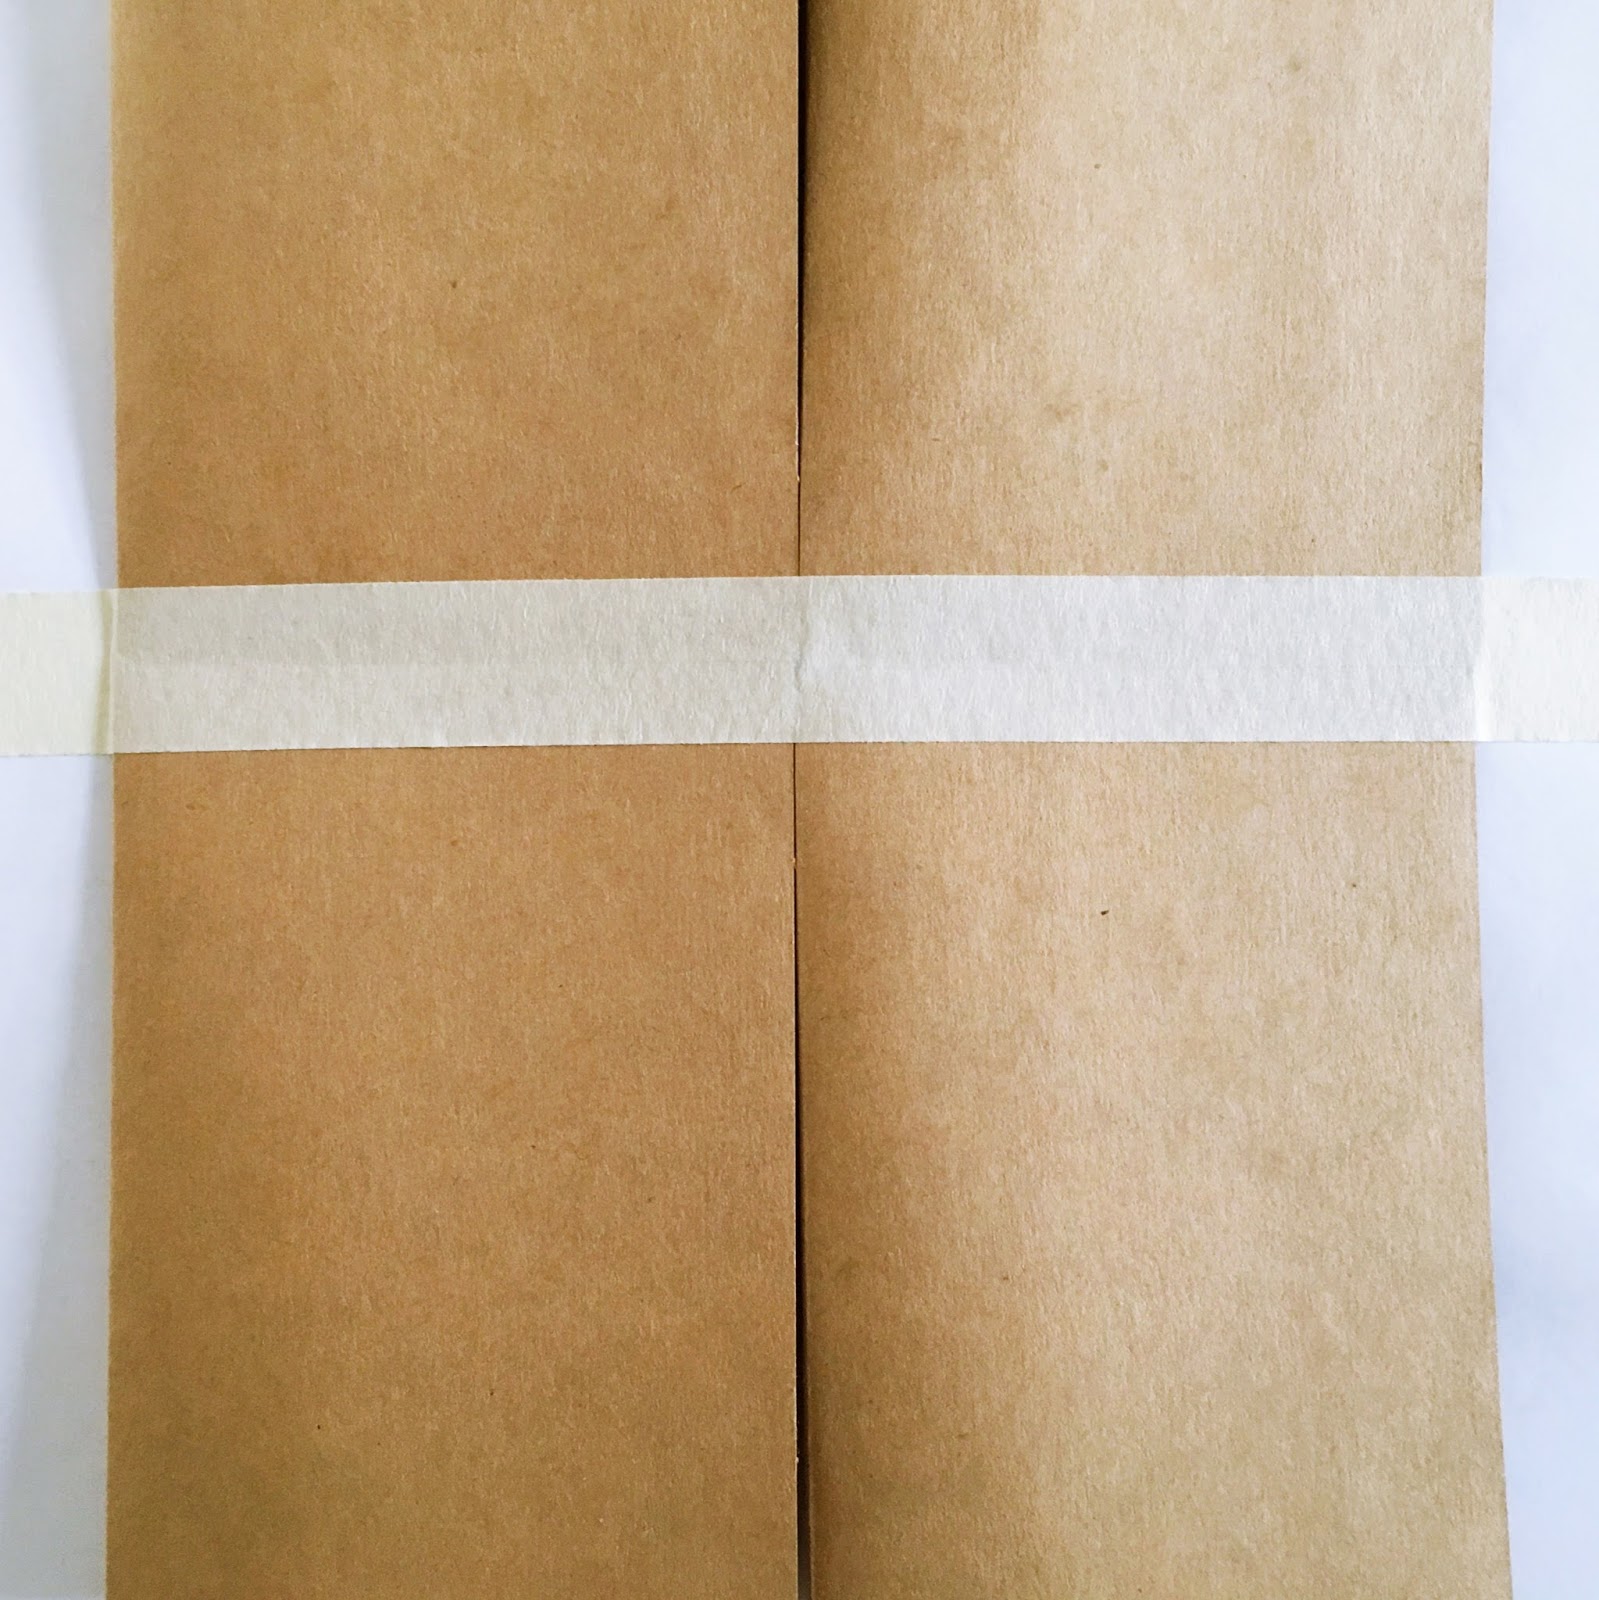
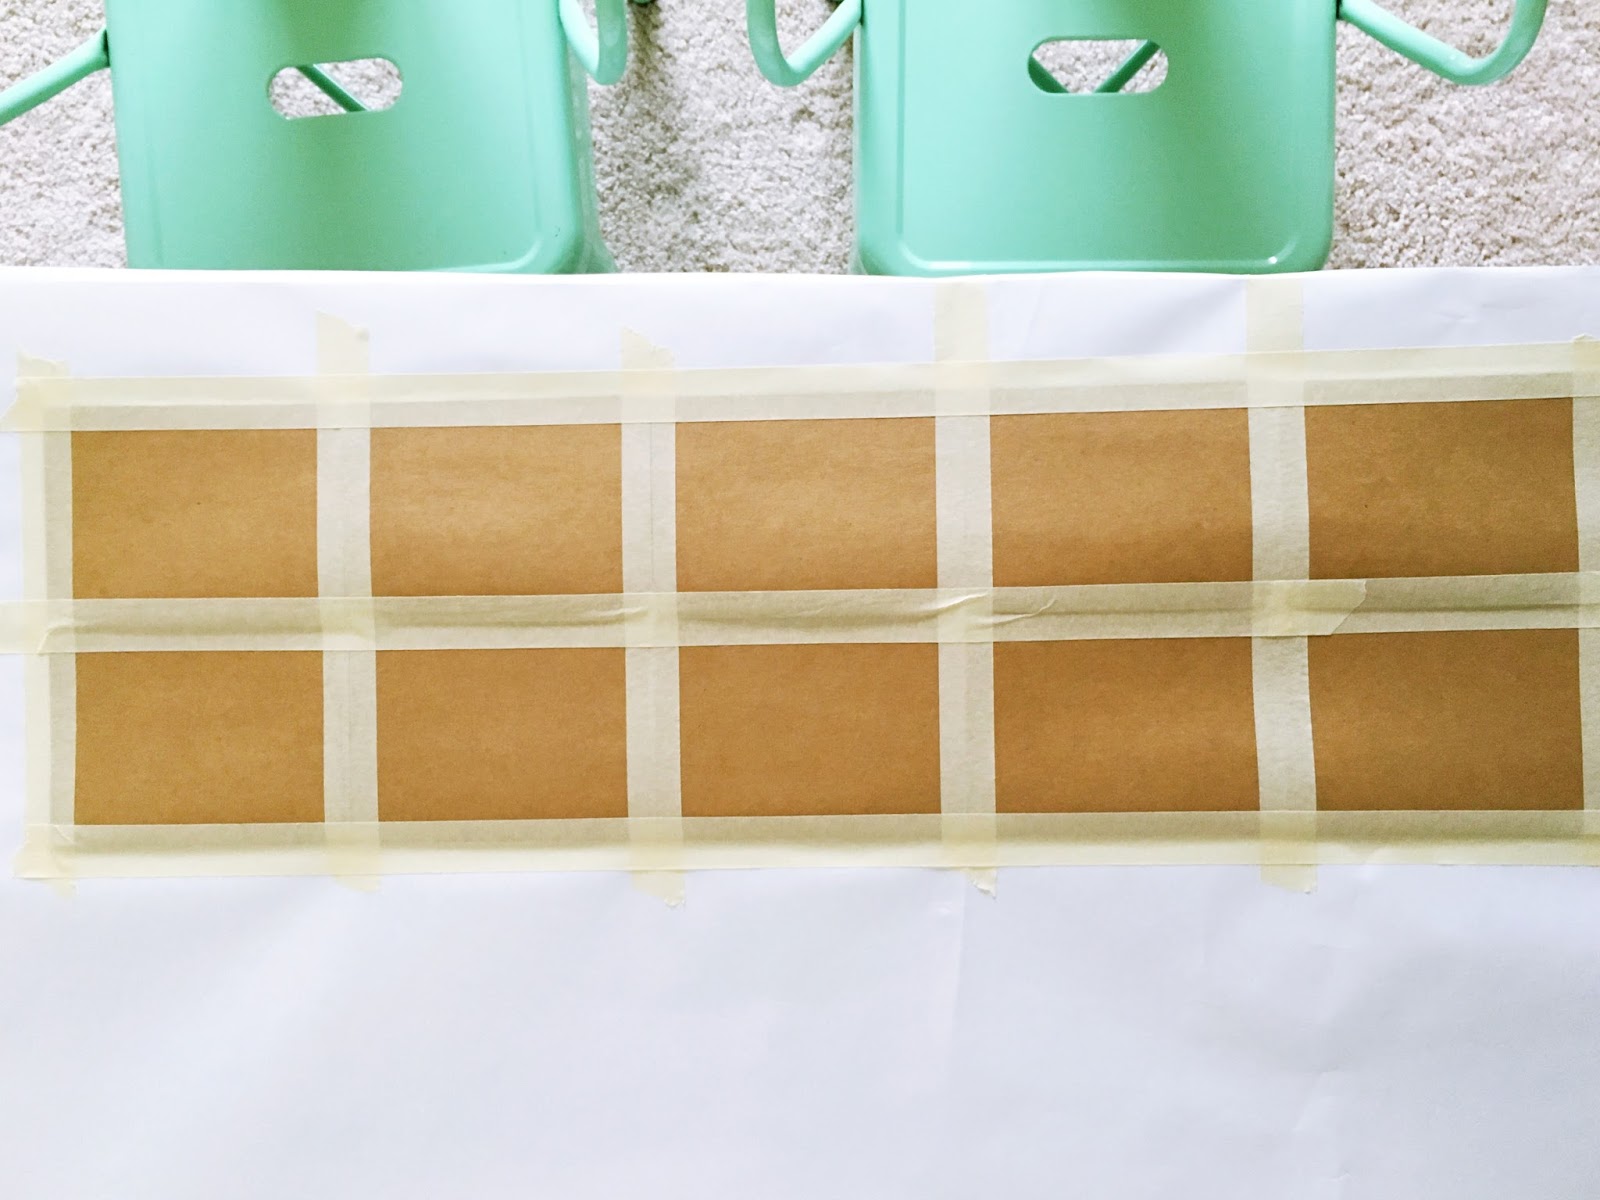
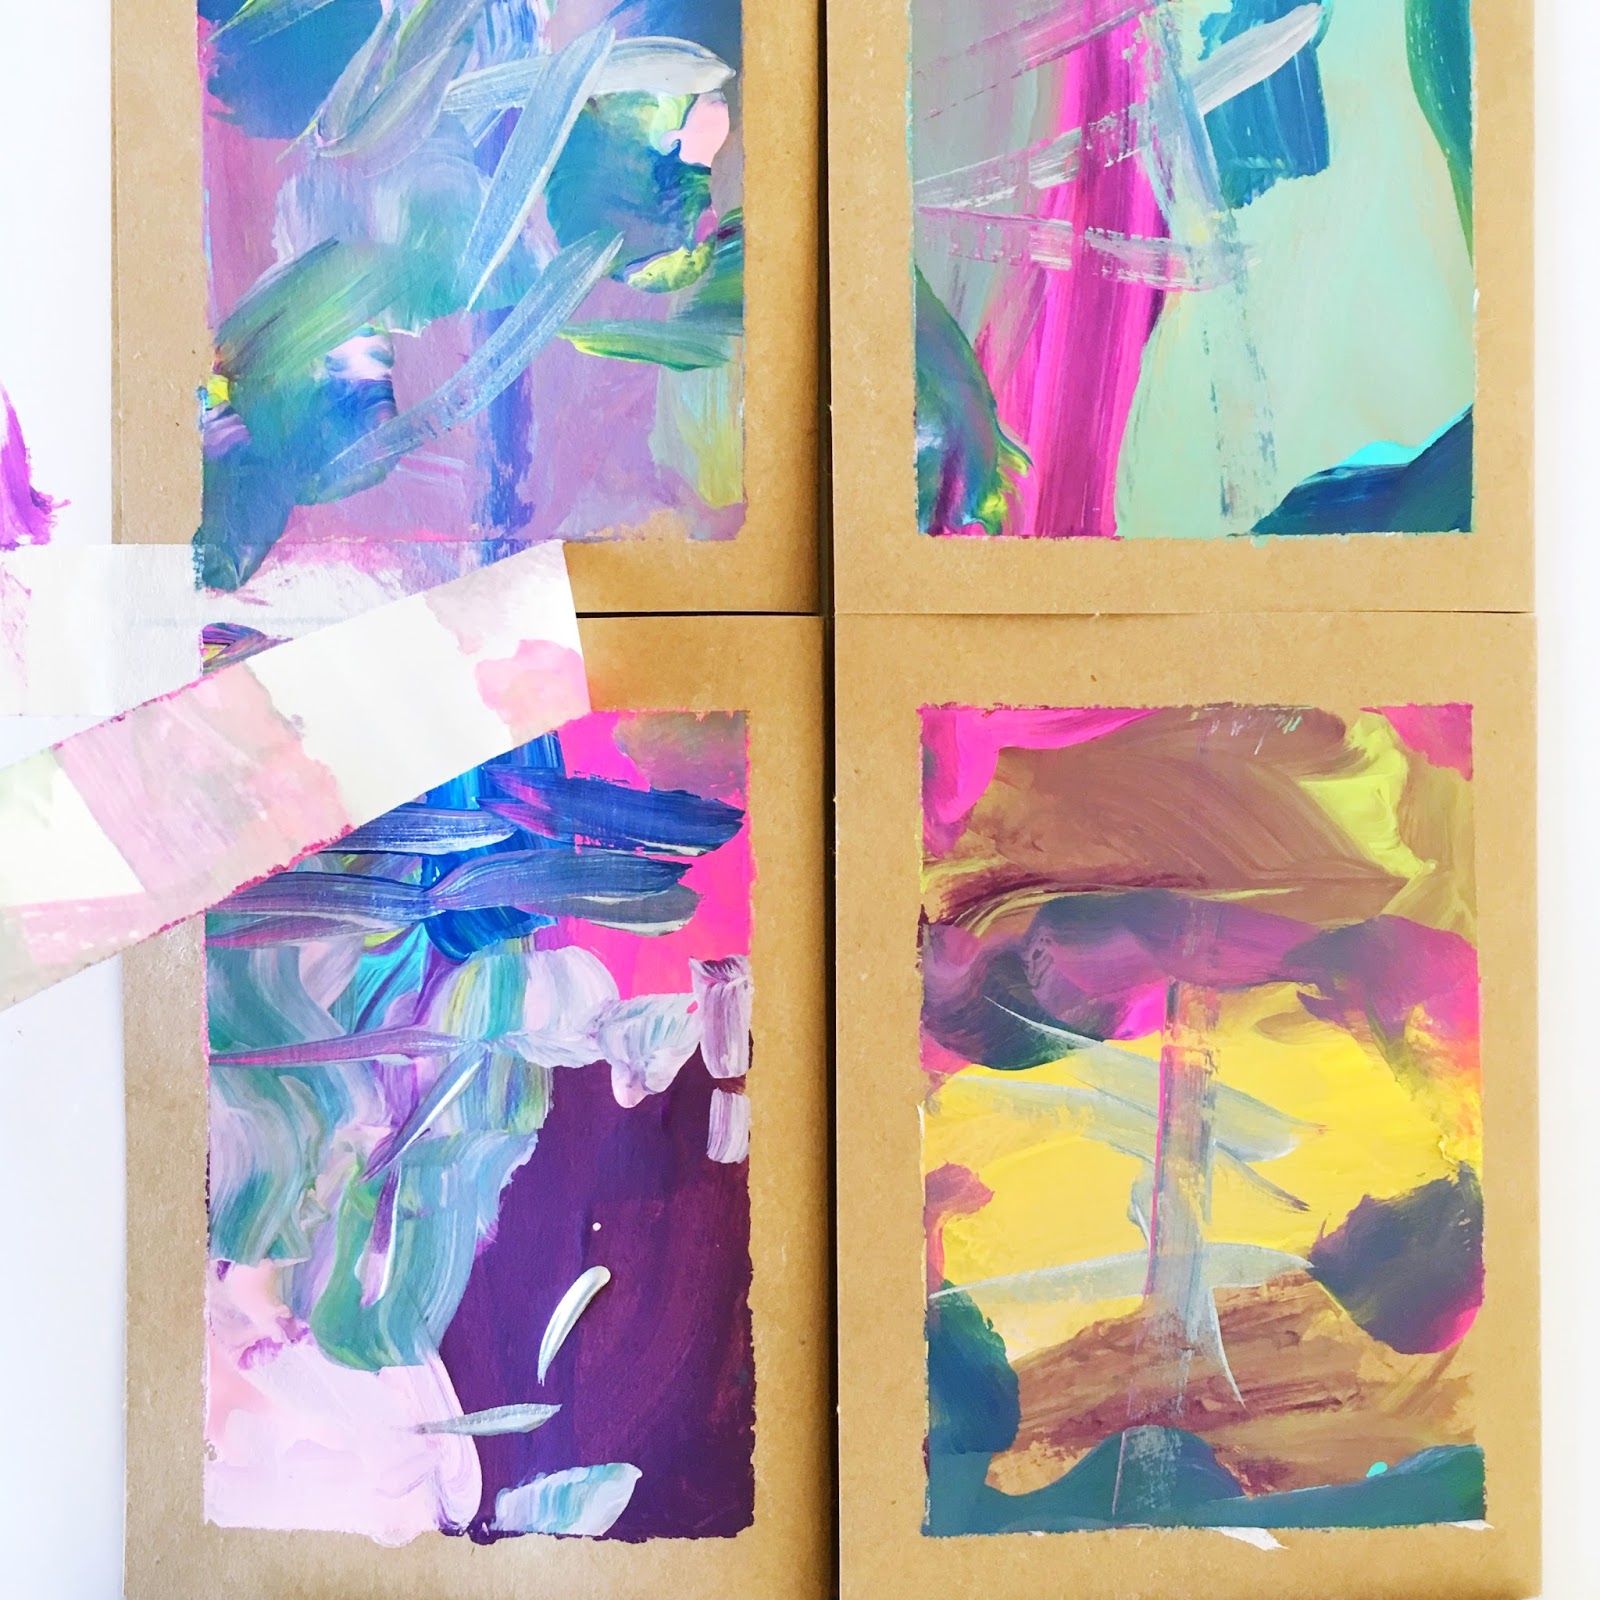
STEP 2:
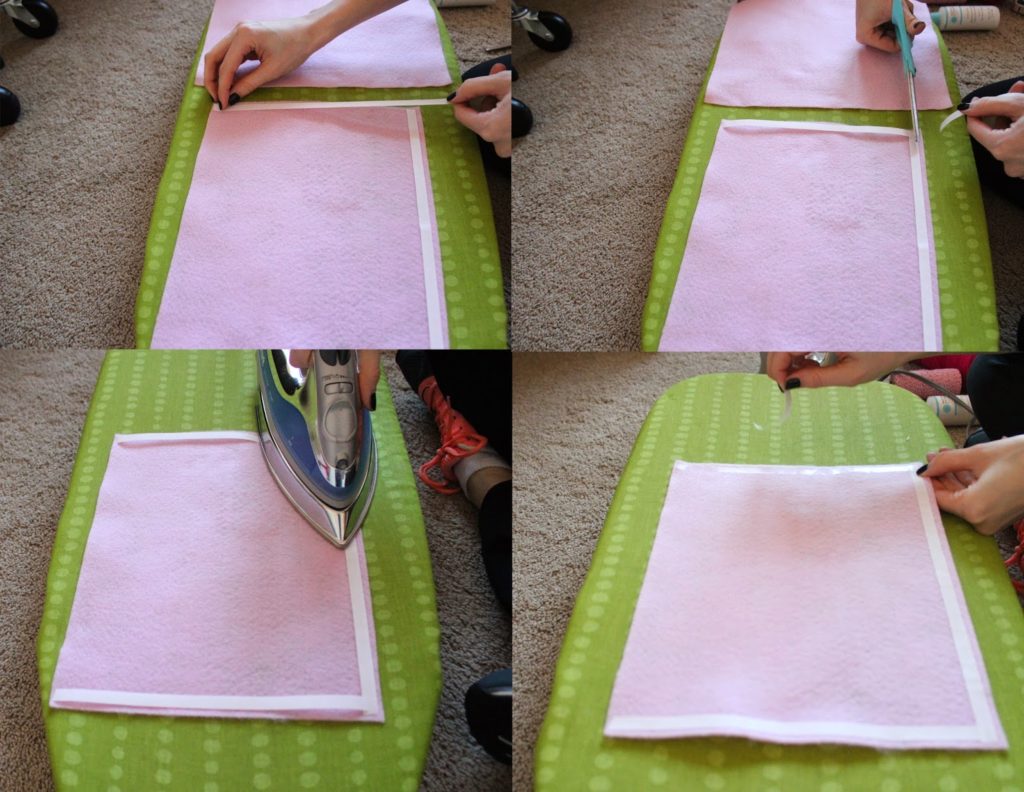
Put one piece of tape down in between two cards just to save yourself time and supplies. Tape ALL edges down so that you have a tape border around each card.
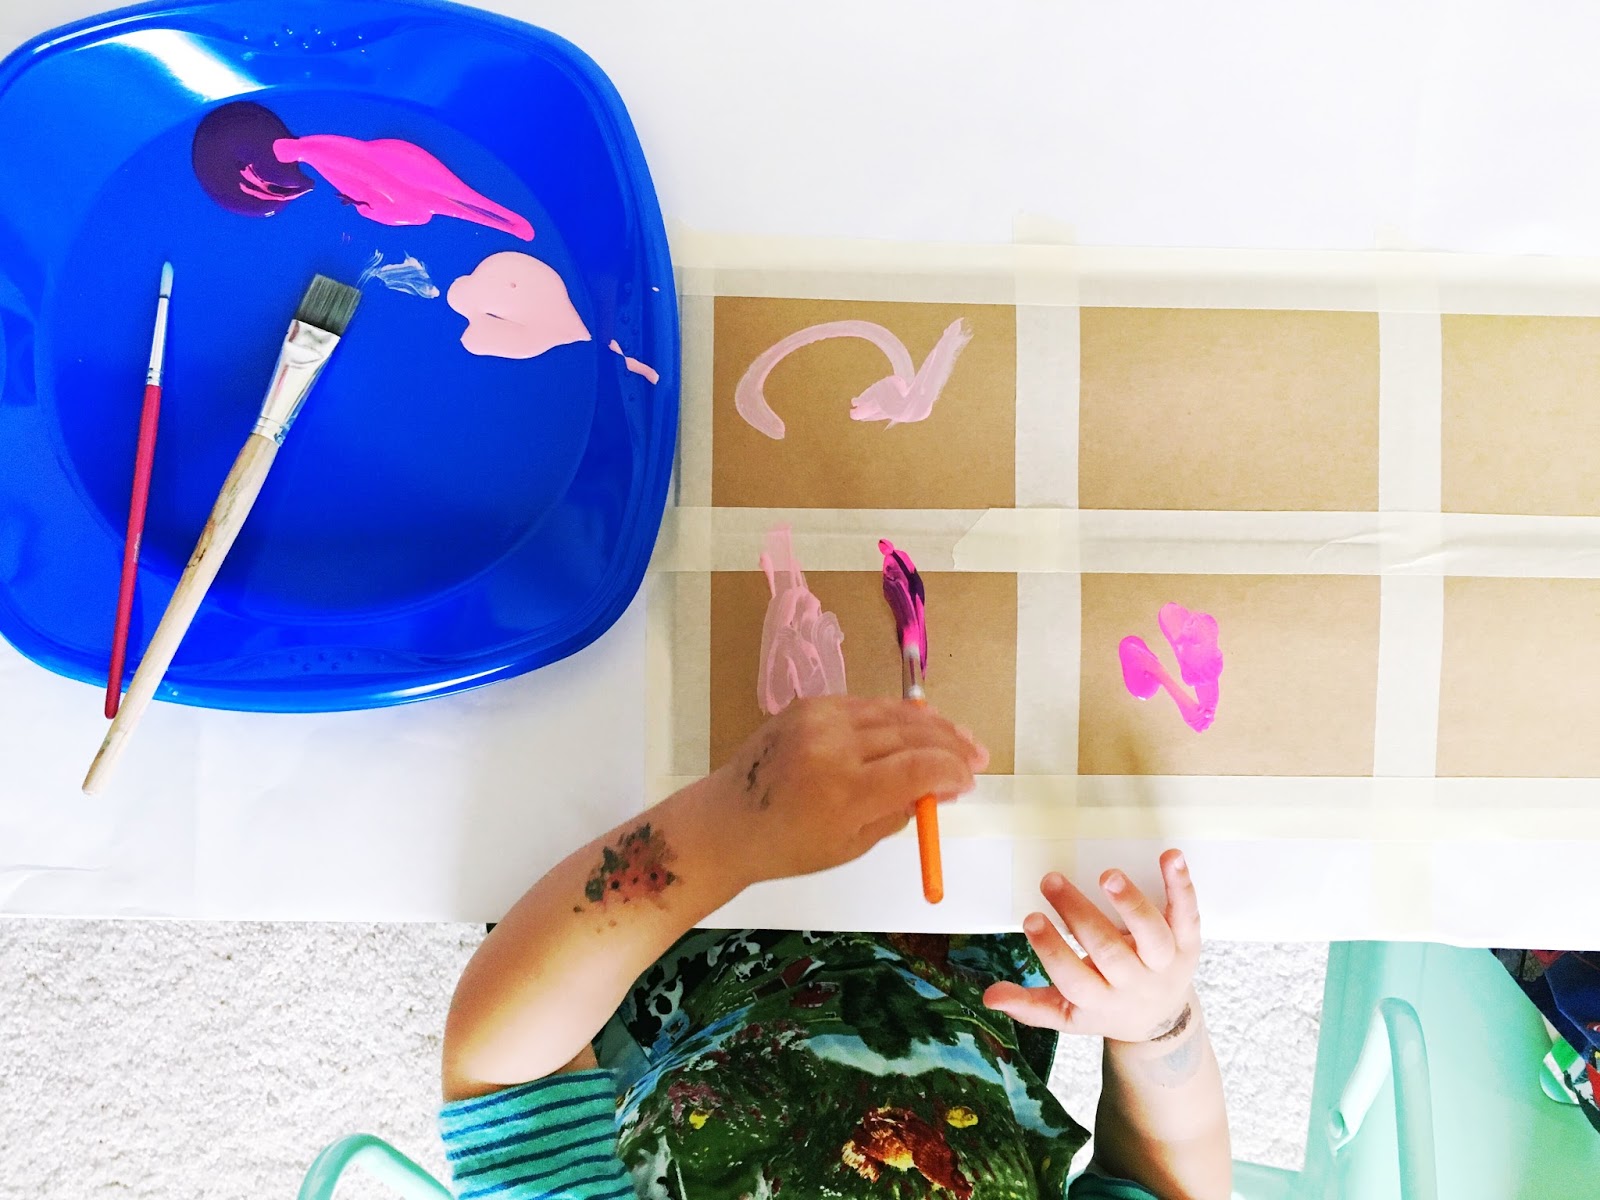
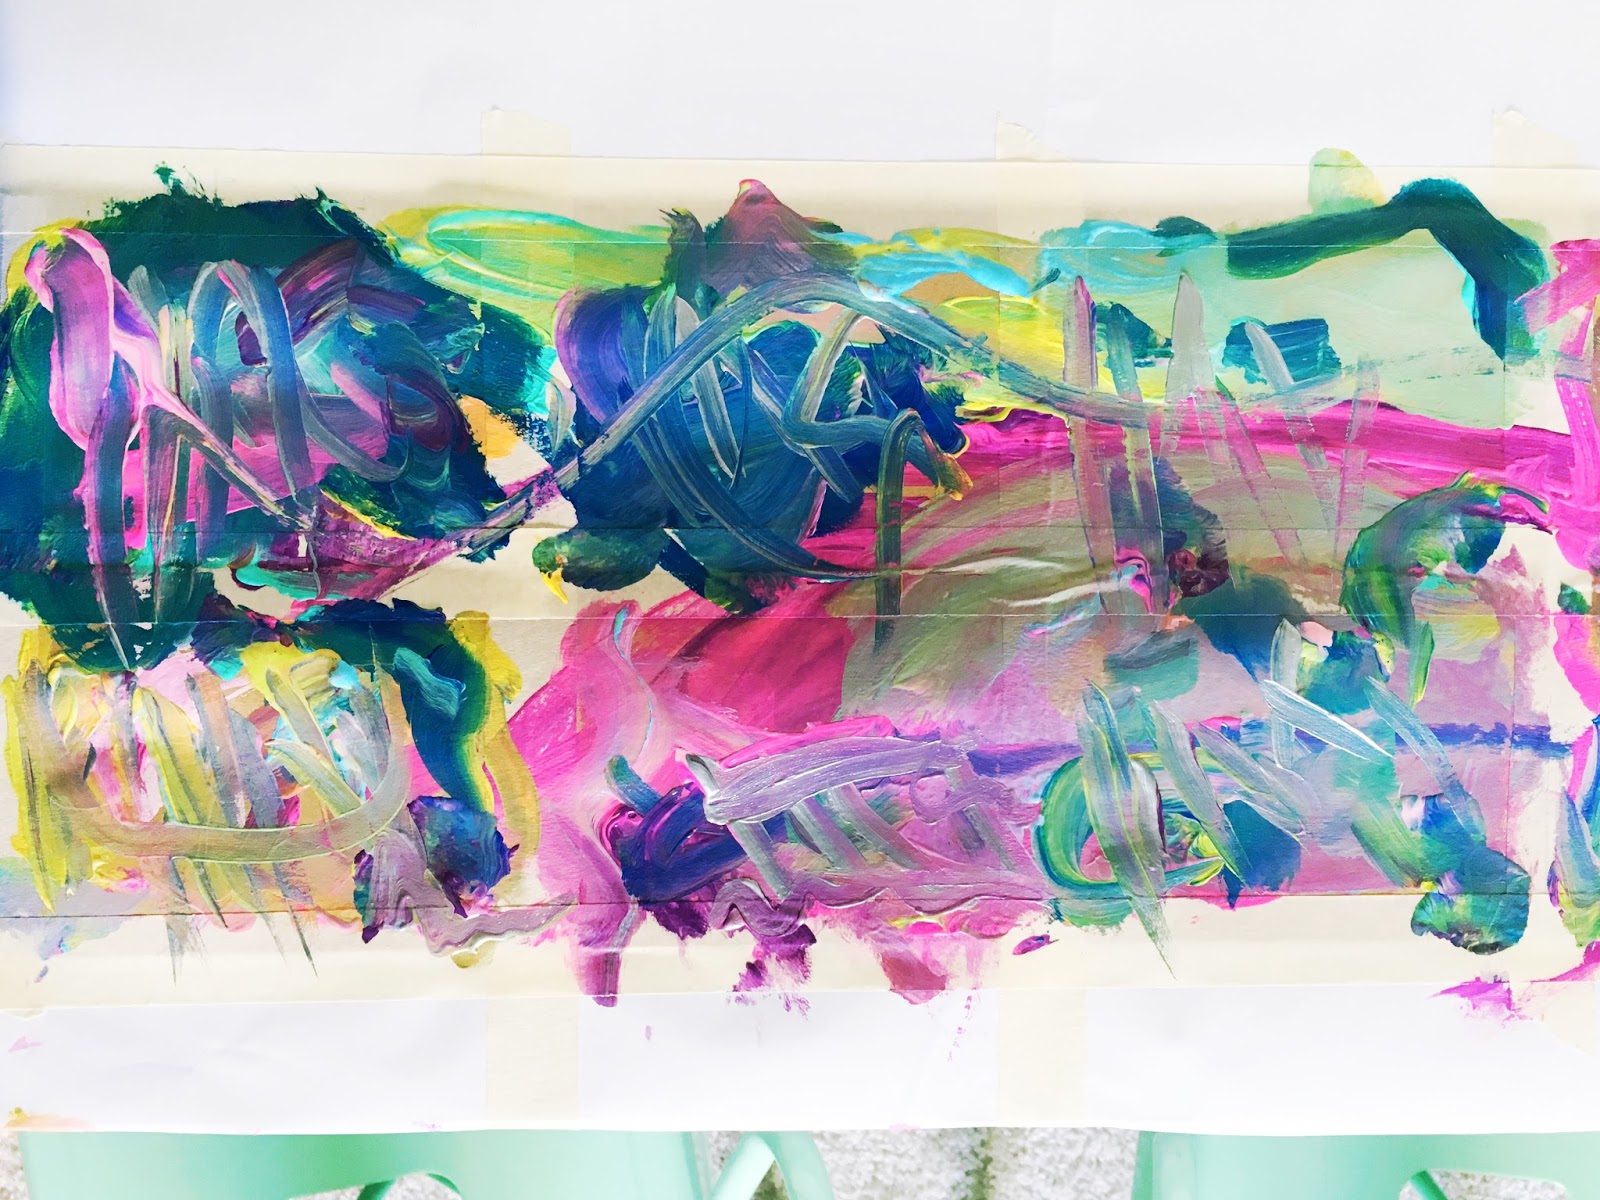
STEP 3:
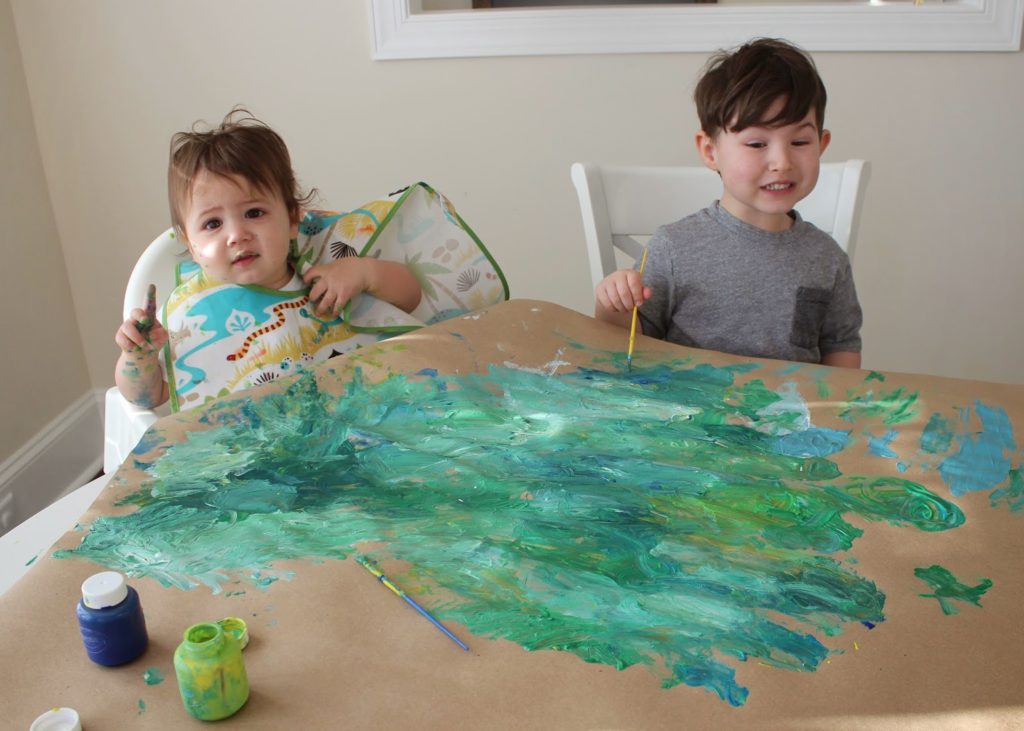
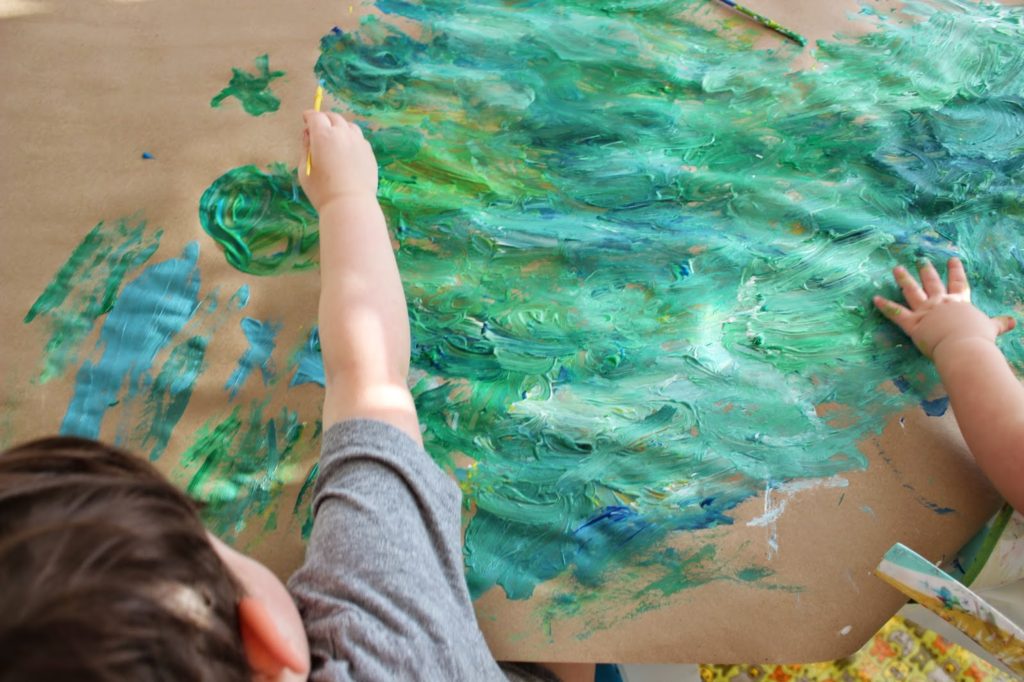
Have your kids fill each card with paint edge to edge. I like to choose the paint colors myself so that they turn out sort of nice no matter what! Start with warm tones, then cool, then have them finish with a clean skinny brush for a metallic paint.
STEP 4:
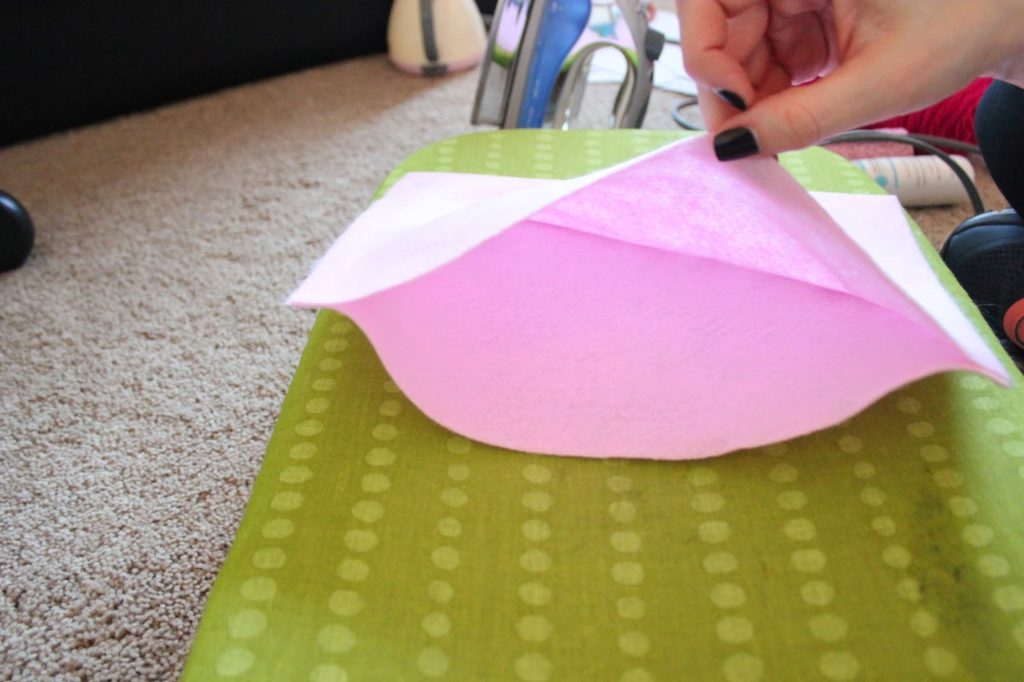
Carefully peel off the tape and voila! A nice clean boarder that looks pretty enough to gift!

xo