crafts

YOU NAILED IT VALENTINES – FREE PRINTABLE

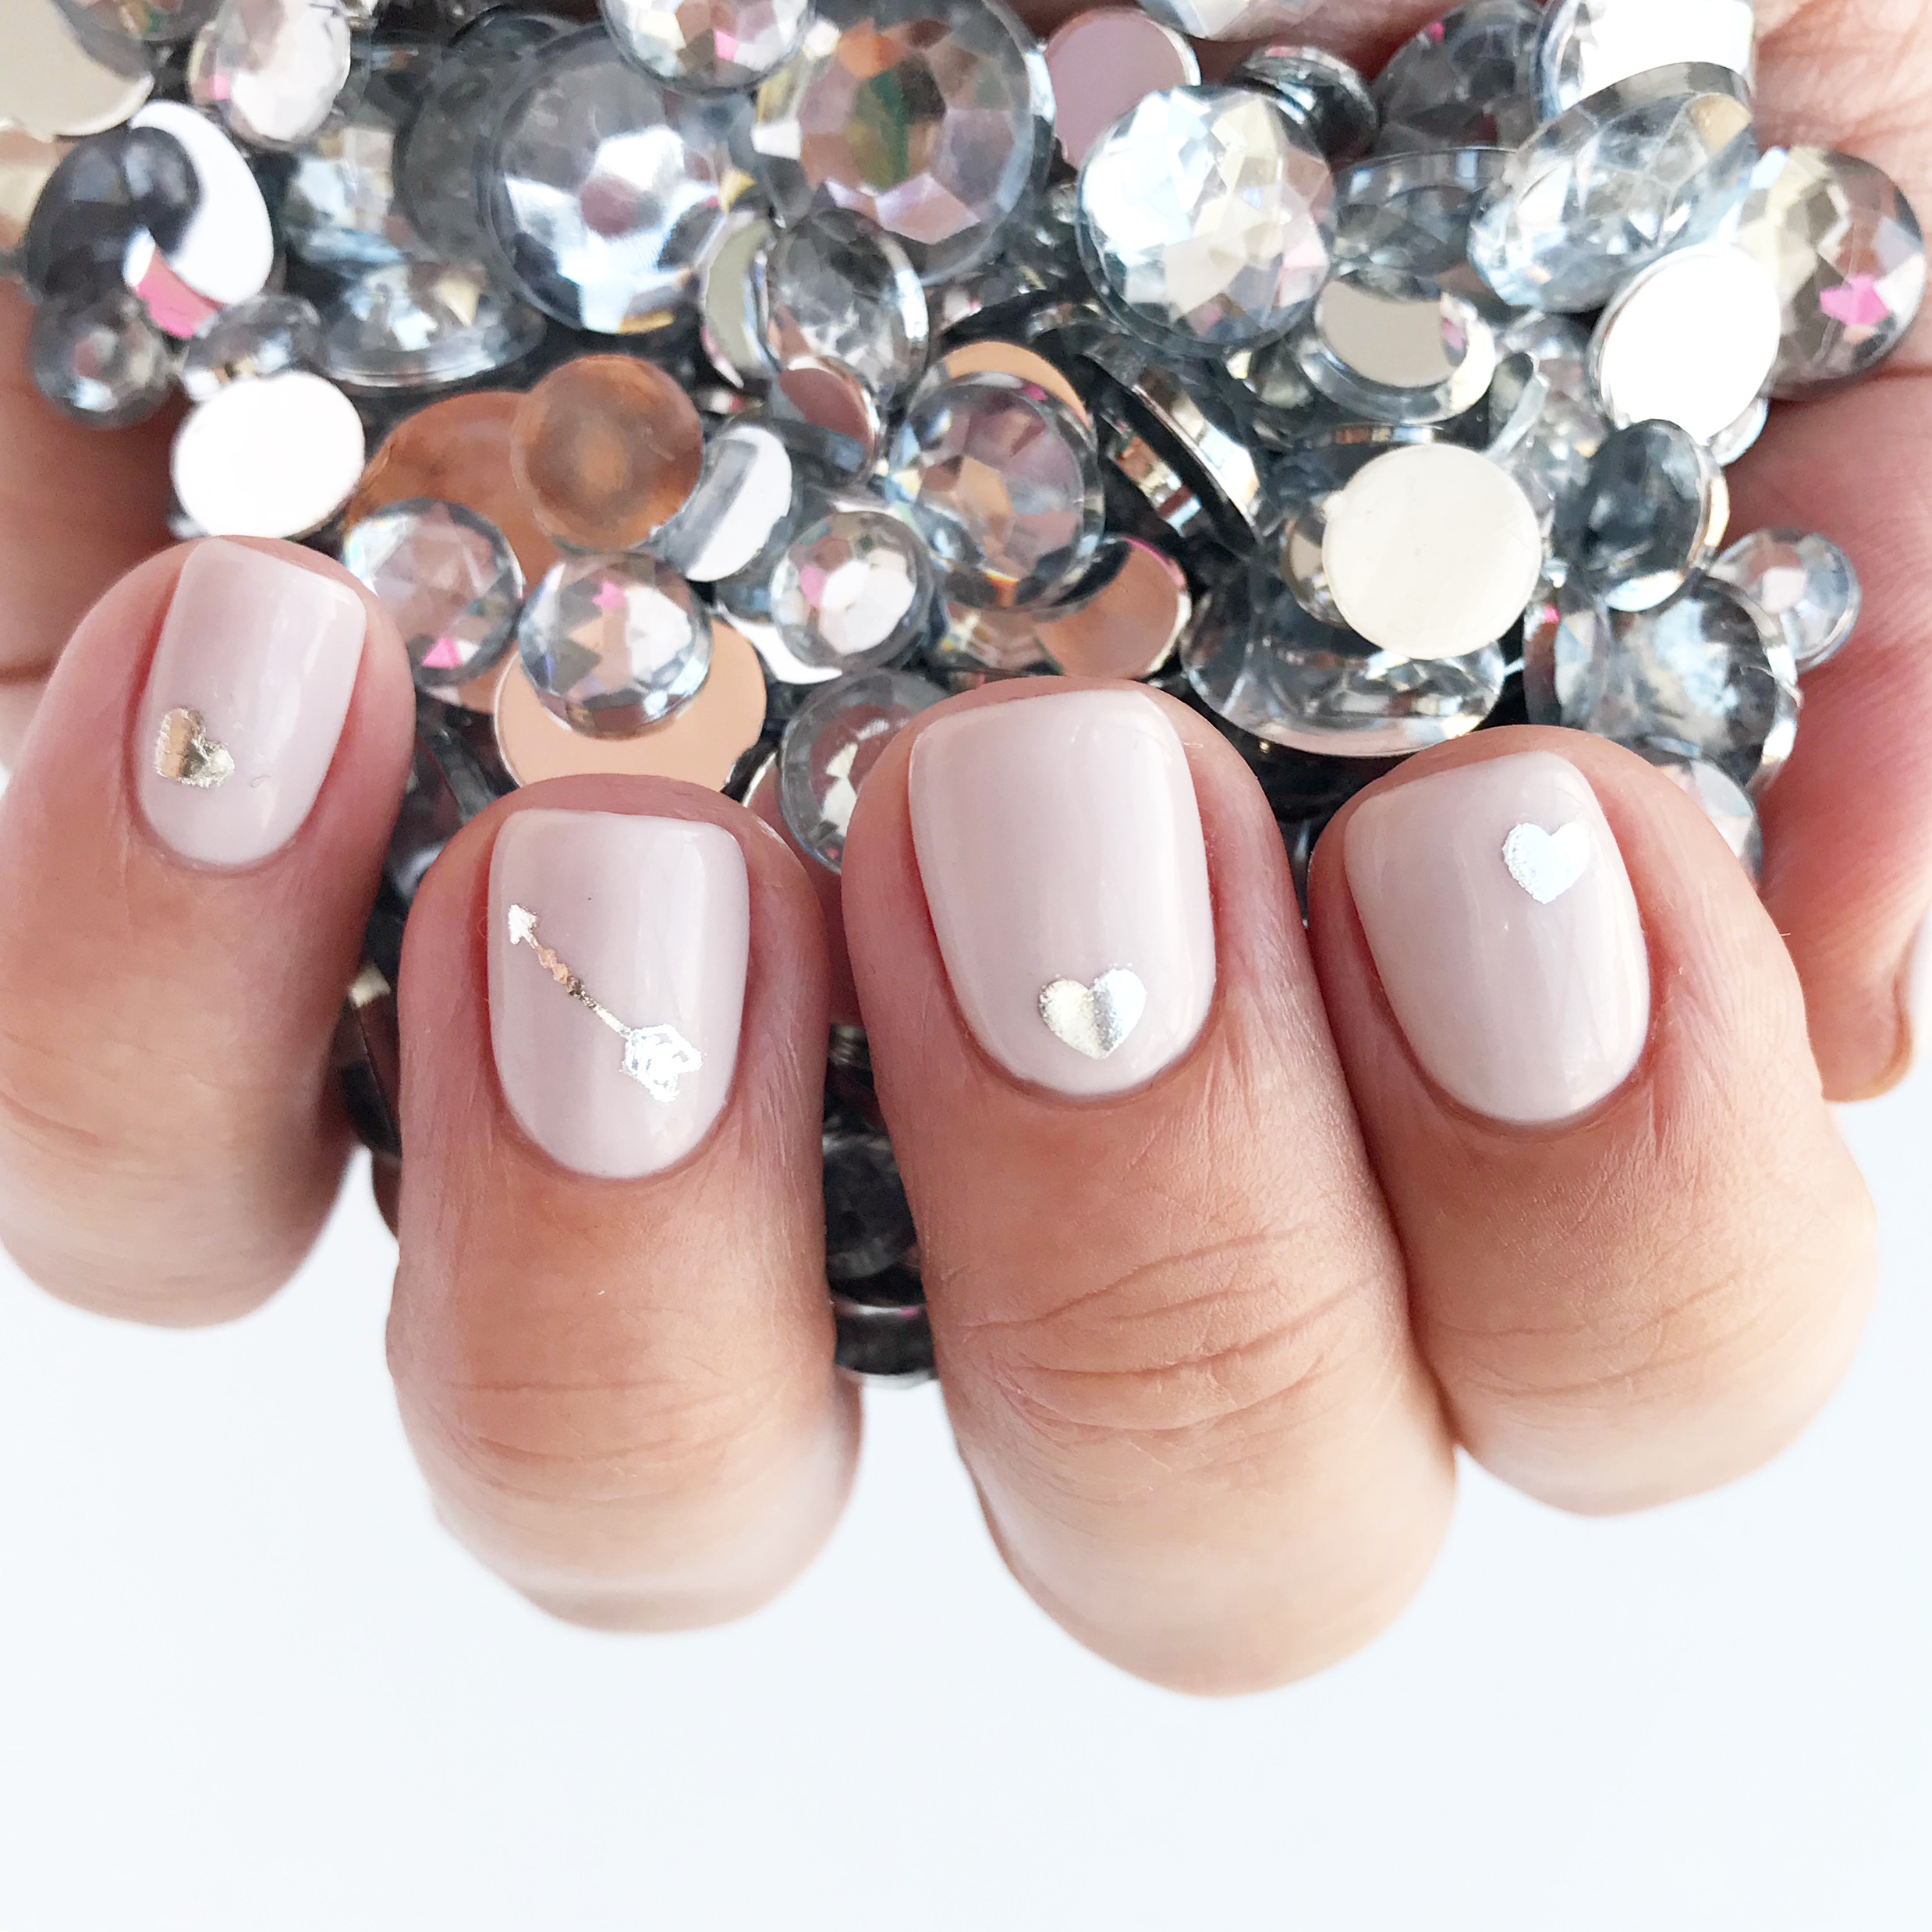
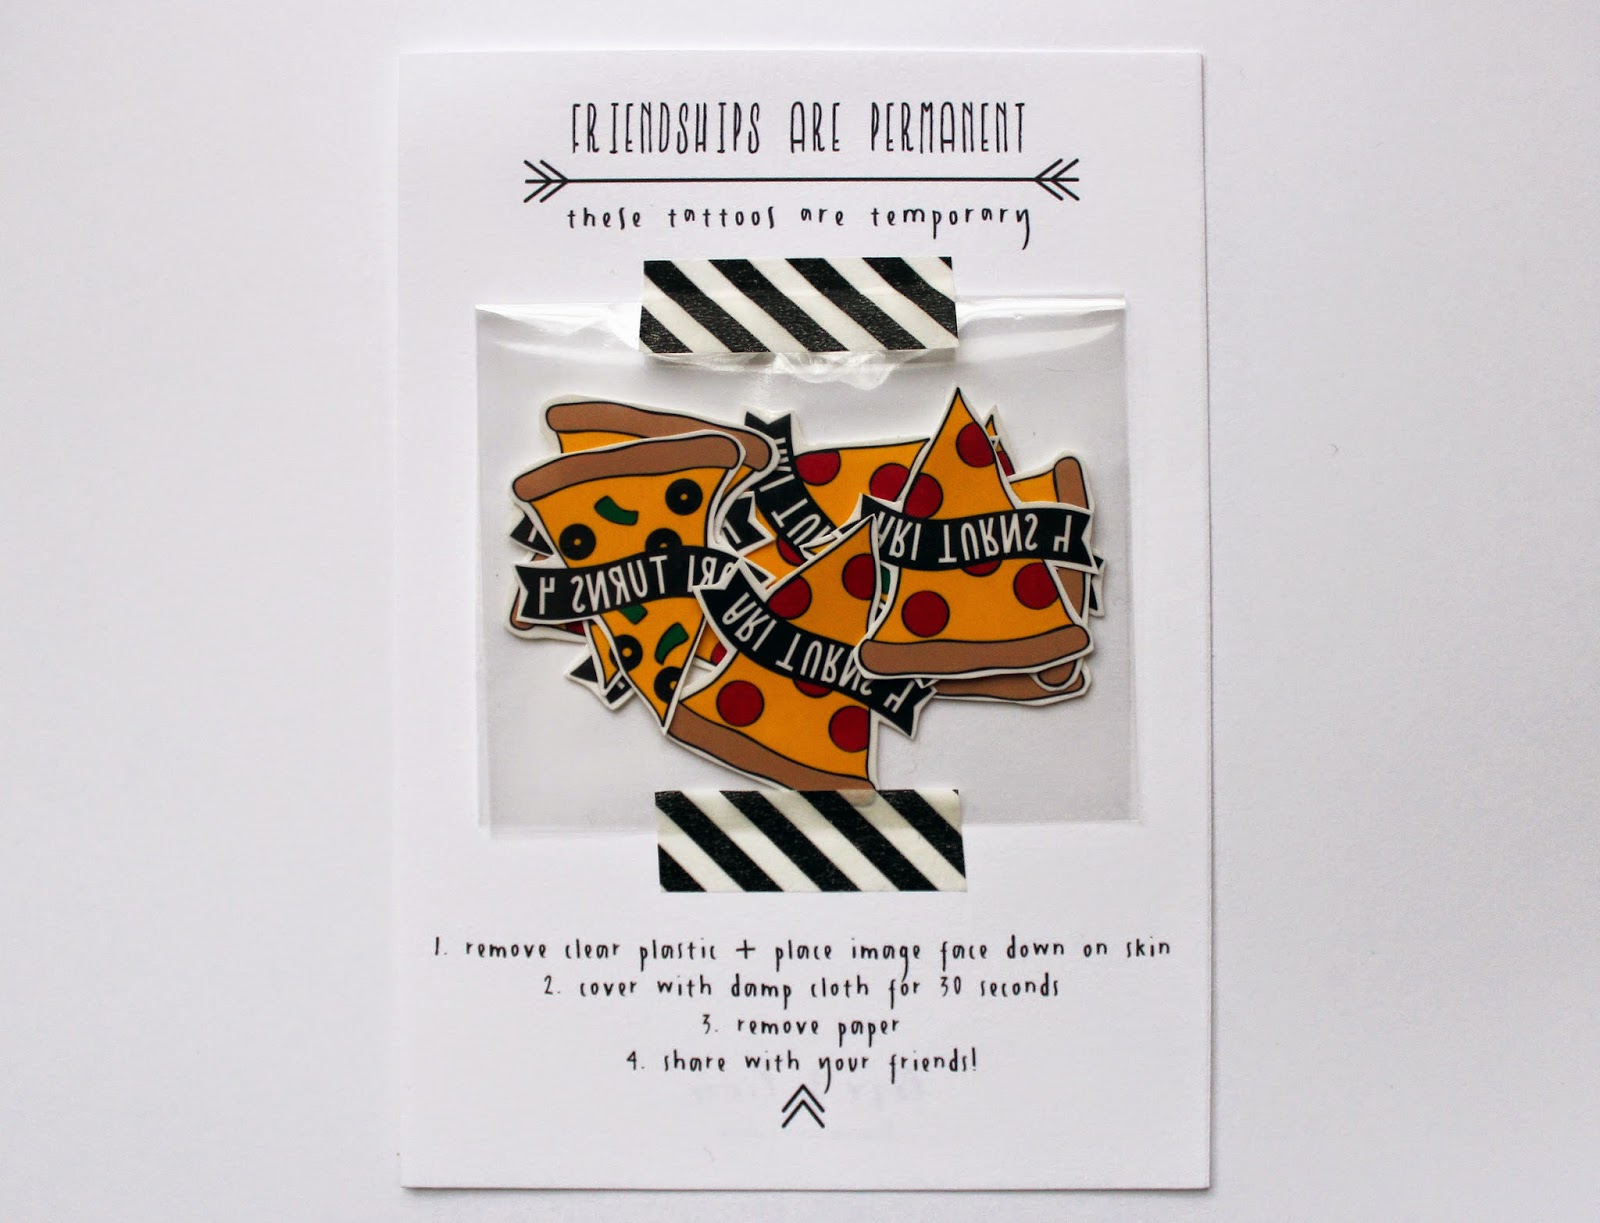
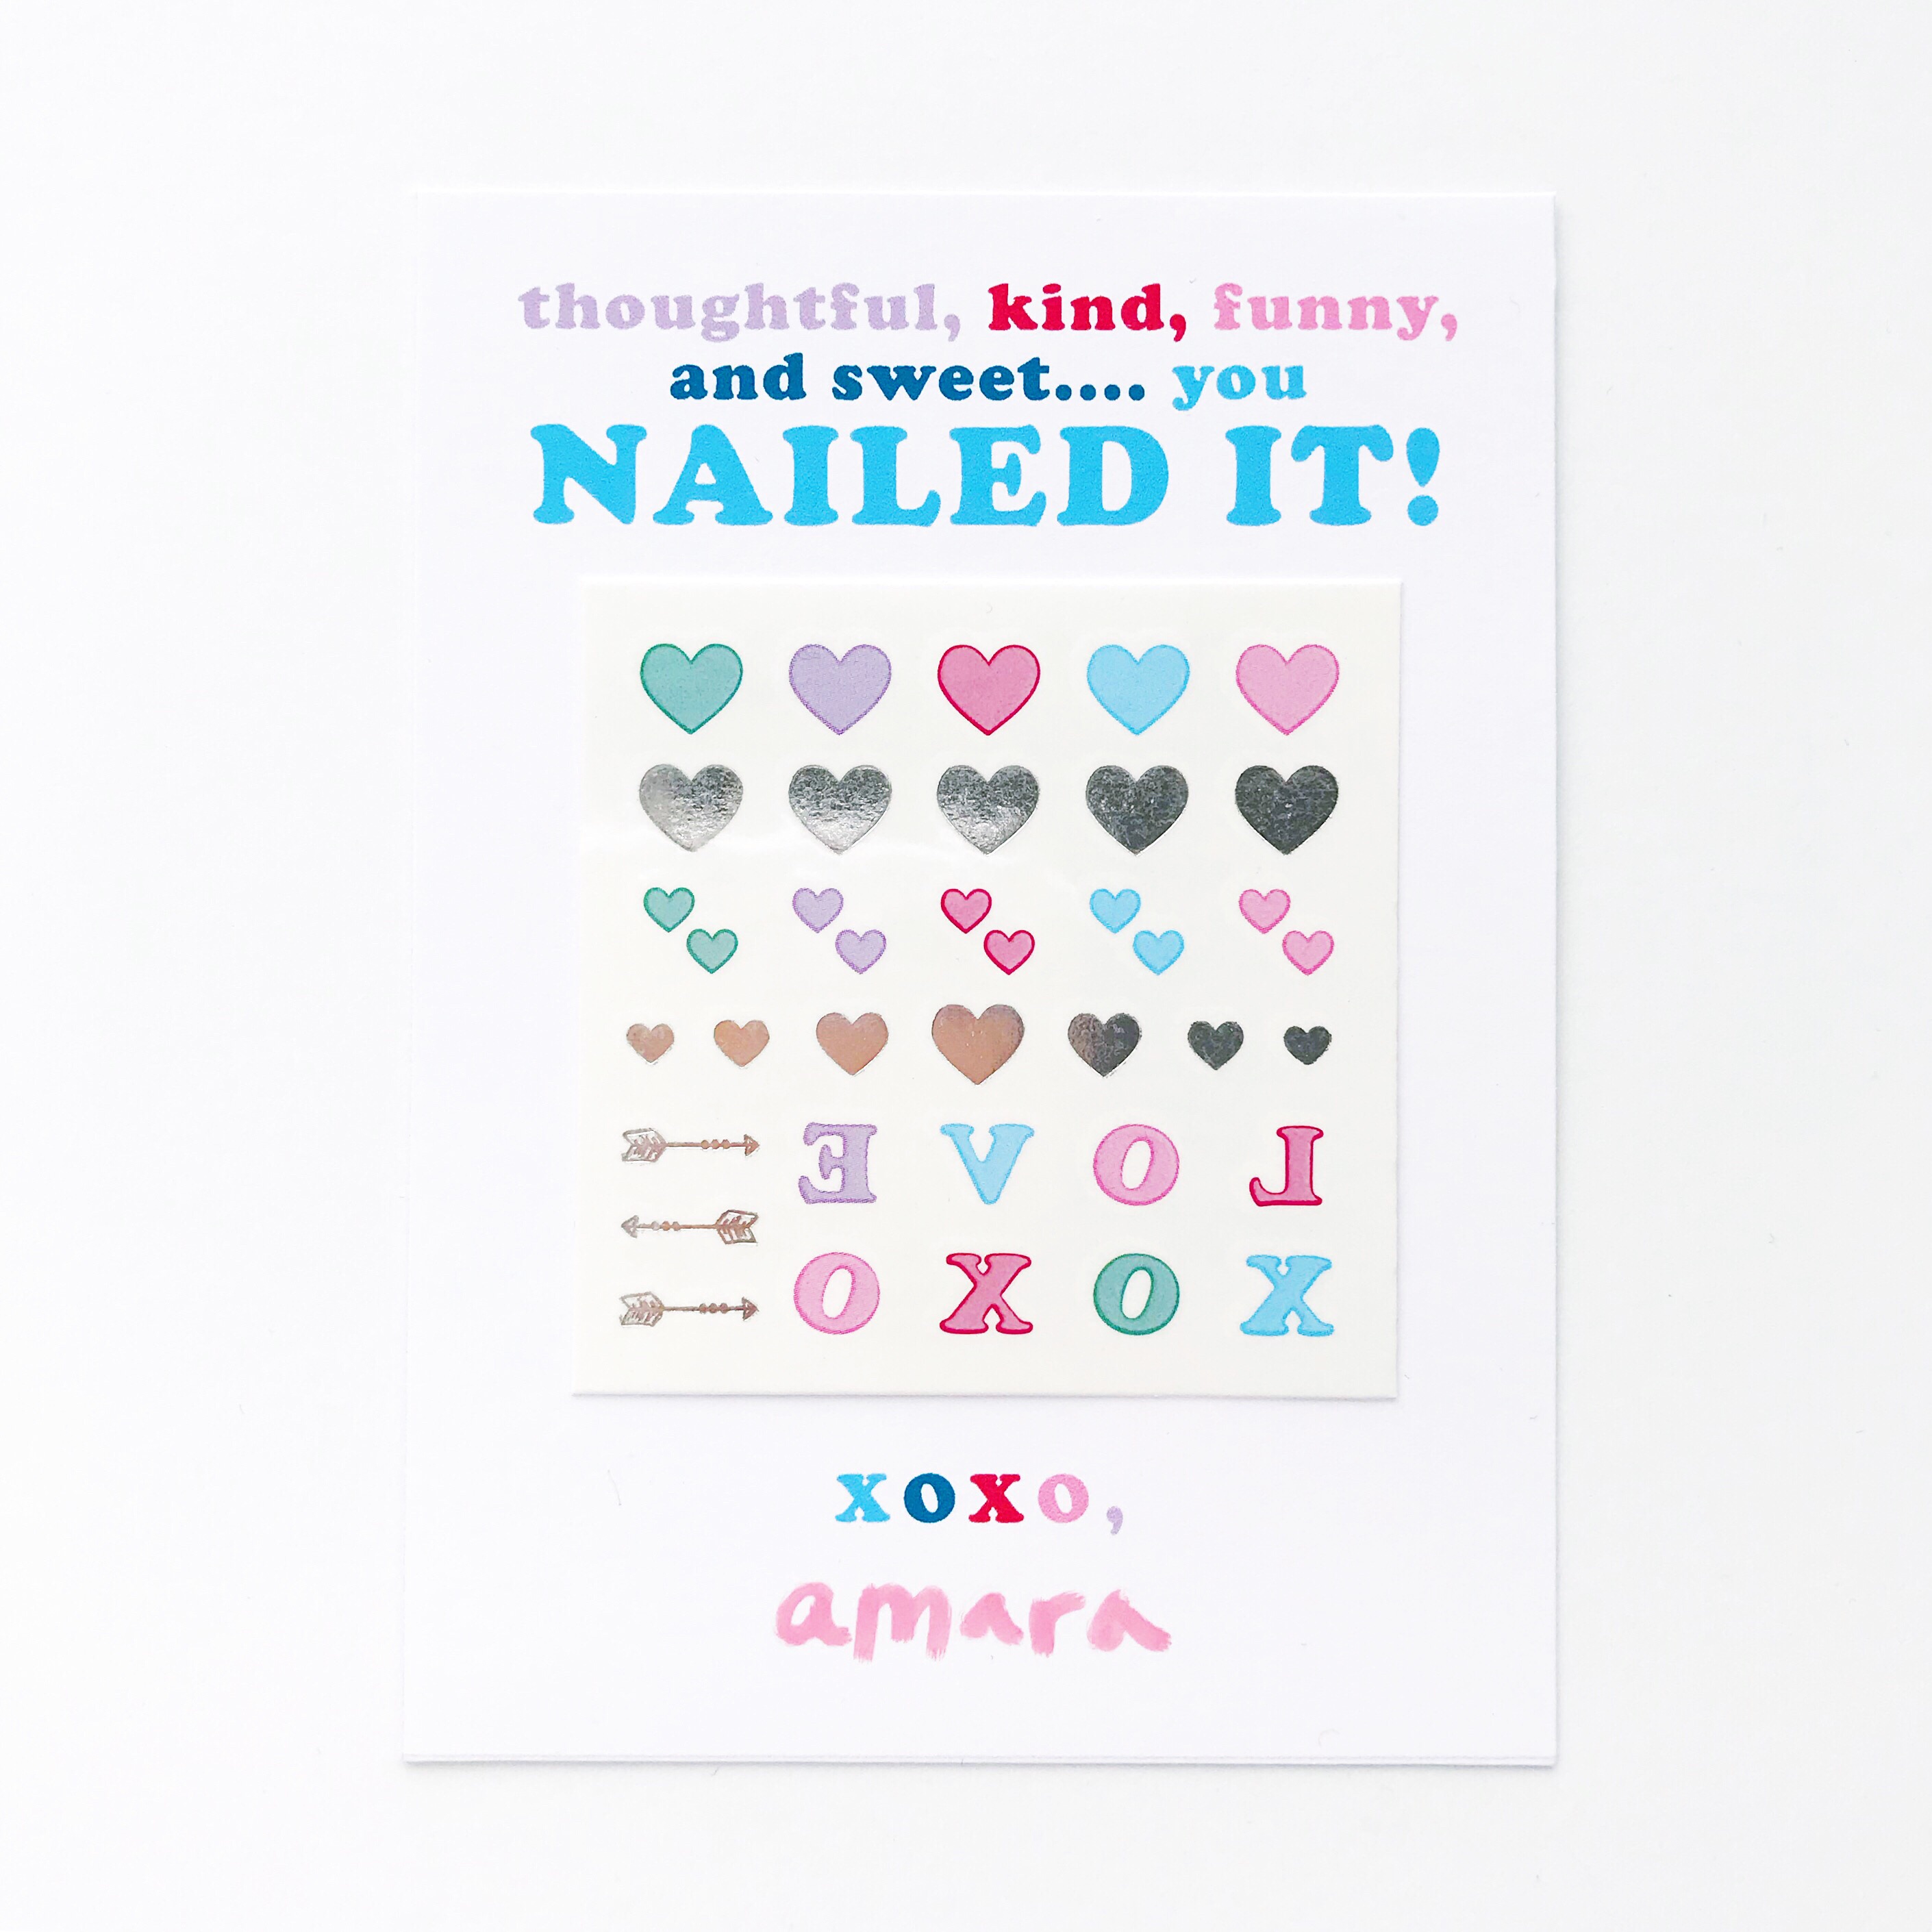
Something sweet for your girls who just nail it every day!

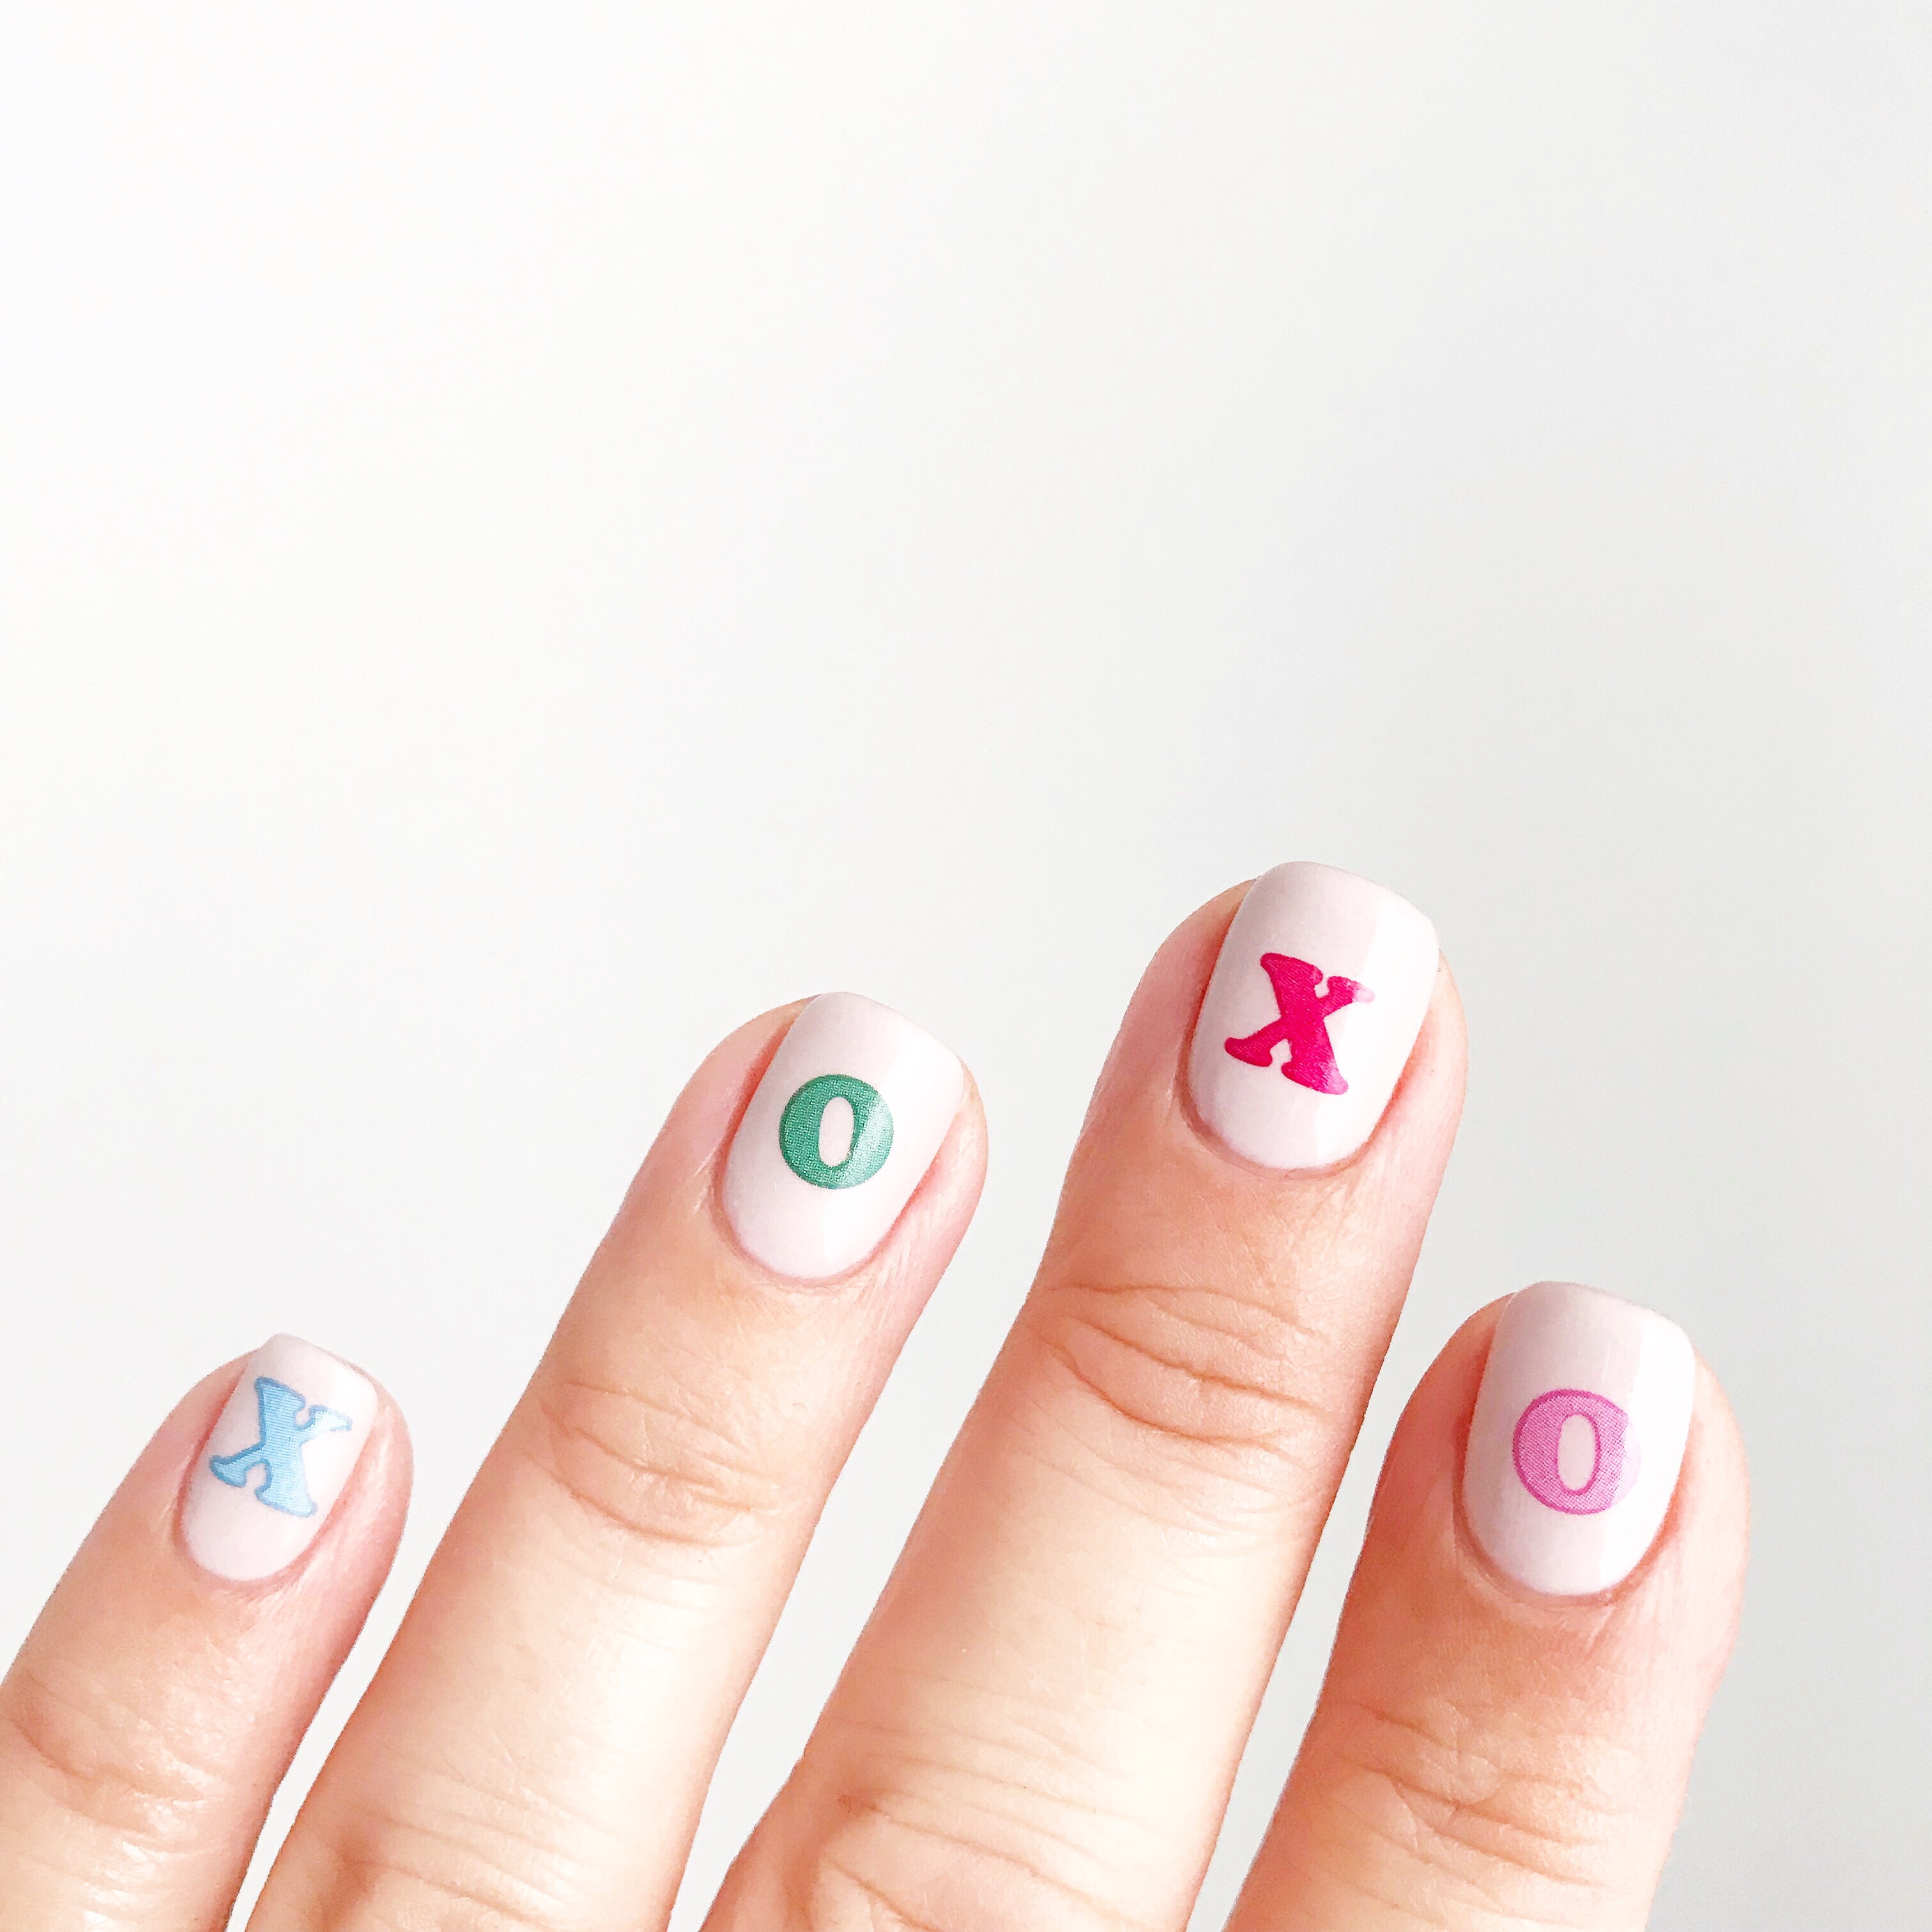
1. Purchase our nail tattoos HERE.

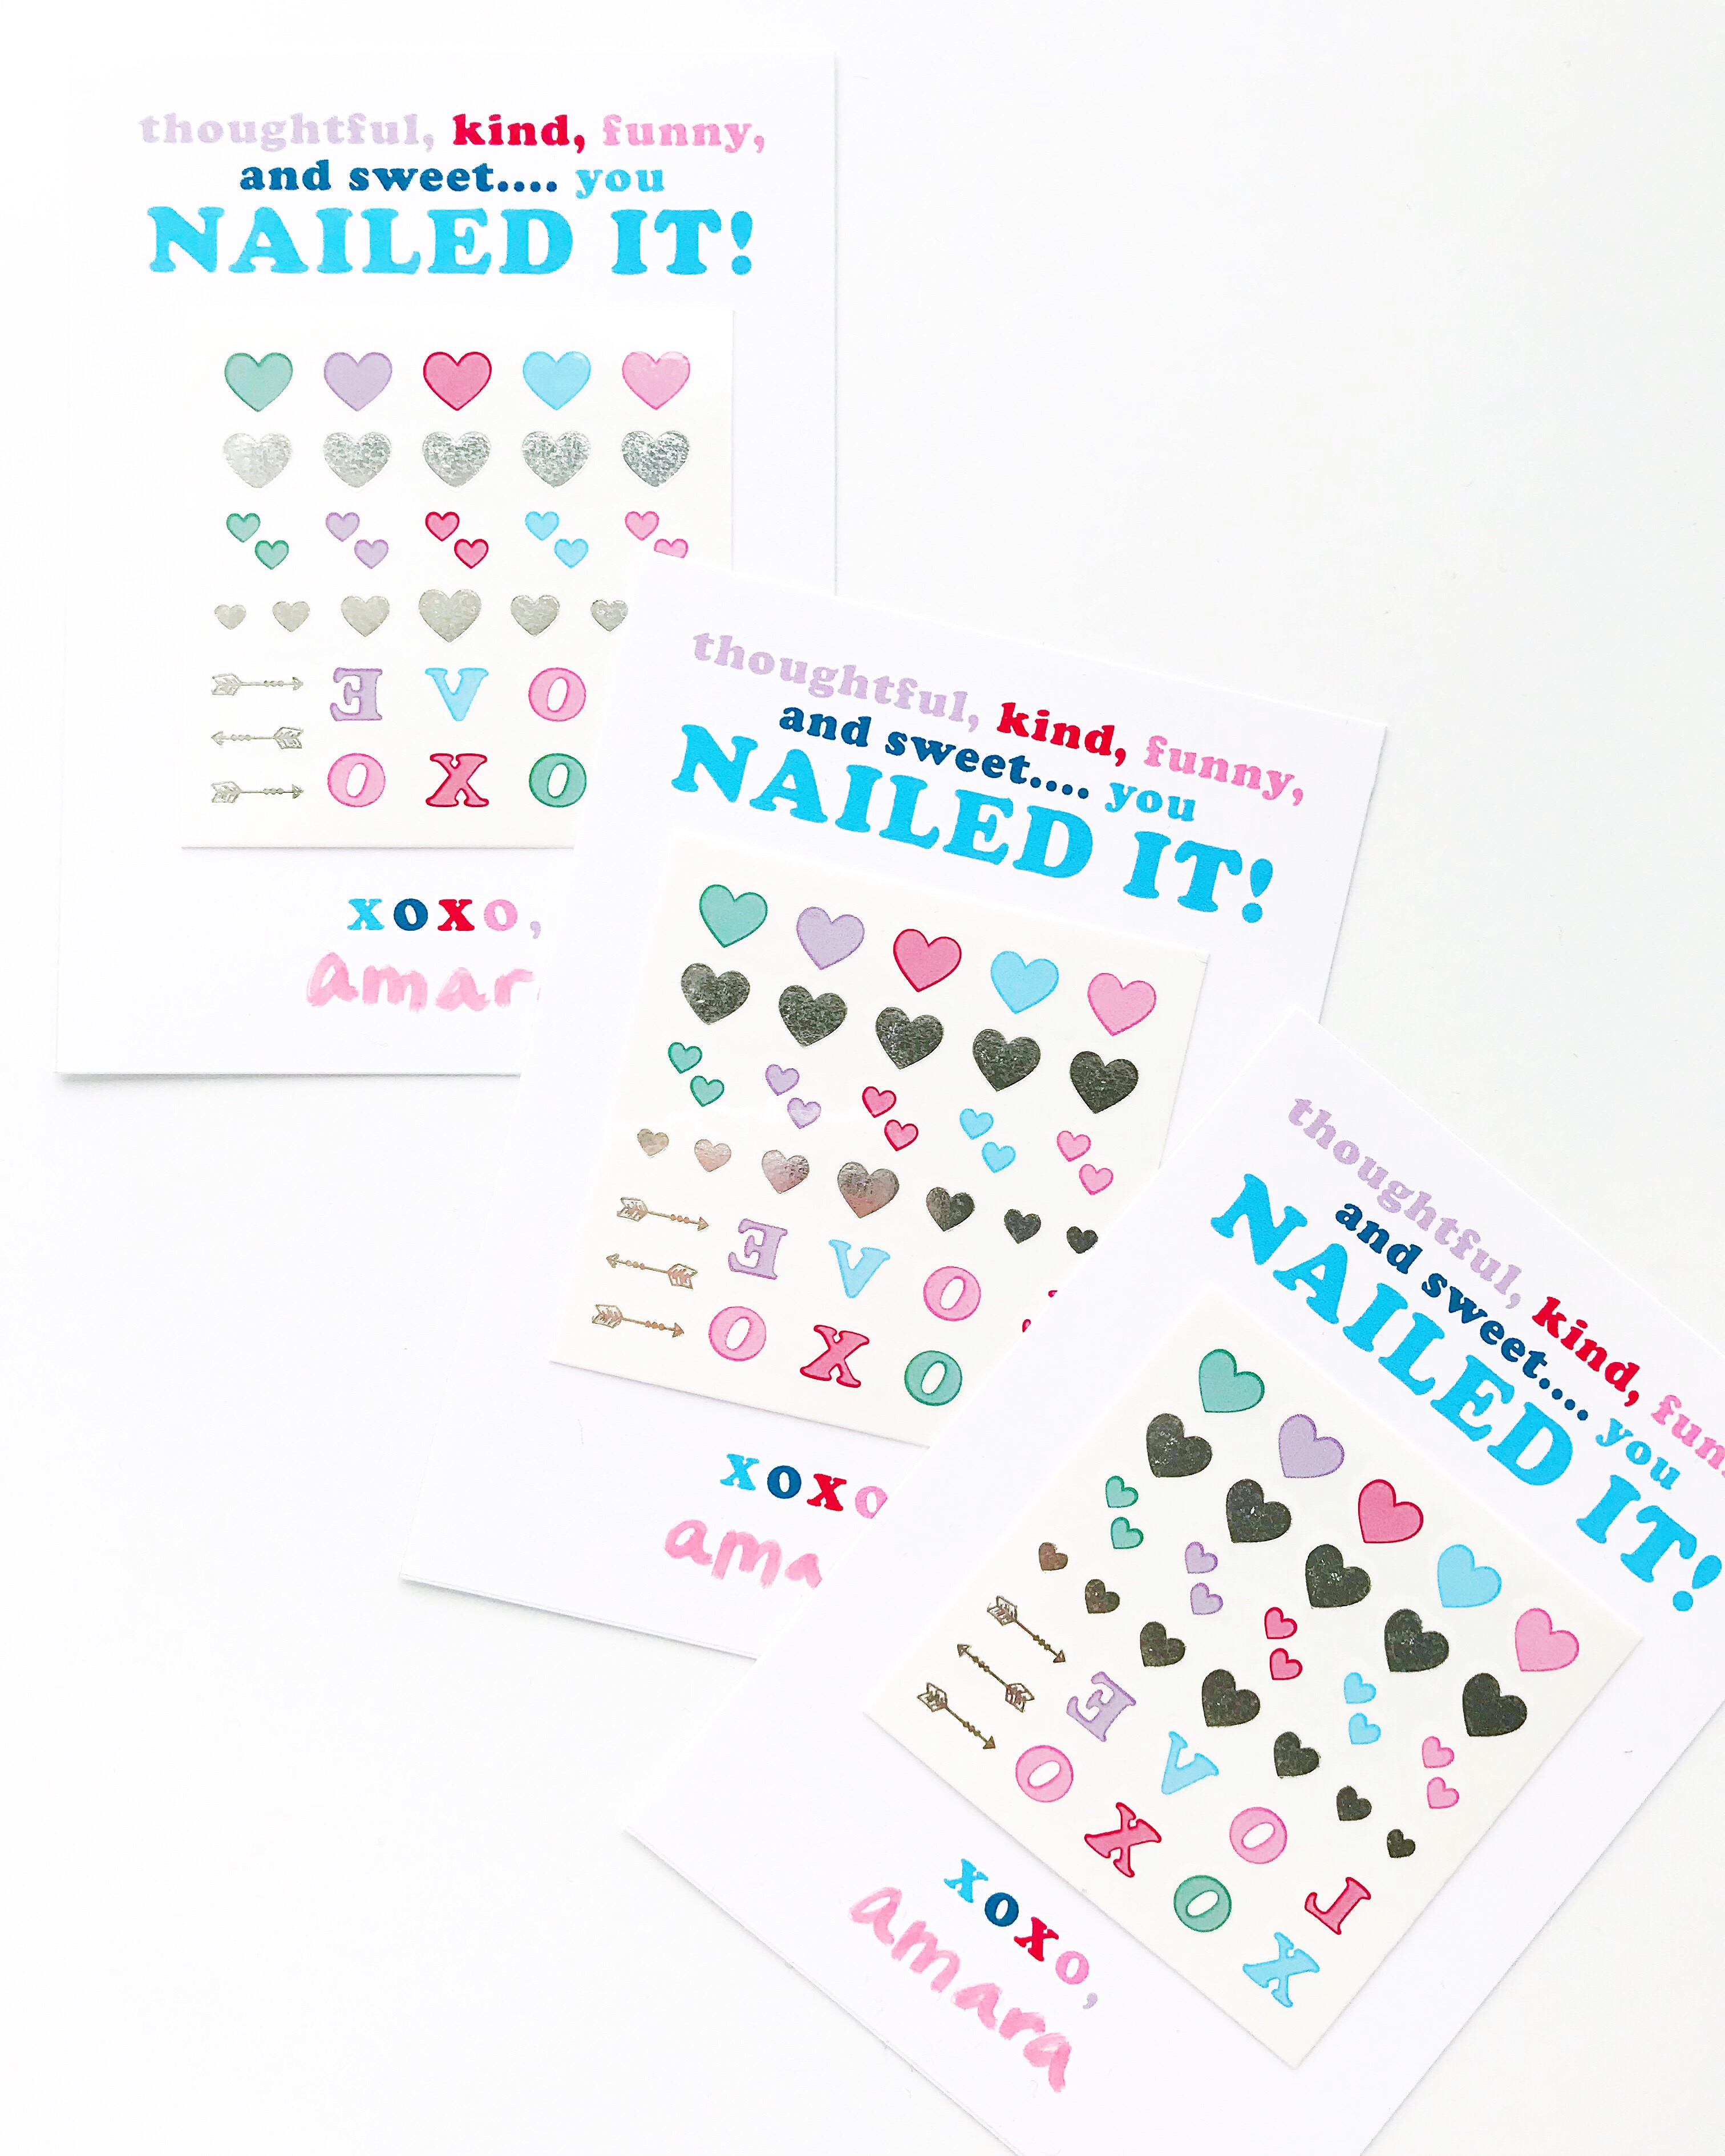
2. Download printable HERE.

3. Print on white card stock. THIS is our favorite ever!! Super bright white and prints vibrant colors. It really makes a difference, especially with this printable since there’s so much color.

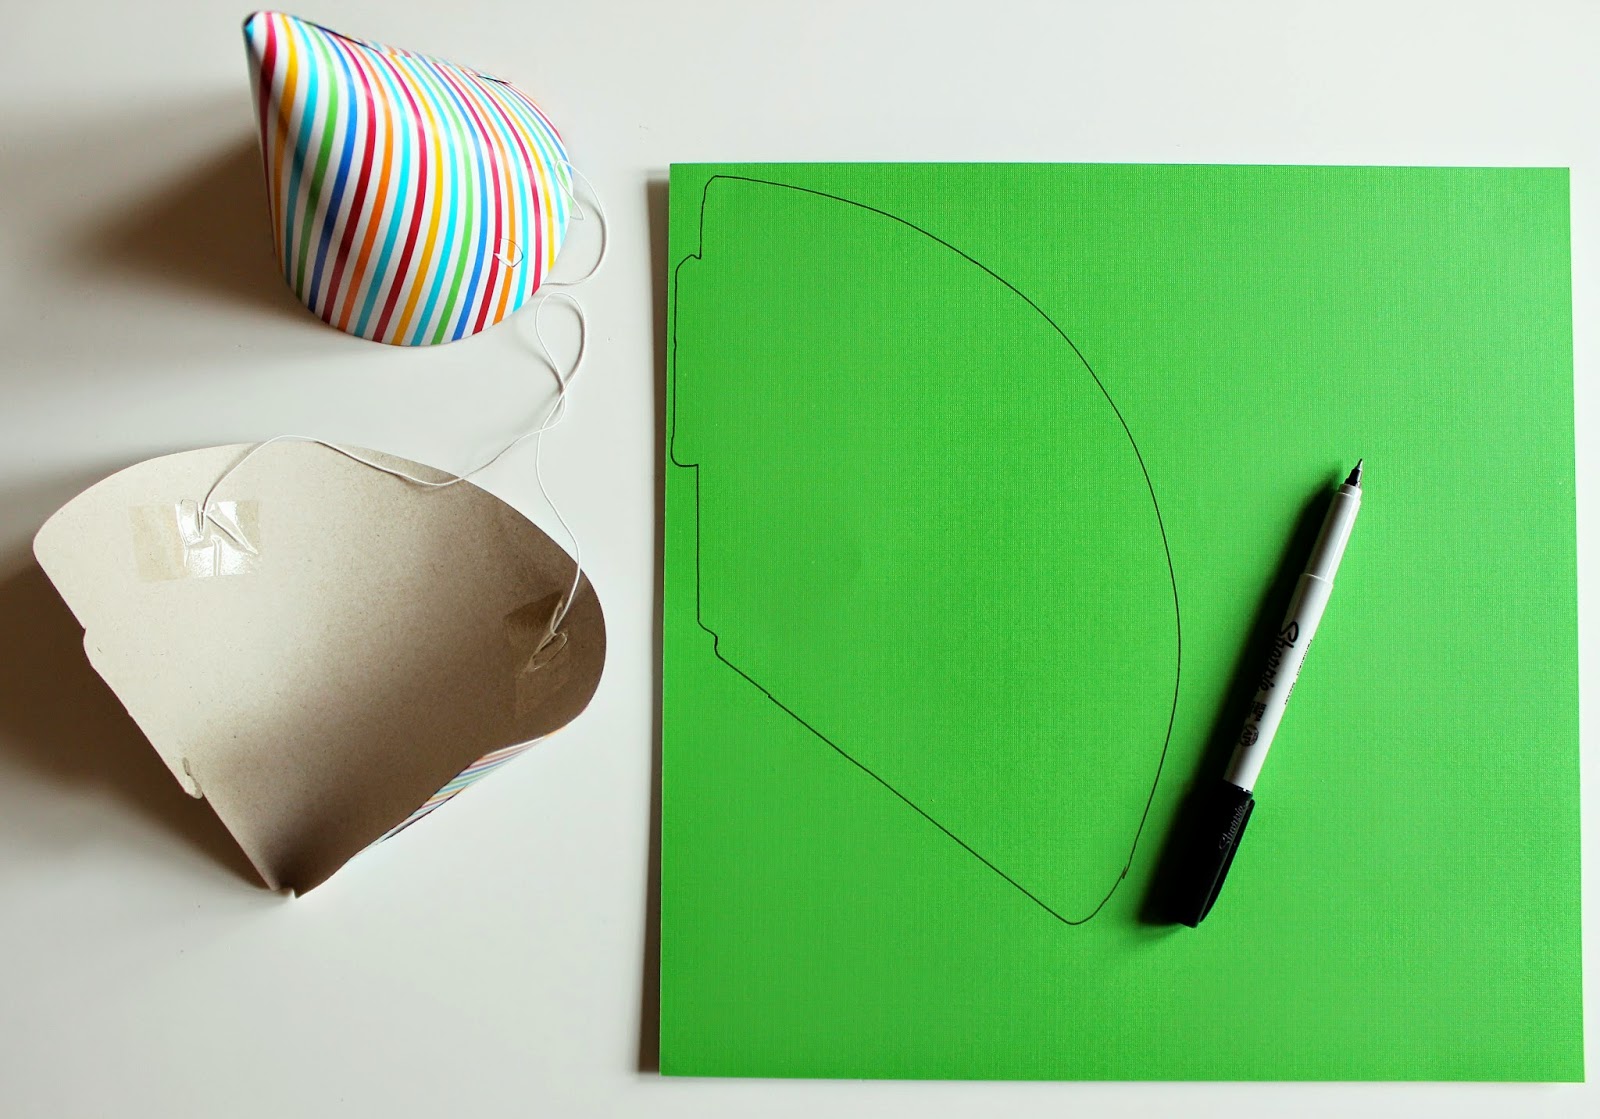
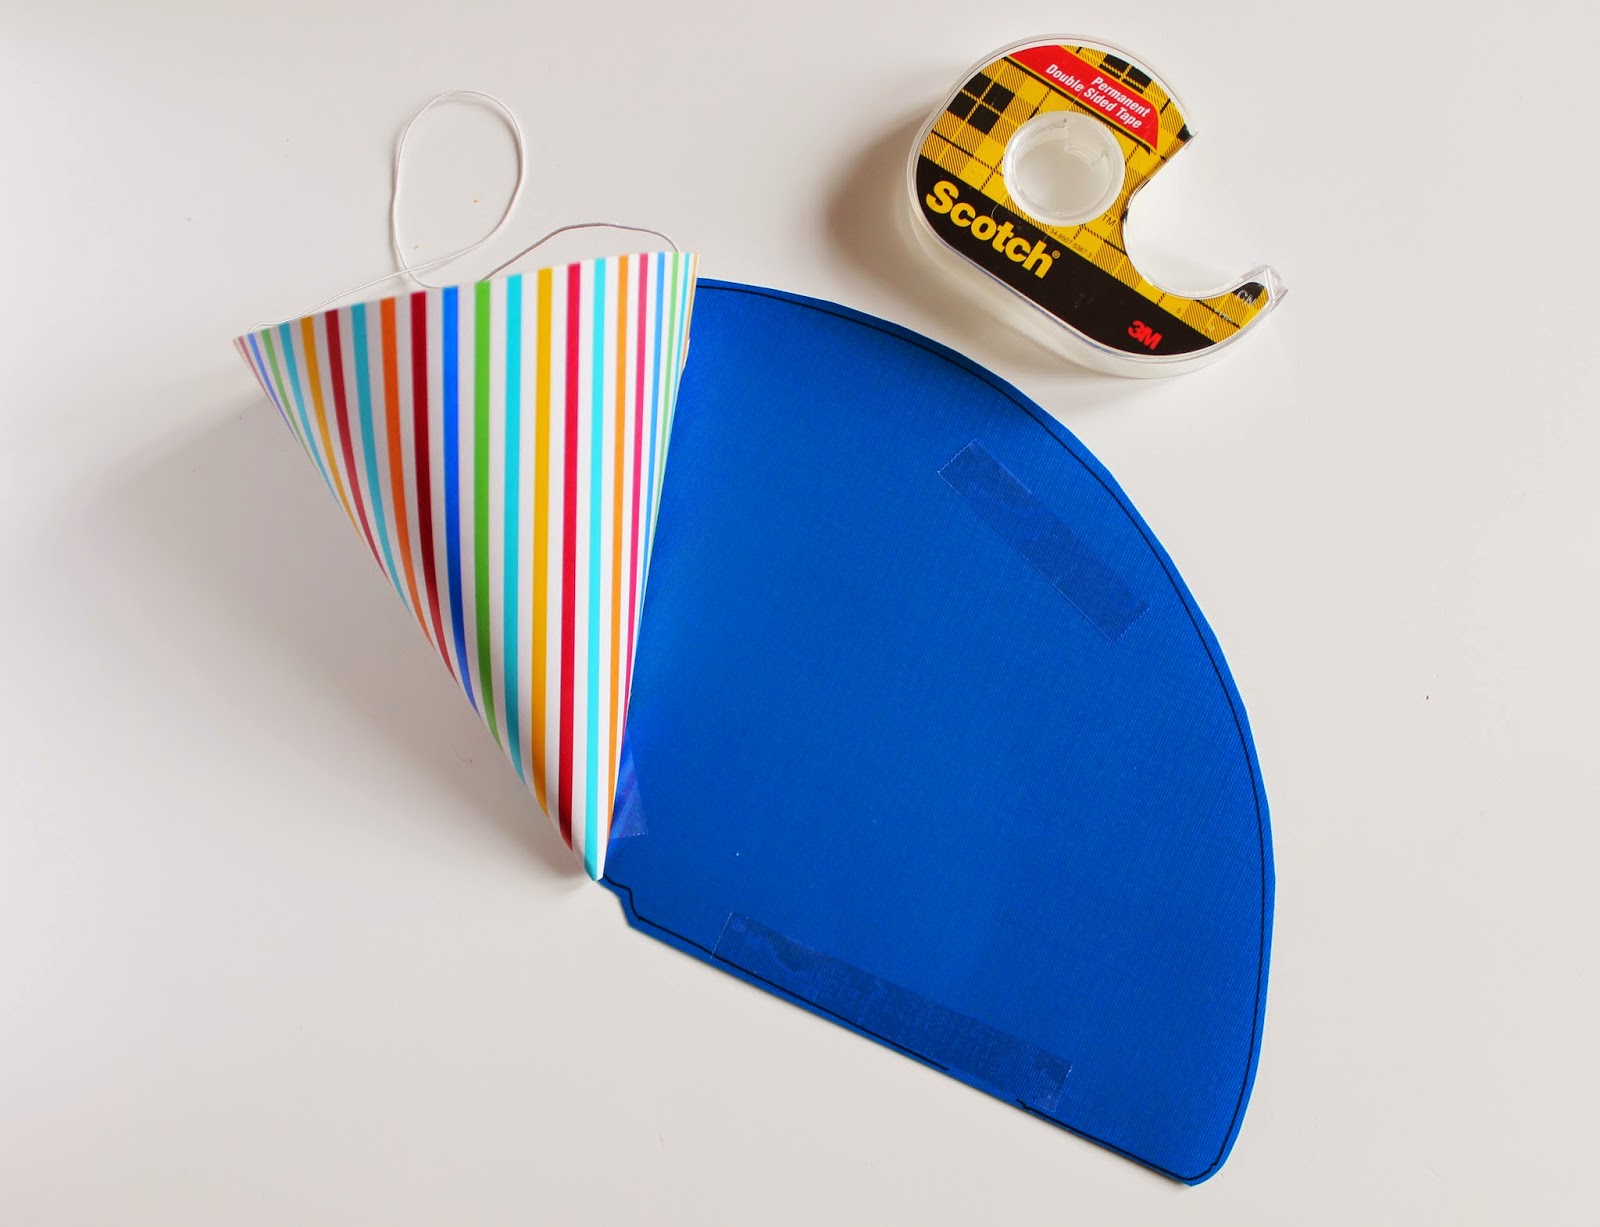
4. Cut right on the lines using a paper cutter. THIS one is the only kind we’ve found for seeing right where you’re cutting.

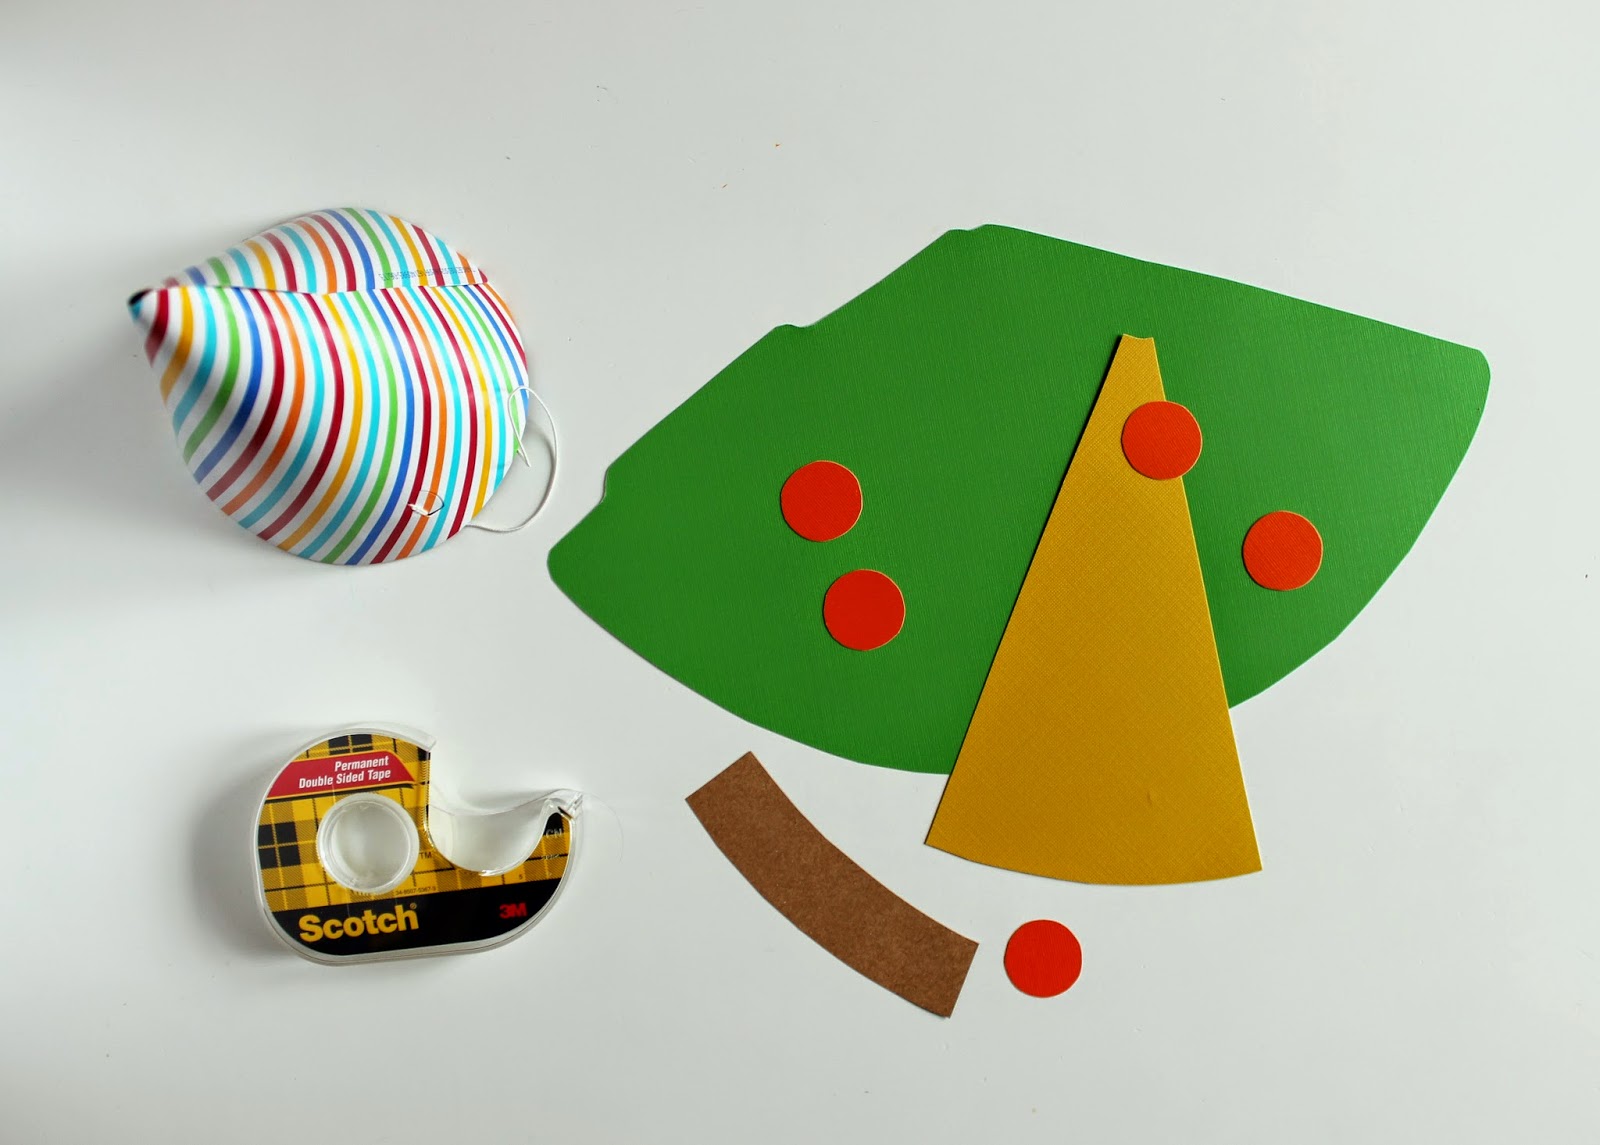
5. Secure using these handy removable glue dots or washi tape.

6. If you want these super secure, put in clear bags HERE and use washi tape to seal HERE.

Make your girlfriends’ days with these sweet treats!

TEACHER OF WILD ONES (FREE PRINTABLE)

Show your kiddo’s teacher some love with this free printable coffee mug! And throw in a gift card to Starbucks… because that’s what they really want! This is perfect for my preschool-aged kids. Trust me, they really are wild ones.
Scroll down for the link to download and to purchase the coffee mugs.
Simply print out the free download on cardstock, cut along the lines, and insert into the inner layer of the coffee mug (it just screws off really easily). It would be fun to have glitter or confetti in there too. Or you have your kiddo color the paper or put a photo in there… the options are endless.
For another free printable for teachers, click HERE!
Treat yo teachers!
xo

FOOD ERASERS CLASS VALENTINES (FREE PRINTABLE)

More non-candy class valentines for ya! We both stumbled on these erasers in the dollar section at Target at HAD to use them somehow! What’s more fun than everything in miniature?
You can also use our food tattoos HERE, food key chains, charms, or stickers. Or you could tie to a box of donuts because – duh. We go together like… burgers and fries, milk and cookies, peas and carrots, peanut butter and jelly… you get the idea.
Scroll down for sources and the free download!
The erasers don’t really stick with tape well, so we just threw them in a bag and taped the back with washi tape. Easy peasy!
SOURCES:
VALENTINE CARD: Download HERE and print on card stock for best results.
BAGS: purchase HERE or at craft stores in size 3″ x 5″.
ERASERS: purchase HERE
CARD STOCK: THIS one prints with super bright colors!
WASHI TAPE: purchase HERE
CUTTING BOARD: THIS is the easiest, because you can see right where you’re cutting
Download our other class Valentine’s Day designs below by clicking on the titles:

PARTY IN AN ENVELOPE

It was my boys’ last day of preschool today! It’s actually a year-round school, but it was their last day with their current teachers who have loved and cared for them like they were family. I think it’s always the most meaningful to write a handwritten note, but to step it up a notch, I added a little handmade banner and confetti to let them know they were THE BEST! My sister and I have this thing with “the best”. It’s the best donut, it’s the best movie, it’s the best book… we tend to think a lot of things are “the best”, and these teachers really were the best!!
You could totally use this idea for any occasion by switching up the saying on the banner. How cute would it be to get a “congrats” or “happy birthday” party in an envelope?! I’d for sure go [delightfully] inappropriate when sending it to some of my friends… but we’ll keep the blog PG.
Here’s what you need:
Pencil
Paper scraps
Scissors
String
Hole punch
2 pieces of washi tape
Time: 20 minutes
You can freehand cutting the letters or trace them out with pencil. I actually have a cutting machine but wanted it to look more homemade. I made the letters about 2 inches tall.
Using the scraps from cutting out the letters simply cut little squares to make confetti.
Punch holes through the top of the letters and string.
 Tape one end of the string to a piece of cardstock and wrap the letters around it, securing the other end with tape when finished.
Fill envelope with confetti (and add a handwritten note)!
Voila! You’ve made the tiniest party in an envelope! 
We’d love to see what you come up with! Tag us on instagram @loveandlion so we can see!
-L

MODERN MINT & NEUTRAL BABY SHOWER

We LOVE planning parties, especially baby showers! It’s so special and important to shower that mama-to-be with lots of love and thoughtful details. I was honored to co-host with 2 fabulous ladies, Dara and Emily, friends of the guest of honor, Leeron. It will be the second boy for Leeron, but we didn’t want to go all blue blue blue. We went with white, neutrals, and pops of mint and sage green. 
Lauren of Rock Paper Scissors designed the invitation, and I really went off of that for decor. It always starts with the invitation for me! The big letter “R” is just a paper mache letter from the craft store… use painters tape to mask off a straight line, paint, and remove tape. 
Diagonals, squares, and triangles mixed with all white flowers and live moss made for a simple and pretty party! 
The drink tags were my fav! Guests remembered which drink was theirs by the baby picture of the mama and pop-to-be and the color tag. Leeron’s amazing husband, Matt, secretly emailed me their baby pics, I changed them to black and white in photoshop and cropped to a square. Just punch a hole in the corner of the picture and the colored square and tie with string. The color tag was nice so that you didn’t have to have a different baby pic for each guests. Just use different colors for each pic. Leeron was so surprised (and immediately removed that one embarrassing photo from her tween years)!
Use painters tape to mask off a diagonal line. Paint and remove tape when dry! Super simple!
Every baby shower needs a diaper cake, right? See our TUTORIAL HERE. I used double stick tape to add on the triangles of leftover scraps from the garlands to keep that geo-mod vibe.
Cake topper by Rock Paper Scissors to match the invite.
Every party needs Campfire Crispies, especially a baby shower when you can be punny and say “She’s about to POP!” These were SO. GOOD. Fluffernutter flavor: toasted marshmallow and peanut butter with a white chocolate peanut butter coating. Droooool. Order HERE.
And of course us being us, we needed a tattoo station with the party’s hashtag (from our little shop HERE)! 
Here’s the actual party! It was at night, so I took the photos above so you could see the details!
 The simplest projects make the biggest impact. Jenni and I have done these live moss letters several times. Simply cut the tops of paper mache letters you can find in any craft store, and stuff with live moss from your florist!
Even though Leeron couldn’t enjoy it, we all loved the signature cocktail “The Leeroni”.
Hostesses with the mostesses: Dara, me, Leeron, Emily
The gorgeous and glowing mama-to-be, Leeron!
Loved throwing this baby shower for a very deserving mama!!!
-L

FEATURED: HOLIDAY CENTERPIECE TUTORIAL

Anyone else in need of an incredible centerpiece for the holidays and have no clue how to do it? Luckily, my extremely talented friend, Matt Bollwinkel, just started a new floral business THISTLE BE FLORAL based out of LA and is graciously giving us a tutorial! I love how he uses unique textures, colors, and shapes that you’d never think of for a centerpiece. He’s seriously so talented and funny, and his wife happens to be the same. My face literally hurts from laughing after I hang out with them. They’re pretty much one of my fav couples ever.
If you’re in the LA area, contact Thistle Be Floral. Immediately. 
He’s the next big florist that you wish you knew before everyone else did… and now you do!

“MOM’S FAVORITE CHILD” HOLIDAY CENTERPIECE
Photographs by Sara Bollwinkel
Is your holiday table naked? Hide your shame with a homemade centerpiece that suggests you have your s*#t together. 

Here is what you will need… 

1. Fancy Shmancy Japanese flower arranging scissors. Or regular kitchen shears… (Anything between a machete to safety scissors will do)

2. Robert Goulet – “This Christmas I Spend with You”. This is not optional.
3. Oasis Floral Foam
4. A cool vessel…such as this tremendous silver antique champagne bucket.
5. Flower Food – pro tip: One packet of flower food and a quarter teaspoon of bleach in your water will make your plants die slower…or last longer if you are an optimist. Pro tip: if you don’t have bleach, use mouthwash!
6. Human Food – Your favorite holiday beer (or wine/scotch/kool-aid)

To prep your vessel for the flower invasion, cut the Oasis floral foam to fit and fill with water, flower food, and bleach. Allow this mixture to soak for a few minutes and pop open your human food.
Let’s get down to business.

7. Greenery – take some clippings from the christmas tree, your local forest, or a neighbor you feel like stealing from. Source your pretty greens as this is where it all begins. 


8. Random “Foraged” (stolen) Berries – If you have dogs or children, use with caution.

9. Magnolia Leaves – these are a classic holiday accent to any arrangement or wreath. Some people spray paint them gold, but who has time for that?

10. Holiday Food – Pomegranates, Pears, Persimmons, Pumpkins etc. Anything that starts with the letter P will do. (Pinecones…not food but totally acceptable)

11. Protea – This is a great “focal flower” that will last the duration of your family’s stay and into the new year. Succulents are another great option.

12. Ornamental Kale – Hippie/Hipster approved. These take up a lot of real estate. If you are super lazy, this is a solid addition.

13. Tulips – Great color splash – check out french tulips if you want a sassy option.

14. Star of Bethlehem – Cause its Christmas y’all. (Note they also last for a long time and will continue to bloom for weeks).

15. Peonies – This is the popular girl in school. She hangs out with the funny chicks (tulips) but steals their boyfriends. This is your other focal flower of choice. (Caution: much like the popular girl in school, they are fragile and fall apart easily)

Now that you have your flowers together, you need to process them by removing excess leaves from your stems. The idea is to keep all vegetation other than stems out of the water. The longer your water stays clean (and free of flower goo) the longer your flowers will last! 

The first stems to enter your vessel should be the greens.
Follow up the greens with accent greenery such as your magnolia leaves, or the berries I “borrowed” from my neighbors yard. This is the fitted sheet…totally necessary.
Next add your ornamental kale and focal flowers. Do this in a not boring way.
Fill in gaps with beautiful pieces of fruit or pine cones etc. To do this, carefully stab a wooden skewer into your fruit (make sure you don’t run the skewer all the way through). Cut the exposed skewer to the depth of your vessel (so no stick is showing and the fruit sits in the arrangement snug as a bug.)
After you have gotten this far, take a step back, grab a drink and give your eyes a minute to rest. Revisit it with fresh eyes in 10 minutes.
Now add your finishing detail elements. Tulips and star of bethlehem are great at filling in the gaps and will add lovely bursts of color as they continue to blossom.
Now step back, admire your work, quit your job, and become a florist.
Happy Holidays Yall!
<3 Matt 
INSTAGRAM: @thistlebefloral
EMAIL COMPLAINTS: info@thistlebefloral.com

Thistle Be is Matthew P. Bollwinkel, who was born in Sibu Sarawak Malaysia in the winter of 1980 to missionaries Mark and Elizabeth (Bonnie) Bollwinkel. Upon their return to the United States, the family spent the subsequent years moving from town to town in California and Nevada with various churches. To this day, the place Matt calls “home” is the San Francisco Bay area.

Matt’s artistic inspiration includes Japanese imagery and culture, feminism, loud and dissonant music, photographs in old medical encyclopedias, animals, rust, dirt, gold, and and the love he has for his wife Sara and their two dogs Albert and Norman. Matt is a studio musician, a baker, and a business man. His love for flowers began when he was a young boy, but his draw to floral design began in the winter of 2013 when his community began commissioning his work. Matt’s notoriety has circulated primarily by word of mouth, as he operates out of his home in Los Feliz in Los Angeles, CA (or in a glass case of emotion….or on location).

For more information or to set up a consultation please contact: 

DIY DOOR MONOGRAM

Some say I’m a hoarder (Jenni), some say I’m lazy (me), but I think we can all agree this DIY I did last year was worth keeping, right? It was so easy that I wanted to share with you again. And I haven’t gotten around to decorating my mantle yet… so….here ya go.
See the full tutorial HERE that I used for Ari’s room. Just switch out the junk keepsake treasures for ornaments. Obviously 🙂
Up for next week: more holiday gift guides and holiday style posts just in time for your party circuit!
-L

ARI’S 4TH BIRTHDAY – PIZZA PARTY!

Ari turned 4 yesterday! I cannot believe I have a four-year-old. What?! After Max’s 1st birthday party last month (HERE) I was pretty spent, so it was music to my ears when Ari declared he didn’t want a party! Background… he’s not too into other kids his age and much prefers adults. We’re working on it at preschool and with play dates, but honestly it was his birthday, so he should get to do what he wants, right? Ari’s request was going to his fav pizza place, Mellow Mushroom, with just the family. So that’s what we did!
I kept decoration to the bare minimum (to my standards) and just made these little pizza party hats, a pizza cake, and pizza tattoos
Pizza Party tattoos in our Etsy shop HERE
For the pizza cake, I just used sour straws and chocolate cheerios for the “pizza toppings”. I tinted frosting red for the middle layer and yellow for the top. You guys… I totally attempted a brown crust out of frosting and failed miserably. Scraped it off and stuck with a clean yellow top! 

I thought these pizza hats turned out pretty well and were super simple! For the tutorial and more DIY party hat ideas, click HERE.

Here’s my birthday boy checking out his cake sans pants.
That’s a wrap! Now to move into our new home NEXT WEEK…. oy.
-L
Ari’s Modern Animal Themed 2nd Birthday Party HERE, HERE, and HERE.

LAST MINUTE DIY HALLOWEEN COSTUMES

Tired? Check. Lazy? Check. Not about to go to a Halloween store 3 days before Halloween? Check. Here are two costumes you probably have in your closet for two of my favorite fictional women!
I designed some free printables HERE for you to add to your easy costume! Yooooouuu’re welcome. 
Happy Halloween, nerds.
Oh, and this is my baby Max in tribute to the one and only Jimmy Fallon- my husband and I are giant fans of him and The Tonight Show! Can’t you just hear the dancing Hashtag music?
Download Hashtag the Panda’s name tag HERE
For more ridiculous DIY Halloween costumes for littles, click HERE!
-L

SIMPLE PUMPKIN DECOR DIY

Contrary to popular belief, I’m extremely lazy. I could sit on the couch in my jams all day watching movies, eating snacks, and trolling around on Pinterest. Maybe squeeze in a couple hours of reading. That’s actually my dream day. When it comes to decor in my own house (not for a client and not for one of my kid’s birthdays) I’m just like… no. Too tired. 
So here’s the easiest possible one step above nothing fall decor for you!
CHALKBOARD PUMPKIN
1. Sketch a circle/oval/fancy shape on your pumpkin.
2. Paint in the shape with chalkboard paint. The bottle I bought said to paint 2 coats. You can see the first coat below left a few bald spots. Two or three coats is perfect.
3. Um… that’s it.
We’ve been using this as a countdown to Halloween for the kids!
The only thing I’d say about this is that if you use this over and over, the paint starts to chip. Just paint another quick coat of chalkboard paint and you’re done.
I brought the pumpkin inside and used it as a centerpiece when we had friends over for dinner this weekend (with takeout…like I said- lazy!). Ari collected pretty leaves for the table. It made our dinner a little fancier.
I bet you could take this idea and run with it! 
Tag us on your instagram photos @loveandlion, so we can see!
-L