
All rise! This easy DIY Ruth Bader Ginsburg collar is the perfect halloween costume honoring the notorious RBG. Use whatever material you have around the house- felt, paper, an old sweatshirt, whatever. I cut this out from a reusable grocery tote bag and taped jewels on.

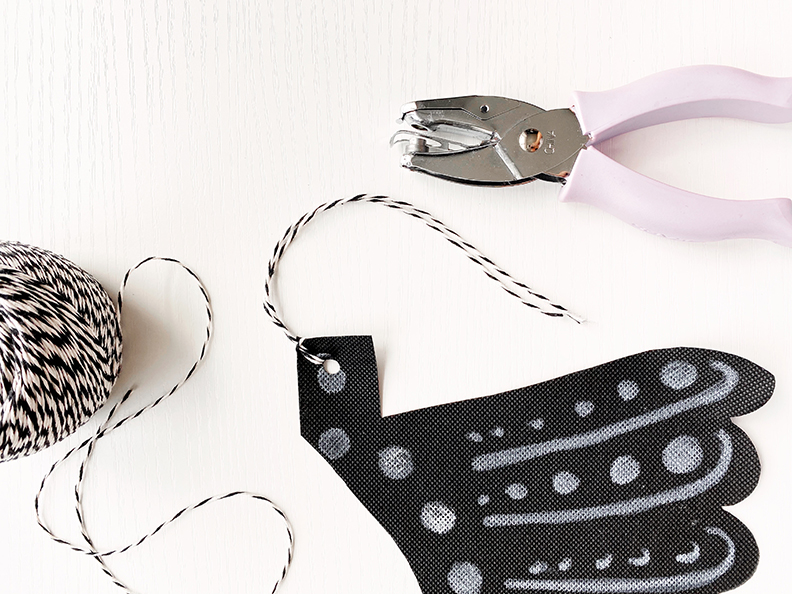
On this other version (modeled by my brother lol), I just drew lines and circles with a white paint pen. You can also jazz it up with jewels or pearls.
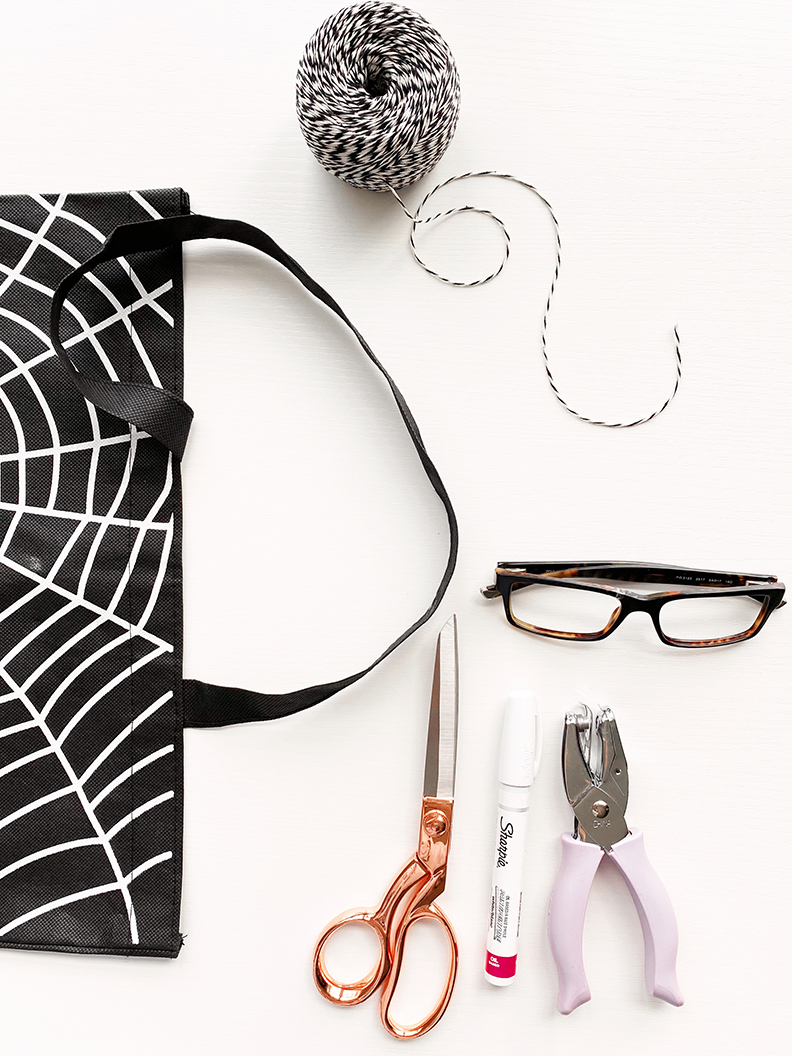
WHAT YOU NEED:
fabric / felt / grocery bag / old shirt
paint pen / paint / sharpie
scissors
string
hole punch
extra credit: jewels or pearls (I used strong double stick tape)
- Print out templates. To cut out and trace on another material, click HERE. To print out in black and white and use as your actual collar (like if you’re printing it to use on paper), click HERE.
- Cut out collar and trace
- Punch holes in either corner and string
- Decorate!


