diy garland

PAINTING PARTY AT THE VINEYARD + GIVEAWAY WINNER

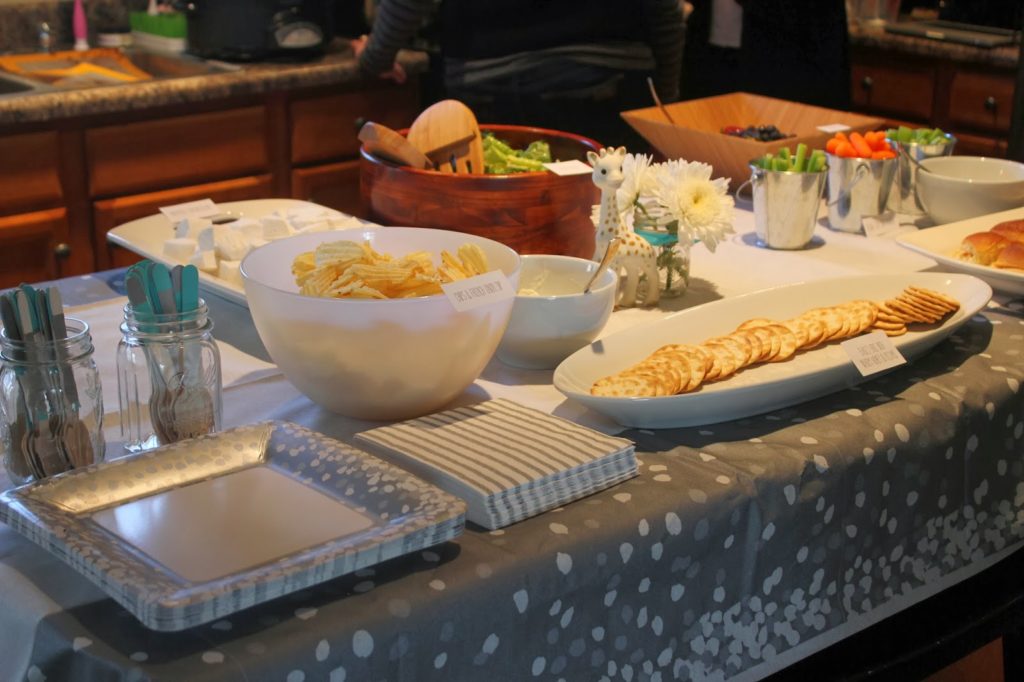
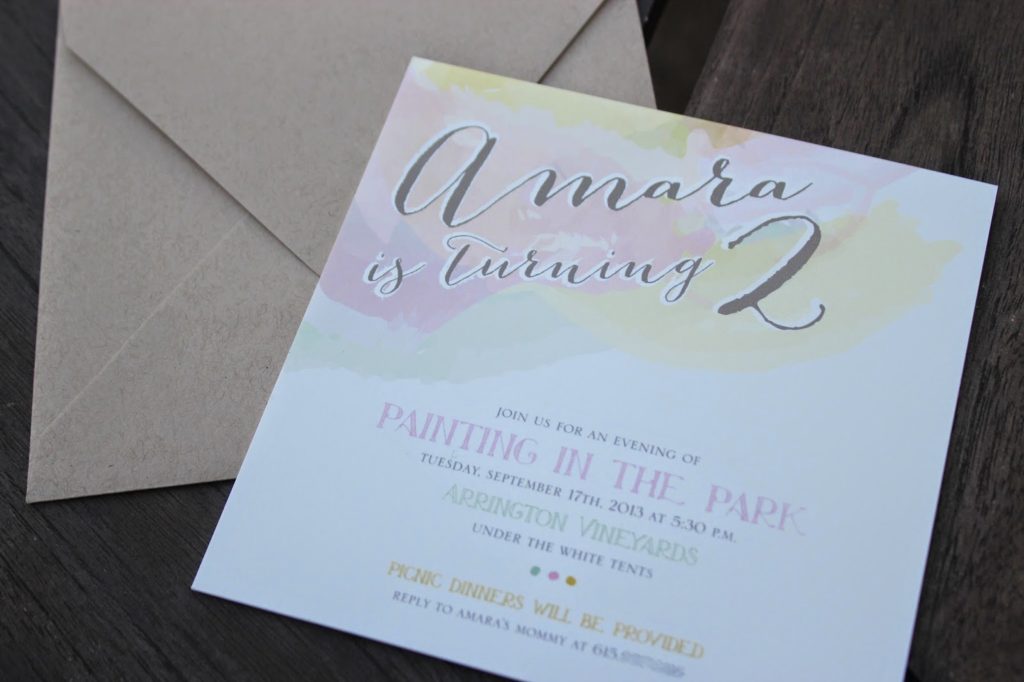
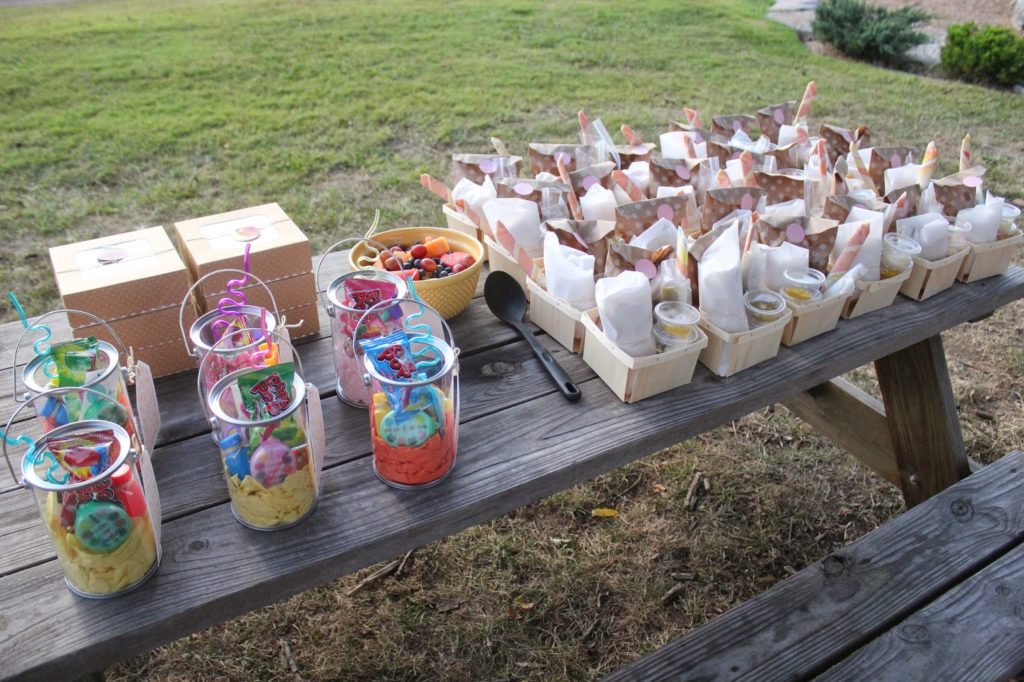
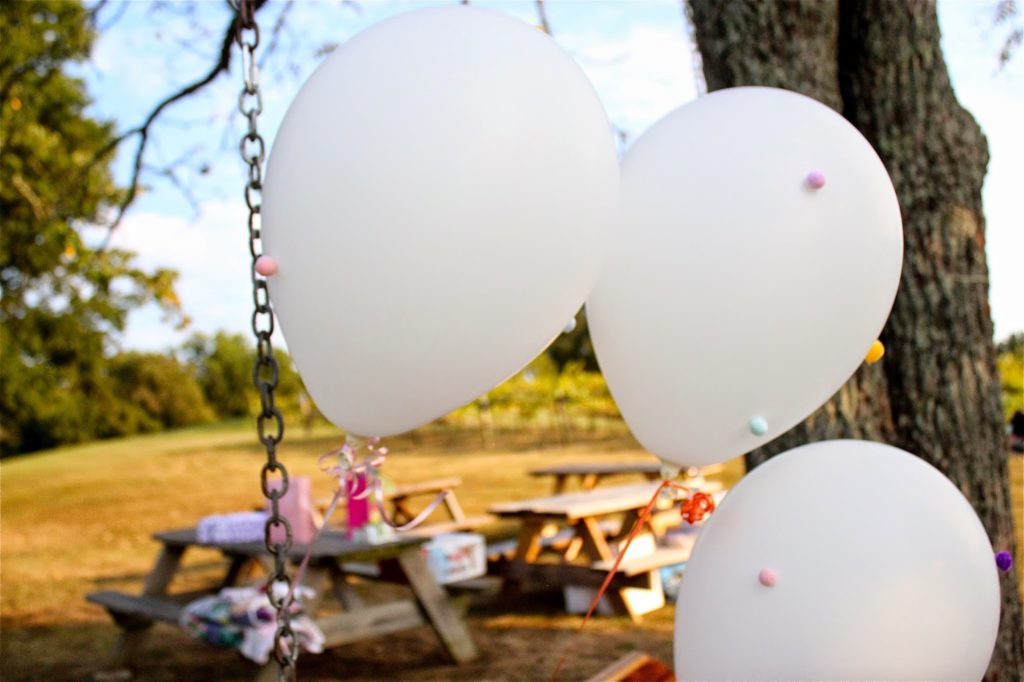
Our party “throwback” this week is my daughter’s “Pom Poms & Painting” themed 2nd birthday party. Amara still enjoys painting so much! We kept it fairly simple by holding it not in our house… whoop whoop! outdoors at a beautiful vineyard. I assembled basket lunches for the adults, boxed lunches for the kiddos with juice boxes and canned sodas and called it a day! Of course we bought wine as well…. I mean, we WERE at a vineyard.

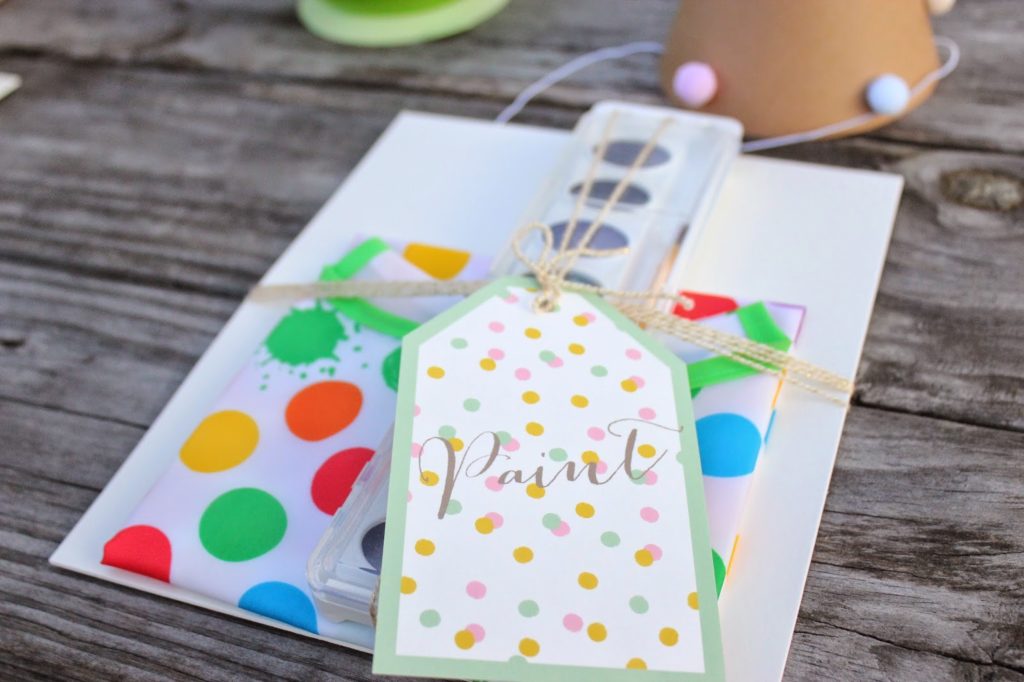
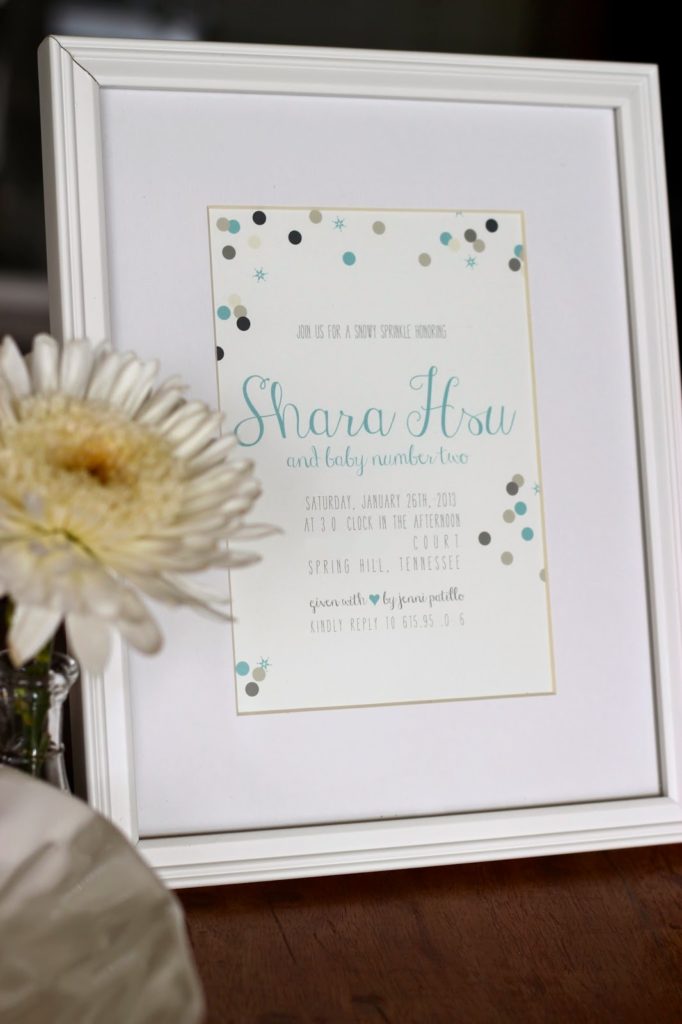
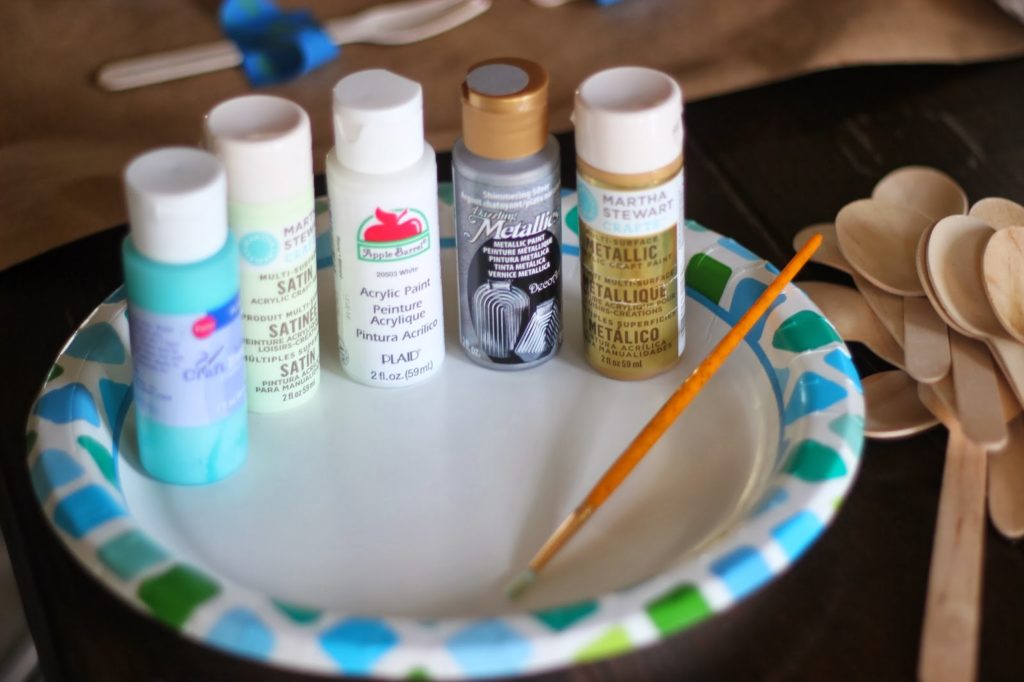
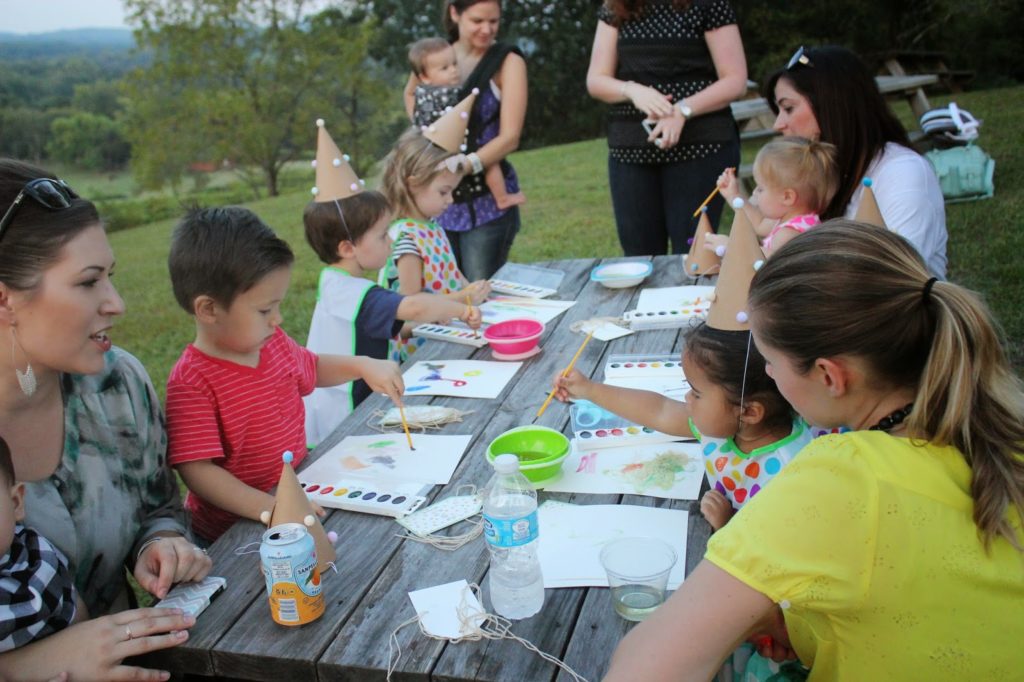
 I set up a painting table with a place setting ( 3 sheets of watercolor paper, an art smock and a paint set) for each little guest. Tags and invites done by Lauren at Rock Paper Scissors.
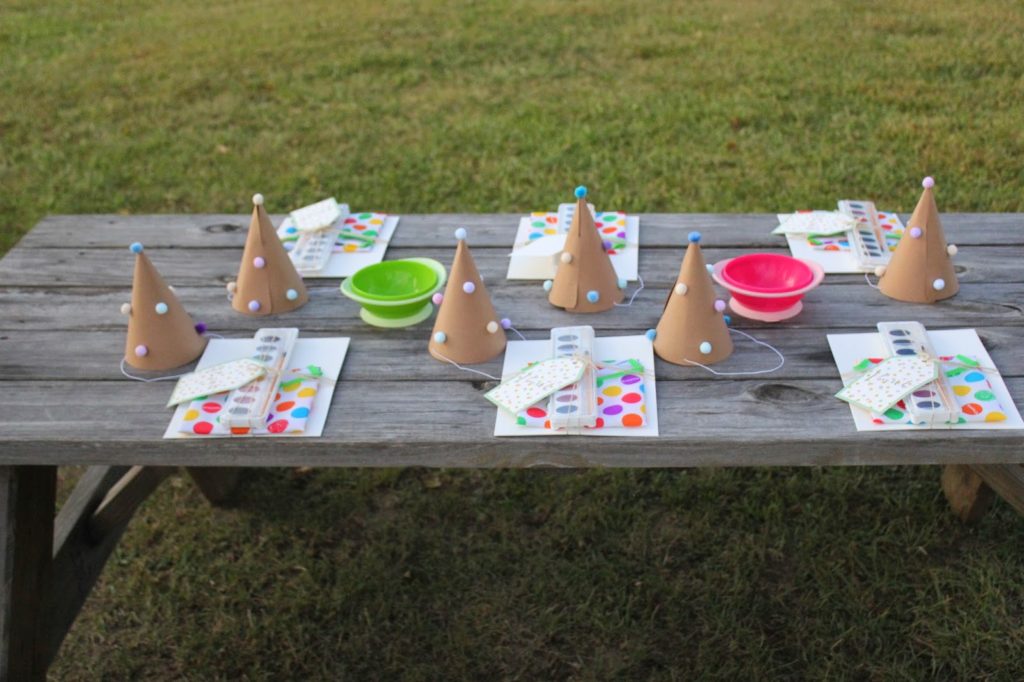
Follow our simple DIY party hat tutorial here. I additionally added some poms to each hat.  I hand -dyed some in water color water to get the pastel look. 
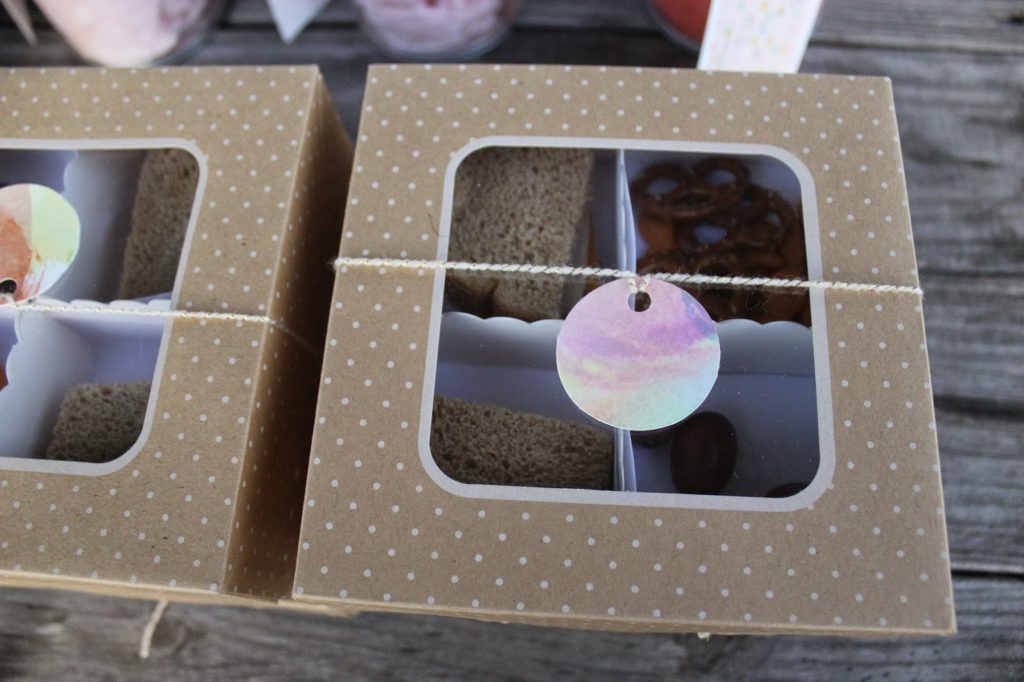
I actually cut circles out of one of Amara’s many paintings at home to make tags for the boxed lunches! It just made it all that more personal.
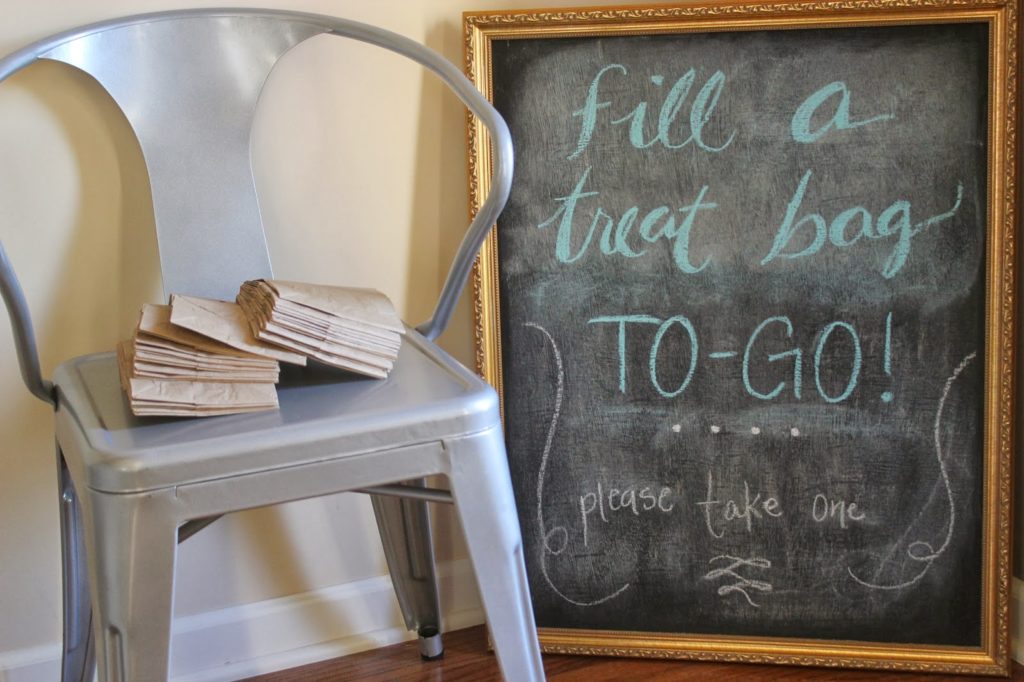
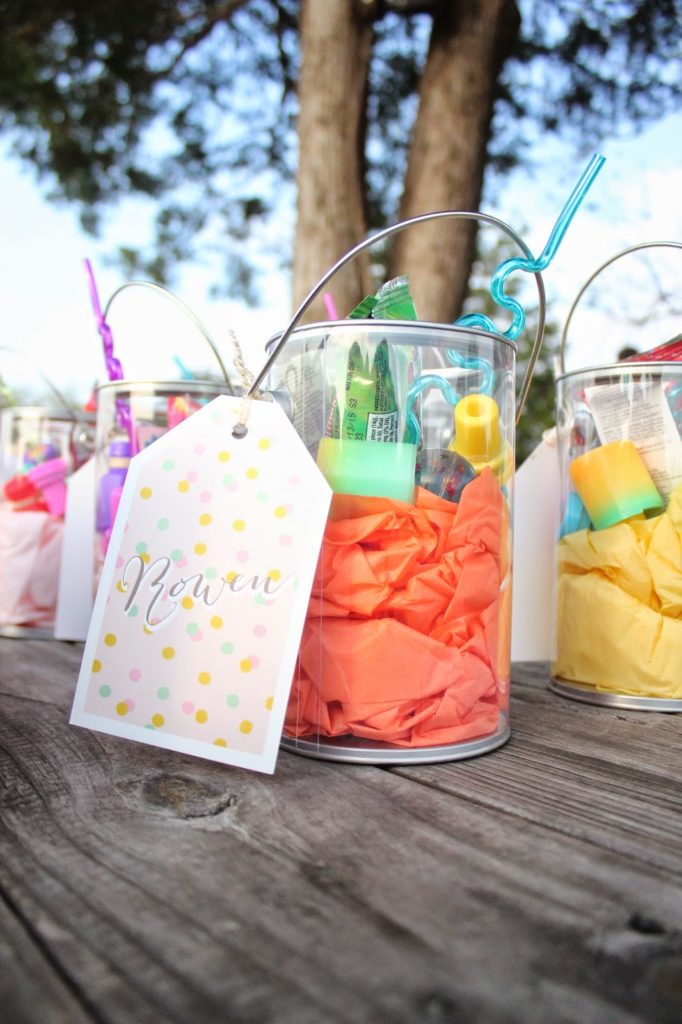
I filled clear paint cans ( found at Joann’s Fabric Store) with different colors of tissue paper to resemble “paint” and stocked each can with $1 items. My favorite favors were the mini paint sets!
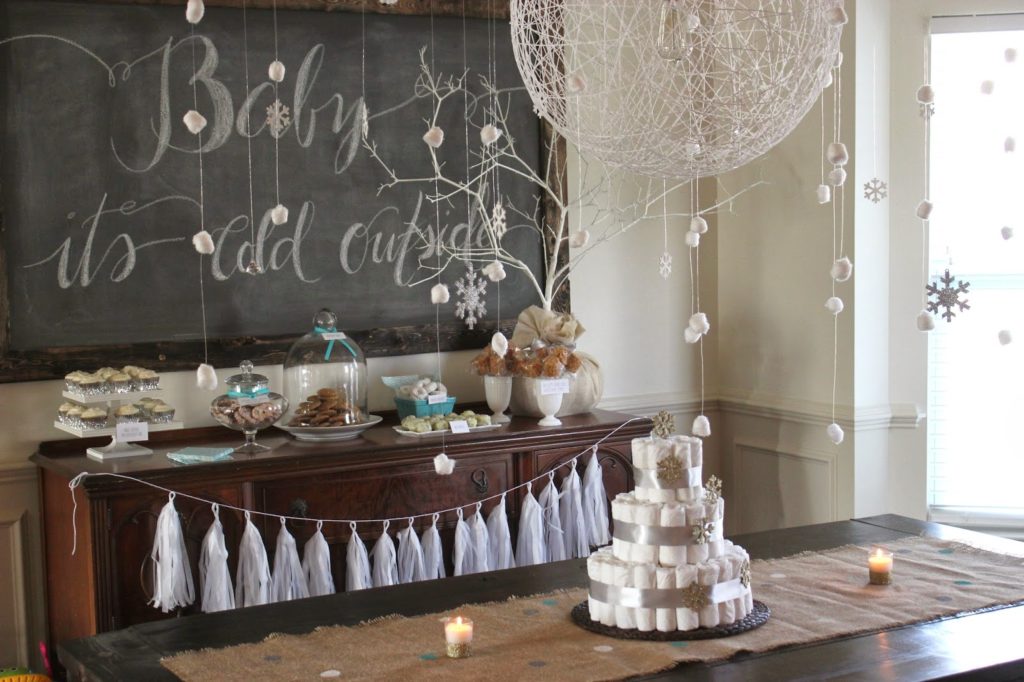
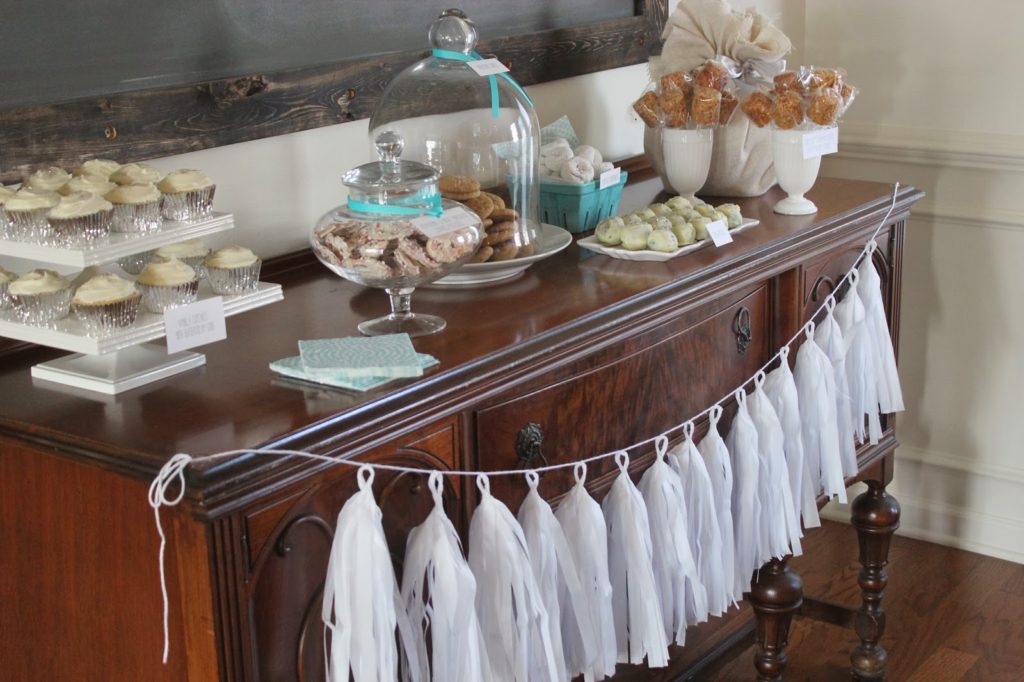
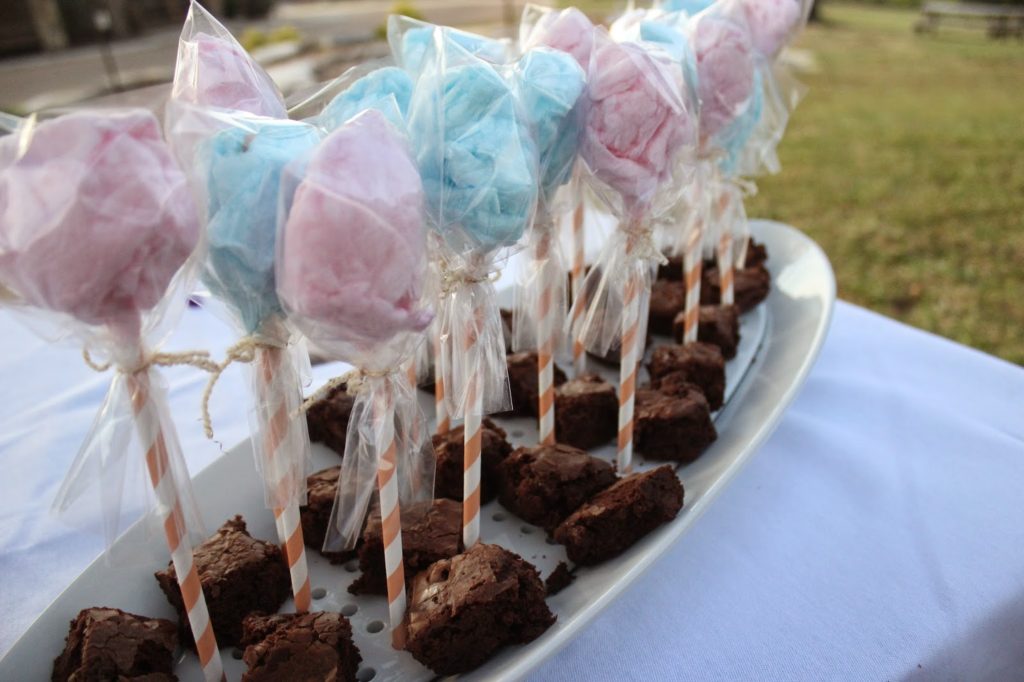
I set up a dessert table with some sweet treats! I hot glued pom poms to the front of the table cloth to go with the theme.
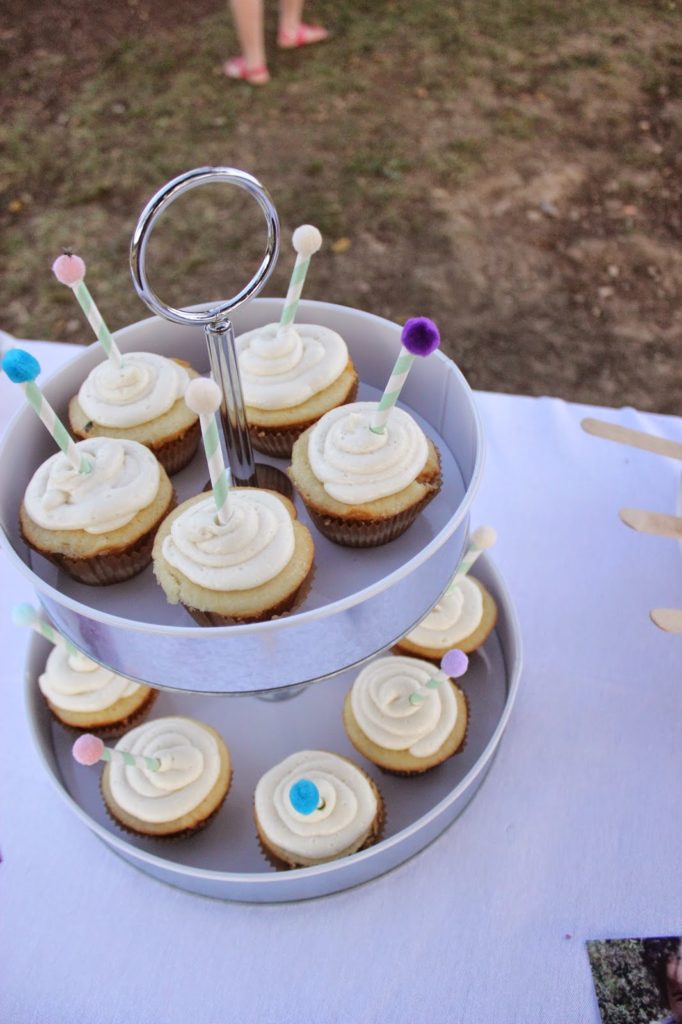
homemade cupcakes with DIY cake toppers. I simply cut stripey straws into thirds and hot glued pom poms to the ends…. voila!
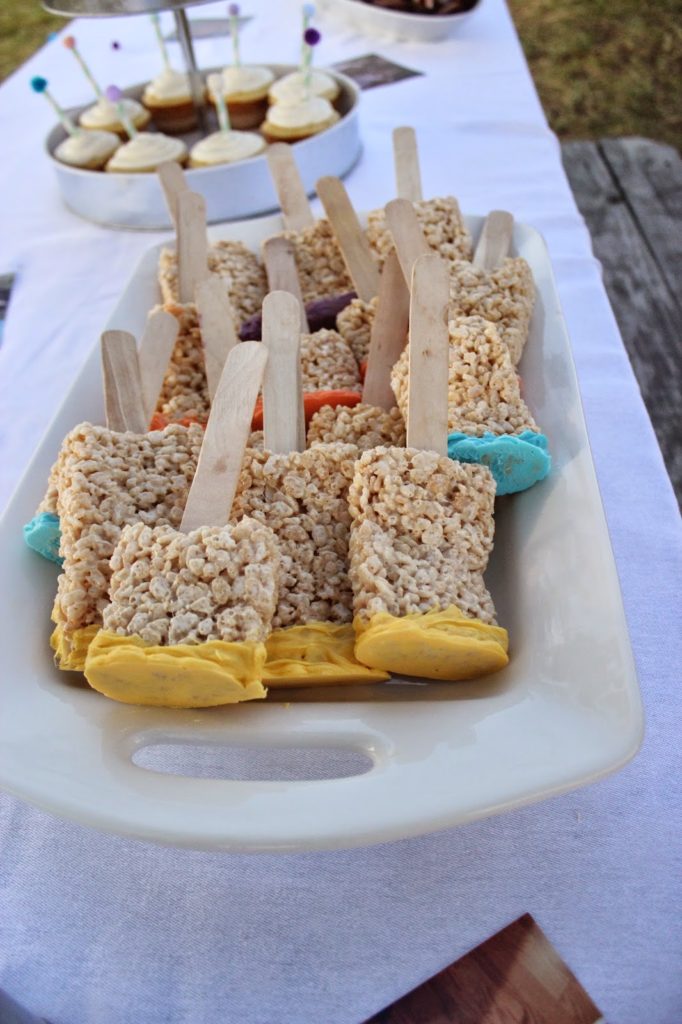
Rice crispy treats on a stick dipped in candy melts. These were much harder to make than I thought they would be, but they were a hit so they were worth it!
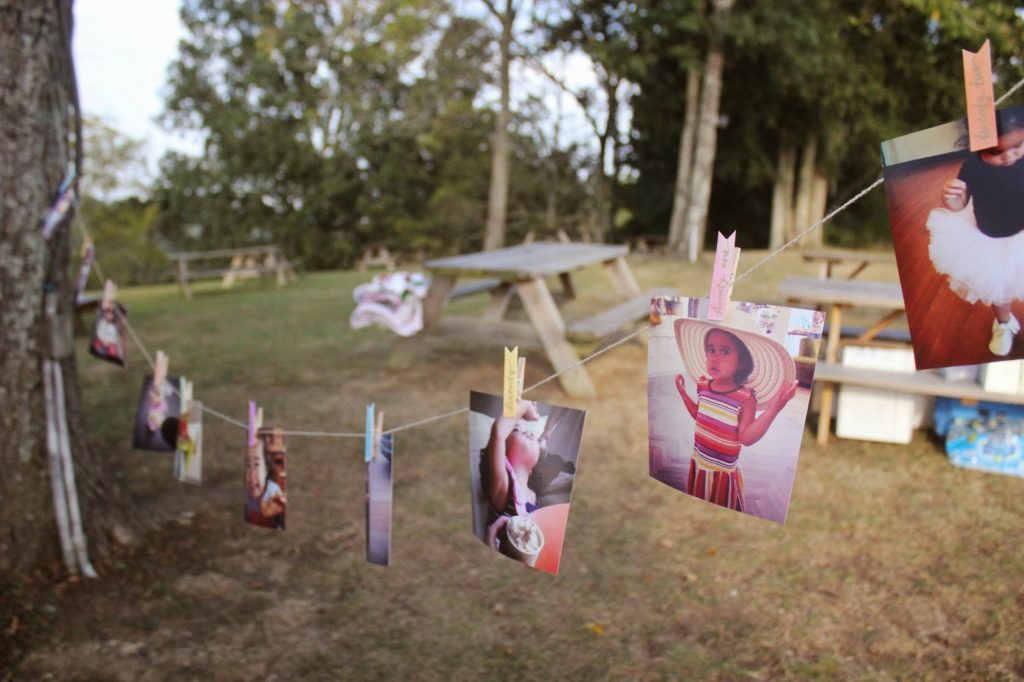
My favorite thing of all is the “year of instagrams” banner I did. I watercolored little flags, glued them to mini paper clips to label each month. I loved this banner so much!!

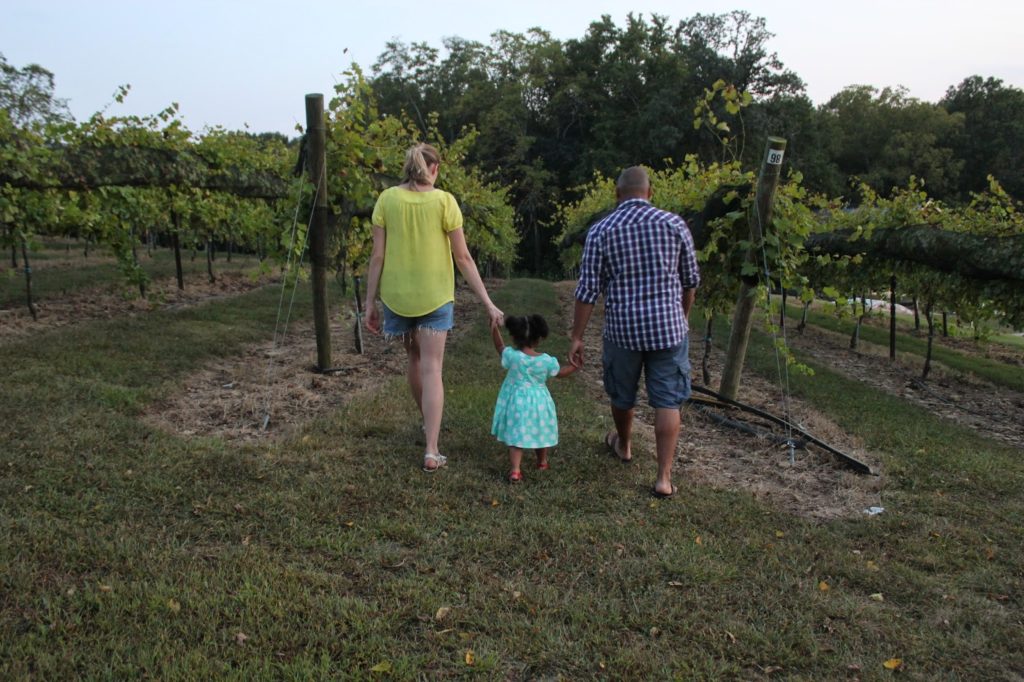
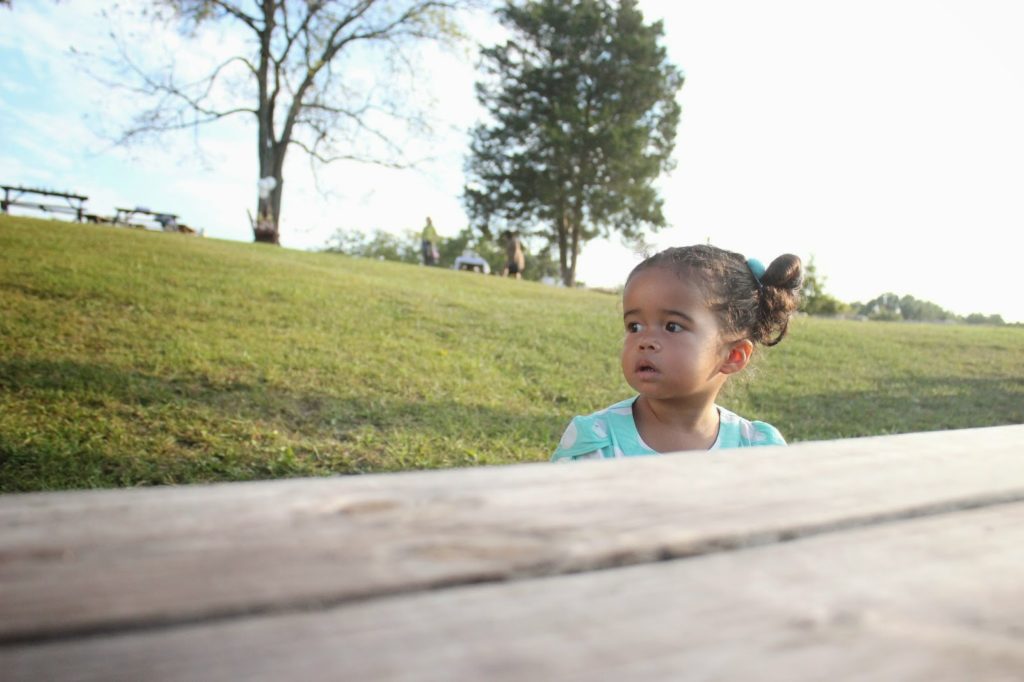
It was such a beautiful evening!! Now, its time to start gearing up for birthday no. 3… yikes!
** THE WINNER OF OUR STYLE ME PERFECT GIVEAWAY IS…….
MANDY LINTHICUM!!!!!!! WHOO HOO!!! **
CONGRATS!!! We know you will love the service, and even more importantly…. your sweet stylist!!
Thanks to all who entered!

A “WINTER WONDERLAND” BABY SPRINKLE

Our #TBT (Throwback Thursday) Party this week is a baby shower I put together for our sweet friend, Shara. Baby number two was on the way, and I wanted to do something simple, not over the top, but still oh so special. 
It was a “winter wonderland” theme with some confetti markings as well. My main focus was to have “snow” hanging from the ceiling and an amazing dessert table. It was January, so it just felt right. 
^^The invite (Rock Paper Scissors) ^^
I actually put confetti in the envelopes as well! That always a nice surprise for the recipient! yay! 
^^ I did simple mantel decor by using fake snow and cotton balls, flowers, candles, DIY anthro inspired letters and a handmade felt banner. I put modge podge on the bottom of the votive candle jars and sprinkled glitter on them to give them a little something extra. Also, the banner consists of felt flags and wooden beads from JoAnn’s that I painted an aqua blue…. shara’s favorite color.^^
^^ White flowers are just so classy to me. They ALWAYS work!! ^^

^^ The dessert bar was my favorite part! So many yummy treats, especially those Aunt Ellie’s Campfire Crispies! I mean…. seriously. ^^
^^ Hand-lettering on the chalkboard. Always fun! ^^
^^”To go treat bags” are always a good idea when you are serving lots of sweets. Guests took extras home to their kids. That is what they said at least. I am SURE that they probably had a treat or two in their car…. in private! ^^
^^ Anything you can do to make writing “thank-you” notes a little easier on a new mom really helps. I had each of the guests address their own envelope, and I had already written Shara’s address on the back as well. All she had to do was write the simple note, and put a stamp on it. Easy! ^^
My only tutorial I took pics of because I am the worst at stopping throughout my projects to take tutorial pics, as I get too excited favorite tutorial that I can share with you are the DIY color-blocked spoons I made. Pretty self-explanatory…. just tape your utensils down with painters’ tape while blocking off different sections. Paint your first color, allow drying time, move your tape and block off another section, and repeat until you get the desired look. It was time consuming, but man… I am such a sucker for little details! ^^

P.S. Tomorrow is Friday!!! WHOOP WHOOP!
-J