chalkboard lettering

RYAN AND CHRISTY’S RUSTIC WEDDING

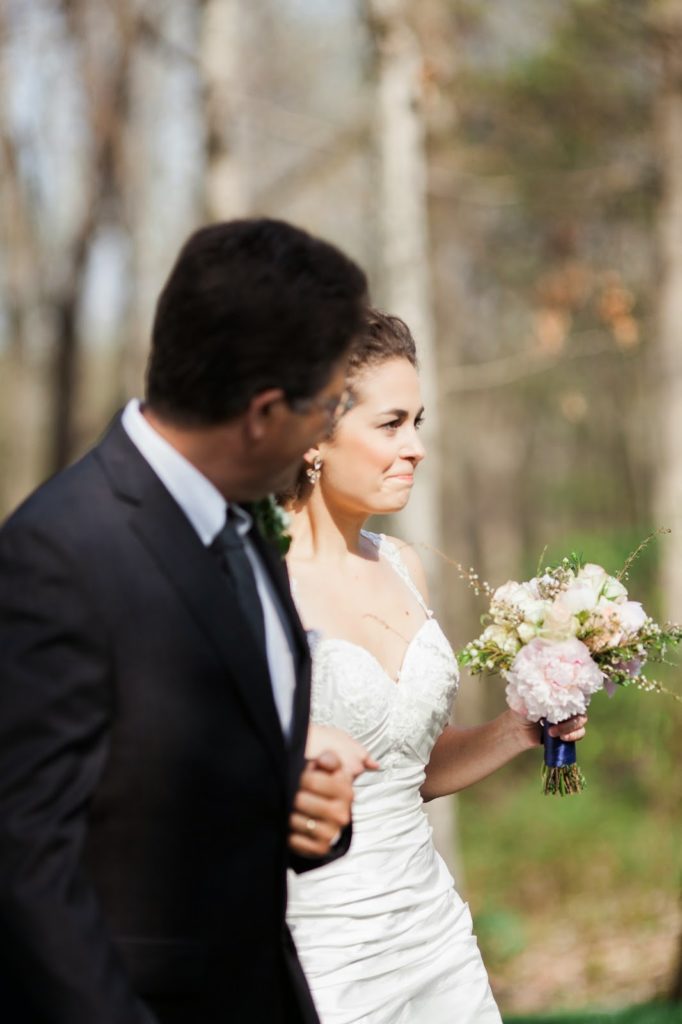
I am so excited to feature this wedding on the blog this week you guys!! I was asked to style the wedding of our dear friends back in April, and it was so much fun. Even if Ryan and Christy weren’t dear dear friends of mine and my husband’s, I STILL would have jumped at the chance because they are incredible people who also have great style already. They are just cool without trying, ya know? 
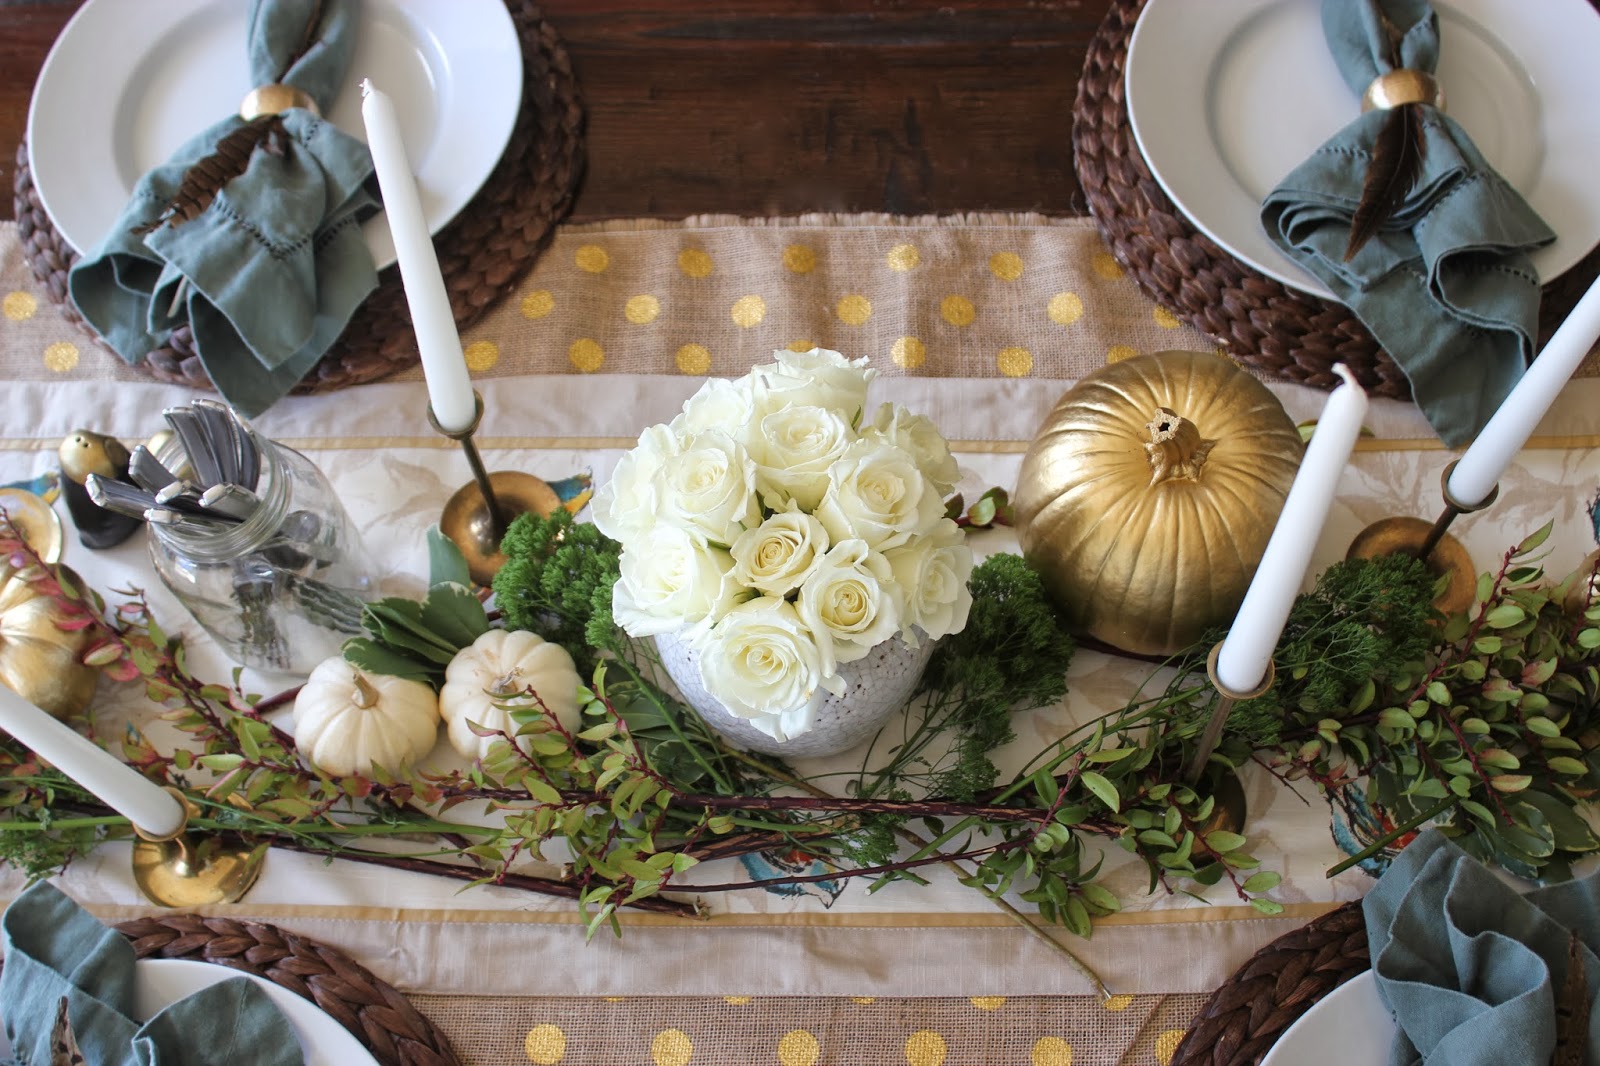
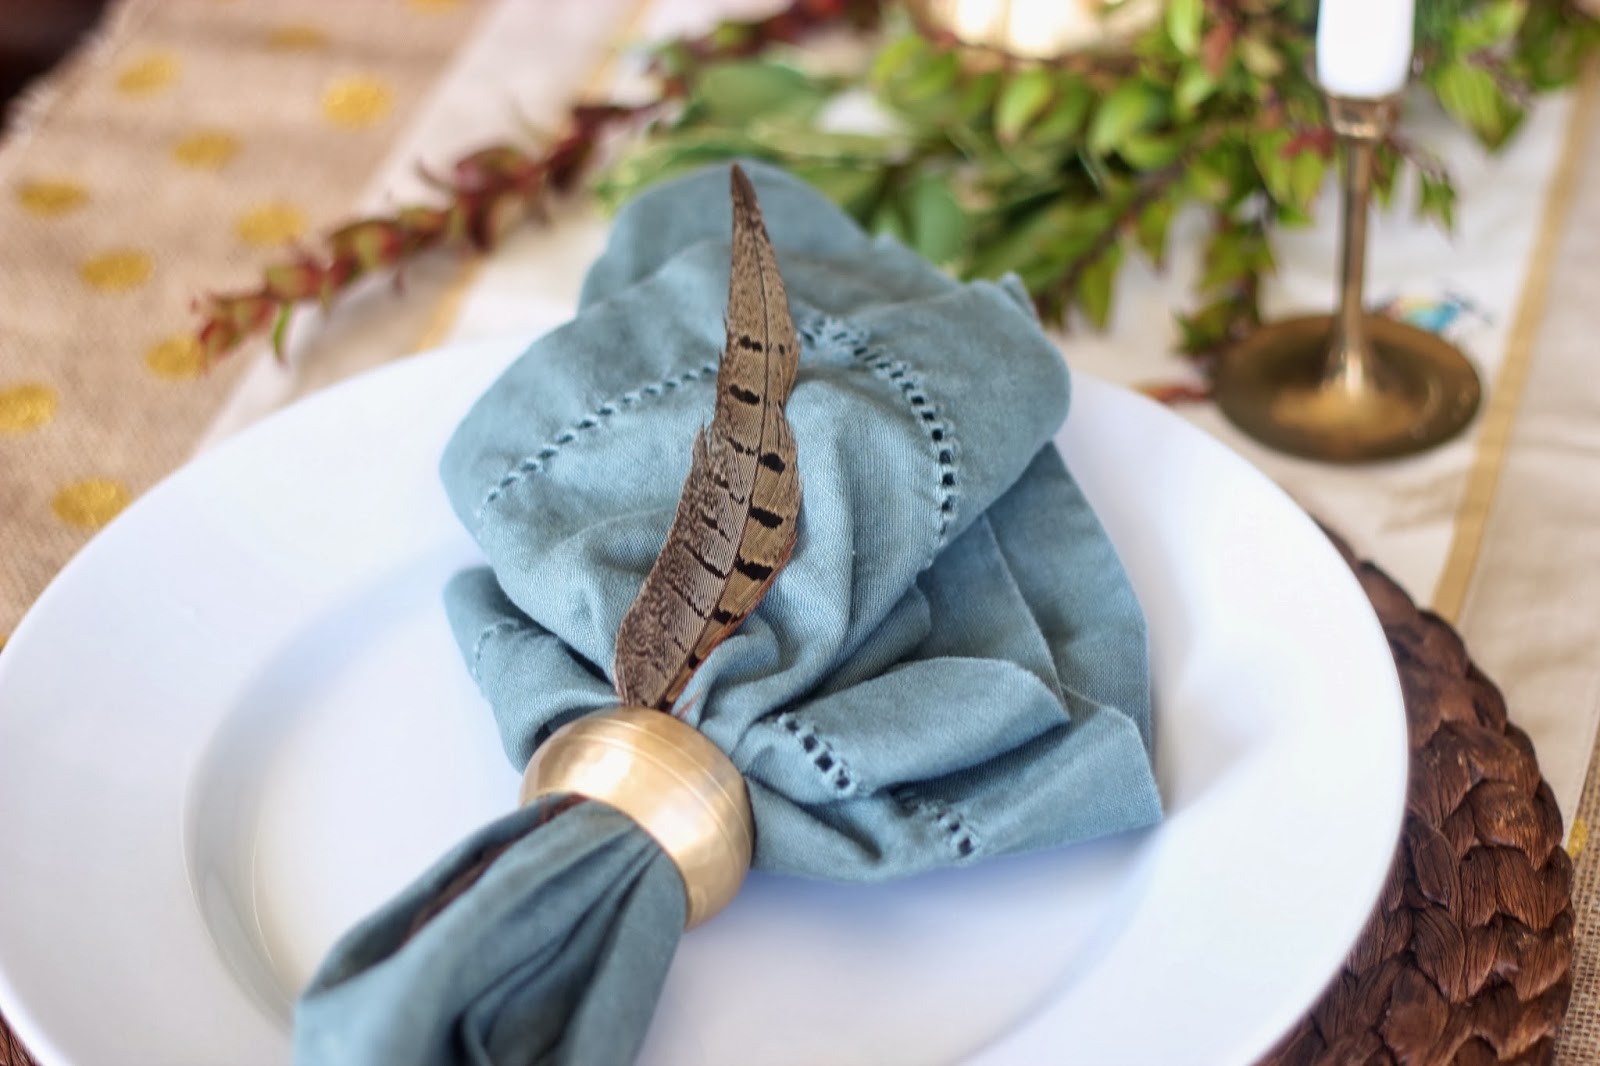
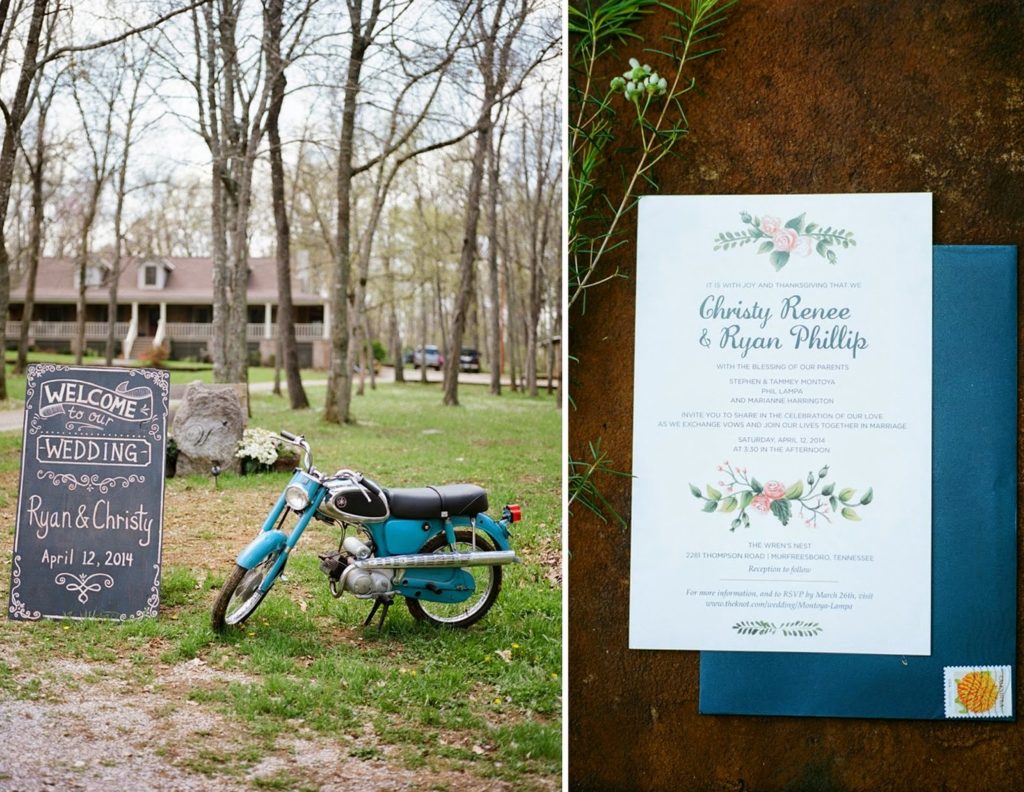
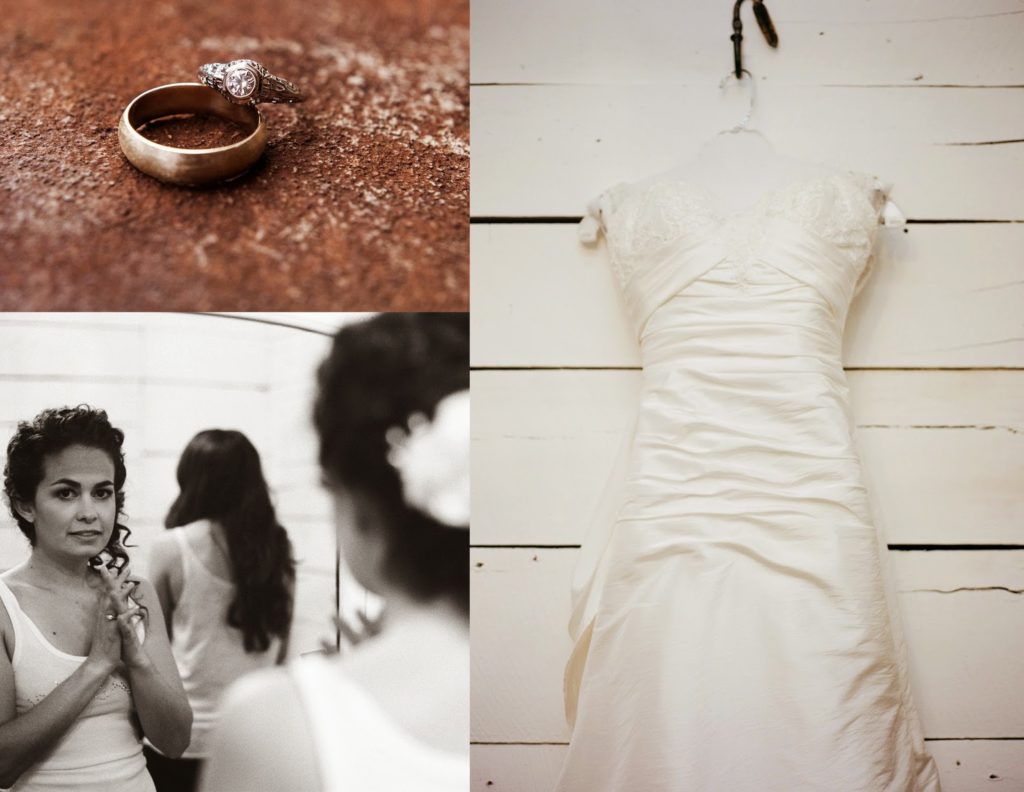
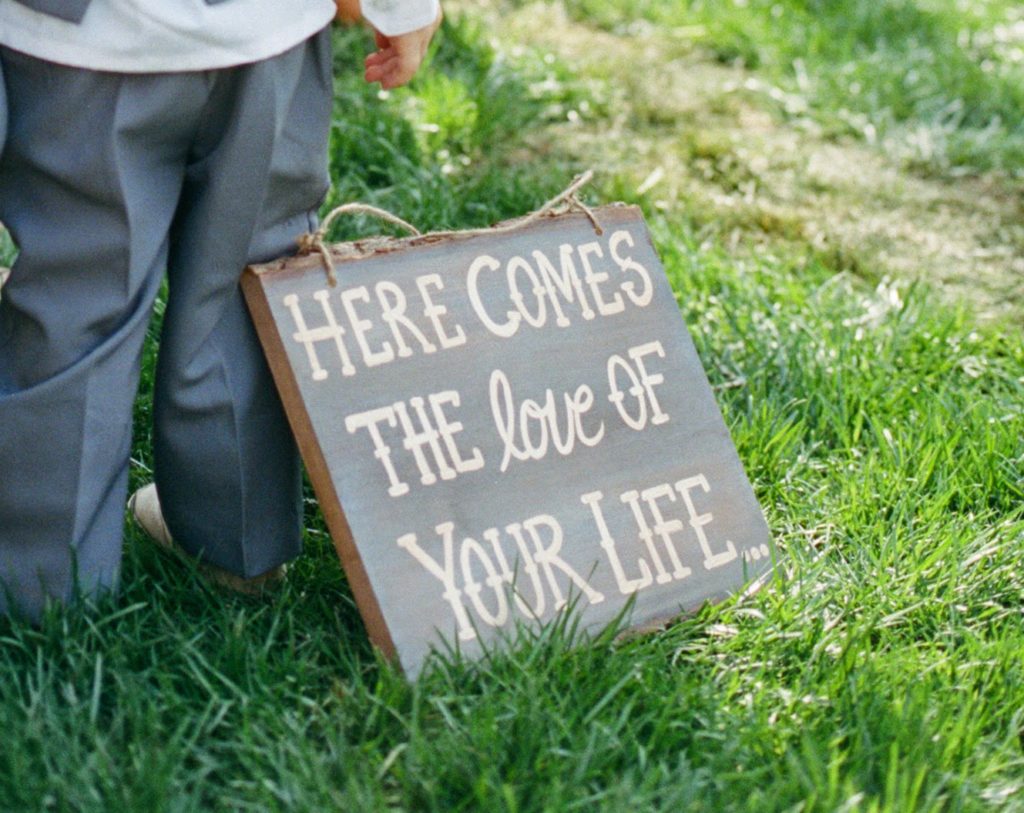
In talking to the newly engaged couple, they had very clear visions of what they wanted. My job was to just make it come to life. The ladies on Christy’s side of the family had lots of their own creative juices flowing, so I felt like I got to come in and just “touch up” and add to what was already beautiful. The term “rustic chic” is very overused, but that is what we were going for, haha! Lots of brass, peaches and creams, navy and other natural looking textiles. The most important thing to the couple was that they married in the middle of a “forrest”. They wanted nothing but trees and guests attending the ceremony. It was a genius idea, and made the entire ceremony so captivating.
 There are so many beautiful pictures to share, that I decided to break this feature up into two posts! So, I guess you will just have to check back tomorrow to see how this beautiful day unfolded. 
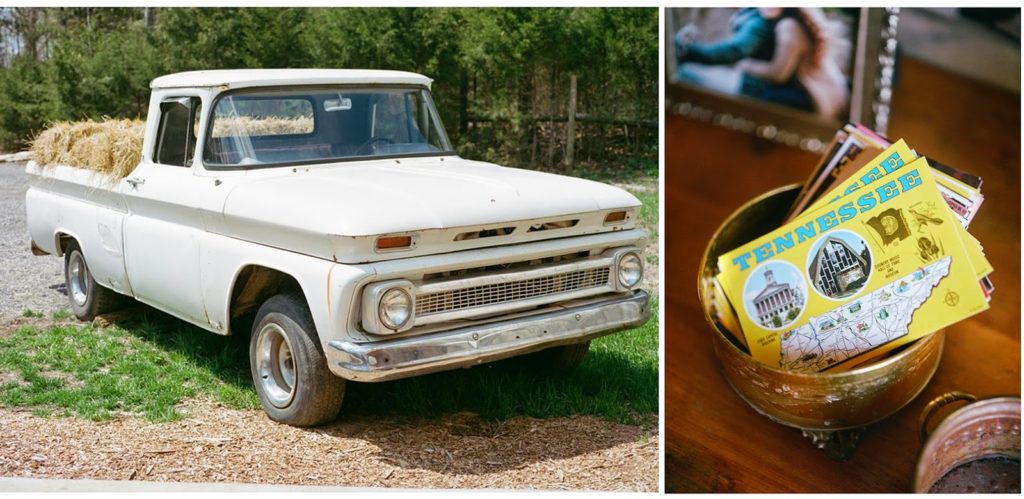
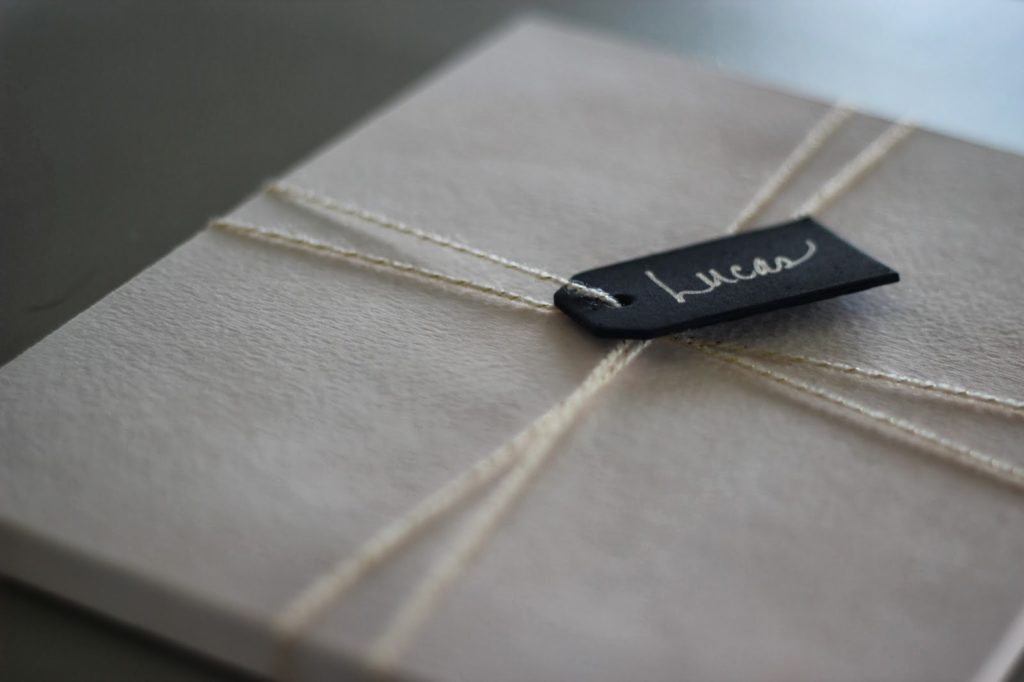
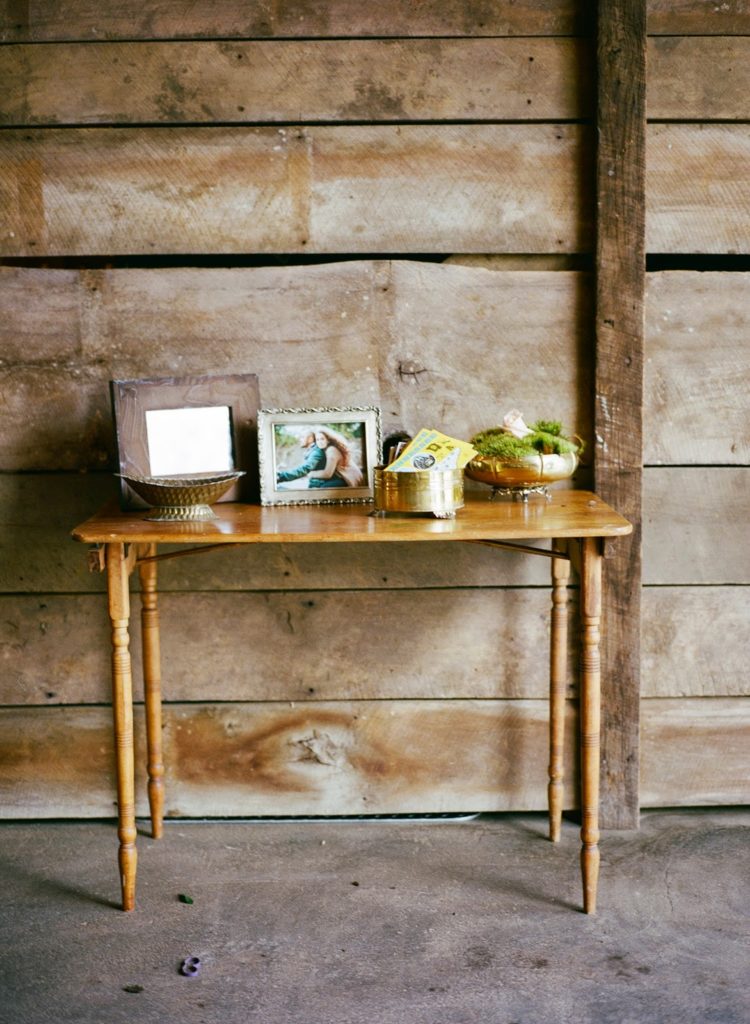
The couple decided to use Nashville postcards for people to write on as their guestbook. 
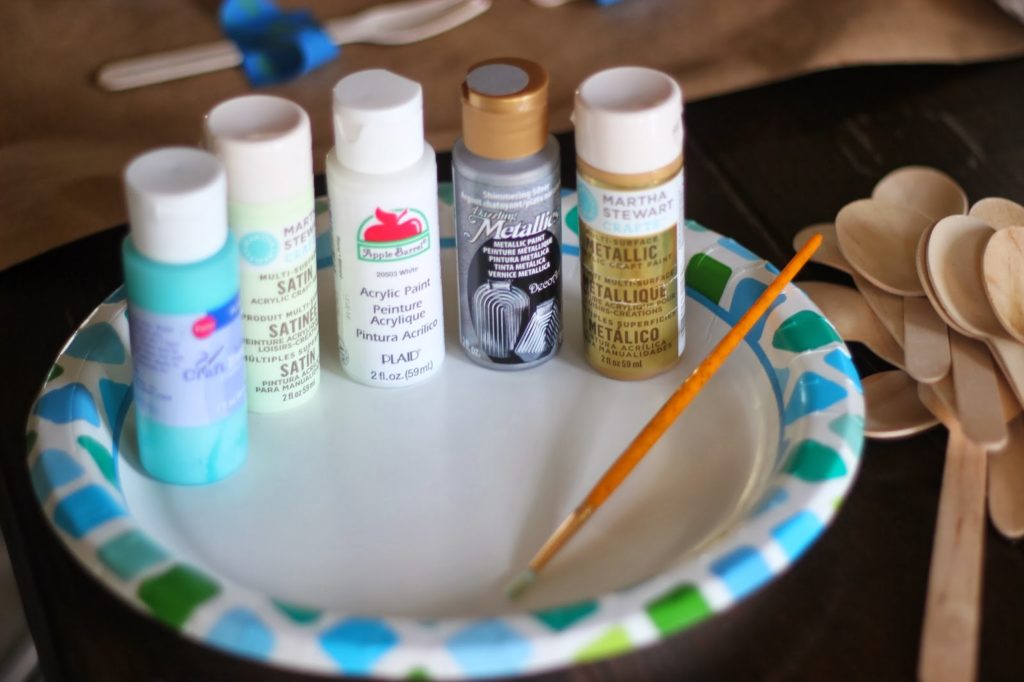
Christy (along with friends and fam) were on the hunt for months leading up to the wedding looking for brass containers and candlesticks ( which you will see more of tomorrow….eeeeek)!
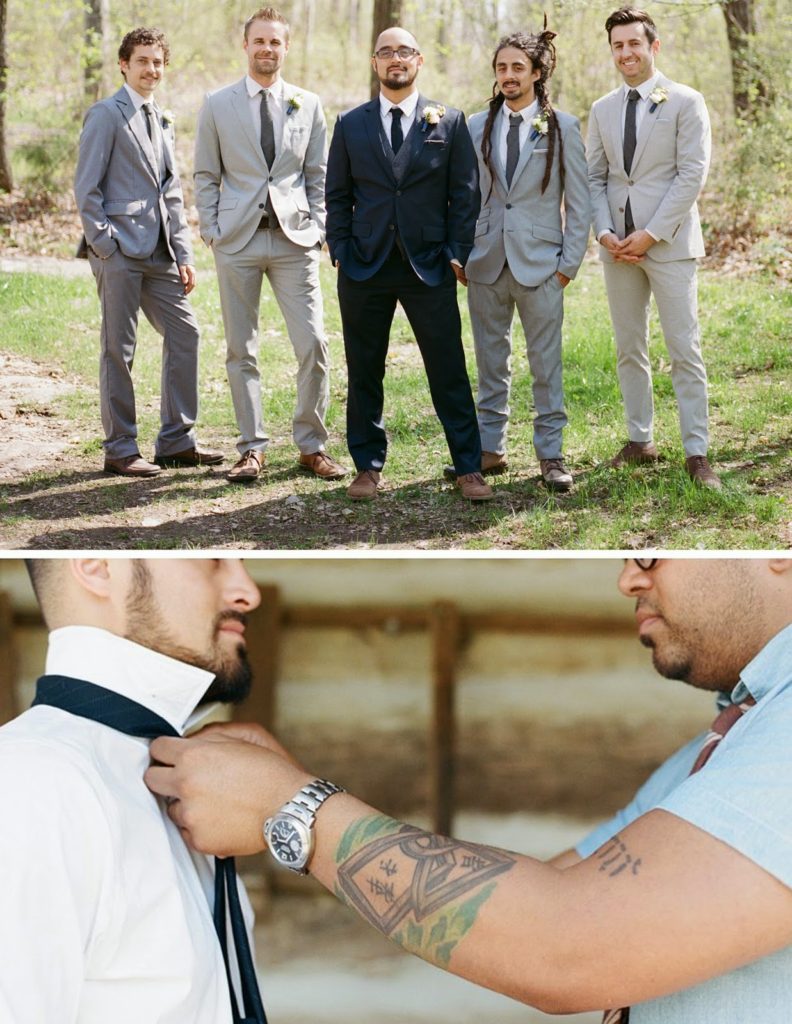
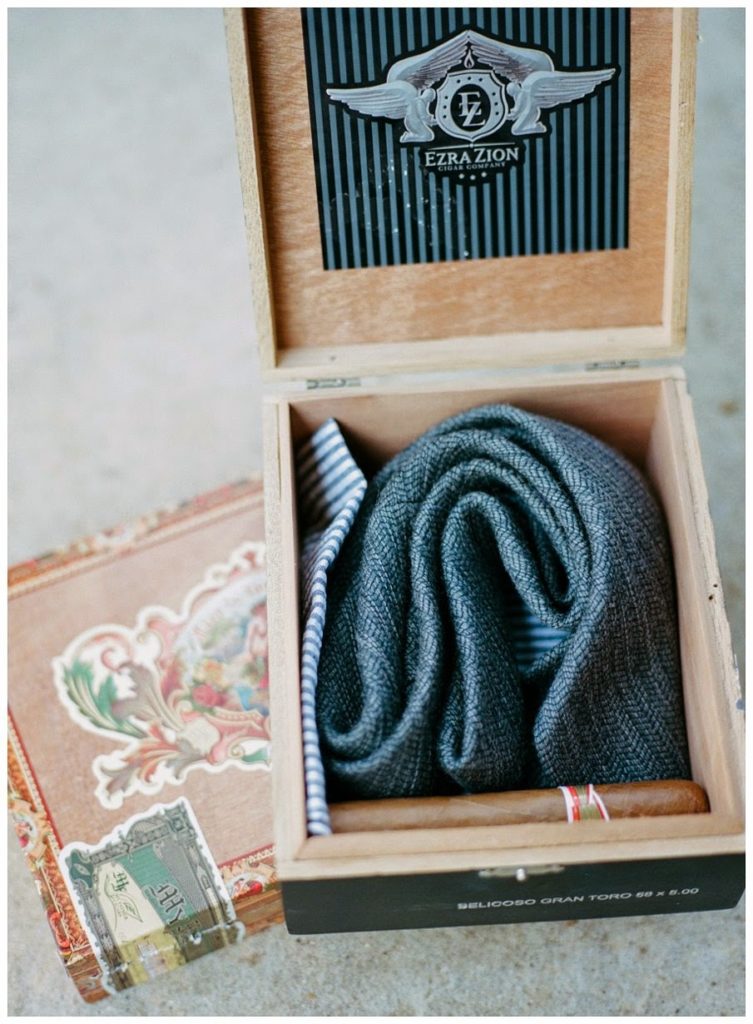
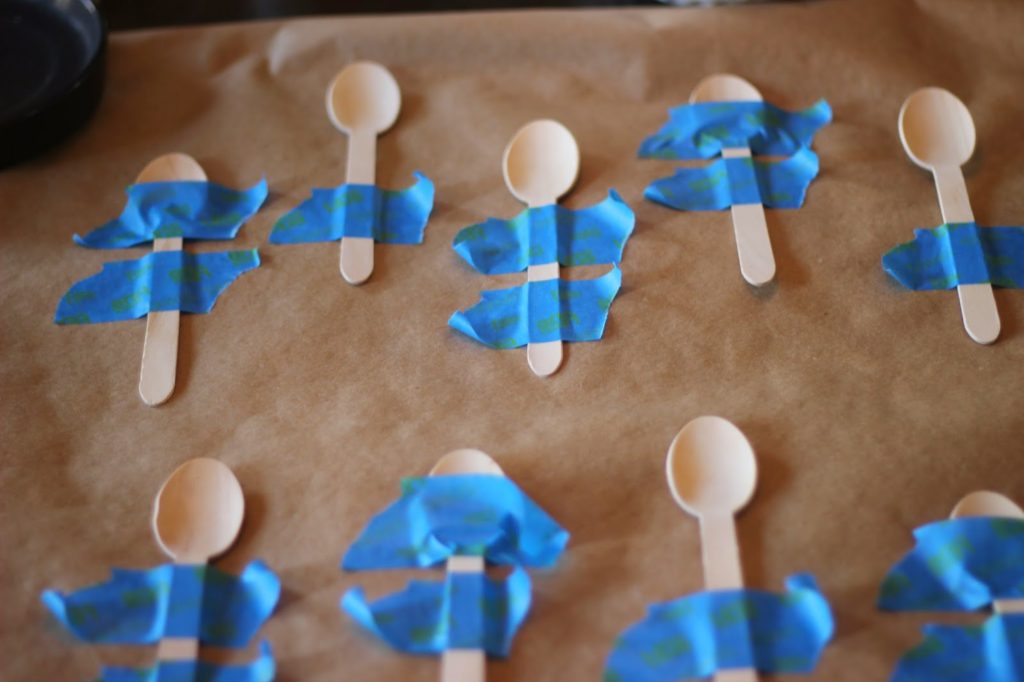
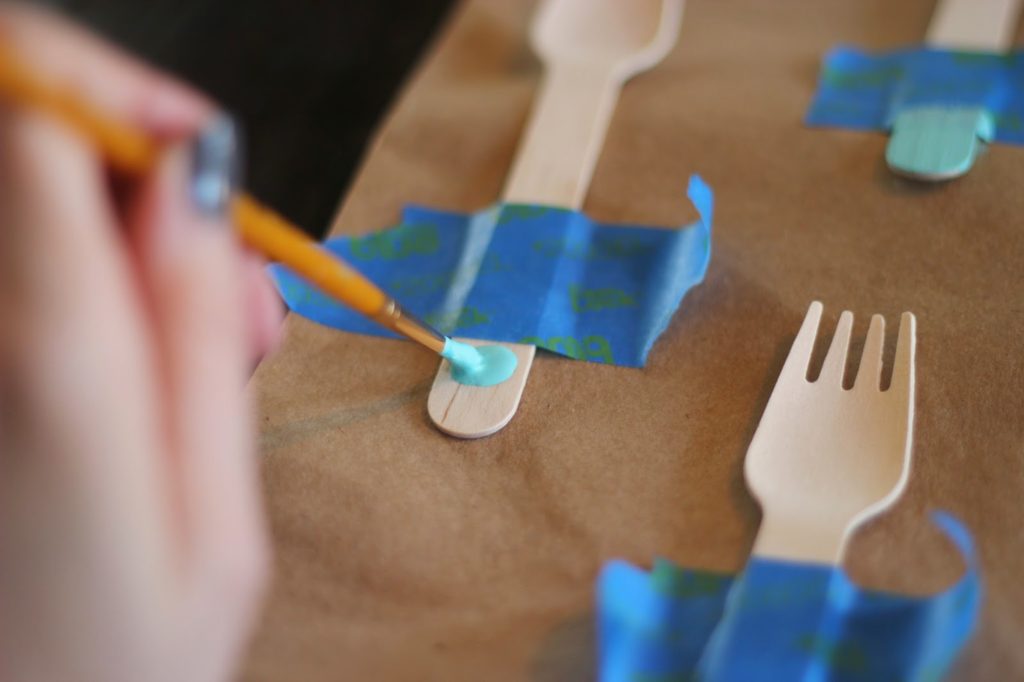
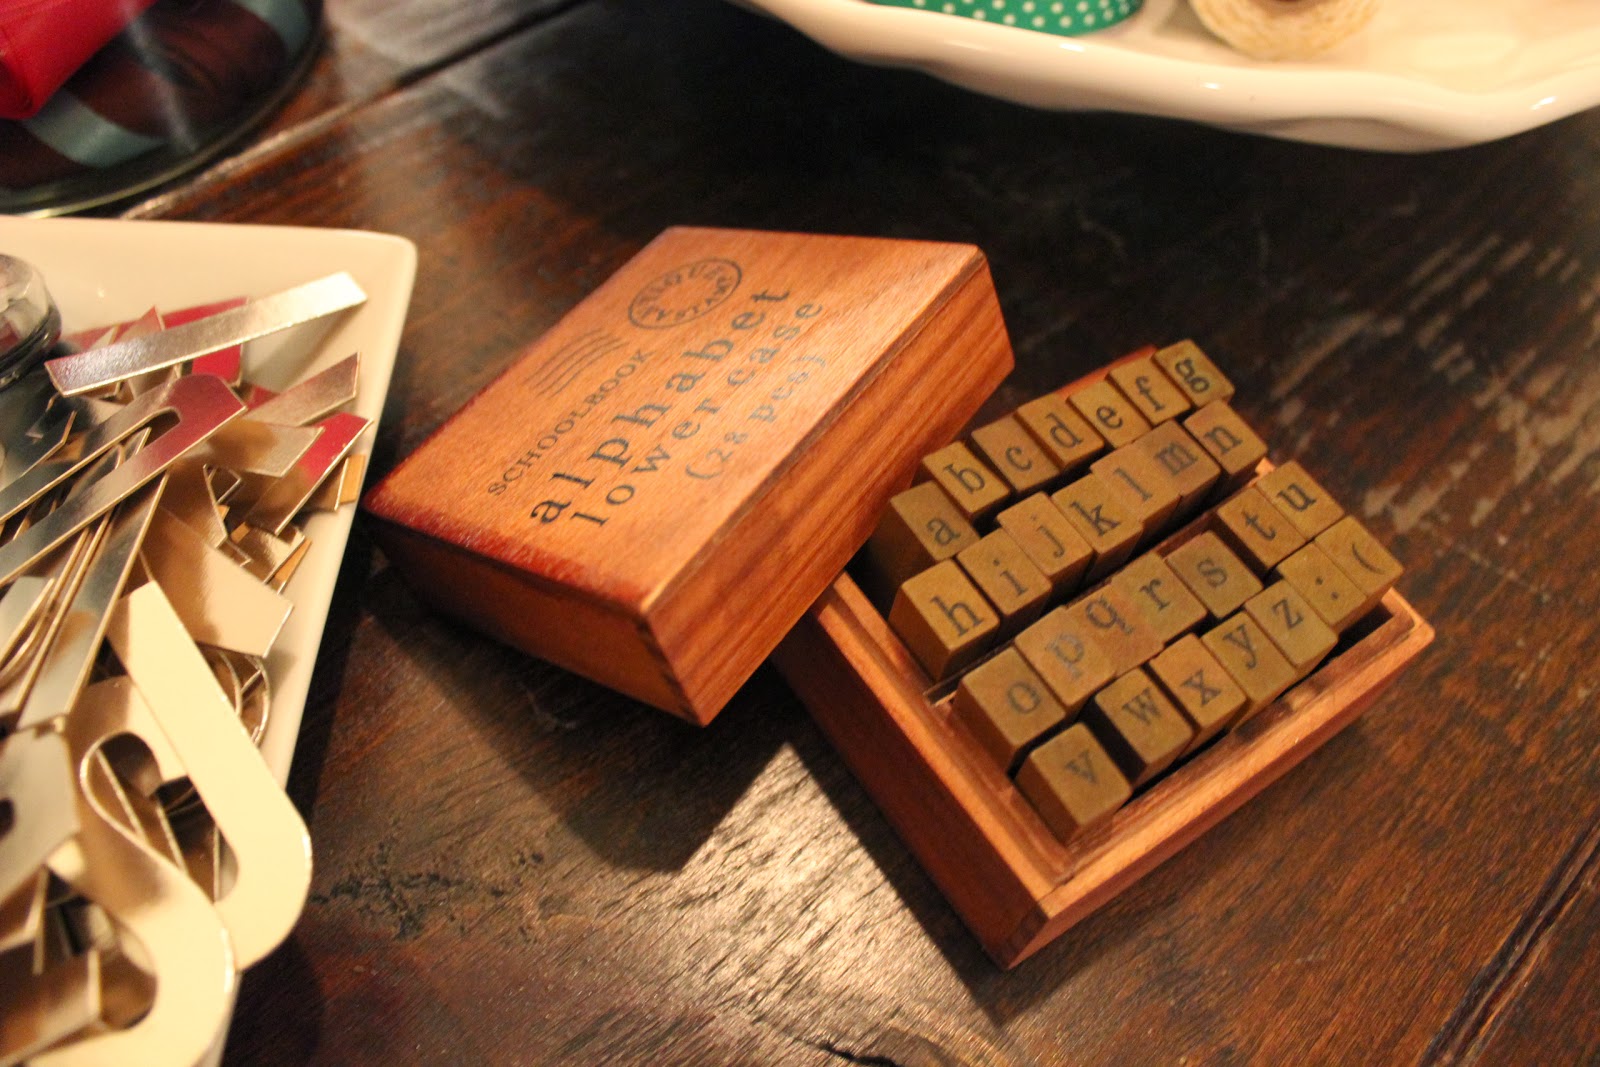
We decided to use old cigar boxes that the groom had on hand to present the groomsmen with their ties and a pre-wedding cigar.
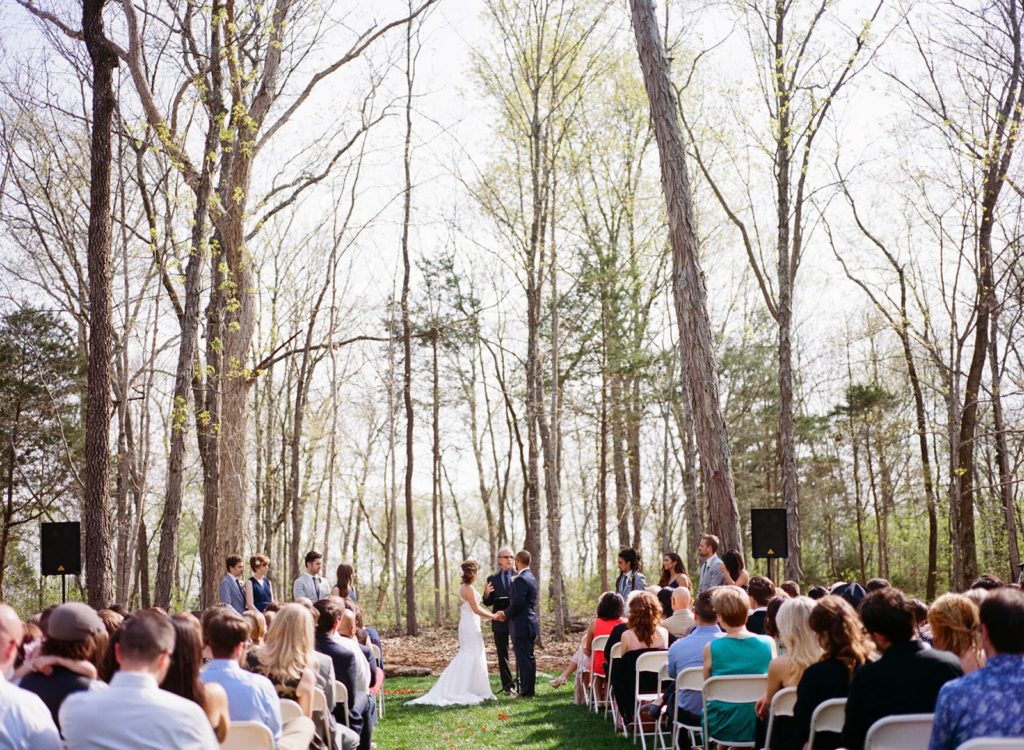
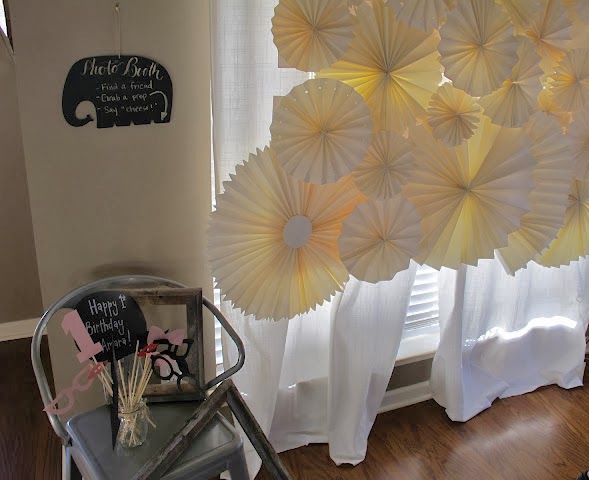
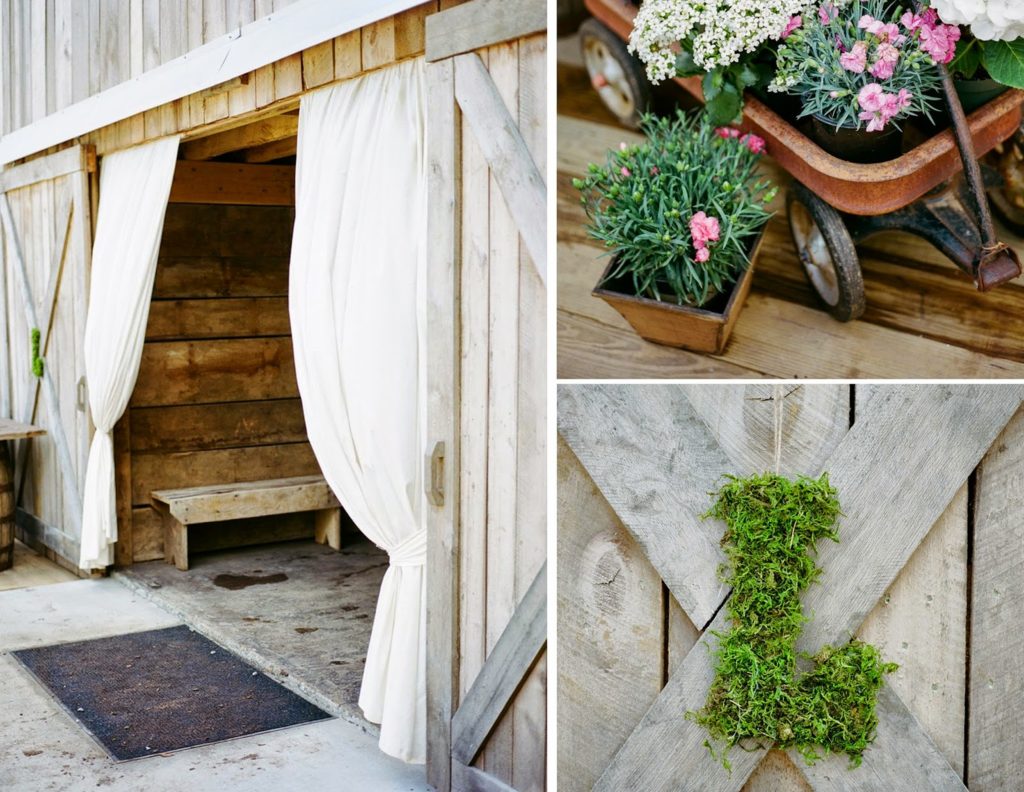
Isn’t that backdrop stunning? We think so!
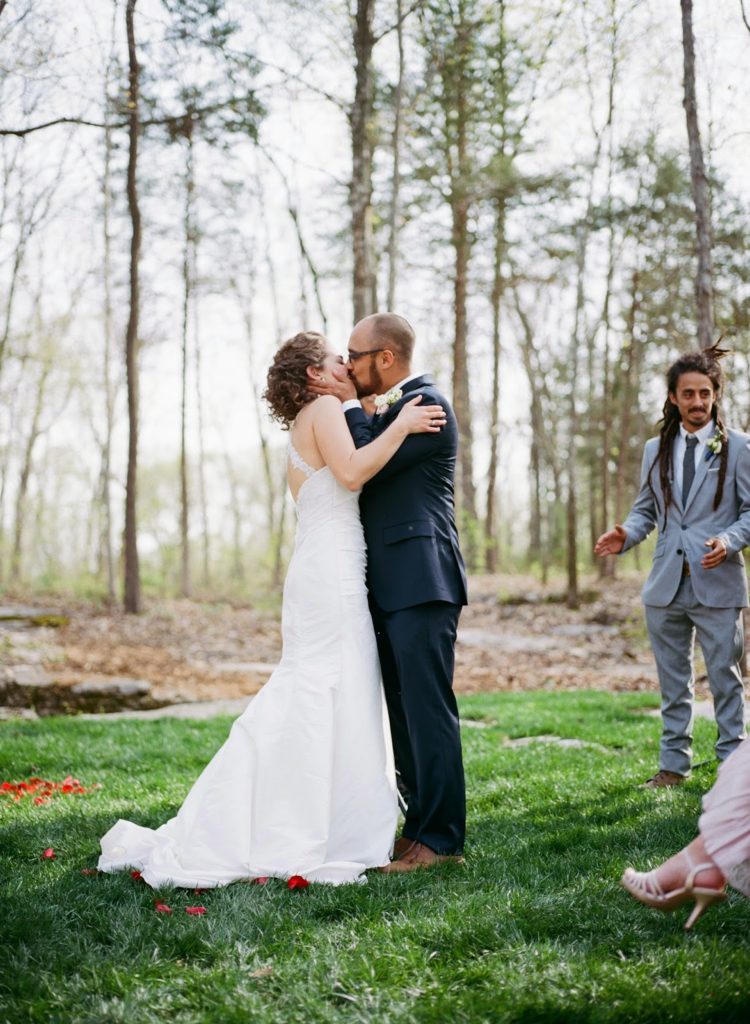
Beautiful photos by: Kristin Sweeting Photography
See part TWO of Ryan and Christy’s wedding HERE

A “WINTER WONDERLAND” BABY SPRINKLE

Our #TBT (Throwback Thursday) Party this week is a baby shower I put together for our sweet friend, Shara. Baby number two was on the way, and I wanted to do something simple, not over the top, but still oh so special. 
It was a “winter wonderland” theme with some confetti markings as well. My main focus was to have “snow” hanging from the ceiling and an amazing dessert table. It was January, so it just felt right. 
^^The invite (Rock Paper Scissors) ^^
I actually put confetti in the envelopes as well! That always a nice surprise for the recipient! yay! 
^^ I did simple mantel decor by using fake snow and cotton balls, flowers, candles, DIY anthro inspired letters and a handmade felt banner. I put modge podge on the bottom of the votive candle jars and sprinkled glitter on them to give them a little something extra. Also, the banner consists of felt flags and wooden beads from JoAnn’s that I painted an aqua blue…. shara’s favorite color.^^
^^ White flowers are just so classy to me. They ALWAYS work!! ^^

^^ The dessert bar was my favorite part! So many yummy treats, especially those Aunt Ellie’s Campfire Crispies! I mean…. seriously. ^^
^^ Hand-lettering on the chalkboard. Always fun! ^^
^^”To go treat bags” are always a good idea when you are serving lots of sweets. Guests took extras home to their kids. That is what they said at least. I am SURE that they probably had a treat or two in their car…. in private! ^^
^^ Anything you can do to make writing “thank-you” notes a little easier on a new mom really helps. I had each of the guests address their own envelope, and I had already written Shara’s address on the back as well. All she had to do was write the simple note, and put a stamp on it. Easy! ^^
My only tutorial I took pics of because I am the worst at stopping throughout my projects to take tutorial pics, as I get too excited favorite tutorial that I can share with you are the DIY color-blocked spoons I made. Pretty self-explanatory…. just tape your utensils down with painters’ tape while blocking off different sections. Paint your first color, allow drying time, move your tape and block off another section, and repeat until you get the desired look. It was time consuming, but man… I am such a sucker for little details! ^^

P.S. Tomorrow is Friday!!! WHOOP WHOOP!
-J

AMARA’S FIRST BIRTHDAY

For our “throw back thursday” series, we are revisiting my daughter’s first birthday party. I had ideas and color schemes running through my head since before her birth. The party was held in September, which makes for such lovely weather here in TN….usually. It is also my birthday month, so it is just an all around happy time of celebration for us. I knew I wanted to hand make the invite rather than get something printed, create a pinwheel photo booth backdrop, and use peach and mint in my color scheme. Thats it! 

^^ The invites were my FAVORITE part of the celebration. I ordered mini chalkboards, painted and cut each envelope out of watercolor paper and did a peach ombre water color, and sweet Leah did beautiful hand lettering on every. single. invite! Then, we finished it off with a photo envelope liner. I believe we did that for 28 or so. Then, I attached a chalkboard tag with some gold and cream yarn. The most special part, for me, was that they were each hand delivered. I just feel like your invite sets the tone for the entire party, and I wanted it to be special, and for each of our guests to know just how much it meant for them to be there, and how much time was taken to make their invitation a beautiful one. ^^
^^ I found doilies in the dollar section at a local craft store, and folded them over a piece of yarn, and voila. I didn’t want to take them down after the party because they made my yard look so pretty! ^^
^^ My sweet friend, Lori, covered an “A” in moss. I just wanted a little something to set outside of the door. ^^
^^ Yarn wrapped letters are a favorite of mine. I set out some of Amara’s favorite books with a pair of her baby shoes to add some sweet touches. I finished off the mantle with a ribbon – esque garland. Mine were just strips of fabric from Wal-Mart. Believe it or not….it was the only place where I could find the perfect shades of peach and mint. ^^
^^ This pinwheel backdrop was such a labor of love for me. It was a LOT of work, but I absolutely loved how all of the photo booth shots turned out. I think I cried when I was forced to break it down and throw it out. I need a studio so I can hoard all of my labors of love, right? haha! ^^

^^ My husband put together a one year video to show at the party, and to hand out as party favors. We took our cake outside and sat around some hay bales that we bought for the party ( which stayed in our yard for a good two months after the party). It was perfect. We just hung a white sheet off the side of our pergola, and borrowed a projector from our neighbor. ^^
^^Leah and I with our littles!^^

THAT’S A WRAP! [PART 1]

It is nearly impossible to make it through December without hosting or attending a holiday party of some kind. We decided to be on the hosting end this year, and throw a wrapping party. Wrapping gifts and eating every holiday treat out on the market is truly our idea of the perfect night! 
Cocoa drizzled popcorn cups with peppermint Oreos!

Wrap buffet…
We served Prosecco and peppermint hot chocolate. We are so in love with these drink toppers. Wouldn’t they be perfect for a NYE party as well!?!

Our bestie, Lauren of Rock Paper Scissors, came with these beautiful and tasty antipasto skewers.

No cup of hot chocolate is complete without christmas tree marshmallows. 
We placed mini ornaments (found in the Target dollar section) in shot glasses to add to the “buffet/bar” theme. They just looked so pretty!
You can find these little guys almost anywhere. We got ours from the dollar section as well. We spray painted him gold, and added a festive Santa hat. 

We are so in love with this garland, it pains me to think of taking it down in a couple of weeks!
(Tutorial coming this week incase you would like to make one of your own!)
Remember that large branch that adorned the top of my Thanksgiving tablescape? Well, I kept it around and hung “falling snow” and a couple of snowflakes on it. Just string cotton balls onto fishing line, and voila! So easy, but so beautiful we think!
Our finished products coming up in the next post!
We hope you all are enjoying your holidays and spending time with the people you love so dearly! It truly is the most wonderful time of the year! 

MODERN THANKSGIVING TABLESCAPE

One day until our Thanksgiving feast, and my table is already set! I may be a little excited. Creating a tablescape is my absolute favorite part of Thanksgiving ( well, second favorite to devouring all of the delicious food).
This year, I tried to use things that I mostly had on hand. I couple of Thanksgivings ago, my mom purchased some beautiful linen napkins from Pottery Barn. They weren’t cheap, but I just HAD to have them. Therefore, I owe them several appearances on my table. I absolutely love the dark teal color, and really wanted to create a table around that color with hints of gold. 
I spray painted pumpkins with a metallic gold spray paint, which has to be the easiest project ever. It makes such an impact too! I purchased some brass candlesticks a couple of years ago at a thrift store, and this is my first time using them! Sometimes you just have to wait for the perfect time to pull things out, ya know? I also had a gold dotted burlap runner from a previous event I hosted. I purchased a set of salt and pepper shakers and a Threshold runner from Target. I put the final touches on the table with some greenery, roses and pheasant feathers. Now we are ready to stuff our faces!

I hand painted a small “say grace” print with water color. I think it may be a permanent framer for my dining room.

My favorite part of my Thanksgiving decor is the floating branch above the table. I found it on the side of the road while on a walk with my daughter. I strung it up with fishing line and commando hooks. I am really considering leaving it up and stringing “snow” from it for winter, so this may not be the last you see of it.

Happy Thanksgiving everyone!
-J