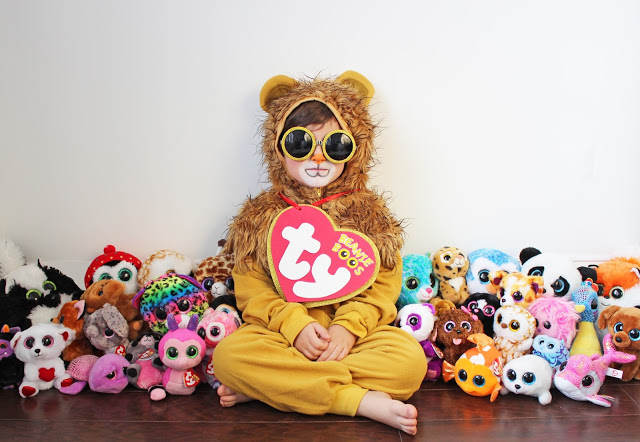
My kid has a ::small:: obsession with Beanie Boos. Anyone else get asked EVERYWHERE they go to buy one? Because they’re literally everywhere. At Walgreens, at the craft store, at book stores, gah! Those glittery gigantic eyes follow me everywhere! No really, they’re pretty freaking cute, and I must admit I get into when their birthdays are etc. Okay! Okay! He sold me on them!
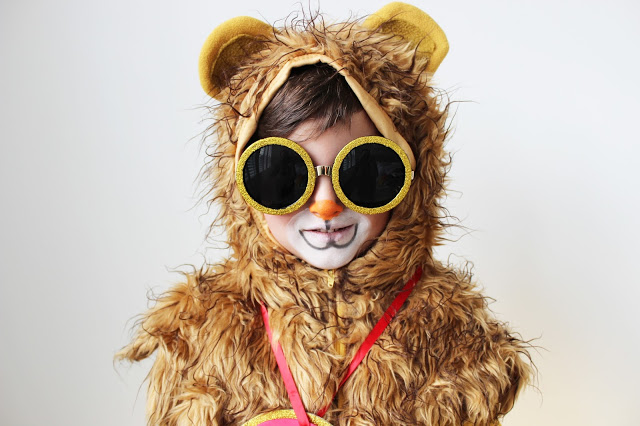
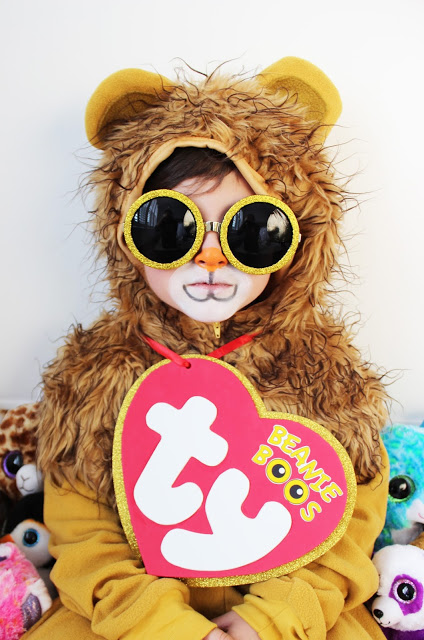
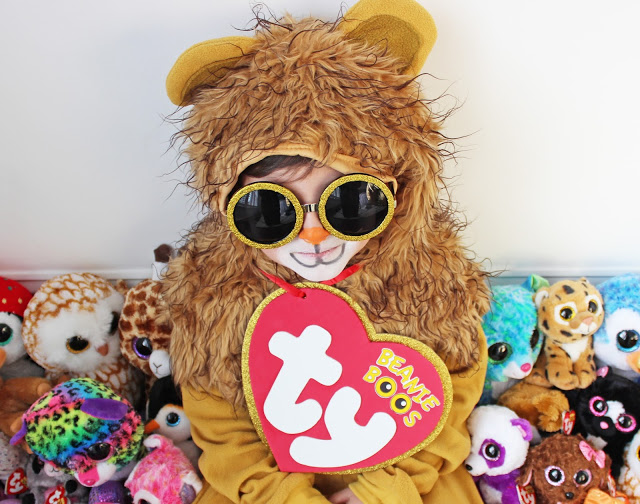
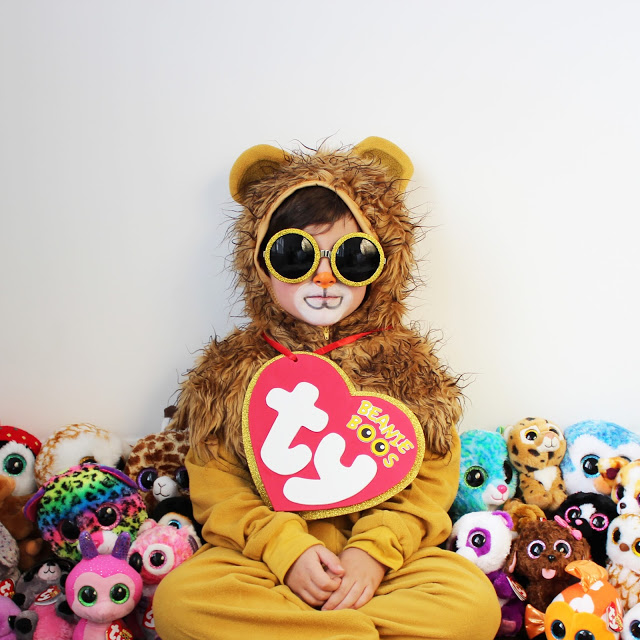
Naturally his Halloween costume would have to be a Beanie Boo. There are very few animal onesie costumes that don’t already have a face or eyes on them. This lion costume is from Party City- it’s actually the Cowardly Lion from Wizard of Oz with the badge snipped off. So that part was easy.
Scroll down for the tutorial, free printable, and links to purchase supplies!
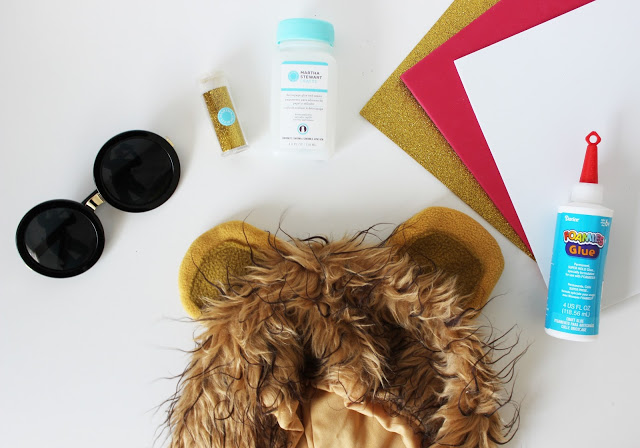
What you need (click each item for links)
Hole Punch
TAG
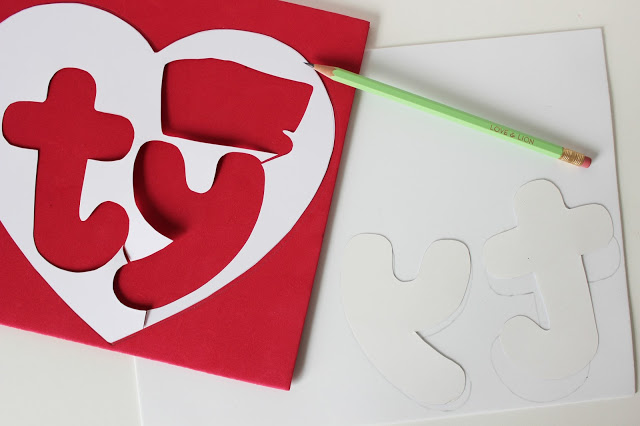
Download the Beanie Boo tag HERE and just print one sheet.
Trace and cut around each shape- outer heart, inner heart, t, y.
Cut carefully around “Beanie boos”.
Using your foam glue, attach the foam pieces: larger heart in gold on the bottom, then red, then letters.
Punch a hole in the corner (you may have to lift up the red part while it’s not totally dry and do separately since it’ll be pretty thick.
String a red ribbon through the hole and make a necklace.
GLASSES
I made him regular glasses for night time since it would be too dark to trick or treat with sunglasses on!!
Paint the outer rim carefully with glitter glue.
Glitter over a piece of paper so that you can funnel it back into your glitter tube when you’re done. Let dry completely.
Paint over one more glue coat and let dry.
FACE PAINT
Add as much or as little (maybe just the nose!) as you want.
“Mommy, I bet people can’t tell which one I am”.
xo
-L
