ornament

VALENTINES DAY BREAKFAST AND CRAFTING FOR LITTLES: YOU’VE GOT MAIL!

Here is a simple Valentine’s Day breakfast and card making morning for your littles! We picked up most of these goodies from Target and Michaels Craft stores- just goes to show you what you can create with store bought items and just a touch of DIY.
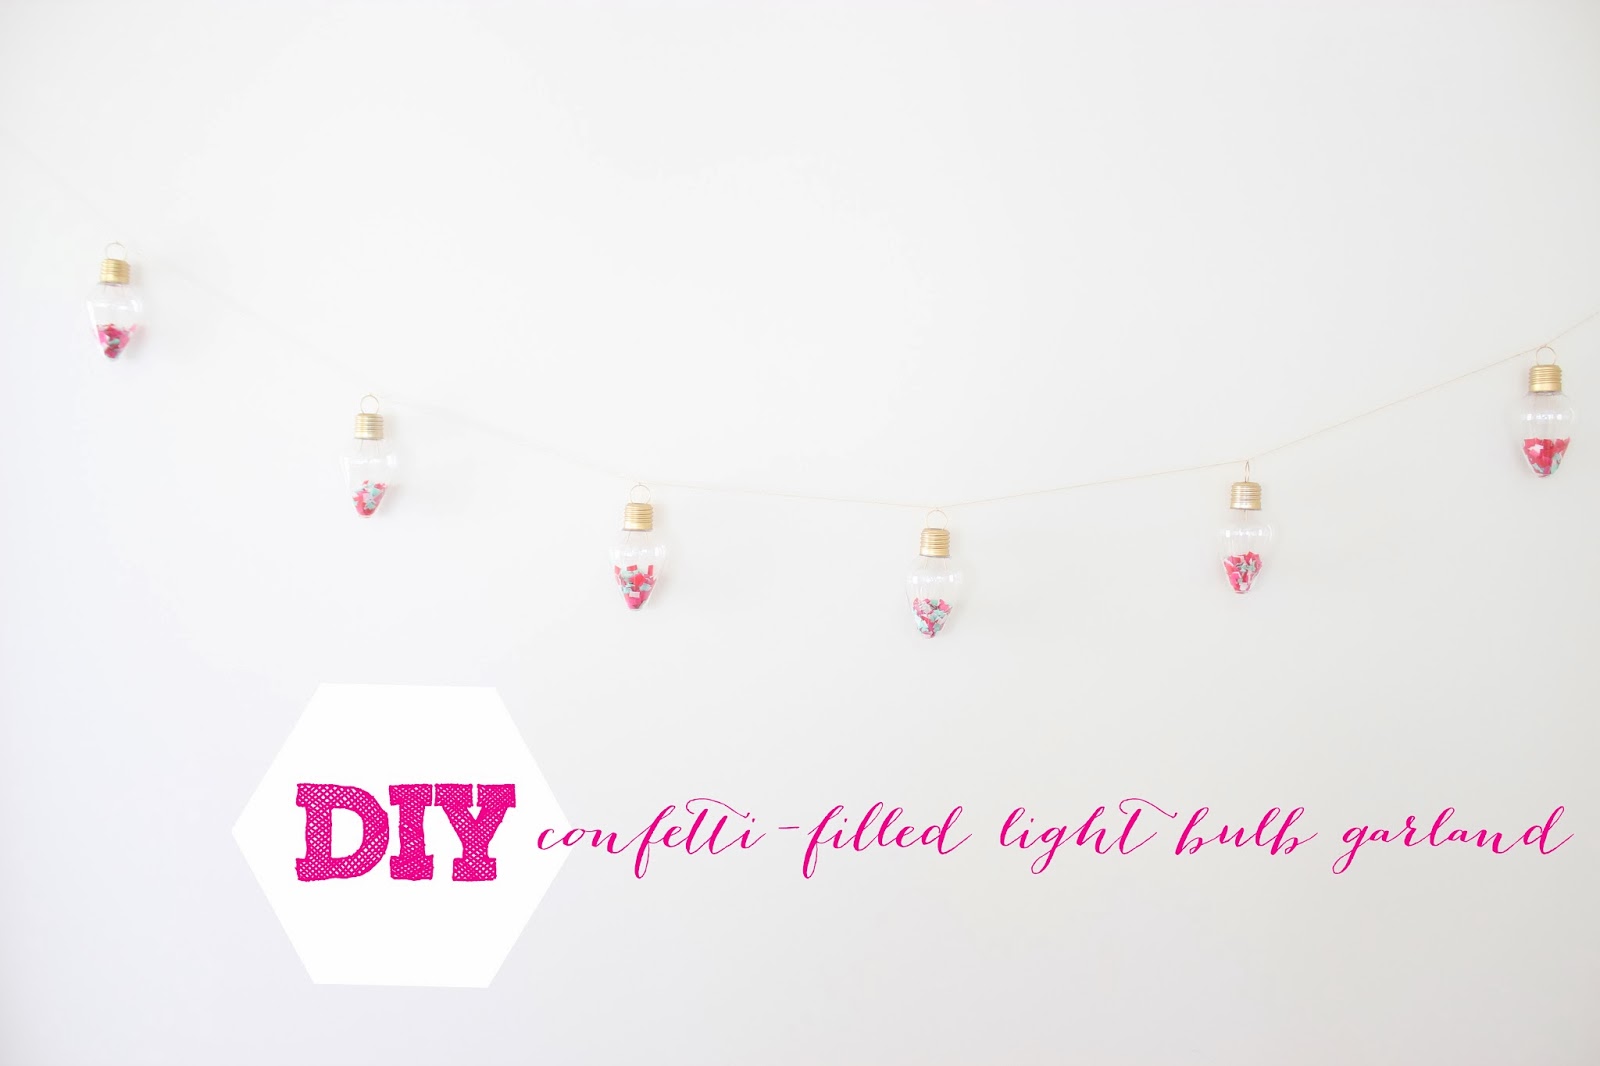
Scroll down to the bottom for a DIY on this simple heart ornament.
We used fiber fill for the clouds and used THIS tutorial for the paper airplanes.
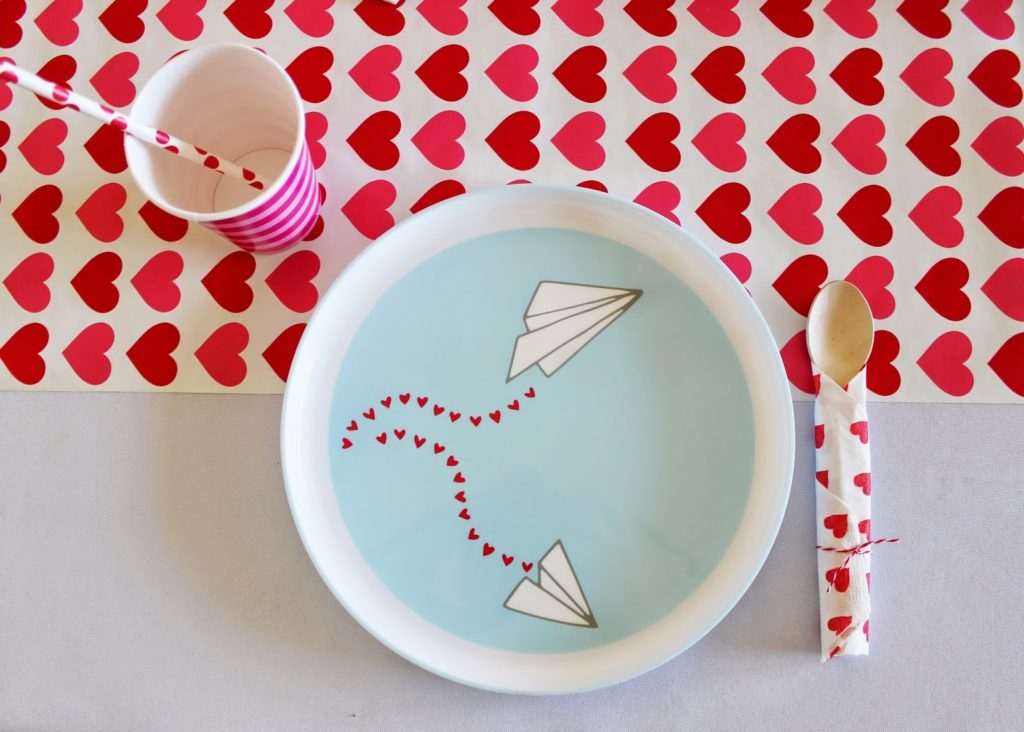
Straws, cups, plates, and napkins from Target.
Wooden scoops by US! Convo us on ETSY to purchase!
Michaels Craft store had the banner blank- we just added letters! We rummaged through our craft drawers and found lots of card-making supplies for the kiddos.
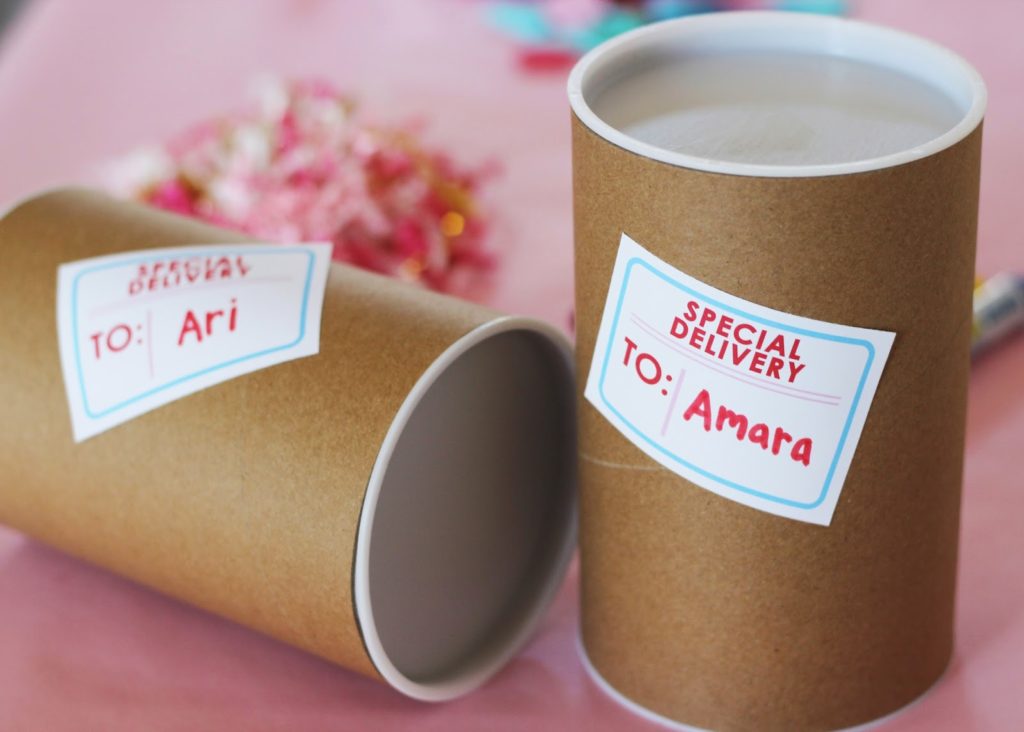
Fill mini shipping tubes from Michaels with crafting supplies! 
Download “Special Delivery” labels HERE.
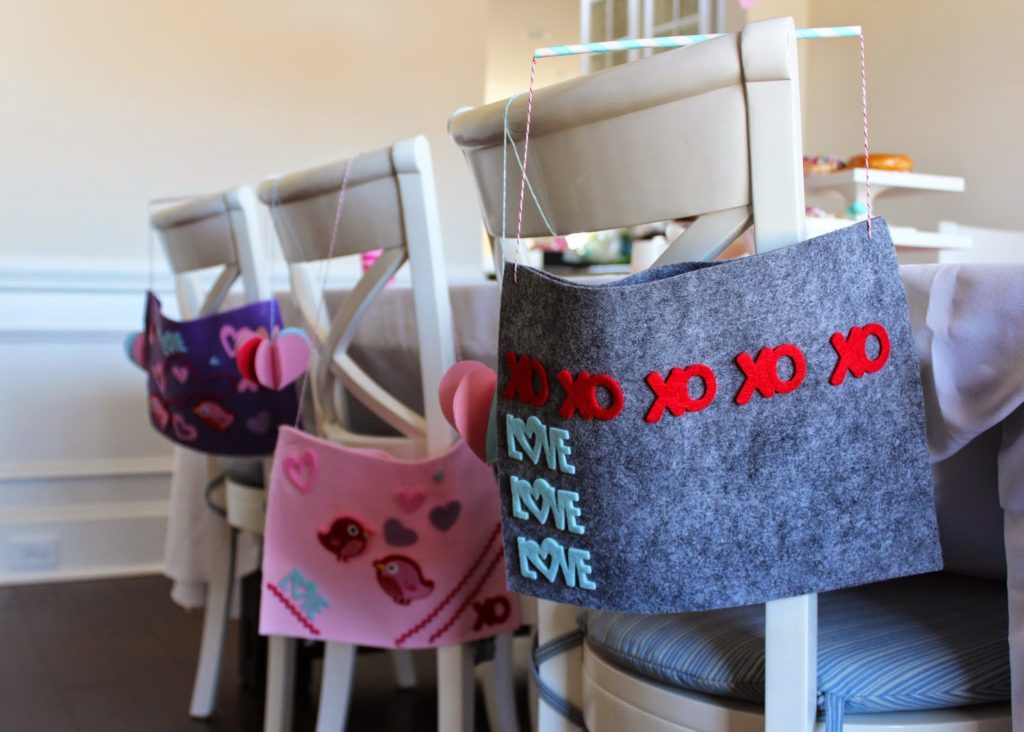
Have your littles decorate mailbags – tutorial HERE.
HEART ORNAMENT TUTORIAL:
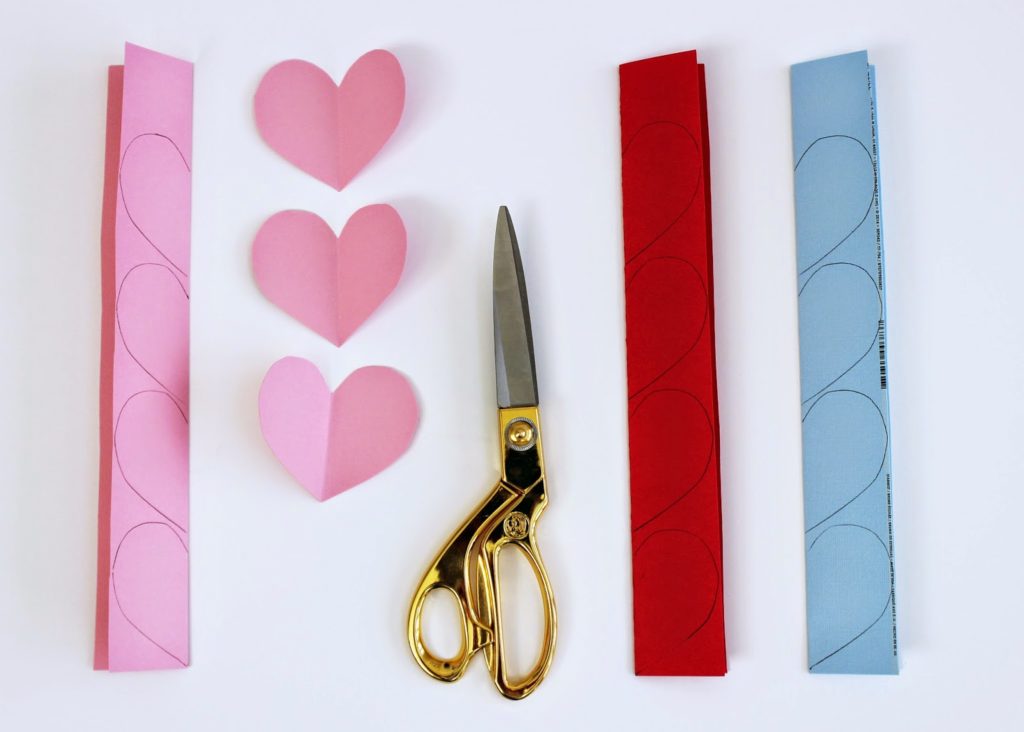
First make a heart template: fold a piece of paper in half, cut out half of a heart shape. When you unfold it, it should be a symmetrical heart. Fold colorful paper strips in half, fold your template in half and trace on the folded paper strips. (All of the hearts need to be the same size for this to work). 
 Use double stick tape to put the hearts together back to back. We used 6 or 7 hearts per ornament.
Stop half way through to tape the string in the middle.
Voila!
We hope you and your littles have a SWEET and fun Valentine’s Day breakie!

DIY DOOR MONOGRAM

Some say I’m a hoarder (Jenni), some say I’m lazy (me), but I think we can all agree this DIY I did last year was worth keeping, right? It was so easy that I wanted to share with you again. And I haven’t gotten around to decorating my mantle yet… so….here ya go.
See the full tutorial HERE that I used for Ari’s room. Just switch out the junk keepsake treasures for ornaments. Obviously 🙂
Up for next week: more holiday gift guides and holiday style posts just in time for your party circuit!
-L

CONFETTI-FILLED LIGHT BULB GARLAND

Hey friends! We apologize for the late start to our week. Holiday travels and sick babies have kept us mamas busy! Christmas day is approaching, parties are still being thrown, and decorating is still taking place. If you are anything like me, the decorating never stops!! I just wanted to share a simple tutorial for the confetti filled light bulb garland I made for our wrap party last week. I love it so much, and I am definitely keeping it around for next year!
^ What you will need: yarn or twine, gold spray paint, clear light bulb ornament (purchased at Joann’s Fabrics) and crepe paper (festive colors a must!) ^
^ Remove top of ornament and begin spray painting. Allow time to dry, and then spray the opposite side. I began working on the steps below in between drying times. ^
^ Cut crepe paper into small strips. I cut roughly 10 strips of each color per ornament. ^
^ Then, cut those strips into small squares. ^

^ Begin filling the bulb ornament with the confetti. I only wanted to fill mine about a quarter of the way. ^
^ String those lights!! Space your bulbs out to your liking, and tie a small knot to hold each one in place. ^

-J