diy valentines day decor

VALENTINES DAY BREAKFAST AND CRAFTING FOR LITTLES: YOU’VE GOT MAIL!

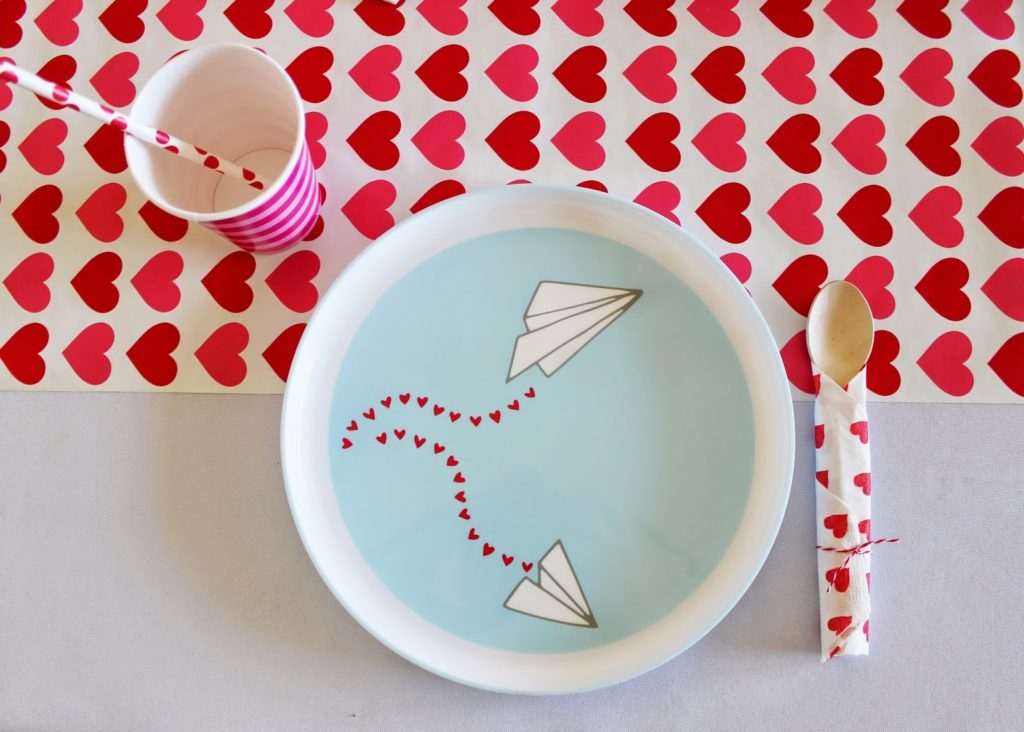
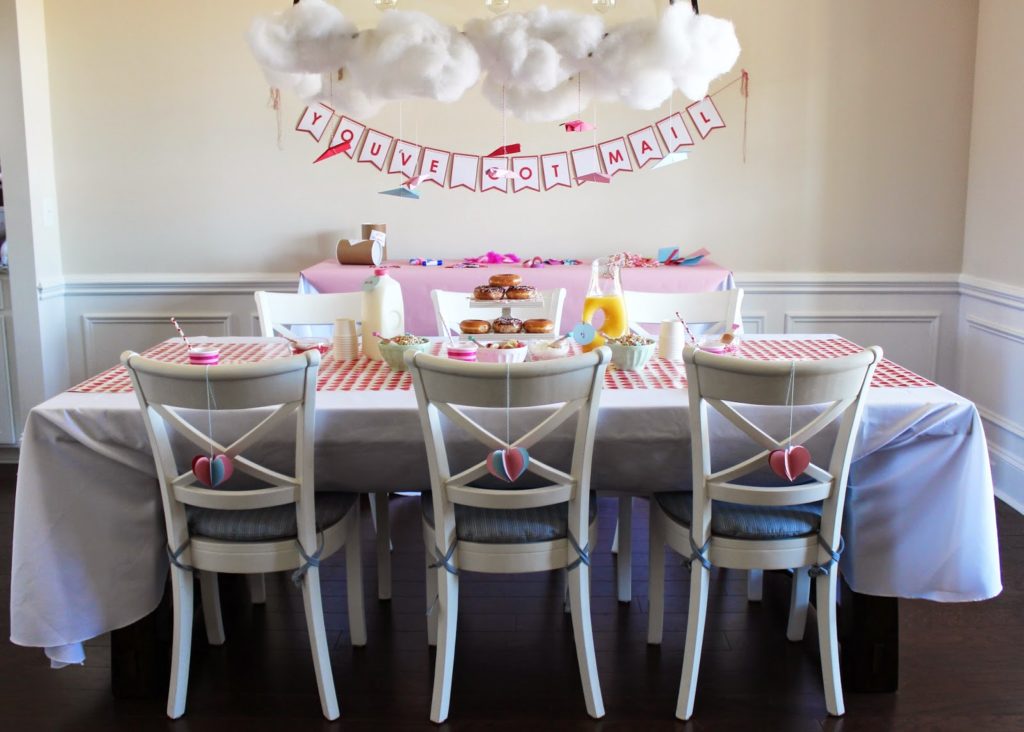
Here is a simple Valentine’s Day breakfast and card making morning for your littles! We picked up most of these goodies from Target and Michaels Craft stores- just goes to show you what you can create with store bought items and just a touch of DIY.
Scroll down to the bottom for a DIY on this simple heart ornament.
We used fiber fill for the clouds and used THIS tutorial for the paper airplanes.
Straws, cups, plates, and napkins from Target.
Wooden scoops by US! Convo us on ETSY to purchase!
Michaels Craft store had the banner blank- we just added letters! We rummaged through our craft drawers and found lots of card-making supplies for the kiddos.
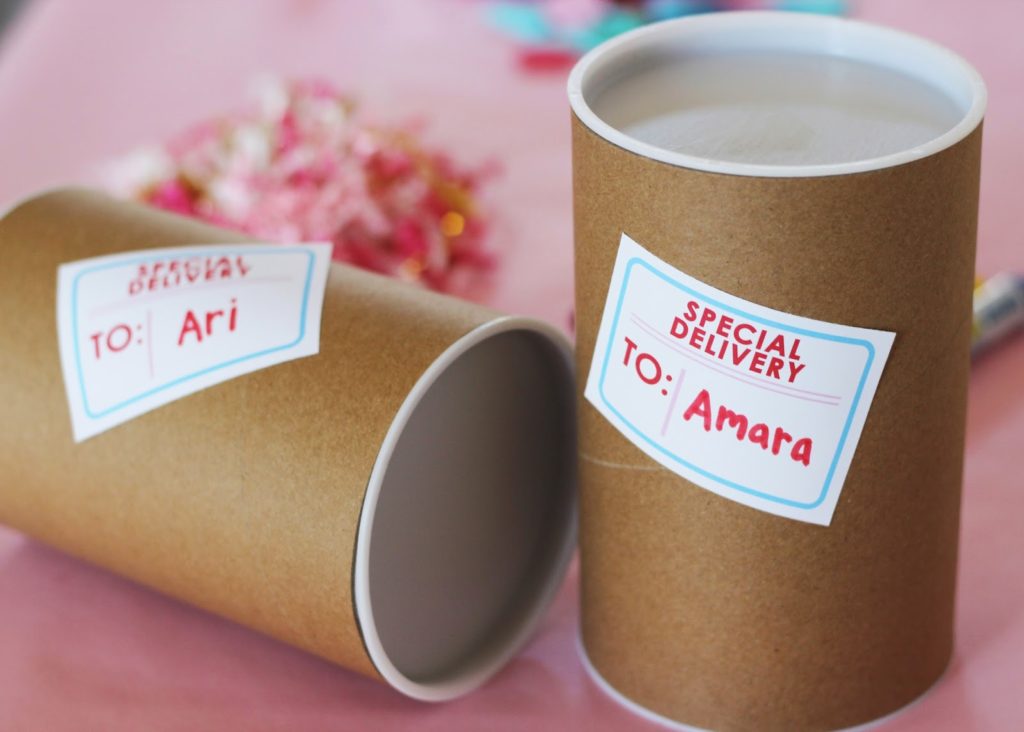
Fill mini shipping tubes from Michaels with crafting supplies! 
Download “Special Delivery” labels HERE.
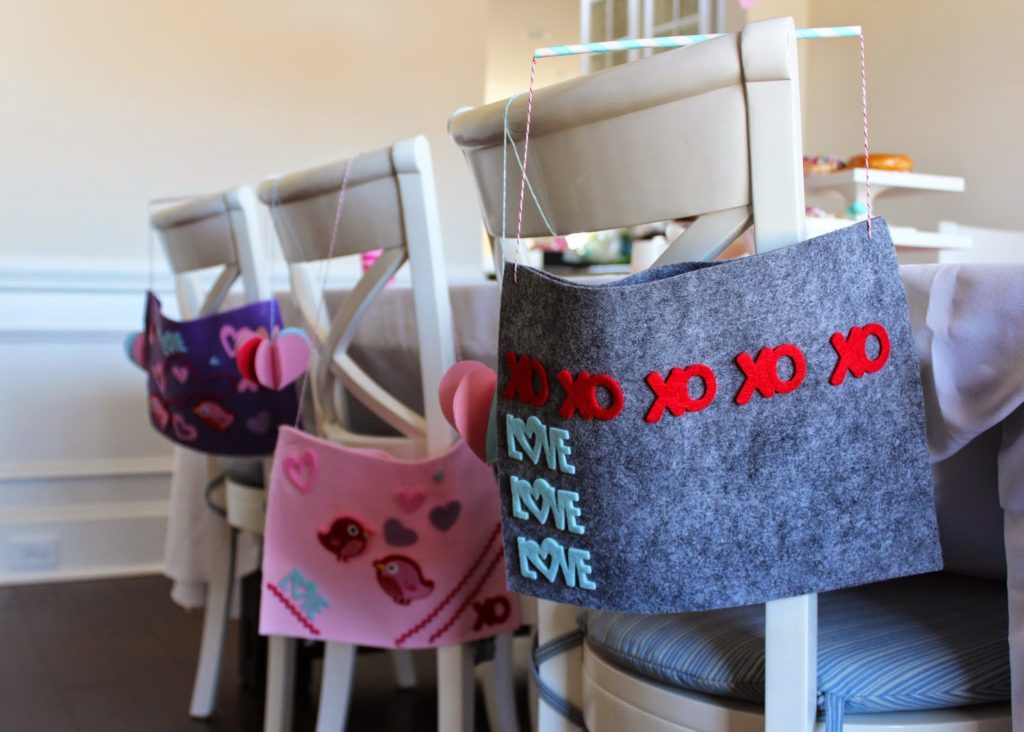
Have your littles decorate mailbags – tutorial HERE.
HEART ORNAMENT TUTORIAL:
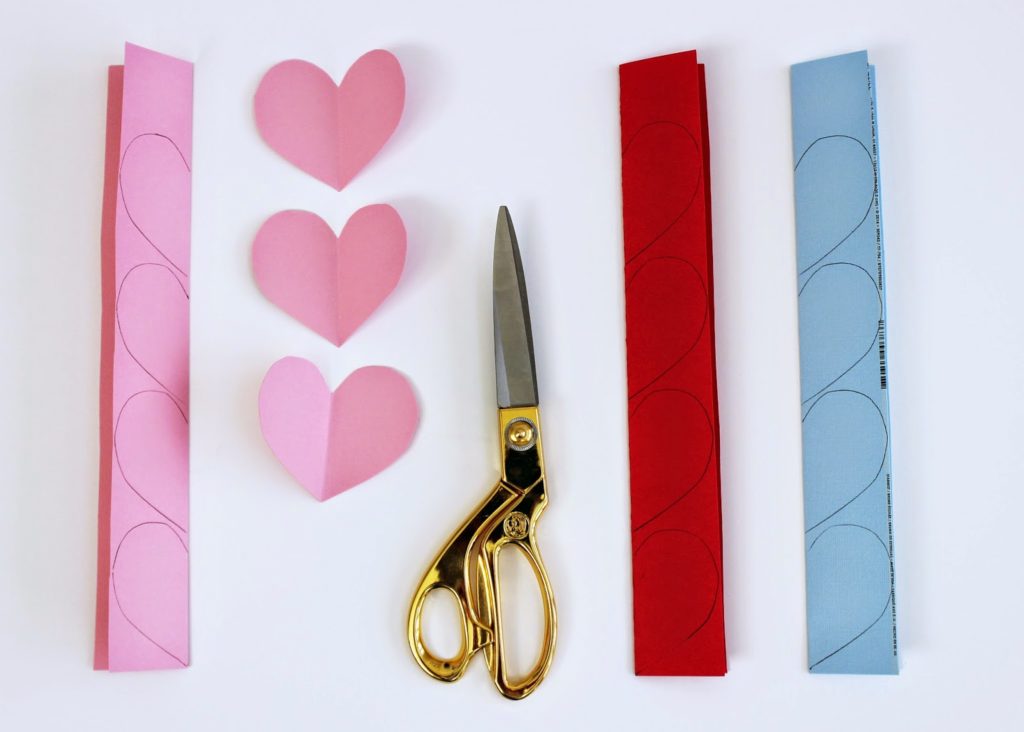
First make a heart template: fold a piece of paper in half, cut out half of a heart shape. When you unfold it, it should be a symmetrical heart. Fold colorful paper strips in half, fold your template in half and trace on the folded paper strips. (All of the hearts need to be the same size for this to work). 
 Use double stick tape to put the hearts together back to back. We used 6 or 7 hearts per ornament.
Stop half way through to tape the string in the middle.
Voila!
We hope you and your littles have a SWEET and fun Valentine’s Day breakie!

DIY VALENTINE KEEPER

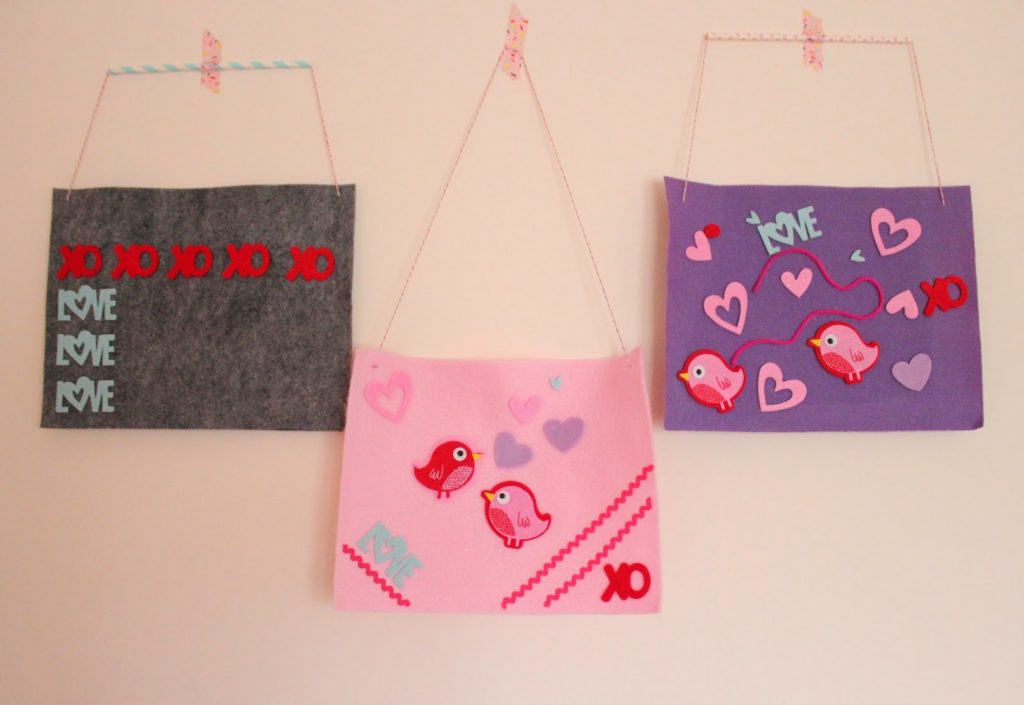
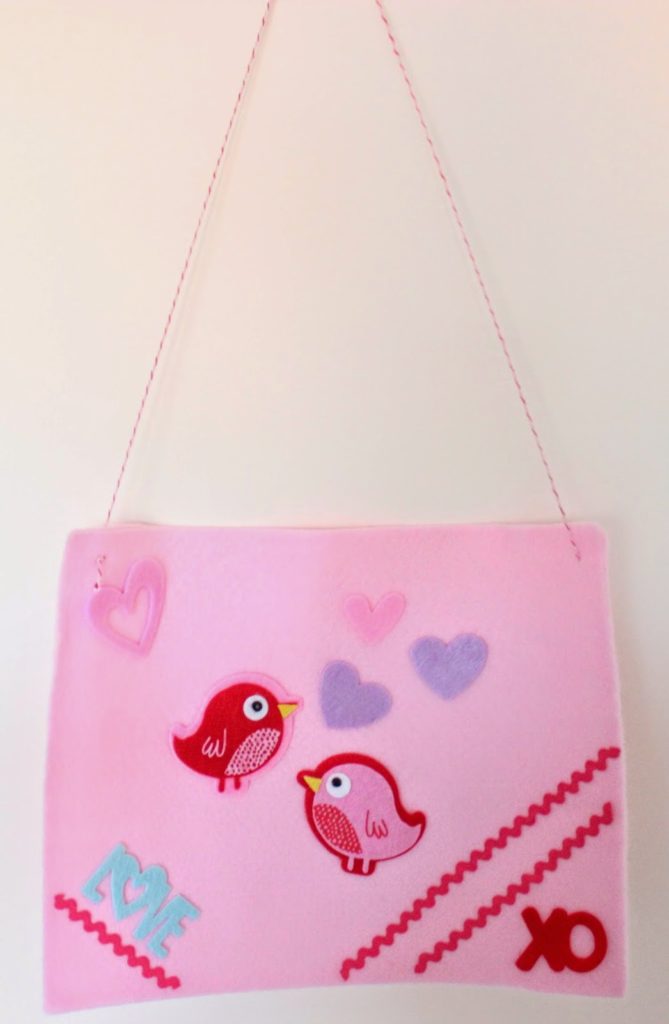
We wanted to create some valentine catchalls for our littles to take to school or simply hang on their door to collect all of the sweet valentines that they get from their friends and family. We wanted to do something a little bit different than the average shoe box that we all know (and love….. or do we?). I may have had too much fun doing this little project…. shhh!
Here is what you will need:
– 2 pieces of felt
– twine
– scissors
– craft glue
-heat bond tape
-iron/ ironing board 
– 1 needle 
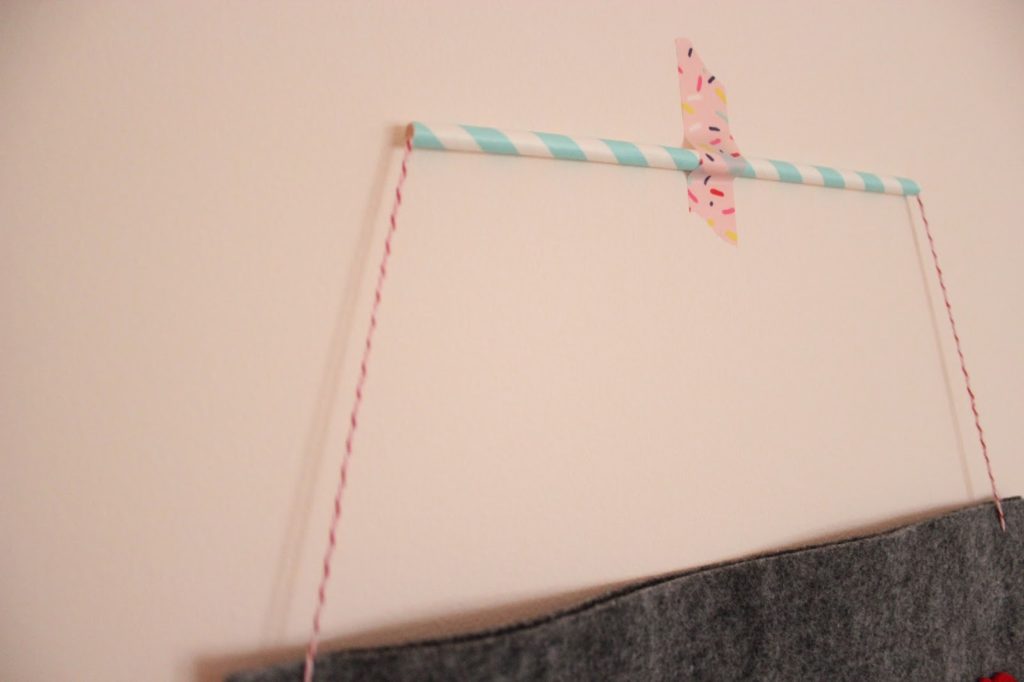
– straw (if you are doing one for a boy)
– anything you choose to decorate your bag with! I chose ribbon and felt stickers
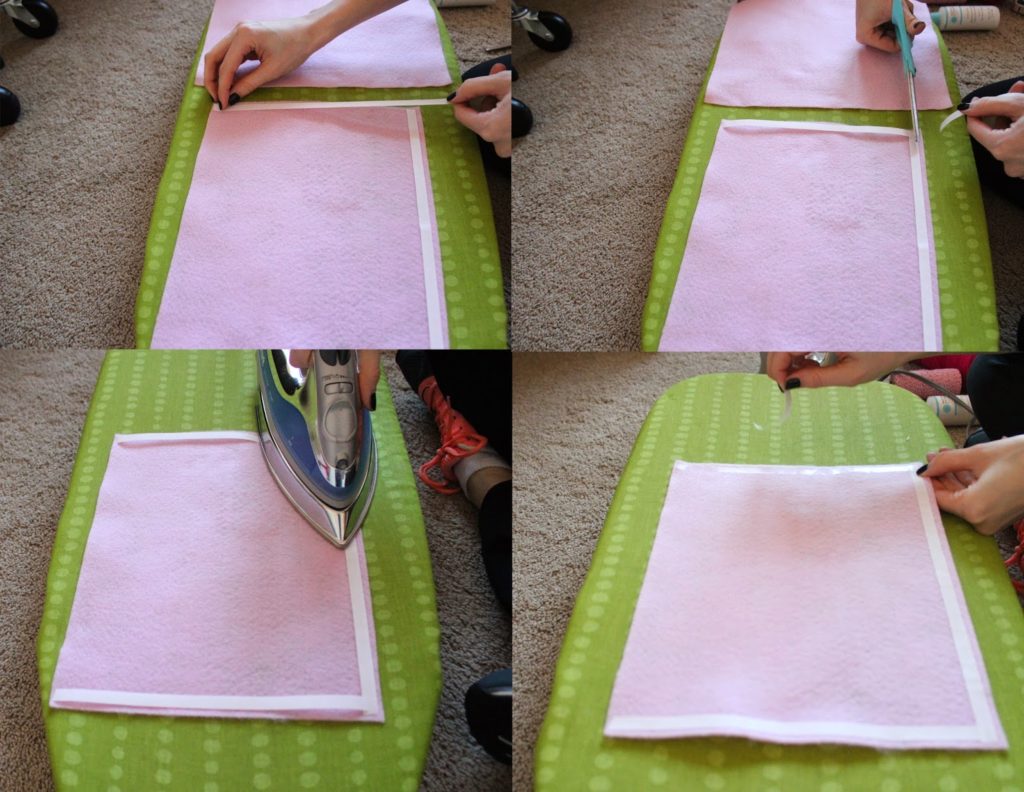
Simply lay out your two pieces of felt, cut strips of the heat bonding tape for 3 of the sides as shown and iron over each strip holding for about 6-8 seconds per section. ALLOW TIME FOR IT TO COOL!! Then, pull the paper part off of the tape. If it has not cooled, this part will not work!
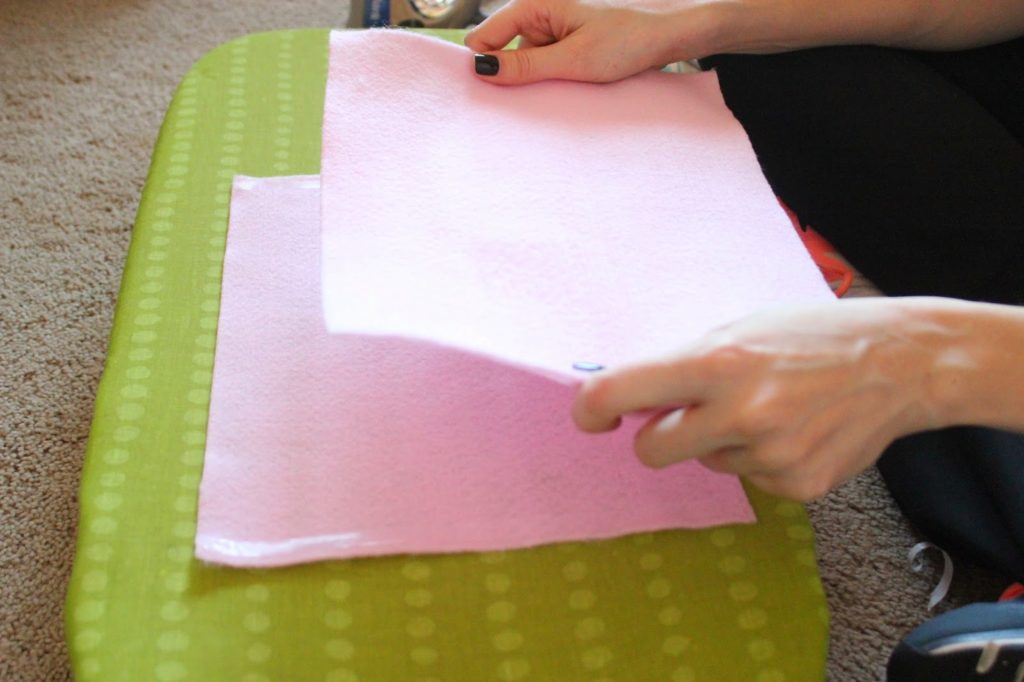
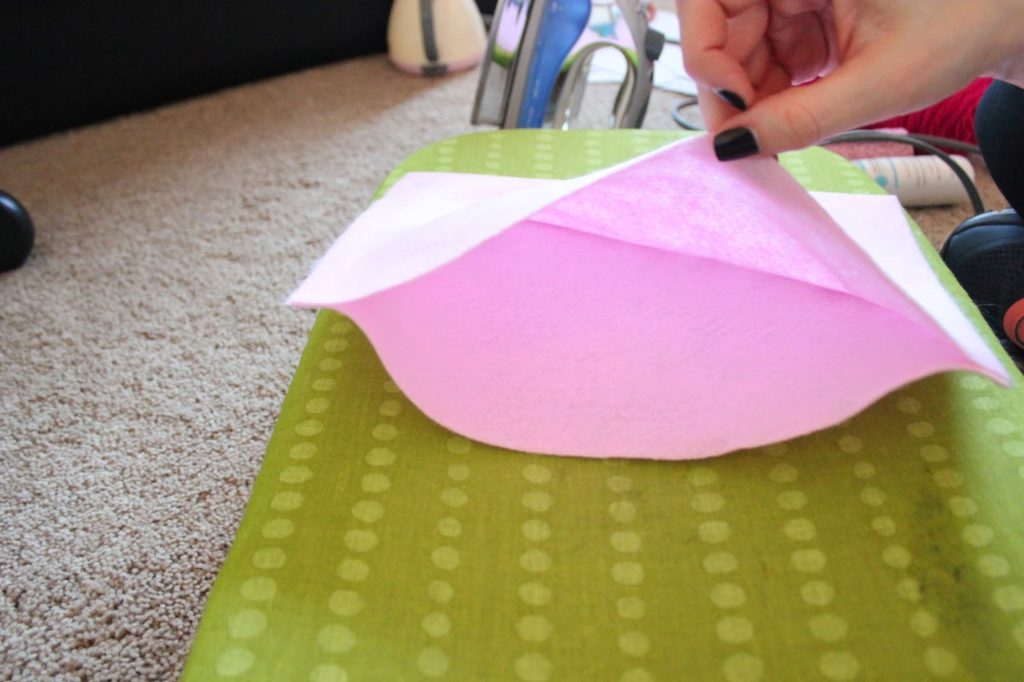
 Lay your second piece of felt directly on top of the piece with the tape.
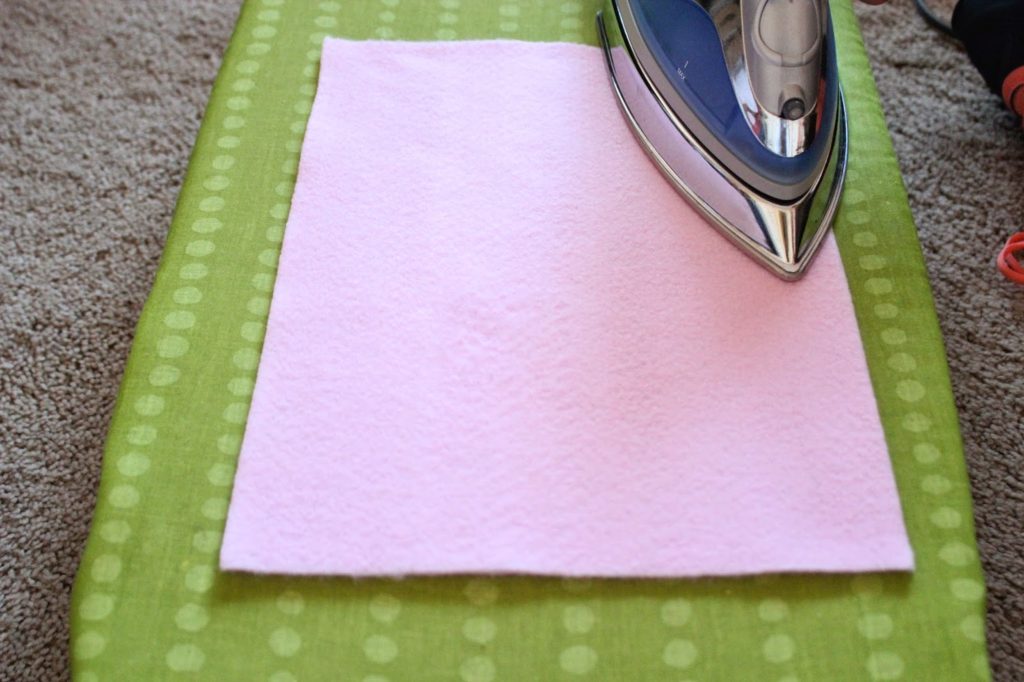
 Iron. Again, be sure and leave the iron on each second long enough for it to actually bond. Patience! 
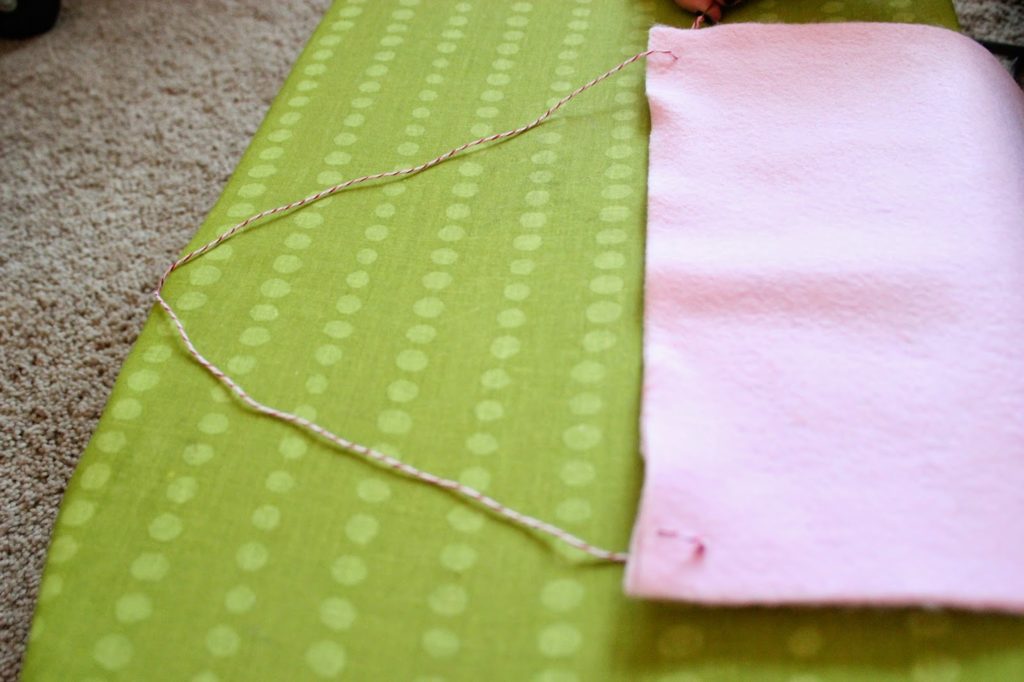
Allow for cooling time to ensure a good hold. Then, you should have a pocket that looks like this.
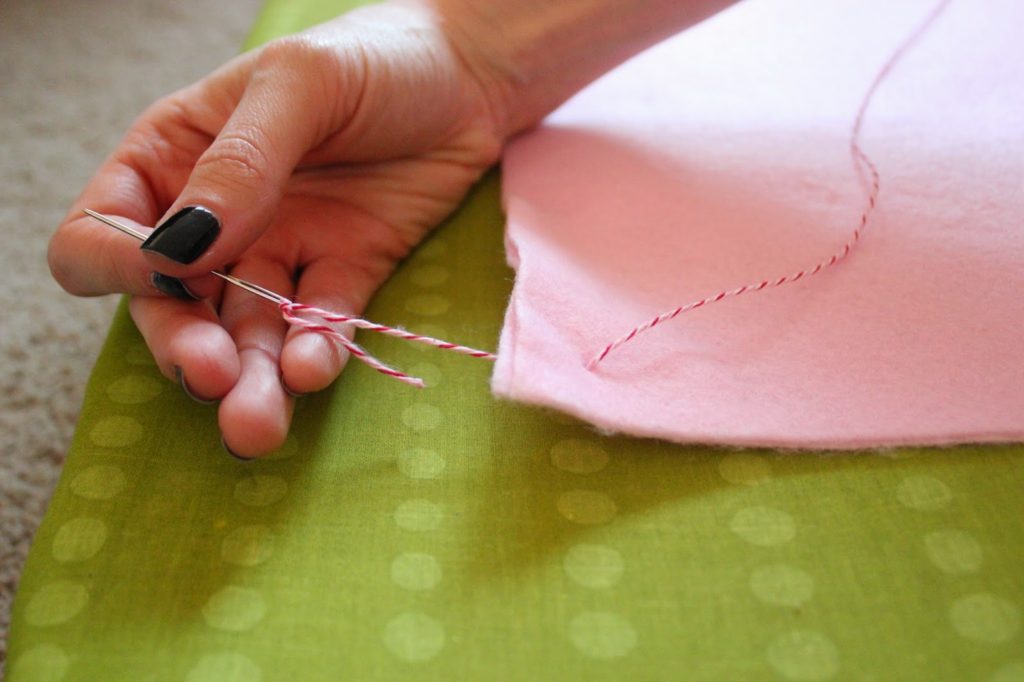
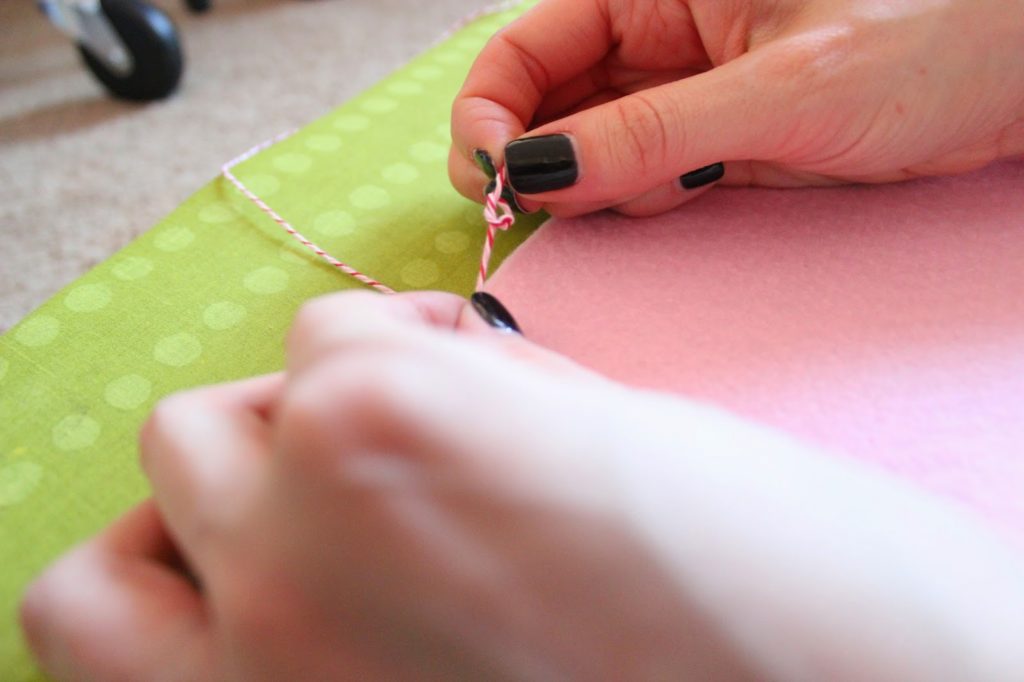
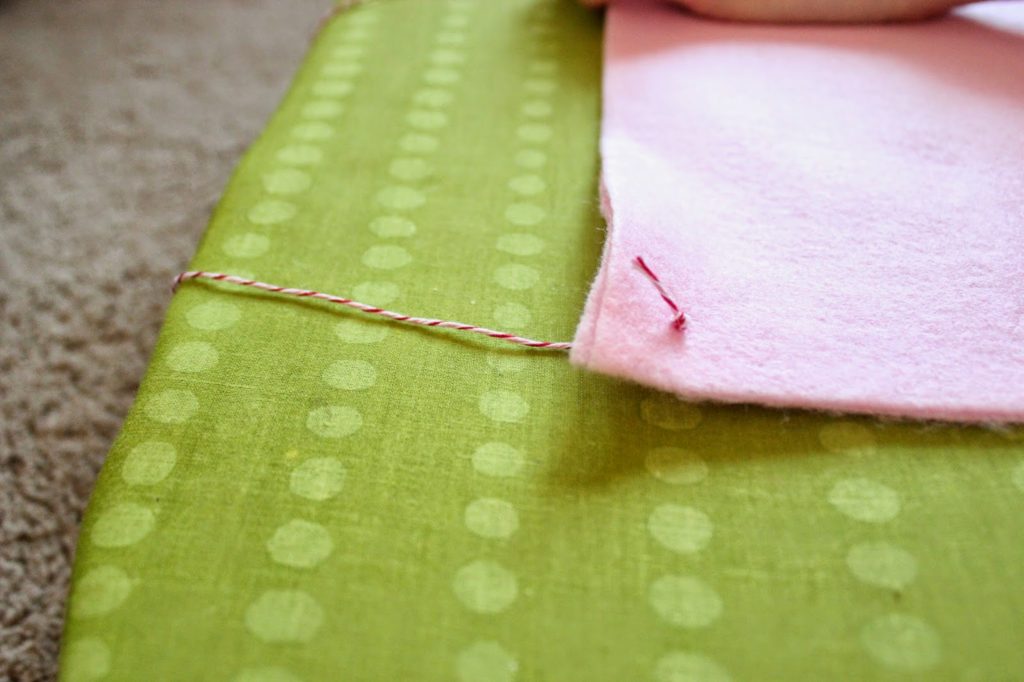
  Next, string your twine through the needle, and poke the needle through both pieces of felt. It will be hard to get it through the heat bonding tape, so be sure to poke your hole just outside of the edge of the tape.  tie a double knot to secure the twine.
Do this on both sides.
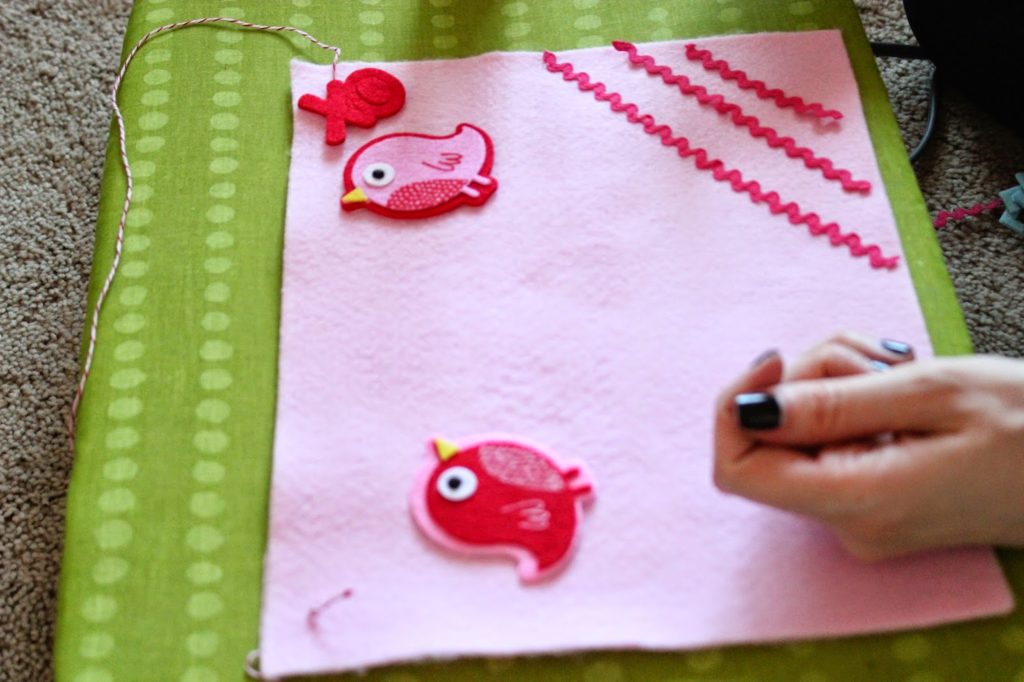
 Play with your design before securing everything to the felt. Lay it all out just how you want it.
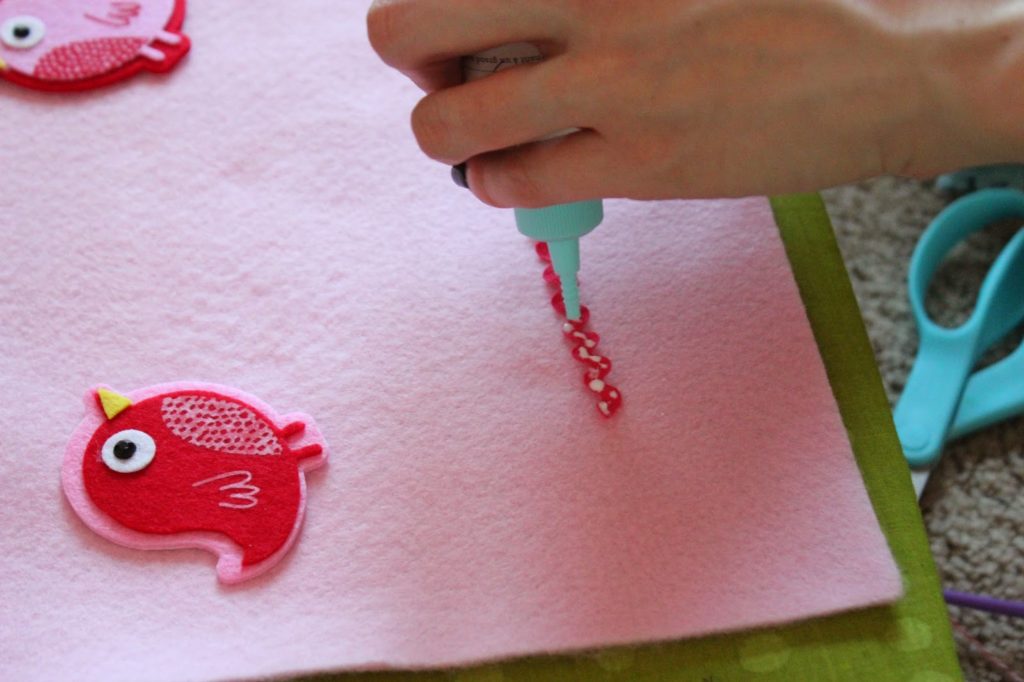
 Then, get to gluing. I only needed to glue the ribbon I used. I used Martha Stewarts craft glue, which worked fabulously.  
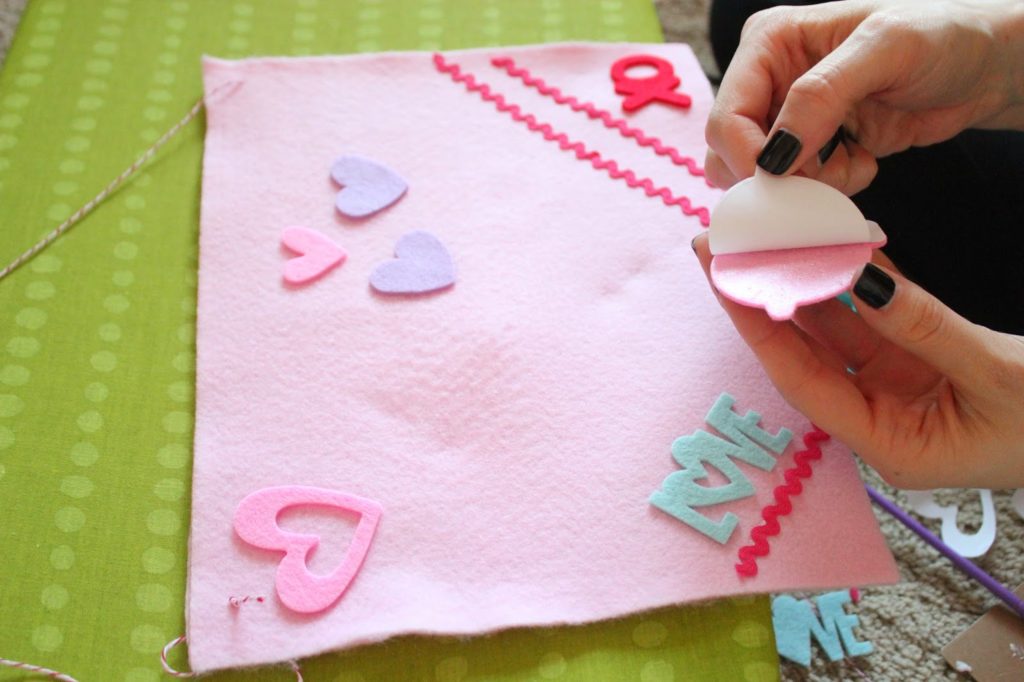
 The stickers were felt, and I got them at Target! They adhered to the felt bag extremely well.
If you are doing one for a boy, you can slide a straw onto the twine before you thread each side to create a carrying handle…. kind of like a briefcase. 😉
This is such a fast and super simple project that you can actually do with your kids!! We made a couple more of these bags, and I did the ironing and threading. Then, I just let Amara peel and stick (hence the upside down hearts on hers) as she pleased. Now, go fill this thing up with some V-day goodies!
-J

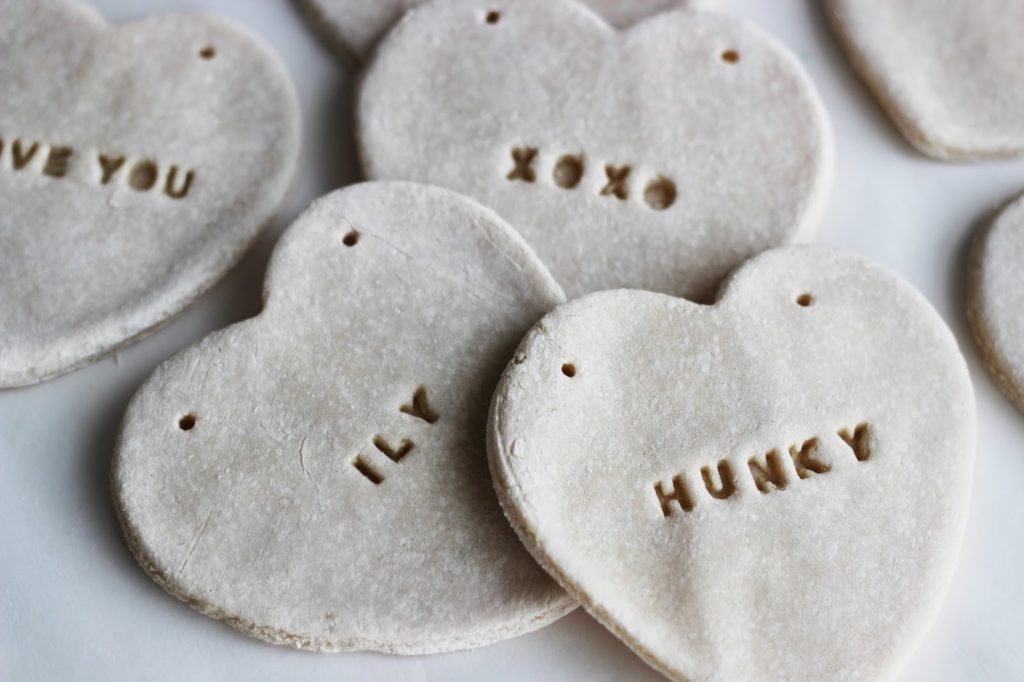
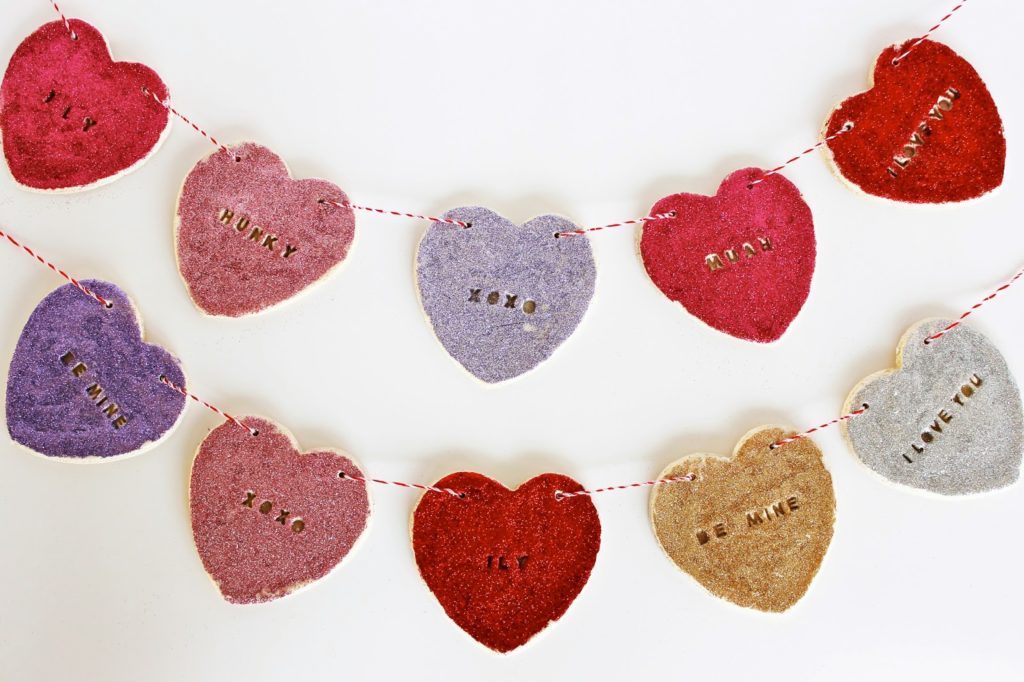
VALENTINES DAY CRAFT: CONVERSATION HEARTS

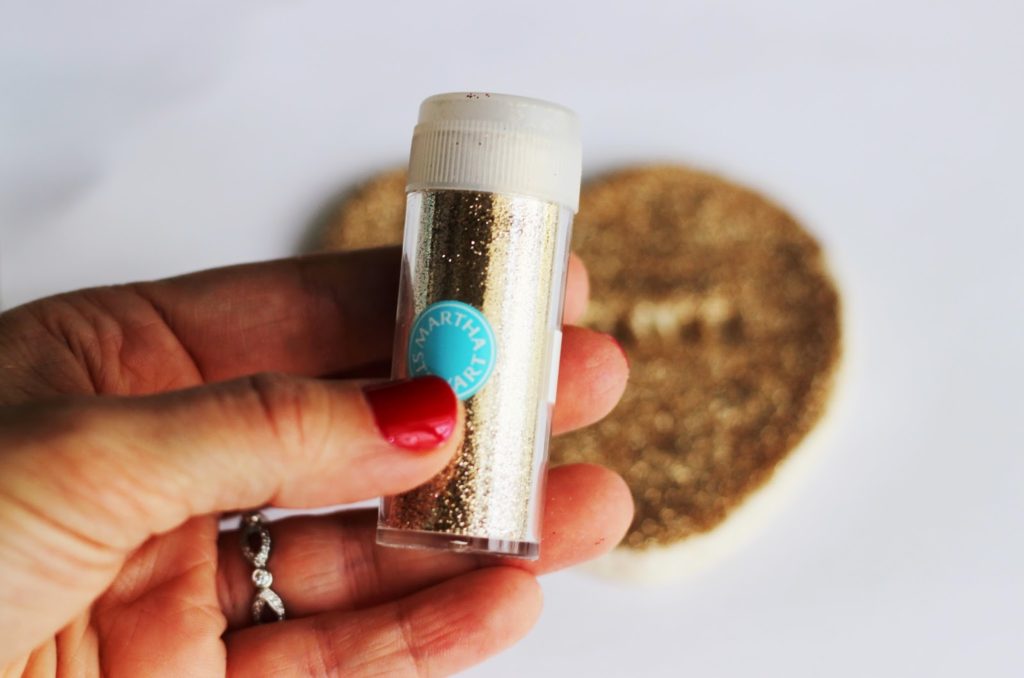
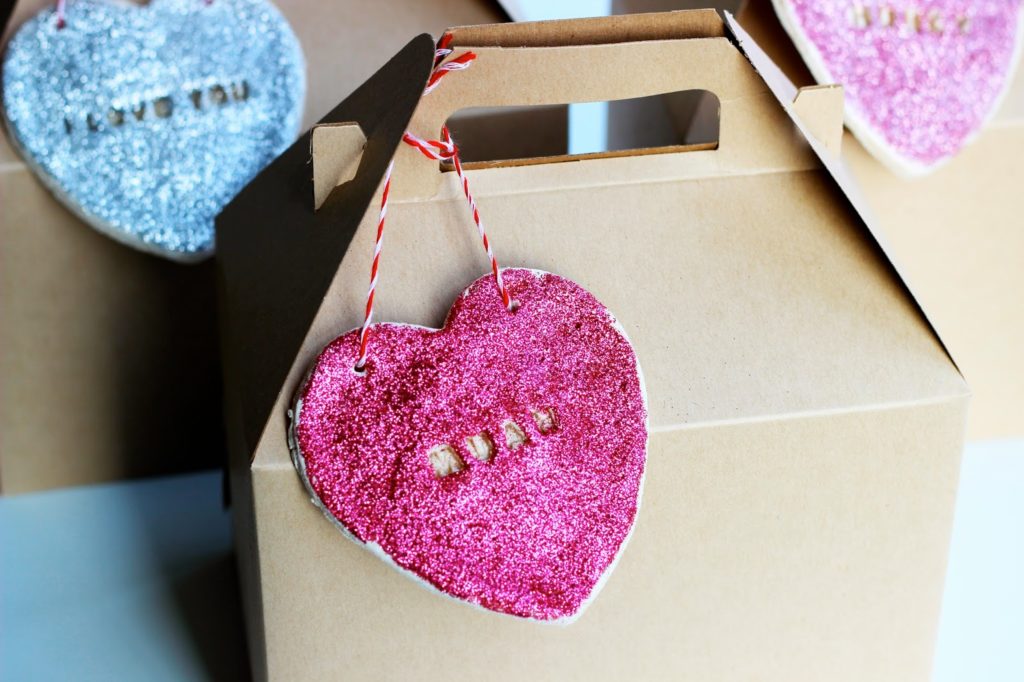
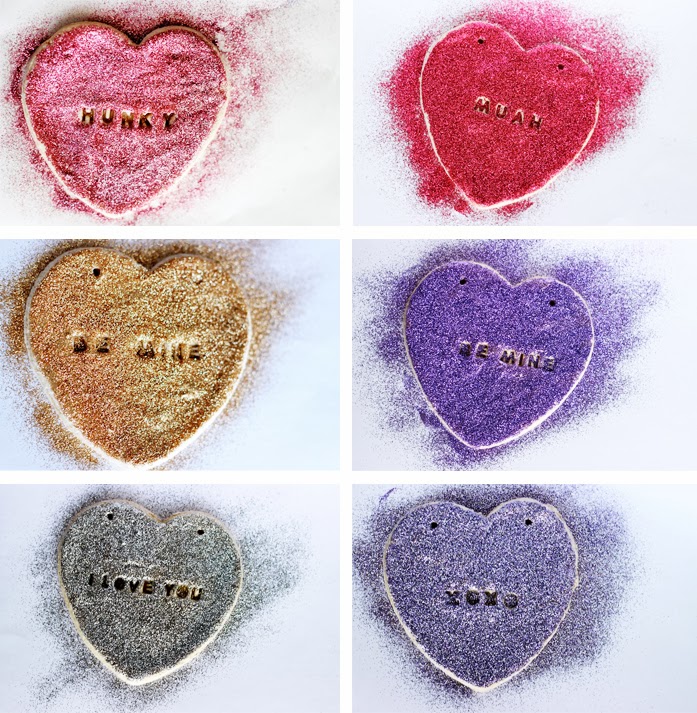
We ran out of play-doh at our house and apparently to a three-year-old, that’s a tragedy. We needed a quick fix. The answer? Salt dough! Three ingredients: salt, flour, and water. After Ari made his own masterpieces, Mama needed a turn! I’ve been dying to use my new Martha Stewart glitter set, so I decided to make gift tags for Valentine’s Day. Martha Stewart, you crafty minx, you have so many different types of glorious glitter! Have you guys seen the tinsel glitter? And the heart glitter?? Want it. Need it.
The colors are so vibrant! Eek!
Salt dough is super simple to make:
1 cup salt
1 cup water
2 cups flour
Mix until consistency is like play-doh
Roll dough out on a floured surface, cut into shapes, use a toothpick for the holes, and stamp letters.
Bake at 200 degrees for 3 hours and cool completely on a wire rack. I left mine out overnight to make sure the dough was completely dry. You could probably bake them longer!
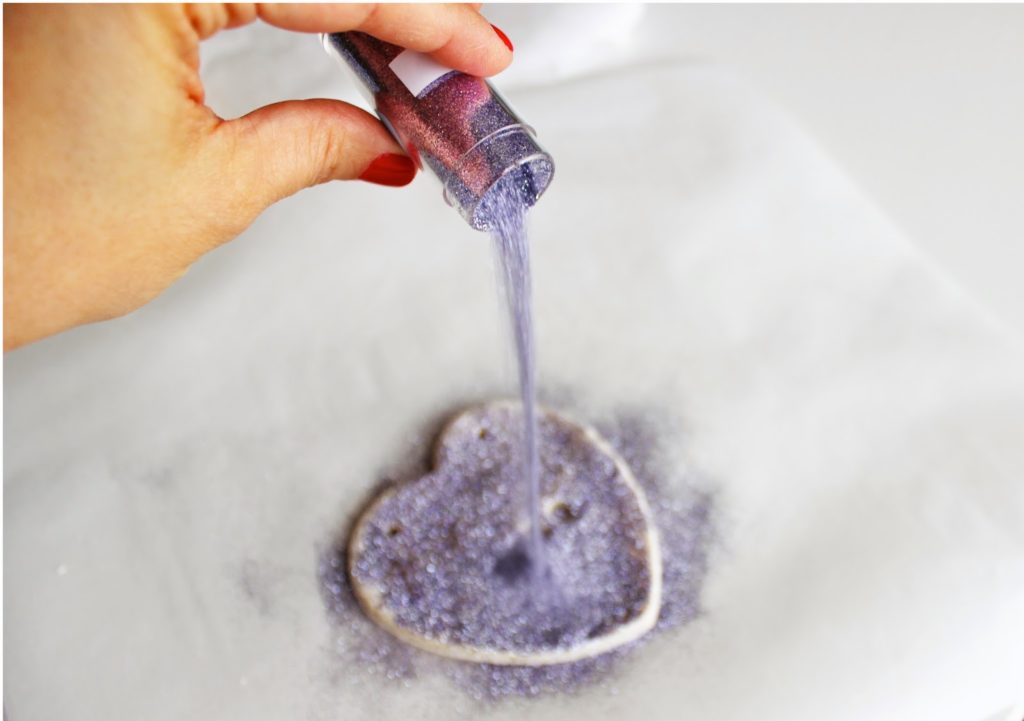
Here are my pretties! Paint glue on the heart and sprinkle away! Tap off extra glitter and let dry. If you want to use these tags over and over again, cover completely with decoupage or a clear sealant. 

These worked best as gift tags. Originally I thought these would be cute as garland but they were super heavy! What are you making for Valentine’s Day?

-L