wall decals

5 STEPS TO A STYLISH, KID-FRIENDLY HOME

We’re so excited to have Miriam Bornstein from Zillow help us make our own homes kid-friendly all while keeping it stylish! Miriam writes about lifestyle, home improvement and design for Zillow Blog. 
MIRIAM:

Designing a home around children comes with limitations, but that doesn’t mean you have to sacrifice your personal style. Embrace living with children by creating rooms that encourage you to think outside of the box and incorporate your child’s whimsical view of the world.

Here are five ways to create a stylish, kid-friendly home.

1. ORGANIZE STORAGE

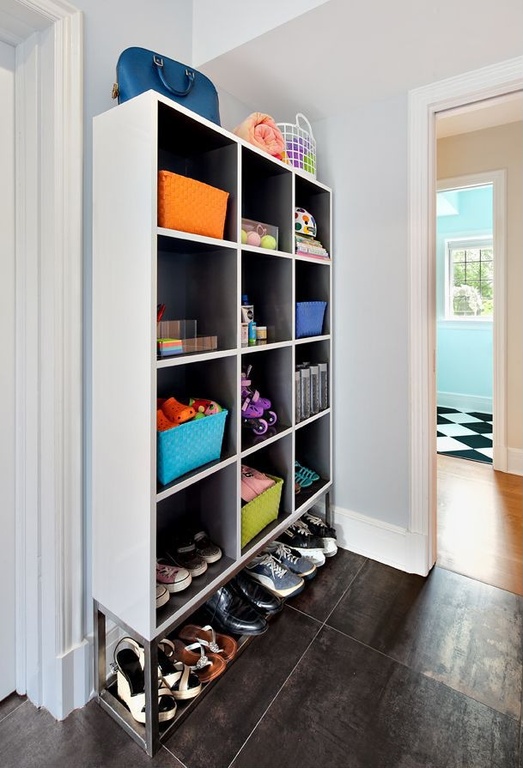
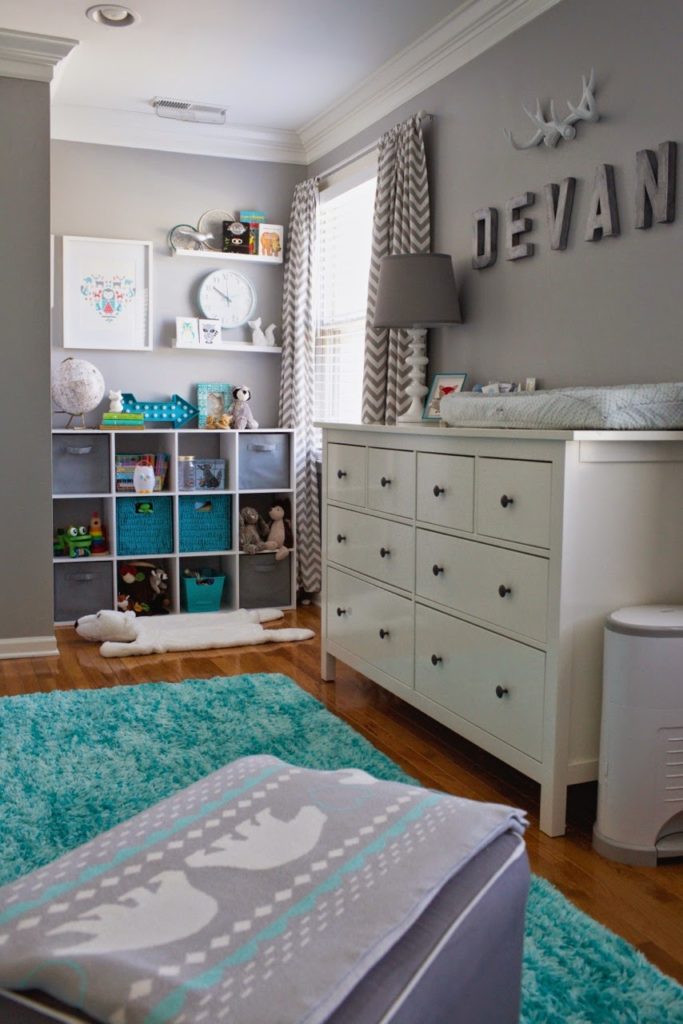
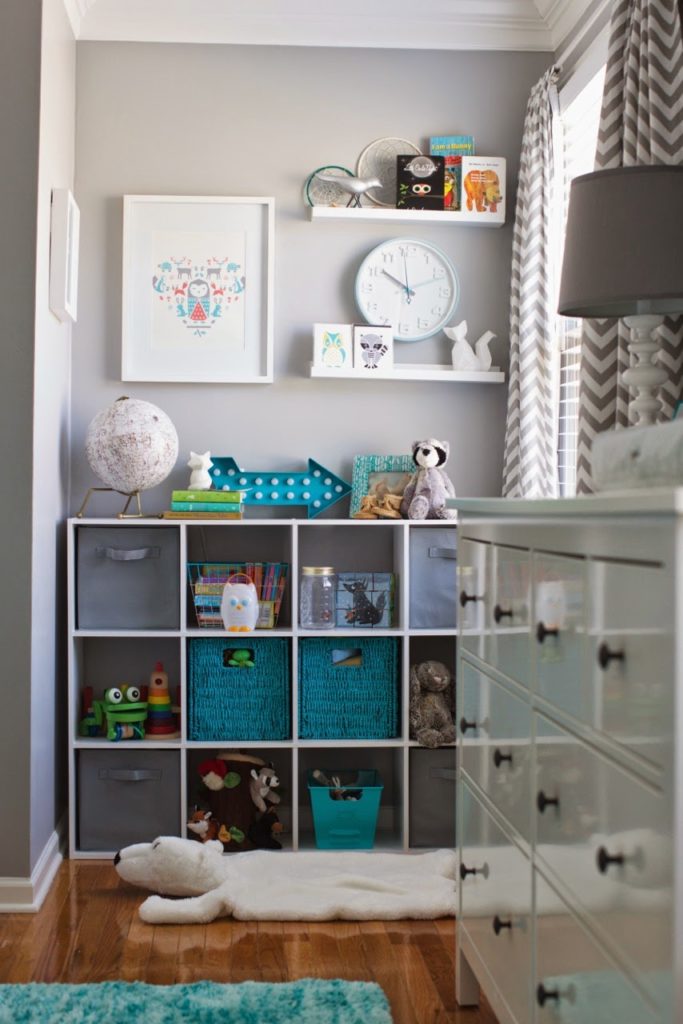
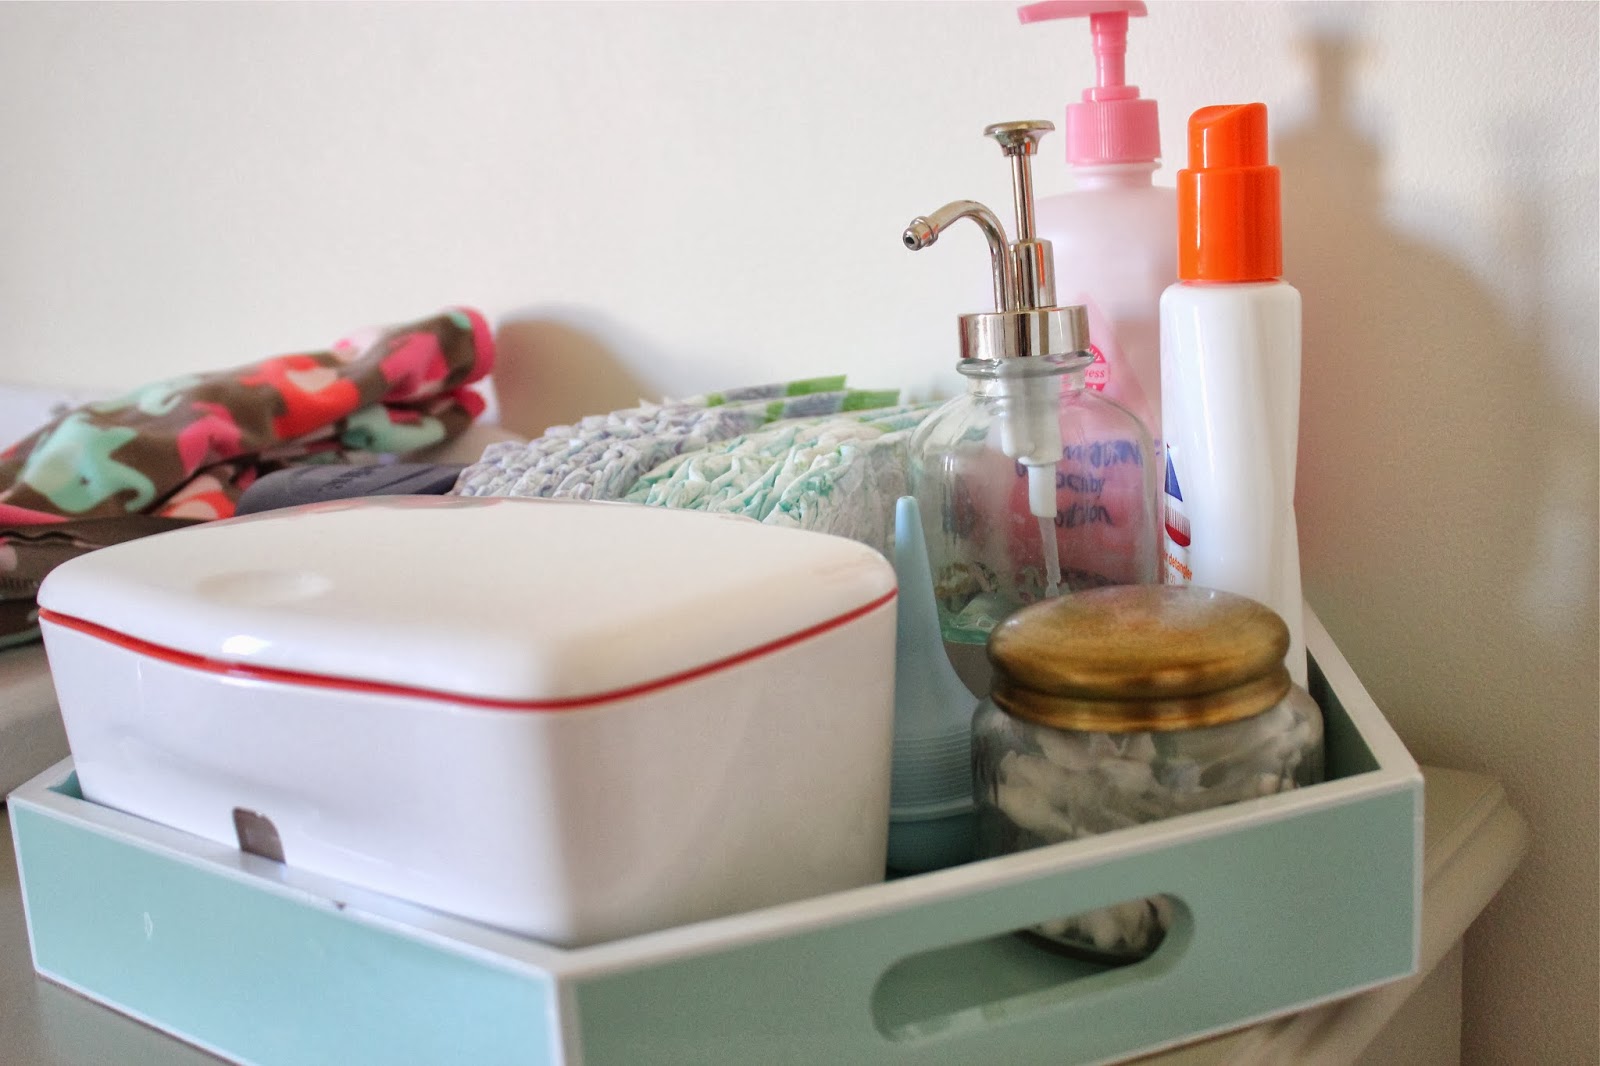
Clutter and scattered toys are certainly an unavoidable part of family life, but your child’s toys don’t have to become part of your home décor. Establish order and organization by storing your children’s toys and art supplies in one designated place. Slide boxes or baskets into open shelves, place wicker toy bins next to standing lamps or use the extra storage in a hollow foot rest. Adding storage not only provides you with peace of mind, but also helps you establish a less cluttered lifestyle.

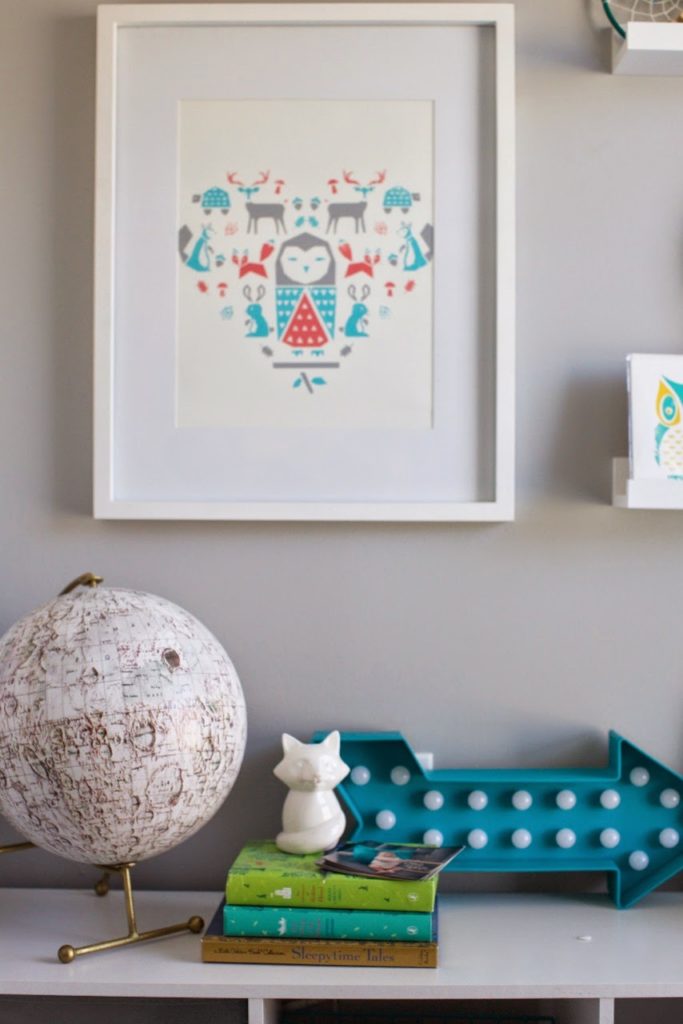
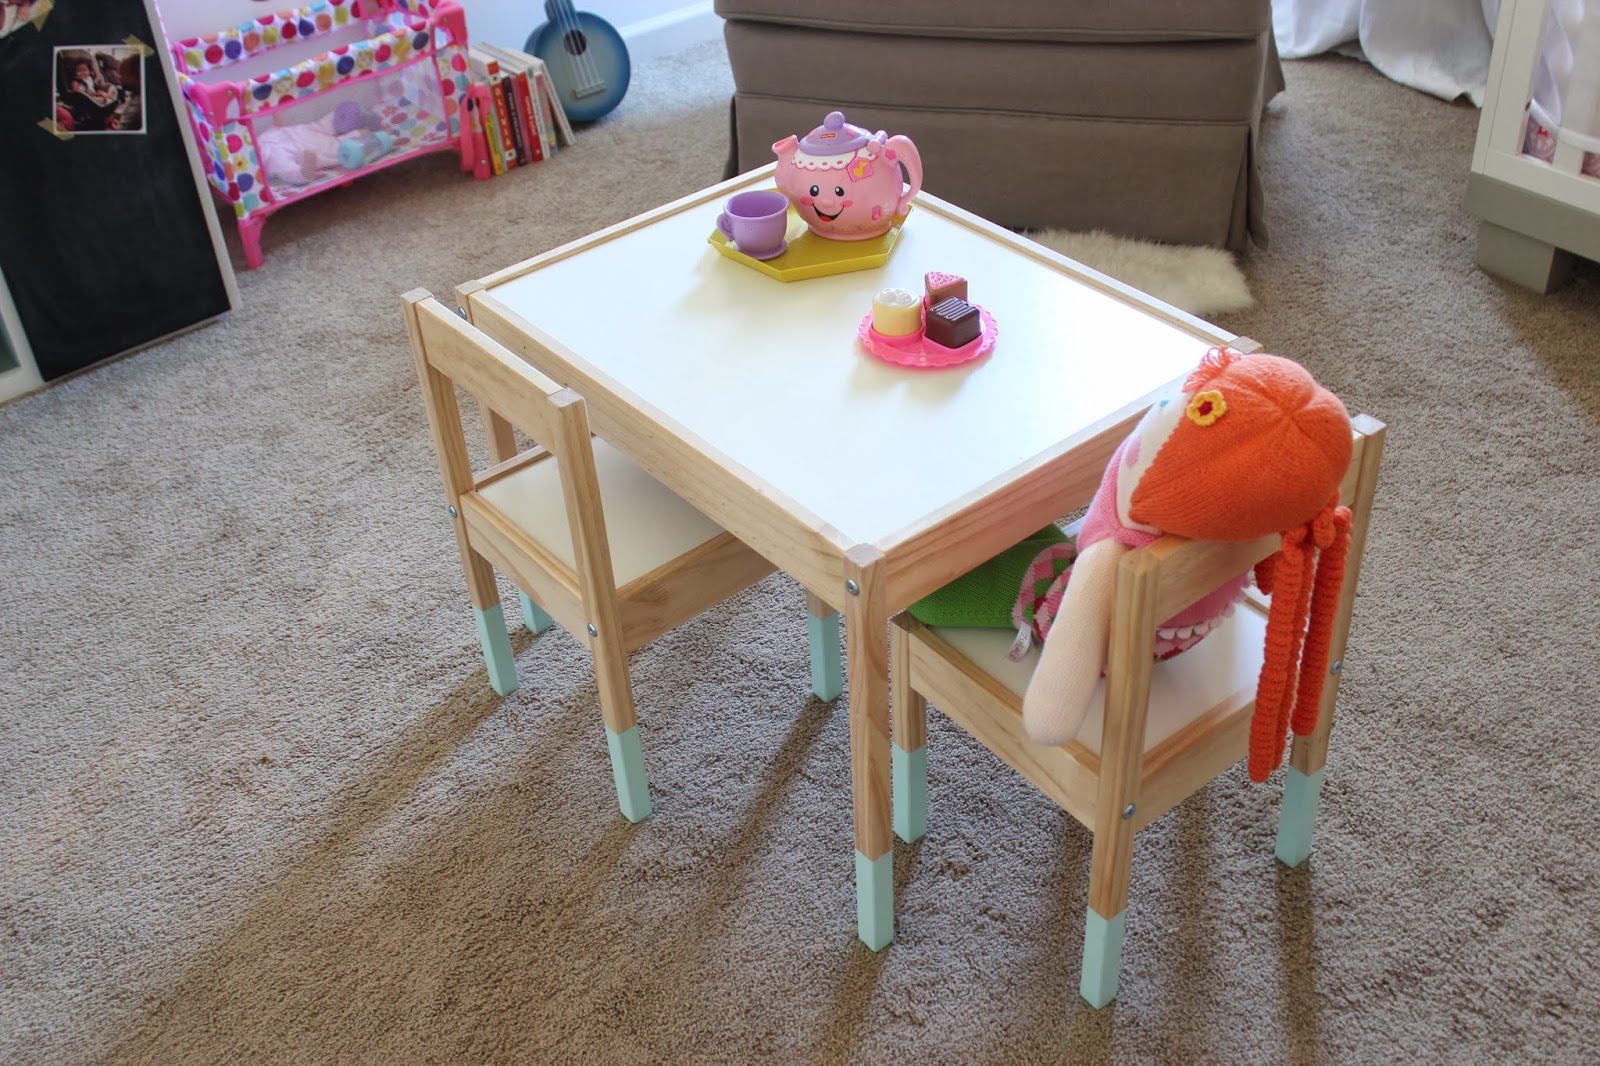
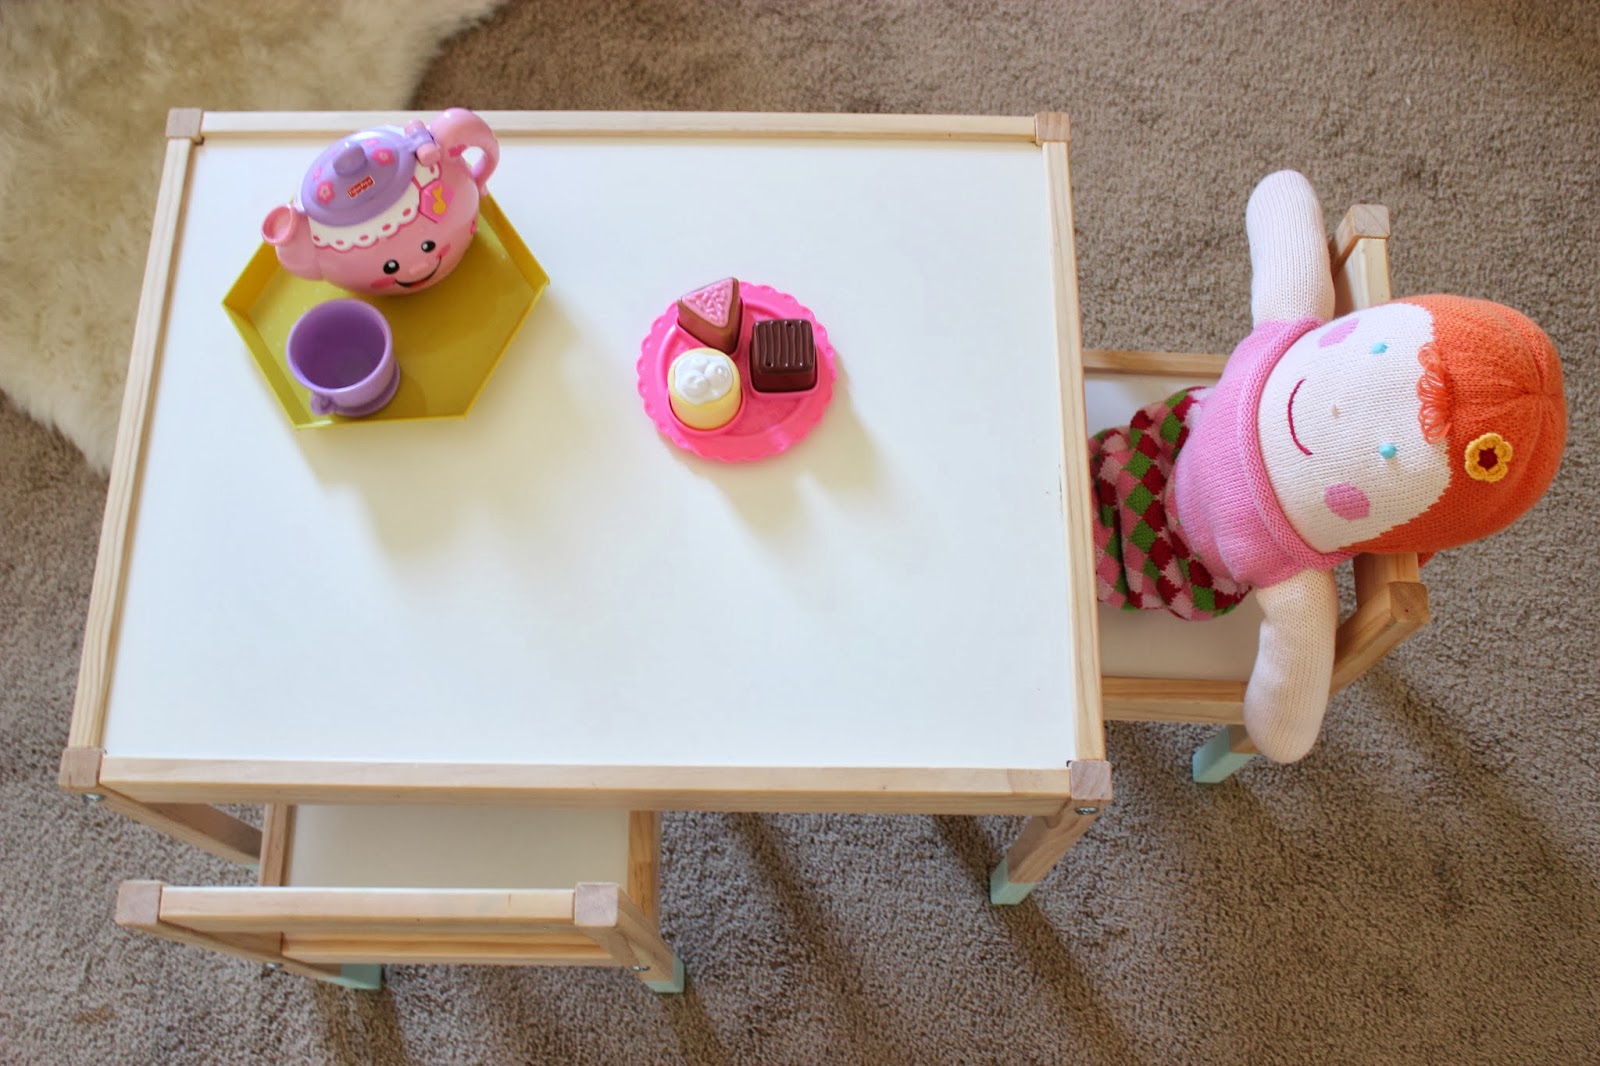
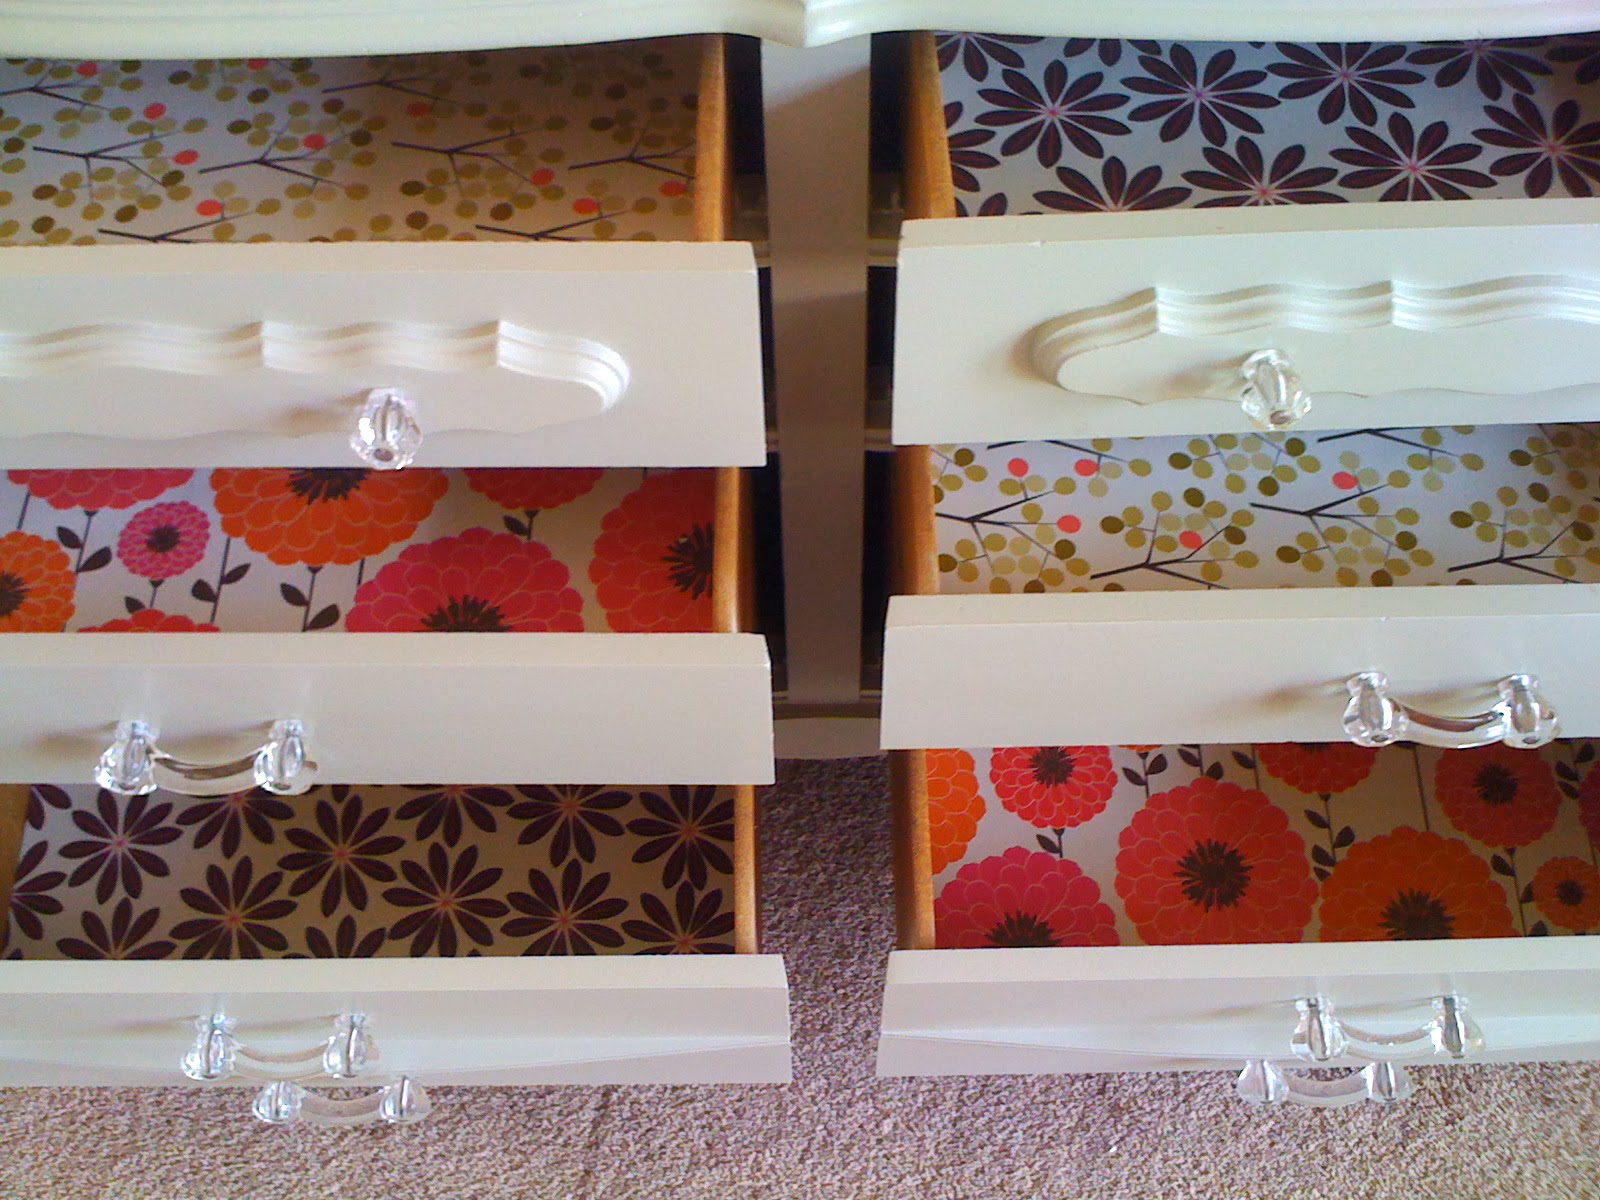
2. INVEST IN TIMELESS FURNITURE

Kids outgrow their clothes, but they don’t have to outgrow their furniture at the same rapid pace. Create a room that your child can grow with by investing in neutral furniture and timeless pieces. Avoid kid-themed furniture and décor, eliminating the need to update your child’s room every couple of years. Instead, invest in a black dresser, brass lamp or white nightstand – all functional items that a child needs for years, regardless of age.

3. INVOLVE YOUR CHILDREN

Embrace your child’s creativity by involving them in the home decorating process. What patterns and colors does your kid like? Let your child have a say in the kind of bathroom tile to buy, or the color of paint for the front door. Even flipping through magazines together can spark inspiration and creativity. Collaborating with your child on a project not only encourages quality family time, but also allows the whole family to create an environment that everyone can enjoy.

4. PURCHASE A DINING ROOM TABLE

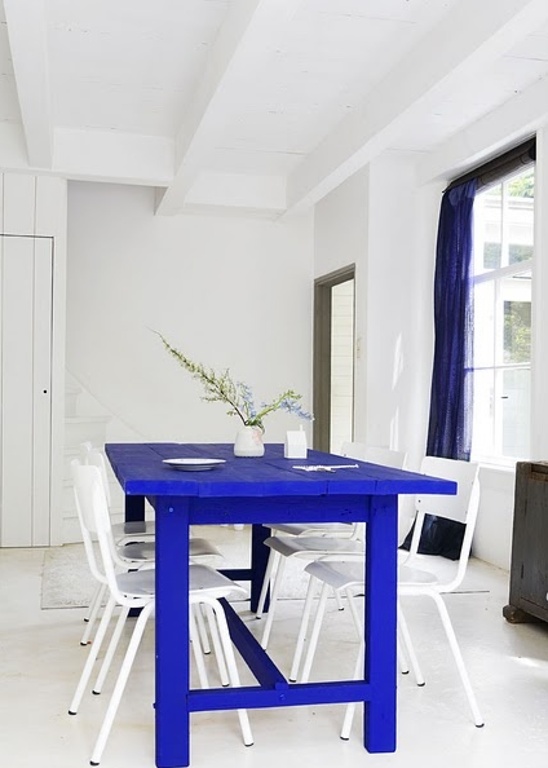
Bring the family together by purchasing a dining room table equipped for the whole family. Look for tables accompanied by benches that can double as storage, or find a table that expands as your family grows. If you’re looking for function and style, purchase a table that you can refurbish. One way to do this is by purchasing a secondhand table to repaint and retouch.

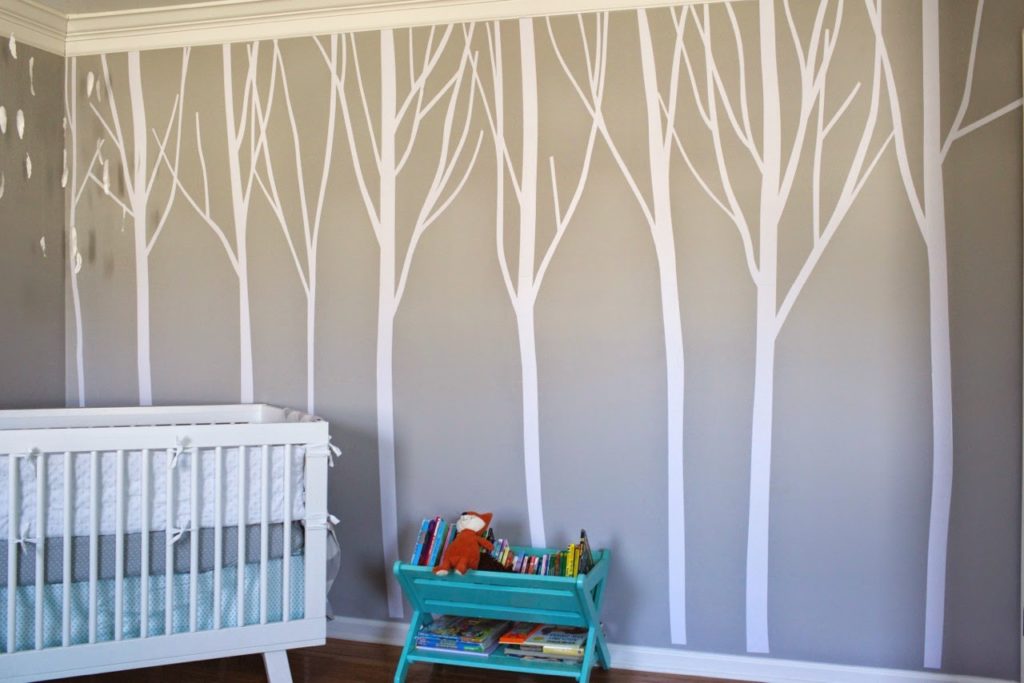
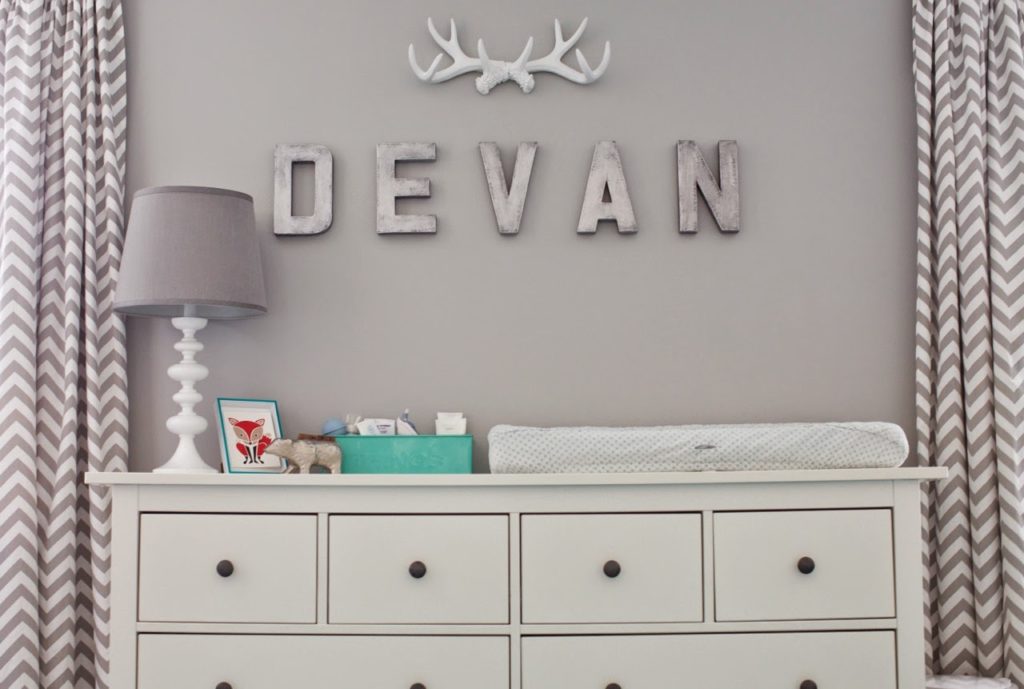
5. DECORATE WITH DECALS

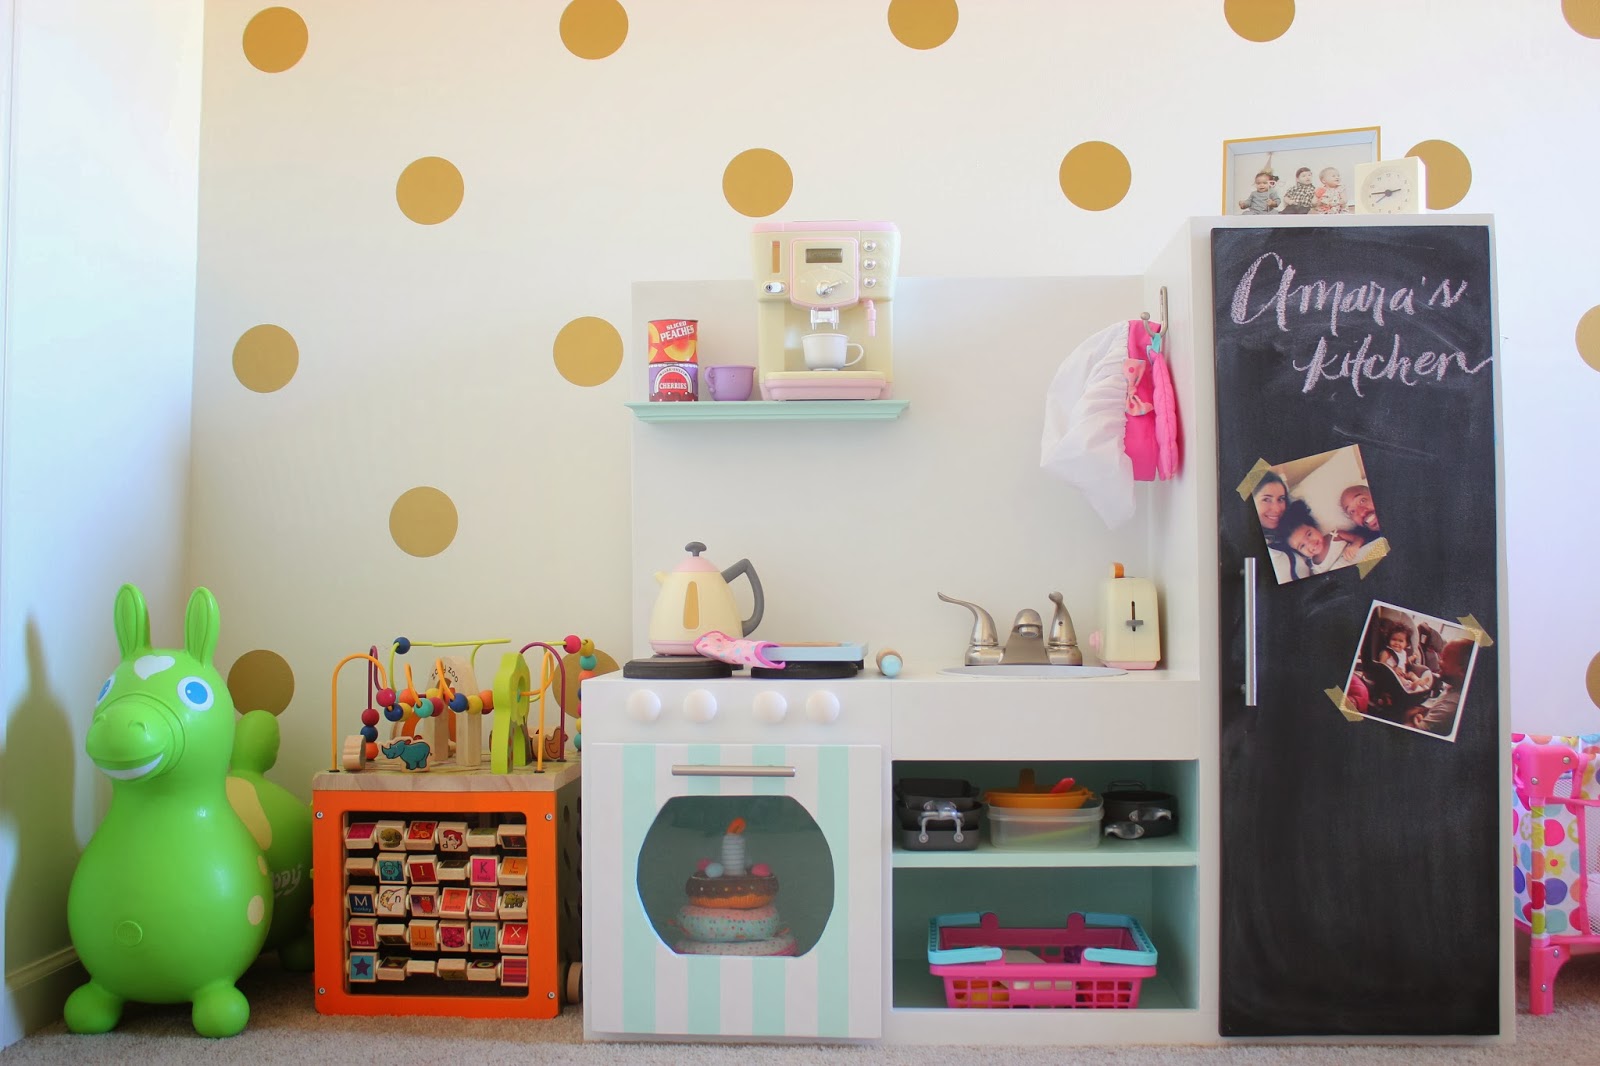
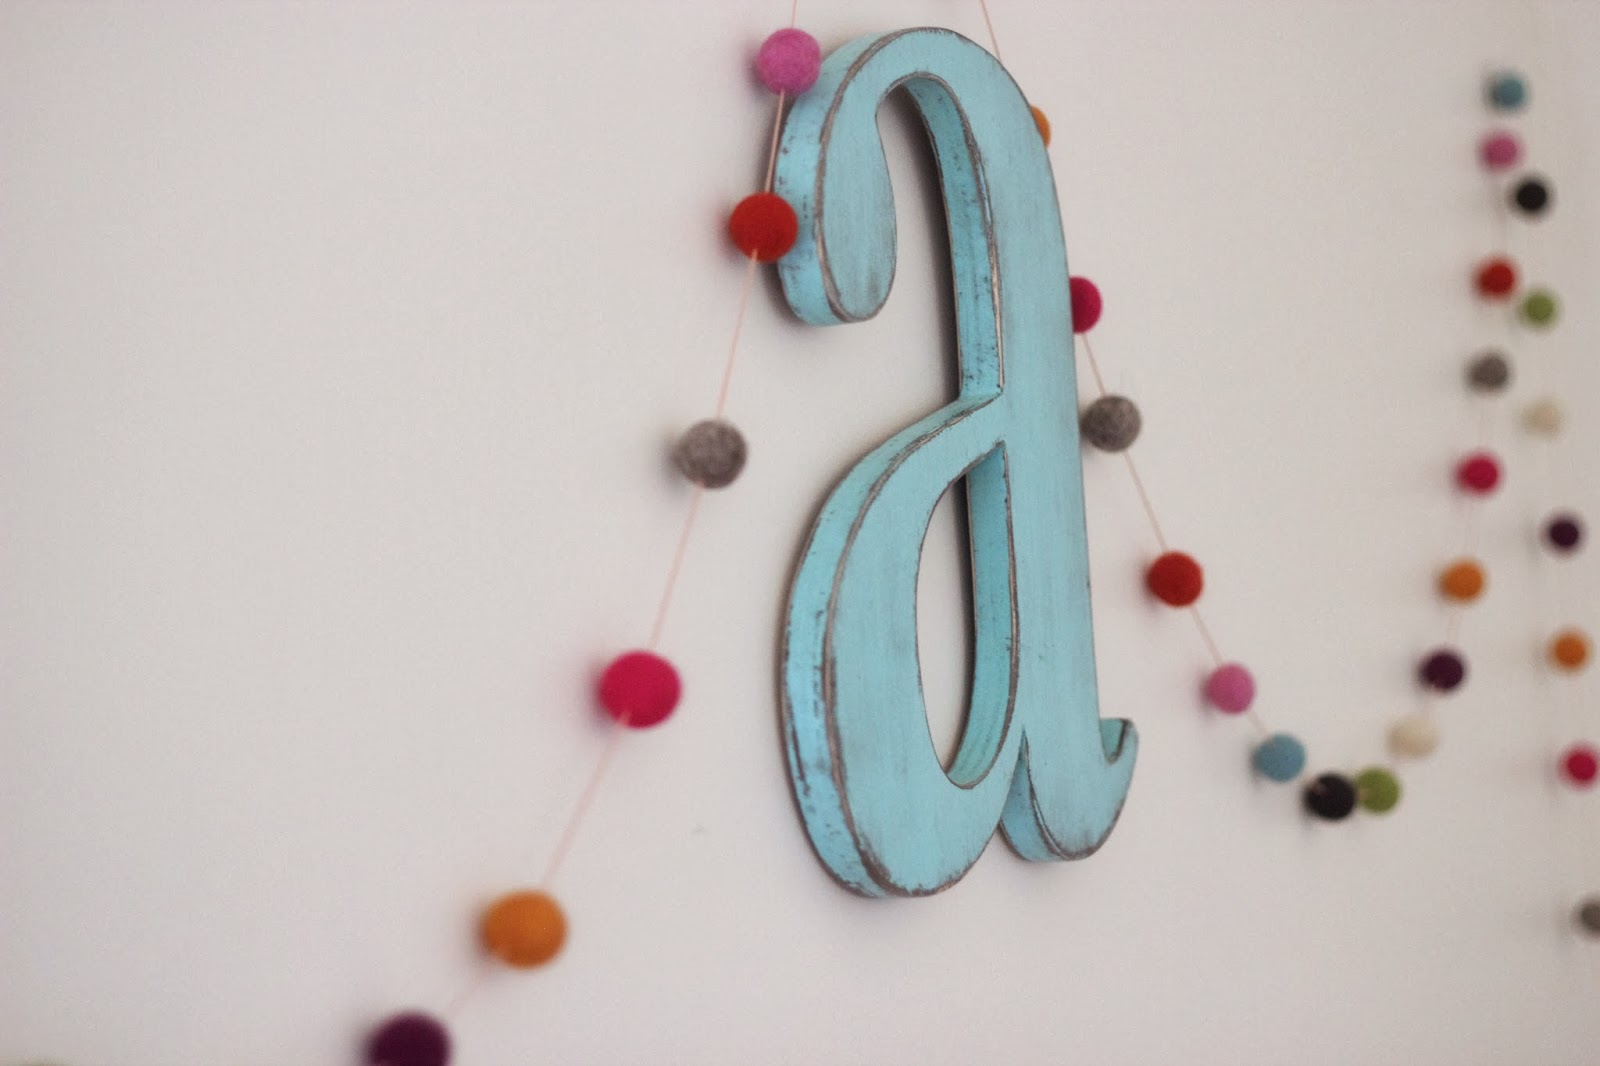
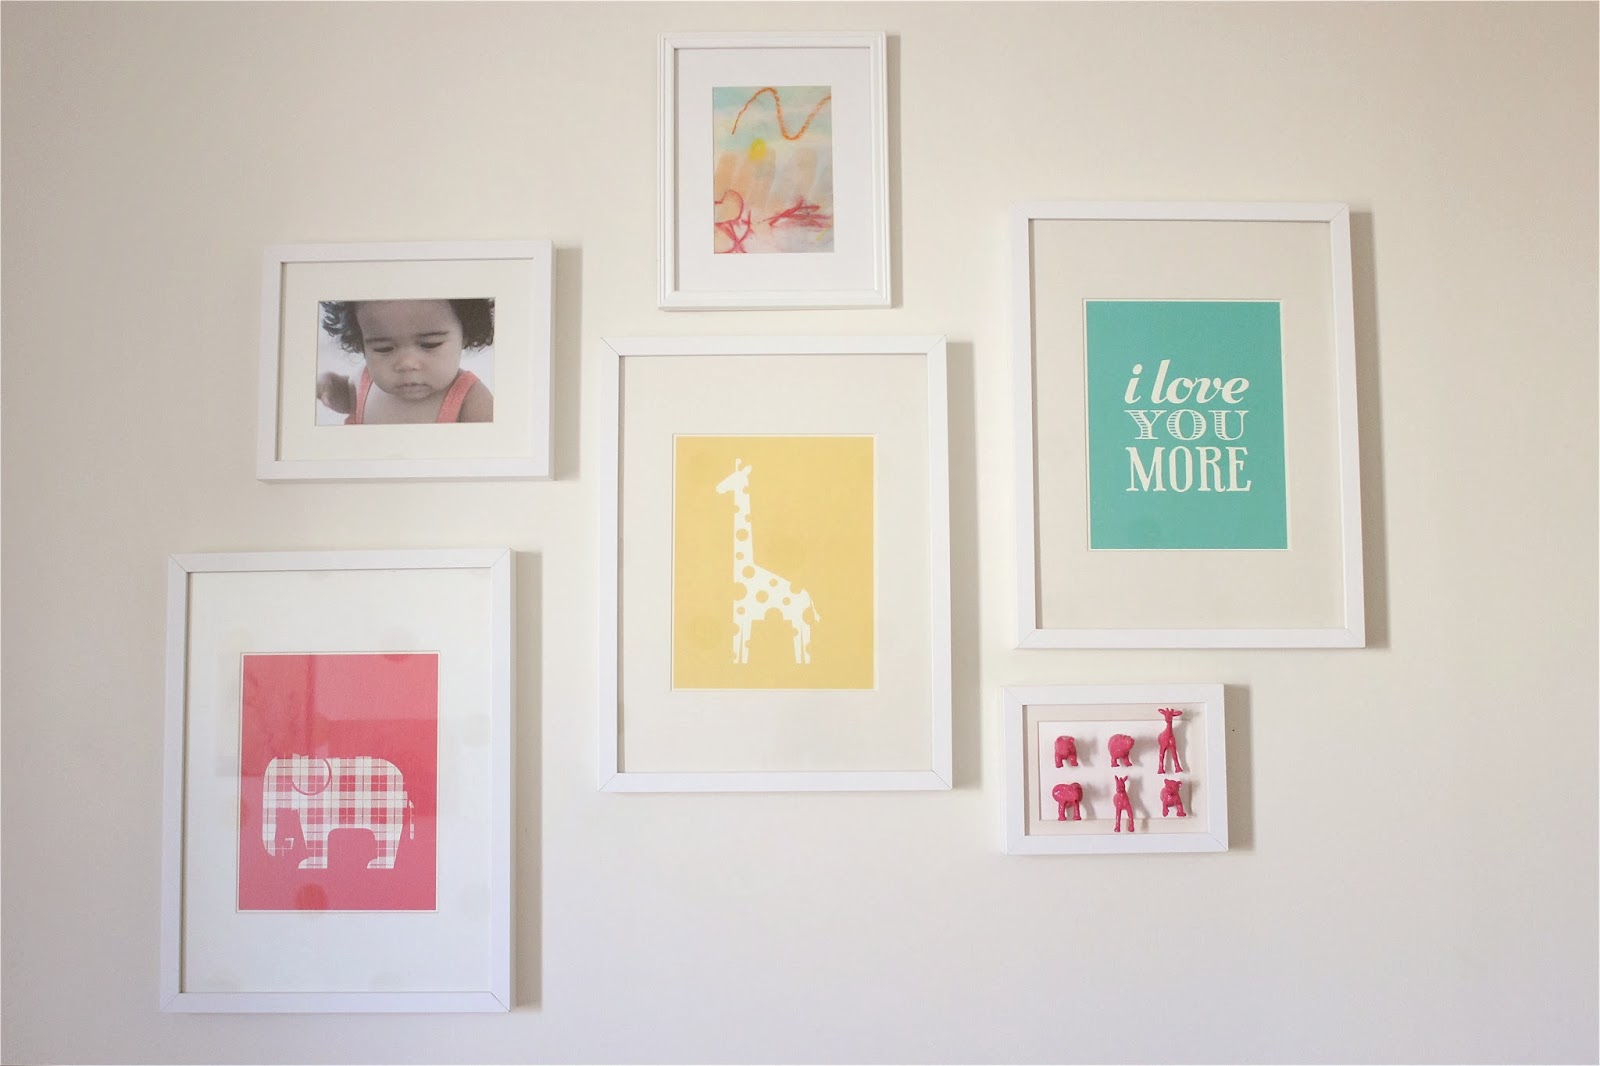
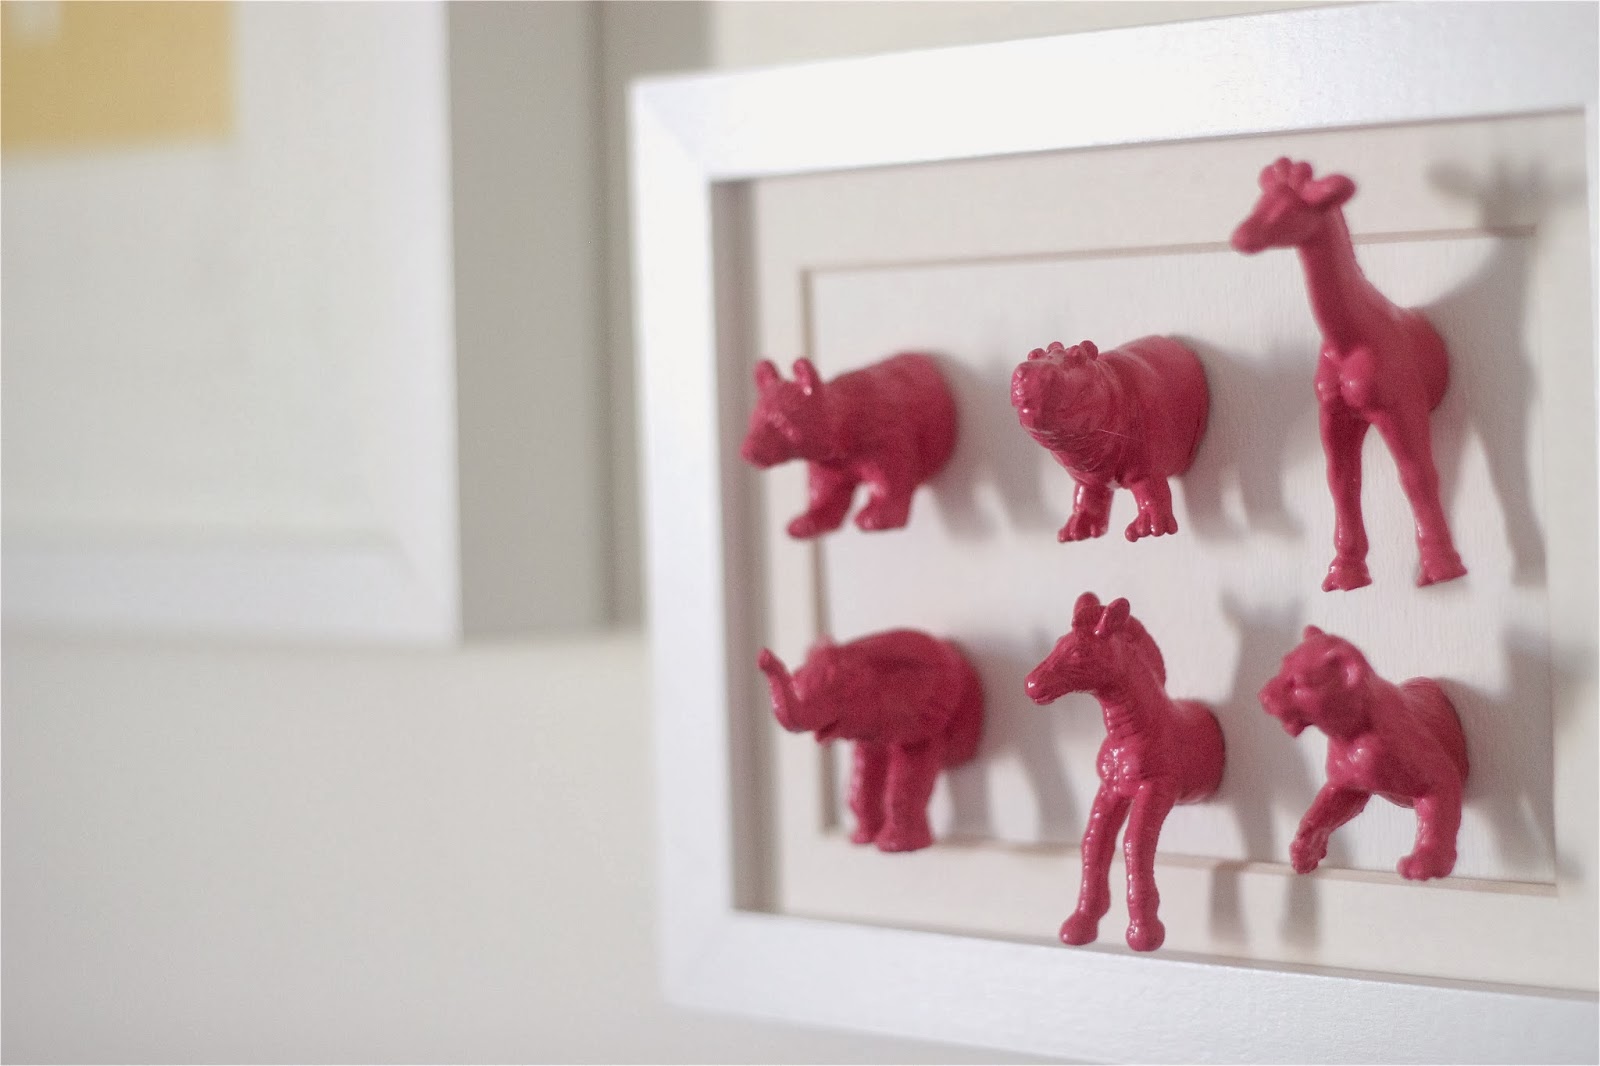
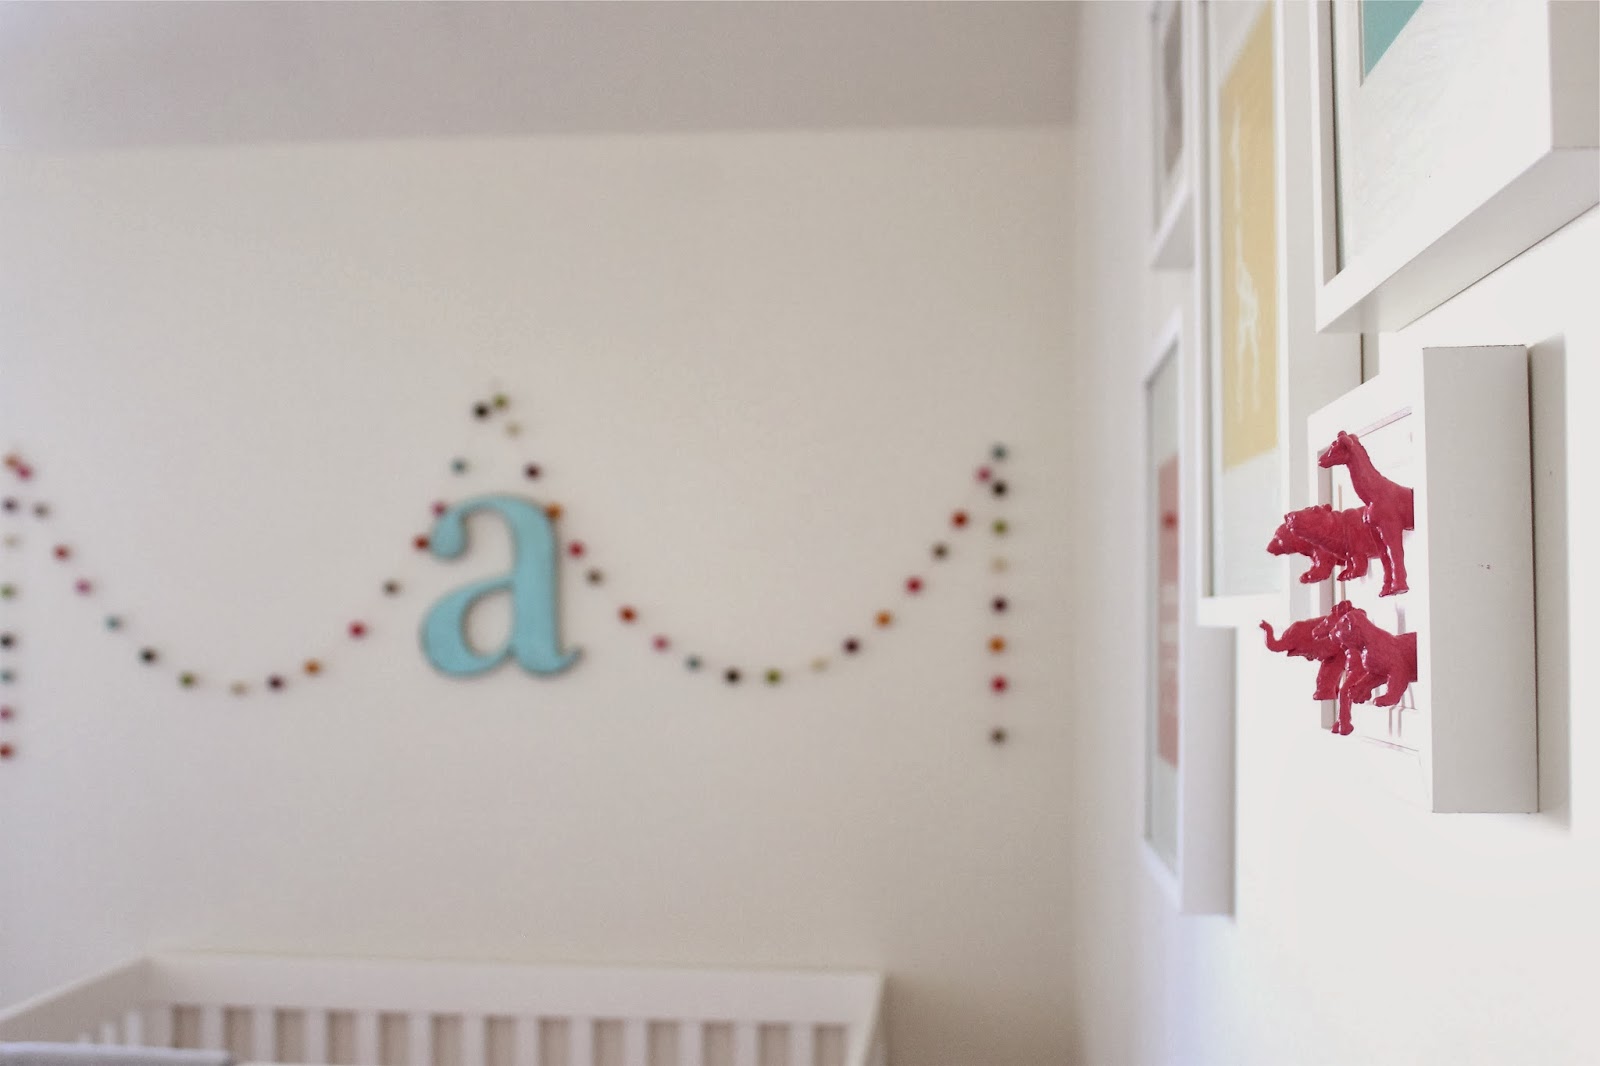
Incorporating playful decals is one fool-proof way to add character to your child’s room without having to paint or renovate. Decals are an exceptional option for renters because they’re safe over painted walls, removable and don’t involve a can of paint. Because decals are interchangeable, they’re great for a child with evolving interests. Swap out an animal display for images of the solar system, or combine the two for an exciting wall display.

Decorating with children may be a challenge, but it shouldn’t stop you from designing your dream home. Creating a home that’s both stylish and kid-friendly is attainable through organization, collaboration and investing in timeless pieces. For more inspiration, check out Zillow Digs.

FEATURED: DEVAN’S WINTER WOODLAND NURSERY

She did it again! Our dear friend Shara (remember her Shark Party HERE?!) is blowing our minds with her son’s dreamy gray and aqua nursery. It is styled. to. perfection. We’ve been stalking gently convincing her to let us show her whole house! One day, Shara, one day…. mwahahahaha!

SHARA:
When I was pregnant with my second, I was so sure I was having a girl that I went ahead and bought crib bedding and started planning out a perfect baby girl nursery. I was just SURE. Halfway through my pregnancy at the big ultrasound, the tech waved her magic wand, paused, and then asked me if I still had the receipt for that bedding… I was having another boy! I was shocked and kind of in denial, so I decided I didn’t need to do up another room for baby boy – he would just share a room with his big brother once he was old enough to move out of the bassinet in my room. 
Fast forward to a month before my due date. The urge to nest suddenly kicked in haaaaaaard and I just HAD to have a nursery. Jenni had thrown me the most perfect “snowy sprinkle” baby shower (see it HERE), and I worked from that idea to create a gender-neutral winter woodland nursery. The room was already painted grey (Valspar’s “Cement”), so I left it as is and used that as my starting point. Anyone who has been to my house knows how much I love the color aqua, so I (unsurprisingly) decided on a grey/aqua/white color theme, accented by warmer tones here and there to keep it from being too matchy-matchy or cold. It took more than a year to finish up the room – I had my hands kind of full with two little ones! – but I think that the extra time allowed the room to evolve into something even better than I had originally visualized. Now it’s one of my favorite rooms in the house!
PS. I never did return that girly bedding… it’s packed away carefully in hopes that maybe one day my pretty pink nursery will become a reality 😉


SOURCES:
Tree decals – WallDecorative
Arrows – Mineral and Matter
Feather mobile – DIY
Dreamcatchers – DIY
Bedding – skirt from Land of Nod, sheet & chevron knit throw from Target
Aqua book cart – Land of Nod
Rocking moose – Ikea
Chair and ottoman – Little Castle “Charleston”
Polar bear blanket – Land of Nod
Polar bear “skin” – eBay
Lamps – Target
Squirrel nightlight – Modcloth
Tree wood bead puzzle – Skip Hop
Bird mobile – Boon
Changing pad cover – Land of Nod
Curtains – Amazon (blackout lining added DIY)
Dresser, end table, book ledges – Ikea
“Things” organizer – Land of Nod
Grizzly bear wood block calendar – West Elm
Fox, raccoon and owl art – Sass and Peril
Antlers – White Faux Taxidermy
Clock – Target
Rocking bird – West Elm
Ceramic fox figurine and white fox speaker – Target
Moon globe – Urban Outfitters
Marquee arrow light – Target
Forest Love screen print – Sass and Peril
Young & Brave print – Billy and Scarlet
Paper deer – Template from French Melody
Name letters – DIY
Woven baskets – Walmart, spray painted teal
Owl vase – Target

AMARA’S SIMPLE WHITE TODDLER ROOM

I just recently did a wall of gold dot decals from urban decals. I am totally in love with all of their designs. The customer service is awesome as well! (my product plug for the day! 😉 Moving on…. 
This is not the room we started with when my daughter was born. She was in a different room in our house, there was a lot of pink, a chevron wall, and it was right at the top of our staircase with two french doors. As Amara grew, I realized it wasn’t the most practical room to have her in. So, I decided to start fresh in a new room with white paint (Glidden’s parchment white color matched in Behr). It is the “perfect” white. I even have it as my dining room color. I love fresh white walls with pops of color.
Overall, I just wanted to create a simple, sleek space for her. It is one of my favorite rooms to be in!
^The kitchen was a DIY gift from our dear friends for Amara’s first birthday! I fell in love with Vivi’s kitchen from Lay Baby Lay , so that is what they mimicked! Amara loves it!!! ^

Gotta have a place for tea parties 😉
^ There is no really great shot of the curtains due to the lighting in this room, but they were my first real sewing project that I did on. my. own! I splurged on some of the most beautiful white linen fabric and some seafoam pom pom trim. I even lined them with a blackout liner. I followed this tutorial if you are ever interested in giving it a try. Take it from me…I can’t even sew a straight line. You might surprise yourself! There is no way I could have afforded the curtains that my little beginner skills made me. ^
^ These wooden photos from Picture Bungalow are one of my favorite things in the room. I love these photos so much, and was so happy with the print quality! ^
^ I found a pedant shade at West Elm for $15 dollars. I knew I wanted something yellow against all of that white, and I scooped it right up. My husband installed it using a light kit and I simply wrapped the cord in fuschia pink yarn! ^
^ I ordered a pack of felt balls and strung them myself to create this garland. Easy Peasy, and half the price if you do it yourself. I don’t remember who I got them from, but they are allllll over Etsy! ^
^ Amara’s first piece of artwork she created at the top is my favorite! ^
^ I saw this idea on Pinterest and totally copied it! 😉 I just cut some little plastic animals in half, spray painted them, hot glued them to card stock and voila! ^
^ I wanted something with Amara’s birth details on it, and I found this cute little alphabet print (you can customize your colors) on Etsy! ^

^ Found this old french provencial looking dresser on Craigslist. I painted it gray and added my own handles. I lined the drawers with Snow & Graham wrapping paper from Rock Paper Scissors ^
^ Hooks for hanging and a toddler height mirror, which I found at Goodwill and spray painted! ^

-J