diy wall art

DIY DOOR MONOGRAM

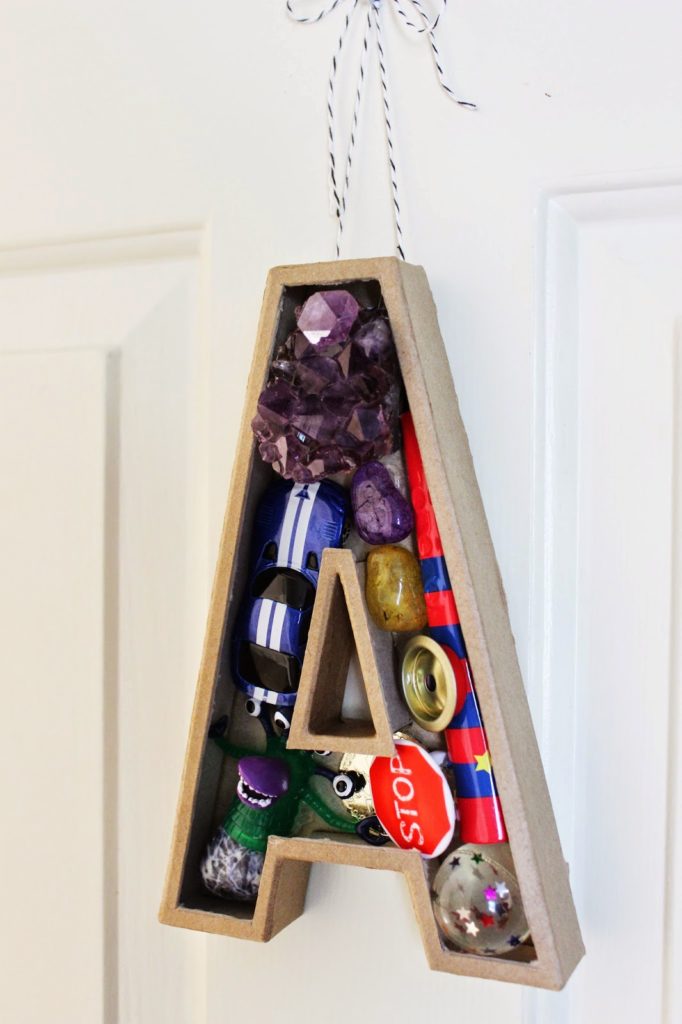
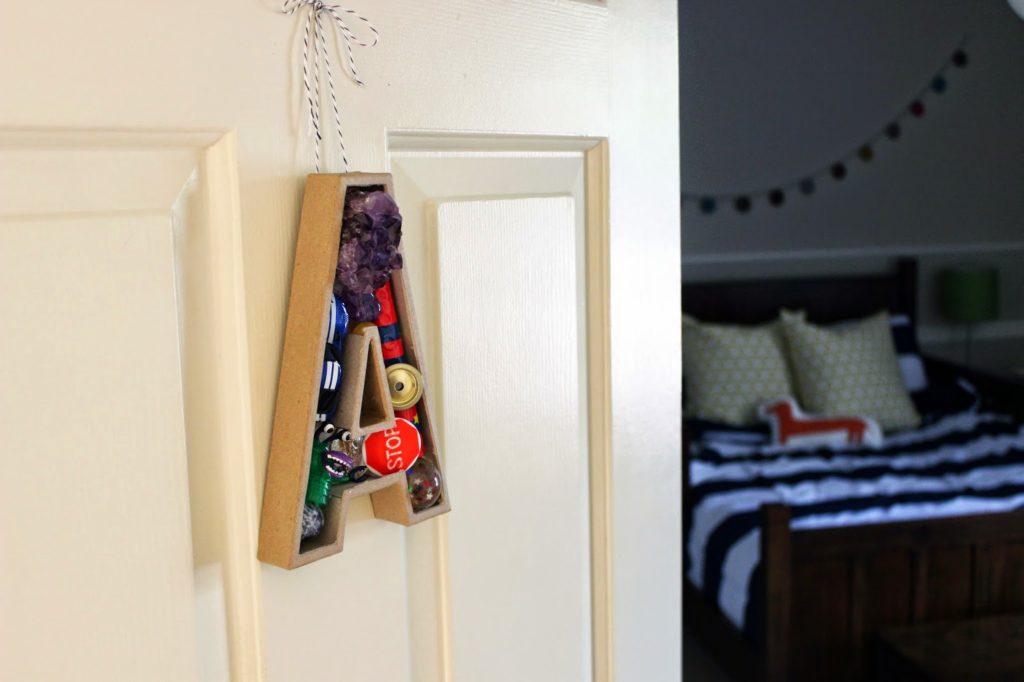
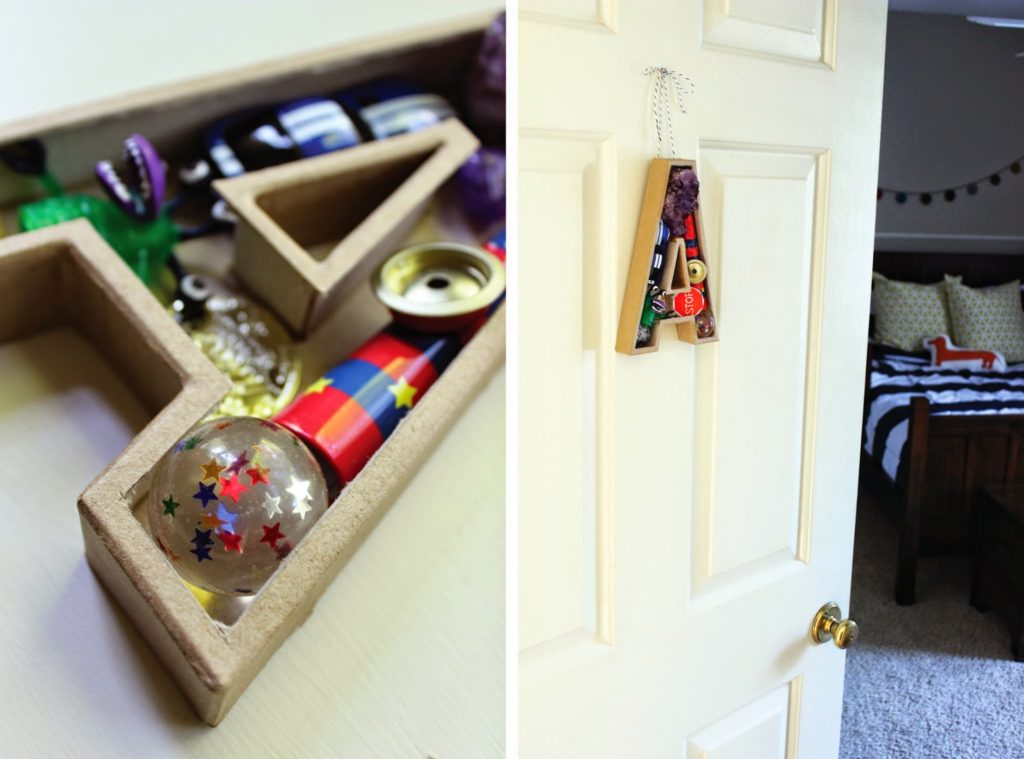
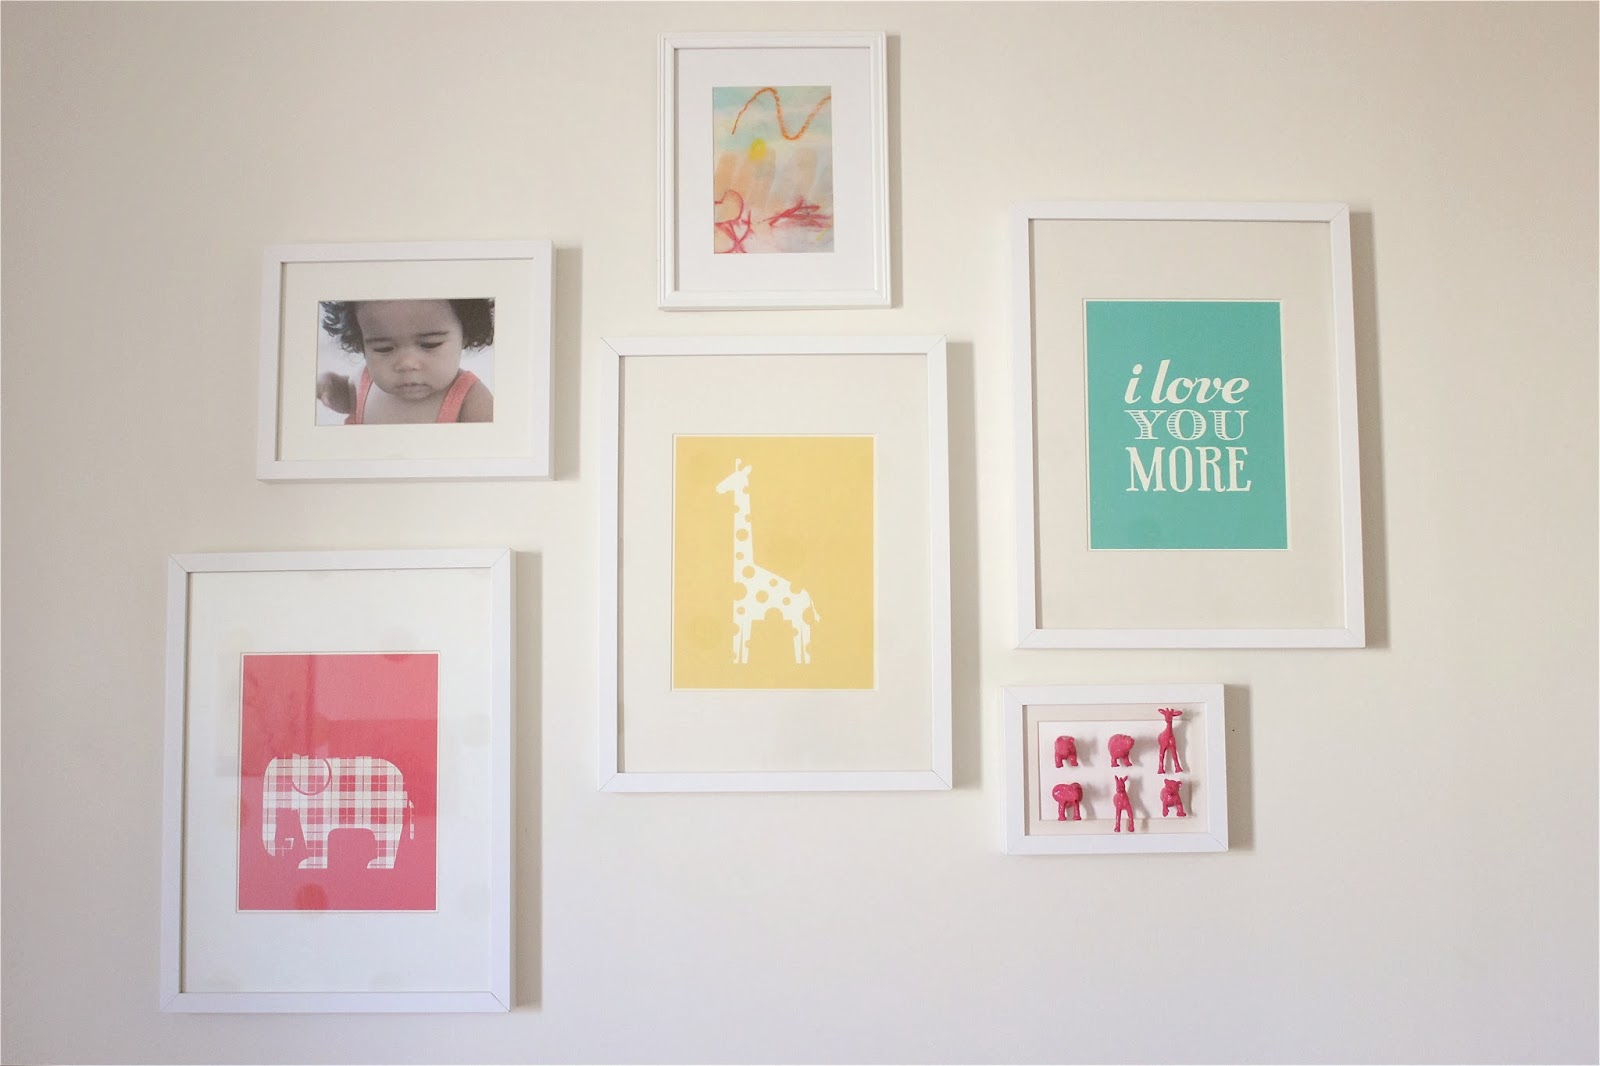
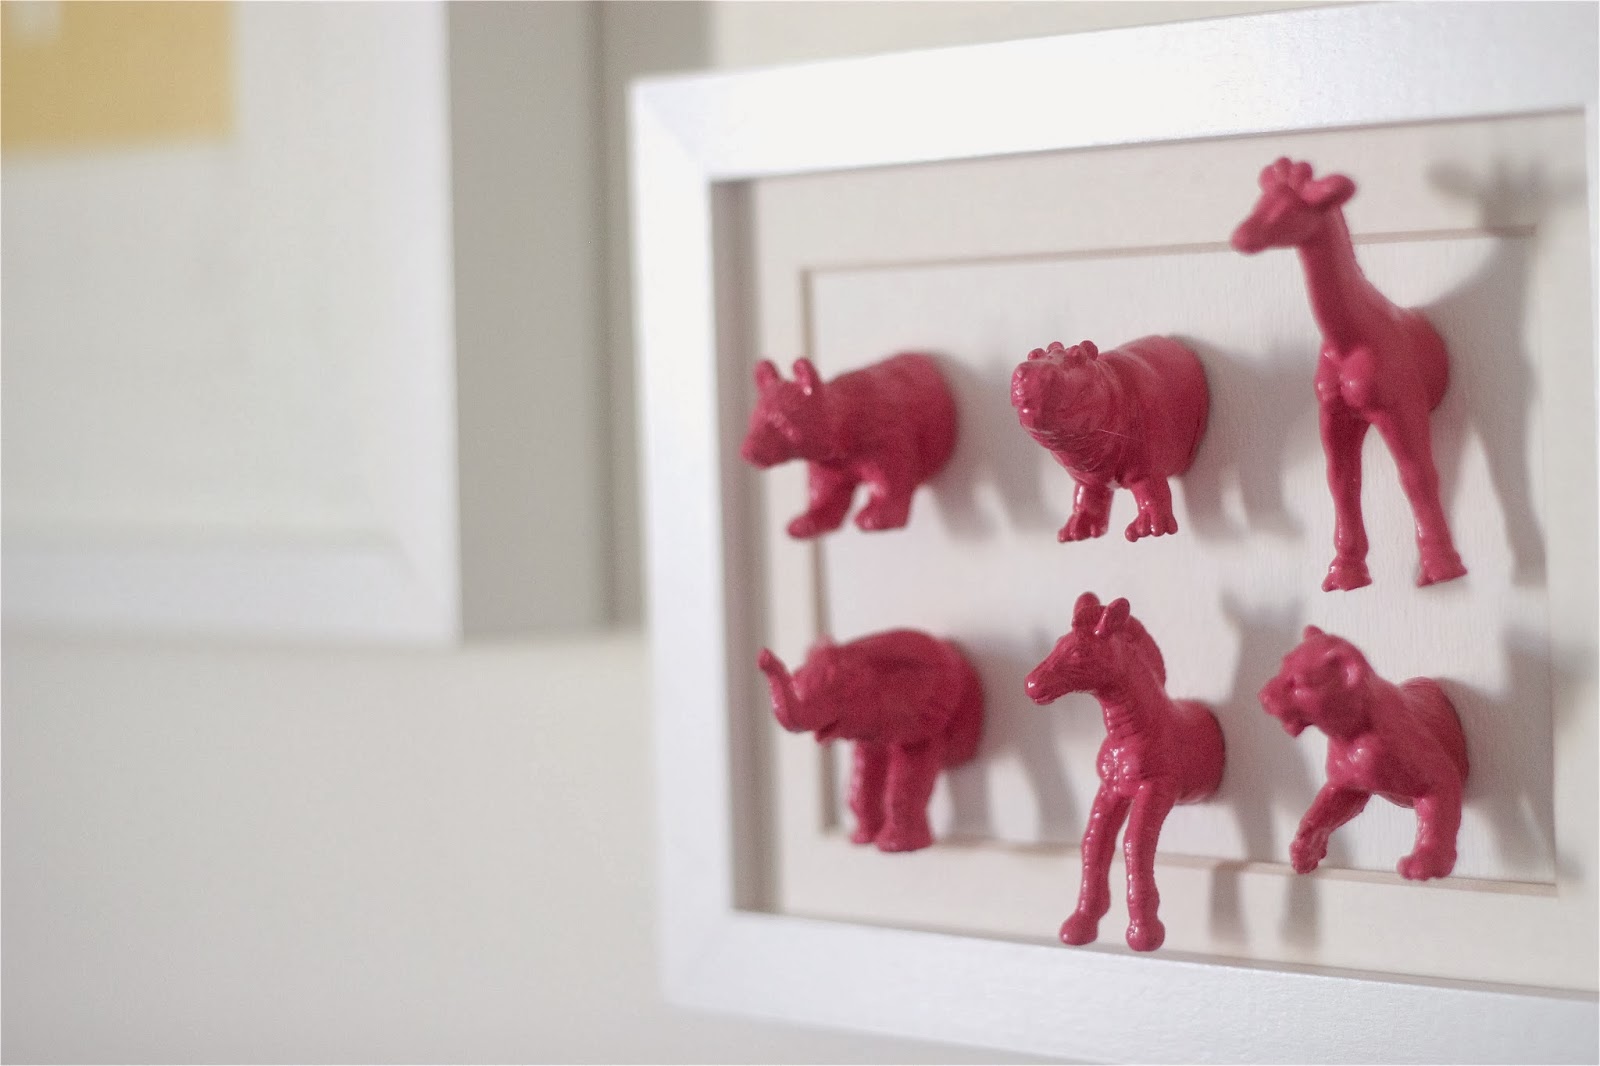
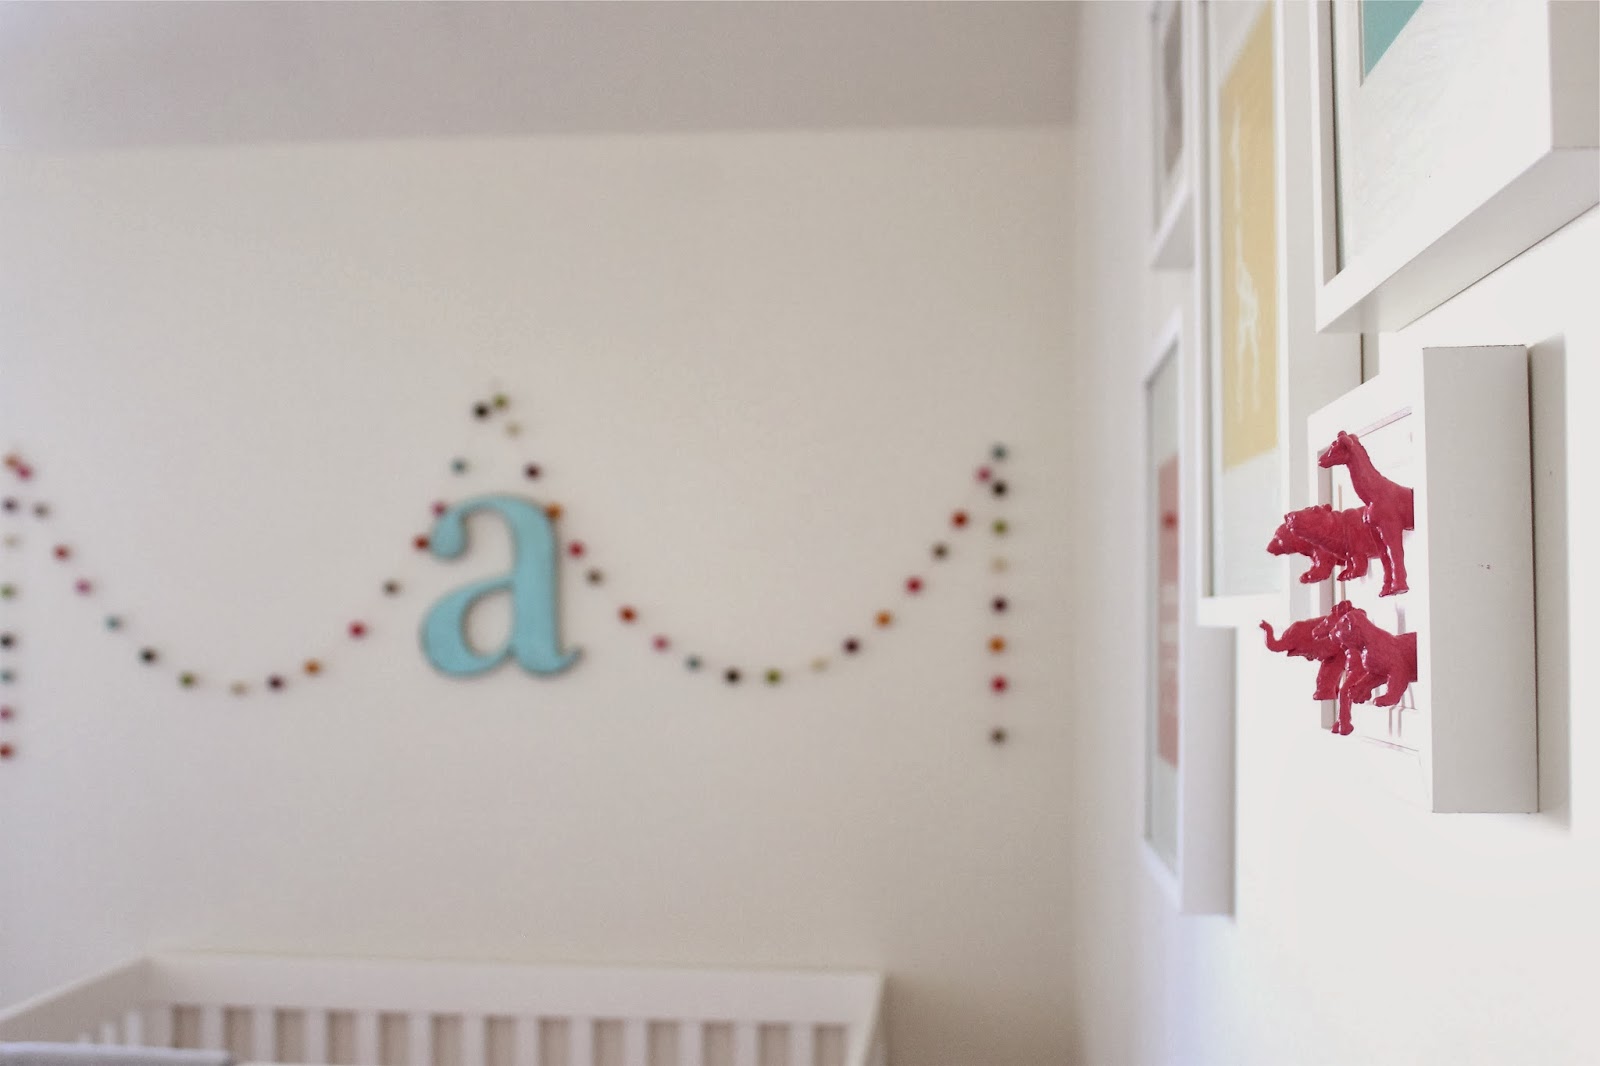
Some say I’m a hoarder (Jenni), some say I’m lazy (me), but I think we can all agree this DIY I did last year was worth keeping, right? It was so easy that I wanted to share with you again. And I haven’t gotten around to decorating my mantle yet… so….here ya go.
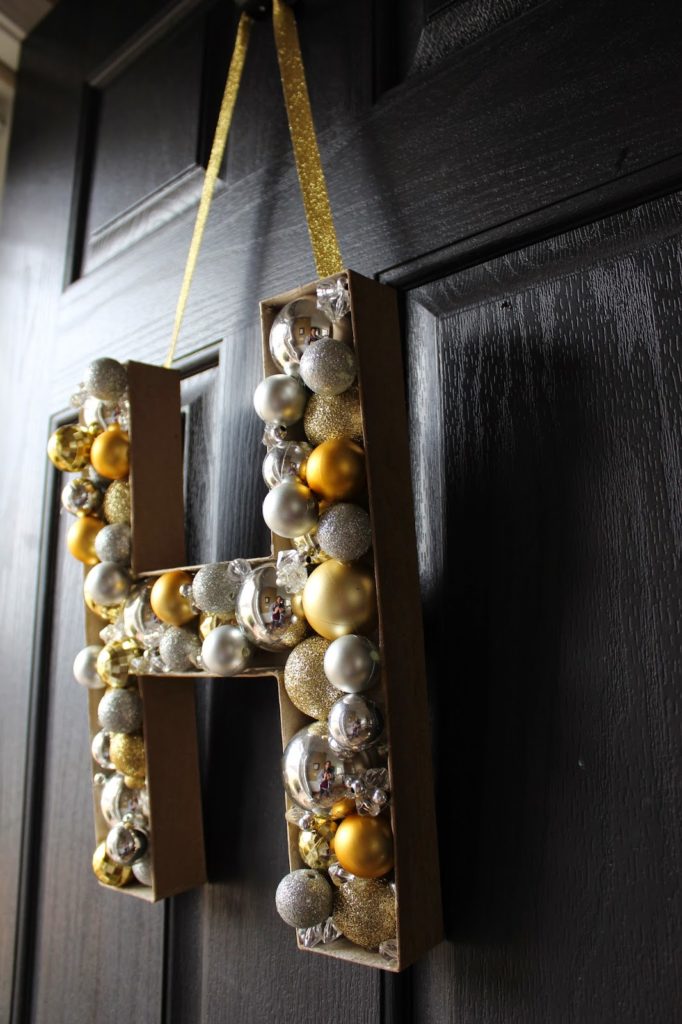
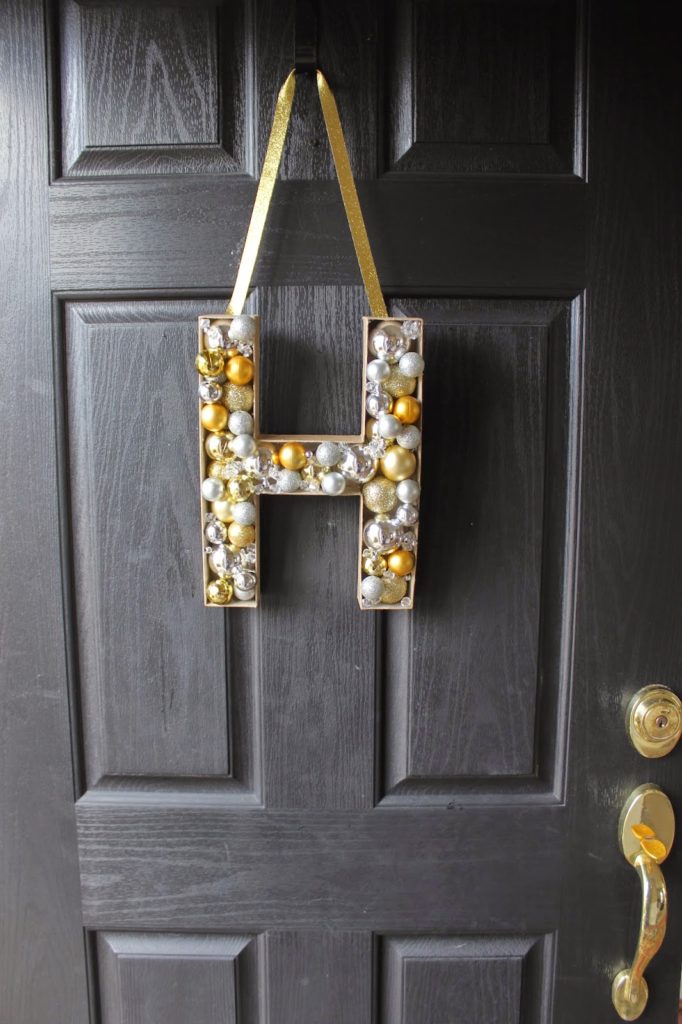
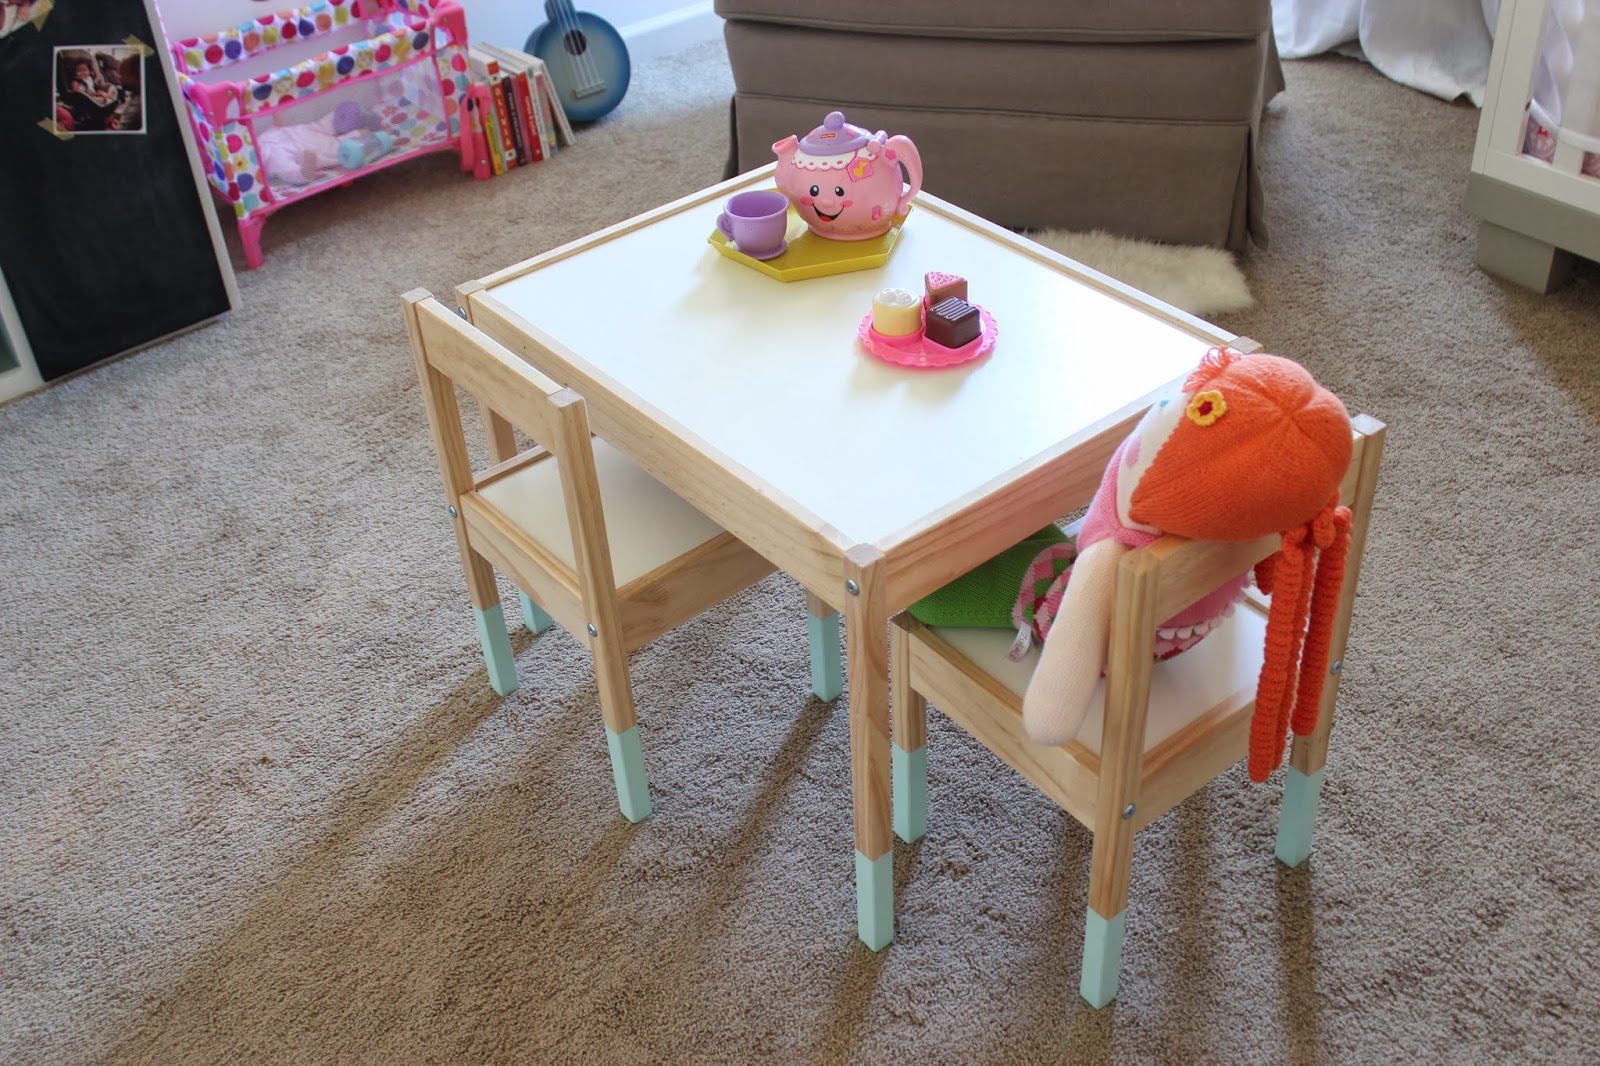
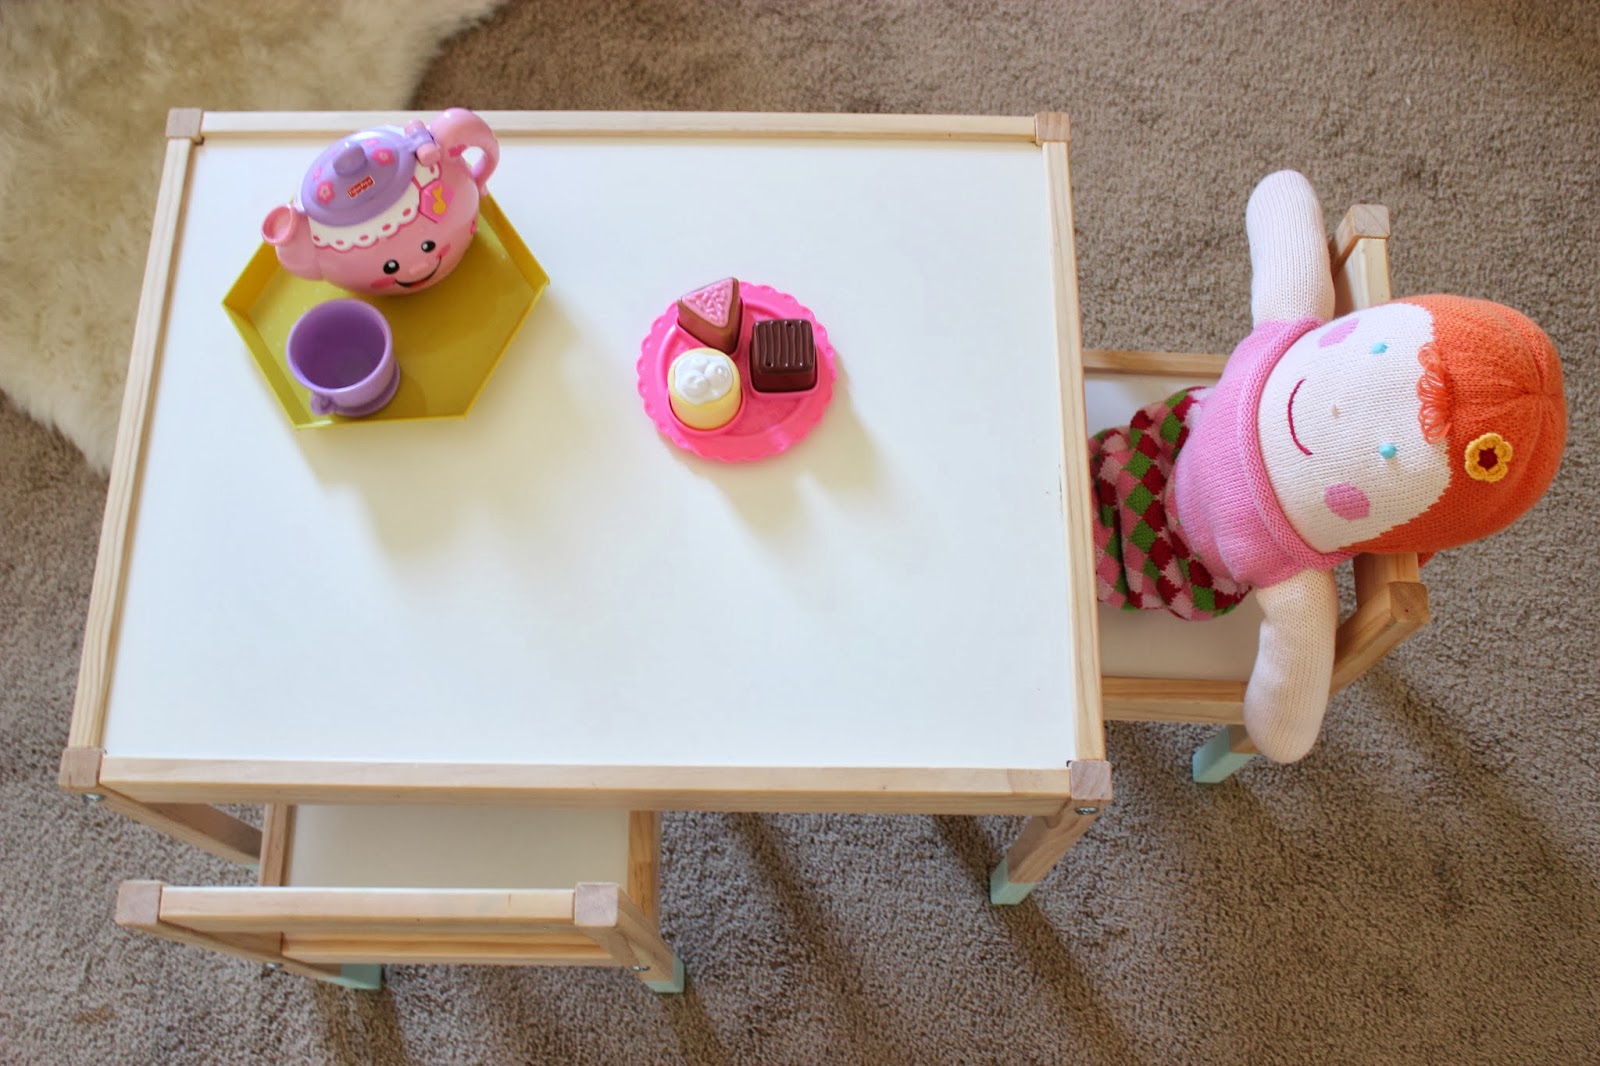
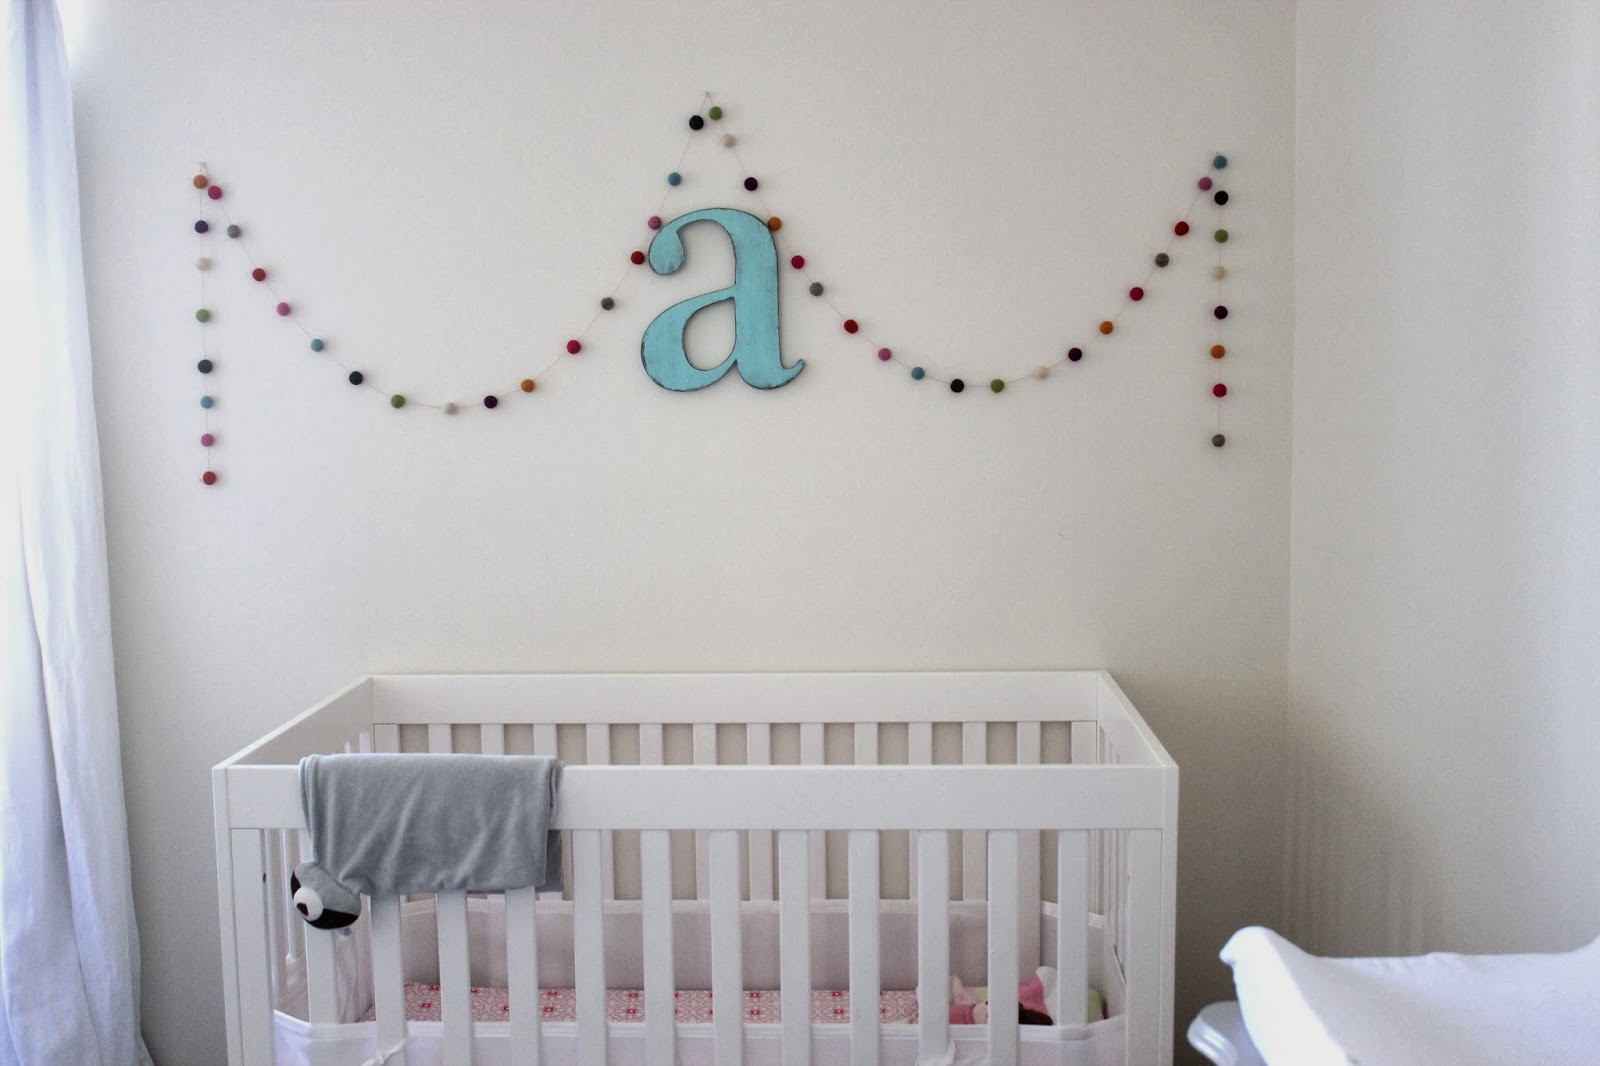
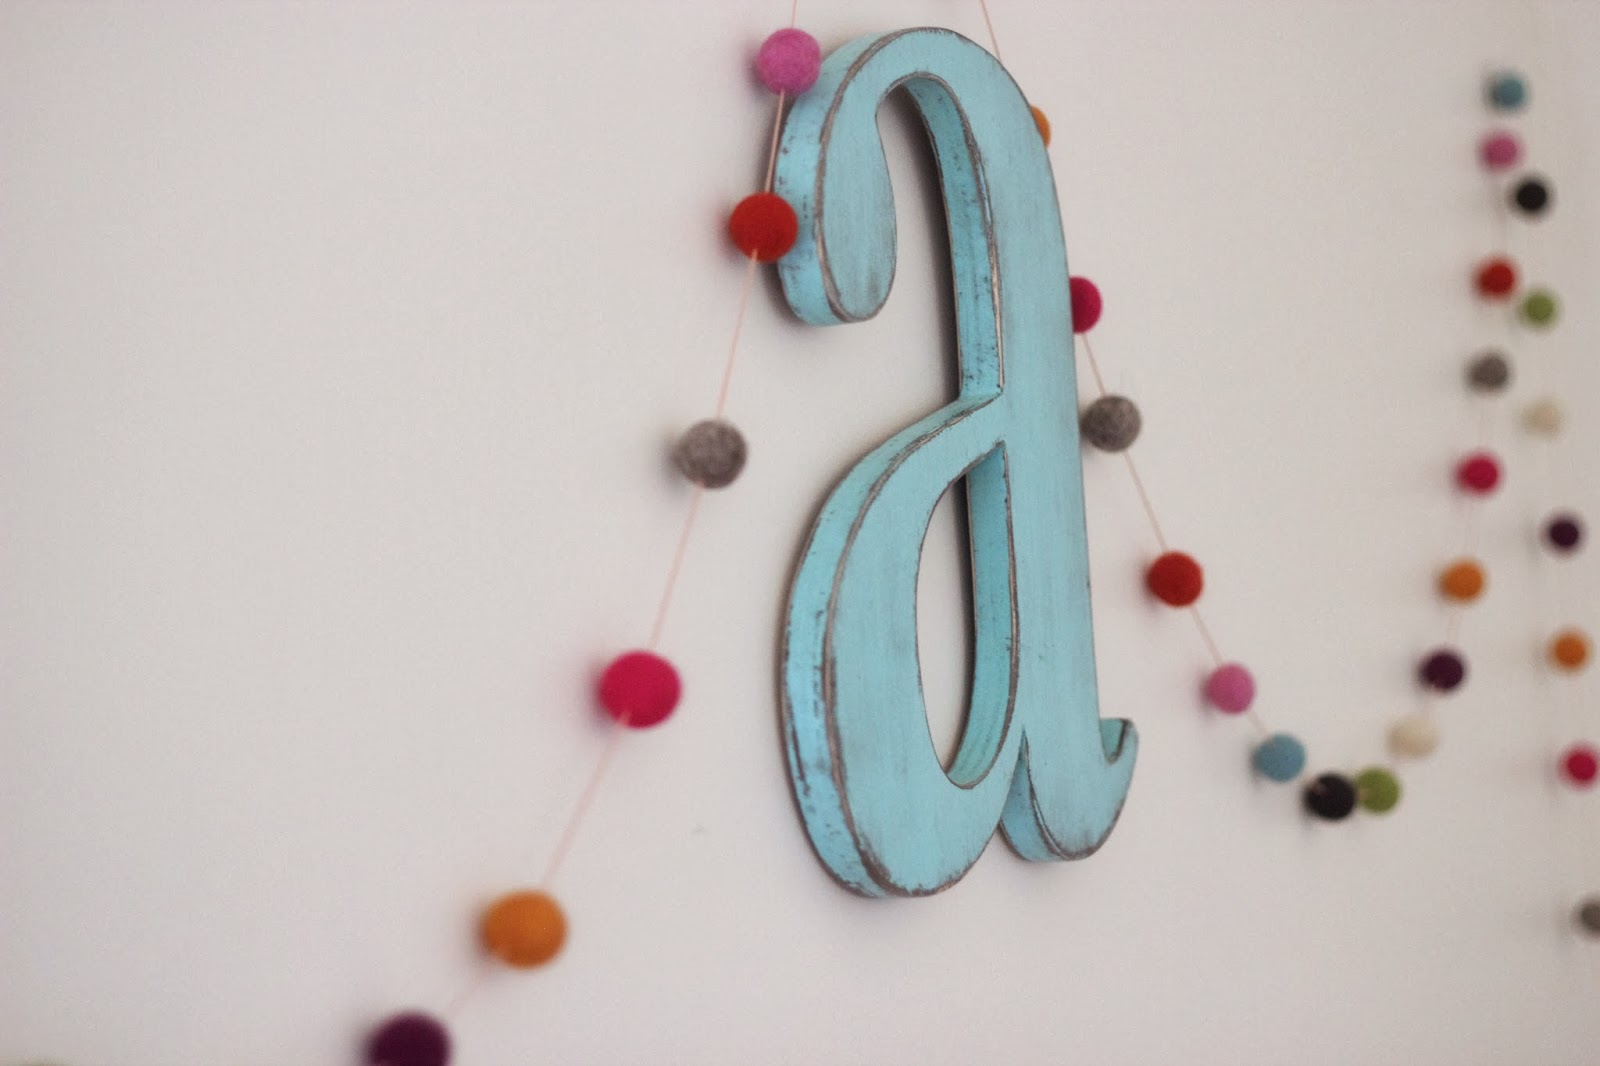
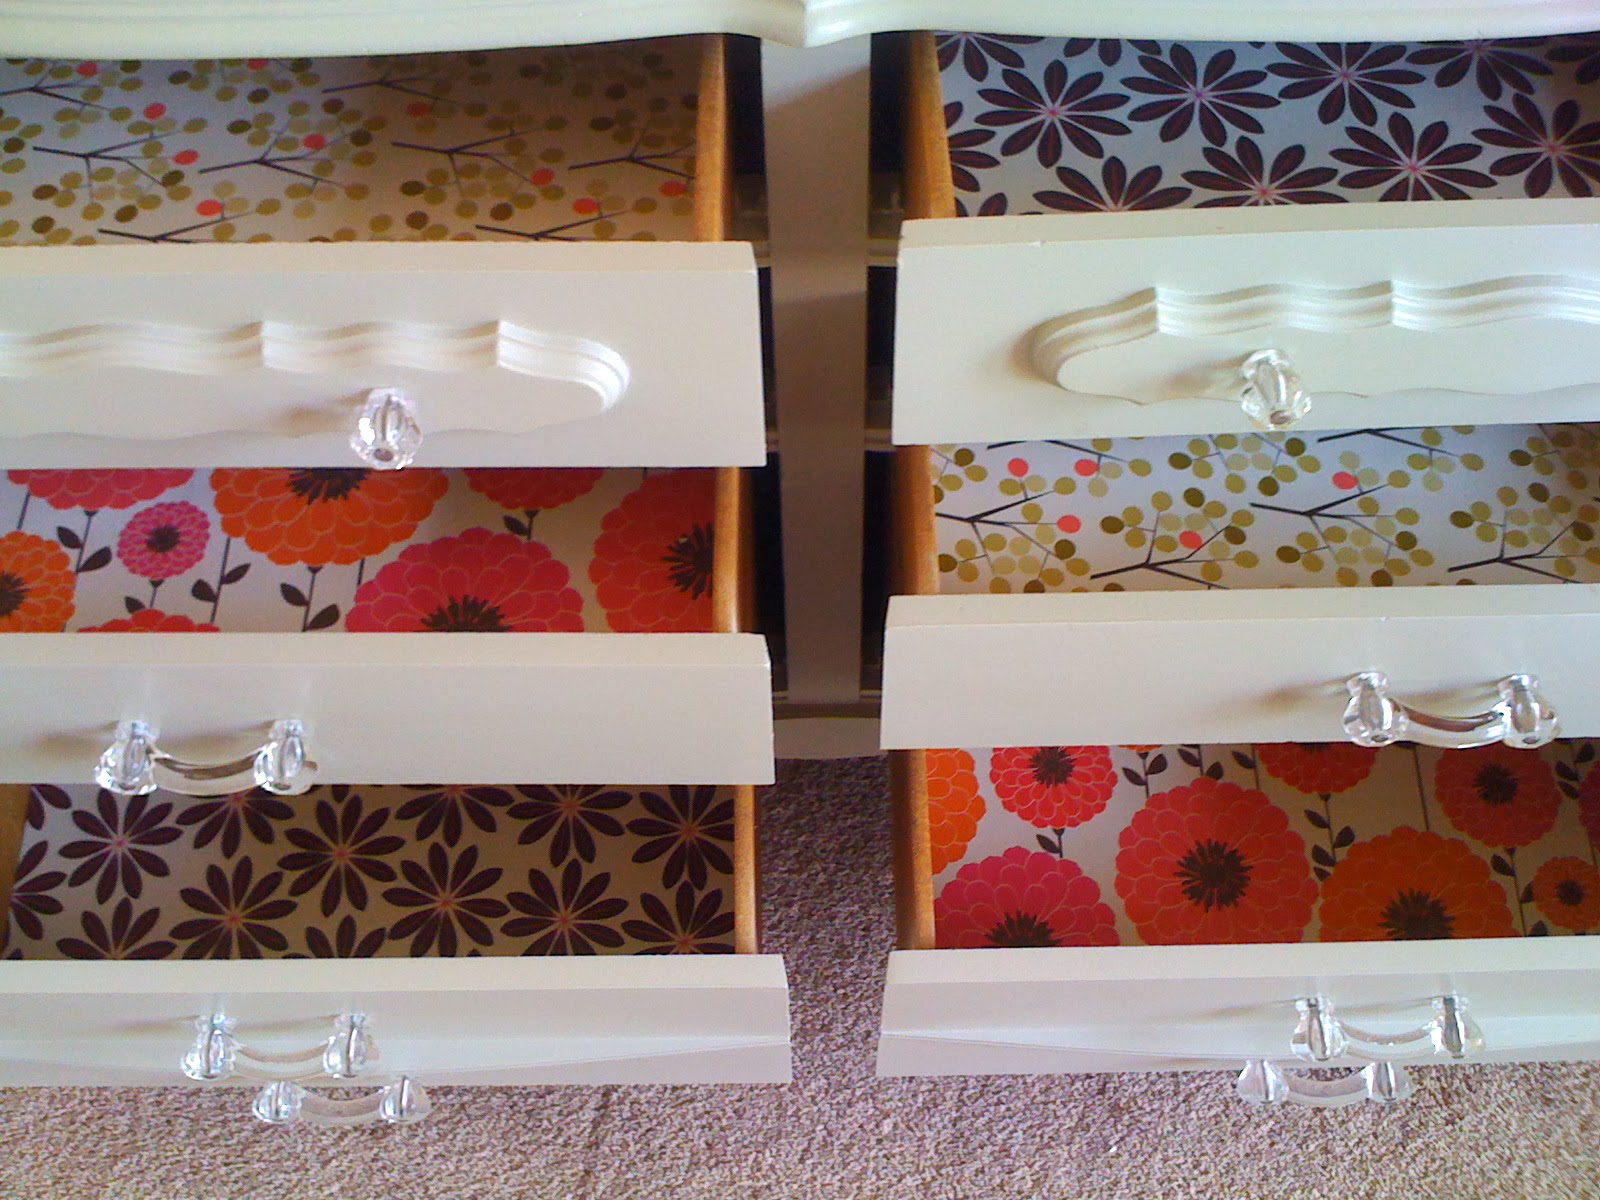
See the full tutorial HERE that I used for Ari’s room. Just switch out the junk keepsake treasures for ornaments. Obviously 🙂
Up for next week: more holiday gift guides and holiday style posts just in time for your party circuit!
-L

DIY DOOR MONOGRAM – FOR THE LITTLES

Is it just my child that hoards “treasures”? Maybe hoarding is genetic, because he definitely gets it from me! Ari has a drawerful of little trinkets and toys that he doesn’t play with all the time. Marbles, matchbox cars, “magic rocks”…they’re all of course choking hazards for Max, so I decided to hot glue them into infinity. It’s an easy way to personalize Ari’s space in our rental and only $2 to make. Oh how I miss Ari’s room in our old house. Dreaming about our new space we’re building!
Click here for my holiday version of the monogram door hanger. Totally reusing it this winter!
STUFF YOU NEED: Glue gun, x-acto knife, pencil, ruler, string, paper mache letter (I got mine at my craft store for $3, but obviously I had a coupon for it!), and junk treasures.
 STEP 1: Measure 1 cm around the inside of the letter.

 STEP 2: Using your ruler to stabilize your knife, cut along the pencil line. Tip: score first, then cut without moving your ruler. It took me about 3 cuts to get all the way through the cardboard.
 STEP 3: Remove top and inside stuff, smooth down the edges of what you cut.
STEP 4: Using your x-acto knife, make holes at the top of the letter and use your pencil to make the holes a little bigger. Thread string through.
 STEP 5: Lay your treasures out to make them fit, then glue glue glue!
STEP 6: Hang up and be proud of your $2 craft!
STEP 7: Roll your eyes as your kid claims he wants to play with the toys you just glued even though he hasn’t played with them for months. 
-L

AMARA’S SIMPLE WHITE TODDLER ROOM

I just recently did a wall of gold dot decals from urban decals. I am totally in love with all of their designs. The customer service is awesome as well! (my product plug for the day! 😉 Moving on…. 
This is not the room we started with when my daughter was born. She was in a different room in our house, there was a lot of pink, a chevron wall, and it was right at the top of our staircase with two french doors. As Amara grew, I realized it wasn’t the most practical room to have her in. So, I decided to start fresh in a new room with white paint (Glidden’s parchment white color matched in Behr). It is the “perfect” white. I even have it as my dining room color. I love fresh white walls with pops of color.
Overall, I just wanted to create a simple, sleek space for her. It is one of my favorite rooms to be in!
^The kitchen was a DIY gift from our dear friends for Amara’s first birthday! I fell in love with Vivi’s kitchen from Lay Baby Lay , so that is what they mimicked! Amara loves it!!! ^

Gotta have a place for tea parties 😉
^ There is no really great shot of the curtains due to the lighting in this room, but they were my first real sewing project that I did on. my. own! I splurged on some of the most beautiful white linen fabric and some seafoam pom pom trim. I even lined them with a blackout liner. I followed this tutorial if you are ever interested in giving it a try. Take it from me…I can’t even sew a straight line. You might surprise yourself! There is no way I could have afforded the curtains that my little beginner skills made me. ^
^ These wooden photos from Picture Bungalow are one of my favorite things in the room. I love these photos so much, and was so happy with the print quality! ^
^ I found a pedant shade at West Elm for $15 dollars. I knew I wanted something yellow against all of that white, and I scooped it right up. My husband installed it using a light kit and I simply wrapped the cord in fuschia pink yarn! ^
^ I ordered a pack of felt balls and strung them myself to create this garland. Easy Peasy, and half the price if you do it yourself. I don’t remember who I got them from, but they are allllll over Etsy! ^
^ Amara’s first piece of artwork she created at the top is my favorite! ^
^ I saw this idea on Pinterest and totally copied it! 😉 I just cut some little plastic animals in half, spray painted them, hot glued them to card stock and voila! ^
^ I wanted something with Amara’s birth details on it, and I found this cute little alphabet print (you can customize your colors) on Etsy! ^

^ Found this old french provencial looking dresser on Craigslist. I painted it gray and added my own handles. I lined the drawers with Snow & Graham wrapping paper from Rock Paper Scissors ^
^ Hooks for hanging and a toddler height mirror, which I found at Goodwill and spray painted! ^

-J