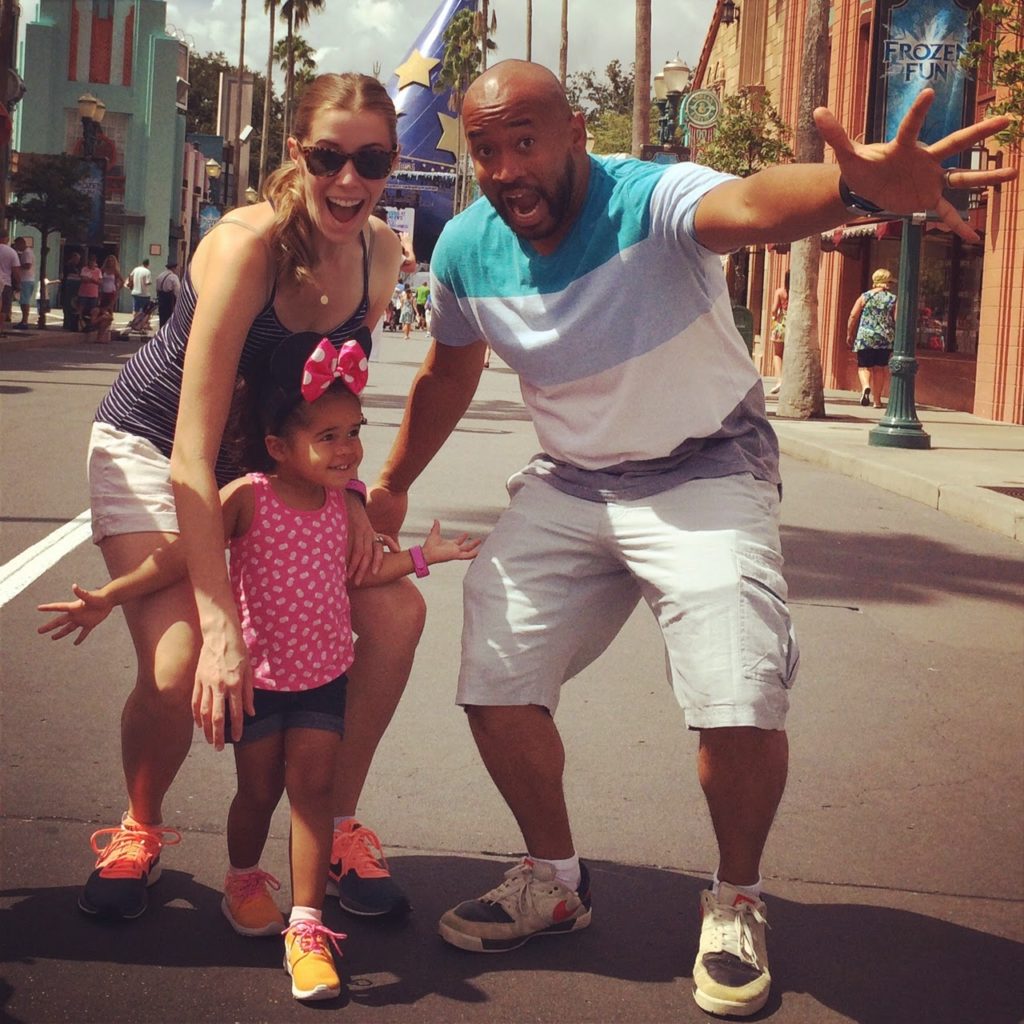
Happy Tuesday, friends! Today, I wanted to share some photos and tips that you might find helpful if you are planning a Disney trip anytime soon. We returned home almost a week ago, but we are just NOW feeling like things are getting back to normal. We are the type of family that needs a vacation after vacation. There are two types of vacations in my opinion: one where you truly relax and get away and one where you just simply in a place other than your own home. Disney is so much fun, but so much work! So, I hope this little list of mine helps and informs in some little way.

I bought Amara a new little, lightweight backpack for traveling. I filled it with an activity book, candies, some new Doc McStuffin headphones ( which I don’t recommend, as they are made for little ears so they have limited volume control. It makes them hard to hear on a loud airplane), and some crayons/markers and stickers. It was a short flight, so we didn’t need much!!
Take a stroller fan – I purchased this fan two years ago, and it has served us well for two trips. For as inexpensive as it is, I would recommend just buying a new one each year. This last trip, the fan blades seemed a little worn out. Anyway, the fan is great for littles since it has foam blades (no ouchies) and it clips right on to your stroller. It is a lifesaver for stroller naps or just a plain ole breeze in the Florida sticky mess that they call “Summer”.
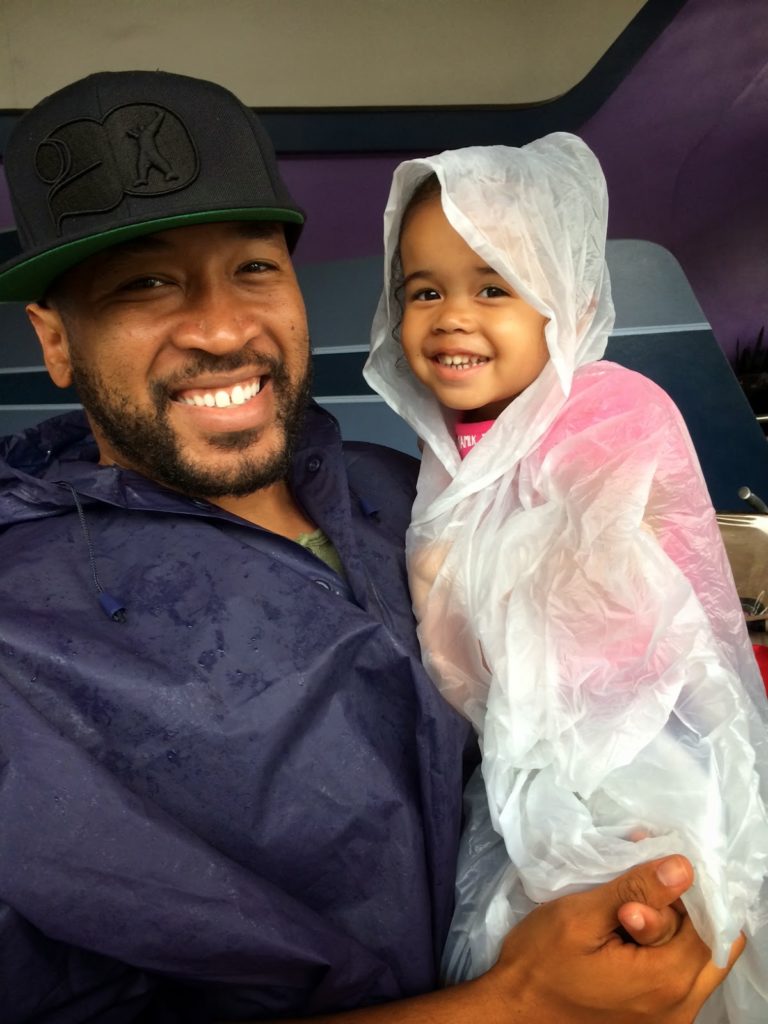
Stroller it if possible – There is so much room for stroller parking around the parks! My husband and I just kept saying how happy we were to not be carrying around a backpack or diaper bag. Obviously, if you have a baby that still needs diaper changing, or you just feel more comfortable having your stuff on you, then a backpack is the way to go. Our daughter is potty training, and we simply carried one wallet ( my husband’s) and carried our phones in our pockets. Everything else ( sunscreen, wipes, water bottles, ponchos etc.) we left in the stroller while we rode rides. It just freed us up to not have to carry everything.
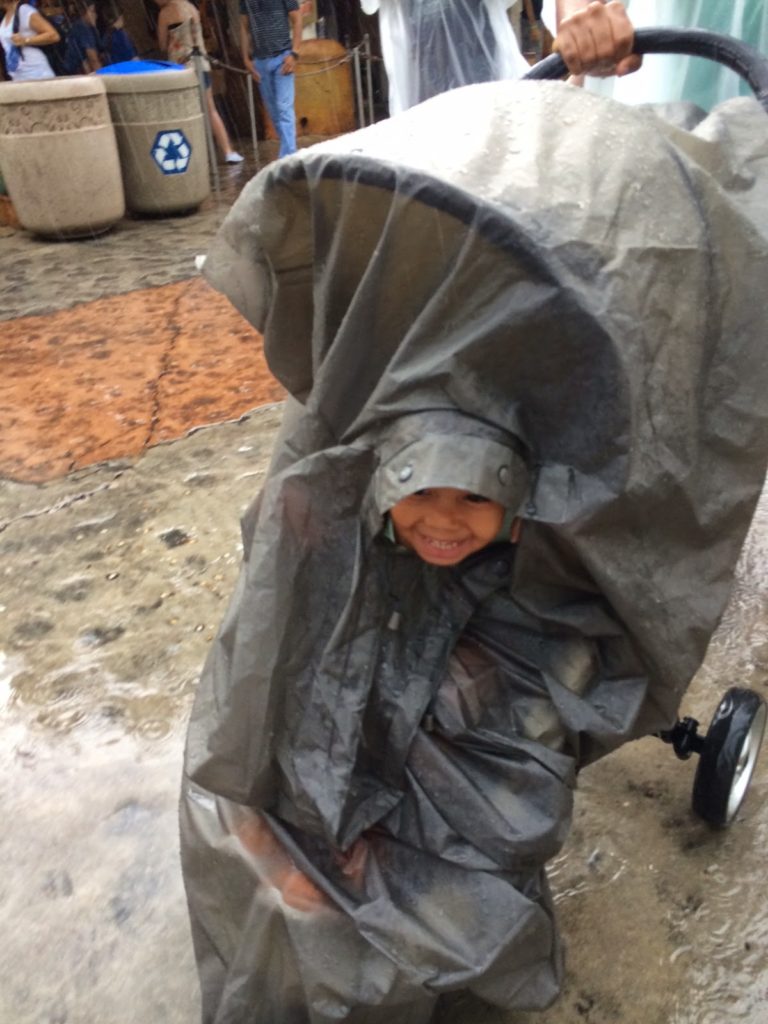
Take ponchos – Even if it seems perfectly sunny and not cloudy outside, it is still good to have ponchos on hand. It is Florida…. it rains…. everyday. We went the first week of September and got rained on every. single. day. I don’t mean a light sprinkle either. I am talking let your shoes dry out overnight kind of rain. I bought ours at Target or something I think. They are pretty expensive at the park!
Grocery shop – Just for two breakfast sandwiches, a kids’ milk and two black coffees, our breakfast ran us close to 35 bucks a day! Think of doing that for every meal. It gets so pricey!! Especially since we are snackers, we thought it would be a good idea to go to a nearby grocery store and load up on bread, pb &j, yogurt, milk, fruit, bottled water, chips, and whatever else so that we always had something when we came back to the hotel room. We came back for lunch several days since our little one needed to nap. It really helped save money!! Then, you don’t feel as bad splurging on all of the fun sweet stuff.
Buy Disney goods BEFORE you go to Disney – I know this sounds extremely cheap of me. However, let me explain….. When you go Disney with a toddler, they want EVERYTHING! We still bought Amara a princess dress ( compliments of Grandma), princess flip-flops, a Mickey T-shirt, a wand, and a doll. I think its a great idea to leave with some goodies in your suitcase to “gift” to your child throughout the Disney trip! There are Disney items to be found everywhere. Purchase them for a much lower price, and still be your kids’ hero without breaking the bank.
Stay on the Disney property – This is big for us just because we love the Disney experience! Two perks of doing this is FREE transportation to and from the airport via Magical Express. They even handle your bags for you!! It is a lifesaver! Also, you get to partake in “Extra Magic hours” at the parks. Certain parks stay open several hours later JUST for those that stay at a Disney resort. It cuts the lines down immensely, and its just an awesome experience!
Consider purchasing tickets in bulk – There are always deals on the Disney site (deal and special offers page)!My husband and I had a driver pick us up to drive us from our Disney hotel to Universal Studios ( where my husband had a show that day), and the driver told us that if you buy tickets in bulk, you can get park hoppers for as low as $30 dollars a day! WHOA!!!! When he said “in bulk”, he was talking like 10 days worth of tickets. He said that you can get the ones that never expire, unlike the normal ones that expire 14 days after its issued, and save them for your next trip even. I can’t find the EXACT deal he was talking about online, but I did find this page to be quite helpful as it talks about a very similar deal. Read under “Will you likely be returning to Disney?”. We are definitely planning on bulk buying next year.
Side note: if you are a super safe kind of person, be sure and write down the serial numbers on the back of your tickets just incase you lose them. That is the only chance you have of replacing them.
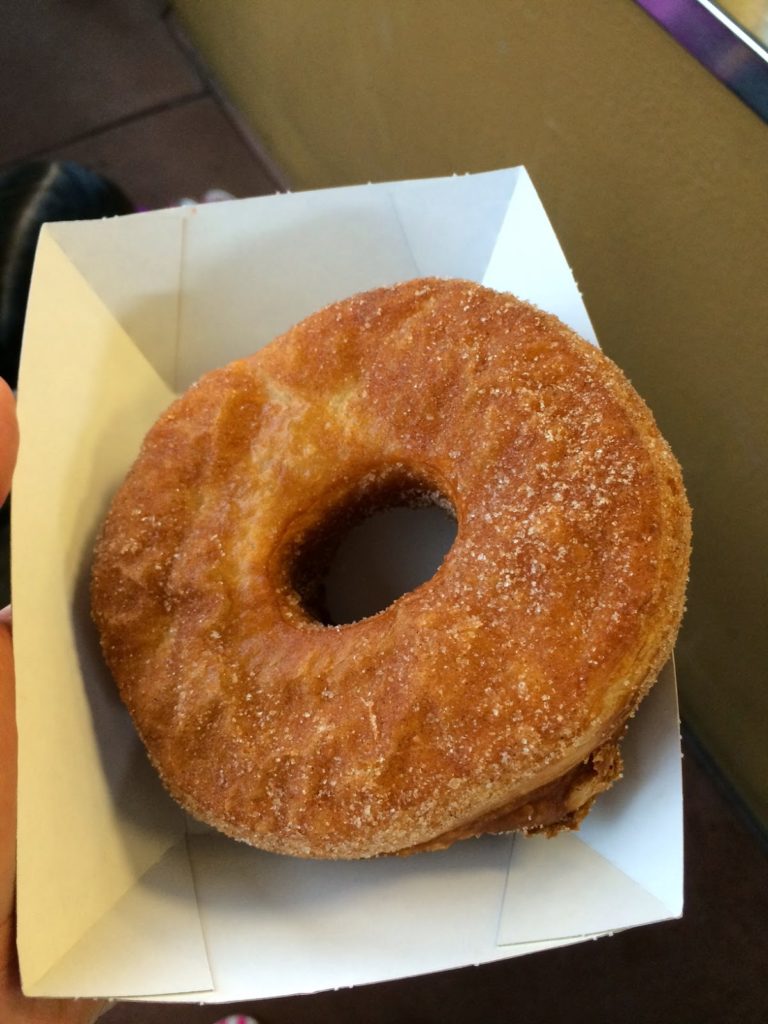
Eat a Croissant Donut (Cronut) – Found at Epcot right before you get to the first “country”! You will thank me!
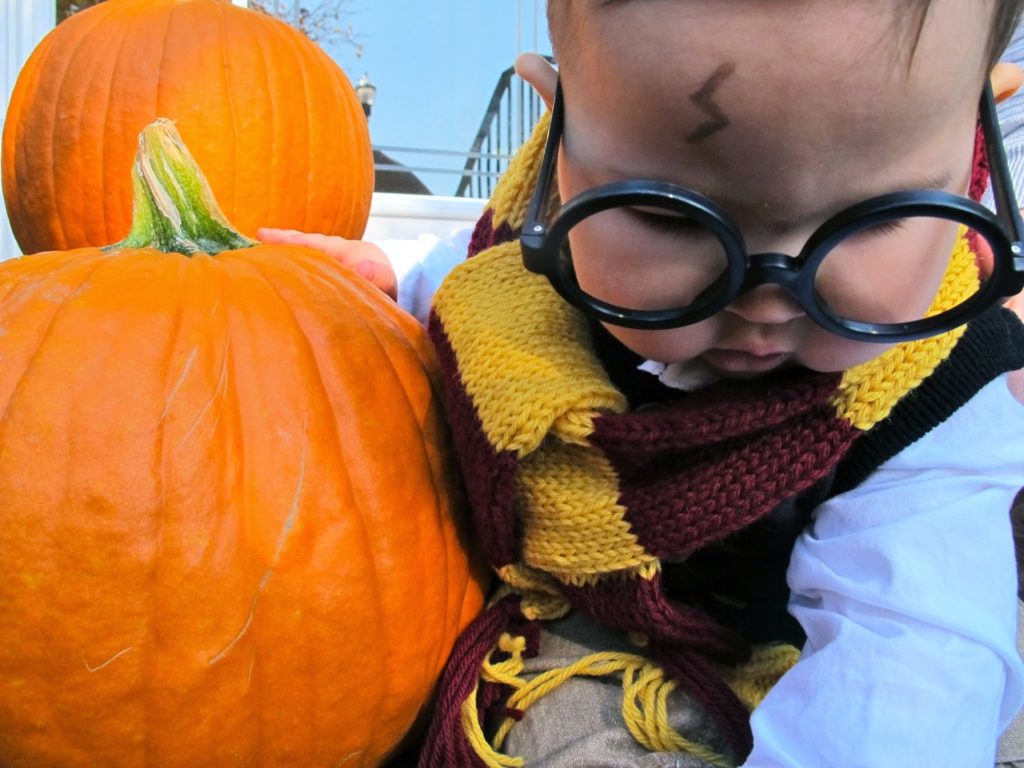
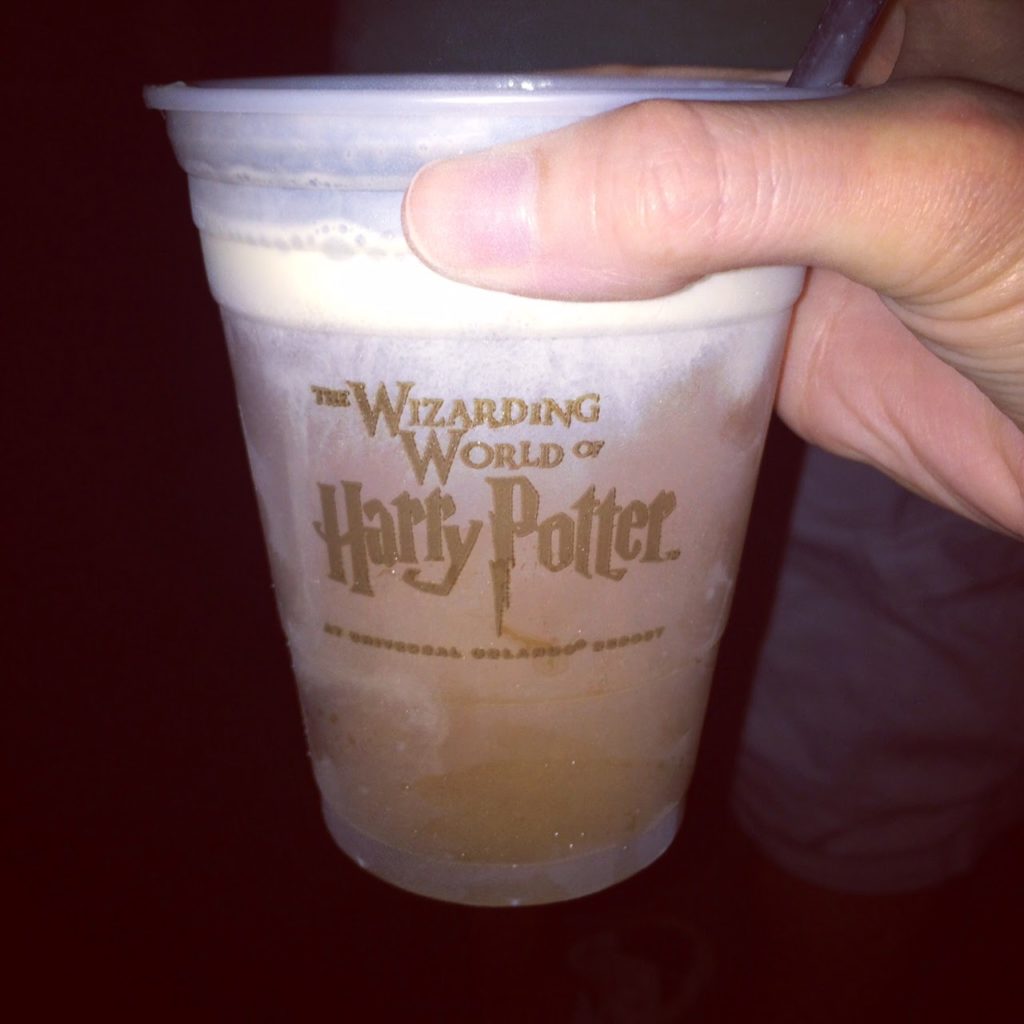
And Butter Beer (frozen) – Harry Potter…. I have no words. Our day at Universal exploring Diagon Alley was a highlight for me.
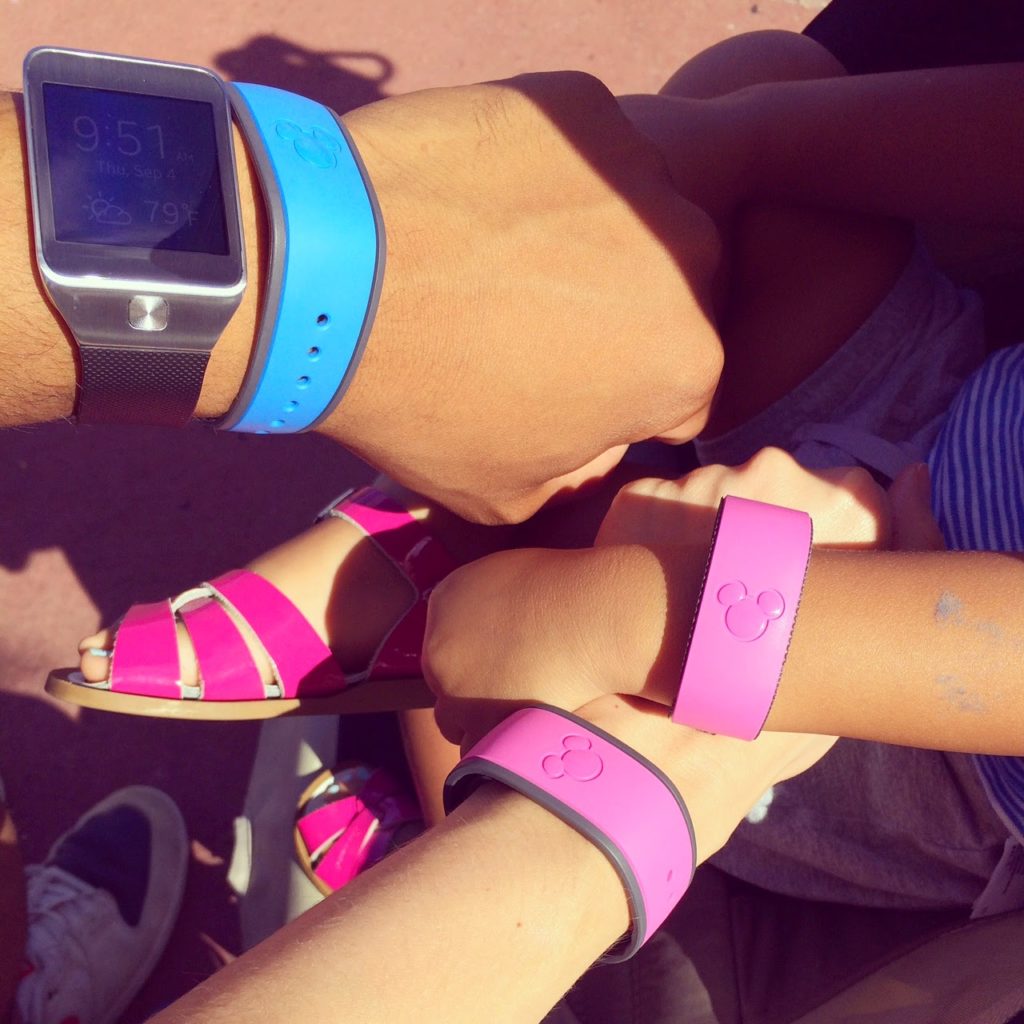
We also customized our magic bands online before we left for Disney! You can do this on their website as well.
Enjoy the Magic!!