Happy Friday friends!! Gosh, I am so happy to have this week behind me. We put our house on the market about two weeks ago. Since then, we have been hustling around to accommodate showings and open houses. Truly one of the most exhausting things to do with kids. Live perfectly, and get your house to look like a magazine throughout the day so people will want to buy it???? yeah. umm. ok….


I am overjoyed to share that our house is SOLD! Now that things have slowed down for us (temporarily), I wanted to share my top 10 tips on staging your home to SELL. I stress the “sell” part because it is important to remember that you are not staging your home for yourself and your family. You have to think about those coming to see your home. It was very hard for me to get into that mindset.
So, here goes…
STAGING TIPS:
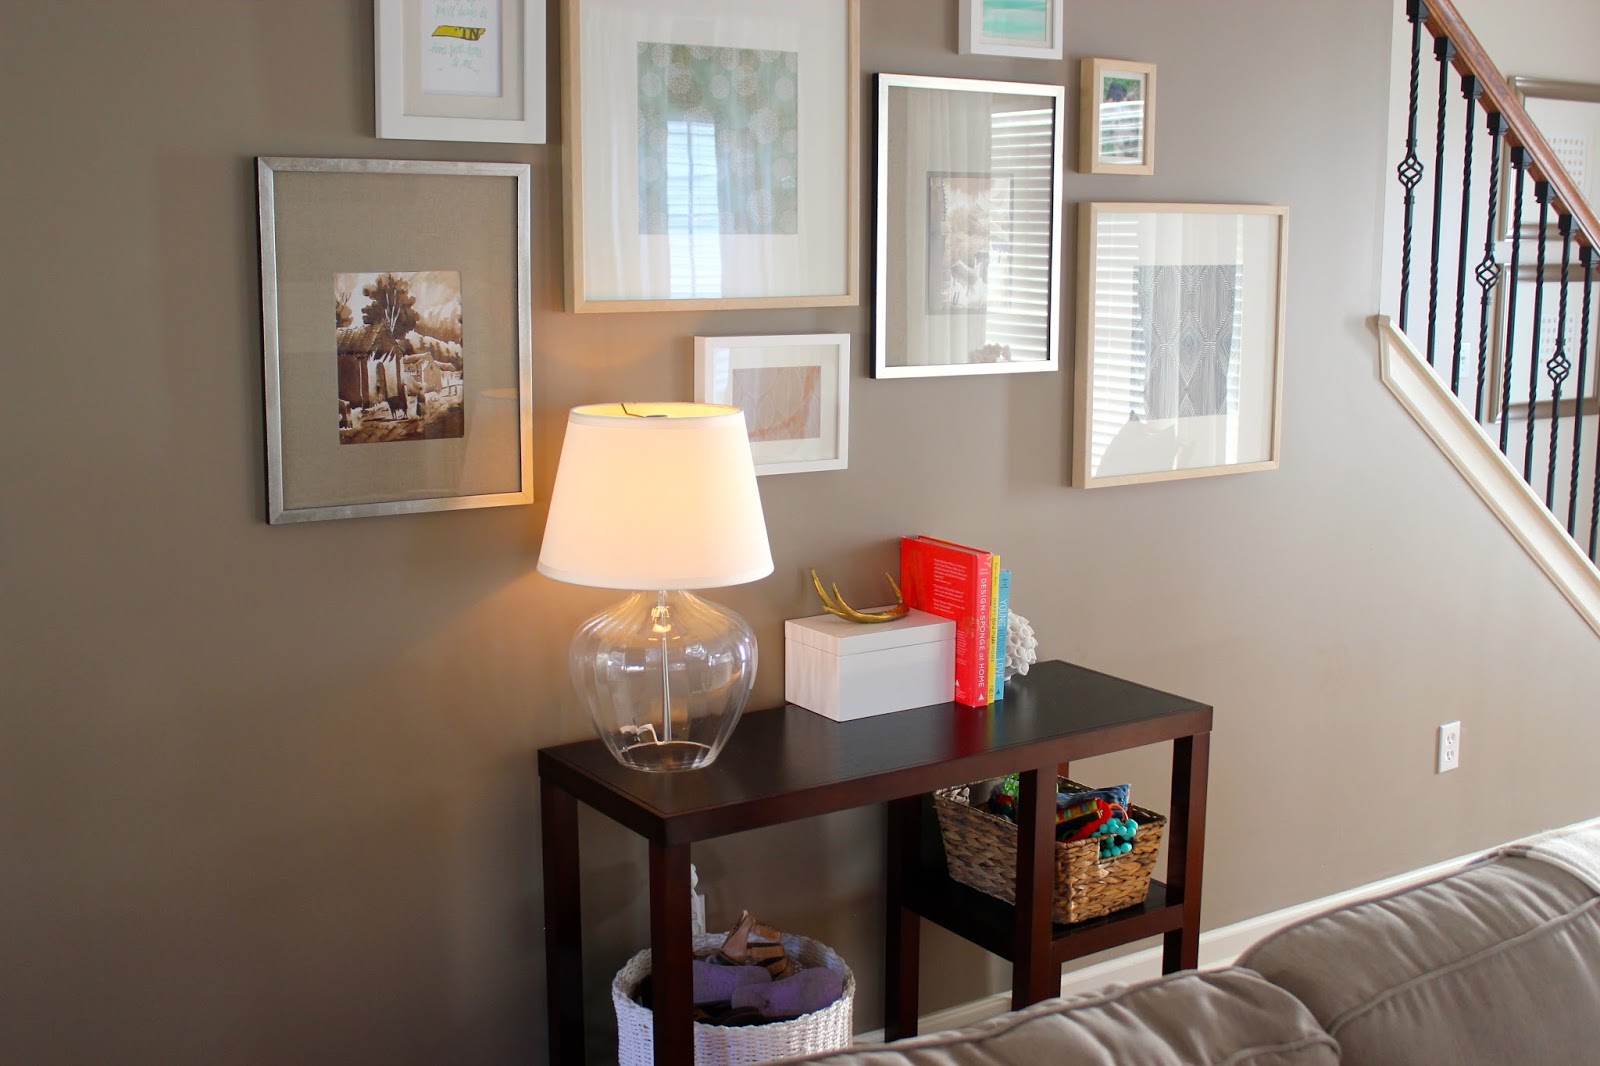
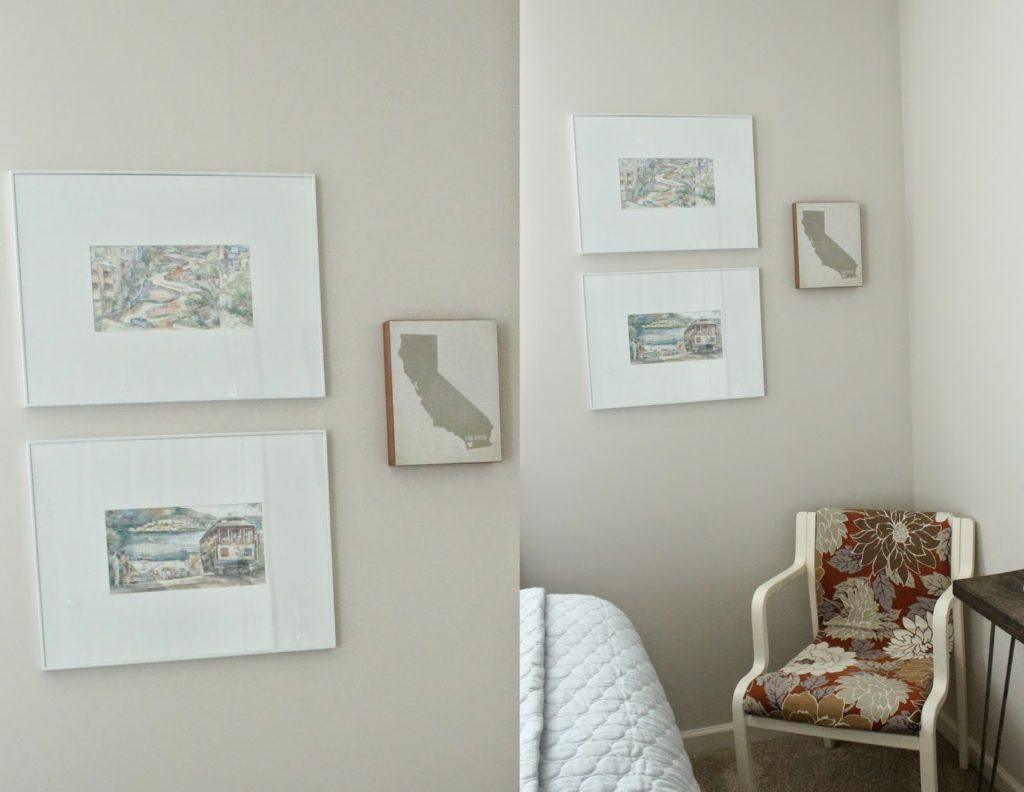
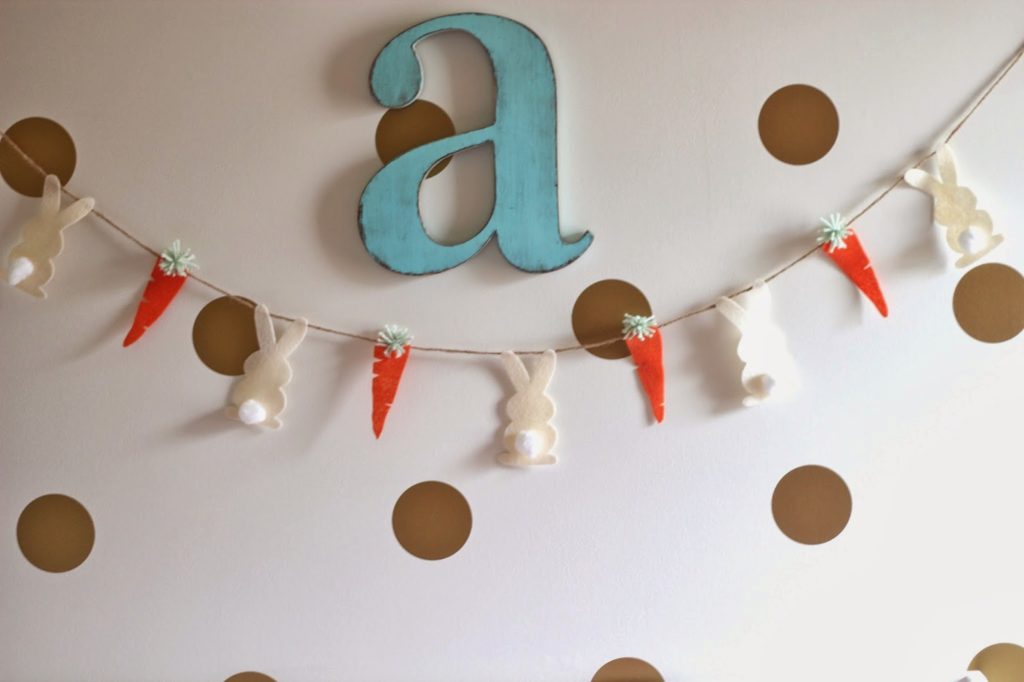
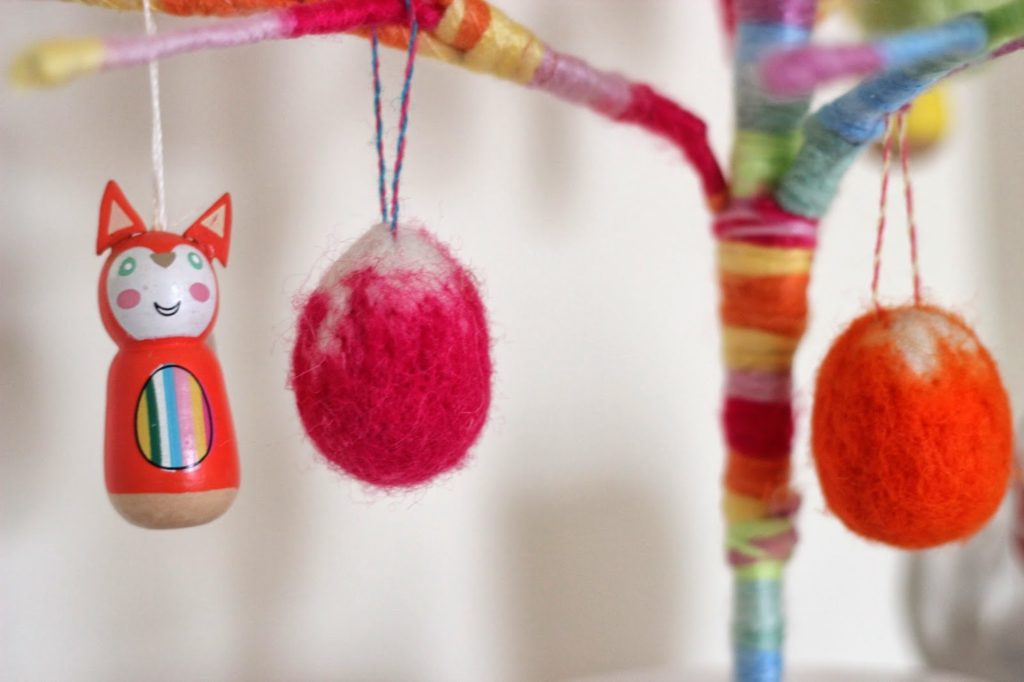
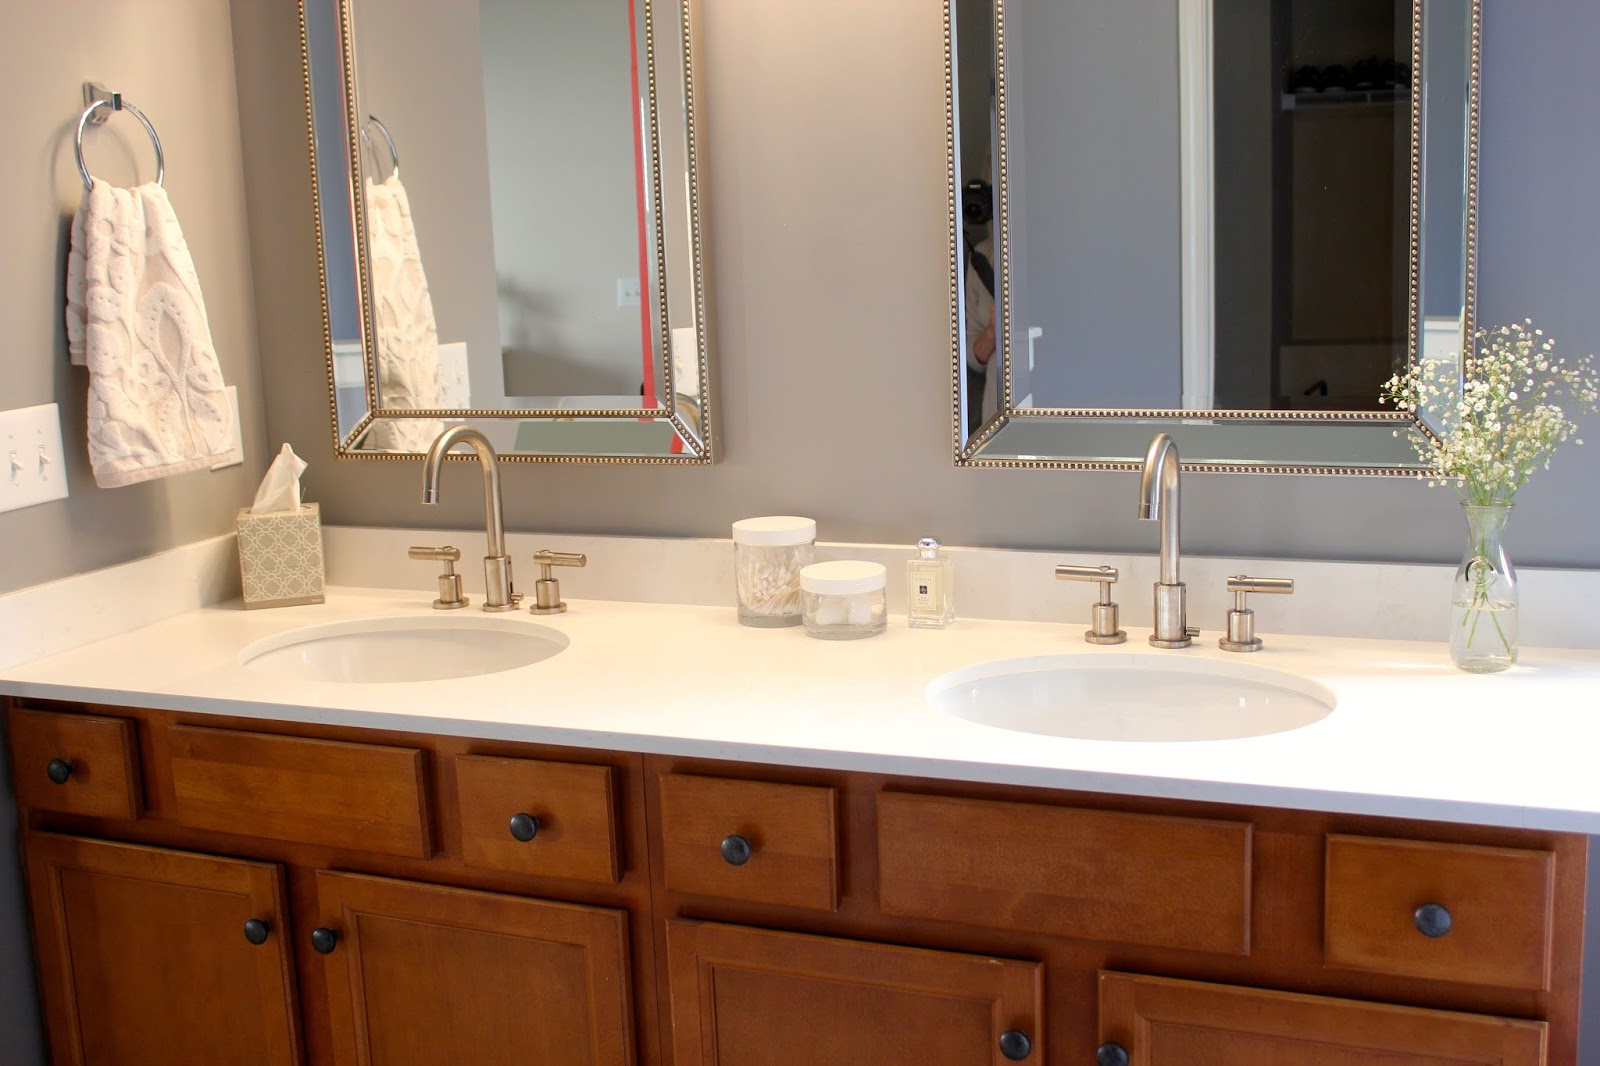
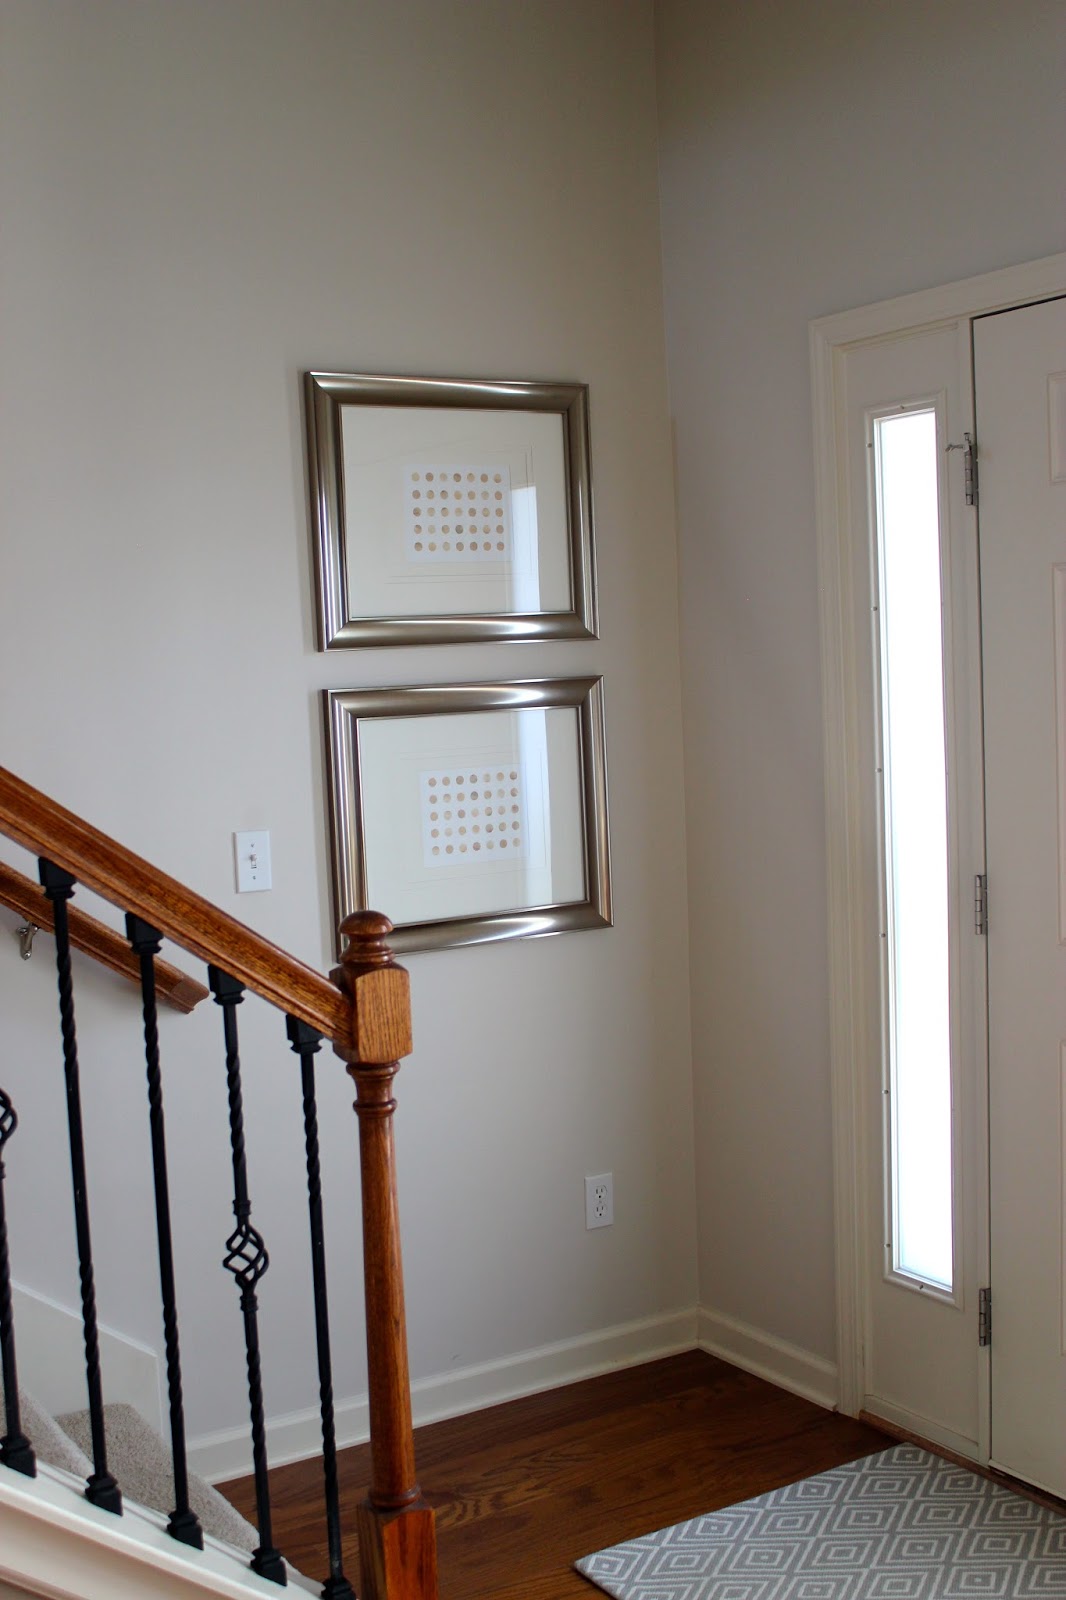
1. Depersonalize
Take down or change out all photos of you, your family or friends. I took quite a few frames off of the walls and off of tables/counters/dressers and went ahead and boxed them up. Don’t be afraid of empty walls. That is a good thing for a buyer to see so that they can visualize their own photos instead. My larger frames that made up my gallery walls like the one above stayed in place. I just opened the frames, and inverted the existing photo. Then, I simply added free printables, wallpaper, etc. It will make going into your new home and rehanging everything a breeze.
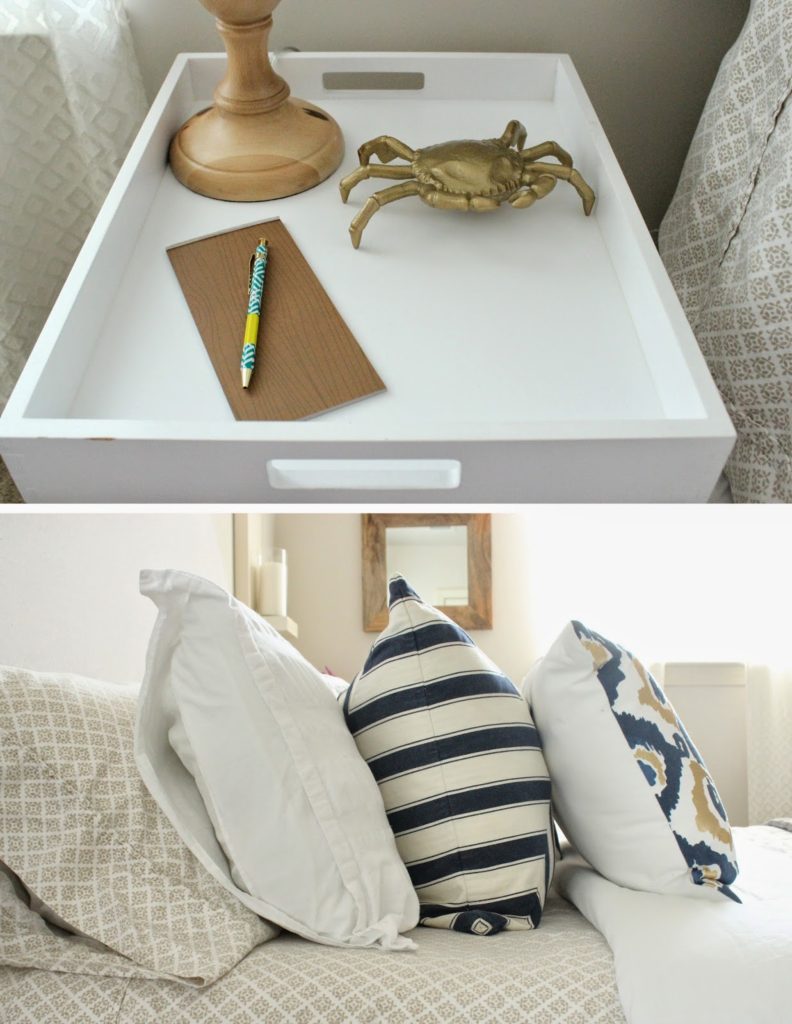
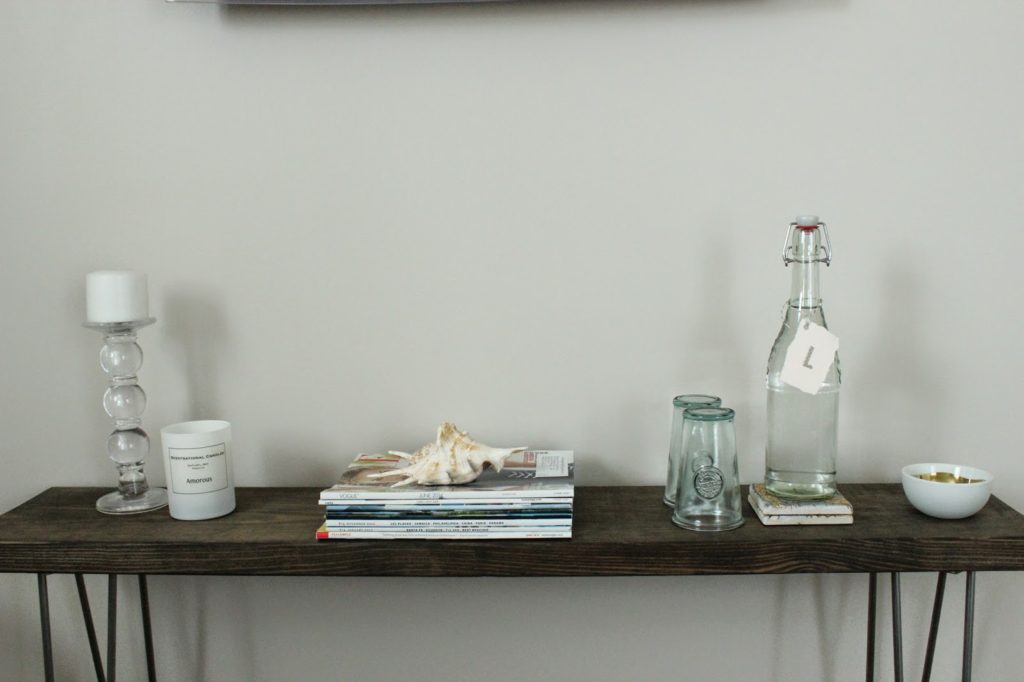
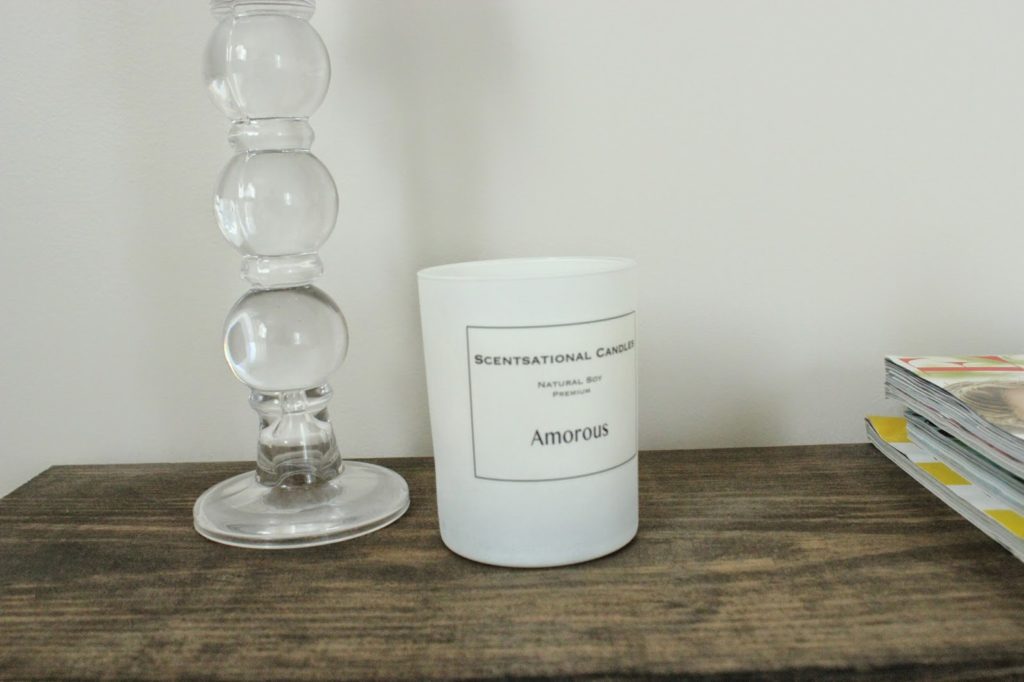
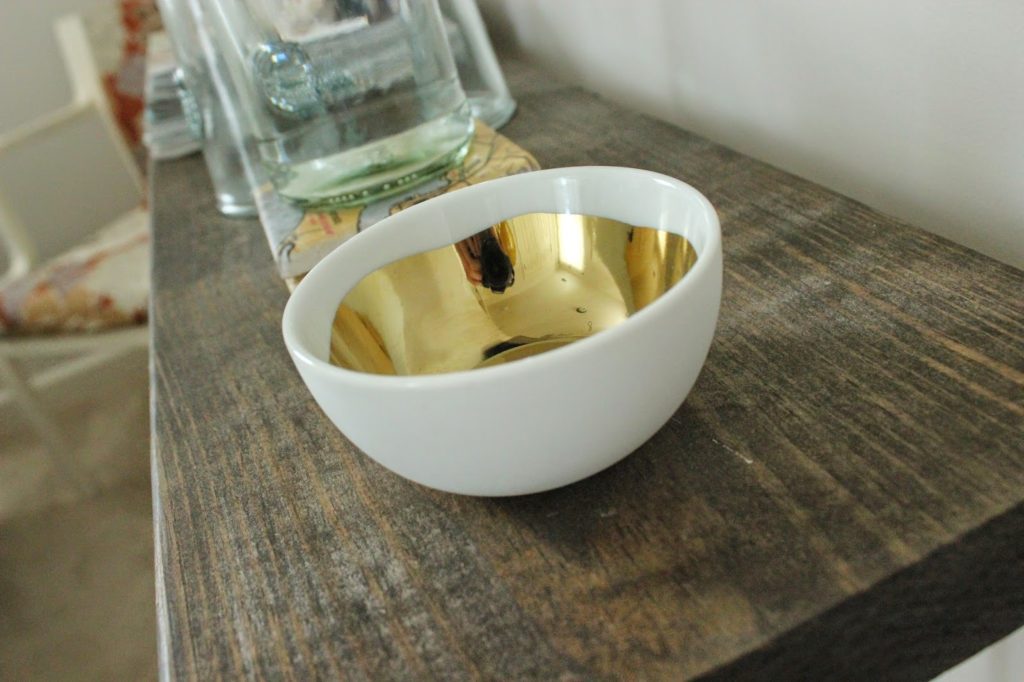
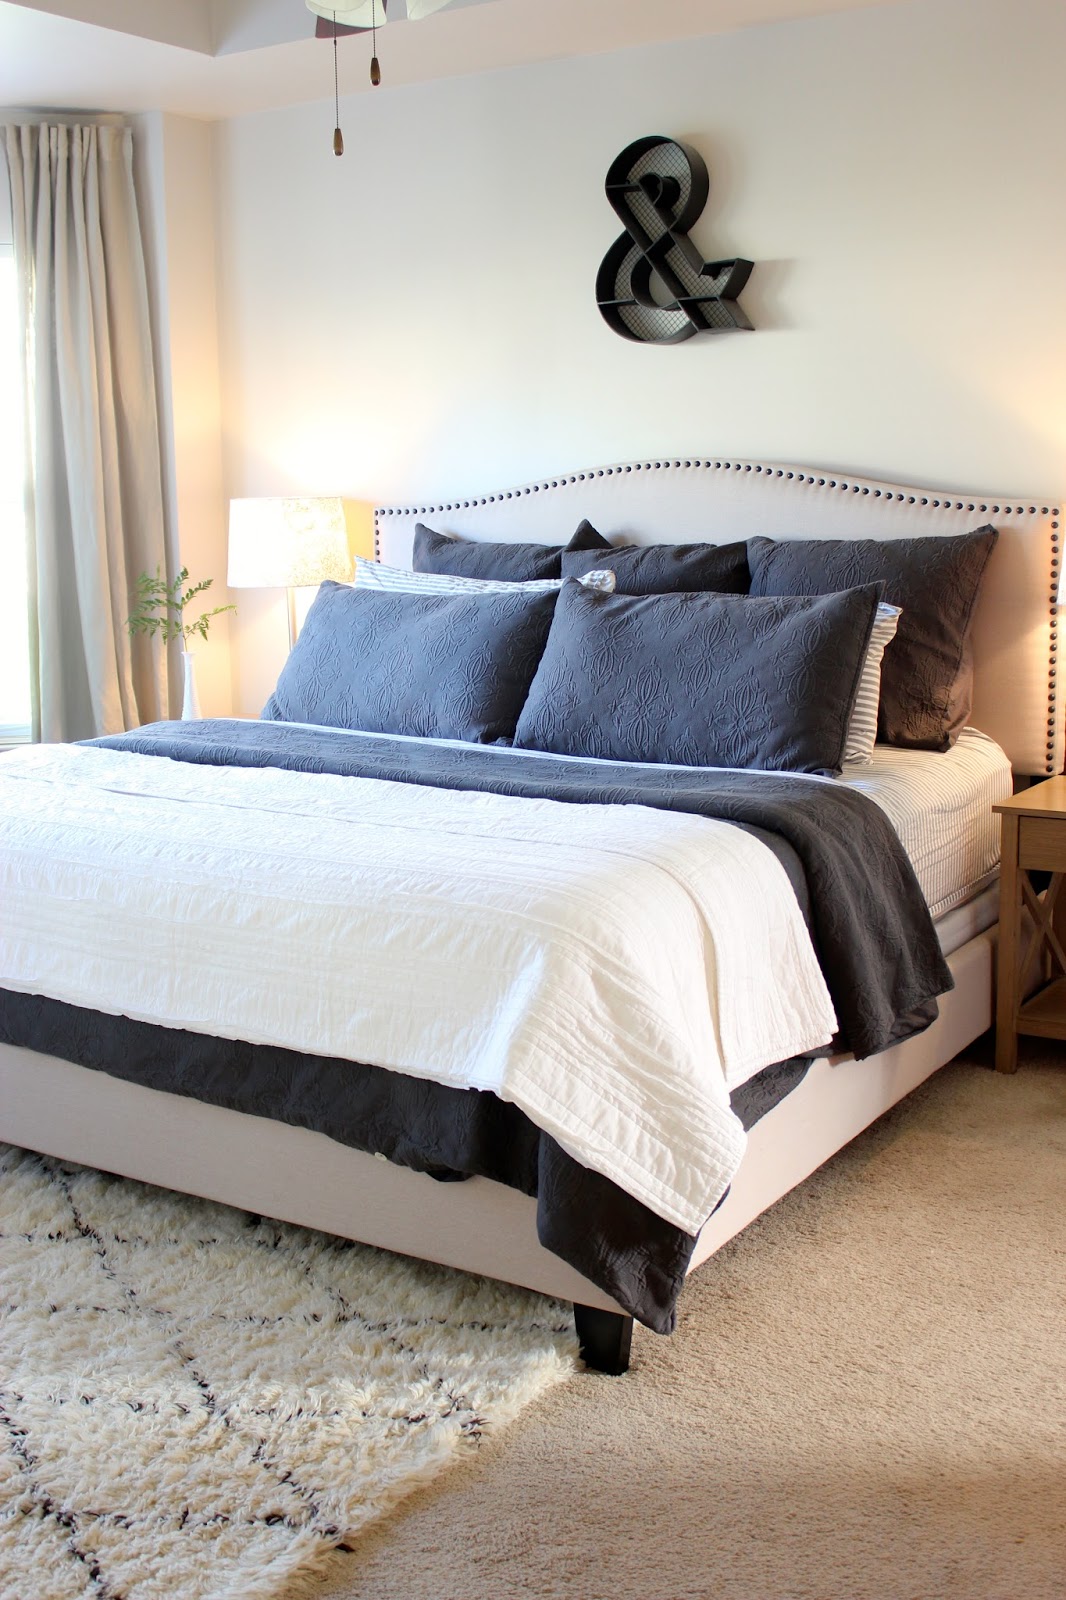
2. Declutter
Decluttering was the best thing that ever happened to our home. Ha! I am NOT a hoarder. In fact… a purger by nature. However, there is always something that needs to go. We followed the “rule of 3”. No more than 3 items on each shelf or table. It really opens up your space!

3. Kids’ toys
Have your kids pick their “favorite” toys. Keep it to just enough to fill a bin in their room or playroom. This made it easy for our daughter to throw her toys in their designated bin when we got a call for a showing appointment. It also keeps everything looking tidy. We had toys hidden in ottomans too! 🙂

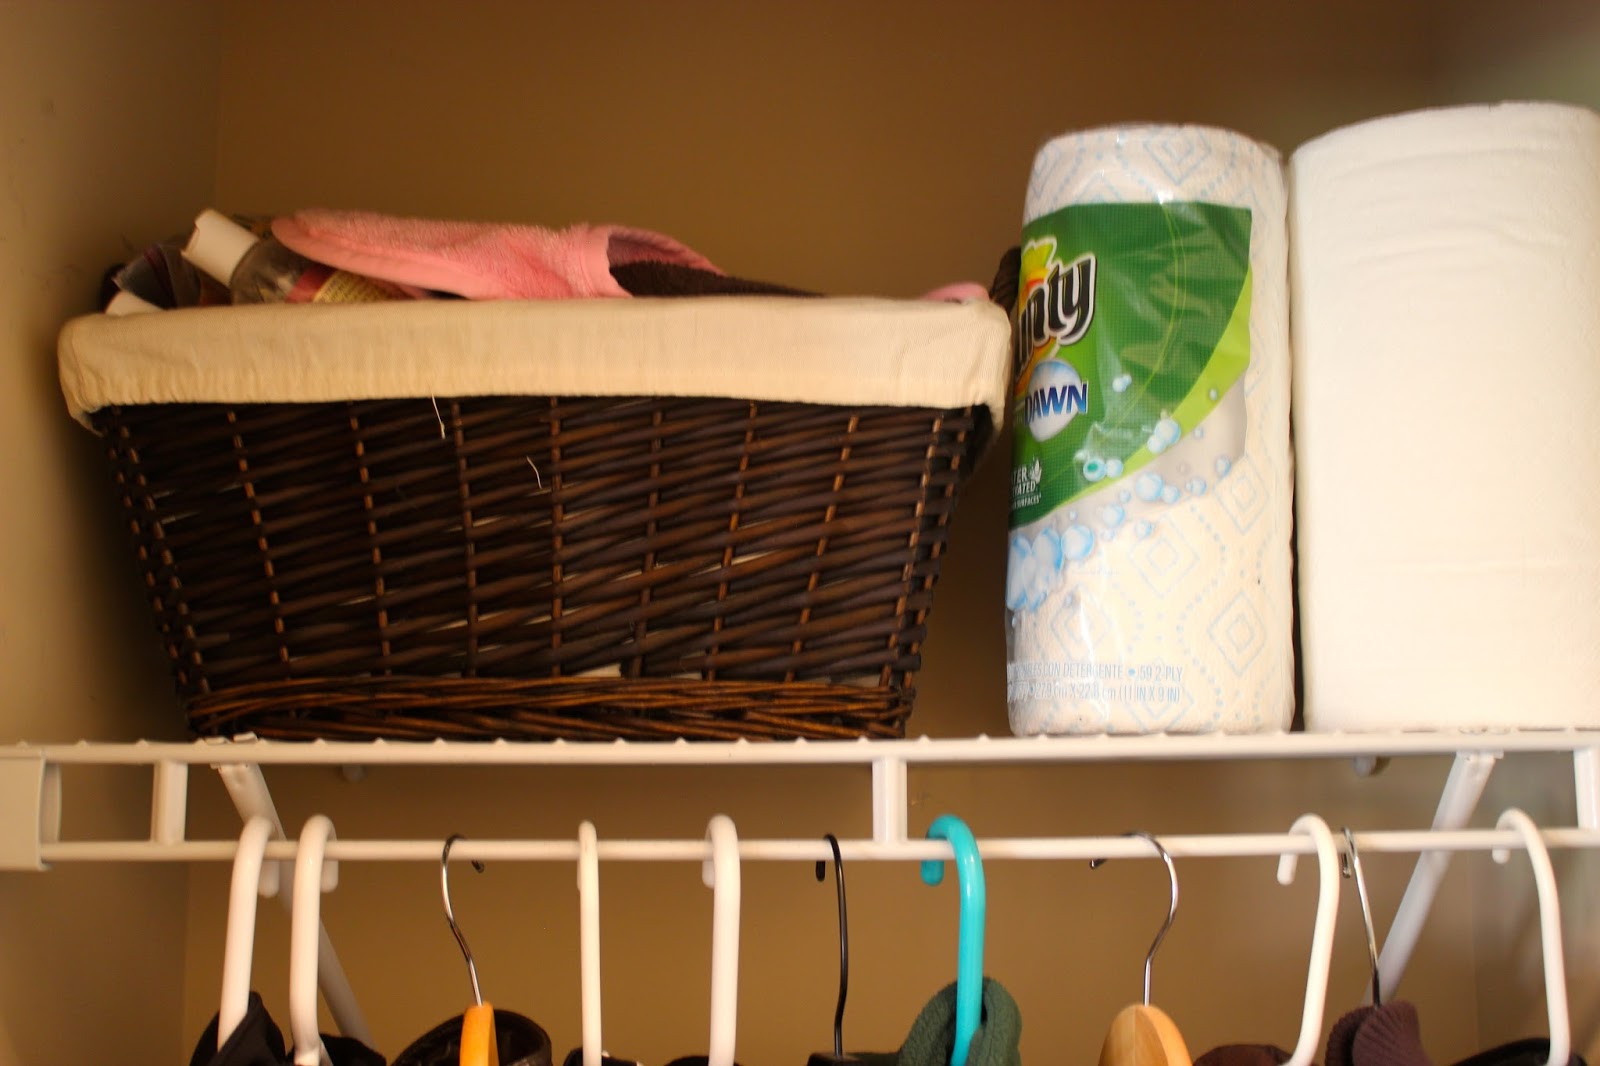
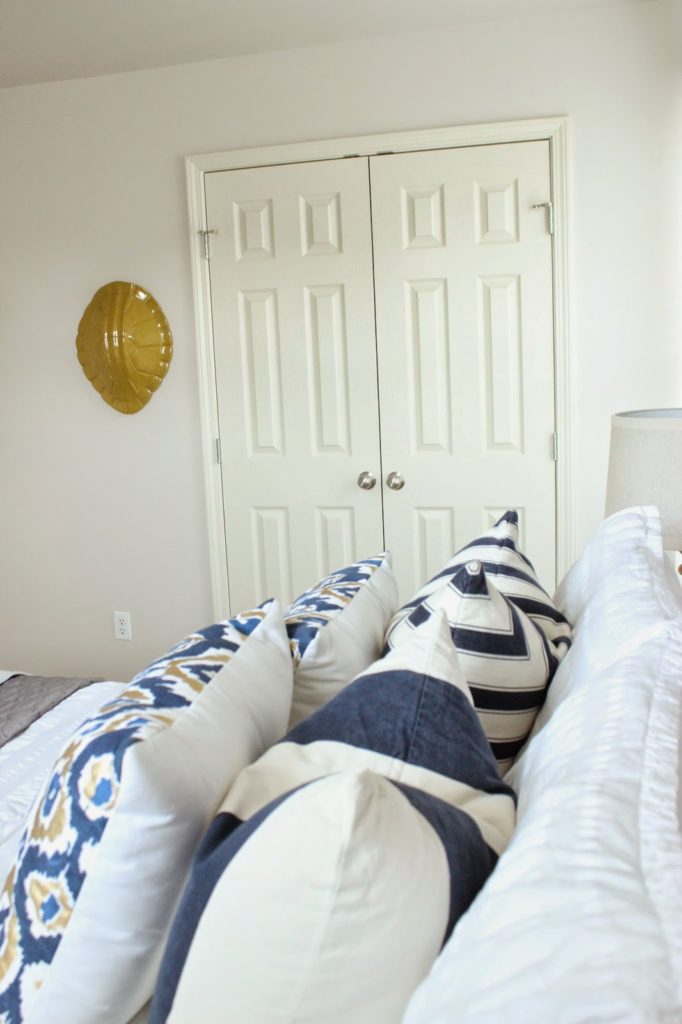
4. Remove everything from closet floors
This will make your closets not look or feel cluttered. You can even move items on the floor to the top if you have room. Just make it look neat. You want the buyer to open the door and see space. Walk-in closets – line your clothes from light to dark. Lighter clothing pieces being closest to the entry. If you want to go the extra mile (we did not), get matching hangers.
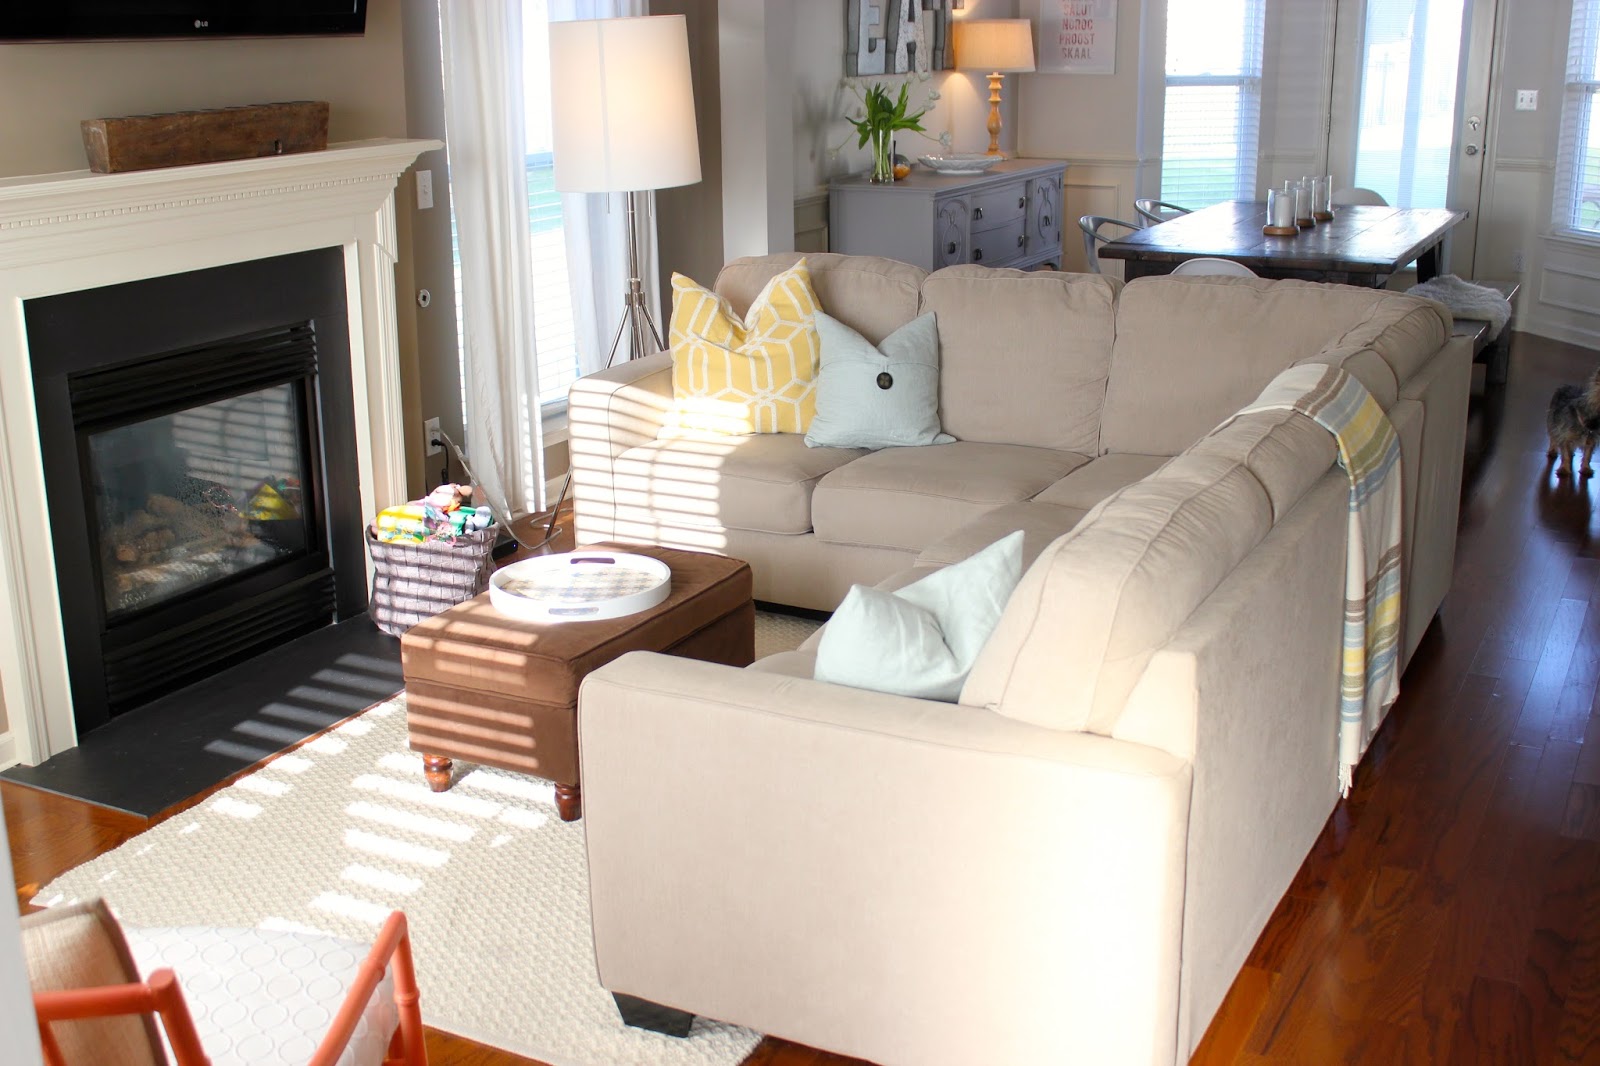
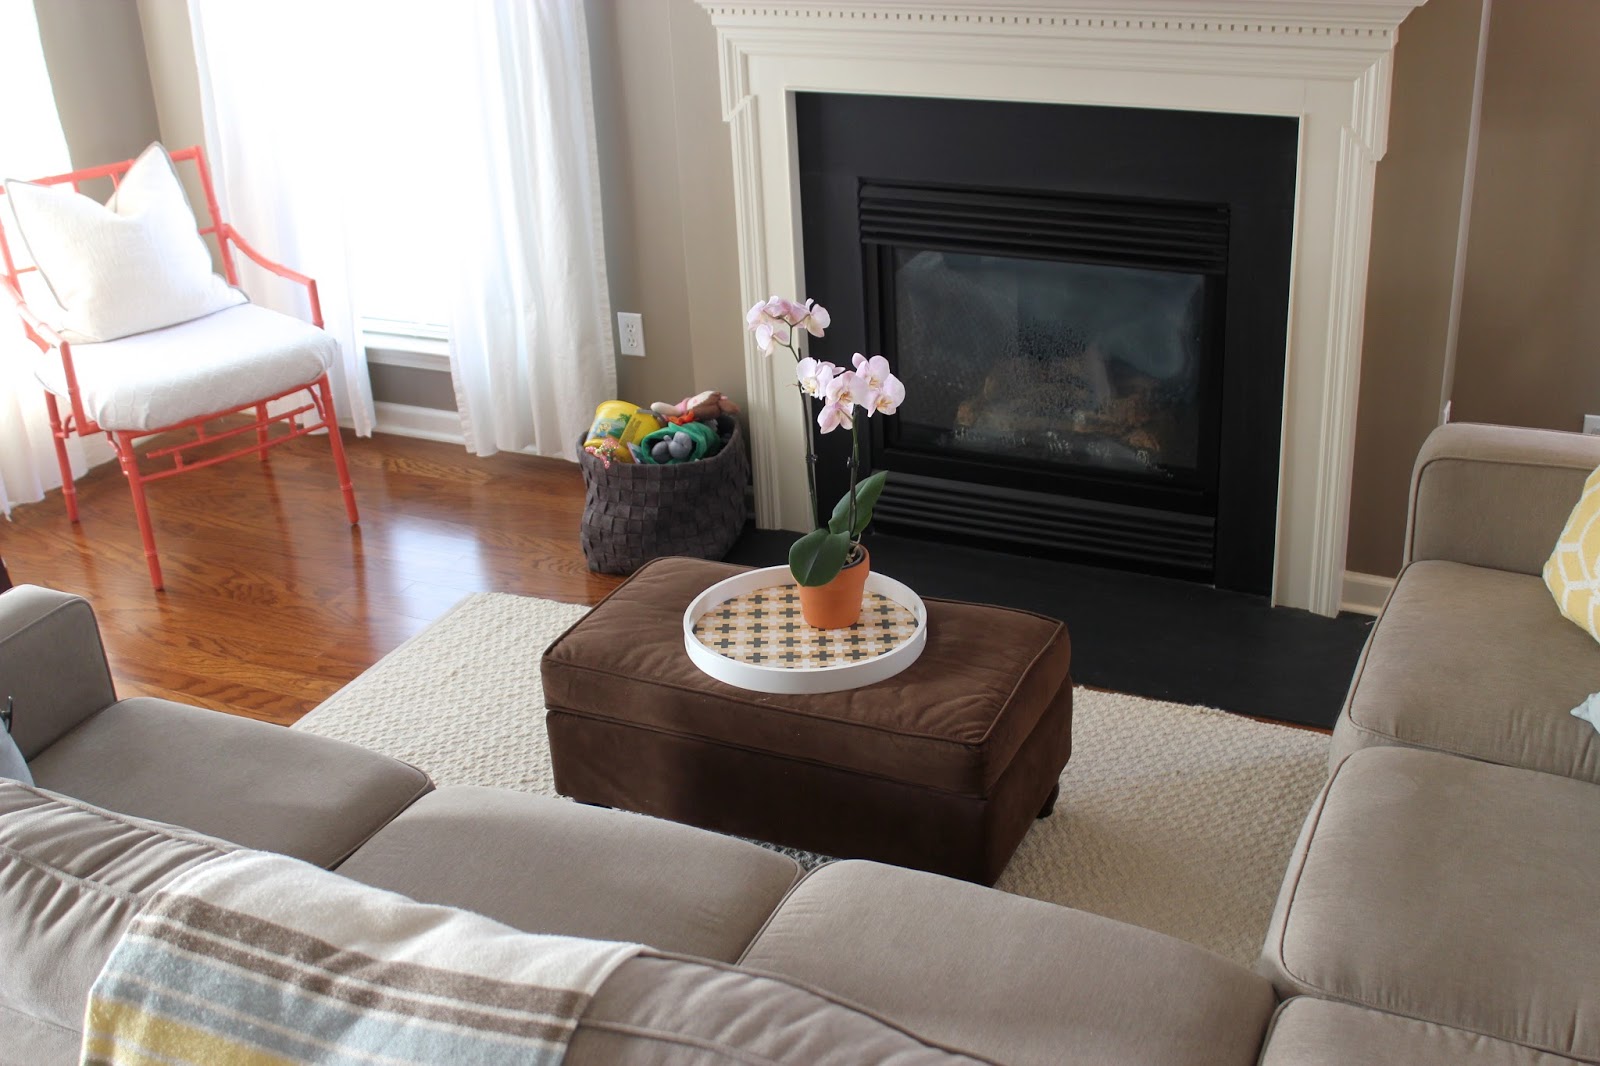
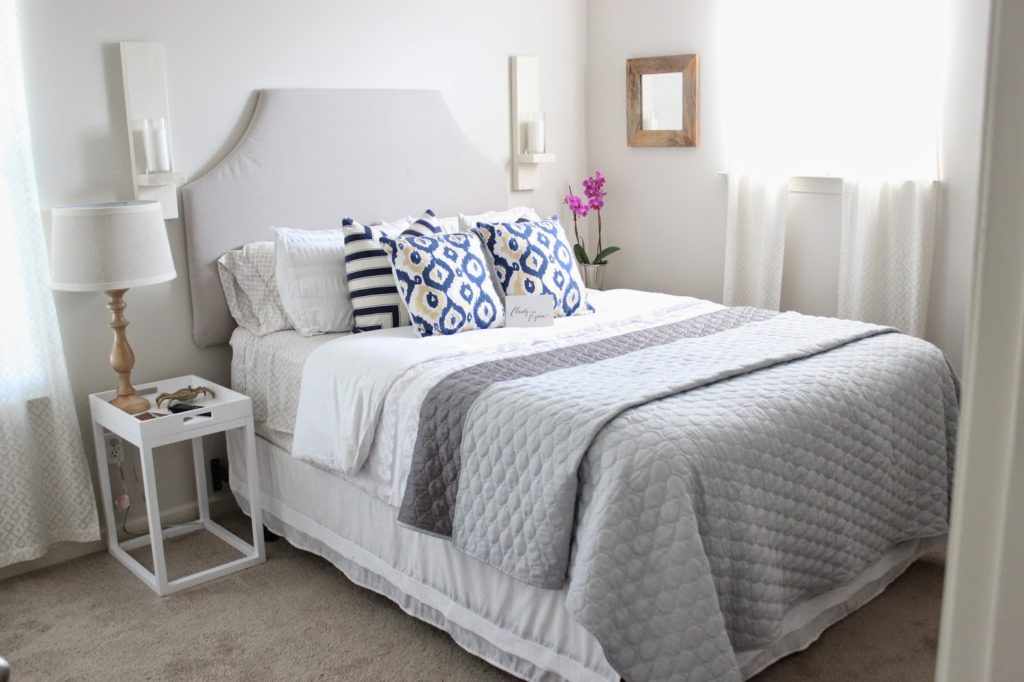
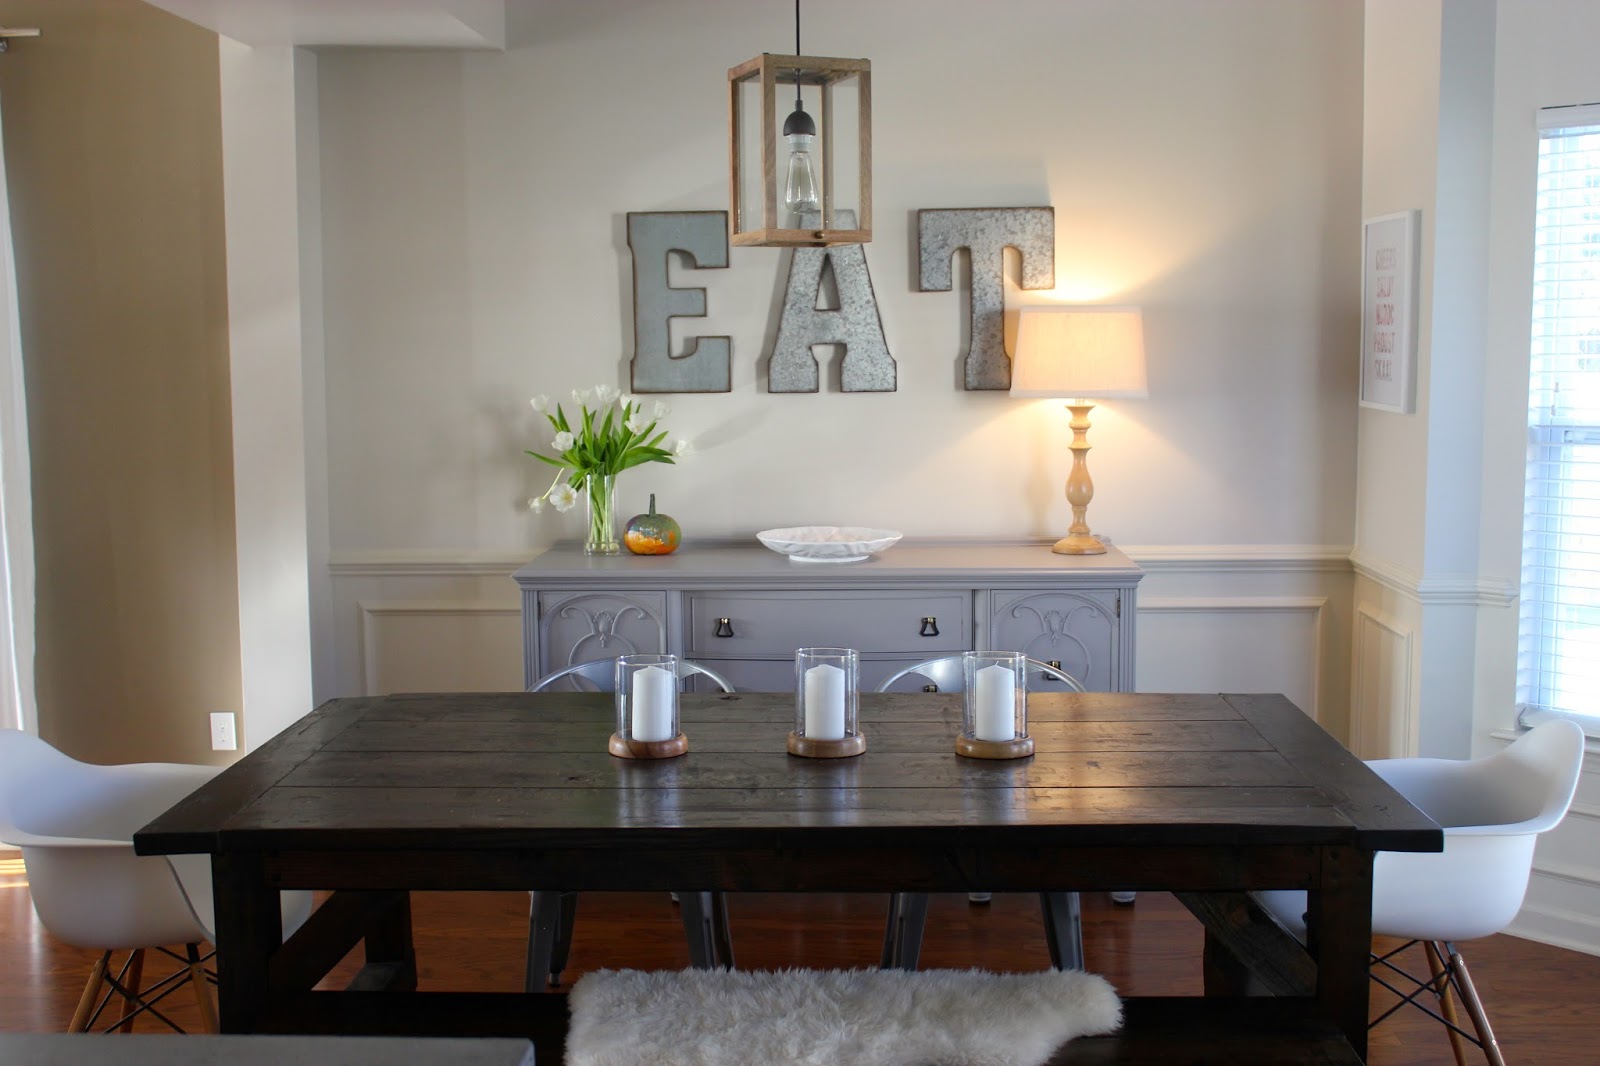
5. Define spaces
The way that your furniture is set up for your family may not create the best “flow” for potential buyers. Be sure and create defined spaces. For example… we have an open living floor plan. It was important for us to make it feel like there were three separate rooms in one large space. Dining room, kitchen and living room. We ended up moving our sectional sofa up to separate
the dining room and also to create a walk way from our front door to our kitchen. Walking into the room and not having to walk AROUND something to get to the other side of the room was key to making each space feel larger and more open. It is all about “shifting weight”. Don’t have too much on one side of the room. Even things out. Make sense?
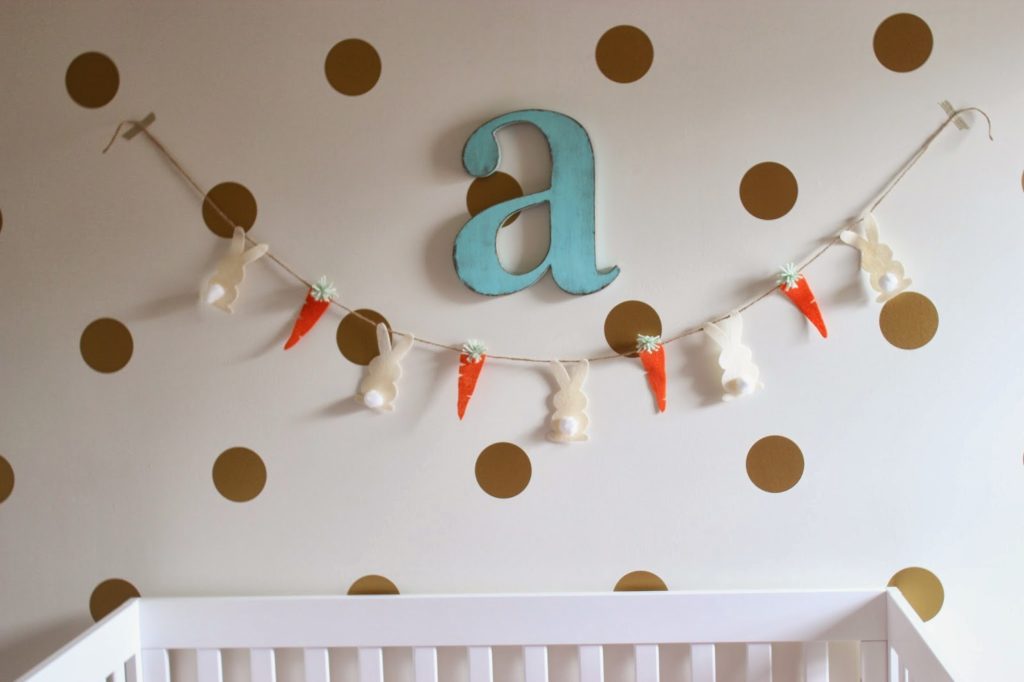
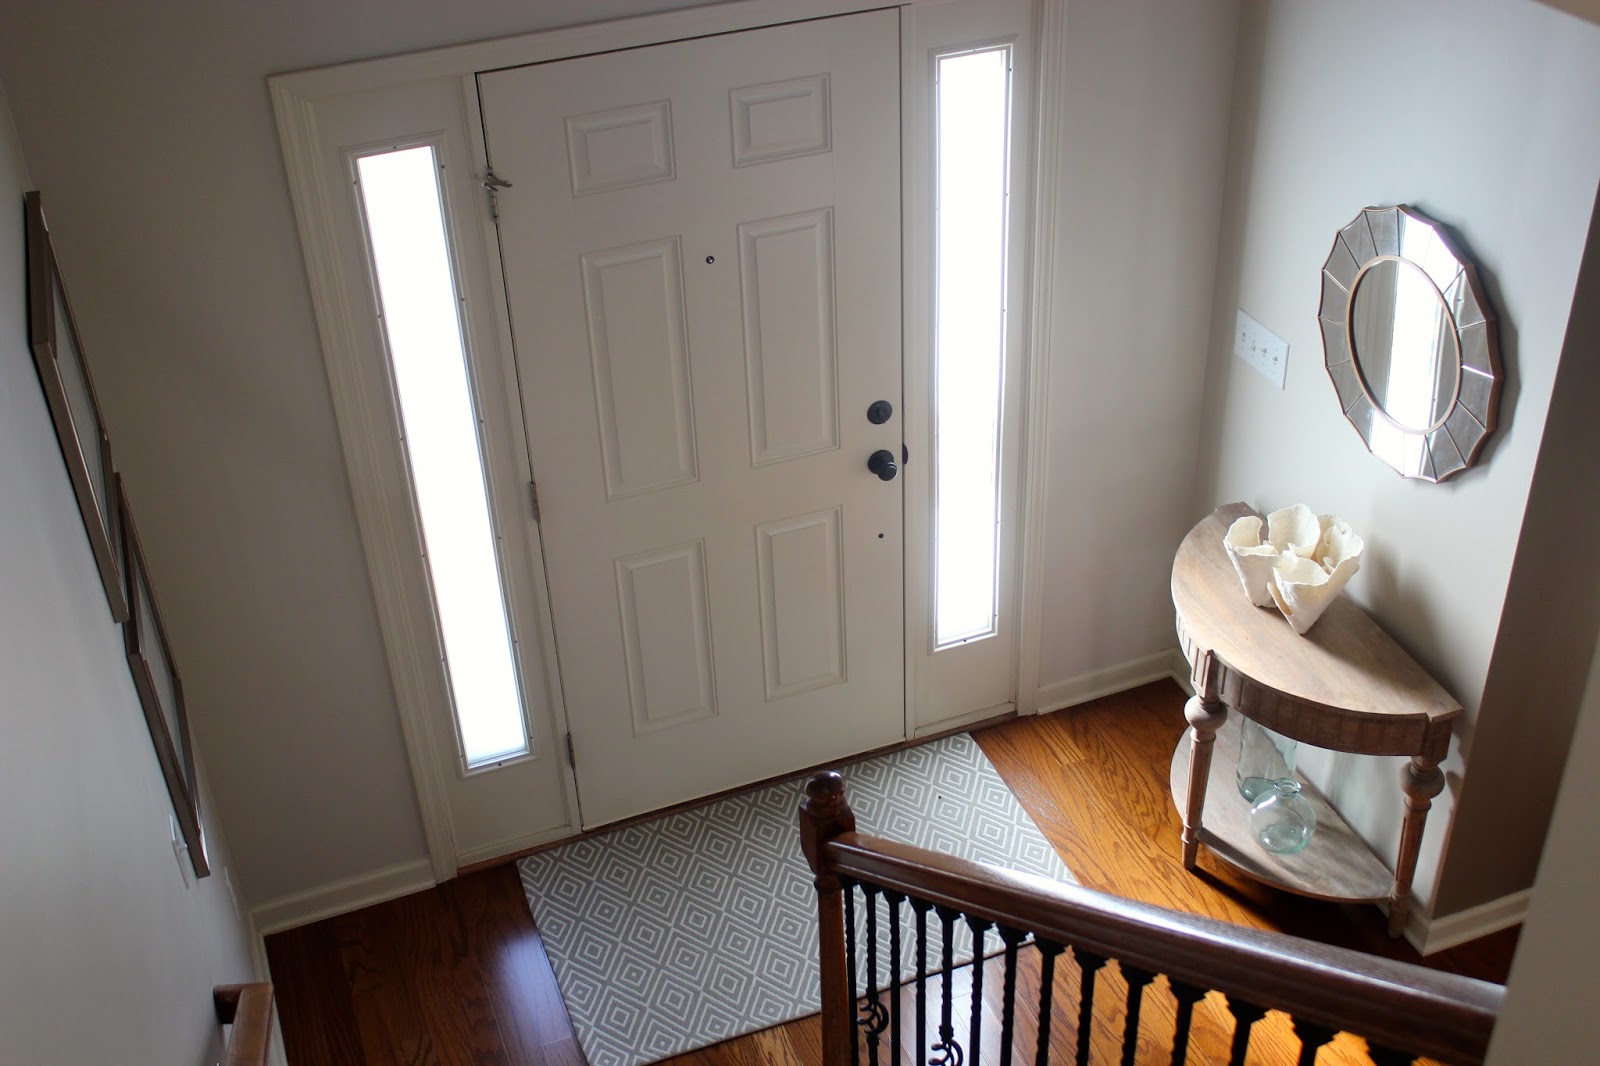
^ These frames anchored the entry way, so I decided to keep them up. However, I switched out photos of my daughter with free printables that I found online.^
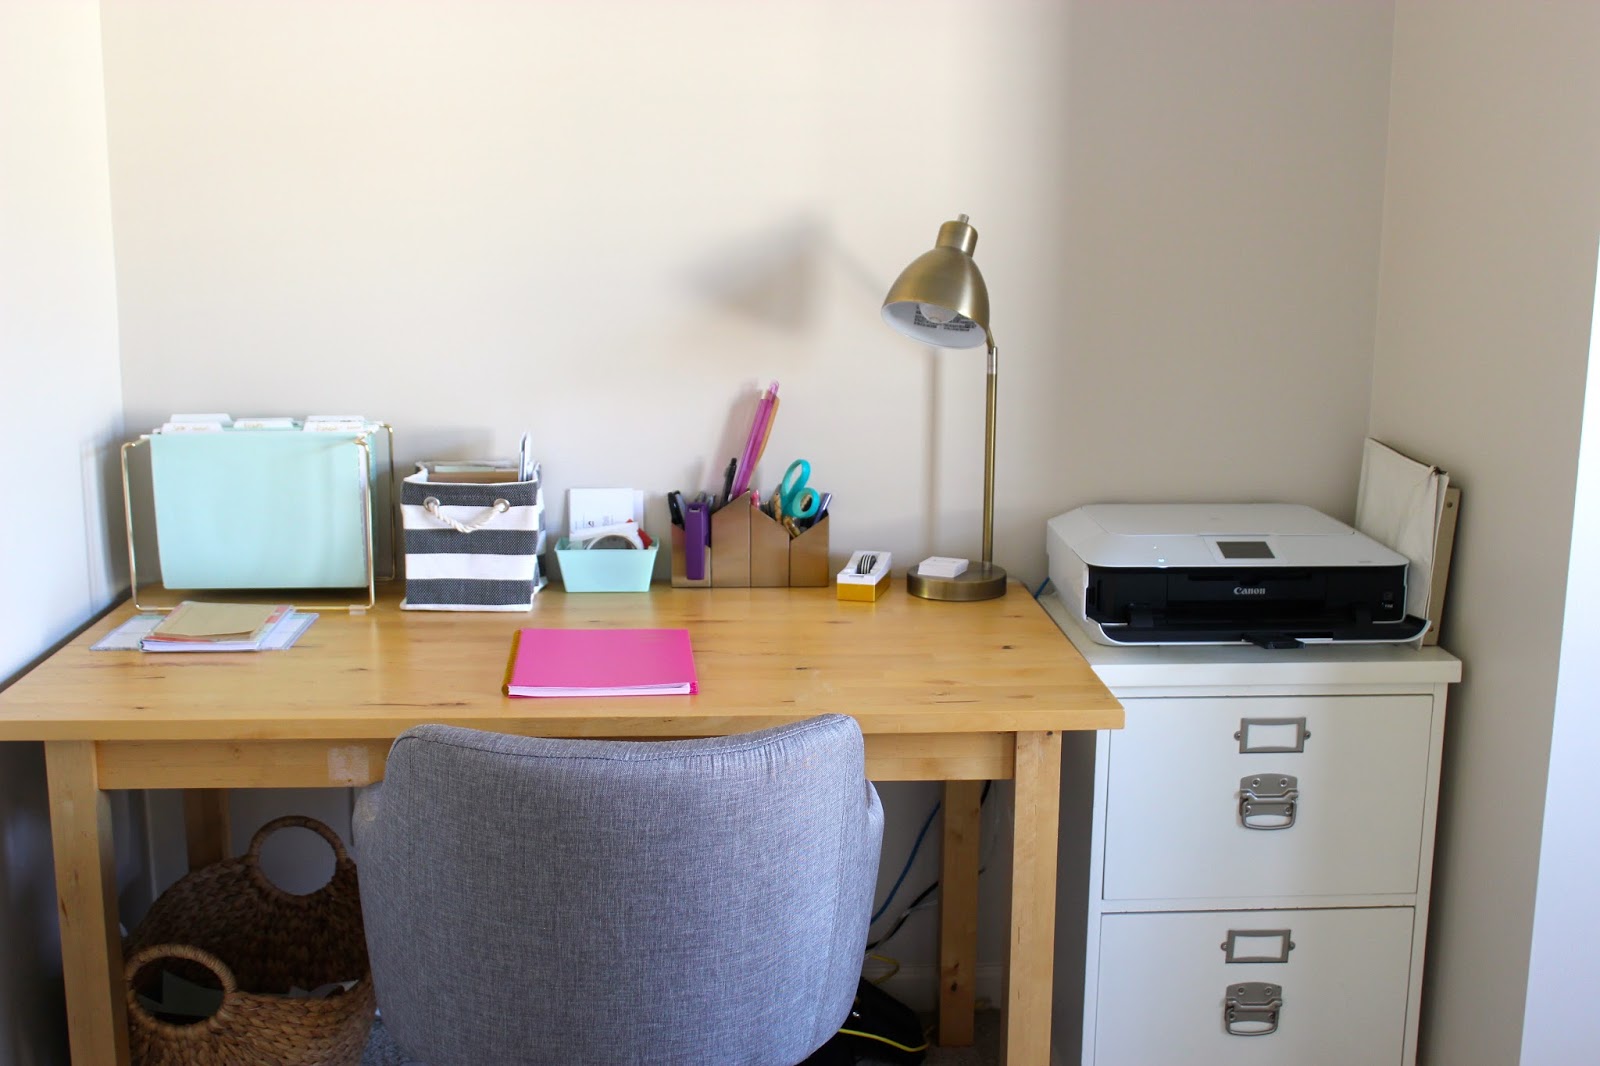
6. Put valuables in a safe place/file away personal files
You have people walking through your home! Strangers!! I had necklaces hanging on hooks in my closet. I removed those, and packed up most of my jewelry. I figured I could live with my every day dainty pieces for a couple of weeks. We also have a coin machine (we kept it in our coat closet) to just dump extra change in, then we save the rolls in a jar until it is worth going to cash them in. We took that out as well! Better to be safe. We had our calendar hanging on our fridge, and my desk was full of business mailings. I made sure to put all of that stuff away as well. Nobody needs to know where you will be on what day at what time, ya know?
7. Remove signs of animals
We love our sweet dog, but not everyone is an animal lover. Nor do they want to see their dirty food bowls. We simply took dog food out to the garage.
8. Curb Appeal
Remove weeds, trim back hedges, maybe even add fresh mulch. Touch up paint (if you have the exterior color available) around doors.
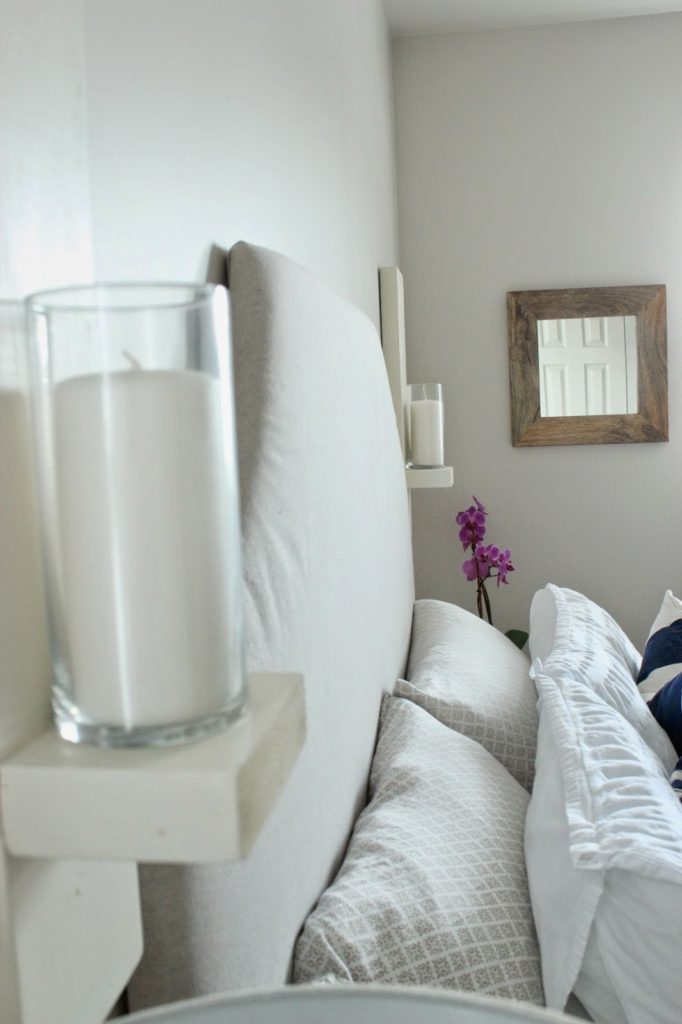
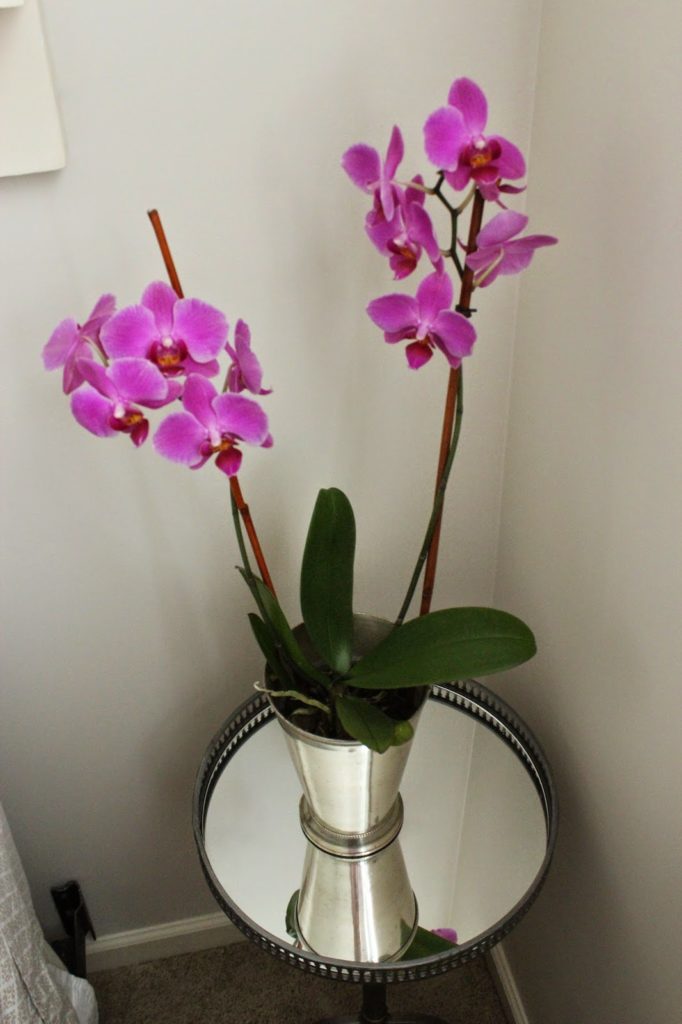
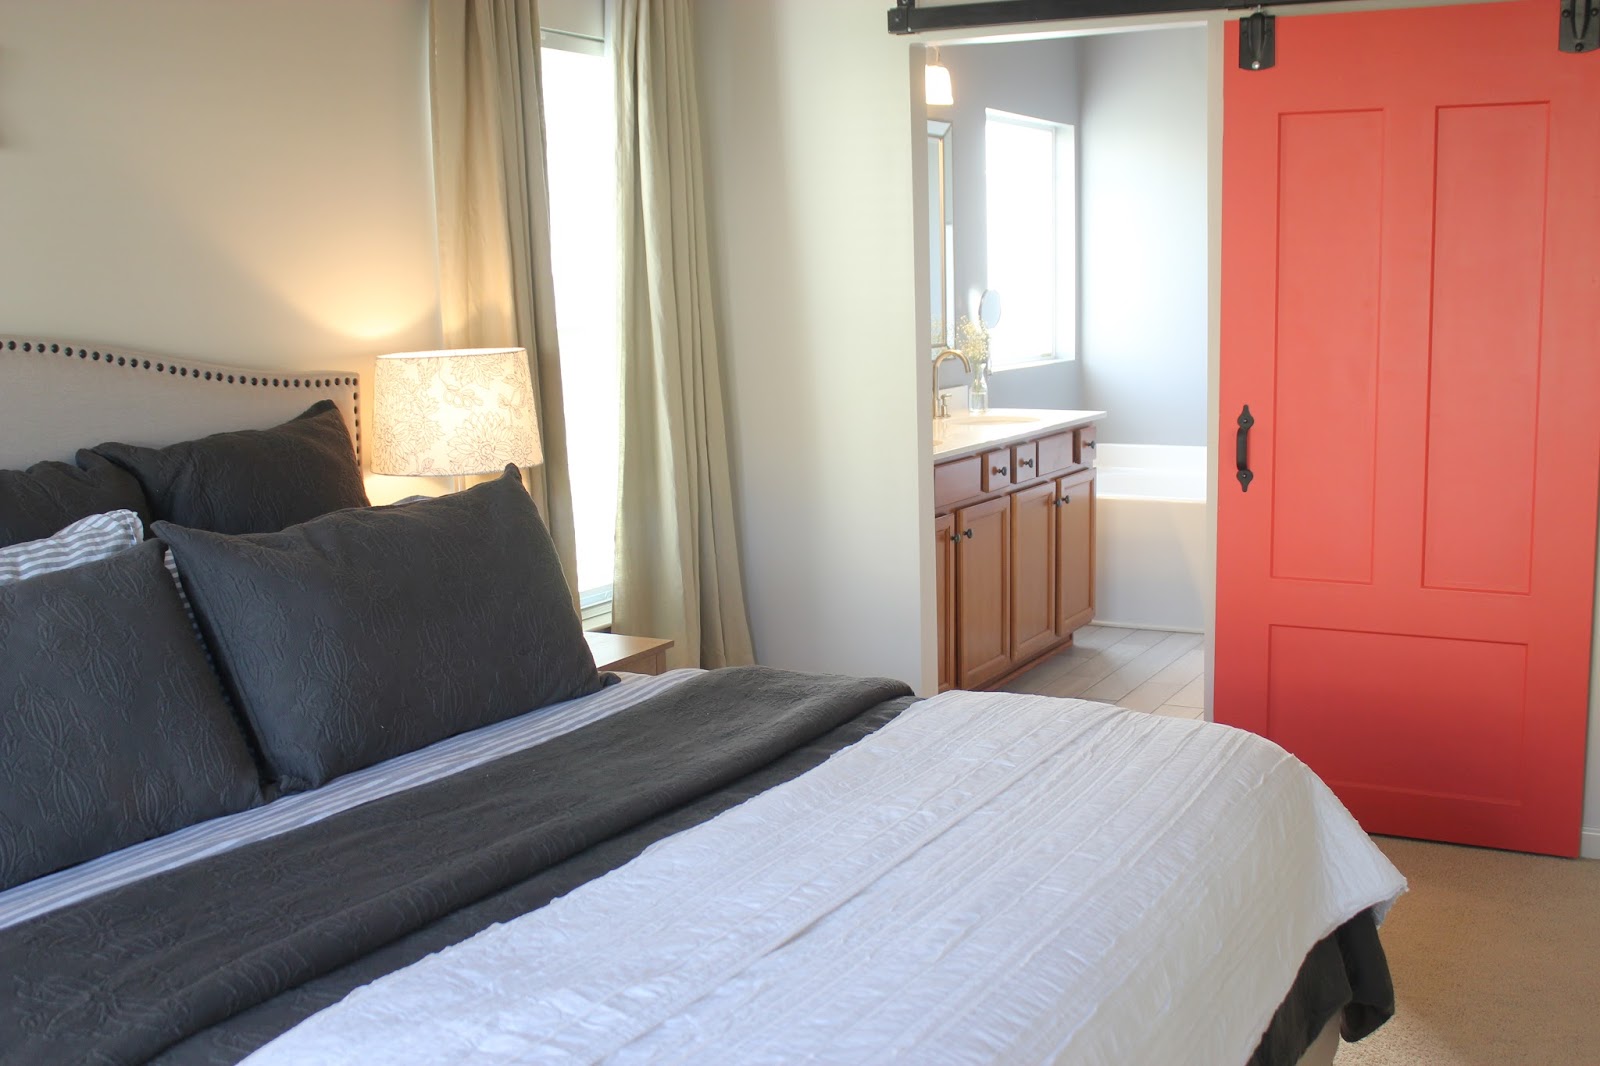
9. Let the light in
Open all of your blinds/curtains and turn on all of the lights. Let the natural light shine into your home. It creates an airy feeling, and of course makes each space feel larger.


10. Get a laundry basket
At any given time, you WILL have random things out on the counter or on the floor when you get the call to show your home. With kids, I didn’t always have the time to do a perfect cleaning sweep. Lots of things when into drawers, cabinets, under beds. However, when I would come home I would forget where I placed things. Simply keep a laundry basket handy and just throw everything into that, and throw the basket into your car so you can get out of there quickly. It seems crazy, but it is soooo much easier.
Just remember that you are still living in your home. People get that! I put a lot of pressure on myself to make my house look like a model home each time. It is IMPOSSIBLE!
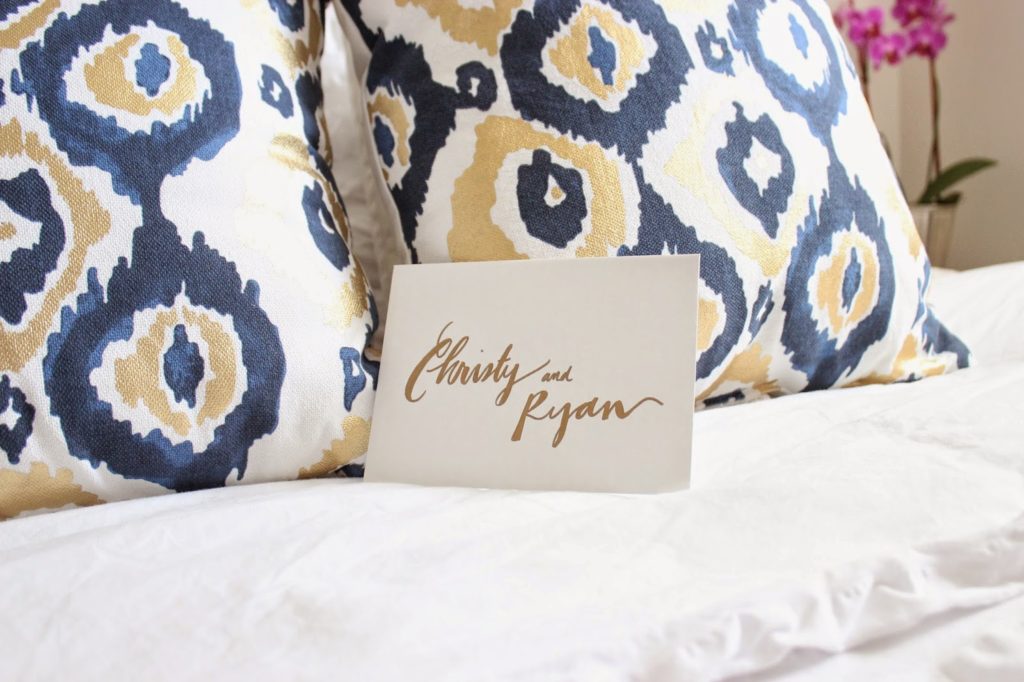
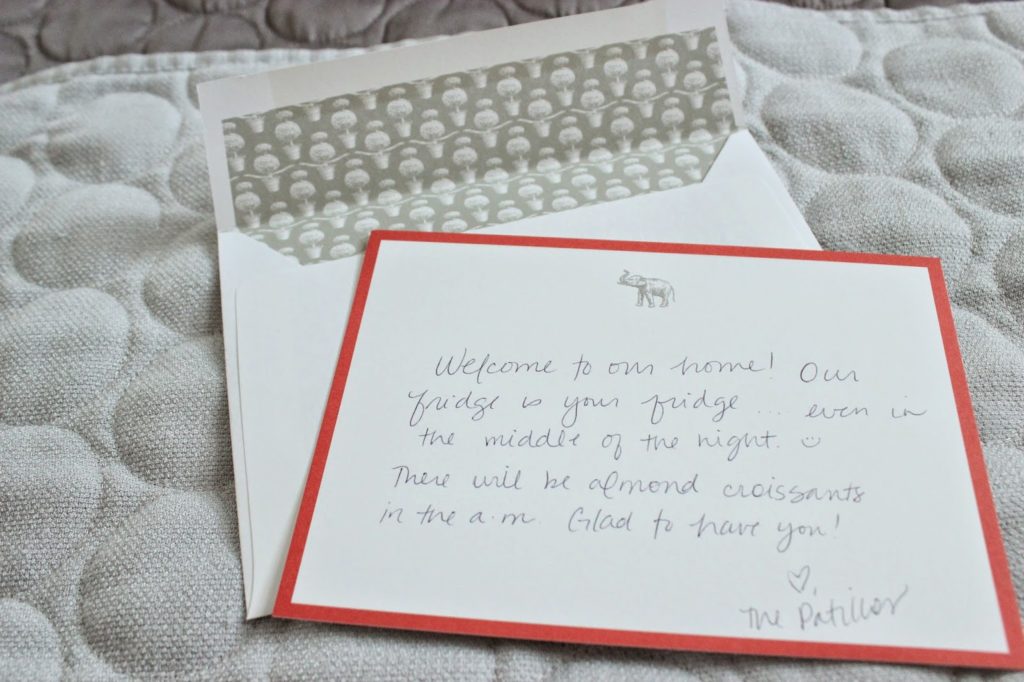
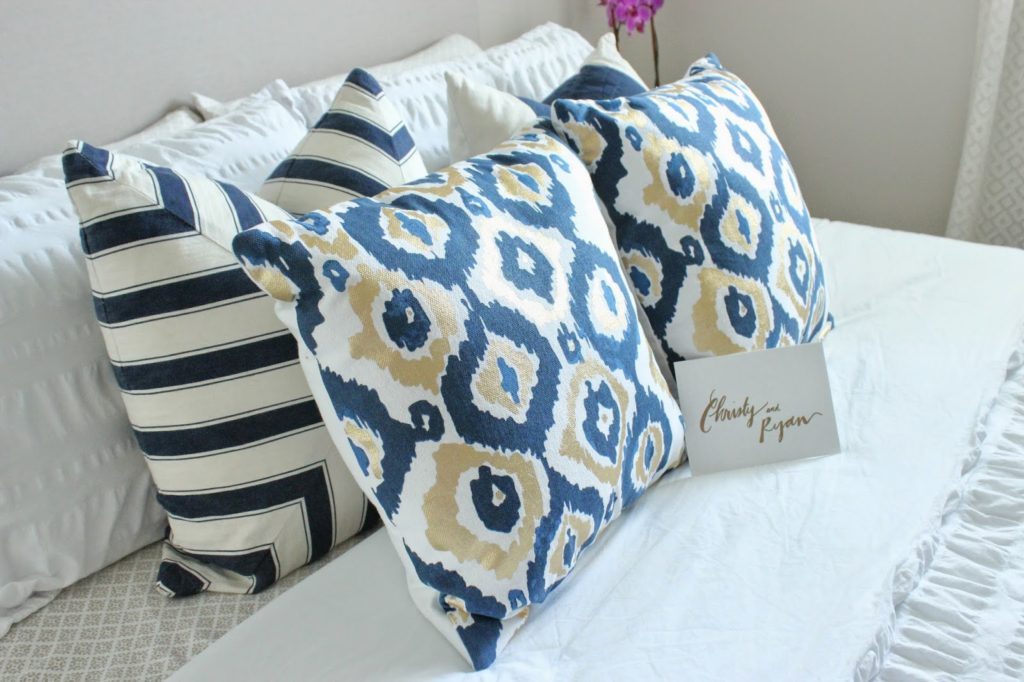
Our buyers left us a sweet note during one of their visits to our home, and my family and I couldn’t be happier about the people coming into this home to love on it as much as we have. We have spent the majority of our married life here, brought both of our babies home to his house, and shared countless memories and holidays here. I sure am going to miss it. So, knowing that another family is ready to love on this place is heartwarming to me.
Good luck selling your house!!
-J