Archives for October 2015

TEN STAGING TIPS FOR SELLING YOUR HOME

Happy Friday friends!! Gosh, I am so happy to have this week behind me. We put our house on the market about two weeks ago. Since then, we have been hustling around to accommodate showings and open houses. Truly one of the most exhausting things to do with kids. Live perfectly, and get your house to look like a magazine throughout the day so people will want to buy it???? yeah. umm. ok….
I am overjoyed to share that our house is SOLD! Now that things have slowed down for us (temporarily), I wanted to share my top 10 tips on staging your home to SELL. I stress the “sell” part because it is important to remember that you are not staging your home for yourself and your family. You have to think about those coming to see your home. It was very hard for me to get into that mindset.
So, here goes…
STAGING TIPS:
1. Depersonalize
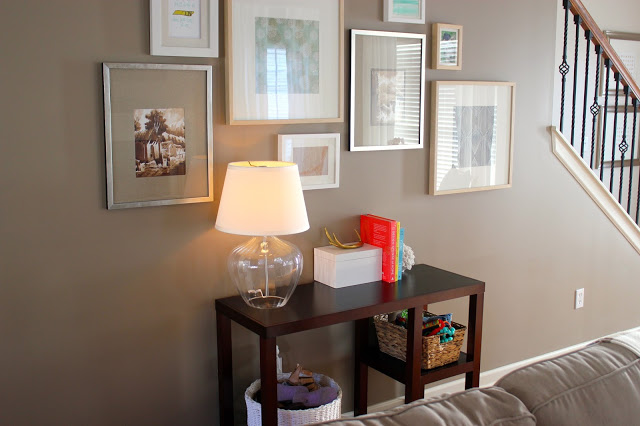
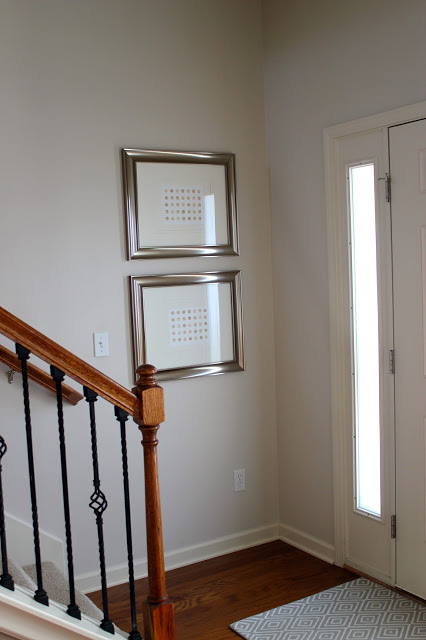
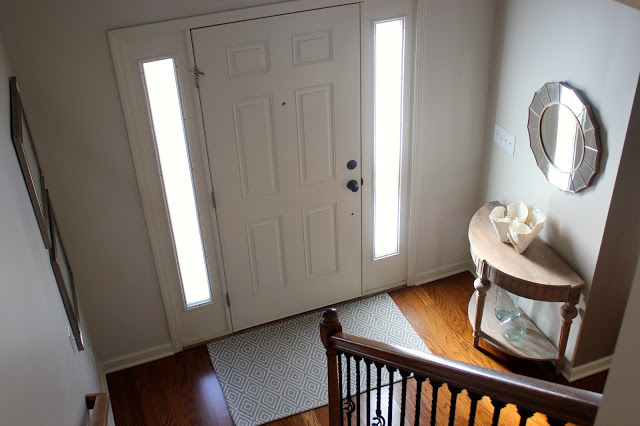
Take down or change out all photos of you, your family or friends. I took quite a few frames off of the walls and off of tables/counters/dressers and went ahead and boxed them up. Don’t be afraid of empty walls. That is a good thing for a buyer to see so that they can visualize their own photos instead. My larger frames that made up my gallery walls like the one above stayed in place. I just opened the frames, and inverted the existing photo. Then, I simply added free printables, wallpaper, etc. It will make going into your new home and rehanging everything a breeze.
2. Declutter
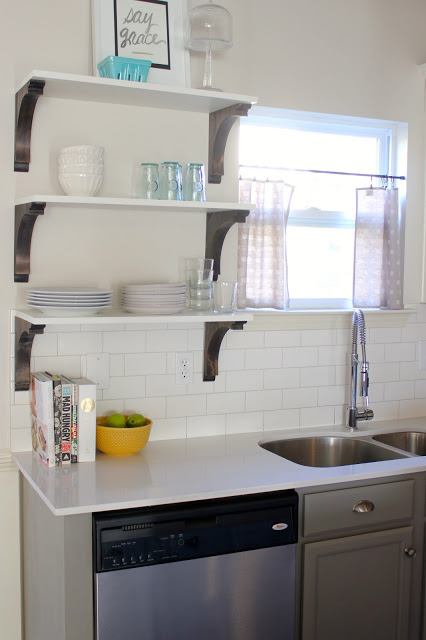
 Decluttering was the best thing that ever happened to our home. Ha! I am NOT a hoarder. In fact… a purger by nature. However, there is always something that needs to go. We followed the “rule of 3”. No more than 3 items on each shelf or table. It really opens up your space!
3. Kids’ toys
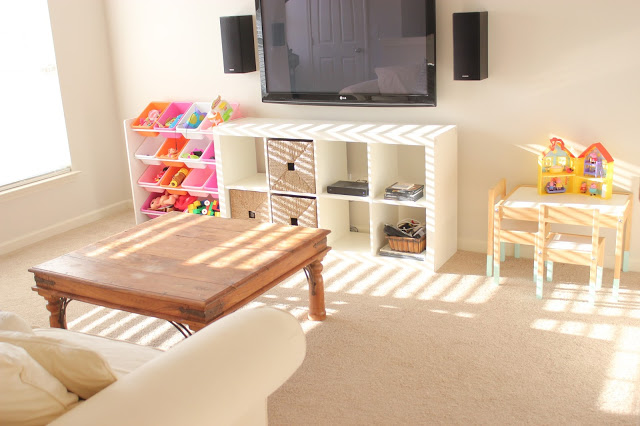
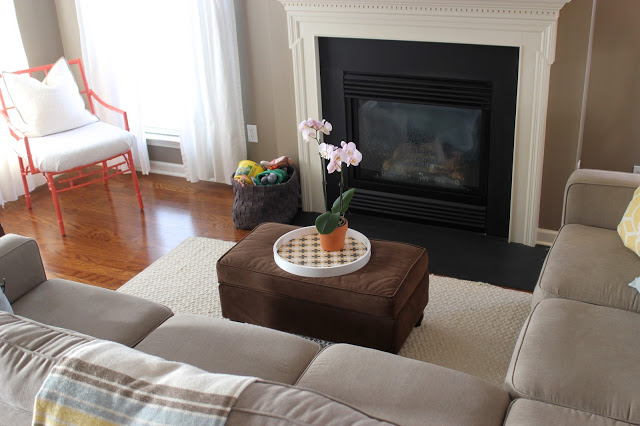
Have your kids pick their “favorite” toys. Keep it to just enough to fill a bin in their room or playroom. This made it easy for our daughter to throw her toys in their designated bin when we got a call for a showing appointment. It also keeps everything looking tidy. We had toys hidden in ottomans too! 🙂
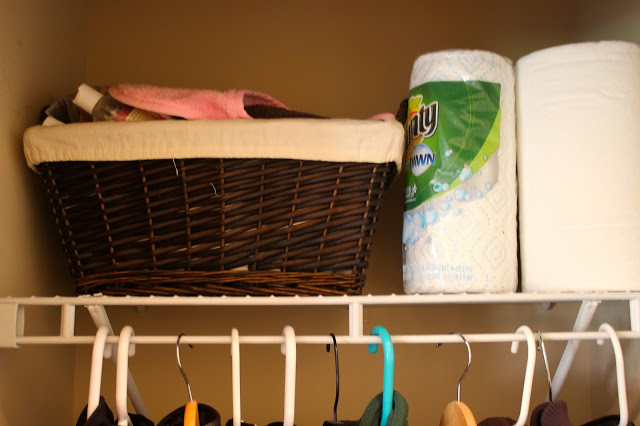
4. Remove everything from closet floors
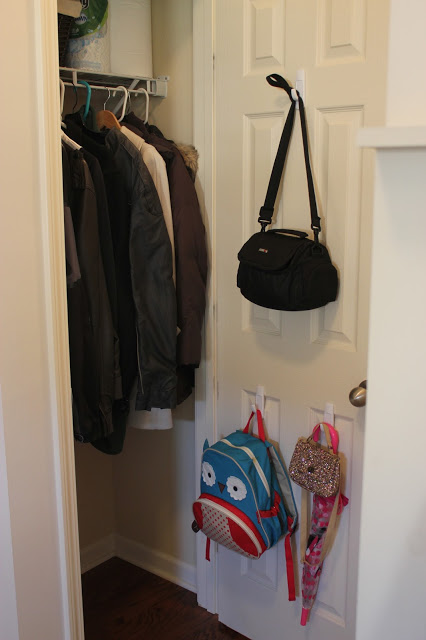
This will make your closets not look or feel cluttered. You can even move items on the floor to the top if you have room. Just make it look neat. You want the buyer to open the door and see space. Walk-in closets – line your clothes from light to dark. Lighter clothing pieces being closest to the entry. If you want to go the extra mile (we did not), get matching hangers. 
5. Define spaces
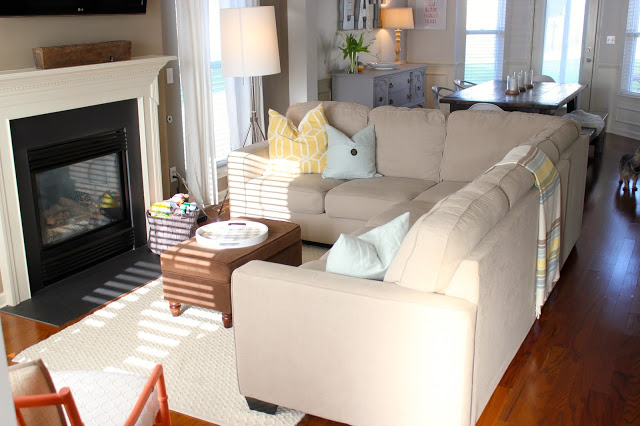
The way that your furniture is set up for your family may not create the best “flow” for potential buyers. Be sure and create defined spaces. For example… we have an open living floor plan. It was important for us to make it feel like there were three separate rooms in one large space. Dining room, kitchen and living room. We ended up moving our sectional sofa up to separate
the dining room and also to create a walk way from our front door to our kitchen. Walking into the room and not having to walk AROUND something to get to the other side of the room was key to making each space feel larger and more open. It is all about “shifting weight”. Don’t have too much on one side of the room. Even things out. Make sense?
^ These frames anchored the entry way, so I decided to keep them up. However, I switched out photos of my daughter with free printables that I found online.^
6.  Put valuables in a safe place/file away personal files
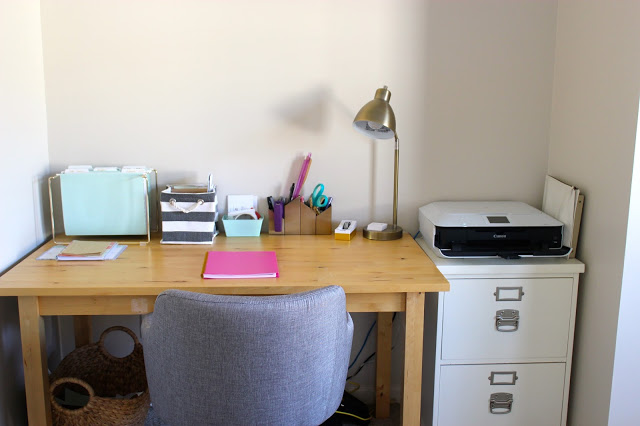
 You have people walking through your home! Strangers!! I had necklaces hanging on hooks in my closet. I removed those, and packed up most of my jewelry. I figured I could live with my every day dainty pieces for a couple of weeks. We also have a coin machine (we kept it in our coat closet) to just dump extra change in, then we save the rolls in a jar until it is worth going to cash them in. We took that out as well! Better to be safe. We had our calendar hanging on our fridge, and my desk was full of business mailings. I made sure to put all of that stuff away as well. Nobody needs to know where you will be on what day at what time, ya know? 
7. Remove signs of animals
We love our sweet dog, but not everyone is an animal lover. Nor do they want to see their dirty food bowls. We simply took dog food out to the garage.
8. Curb Appeal 
 Remove weeds, trim back hedges, maybe even add fresh mulch. Touch up paint (if you have the exterior color available) around doors.
9. Let the light in 
Open all of your blinds/curtains and turn on all of the lights. Let the natural light shine into your home. It creates an airy feeling, and of course makes each space feel larger.
10. Get a laundry basket
 At any given time, you WILL have random things out on the counter or on the floor when you get the call to show your home. With kids, I didn’t always have the time to do a perfect cleaning sweep. Lots of things when into drawers, cabinets, under beds. However, when I would come home I would forget where I placed things. Simply keep a laundry basket handy and just throw everything into that, and throw the basket into your car so you can get out of there quickly. It seems crazy, but it is soooo much easier.
Just remember that you are still living in your home. People get that! I put a lot of pressure on myself to make my house look like a model home each time. It is IMPOSSIBLE! 
Our buyers left us a sweet note during one of their visits to our home, and my family and I couldn’t be happier about the people coming into this home to love on it as much as we have. We have spent the majority of our married life here, brought both of our babies home to his house, and shared countless memories and holidays here. I sure am going to miss it. So, knowing that another family is ready to love on this place is heartwarming to me. 
Good luck selling your house!! 
-J
DIY HALLOWEEN COSTUME FOR LITTLES – AC SLATER

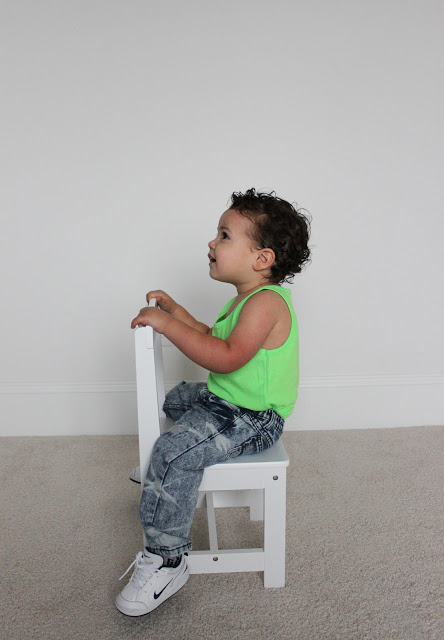
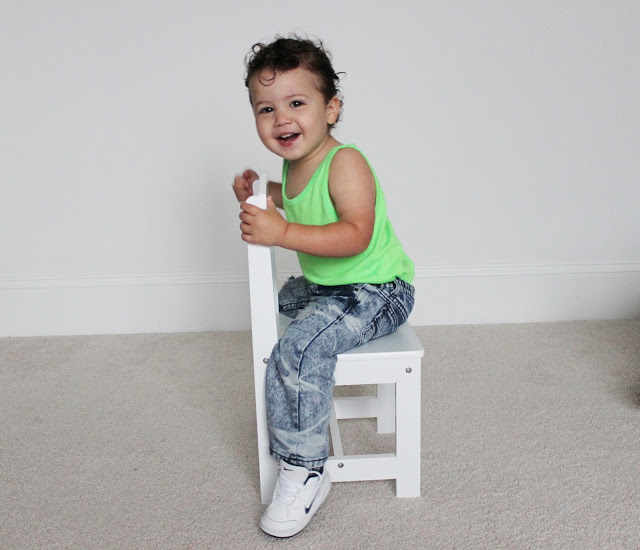
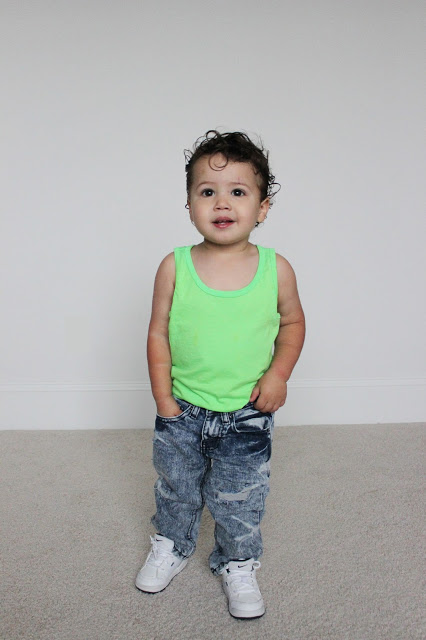
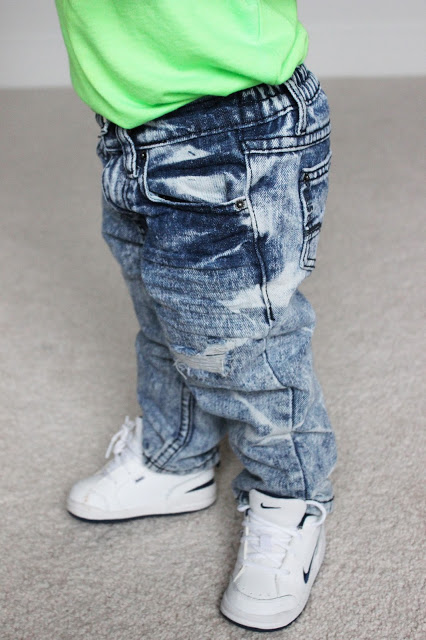
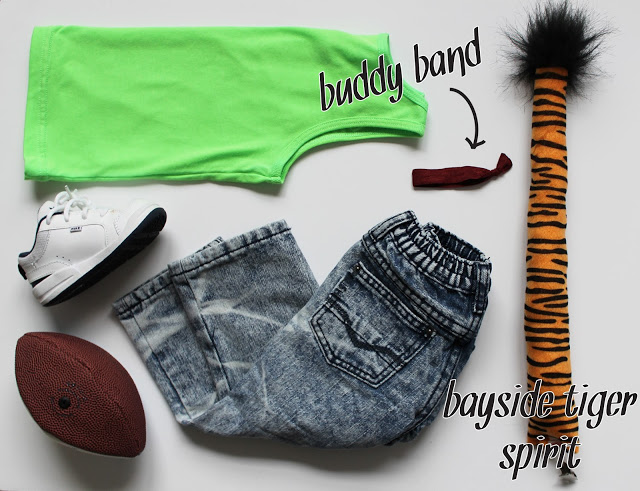
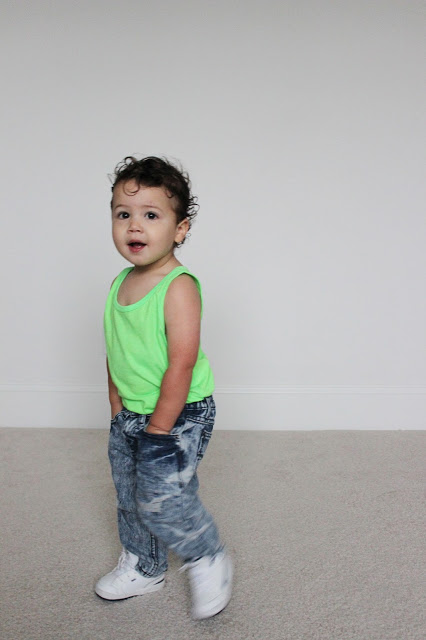
Hey Preppy. As soon as my littlest started growing curls, I was like… AC Slater! I was (okay, still totally am) a huge Saved by the Bell fan. Kelly Kapowski is basically my idol, and when you’re a kid of the 90’s, it’s pretty hard not to fall in love with Zack Morris. AC has this tough guy personality but is actually a softy- that describes Max to a T. He’s a bruiser but the sweetest little boy. 
AC is an easy peasy costume. Scroll down for sources. 
More DIY costumes HERE and HERE!
Sources:
High tops- similar
Accesories: buddy band, tiger tail, football, and lots of hair gel!

DIY HALLOWEEN COSTUME FOR LITTLES – SADNESS

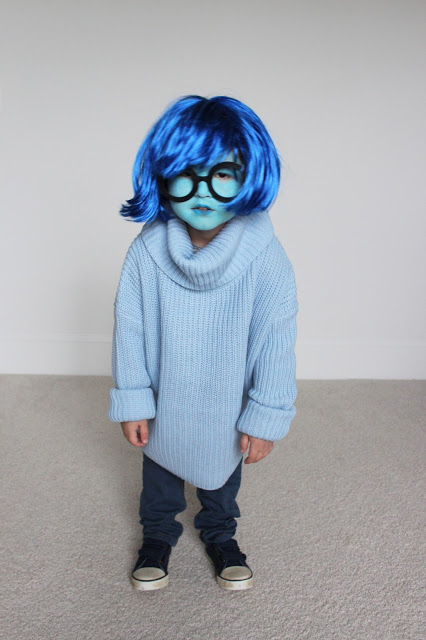
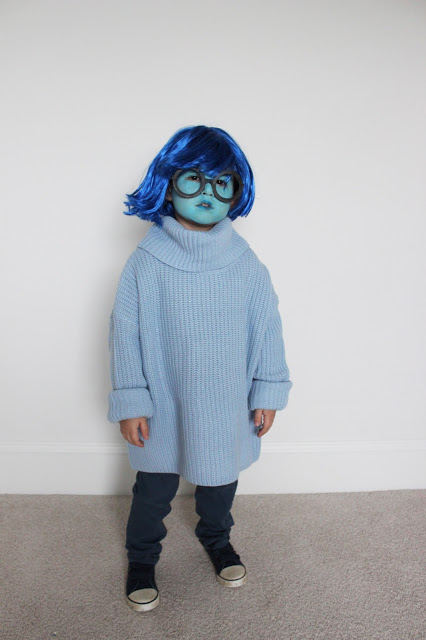
Have you seen Inside Out? It’s. So. Good. If you’ve seen Inside Out and didn’t cry, then you are a robot my friend. Sadness is my son’s favorite character! He just thought she was hilarious. He has a stuffed Sadness doll he sleeps with every night and makes up jokes and songs in her voice. He’s having a Sadness-themed birthday party next month and it was an obvious choice for Halloween!
Try to find a Sadness costume. Just try. They don’t exist. So let’s make one, shall we?
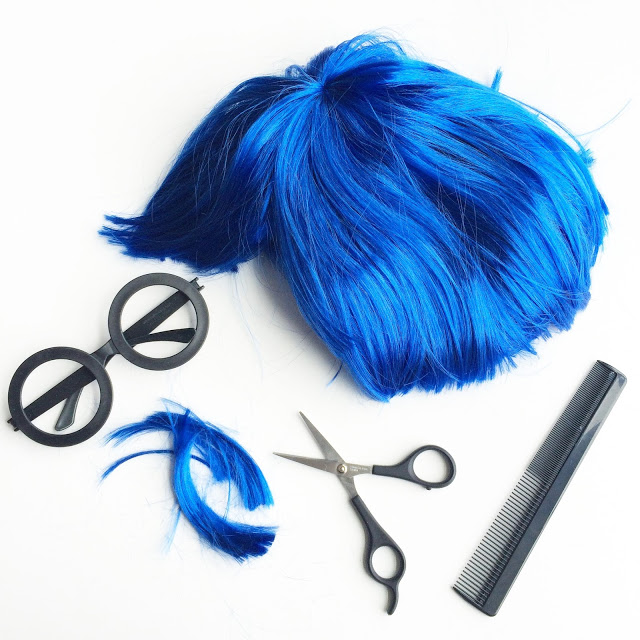
First, you’ll have to give your wig a Sadness haircut. THIS is the one I ordered. The quality was amazing but it’s NOT at all what it looked like! It was super long! Chop the right side and the back short and straight across. The left needs to get longer in the front. I trimmed the bangs to just above Ari’s eyes. Then I used a curling iron to flip up the ends on long side and swoop the bangs over to the left. Spray with hairspray to set.
I ordered glasses from Amazon and they came in totally different from the image, but they worked really well I think.
There are NO children’s turtleneck sweaters anywhere! This is a woman’s sweater from Forever 21 that I’ll probably keep for myself.
The face paint went very easily and dried quickly. A little tricky to get off, but Ari didn’t seem to mind!
SOURCES:
Jeans – H&M
Shoes are old! Any blue shoes will do.
Sadness attitude:
“Trick or treeeeaaat. Halloween makes me saaaaaad”
See more of our DIY Halloween costumes HERE
-L

HOLIDAY CARDS + A MINTED DISCOUNT

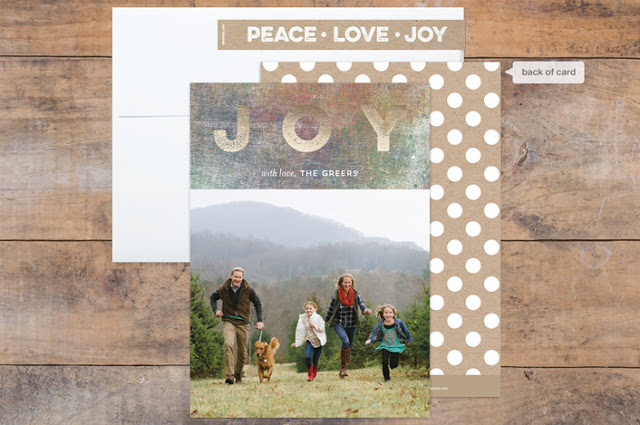
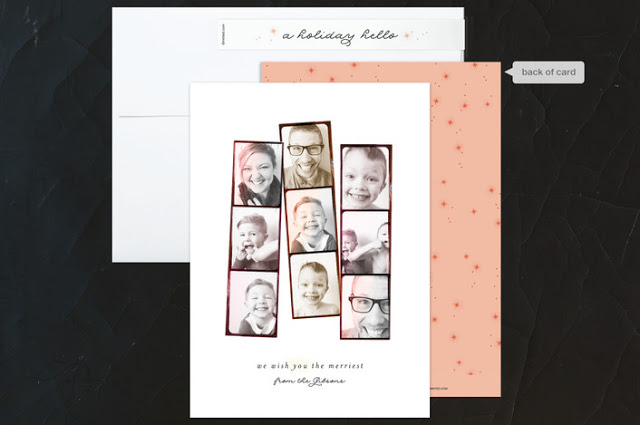
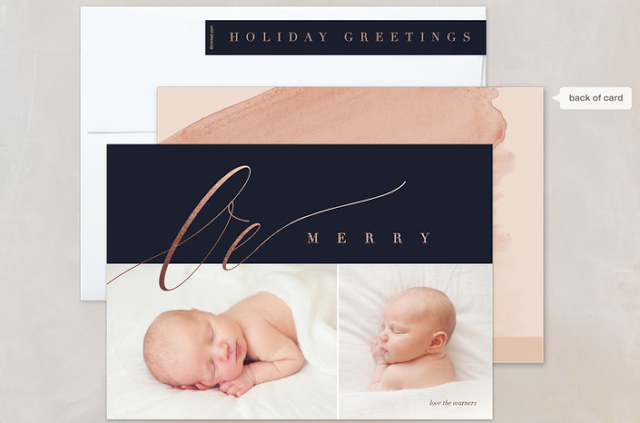
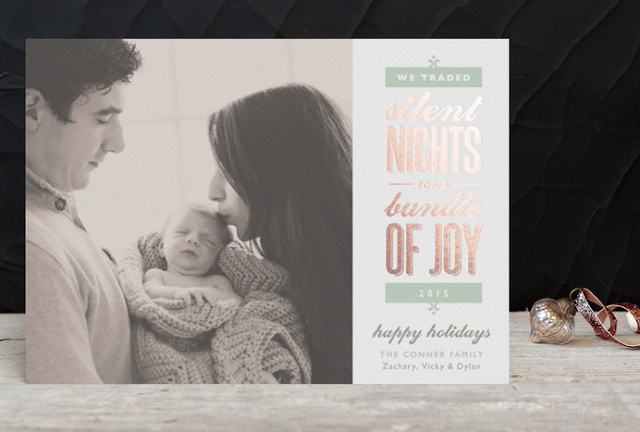
Have you ever used Minted.com before? It’s so bizarre for us to hear that some people haven’t, because it’s an incredible company! Everything is just so. freaking. easy. We just recently went crazy on their art site which we’ll update you with later! Out of control good! 
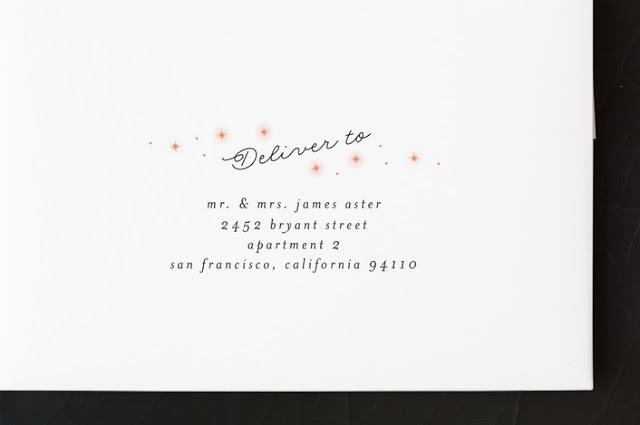
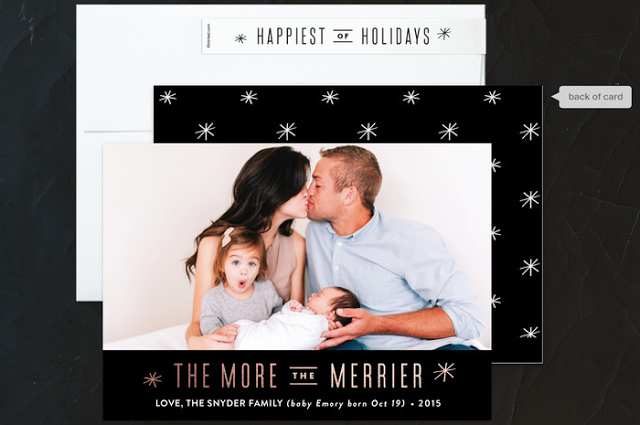
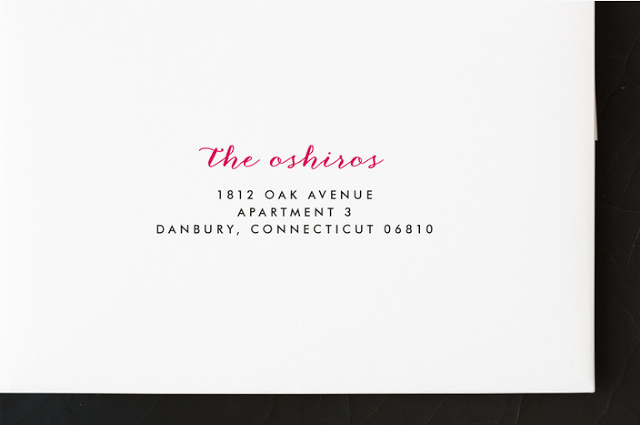
Minted has an insane amount of designs for holiday cards. They use independent artists to design, so you can feel good about your purchase. The quality is also amazing, which appeals to these two paper snobs! They have foil pressed cards and we are suckers for anything shiny (hello rose gold foil… muah)! If you have moved, had a baby (and want to announce it 6 months later – insert raised hand here), married the love of your life, or just simply want to say Happy Holidays, there is a card for just that! You can filter it by the number of photos, whether you want it flat or folded, whether you want it to say Christmas/Holiday/New Years, if you want the writing on the top or the bottom… we could go on and on. And the coolest feature? You can upload your holiday photo and see what every single card looks like with your photo! Then you can chose a patterned back or more photos, you can order your return address label that matches your card. And the BEST part? YOU GET FREE RECIPIENT ADDRESS PRINTING. What??!!
Like we said, it’s SO easy! 
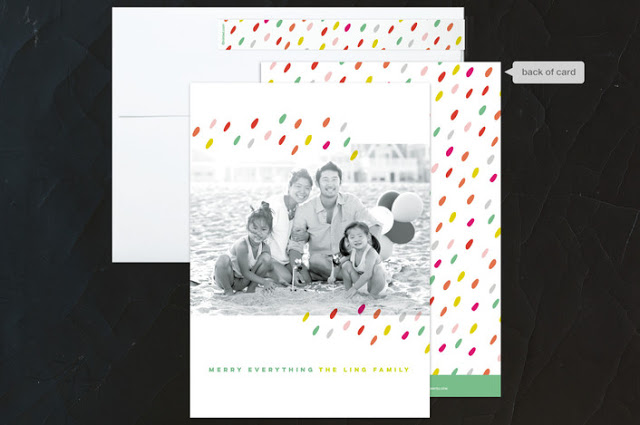
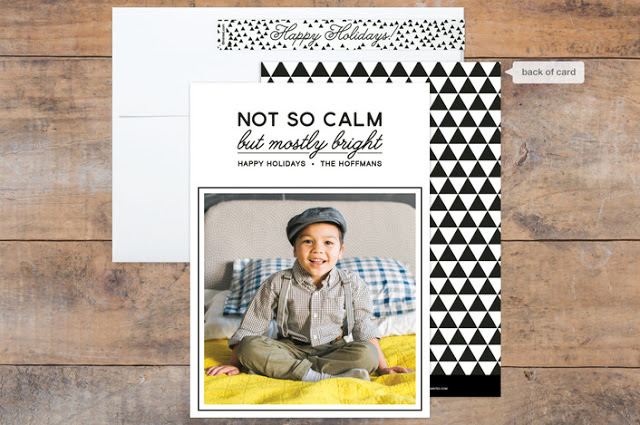
We don’t have our photos yet, but are planning which cards and which outfits go with our picks. Here are our favs…which one should we go with? Ah! So many good choices!
LEAH’S TOP PICKS:
Dashing Dots card HERE
Holiday Headliner card HERE
Not So Calm card HERE

Photo Booth Filter card HERE
JENNI’S TOP PICKS:

The More, The Merrier card HERE


Gold Illume card HERE


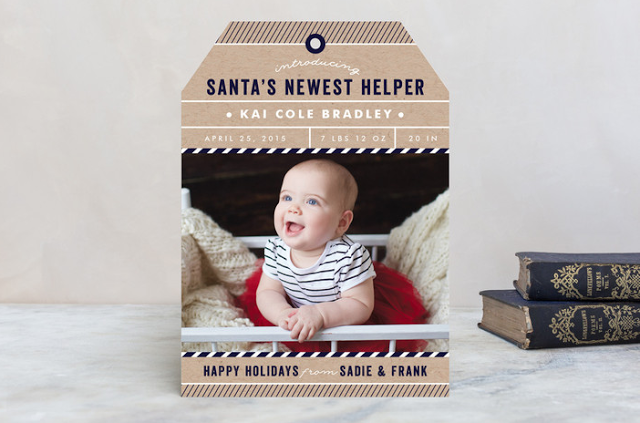
Santa’s Newest Helper card HERE

Silent-less Night card HERE

The other good news? 
Minted is giving you 15% off on holiday cards through 10/30/15 using code: LOVELION15
That’s something to be jolly about!
xo

MAX’S COW PARTY!

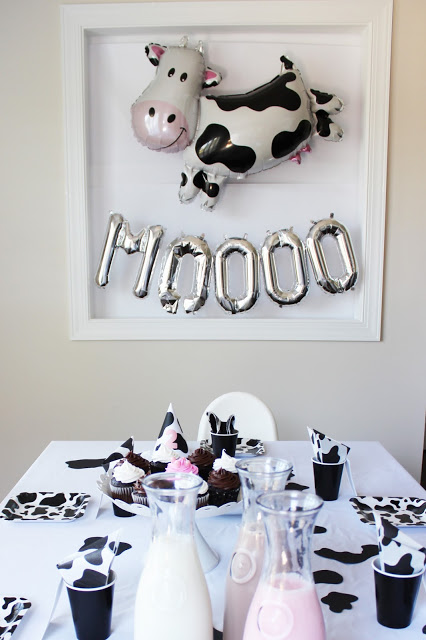
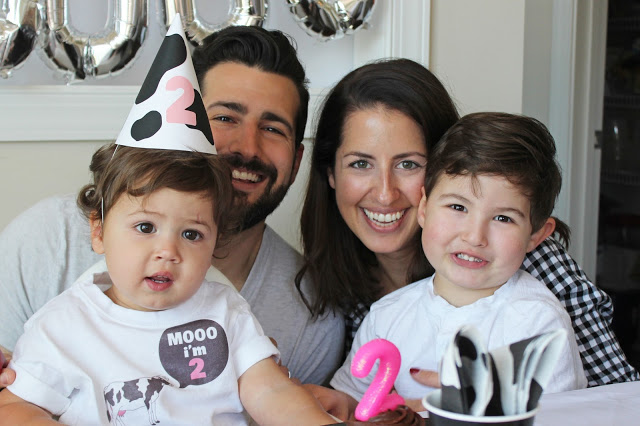
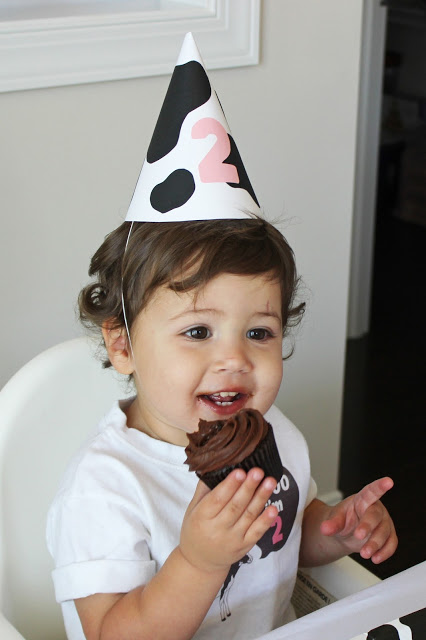
My little baby turned 2!! Eek! His favorite thing in the whole wide world (besides his big bro) are COWS. He has an entire backpack full of cow figurines that attend all of our outings. With every person he meets, he tells them about cows or the one time he pet a cow or cows say moo… I could go on. There was no other choice but to make him a cute little cow party and celebrate with family!
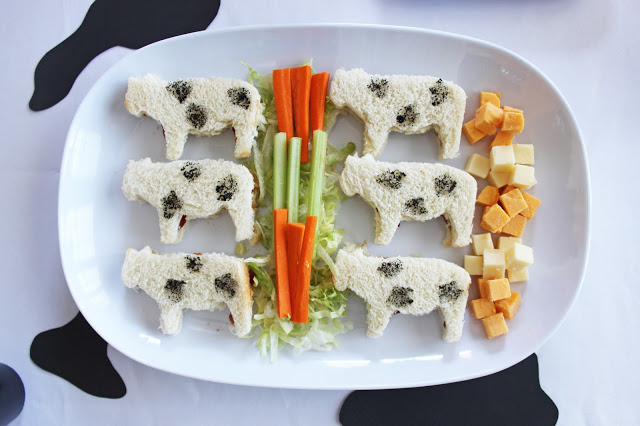
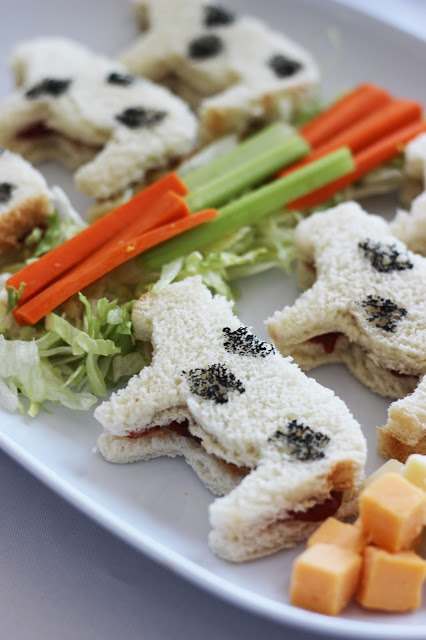
Cow PBJ’s, farm veggies, and cow cheese! I just used a cow cookie cutter to cut out the bread and black food dye for the spots. Just dab a corner of a paper towel in the food dye and dot on the bread.
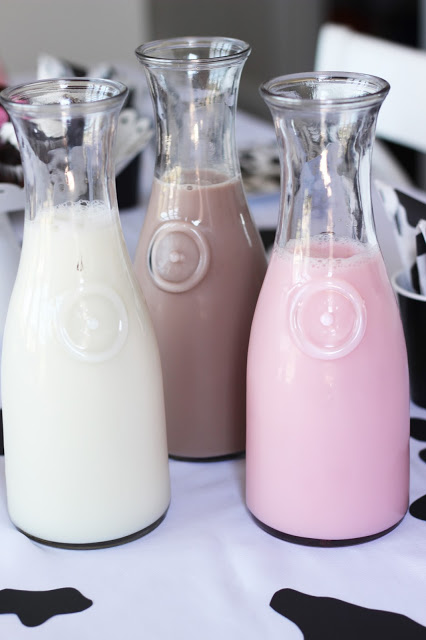
 Milk bar anyone? Vanilla, chocolate, and strawberry.
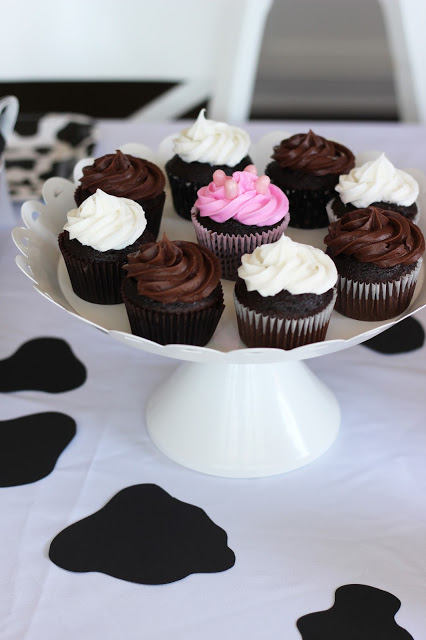
 This is what I call a deconstructed cow cake… easy peasy. I used pink frosting and pink jelly beans for the udder 🙂
I cut out squiggles of black paper for the table decoration.
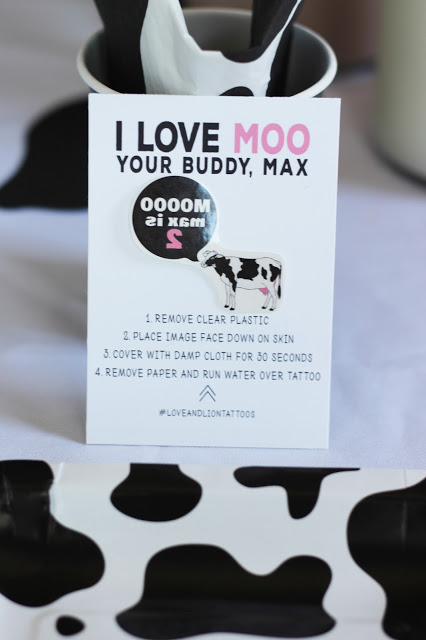
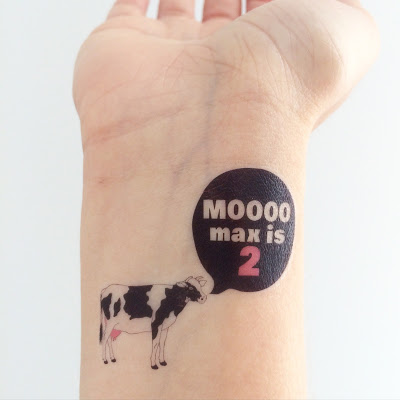
I had some leftover tattoo favors from Max’s little preschool buddies that I used as table decoration. Moooo Max is 2! We do custom packaging like this in our Etsy shop!
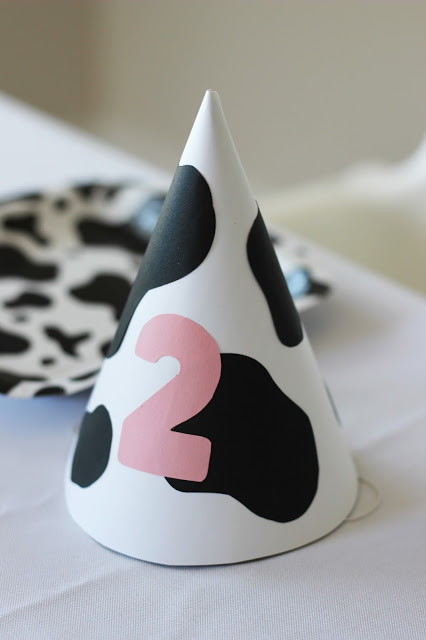
 Our party hat DIY is HERE. Just decorate with black squiggly shapes and a pink “2”.
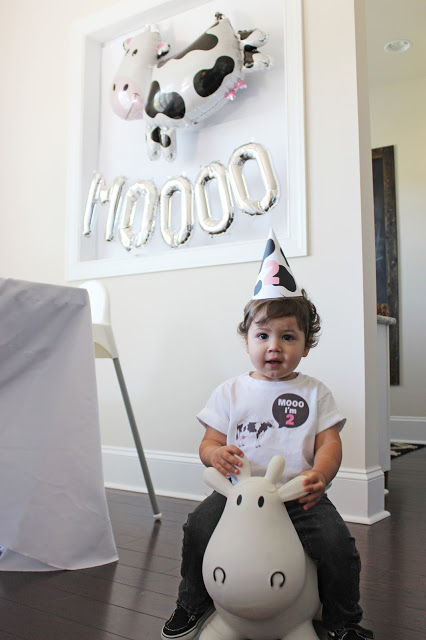
 Max’s “aunt” Ashley got him this bouncy cow for his birthday! He obviously LOVED it!
I made Max his tee shirt with the tattoo image printed on iron-on transfer paper.
Sources – click below:
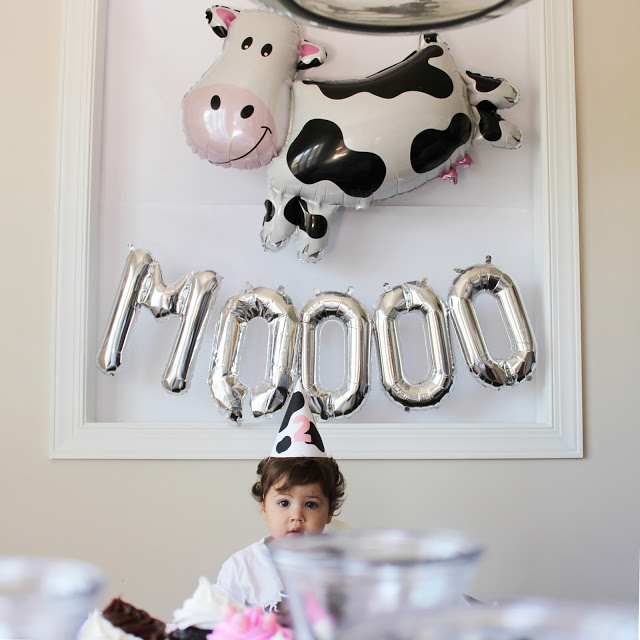
Letter balloons by Northstar Balloons
– L

RECIPE: VEGETARIAN CHILI + CORNBREAD

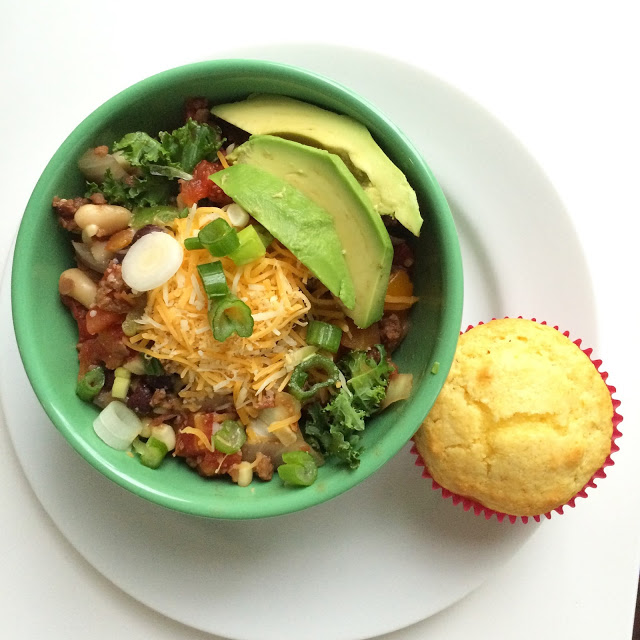
This is my go-to meal for my family, especially on a chilly fall day! My kids gobble it up, though I think the cornbread might have something to do with it. You can really add in whatever vegetables (or meat) you have in the fridge and it’ll always taste good. There’s a variation of this that I LOVE if you scroll to the bottom- you cook the cornbread dough directly on top of the chili so that each bite has a layer of cornbread on it! YUM.
VEGETARIAN CHILI:
1-2 tbsp EVOO
1-2 tsp minced garlic
1 yellow onion
1 bell pepper
couple handfuls of chopped kale (optional)
soy meat crumbles / real meat
1 can green chilies
2 can diced tomatoes
1 can corn / 4 fresh ears of corn
2 can of your favorite beans (I use black beans and navy beans)
1 tbsp cumin
salt & pepper
Optional spices (leave out if you’re cooking for littles): 
cayenne, chili powder, crushed red pepper, chipotle chili powder
Toppings: 
plain greek yogurt / sour cream, shredded cheese, avocado, scallions
Serve with corn muffins – the Jiffy box is my fav! (1 box makes 6 muffins, and you’ll need 1 egg and 1/3 cup of milk)
Heat olive oil on medium and add in garlic, chopped onion and pepper, and saute 5 min.
Add in meat crumbles and saute 5 min. You may need to add a little more olive oil at this point.
Add in all cans and spices you’d like.
Bring up to a boil then reduce to simmer for about 30 minutes.
I like to put a handful of chopped kale at the bottom of my bowl, put the hot chili on top to steam, then pile on the toppings. When cooking for my whole family, I leave all of the spices out except for cumin, salt, and pepper so it’s not too spicy for my kids. I’ll add crushed red pepper to my own bowl.
VARIATION:
Spread cooked chili in an 11×13″ pan (as much as can fit leaving at least 1″ room on top. I like to freeze the rest! Make 2 boxes of Jiffy cornbread mix (you’ll need 2 eggs and 2/3 cup of milk) and spread the dough on top of the chili. Bake at 400 degrees for 12-15 minutes or until cornbread just starts to brown. Don’t overcook, or your cornbread will be dry! 
Enjoy!
-L