holiday

POKÉMON VALENTINES – FREE PRINTABLE

Anyone else’s kiddo obsessed with the app Pokémon Go and collecting the cards? It’s ALL my son, Ari talks about. Valentine’s Day is 3 days away, so obviously he needs Pokémon Valentines for his class. OMG. Hope this helps you last minute parents out too! Scroll down for the download.

Now go CATCH those Pokémon! Get it?


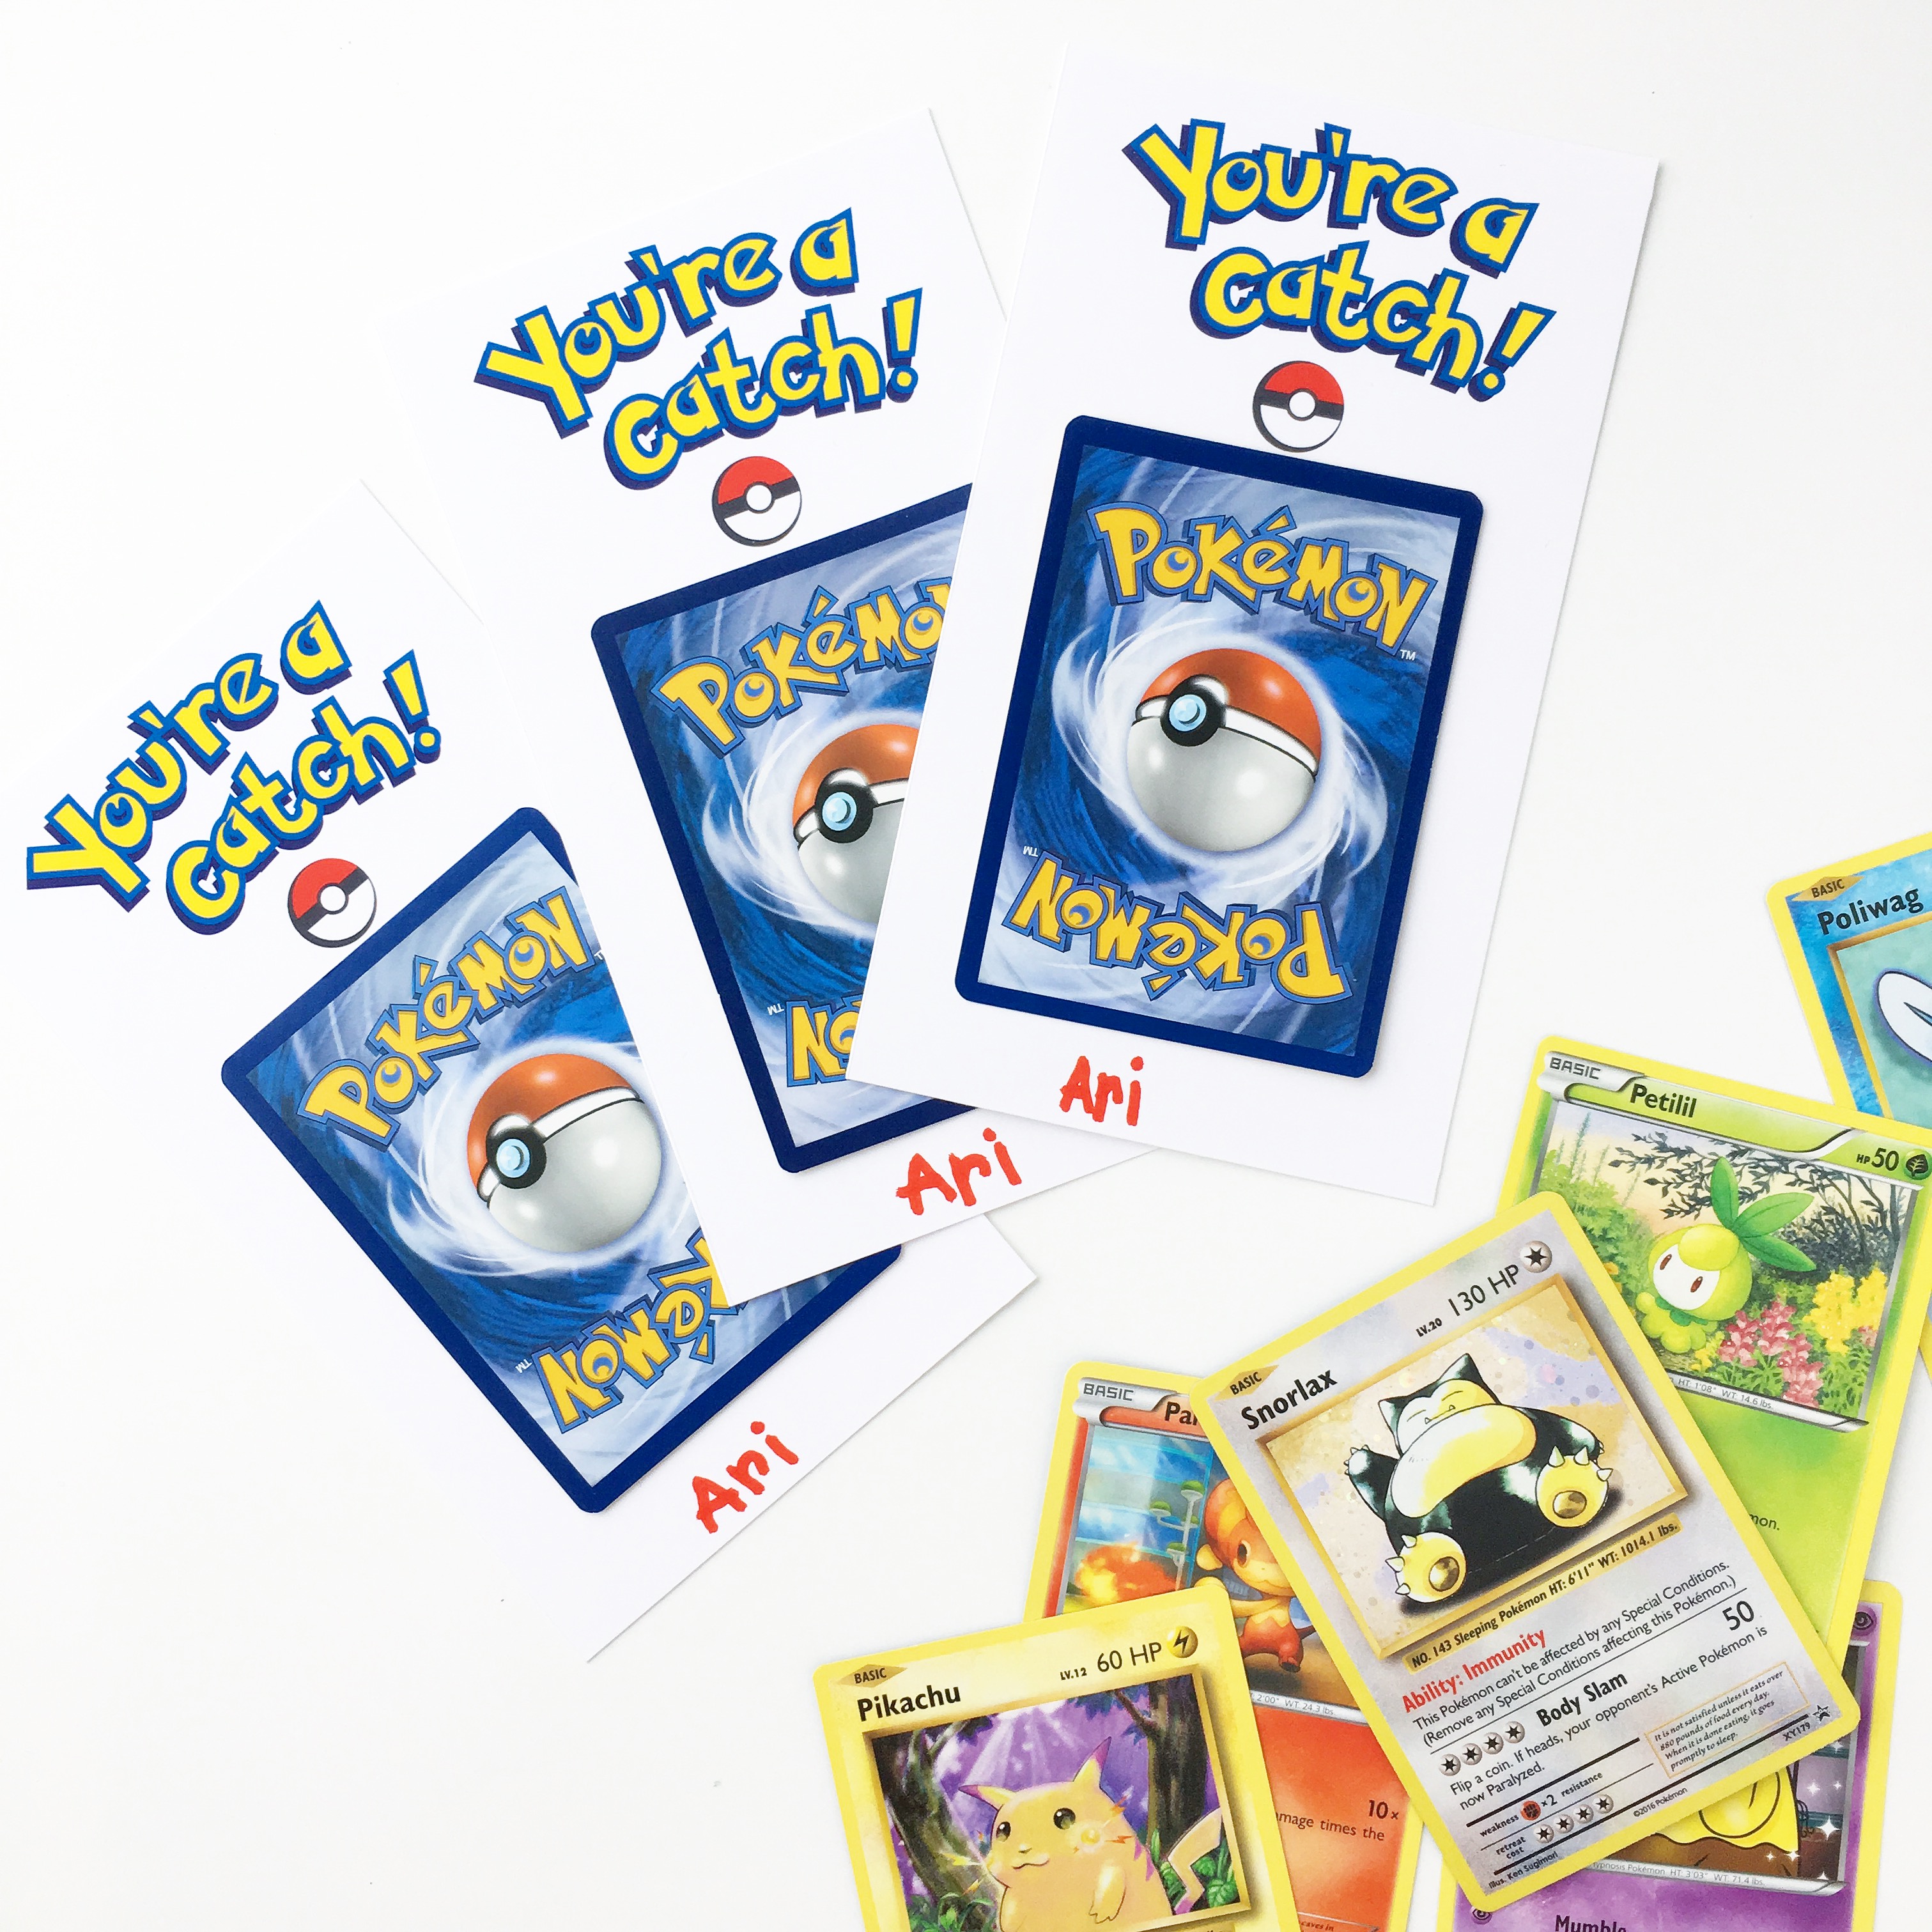
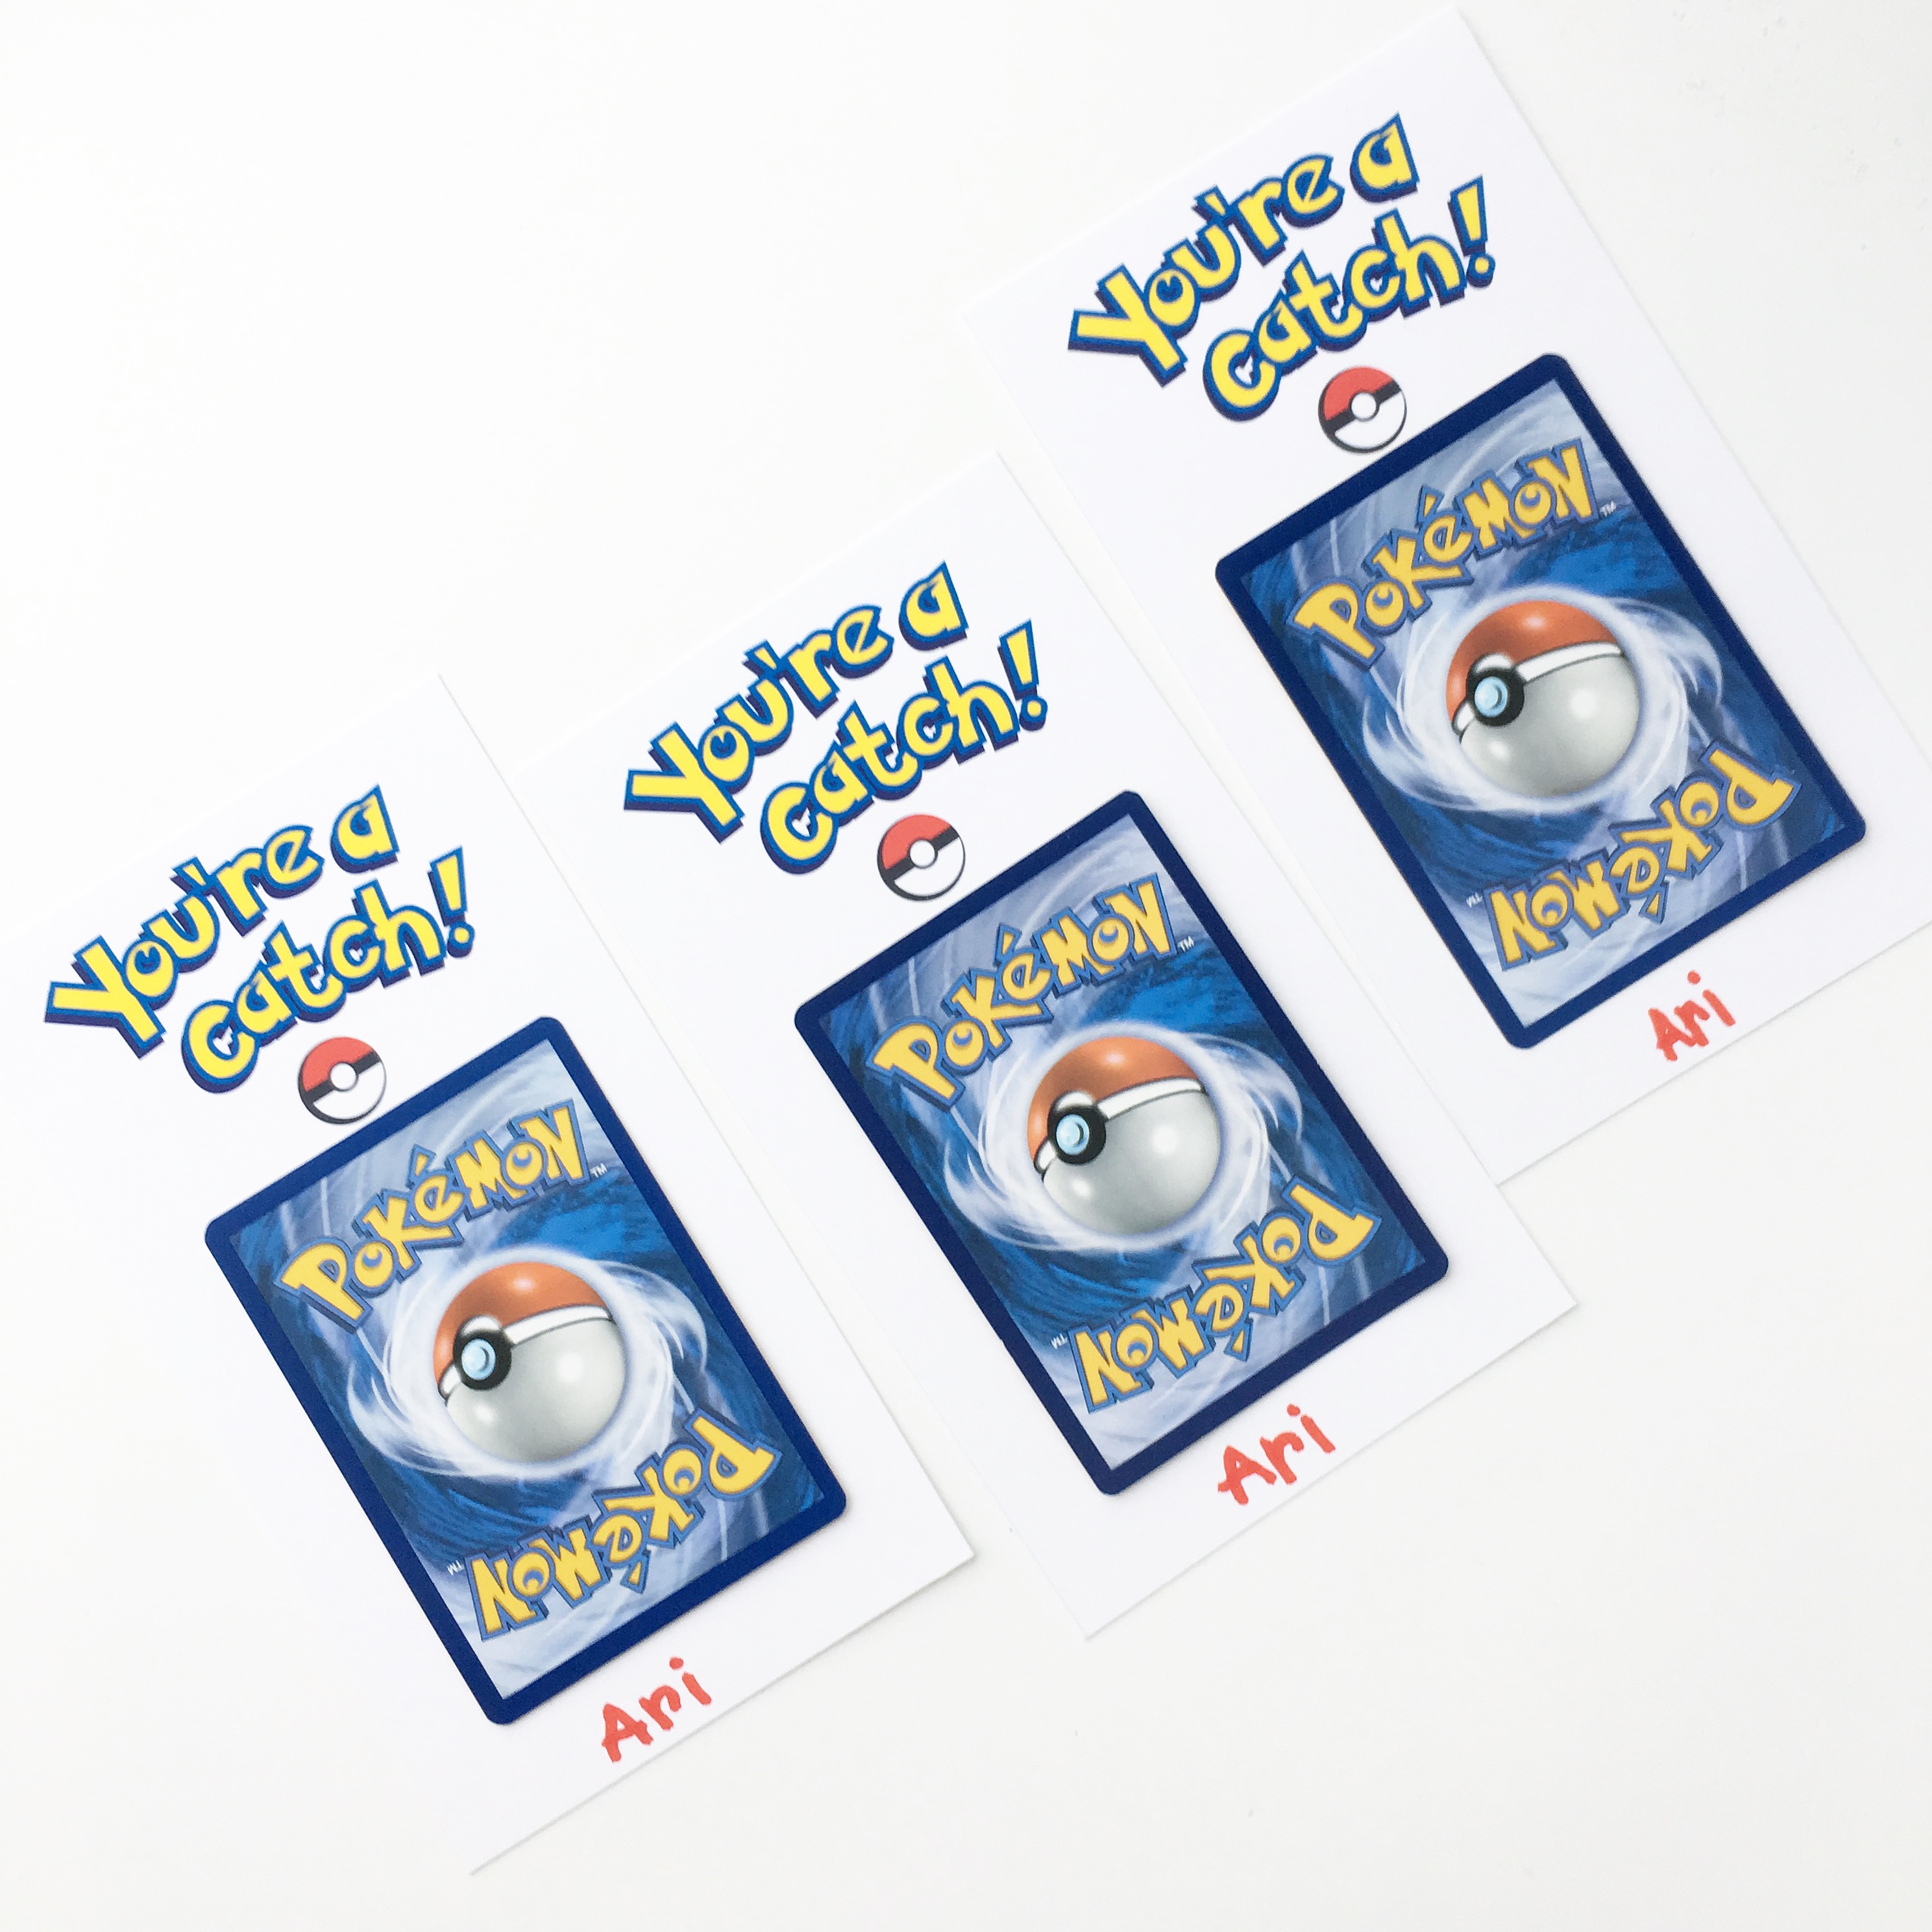
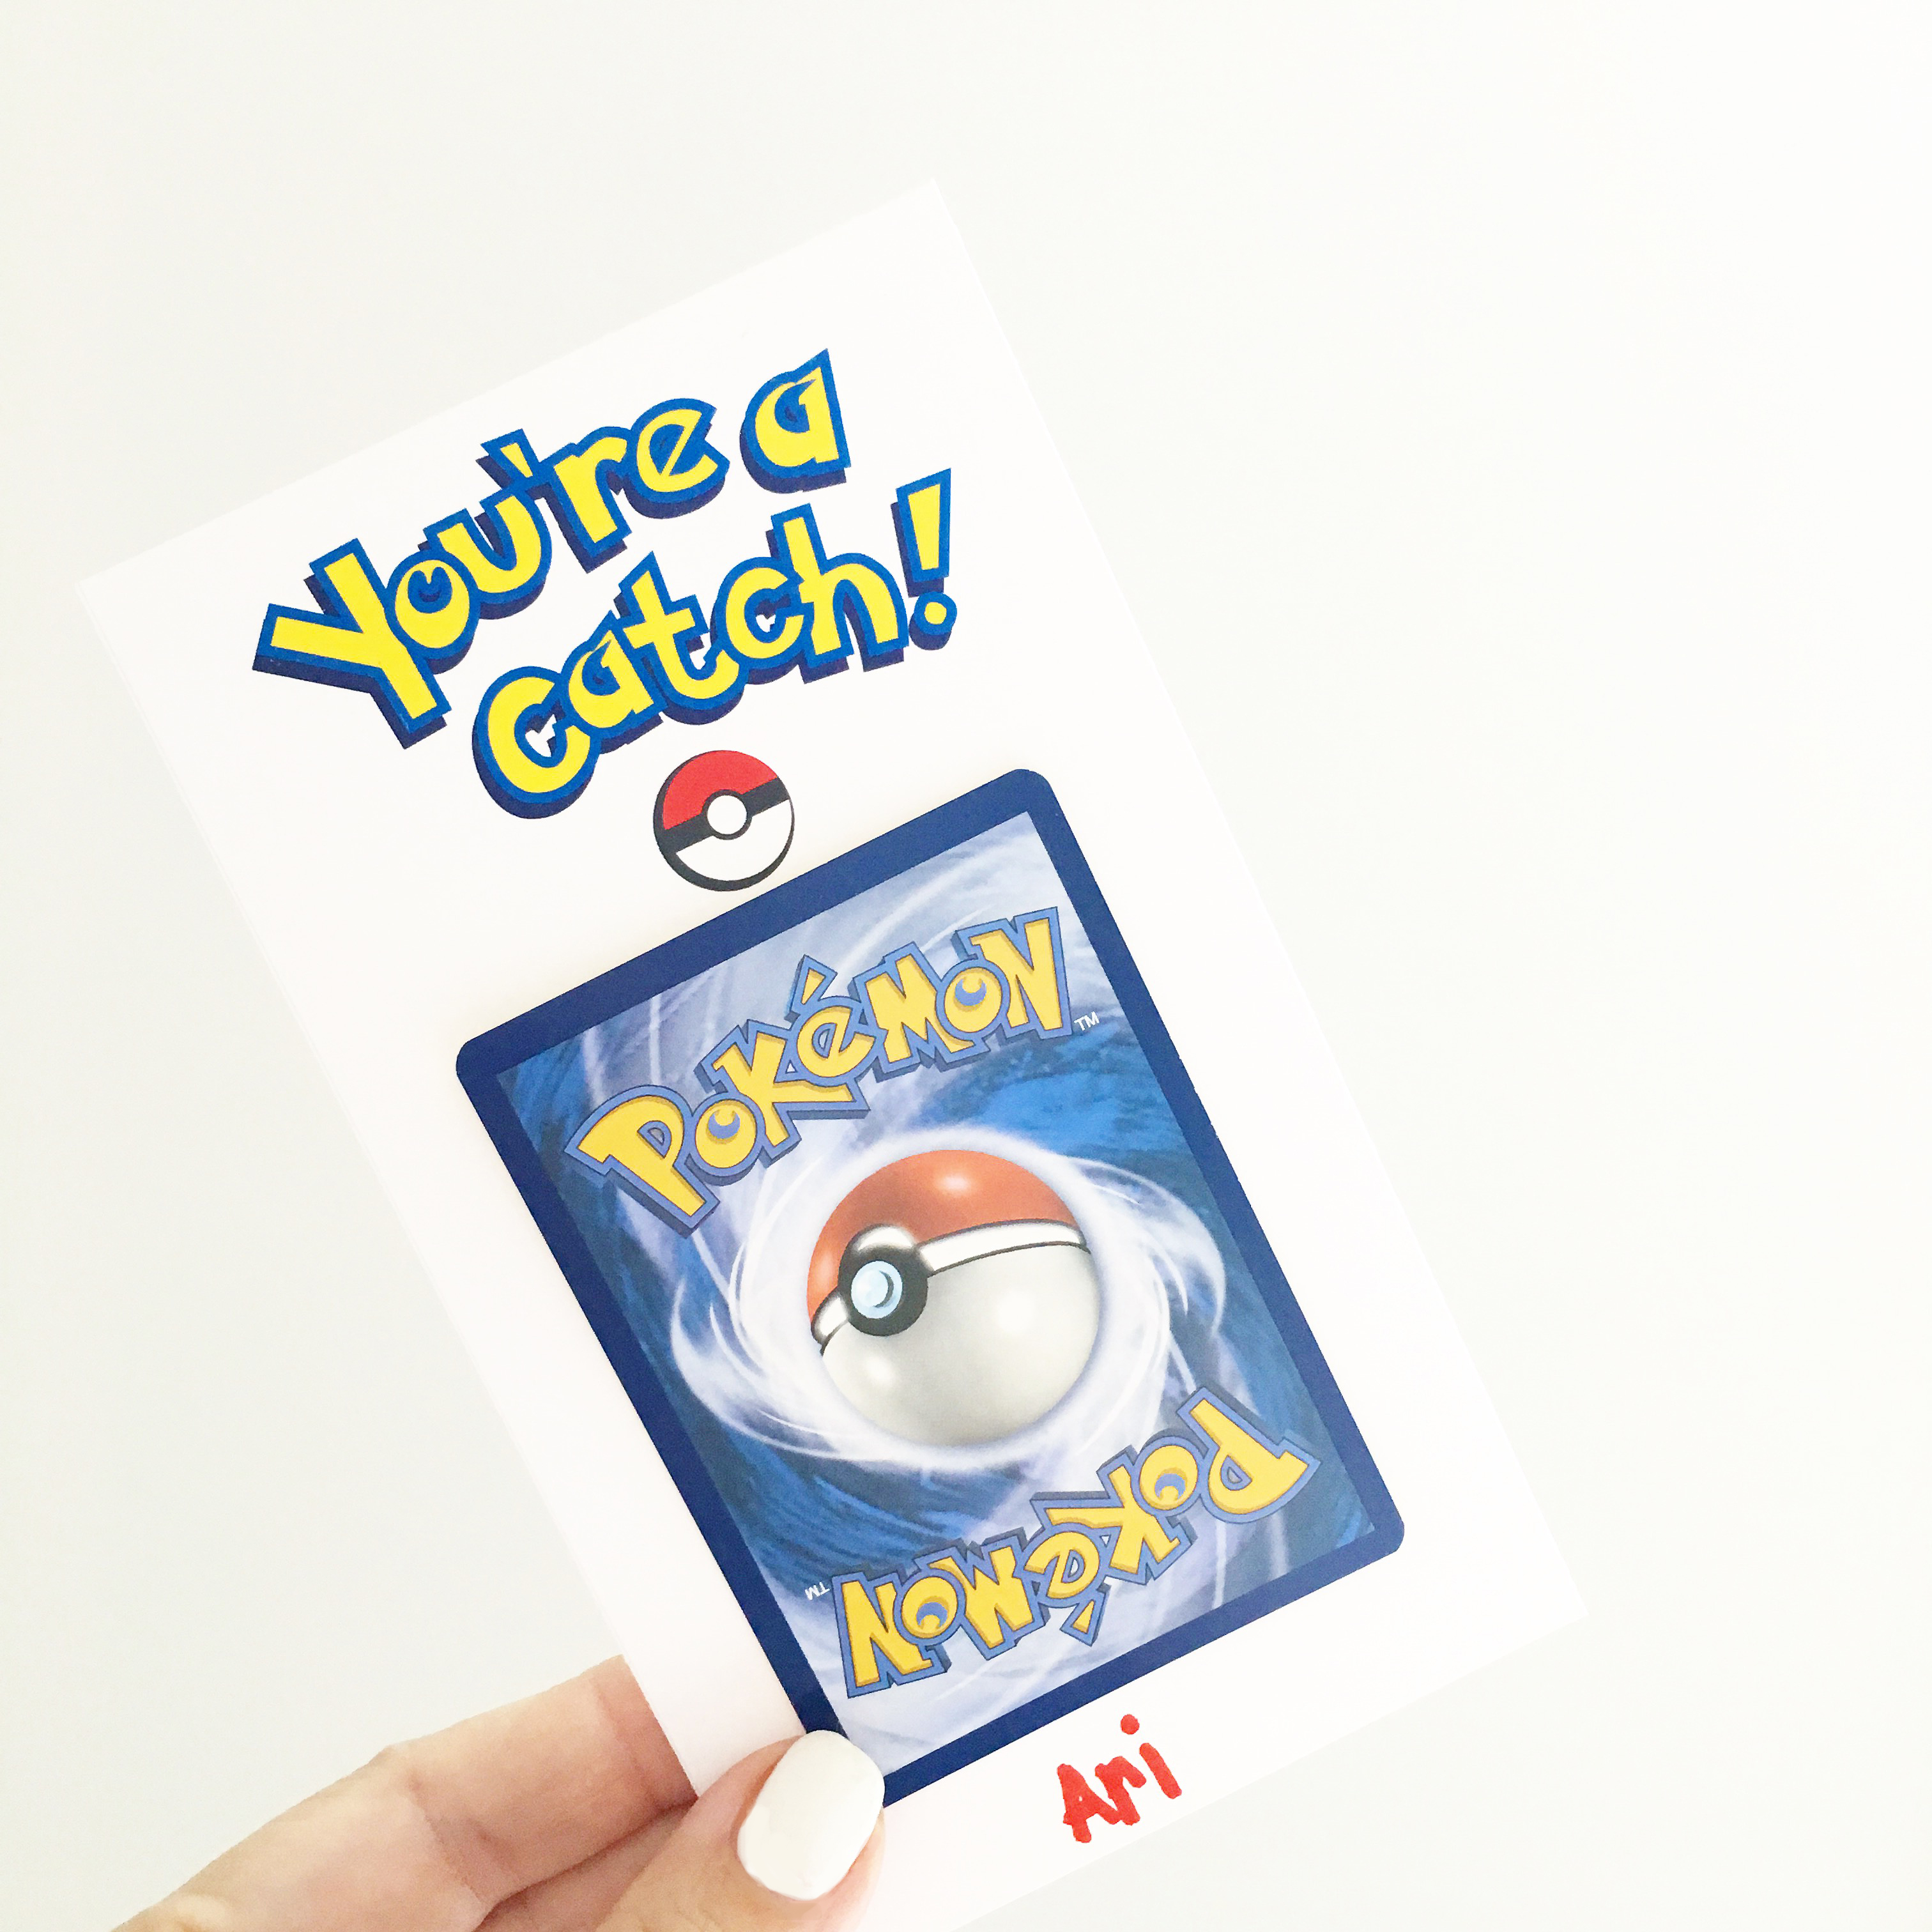
1. DOWNLOAD CARDS HERE

2. CUTTING BOARD: THIS is our fav

3. PURCHASE POKÉMON CARDS HERE

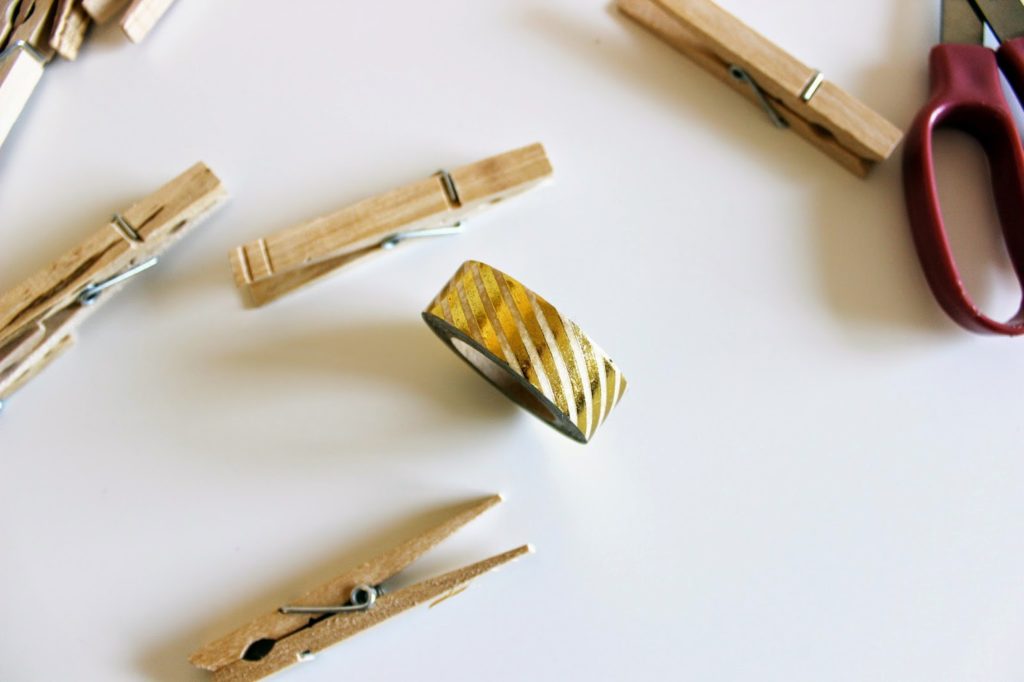
4. Attach cards with WASHI TAPE, or you could tie a small pack on the card

xo

-L

For more free printables, click the links below!

GIFT GUIDE – UNCOMMON GOODS

Here are a few of our favorite things!
Uncommon Goods literally has something for everyone. Helloooo taco mobile. Anyone having a baby? Can we please get you a whole taco themed gift? Personally obsessed with the light box, and my kids are obsessed with the ice cream truck! Our friends, Haulin’ Oats have their amazing oatmeal on here- and we can testify that the cinnamon girl flavor is to die for!
The best part about Uncommon Goods is that they promote small businesses, emerging designers, and hand makers. Each item has a story behind it and a bio of the artist. As makers ourselves, we SO appreciate that! They also keep sustainability in mind- helping the earth and helping us gift beautiful, handmade items? Yes please.
Scroll down for links.
Love that the ice cream truck is made out of very easily put together cardboard, so it can be disassembled easily when your kids are finished playing. Great for small spaces.
As a blogger/instagrammer, the light boxes are perfect props for styling photos! And we’ve been using this as our shop sign when we do markets.

Here are our favs below, but also check out these easy to shop gift guide links:
BABY
KIDS
FOR HER
FOR HIM
bloody mary mix
men’s wooden watch
moscow mule carry on kit

HOLIDAY CARDS WITH MINTED.COM

Have you ever used Minted? Ok, click HERE and you’re welcome. Oh and pppssst! 20% off your holiday cards through today at noon PST with discount code: CM2015.
Minted did my holiday cards this year, and I am beyond grateful!! I could just rave about the whole process forever, but I’ll try to keep it brief. First of all, the quality is SO good. My cards have silver foil, people! The options are endless depending on your photo and the number of photos you want. It’s all tailored to you with ease. I had too many good photos to chose from (captured by the brilliant Kate Davis! Family photo shoot HERE) so I chose a backing with space for 6 more photos. My favorite part? The envelopes are pre-addressed for you! For free. Whaaaat?? And the wraparound labels with my return address just make the whole card come together like a little package. Could not be happier! You can purchase my holiday card design HERE.
Happy Everything!
xo
-L

RECIPE: CHALLAH

This challah is the BEST. The recipe is actually by our close family friend, Carol. She made this challah for everyone at my wedding. Like every single table got one. Seriously. Not only do I love eating it, but I love the memories we have surrounding it. Friday nights with family and friends, eating this soft, chewy bread, spread with butter or dipped in honey. Every time my mom would make challah, the whole house was filled with the smell of baking bread! That’s probably my favorite smell in the whole world. That and my newborn babies. Equally delicious.
Full recipe below.
RECIPE:
Mom’s Famous Challah
INGREDIENTS
2 tsp honey
1 pkg yeast
1/2 c vegetable oil
1/4 c sugar
2 tsp salt
2 eggs
4 – 4 1/2 c bread flour
1 egg yolk
  1. Dissolve 1 tsp honey in 1/2 c. warm water in large mixing bowl which has been rinsed with hot water.
  2. Sprinkle yeast on top, mix, let stand 10 min.
    Stir in oil, 1/2 c. warm water, sugar, 1 tsp honey, salt, eggs, and 2 c. flour. Beat well.
  3. Stir in remaining 2 c. flour. Dough will be sticky. If it’s too sticky when you test it with your finger, add another 1/2 cup of flour.
  4. Knead 2-3 minutes with a bread hook attachment or turn onto a floured board and knead.
  5. Round up in greased bowl (I just use the same dough bowl and put vegetable oil all around it), cover, and let rise in a warm place for 2 hrs. It should have doubled in size. Gently put finger in top; if dough stays indented, it’s finished. If it bounces back, continue to rise.
  6. Punch down, cover, let rise again 45 min.
  7. Prep the counter with cooking spray.
  8. Divide the dough on the counter into three or four sections and loosely braid* (instructions below), tucking in the ends. Put the braided challah on a parchment paper-lined baking sheet.
  9. Cover loosely with saran wrap or a non-textured kitchen towel and let rise 20-30 minutes.
  10. Brush with beaten egg yolk and 1 tsp water.
  11. Bake 400 degrees 20 min or until it’s a good color on top. Cover the top with foil, put it back into the oven for 5-8 minutes until a toothpick in the center of a braid comes out clean.
  12. Immediately remove the challah from the tray and place on a wire rack so the bottom doesn’t continue to bake.
  13. Eat! Delicious with butter and/or honey. Perfect the next morning for french toast.
* Traditional challahs are braided in one row. On holidays or special occasions, it’s made into a circle.
* This video tutorial is super helpful! I usually do a 4 strand with a circle challah, but I LOVE the 5 strand technique for a straight loaf: CLICK HERE.
* Round challah braiding tutorial (above) CLICK HERE
* Four strand challah:
Divide dough into 4 equal sections
Leave the ends loose if you’re making this into a circle- you’ll weave these ends in at the end when you connect your circle
Take the strand at the left and weave it over-under-over the other three strands
Take the next strand at the left and do the same- weave it over-under-over the other three strands
Repeat until you can’t anymore, form it into a circle and connect the ends on each side- just sort of weave them together…as long as they stay together it’s fine! Just keep tucking the ends in.
xo, Leah

HOLIDAY PHOTOSHOOT – OUTFITS FOR THE WHOLE FAMILY

I think we all sort of cringe a little when we think about dressing up our resistant kids (and husband!) in fancier clothes and convince them to smile like they love taking photos. Just me? But honestly, it’s totally worth it in the end. I don’t always appreciate this stage in my life. The messy, whiney, poopy, busy days that just fly by without noticing any of the details. I’m too tired or stressed or frustrated to really take it all in. Seeing these photos (captured by the BRILLIANT and talented Kate Davis) will always be a fierce reminder of the beauty of our little family in this moment. 
With each photo we saw, we ooooh-ed and aaaahhh-ed and laughed, and omg-ed! Kate knocked it out. of. the. park. She made us feel right at ease, especially the boys! Max nicknamed her Katesadilla. I’m obsessed with her fashion blogger photos and love that casual feel more than the stiff posed look. I also loved taking pics around town instead of in nature like we normally do. Gotta love a good white background! This was shot all behind and to the side of Draper James and at Las Paletas. Ending the photoshoot with popsicles was basically the only way we got the kids through it!
Aside from finding the best photographer in Nashville (duh: Kate Davis) the next step is figuring out what to wear! Coordinating NOT matching is my personal preference. My best tip is to go into one store and use their color palette for the season. I guarantee they have similar colors in different patterns and textures that will be perfect for the whole fam. Start with yourself first. Find what YOU look best and feel comfortable in, then you can plan around everyone else. Selfish? Maybe. But kids and dudes look good in pretty much anything right? 
I’ve linked everyone’s outfits at the bottom of the post in case you want to go with our red, tan, and blue color palette!

 OUTFIT LINKS
Leah: poncho / dress (H&M in-store only) / boots or similar
Jeffrey: shirt (H&M in-store only) / jeans / shoes
Ari: shirt and sweater (H&M in-store only)  / jeans / shoes
Max: shirt and sweater (H&M in-store only) / jeans and suspenders / shoes
Goooood luck, Mamas!
-L

HOLIDAY CARDS + A MINTED DISCOUNT

Have you ever used Minted.com before? It’s so bizarre for us to hear that some people haven’t, because it’s an incredible company! Everything is just so. freaking. easy. We just recently went crazy on their art site which we’ll update you with later! Out of control good! 
Minted has an insane amount of designs for holiday cards. They use independent artists to design, so you can feel good about your purchase. The quality is also amazing, which appeals to these two paper snobs! They have foil pressed cards and we are suckers for anything shiny (hello rose gold foil… muah)! If you have moved, had a baby (and want to announce it 6 months later – insert raised hand here), married the love of your life, or just simply want to say Happy Holidays, there is a card for just that! You can filter it by the number of photos, whether you want it flat or folded, whether you want it to say Christmas/Holiday/New Years, if you want the writing on the top or the bottom… we could go on and on. And the coolest feature? You can upload your holiday photo and see what every single card looks like with your photo! Then you can chose a patterned back or more photos, you can order your return address label that matches your card. And the BEST part? YOU GET FREE RECIPIENT ADDRESS PRINTING. What??!!
Like we said, it’s SO easy! 
We don’t have our photos yet, but are planning which cards and which outfits go with our picks. Here are our favs…which one should we go with? Ah! So many good choices!
LEAH’S TOP PICKS:
Dashing Dots card HERE
Holiday Headliner card HERE
Not So Calm card HERE

Photo Booth Filter card HERE
JENNI’S TOP PICKS:

The More, The Merrier card HERE


Gold Illume card HERE


Santa’s Newest Helper card HERE

Silent-less Night card HERE

The other good news? 
Minted is giving you 15% off on holiday cards through 10/30/15 using code: LOVELION15
That’s something to be jolly about!
xo

DIY HALLOWEEN COSTUMES FOR LITTLES

Update! I luckily had a third son so baby Harry Potter, here we are again!
Monthly pic… platform 9 3/4 never looked so cute!
Lightening bolt tattoo (and other super awesome HP tats) HERE.
His cardi and pants are from June & January in onyx.
Lightening bolt rattle HERE
Same scarf and glasses as below.
Here are some of my kids’ past Halloween costumes that are easy to DIY!
DIY HALLOWEEN COSTUMES
1. HARRY POTTER
This one is my absolute favorite! You know what a Harry Potter nerd I am. We tell Ari Harry Potter stories (the non-scary ones) now, so he loves looking at this picture of himself!
Last year, he decided to be Harry Potter again! Needless to say, we were thrilled!
OUTFIT: khaki or black pants, white button down shirt, black or gray vest or v-neck sweater. Cloak purchased here.
SCARF: I knit this using this pattern
GLASSES: here. I popped the plastic lenses out
SCAR: Purchase our lightening bolt tattoos HERE for the whole family!
2. MARTY MCFLY
I still giggle at this one. Ari obviously didn’t get who he was but people loved it! The Back to the Future Trilogy is one of Jeffrey and my favorite movies (next to HP obvs).
OUTFIT: jean jacket, white button down with blue/red plaid, maroon t-shirt, red suspenders, red puffy vest, tight light wash jeans, white Nike high tops
“Look at them moccasins!”
3. SADNESS
New fav!!! Link to the DIY HERE
4. AC SLATER
He has the curly hair, so why not? Links HERE
5. THE ORKIN MAN
Ari is obsessed with our Orkin man, George. I think he thinks of George as a grandpa?? George retired that year, so it was only fitting to pay homage to him.
Outfit: white button down, pleated khakisred hat
Details: I made the epaulets out of red felt with a white button sewed on. I just winged it whip stitched them on the shoulders BUT I did it backwards. The button side is supposed to point towards the neck of the shirt.
You can download the Orkin logo I made here.
Stick on eyebrows/mustache found at a costume shop.
I covered Max in little plastic spiders to make it more Halloween-y!
Tutorial for the spray can is below. There was probably a way easier way like using a silver coffee can, but I used what I had!
Punch a hole through the oatmeal can top for the rubber tube (bought at a hardware store)
Tape the tube inside and on the top of the can
Punch holes for the string before you tape the top on
Wrap can and hose with duct tape
6. CARDINAL
I made this for Ari’s preschool costume, but count it anyway as a great Halloween DIY.
Tack/sew red boa around the turtleneck. I used yellow felt for the feet and attached it to Ari’s crocs. For the hat, I glued felt on top of a foam visor from the craft store. You could always just stick feathers on a red hat and call it a day!
7. BABY NERD
This was my laziest costume but effective. Max already had the white onesie, cardi, and bowtie. I just put masking tape on Ari’s Harry Potter glasses (above)!
8. HASHTAG THE PANDA
Our love for Jimmy Fallon is STRONG.
Similar panda costume HERE.
You can download the name tag I made HERE, but you could easily buy the name tag stickers and write “Hashtag”. If you don’t get it, you don’t get it. If you do, it’s pretty hilarious.
9. TINKER BELL
Ari adores Tinker Bell! His preschool had costume day, so we went with his hero!
Tutorial for the costume and educational art HERE.
This year is most likely directed by Ari who is now 5! Sad! So far, he wants to be Sadness from Inside Out. I’ll update you with the progress! Good luck, mamas!
-L

HOW TO PERFECTLY WRAP A GIFT

We hope you guys are enjoying the holiday season. Leah and I are a bit under the weather, which is NO. FUN. 
Okay, so wrapping gifts is one of our favorite tasks of the season. Most people loathe it, but we feel like if you buy beautiful wrap, gift toppers, ribbon and use these tips then you might actually ENJOY it. What!?!?! When Leah and I met ( working for our friend, Lauren, at her paper boutique) we were taught the skills to pay the bills by Lauren herself. We offered a professional gift wrapping service that saved a LOT of people from going insane over trying to wrap their gift themselves. Okay, they may not pay our bills, but they do make people envious of your beautifully wrapped gift at your holiday gift exchange. Whenever all of us girls get together, and there is gift giving involved, we almost care more about how it is wrapped vs. what is inside the box. True story! It is just in our blood now. 
Here are our tips that we are passing on from one great wrapper to another…. YOU!
Get a great box that is sturdy and has a good shape.
-Wrap your gift in beautiful tissue and seal with pretty tape 🙂 Details people.
– Once your items are placed in the box, then fill all of the extra empty space with tissue paper. This helps your box not cave in when you are wrapping it. This is VERY important. The box structure is everything!!
-Roll out your wrap and lay your box in face down. Pull the edge of your wrapping roll to the center of your box and tape (using regular invisible tape). This is where your perfect seam will be.
– Then, pull the other side of the wrapping roll (the actual roll itself) over about a 1/2″ passed the seam you created, and cut.
– Now, turn your box (with the wrap attached) horizontally to where the untaped edge of the wrap is closest to you. Fold over to create a perfectly seamed line. Then, attach DOUBLE-SIDED tape to the inside of the wrap. In other words, put the tape right on the fold that you just created. We use about three strips to go along the width of the box.
– Now time to do the ends! Simply cut excess paper off so that your edges reach about half way down the side of the box. Any seam you are taping directly to the box can be adhered with regular tape. Any of the corners that you fold in and adhere to the paper itself should be taped with double-sided tape. 
– Fold in all of your corners just like you would on a regular wrapping job. Remember to keep pulling tightly and doing intense folds to keep the wrap from “bubbling” around the box.
– Turn your gift right side up! We love to add “bands” around our gifts. They help make your pretty wrapping paper go further and adds interest. I chose an old wrap from last year to use as a band over the gold polka dots. Simply cut the band to size (width wise) and wrap it around the BACK of the box to where the ends of the band take up about a 1/4-1/2″ of each side of the back of the gift. We are alllllllll about the front! 
– I opted for a sparkly ribbon with no bow ( as this gift is for my 16 year old girl cousin). Again, to save ribbon, I just wrapped the ribbon slightly around the edges to the back of the gift and taped it. Double stick tape is preferred here so that you don’t see it on the back of the ribbon, but regular tape seemed to hold this ribbon better. 
– Choose your perfect gift tag. Don’t skimp on the gift tags!! They are fun and add that special touch to your already beautiful gift. Is it bad to say that we are NOT fans of sticker name tags on gifts???
oops!
Host a wrapping party, turn on a good holiday movie, or just grab a glass of champagne and get to wrapping!!! The investment in good boxes, pretty tissue, gift wrap and all of the pretty things that come after truly make the wrapping experience so much more fun! Also, receiving a beautifully wrapped gift can make the recipient feel all the more special. 
XO!!
-J
All wrap and gift wrapping goods were purchased at Lauren’s boutique, Rock Paper Scissors
Seriously, she has the best stuff!!!

DIY HOLIDAY CARDS DISPLAY

This is so easy… I don’t even know why I’m posting it. BUT I think it turned out pretty cute. So. I’m also procrastinating cleaning my house. Typically when I’m at my most creative.
I just received my first two holiday cards! One from my bestie since college, and one from my sweet little nieces and nephews! Last year I was so lazy (read: just had my second baby) that I put all of my cards in a pretty bowl on the coffee table. This year I’m stepping it up a tiny notch. 
All you need for this easy DIY is:
– 1 wire wreath form
– 1-2 packs of plain clothes pins
– 1 roll of fun washi tape
– 1 clear command hook (sticks on the wall and removes without damaging the paint!) See below:
I found this pretty Meri Meri washi tape at our fav shop Rock Paper Scissors.
 Measure by sticking a clothes pin on the tape
 Cut tape
Bend around the sides of the clothes pin. Use the back of your finger nail to really stick it on there well. And… that’s it. Told you it was easy! You could totally spray paint the wreath form gold or silver first, but it’s going to get covered up with cards anyway, right? She says to convince herself.
I still have to finish decorating my mantel. Cannot find the rest of my decor!! It’s probably in storage somewhere. Ugh. Ooh and I’m waiting on a sparkly banner from The Bannerie! I’m a tad obsessed.
Happy decorating!
-L

HOLIDAY LOOKS / HIS & HERS

Got a holiday party coming up? Do you know what you are wearing yet? You might be last minute fashionistas like Leah and I, but these looks will have you dressing like you picked your outfit waaaaay in advance. 
Meet Damien and Lisa Wong-Ken! These are dear friends of mine who happen to be professional stylists. Lucky me, right? They have styled for big events such as the Dove Awards, AMAs, Grammys and Billboard Awards. They have been faithful texters when my husband or I are having a fashion crisis. Bless them!
We asked each of them to put together a look for you and the special guy in your life so that when you hit the holiday parties, you will do it in style and with confidence.
Lisa says…. 
I went for a matching top and bottom. It’s the look of a dress without being one. This 
gives you the opportunity to get different sizes to fit your unique body shape. You can 
also wear each piece as a separate later on. Pair the top with your favorite denim and the bottom 
with a white T-shirt!
Booties are a must have! These are sleek and have a great texture. I’m all about pieces
being able to transition into different looks. I love statement jewelry!! This ring has such an interesting look and unconventional shape! Being that it’s winter, opaque tights add the right amount of warmth. These tights go the extra mile by slimming you down. It’s the perfect companion to a pencil skirt.
The front and back look of these studs are perfect for any hair do. With the top and bottom of the outfit
being all over lace, this is just the right amount of subtlety.

Statement coats are really big this year, and I love it. If you are going to cover up your 
amazing outfit do it with a great topper. This amazing burgundy wrapper the perfect 
contrast with the gold. Last, but not least….. the clutch. When I’m going dancing I like to carry a cross body bag. I hate leaving my purse, and a strapless clutch becomes cumbersome. I love the 3D effect of 
the sequins and that it’s multi-colored.
MEN!!!! Take note. I know for my husband,  dressing up is an intimidating thing because when it comes to hems, layers, accessories, etc., there are “rules” that he is just unaware of, and it can be overwhelming. Damien gives such great tips on every little detail you need to pull off your look with style.
Damien says….
Slim cuts, layers, patterns, and colors are the go-to looks for the season, and are always the
most versatile during the cooler (and sometimes colder) weather – no matter where you 
are in the country.
Unless it is a formal event that you are attending (in which case a dark suit is always 
appropriate), go with a dark blue denim that is tailored and slimming.  Even if you’re a 
“big boy”, don’t shy away from slim cut jeans!  If they are hemmed correctly, they will 
make anyone look a few pounds lighter. A good tailor will know exactly how to give you the 
perfect amount of “break in the leg”.
Next, go for a mid-to-dark grey or black unconstructed sport jacket that fits right.  This 
simply means that there is little to no padding in the shoulders, and sometimes no lining.  
The seam should land at the top of the ball of your shoulder.  This will make it 
look slimmer and more flattering. The sleeves should be 
shortened to about a half of an inch just above your first thumb knuckle (the bump by your 
wrist).  It may seem short, but it’s right, and will add a touch of style to the end image as 
you show a little shirt cuff.

Shirts, ties, and pocket squares are preferences.  Patterns are always great so don’t be 
afraid of mixing them with colors.  A good rule of thumb as you start off is to have a 
printed shirt (let’s say a fine check) paired with a solid tie of a contrasting color 
(example: a blue and white fine check, with lighter/darker blue, a red, or yellow tie).  The 
tie should be about 2-3 inches at its widest point, tied in a 4-in-hand knot. When tied, 
the tip should land at the very top of your belt (Please! Wear a belt!!)  Cotton pocket 
squares are not for everyone, but they do break up a huge piece of blank canvas, and are a 
great accessory that doesn’t over do it.  If anything, just use a plain white cotton 
handkerchief and fold it into a square, exposing only a sliver.  No matter the 
shirt and tie, it’s a perfect compliment.
Socks and shoes are very personal items.  Socks can be as unique as you are, and shoes 
should always be clean.  For this particular look, I would go for a basic oxford. 
  Brown or black would look great. Matching a belt is not necessary either, as long as it’s “close enough”.
This look may not be your forte, but believe me, when people compliment you on how
you look, you’ll feel more comfortable and confident than ever!
EXTRA: Damien & Lisa’s roster of clients includes:

TobyMac, Newsboys, Chris Tomlin, Brandon Heath, Capital Kings, Ryan Stevenson, Run Kid Run
Finding Favor, B. Reith, Brit Nicole, Nicole C. Mullen, Mandisa, Journey’s Group (Journeys, SHI)

THE ULTIMATE SUMMER SALAD

Hey you guys!! Hope you had a fantastic Memorial Day weekend! We sure did! It is quite surreal to sit down and breathe in just what it means to have FREEDOM. It sounds so cliche to say, but I truly am grateful for the men and women that fight for our freedoms and put their lives on the line daily! Their wives, husbands, kids and parents are just as much of a hero as they are themselves. Thank you thank you!!
 I wanted to share my new favorite salad recipe. I threw this together for a party we attended yesterday and amazed myself. I am not super adventurous with salads, but definitely want to start trying to be. You guys!!!! This salad….. you will be SO happy you gave it a try! It has the sweet fruity flavor mixed with the spice of onion and tomatoes. Love love love it!!! It was a hit at the party, and I must add that I even had a helping at breakfast this morning….what??? 

What you will need….
1 16 oz. pkg. of Spring mix salad
1/2 of a small seedless watermelon
1/4 of a red onion
1 16 oz. pkg. fresh strawberries
1 4 oz. pkg. of crumbled goat cheese 
half of a 10.5 oz pkg. of golden snacking tomatoes
Dressing of your choice! 
( I prefer a balsamic vinaigrette and the fuji apple dressing from Panera was a hit at the party. You could absolutely just do a small pour of EVOO and toss the salad and love it just as much. The fruit adds so much flavor!!)
How I made it….
** I made mine for a party, so it is pretty large! Feel free to just layer these things in a much smaller bowl with smaller portions for your own personal salad!**
In a large bowl, layer spring mix, watermelon, tomatoes, onion, strawberries. Do this THREE times. Then, on the top of the salad, add all of the goat cheese! It will work its way down to the rest of the salad. ENJOOOOY!
-J
Oh…. and here we are with our littles over the weekend!!
^^ after church on Sunday! -J ^^
^^ Digging for Roly Polies in the garden! -L ^^