DIY party hats

MAX’S COW PARTY!

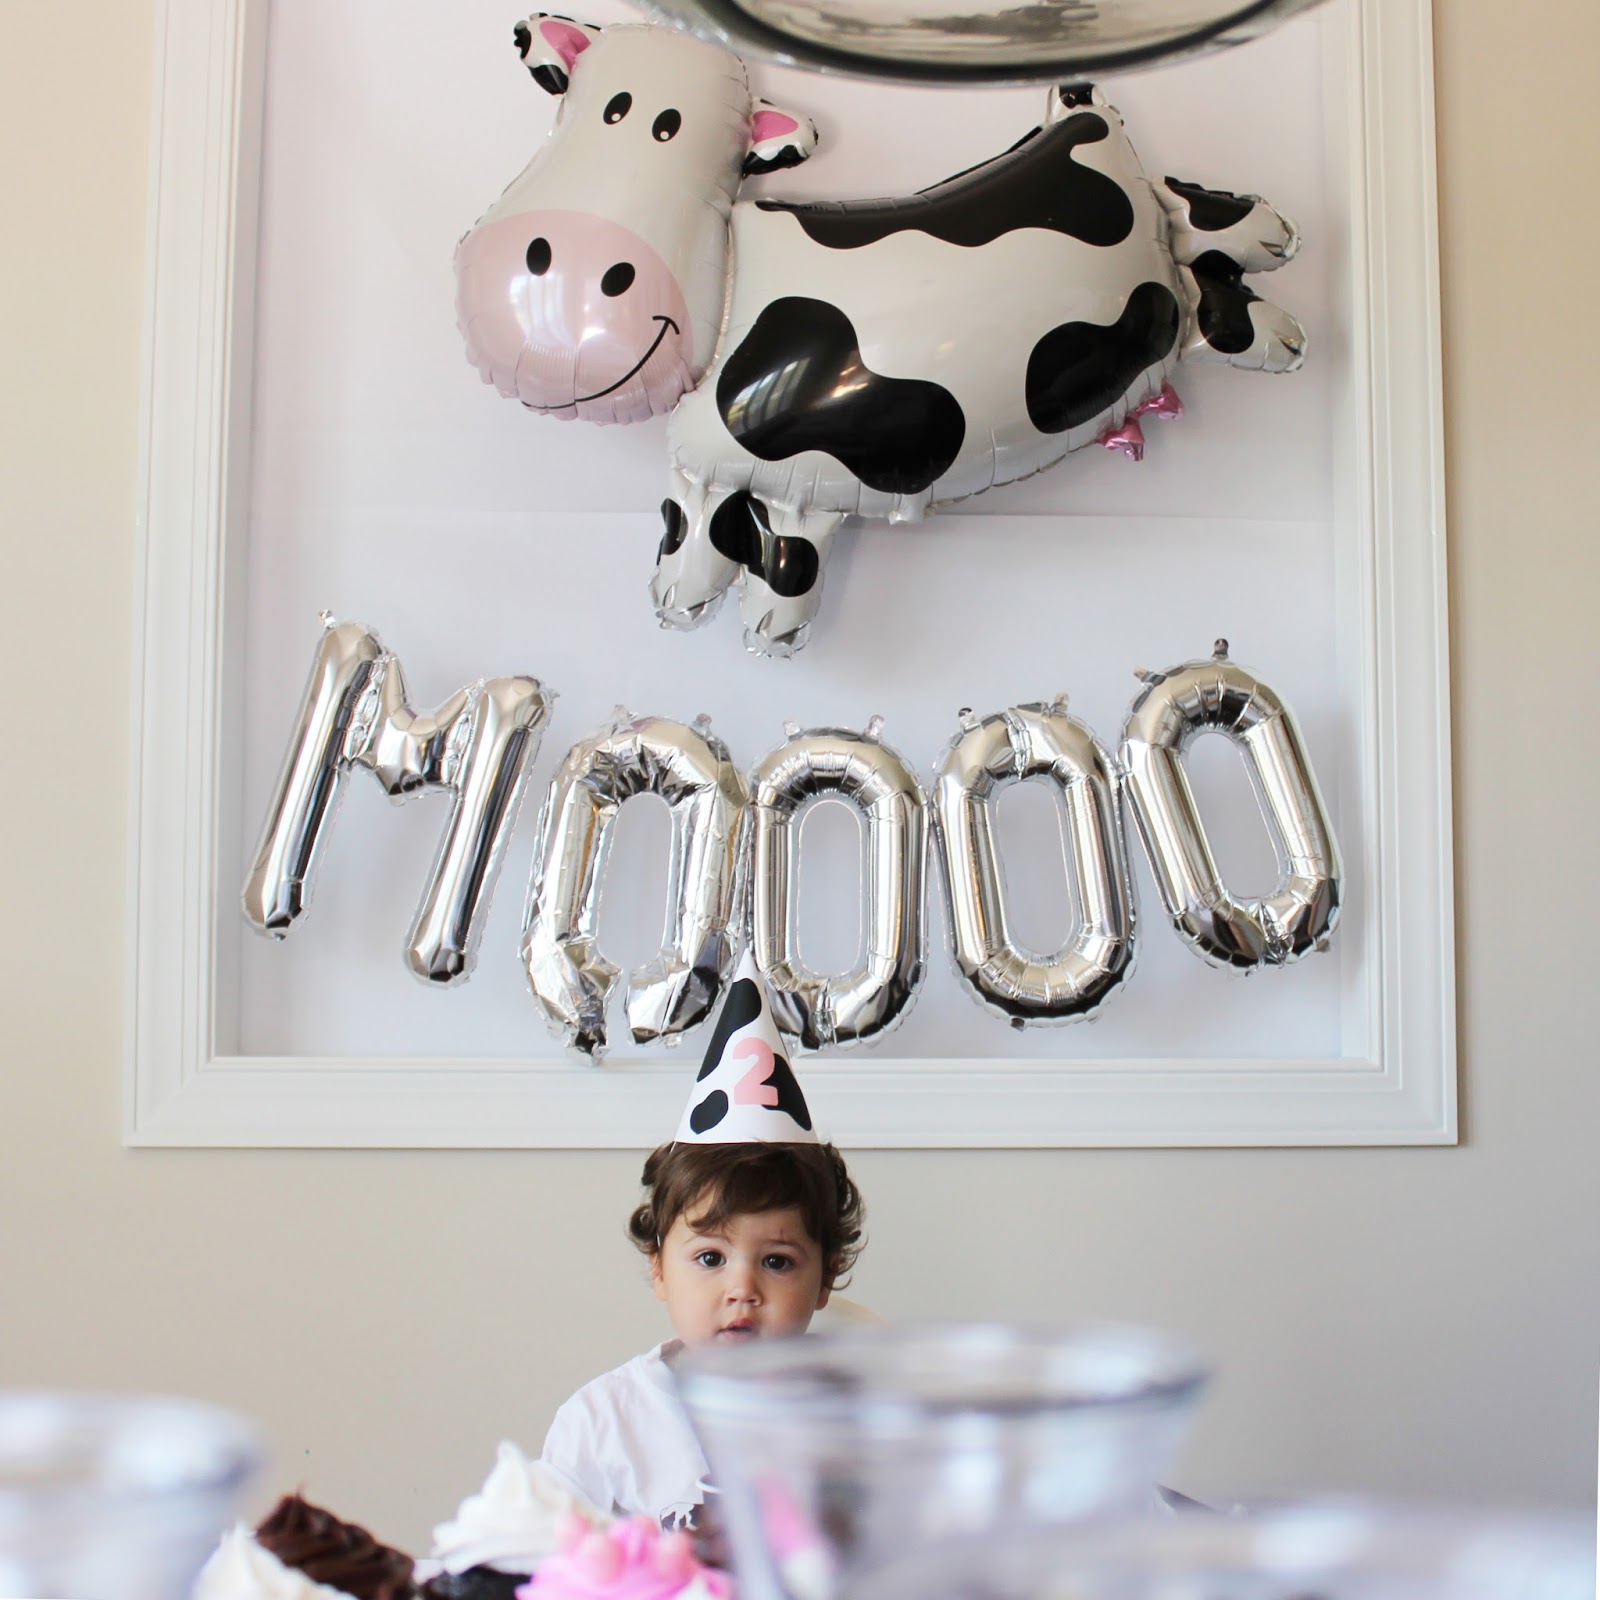
My little baby turned 2!! Eek! His favorite thing in the whole wide world (besides his big bro) are COWS. He has an entire backpack full of cow figurines that attend all of our outings. With every person he meets, he tells them about cows or the one time he pet a cow or cows say moo… I could go on. There was no other choice but to make him a cute little cow party and celebrate with family!
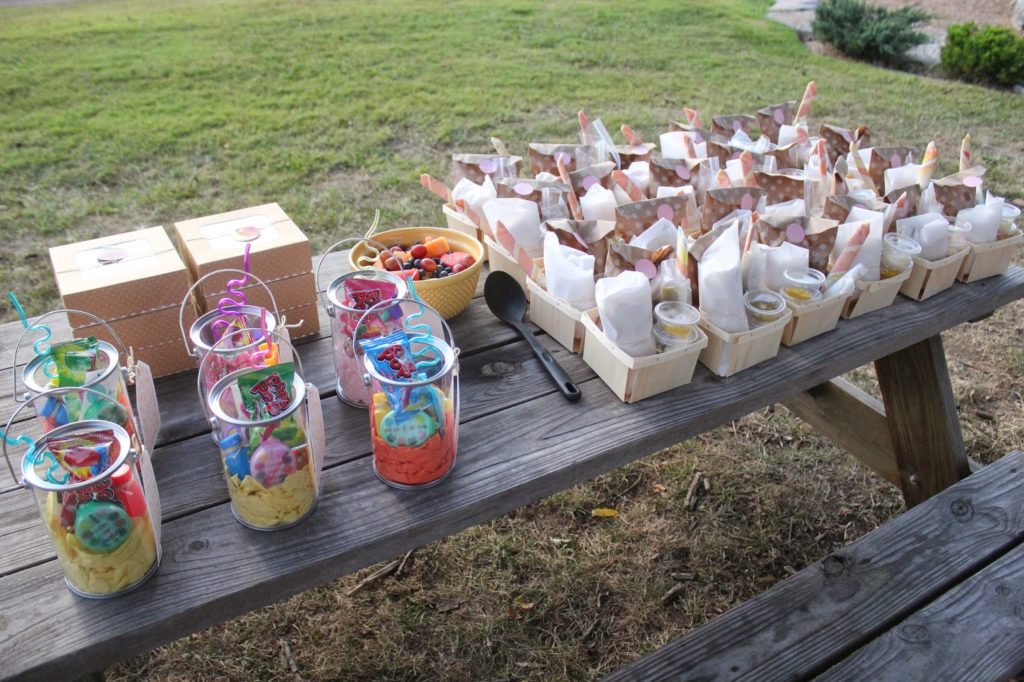
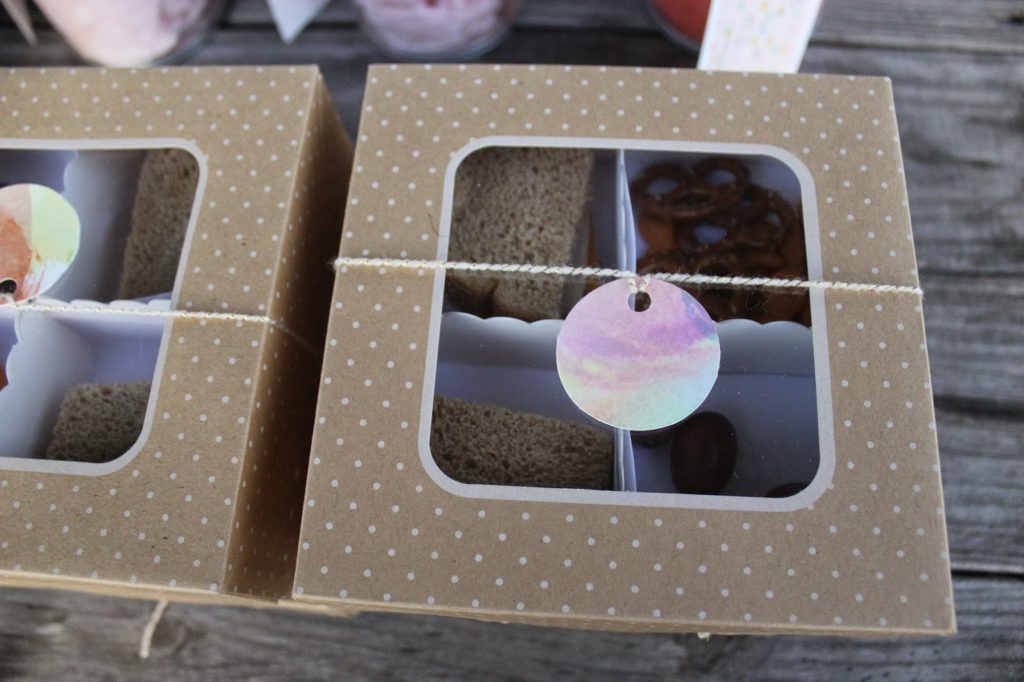
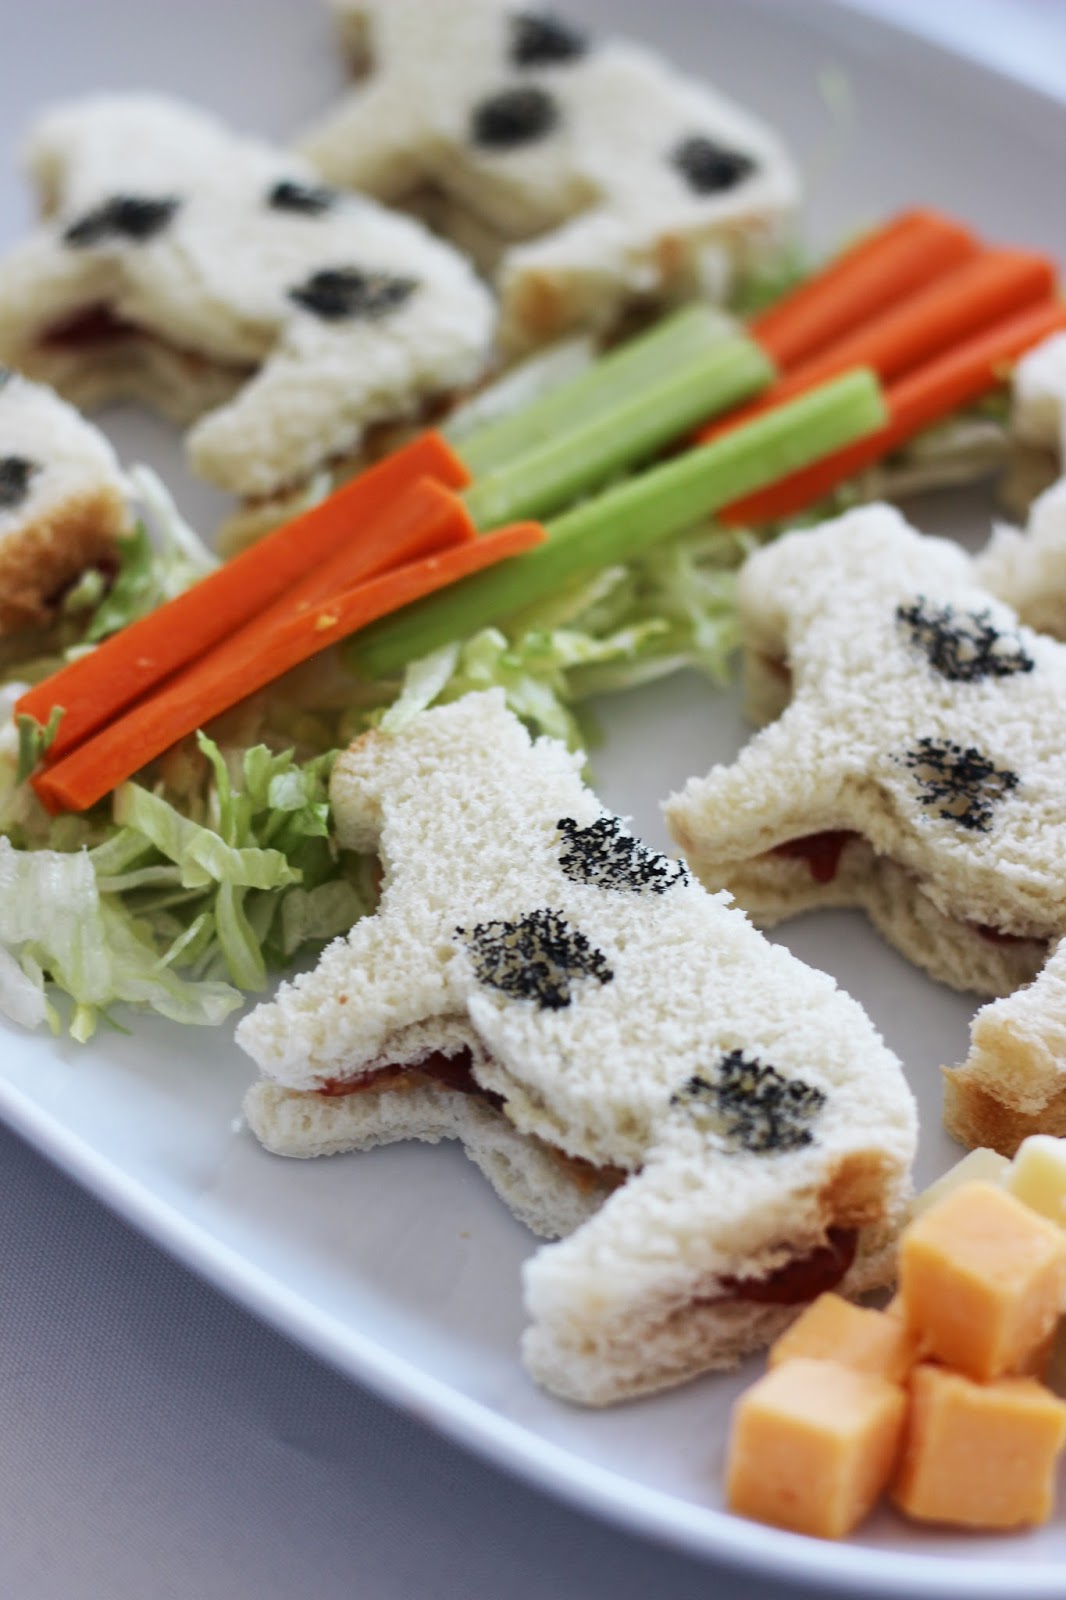
Cow PBJ’s, farm veggies, and cow cheese! I just used a cow cookie cutter to cut out the bread and black food dye for the spots. Just dab a corner of a paper towel in the food dye and dot on the bread.
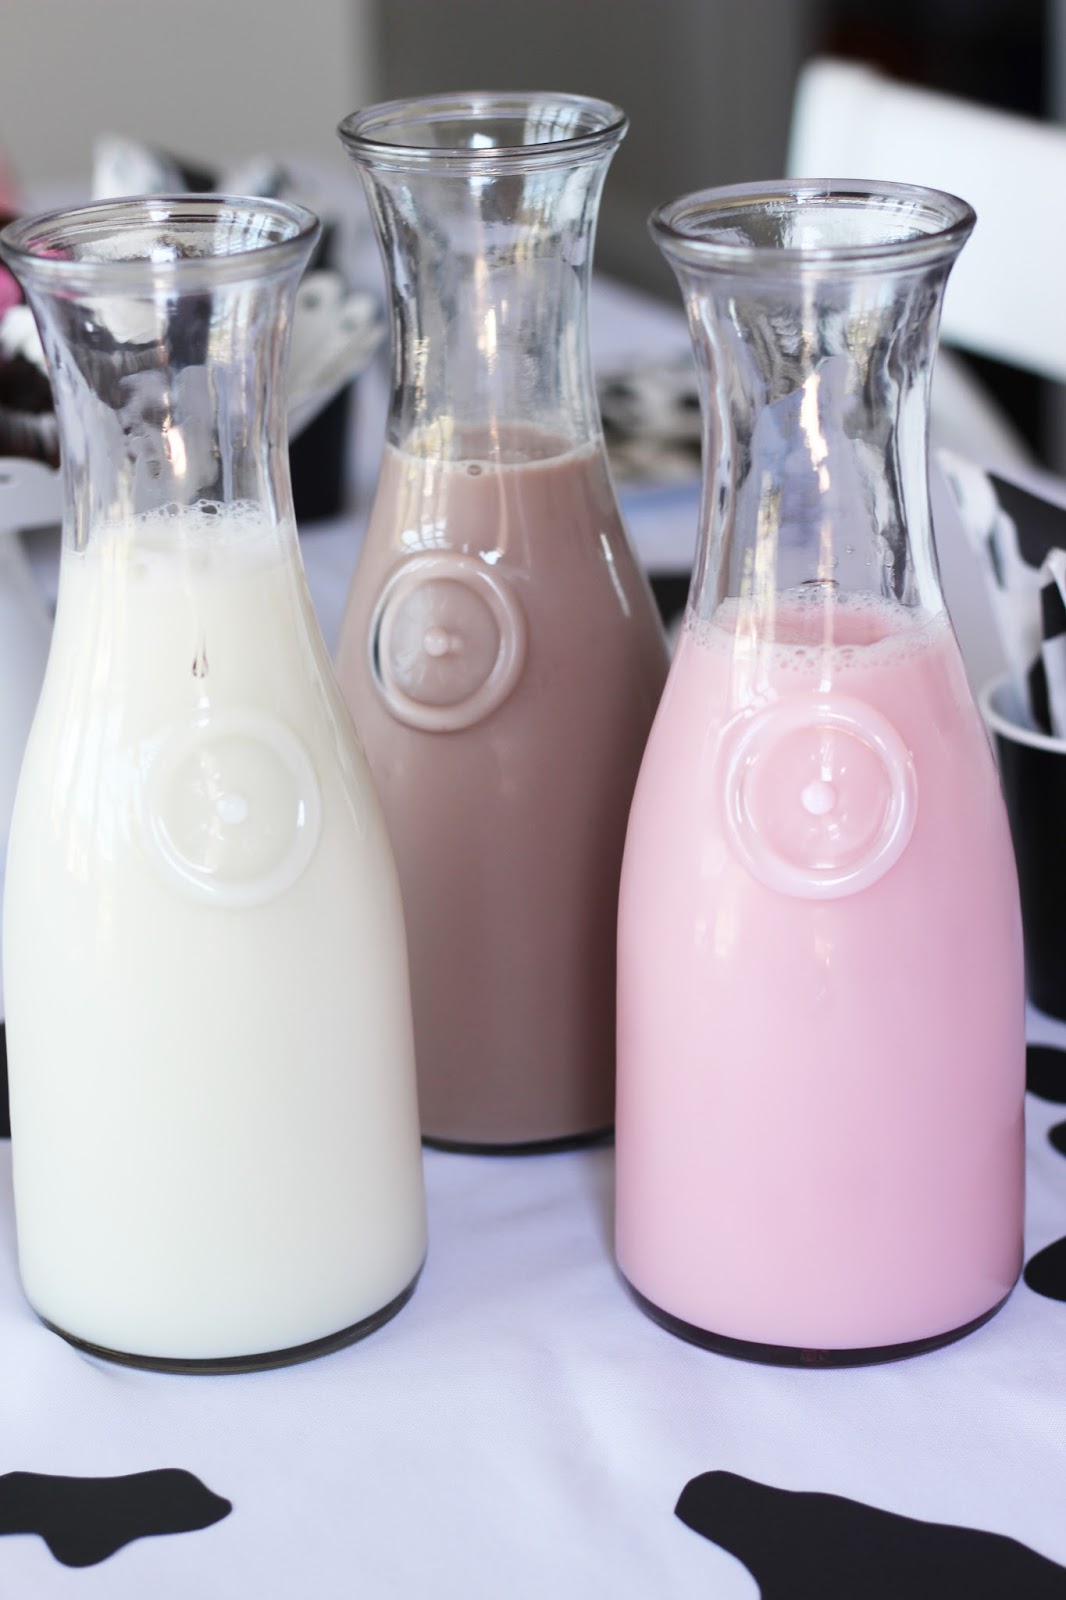
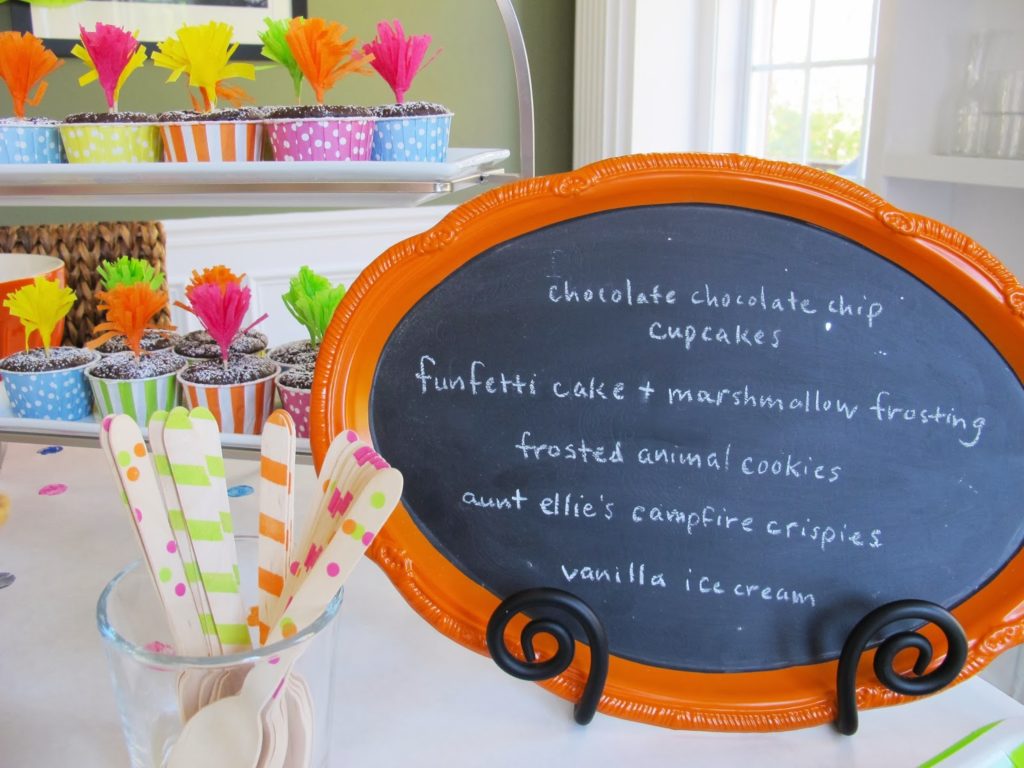
 Milk bar anyone? Vanilla, chocolate, and strawberry.
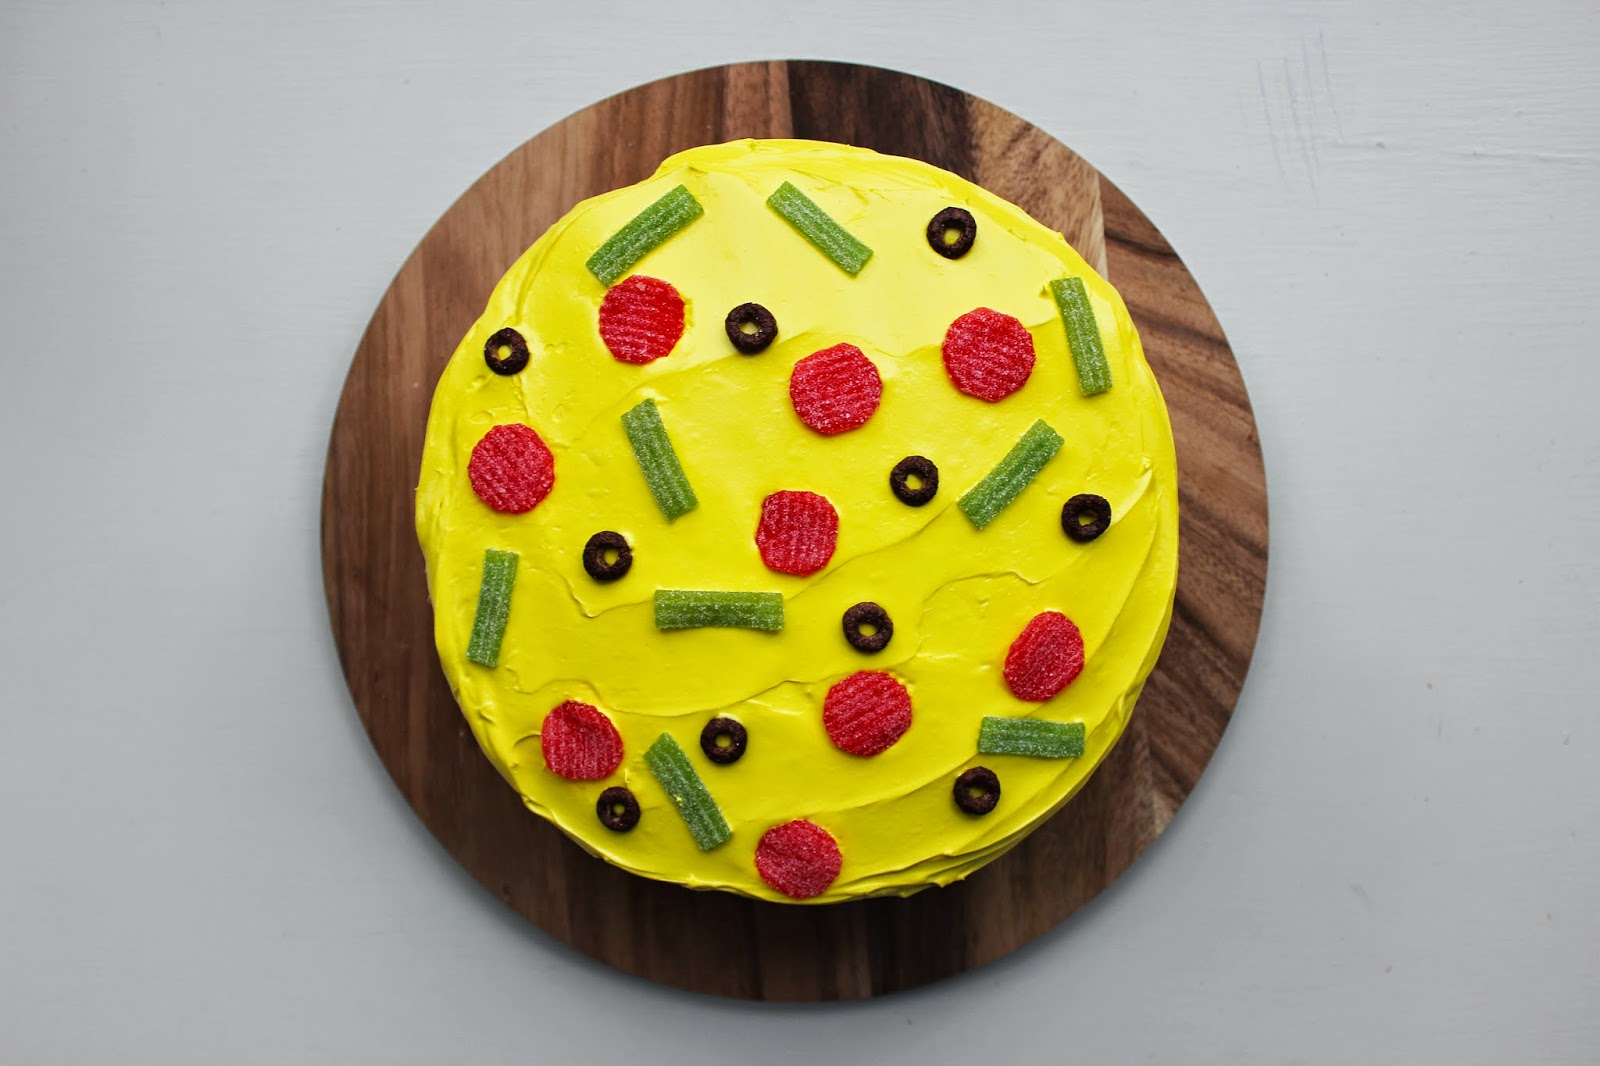
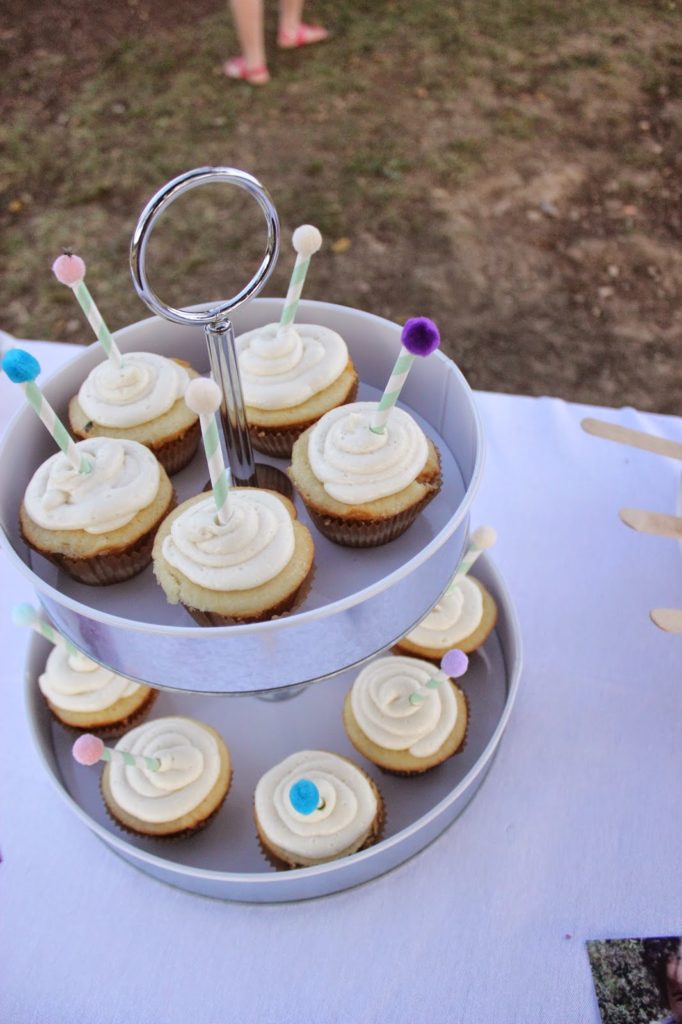
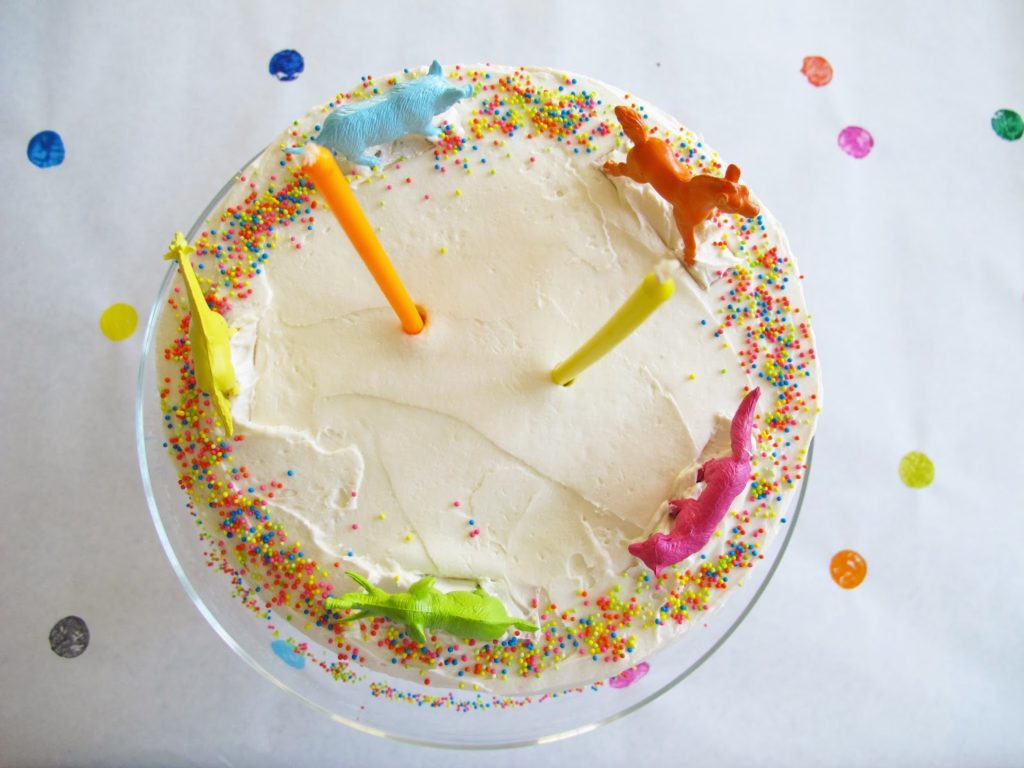
 This is what I call a deconstructed cow cake… easy peasy. I used pink frosting and pink jelly beans for the udder 🙂
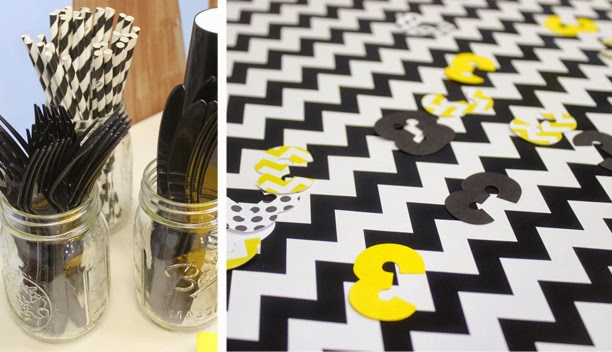
I cut out squiggles of black paper for the table decoration.
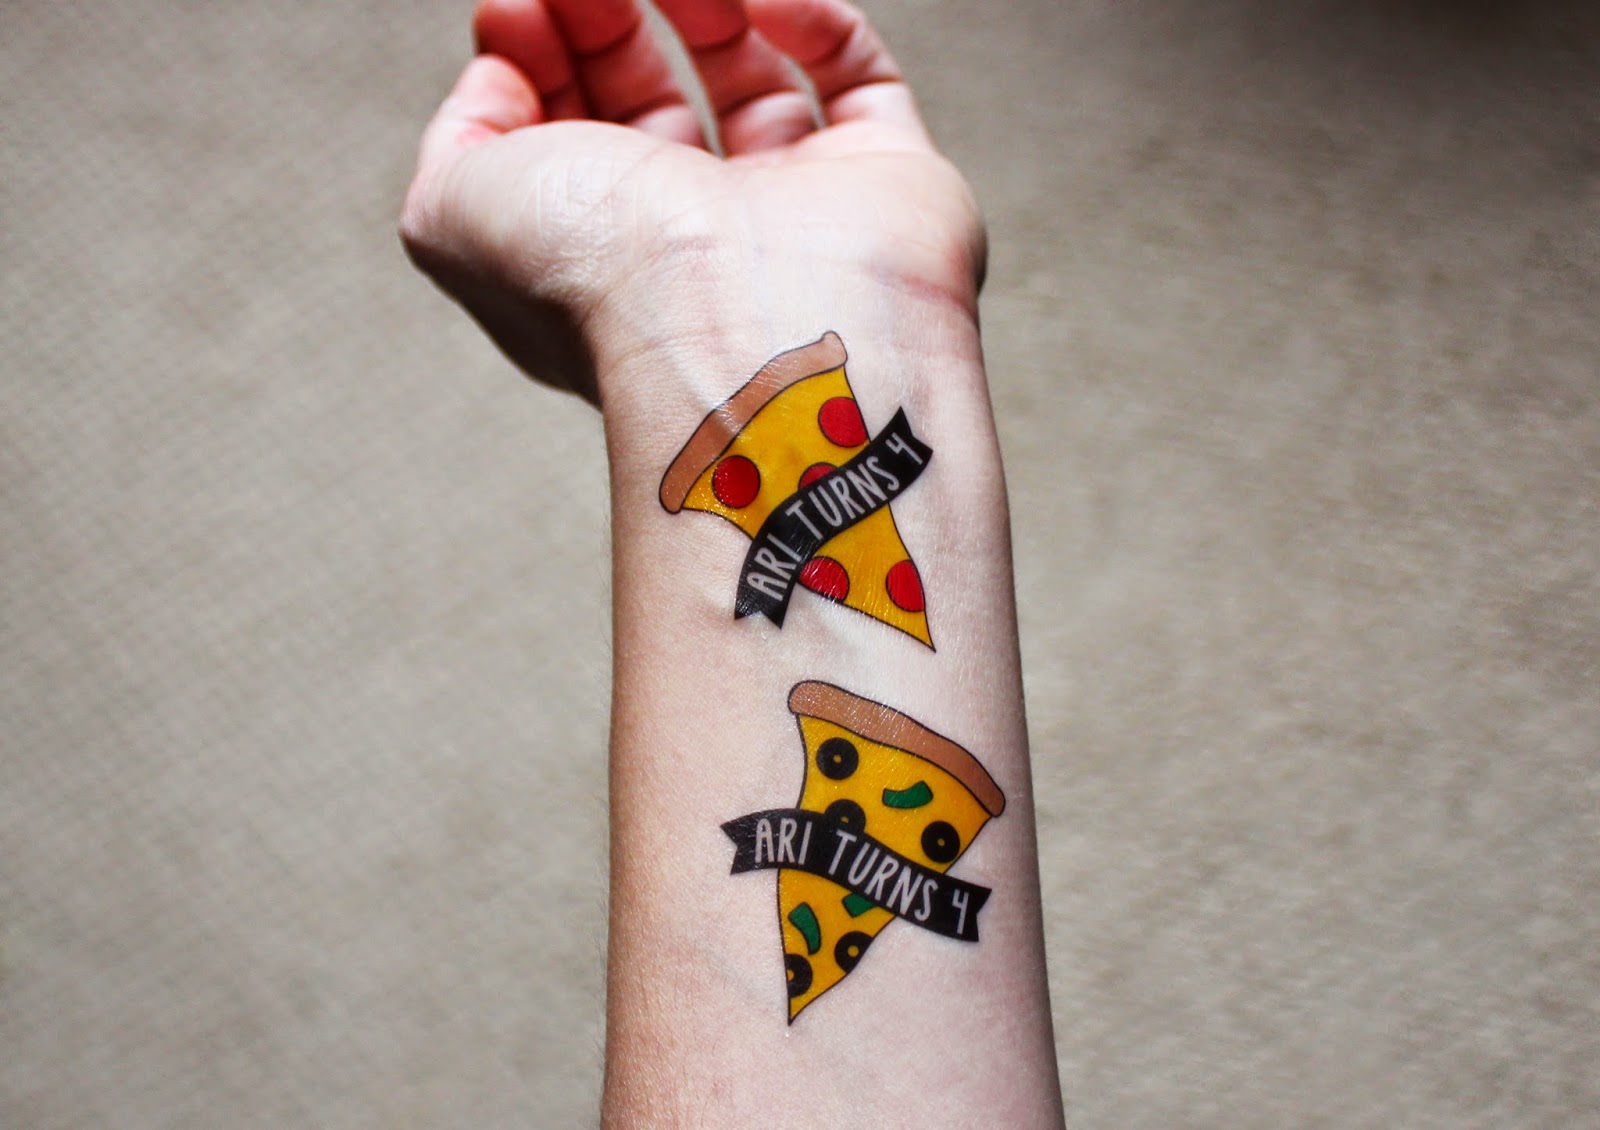
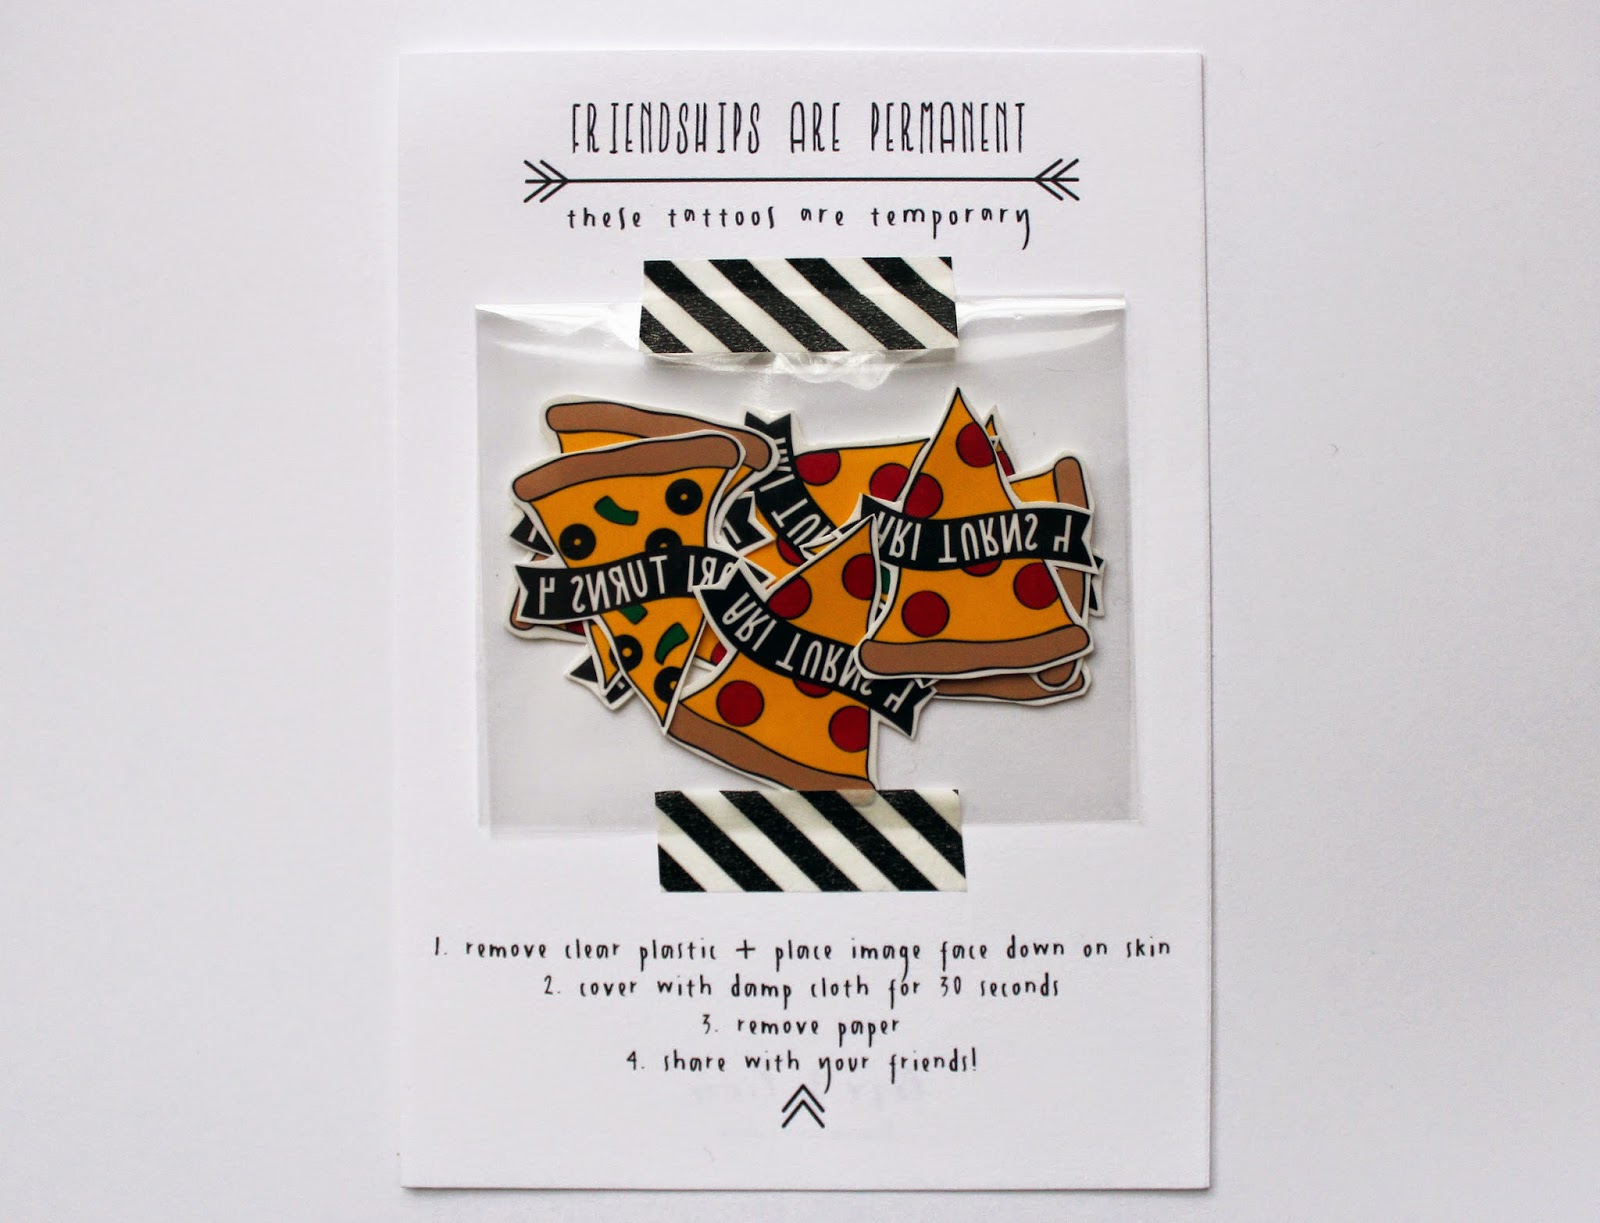
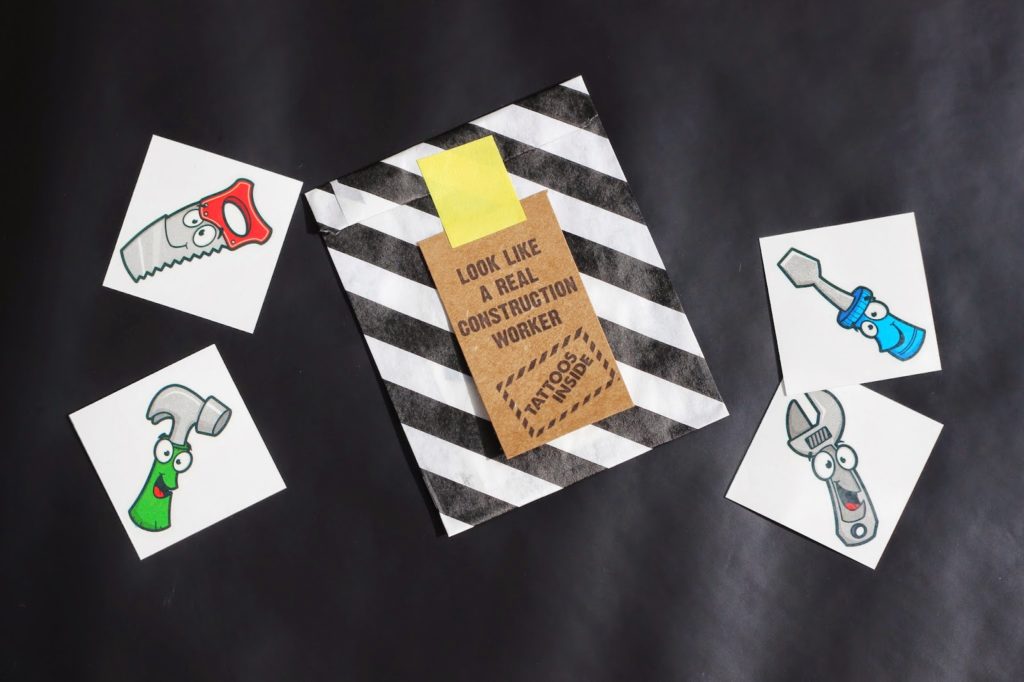
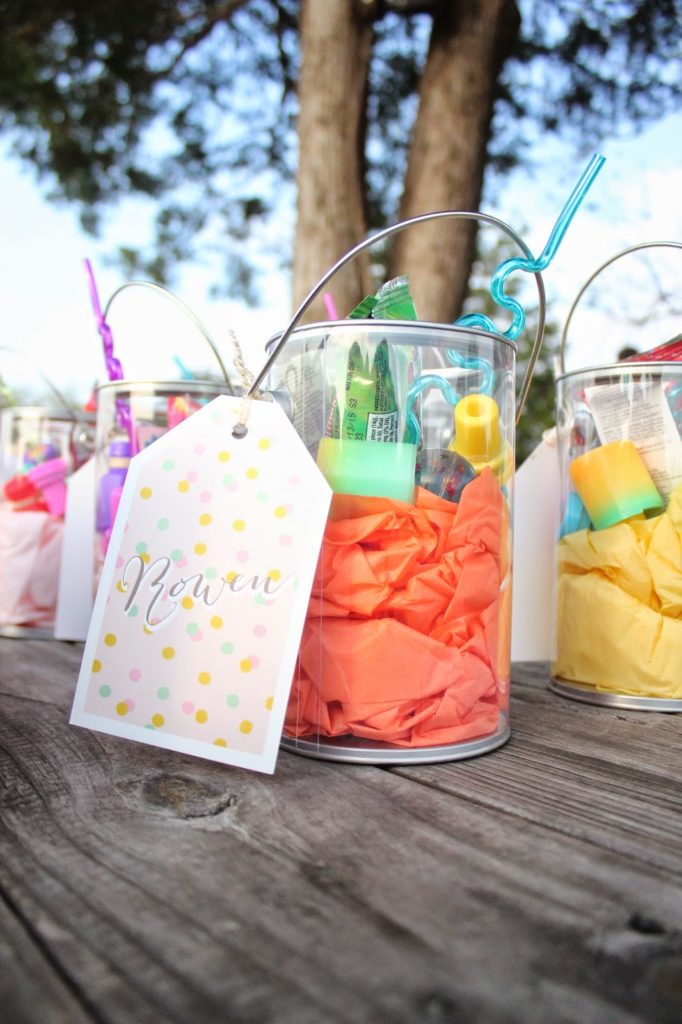
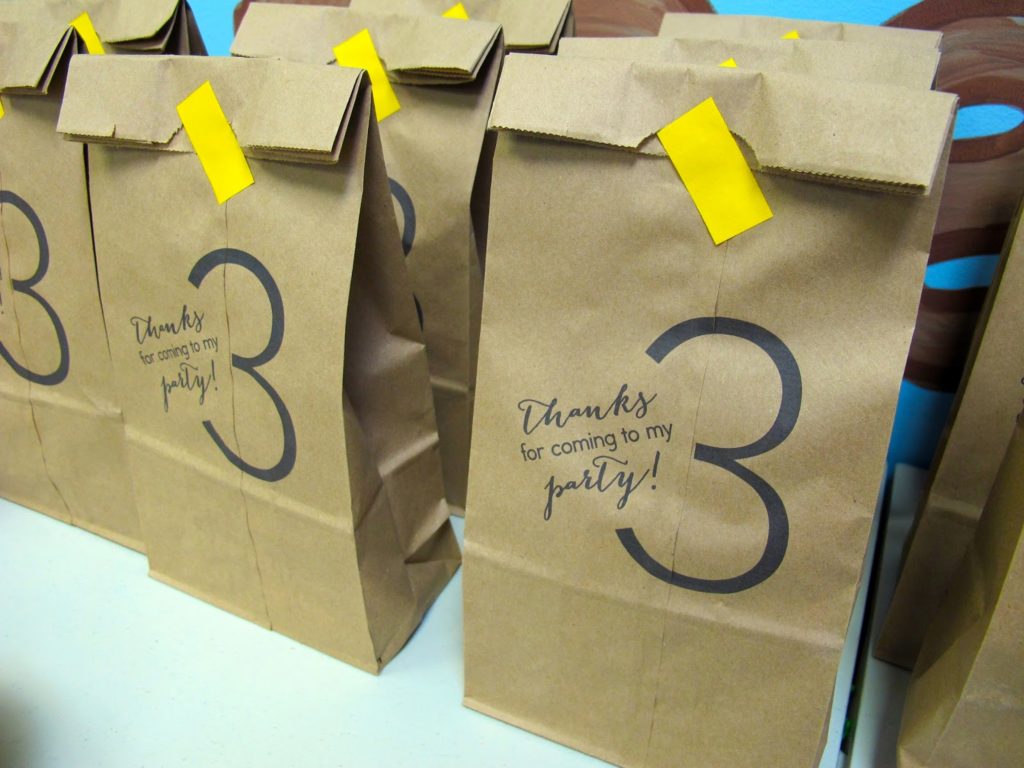
I had some leftover tattoo favors from Max’s little preschool buddies that I used as table decoration. Moooo Max is 2! We do custom packaging like this in our Etsy shop!
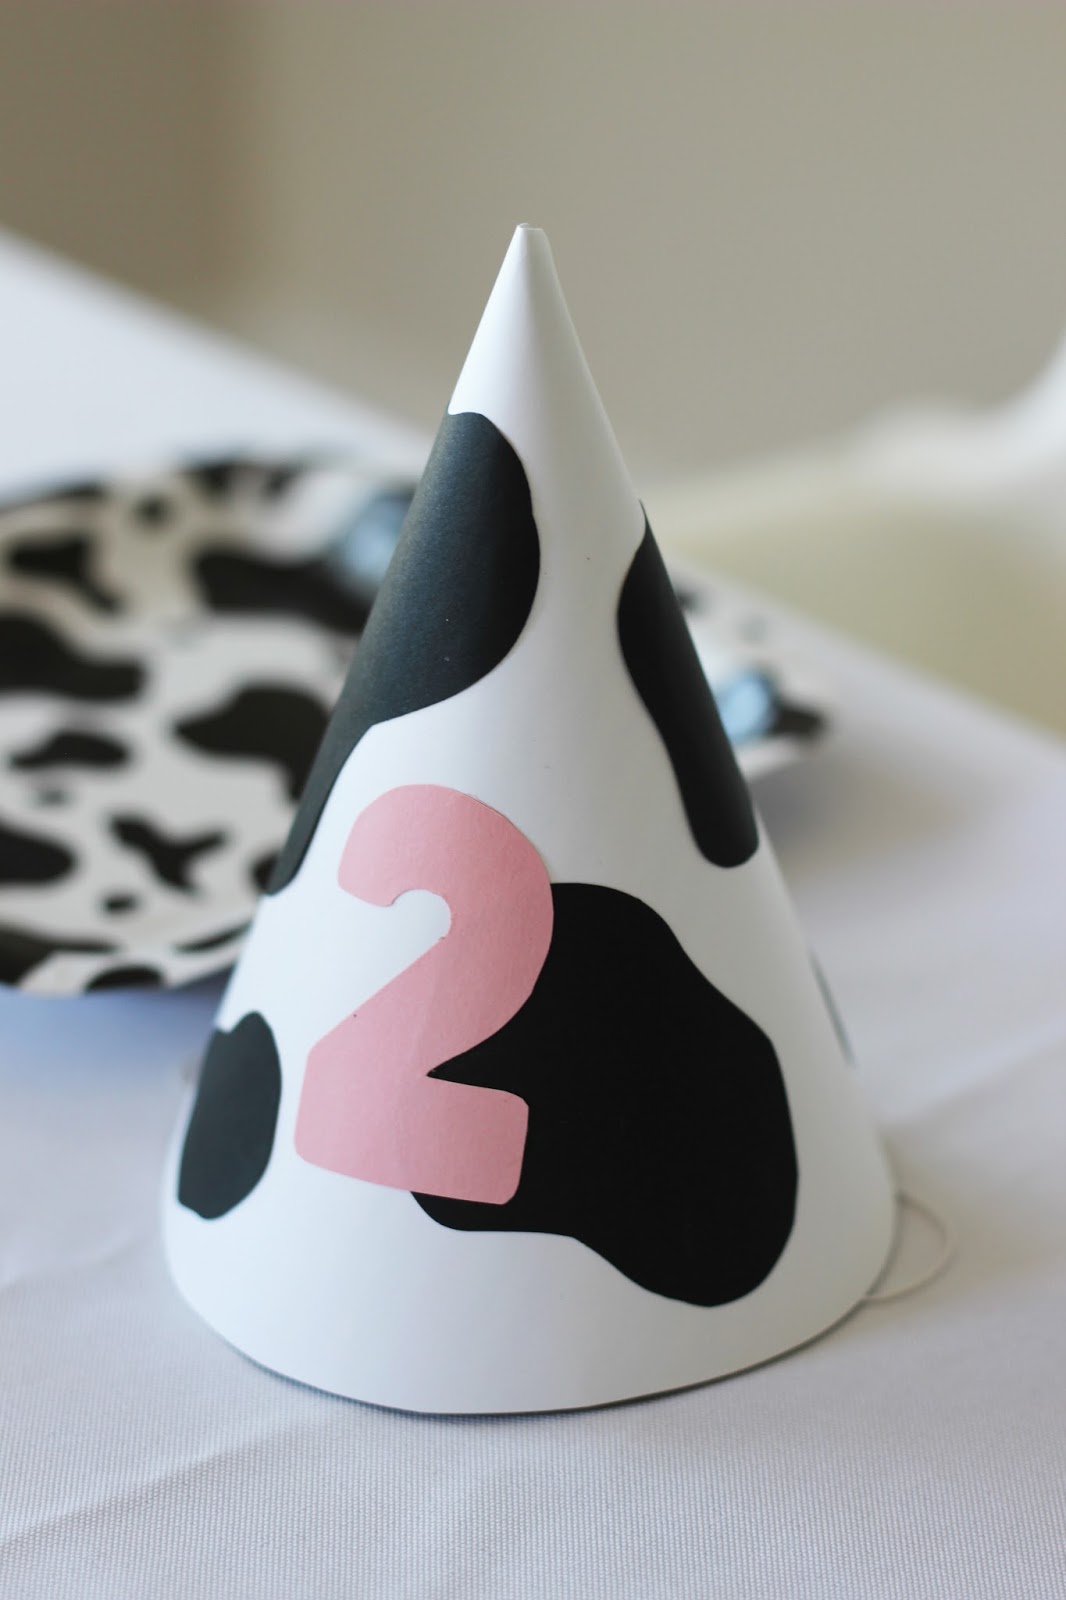
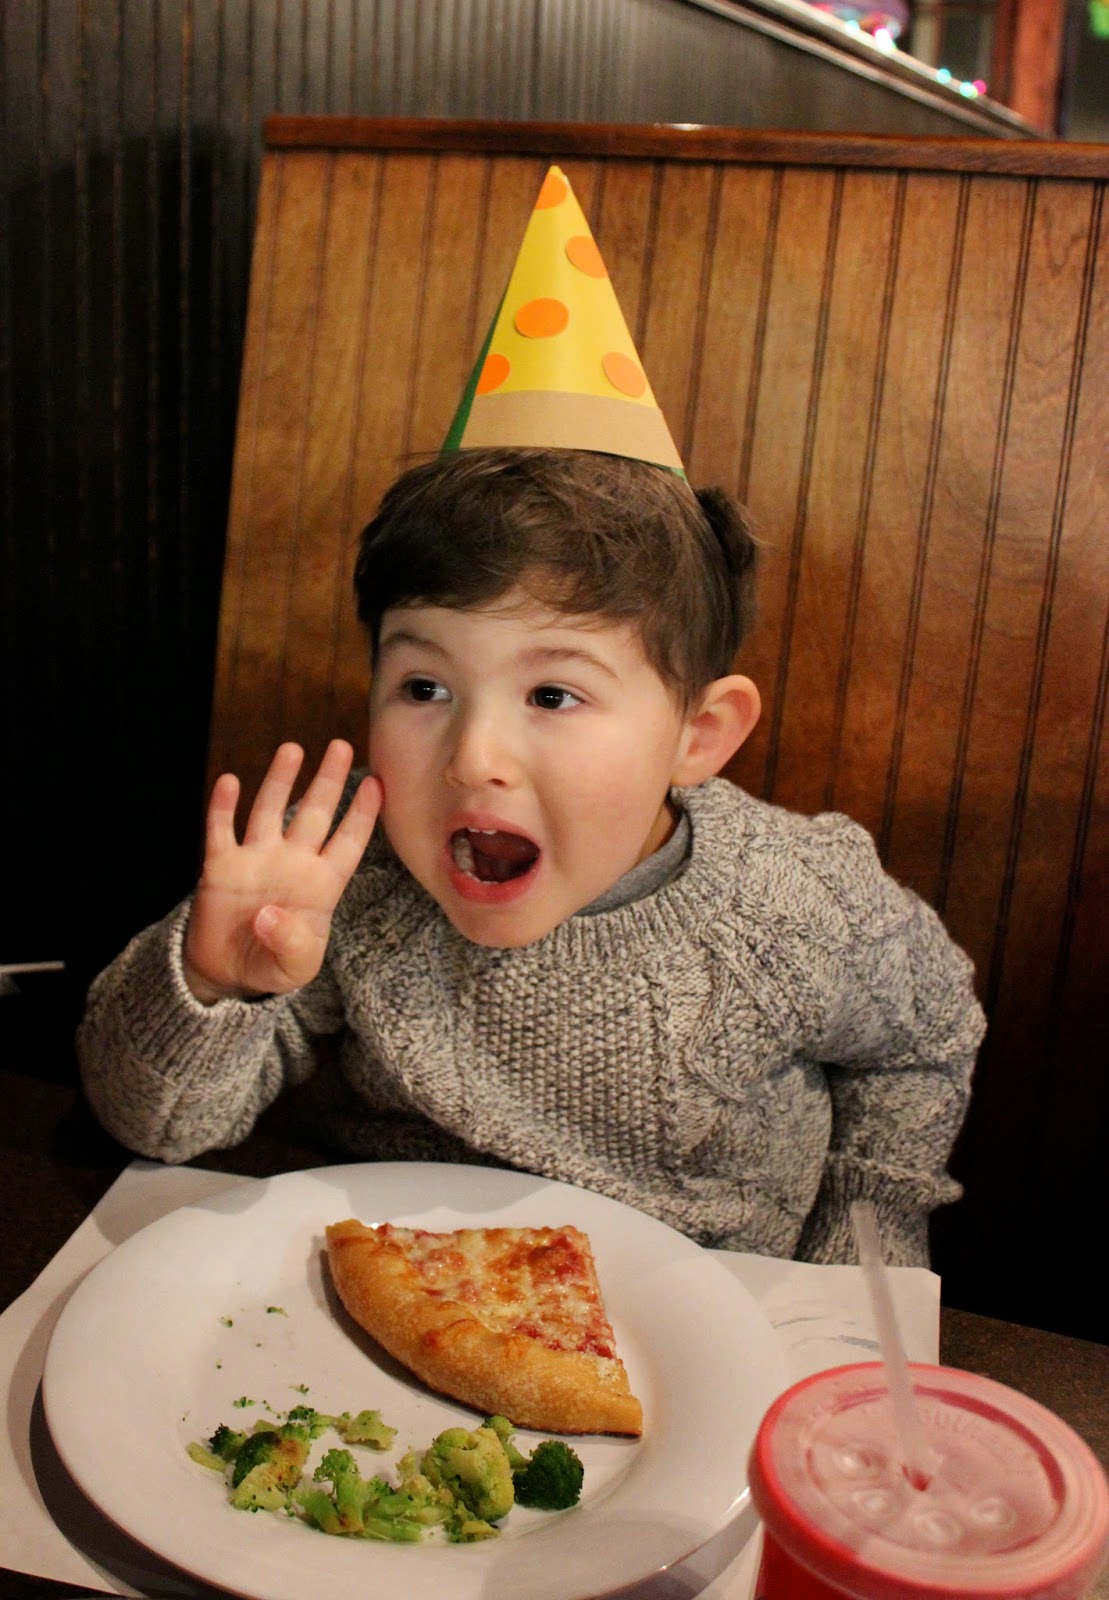
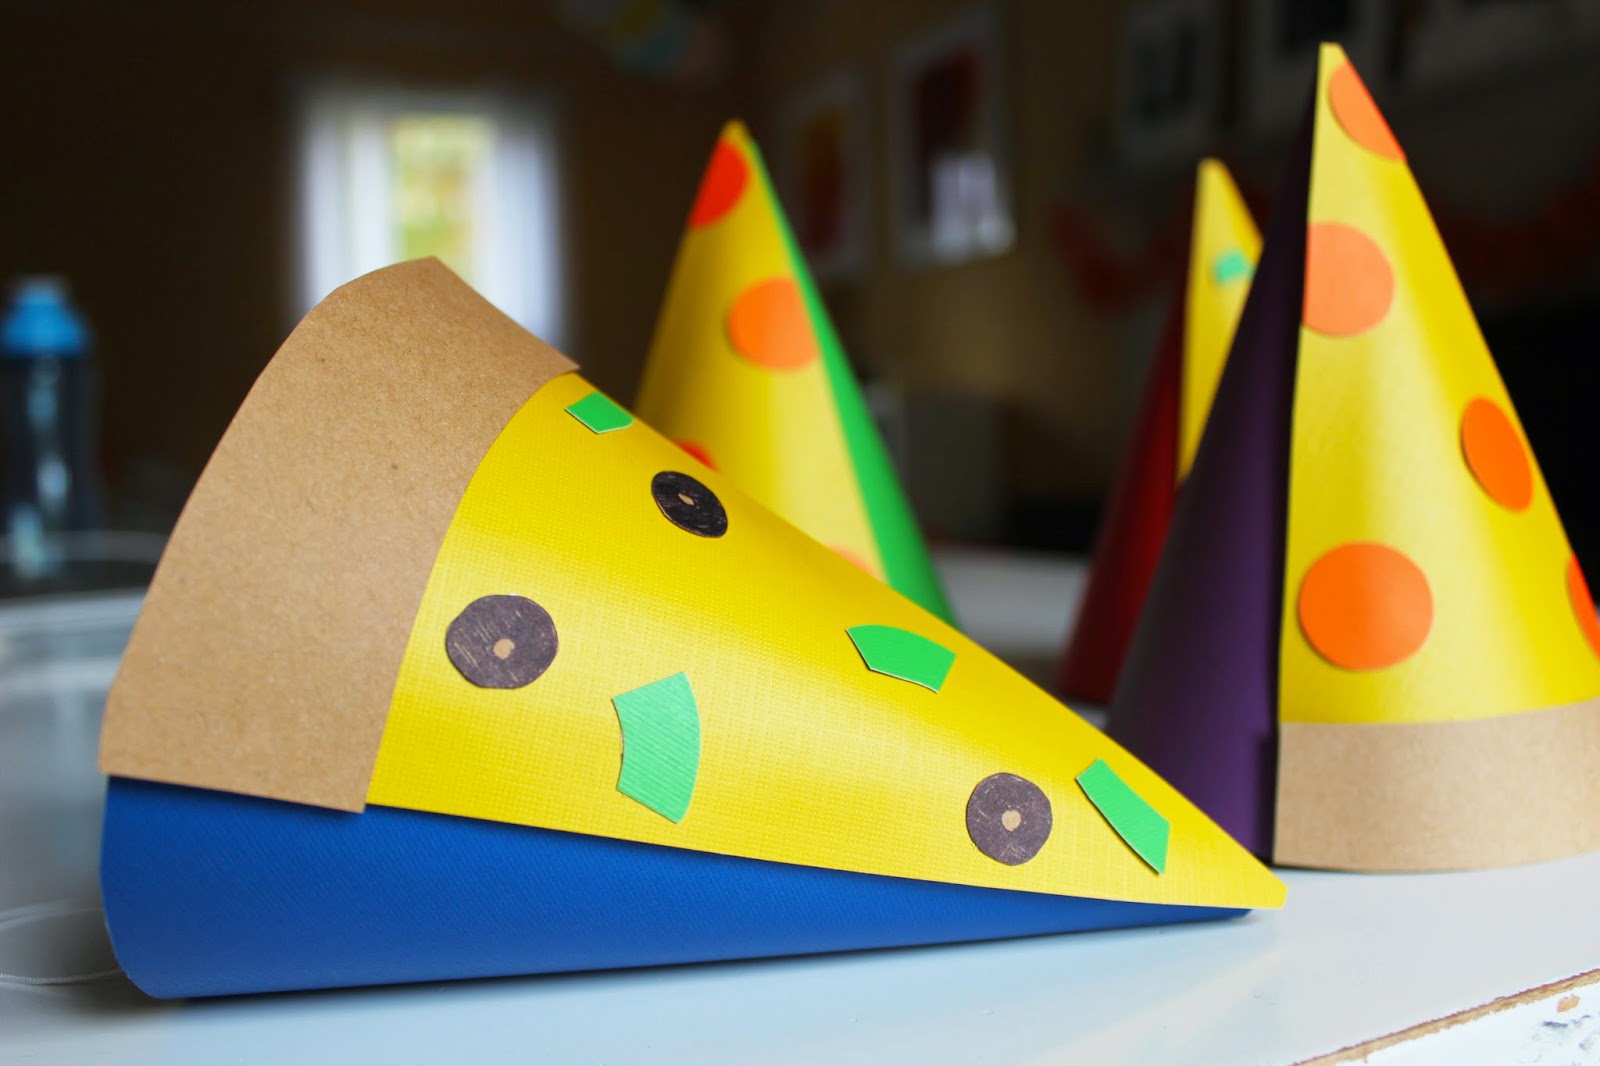
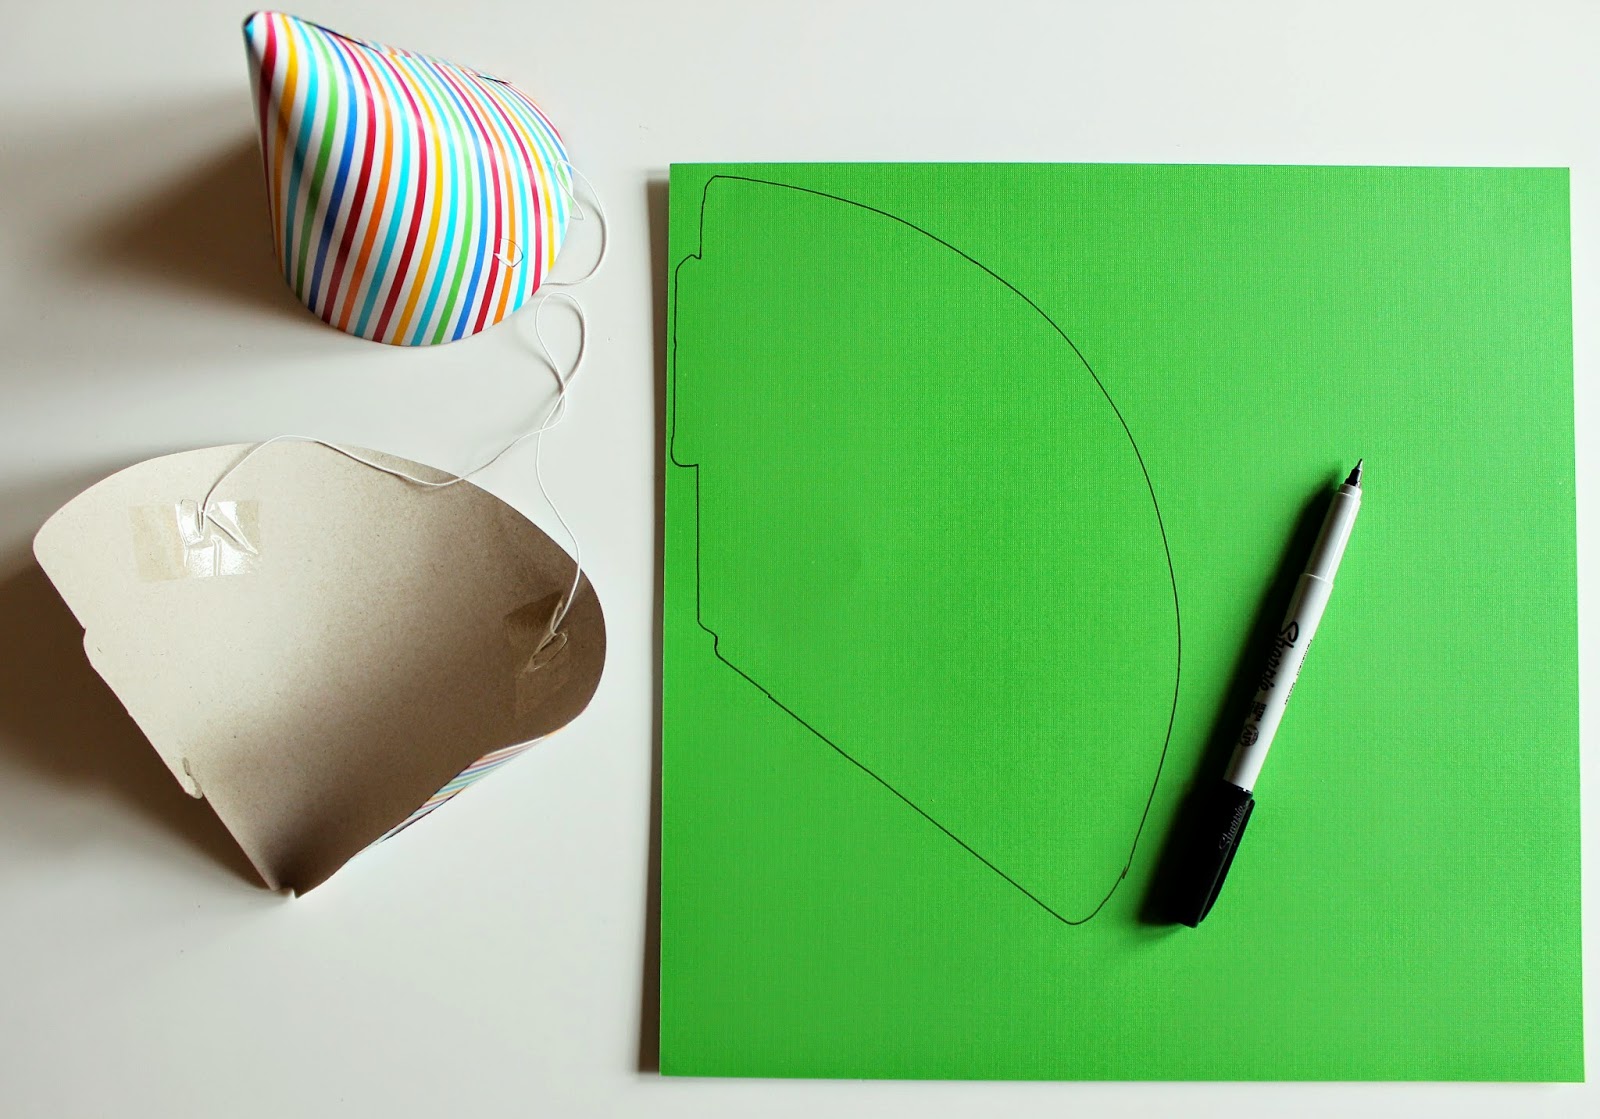
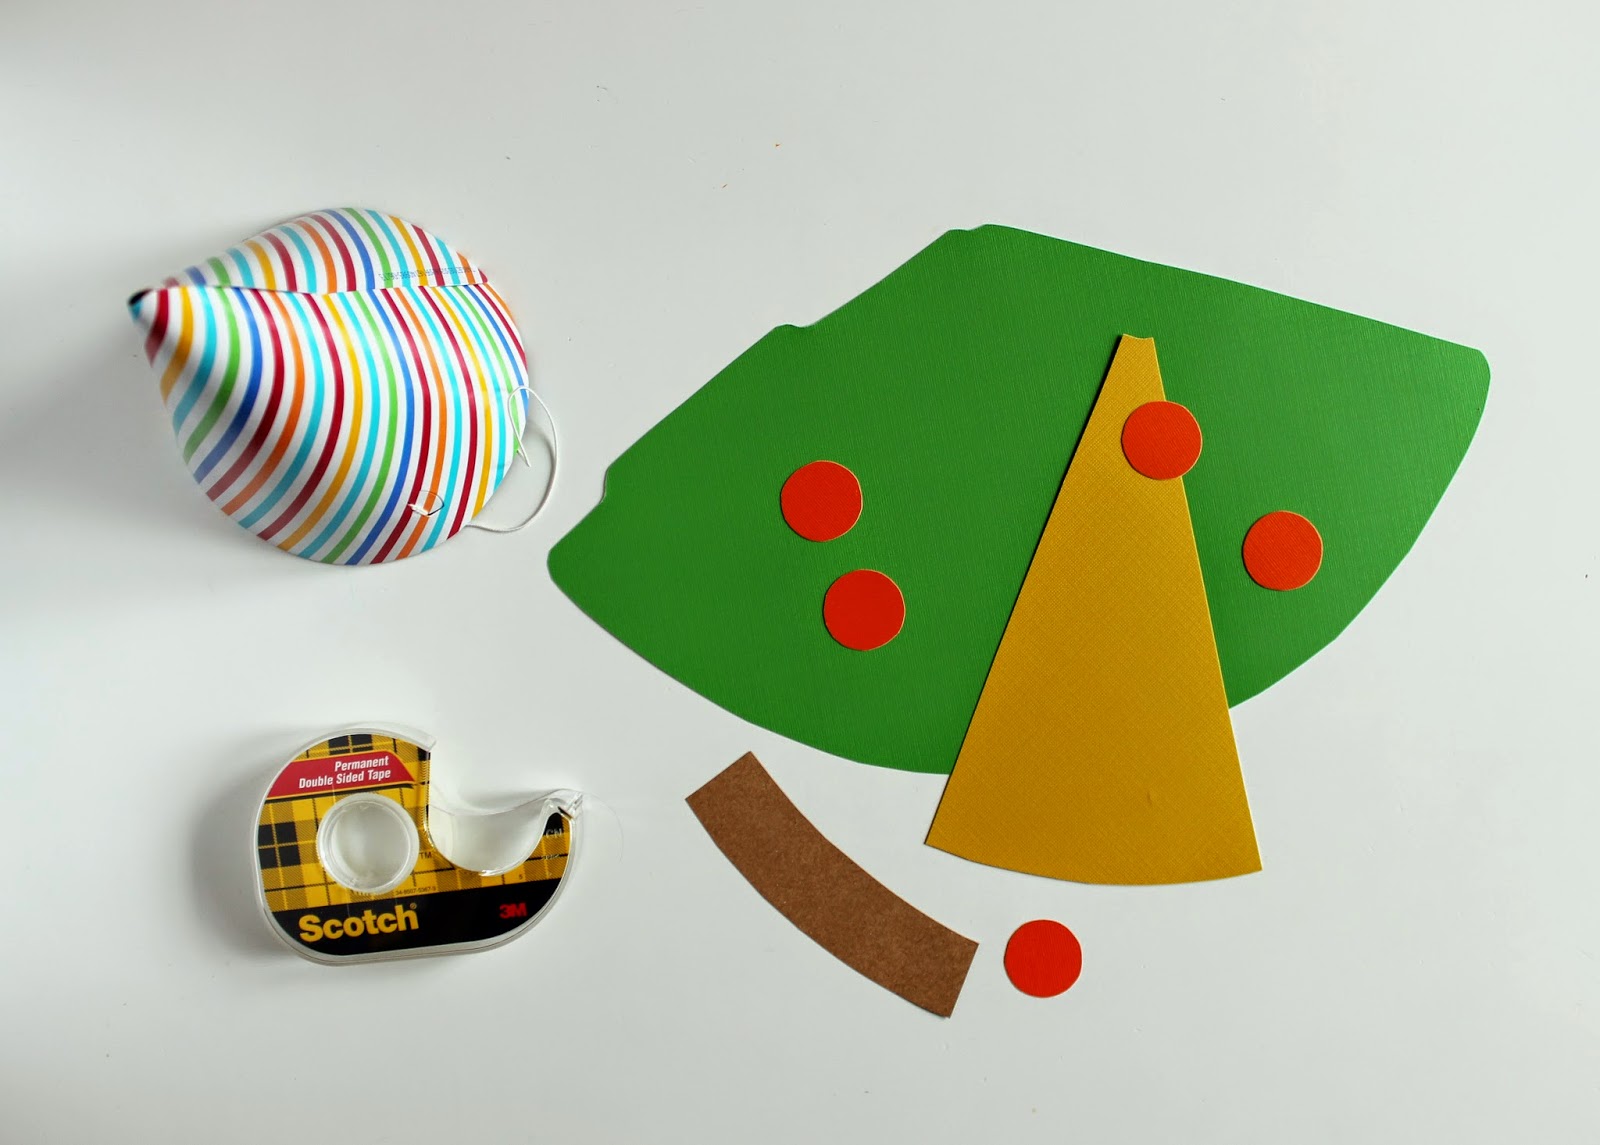
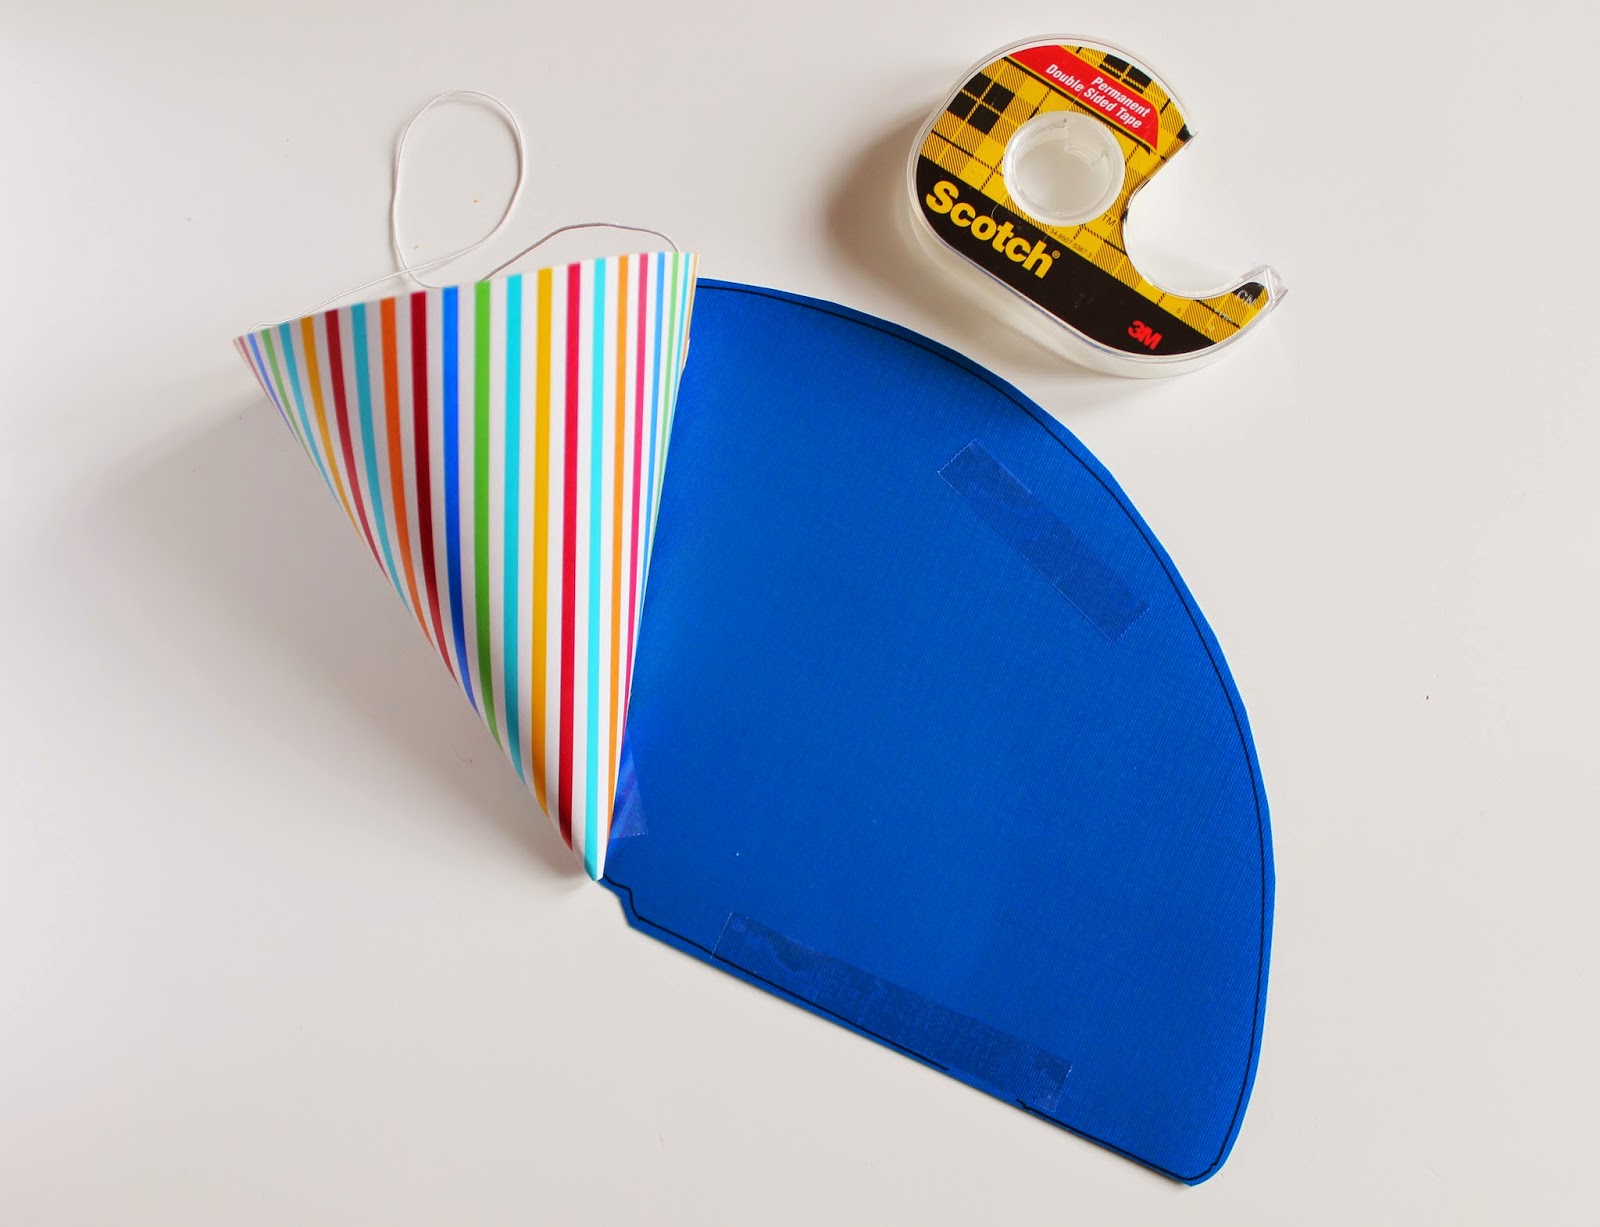
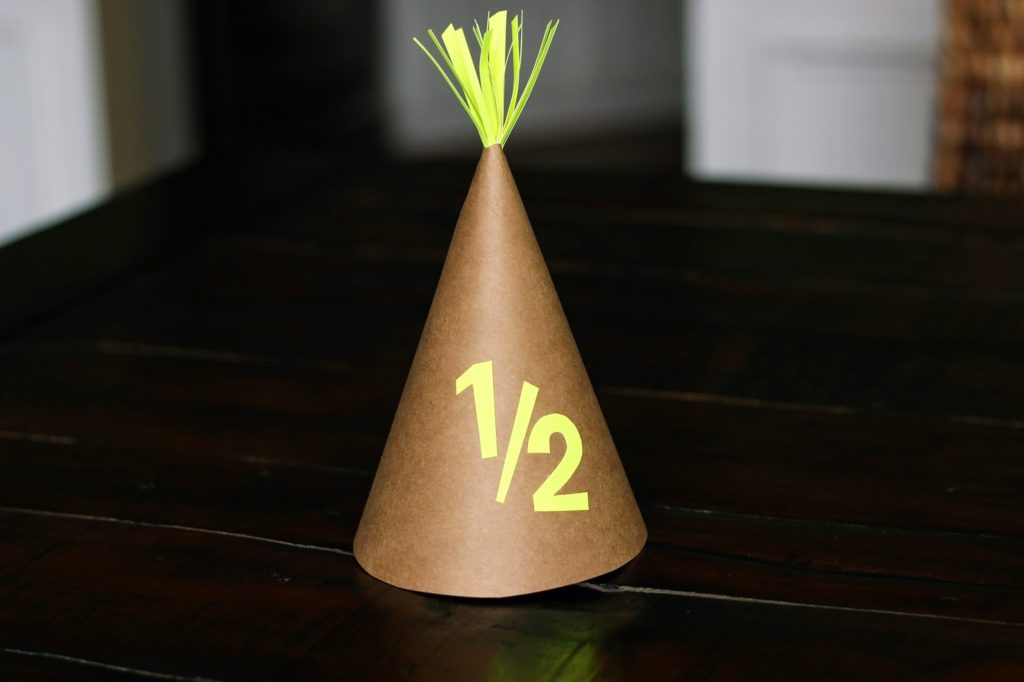
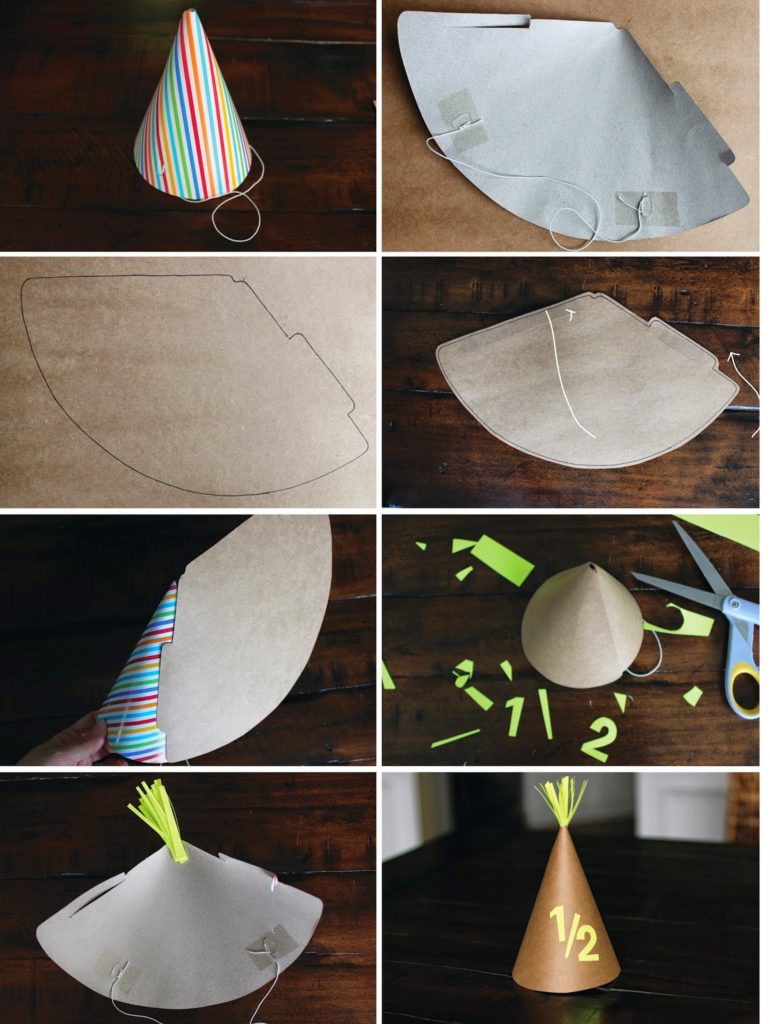
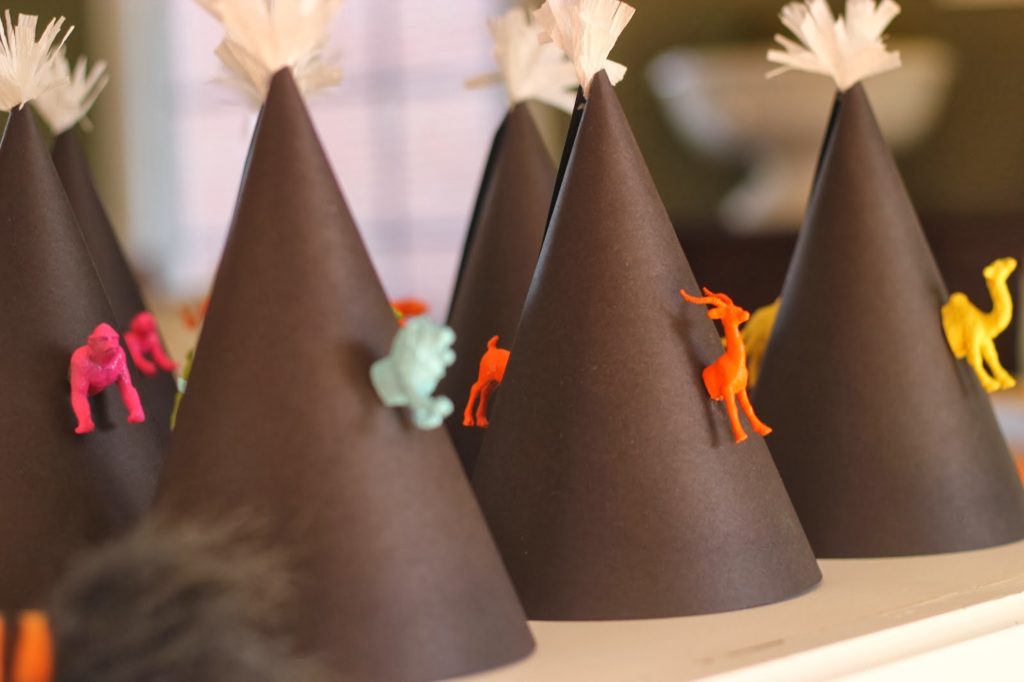
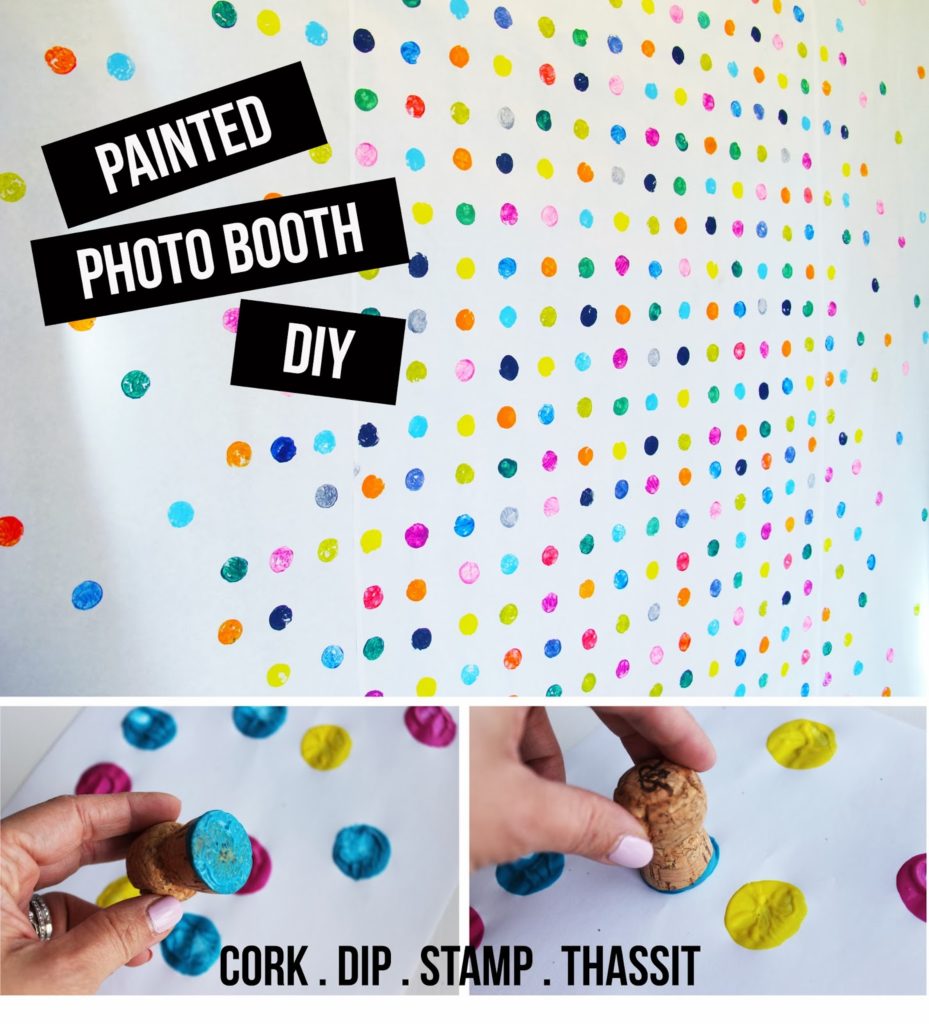
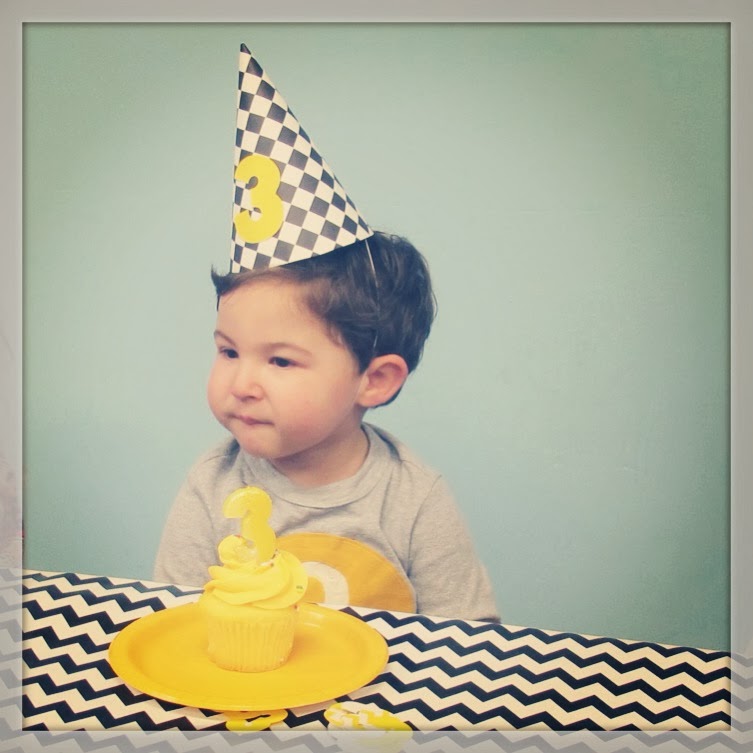
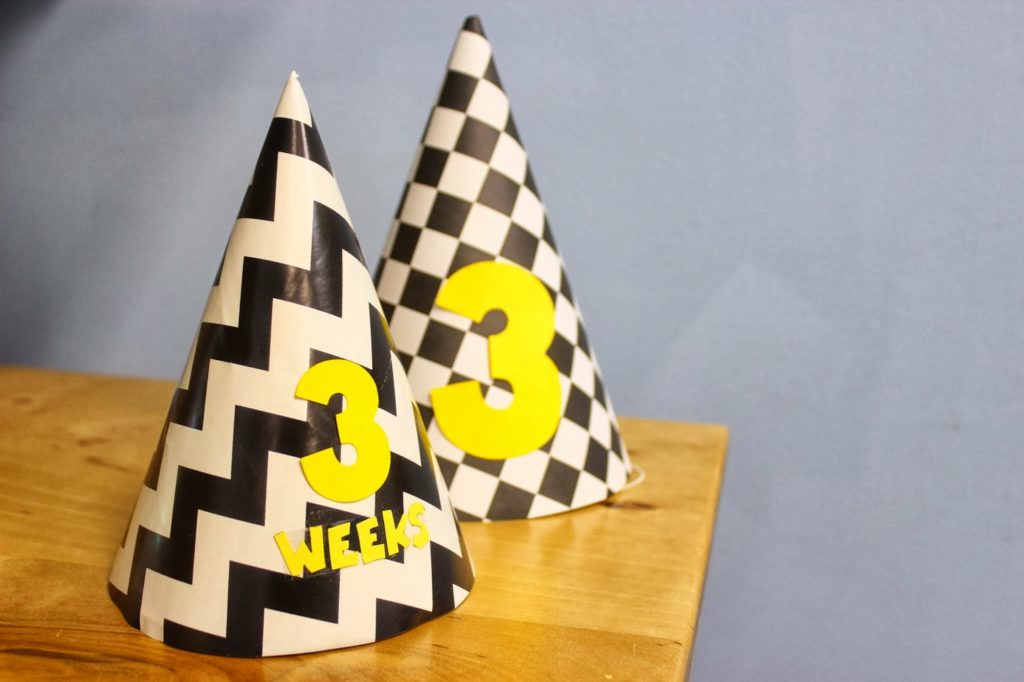
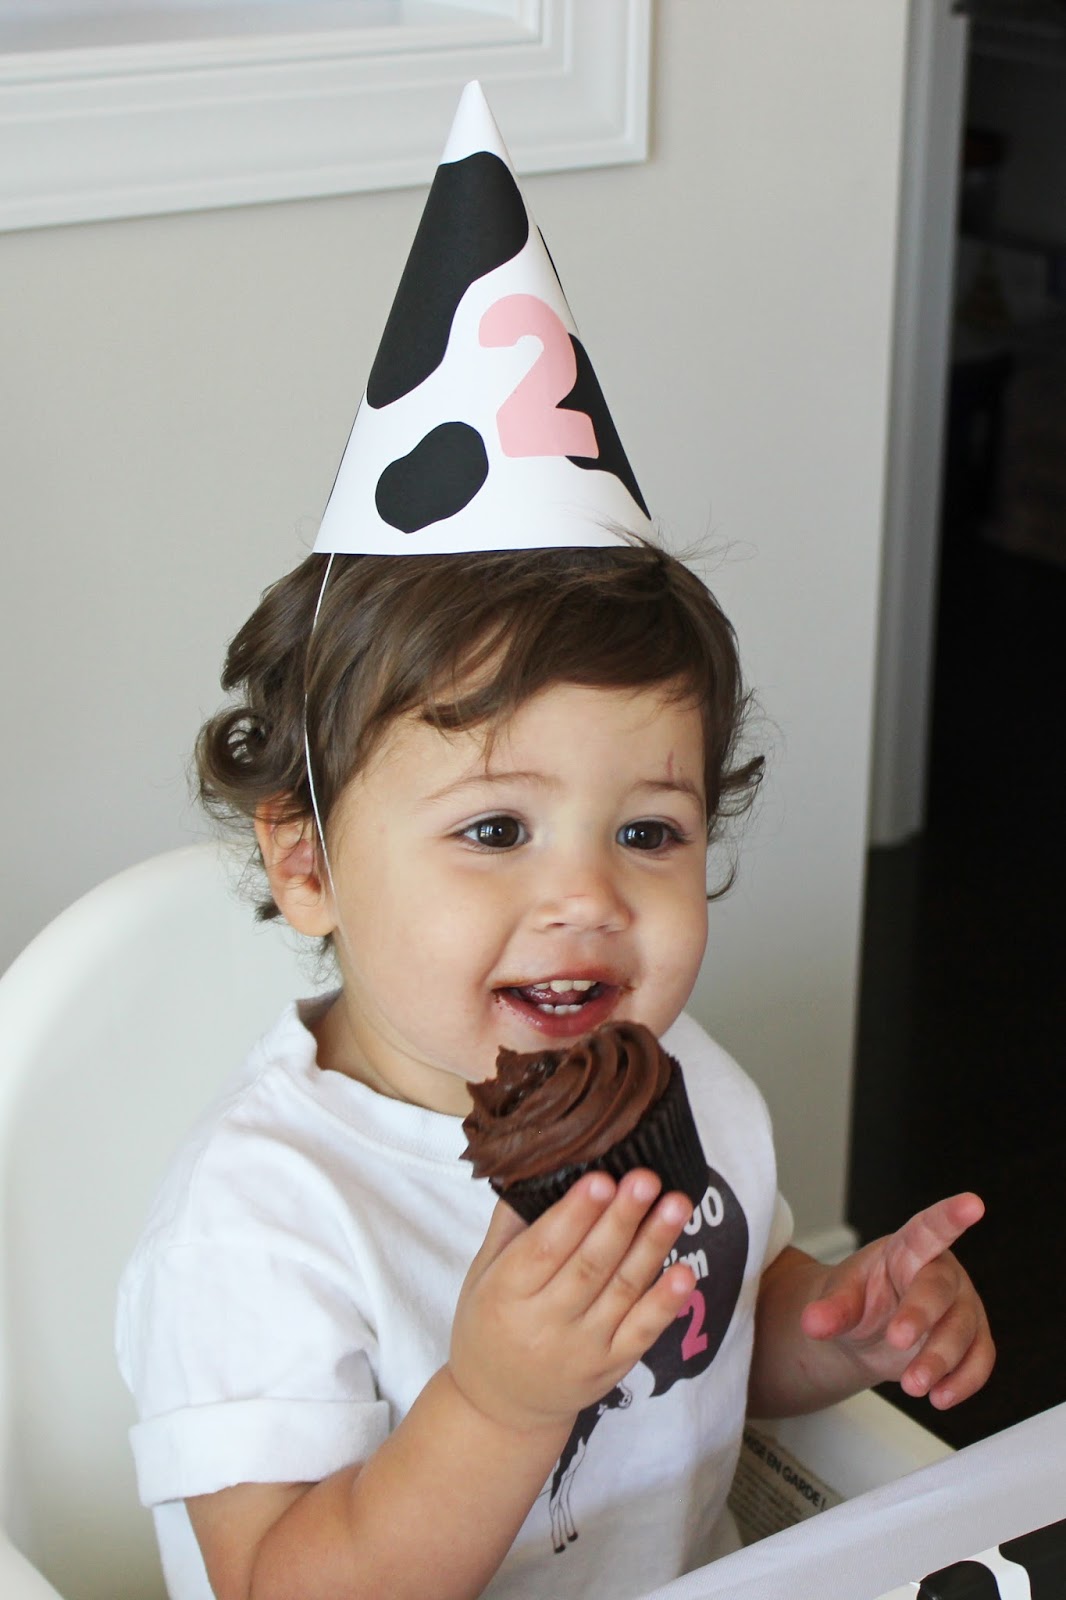
 Our party hat DIY is HERE. Just decorate with black squiggly shapes and a pink “2”.
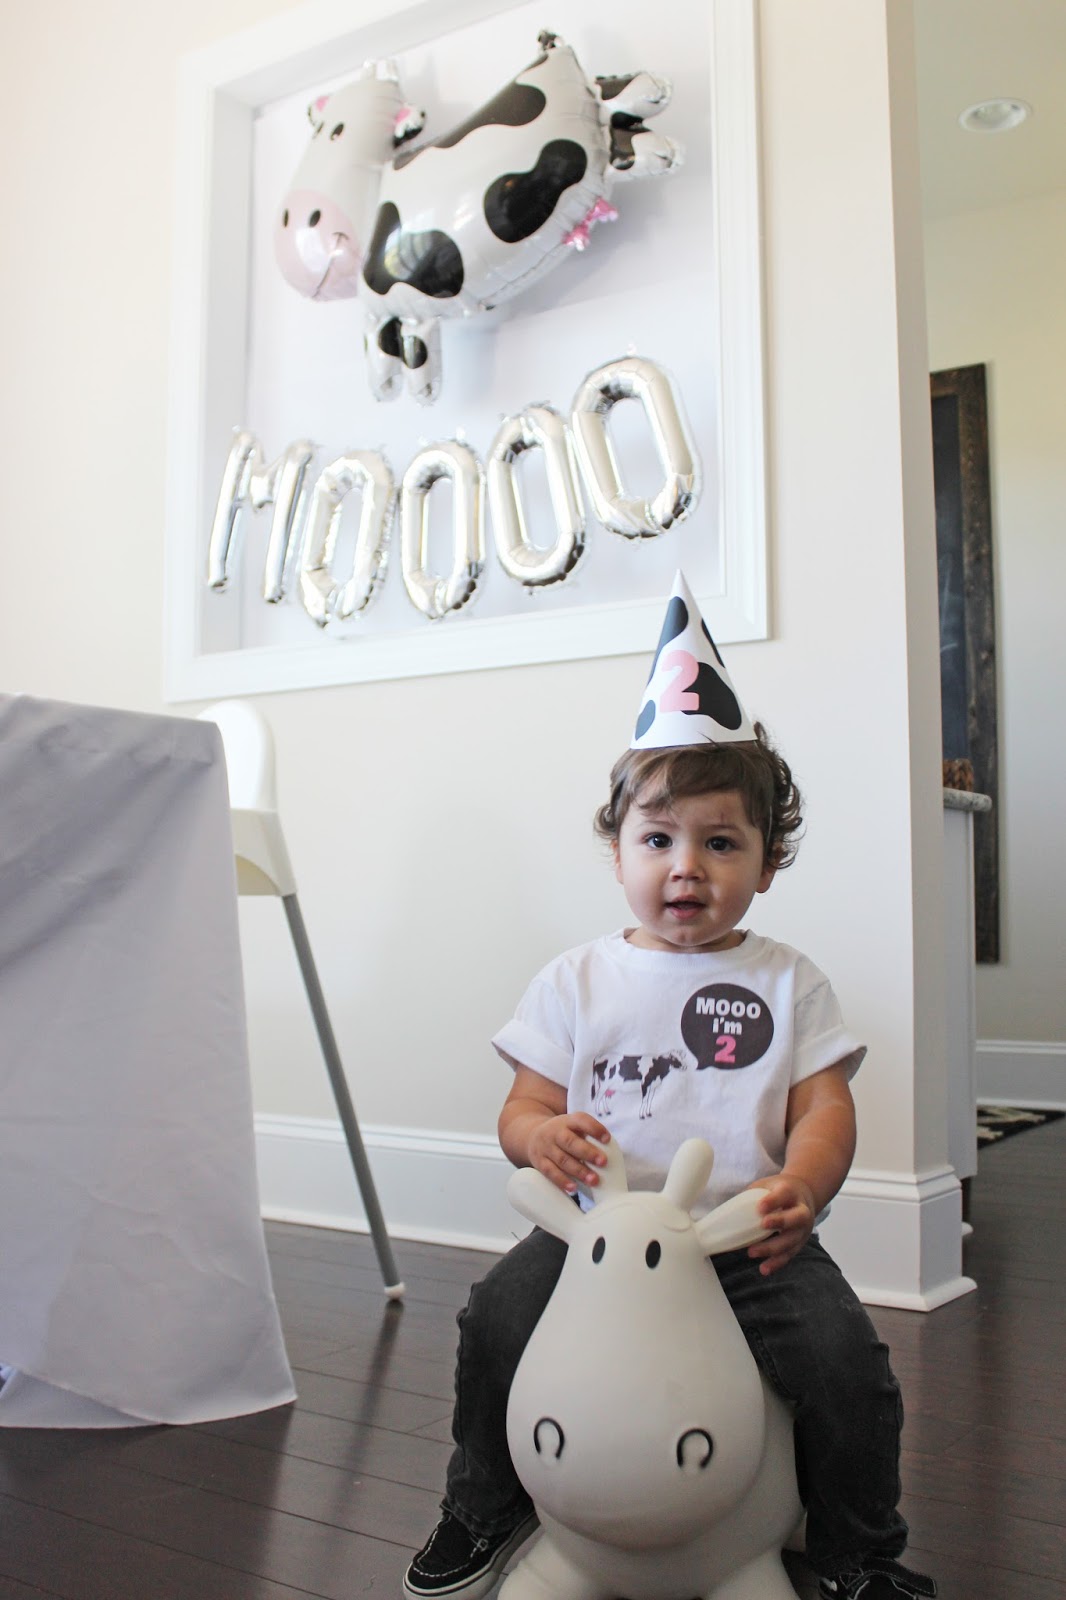
 Max’s “aunt” Ashley got him this bouncy cow for his birthday! He obviously LOVED it!
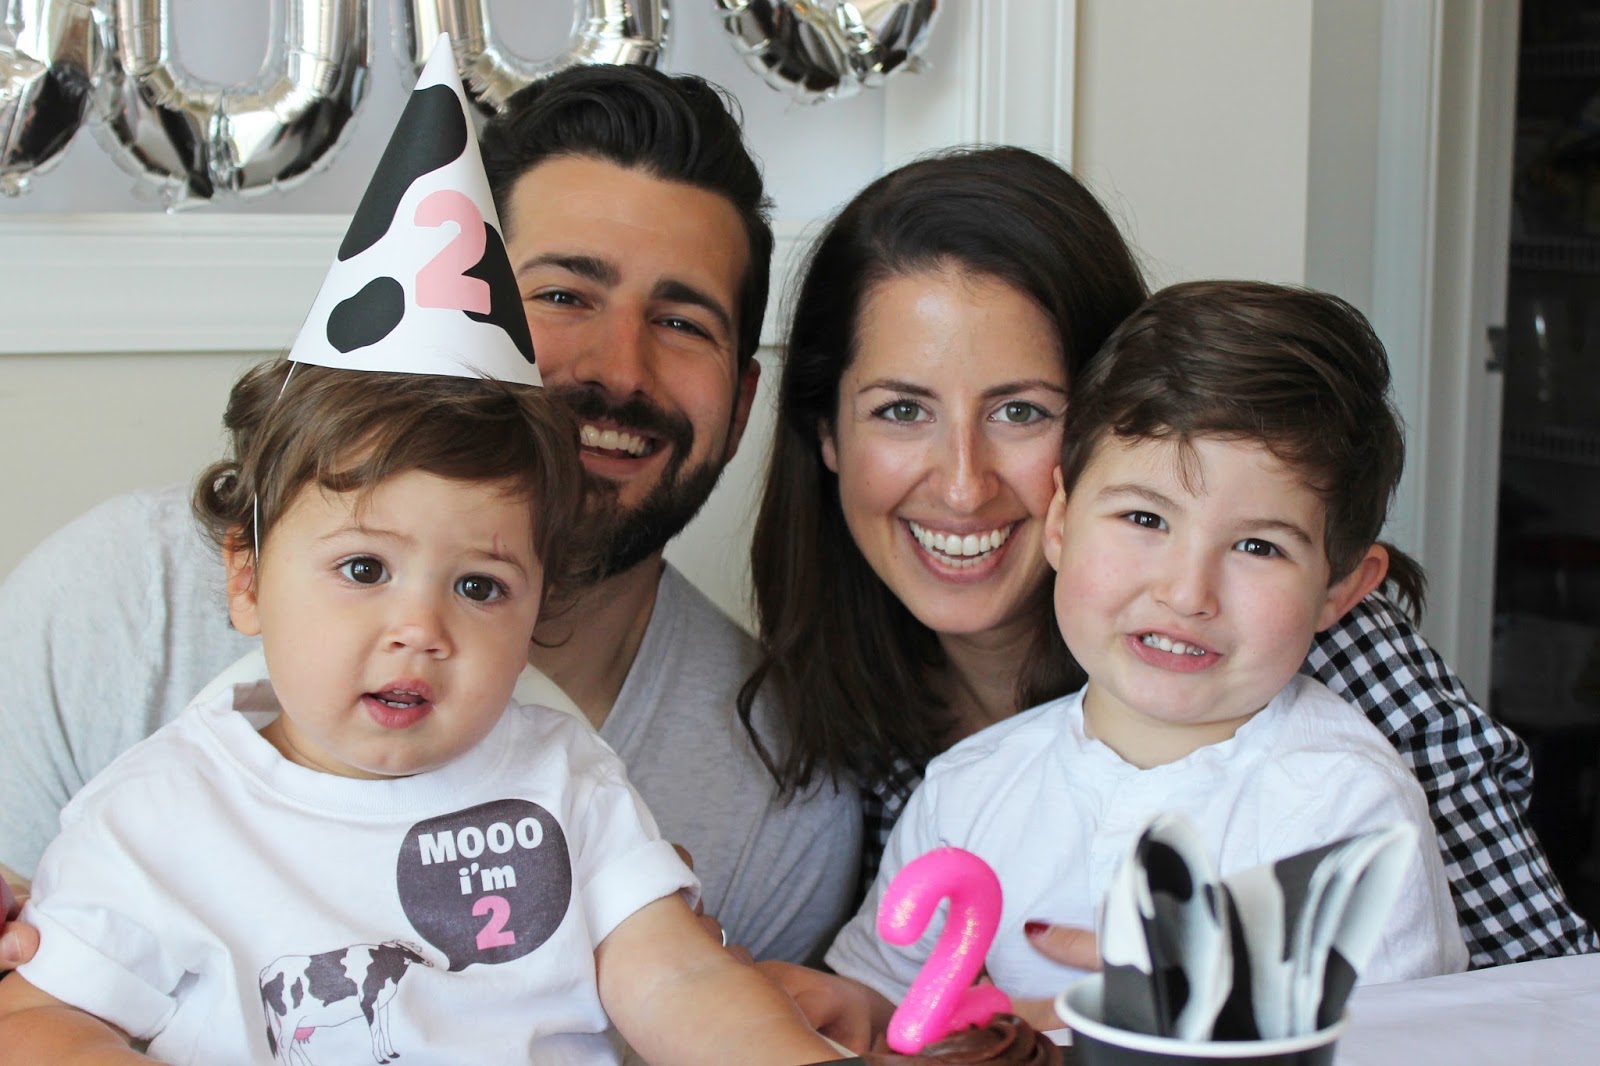
I made Max his tee shirt with the tattoo image printed on iron-on transfer paper.
Sources – click below:
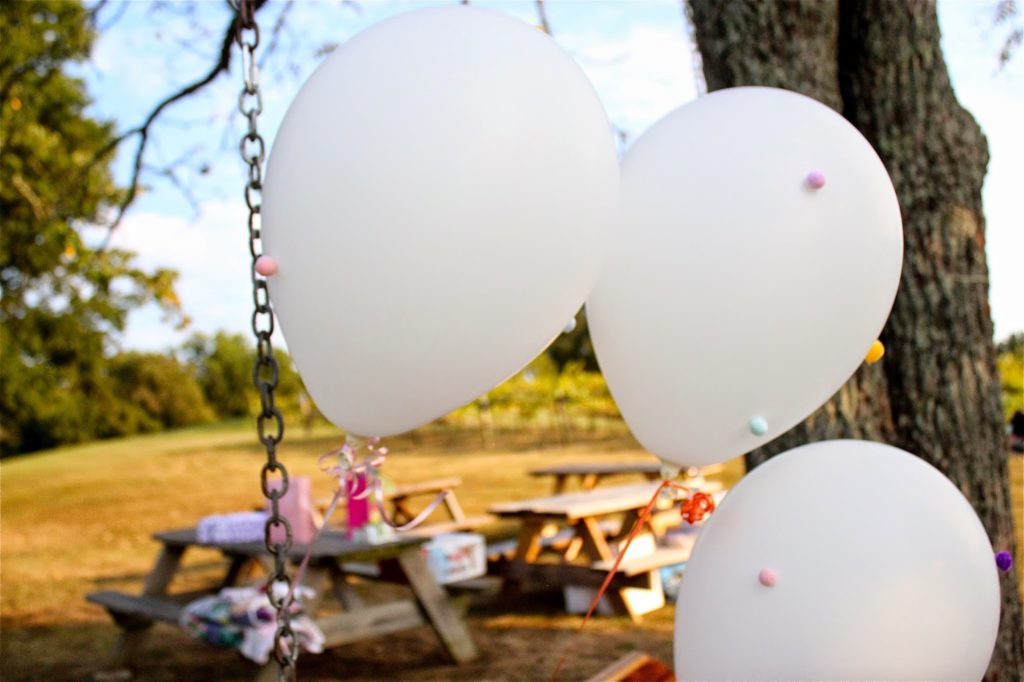
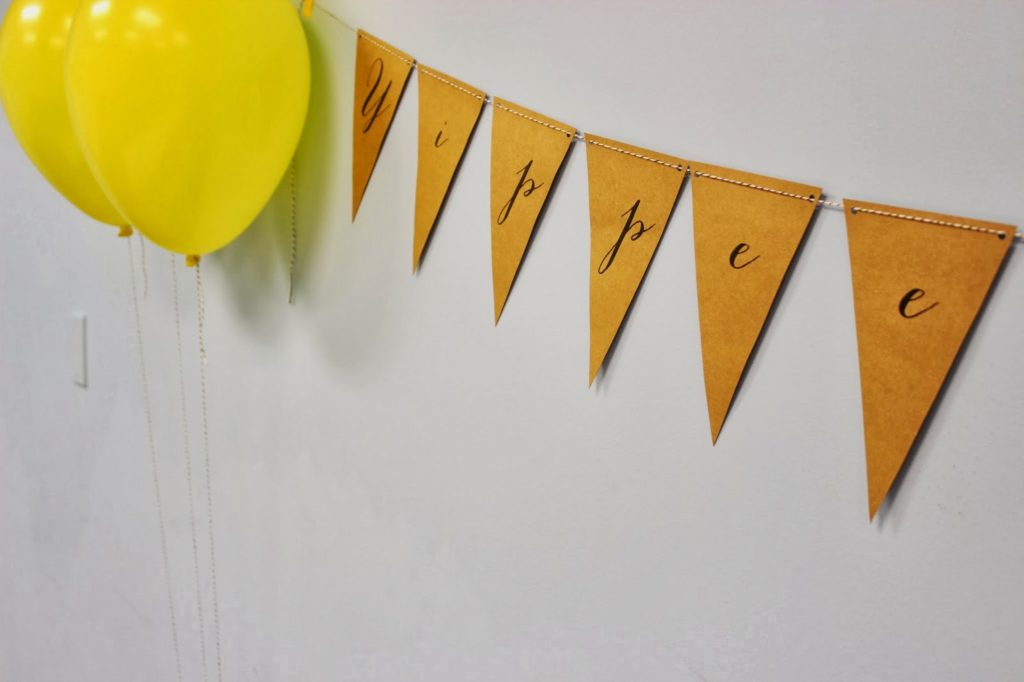
Letter balloons by Northstar Balloons
– L

ARI’S 4TH BIRTHDAY – PIZZA PARTY!

Ari turned 4 yesterday! I cannot believe I have a four-year-old. What?! After Max’s 1st birthday party last month (HERE) I was pretty spent, so it was music to my ears when Ari declared he didn’t want a party! Background… he’s not too into other kids his age and much prefers adults. We’re working on it at preschool and with play dates, but honestly it was his birthday, so he should get to do what he wants, right? Ari’s request was going to his fav pizza place, Mellow Mushroom, with just the family. So that’s what we did!
I kept decoration to the bare minimum (to my standards) and just made these little pizza party hats, a pizza cake, and pizza tattoos
Pizza Party tattoos in our Etsy shop HERE
For the pizza cake, I just used sour straws and chocolate cheerios for the “pizza toppings”. I tinted frosting red for the middle layer and yellow for the top. You guys… I totally attempted a brown crust out of frosting and failed miserably. Scraped it off and stuck with a clean yellow top! 

I thought these pizza hats turned out pretty well and were super simple! For the tutorial and more DIY party hat ideas, click HERE.

Here’s my birthday boy checking out his cake sans pants.
That’s a wrap! Now to move into our new home NEXT WEEK…. oy.
-L
Ari’s Modern Animal Themed 2nd Birthday Party HERE, HERE, and HERE.

FINN’S CONSTRUCTION PARTY

There’s nothing we love more than throwing a party, and this time we were so excited to design a construction-themed party for sweet Finn’s second birthday. He (like so many little dudes) is obsessed with diggers and trucks, so naturally, his mom came up with a construction theme. We wanted to keep the look simple and modern like we do for our own parties, so we took out orange and kept the main colors kraft, black, and yellow.
To direct guests into the house, we set up a detour sign and lined the walkway with cones HERE. We bought a raw wood saw horse at Home Depot and painted the legs in black for that “dipped” look.
 Here’s the birthday boy, Finn! Isn’t he gorgeous? 
FOOD & DRINKS:
Because we peer pressured Finn’s parents to serve their guests alcohol at their kid’s party like WE do… 
a “Site Managers Only” sign was needed!
 The “road” backdrop in all of these shots is just black wrapping paper with yellow card stock lines stuck on with double stick tape.
FAVORS:
Teeny toy trucks HERE.
 We found these goofy tool tattoos at Hobby Lobby! A little stereotypical… but fun, right? 
Teeny treat bags HERE.
 Toddler crack bubbles from the dollar store.
Construction hats HERE.
Dirt Pops AKA jumbo marshmallows dipped in white chocolate candy melts, rolled in crushed graham crackers. SO GOOD you guys. You can display these bad boys in extra graham cracker crumbs.
Tip: dip the lollipop sticks in the candy melts FIRST, push that into the marshmallow and let dry- this will secure the marshmallow to the stick. Then you can dip the marshmallows in candy melts, shake off extra chocolate, and roll in the crumbs. You can keep these frozen for a week or so before the event.
We packaged the goodies up in THESE boxes and personalized them for each child.
FUN & GAMES:
 We made the photo booth by simply painting a flattened cardboard box!
 Photo booth props: We hot glued the paper props we made to dowels, vest HERE, hats HERE.
 Finn’s big sis, Annie.
Awwww yeah, every little boy’s fantasy, every parent’s nightmare. Finn’s parents are troopers! 
 The kids ate lunch picnic-style on tarps because… duh.
Happy Birthday, Finn! We had so much fun dreaming up your construction party and hope you got your fill of digging, dirt, and sweet treats!

PAINTING PARTY AT THE VINEYARD + GIVEAWAY WINNER

Our party “throwback” this week is my daughter’s “Pom Poms & Painting” themed 2nd birthday party. Amara still enjoys painting so much! We kept it fairly simple by holding it not in our house… whoop whoop! outdoors at a beautiful vineyard. I assembled basket lunches for the adults, boxed lunches for the kiddos with juice boxes and canned sodas and called it a day! Of course we bought wine as well…. I mean, we WERE at a vineyard.

 I set up a painting table with a place setting ( 3 sheets of watercolor paper, an art smock and a paint set) for each little guest. Tags and invites done by Lauren at Rock Paper Scissors.
Follow our simple DIY party hat tutorial here. I additionally added some poms to each hat.  I hand -dyed some in water color water to get the pastel look. 
I actually cut circles out of one of Amara’s many paintings at home to make tags for the boxed lunches! It just made it all that more personal.
I filled clear paint cans ( found at Joann’s Fabric Store) with different colors of tissue paper to resemble “paint” and stocked each can with $1 items. My favorite favors were the mini paint sets!
I set up a dessert table with some sweet treats! I hot glued pom poms to the front of the table cloth to go with the theme.
homemade cupcakes with DIY cake toppers. I simply cut stripey straws into thirds and hot glued pom poms to the ends…. voila!
Rice crispy treats on a stick dipped in candy melts. These were much harder to make than I thought they would be, but they were a hit so they were worth it!
My favorite thing of all is the “year of instagrams” banner I did. I watercolored little flags, glued them to mini paper clips to label each month. I loved this banner so much!!

It was such a beautiful evening!! Now, its time to start gearing up for birthday no. 3… yikes!
** THE WINNER OF OUR STYLE ME PERFECT GIVEAWAY IS…….
MANDY LINTHICUM!!!!!!! WHOO HOO!!! **
CONGRATS!!! We know you will love the service, and even more importantly…. your sweet stylist!!
Thanks to all who entered!

PARTY HAT TUTORIAL – FREE DOWNLOAD

Here’s a quick and easy party hat tutorial for you. If you want a solidly constructed hat with the string and everything (so you can force your baby to wear it like I do) but have it match your decorations, this is my fav way to go. Scroll down for the tutorial and download.
Ari’s third birthday party HERE
Ari’s second birthday party HERE

 PARTY HAT TUTORIAL:

1. Start with any store-bought hat
2. Unfold the hat, design-side down
3. Trace around the hat
4. Cut out traced shape, a little outside the lines to leave room for error
5. Put double stick tape on the two straight edges of the traced shape
6. Start with the “tab” side and tape on the hat, wrapping around the paper as you go
(If you want to do a little fringe or pom pom add this in before you close up the hat)
7. Decorate! 
Download party hat numbers HERE
 And here are my babies in their birthday hats! Oh how I love to torture them.

Jenni covered her hats with chalkboard paper and wrote with chalk. Amara’s first birthday party HERE

We’d love to see your party hats! Email us!
 -L

ARI’S ANIMAL THEMED PARTY: PART 2

I wanted to share all of my DIY’s with you from Ari’s animal themed birthday party. These ideas are pretty simple and easy, but when you put them all together, it looks sort of impressive (if I do say so myself!).
PAINTED PLASTIC ANIMALS
These little dudes were my biggest project. I collected tons of plastic animals from craft stores and dollar stores and spray painted them solid colors to make the look more cohesive and modern. The easiest way I found to paint the animals was to put packing tape sticky side up on a piece of cardboard (see below) and spray paint from every angle. They take a while to dry and require multiple coats, so plan ahead!
PARTY HATS
I LOVE how the party hats turned out! First unfold a store-bought party hat and trace it onto black paper. Cut it out a little larger than the traced line you made. Put the hat back together and tape the black paper around the hat. I cut the plastic animals in half and used a hot glue gun to secure each half to the front and back of the hat. For the pompom on top, I fringed some white crepe paper and glued it into seam of the hat.
ANIMAL CUTLERY
I have to say, the animal cutlery was the biggest hit with everyone, but these were so. time. consuming. Use fine sand paper and sand off the finish on the forks where the animal will go. Make sure there’s no spray paint on the middle of the animals, in other words, spray paint the animals first before cutting. Use Gorilla Wood Glue (super glue and hot glue does not work!) and hold on to these suckers until the glue dries. This will take about 3-5 minutes PER fork. But I mean… look how cute they turned out! 
DIY FRINGY TOPPERS
Once you get the hang of it, they’re super fast and easy. Use these for drink stirrers or cake toppers or whatever! These pretties brighten up any party.
PHOTO BOOTH
Time consuming? Yes. Easy? Ridiculously. 
All you need is a roll of butcher paper or bulletin board paper, craft paint, and a wine cork. For the photo booth backdrop, I measured neurotically so the dots would be even, but for the tablecloth below, I stamped randomly.
 More cork stamping! Paper mache letters hung on the door. 
CHALKBOARD TRAYS
I bought inexpensive silver plastic trays and spray painted the boarder with the same paint I used on the animals. When dry, paint the center with two layers of chalkboard paint. Easy!
For Part 1 of Ari’s animal themed party pictures click HERE
Part 3 HERE
Party Favors / Games for the kiddos / Details
-L

ARI’S THIRD BIRTHDAY PARTY

We LOVE to throw parties here at Love & Lion and wanted to share some past parties with you as sort of a #TBT kinda thing 🙂 So this Throw Back Thursday, it’s Ari’s third birthday party. 
At this point in time I had just had Max, so a major party with lots of details (like Jenni and I normally do) was out of the question. I held the party at an indoor play place and brought in minimal decorations and food – just enough to make the party look personal and cute. When you’re not in your own space it can be a challenge to make it look the way you want (like trying to cover up a cheesy mural on the wall!). My advice is stick to a simple theme like colors or patterns and weave them into each aspect- decor, food table, invites, and favors. I went with black and white with a yellow accent and the slogan “Yippee Ari is 3!” 
I think the biggest transformation of the room was covering the tables with this chevron wrapping paper found at Hobby Lobby.
The theme all began with invites designed by none other than Lauren of Rock Paper Scissors.
 I just did very simple food – pizza, pretzel chips, hummus, veggies, fruit squeezies, and cupcakes.
 For favor bags I printed on paper lunch sacks and sealed with yellow washi tape.

Here you can see 36 months of (well worth) torture. When I told Ari it was time to take his chair picture last month he replied, “Oooh boy. That’s gonna be hard. I move around a lot.”

 I covered store bought party hats with patterned paper to match the theme.

Ari’s number 3 shirt from our favorite kids store, Tweed.
And here’s my favorite picture from the day. That would be my husband dropping a LIT cupcake on Amara while everyone sang “Happy Birthday”. Classic. Amara was unfazed and Ari asked if he could another cupcake. My reaction was so scarily slow you can literally see my brain trying to process what just happened. Sorry, Amara! 
That’s it! Super simple but considering I had just had a child, I was very happy with how it turned out. Can you say, control freak? Ha! Hope this gives you a few ideas for when you throw a party not in your own space
-L