CLASS VALENTINES FOR THE BABIES! (FREE PRINTABLE)

More class valentines for you!
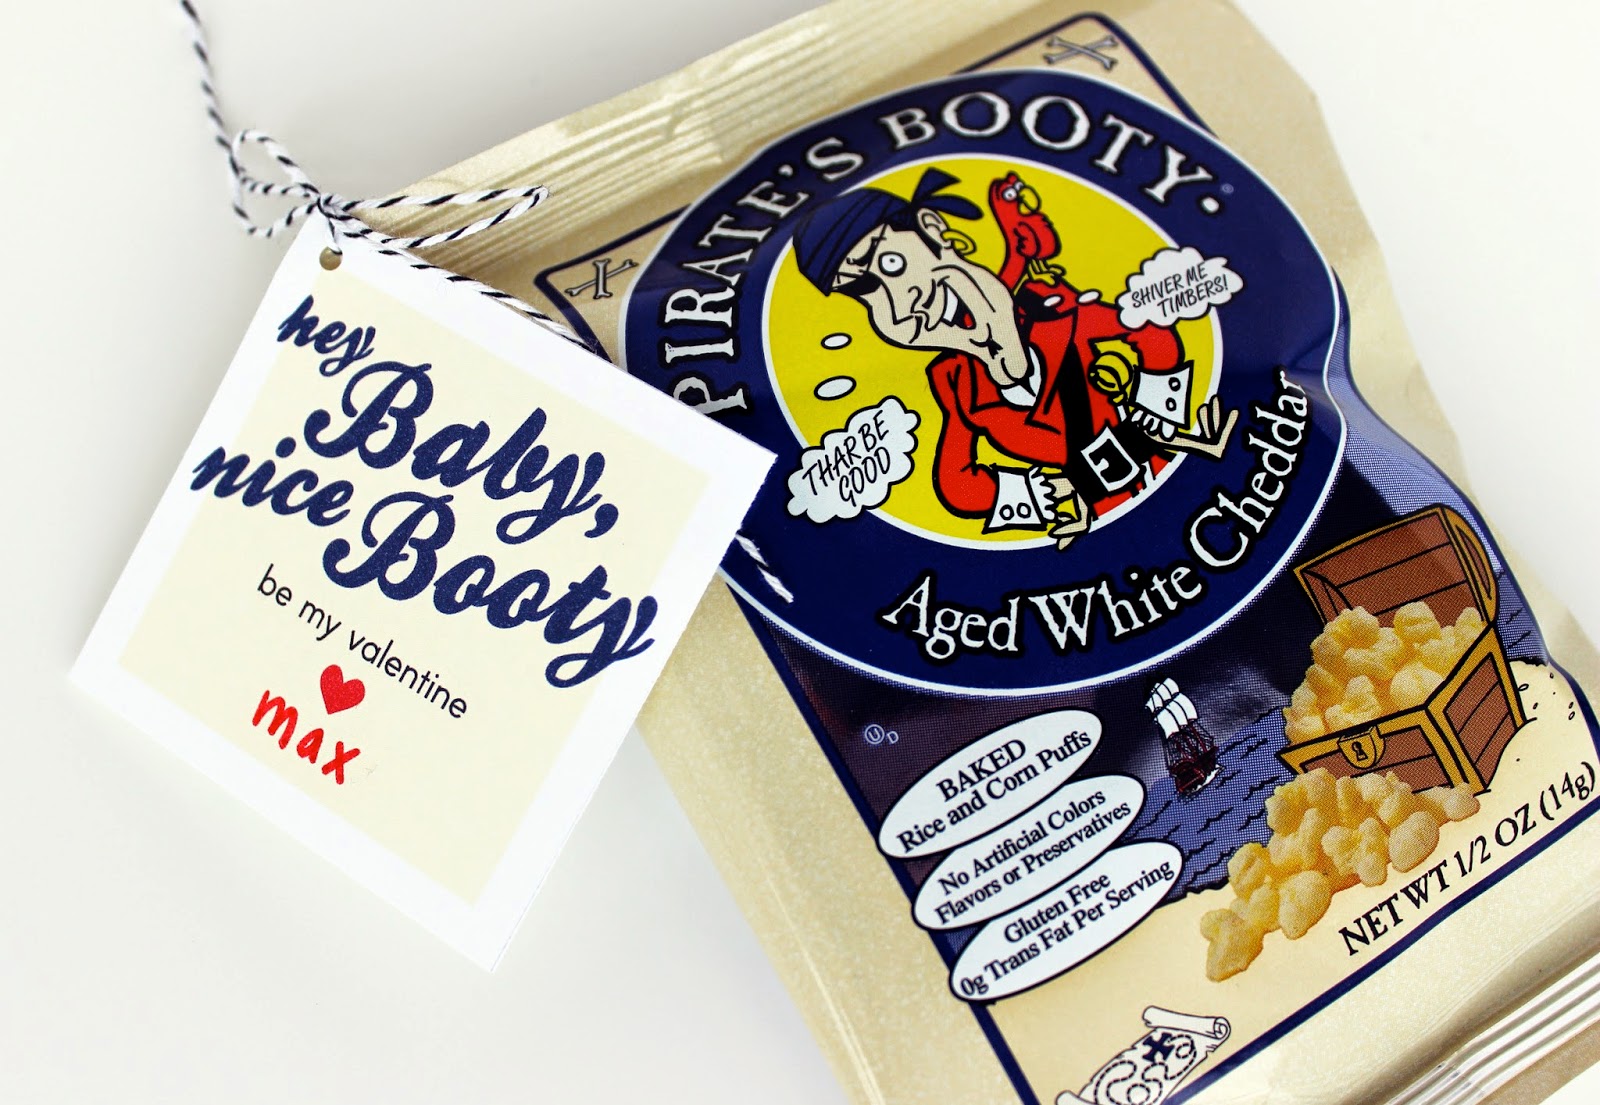
Max’s classmates are all around 12-18 months, so no candy, no small toys aka choking hazards.  Though… I think all the moms would appreciate eating the candy FOR their babies- or is that just me? Maxie’s favorite bribe crack snack is Pirates Booty. It’s easy to eat for littles, somewhat healthy, gluten free, and we happened to have a massive box of individual bags in our pantry.
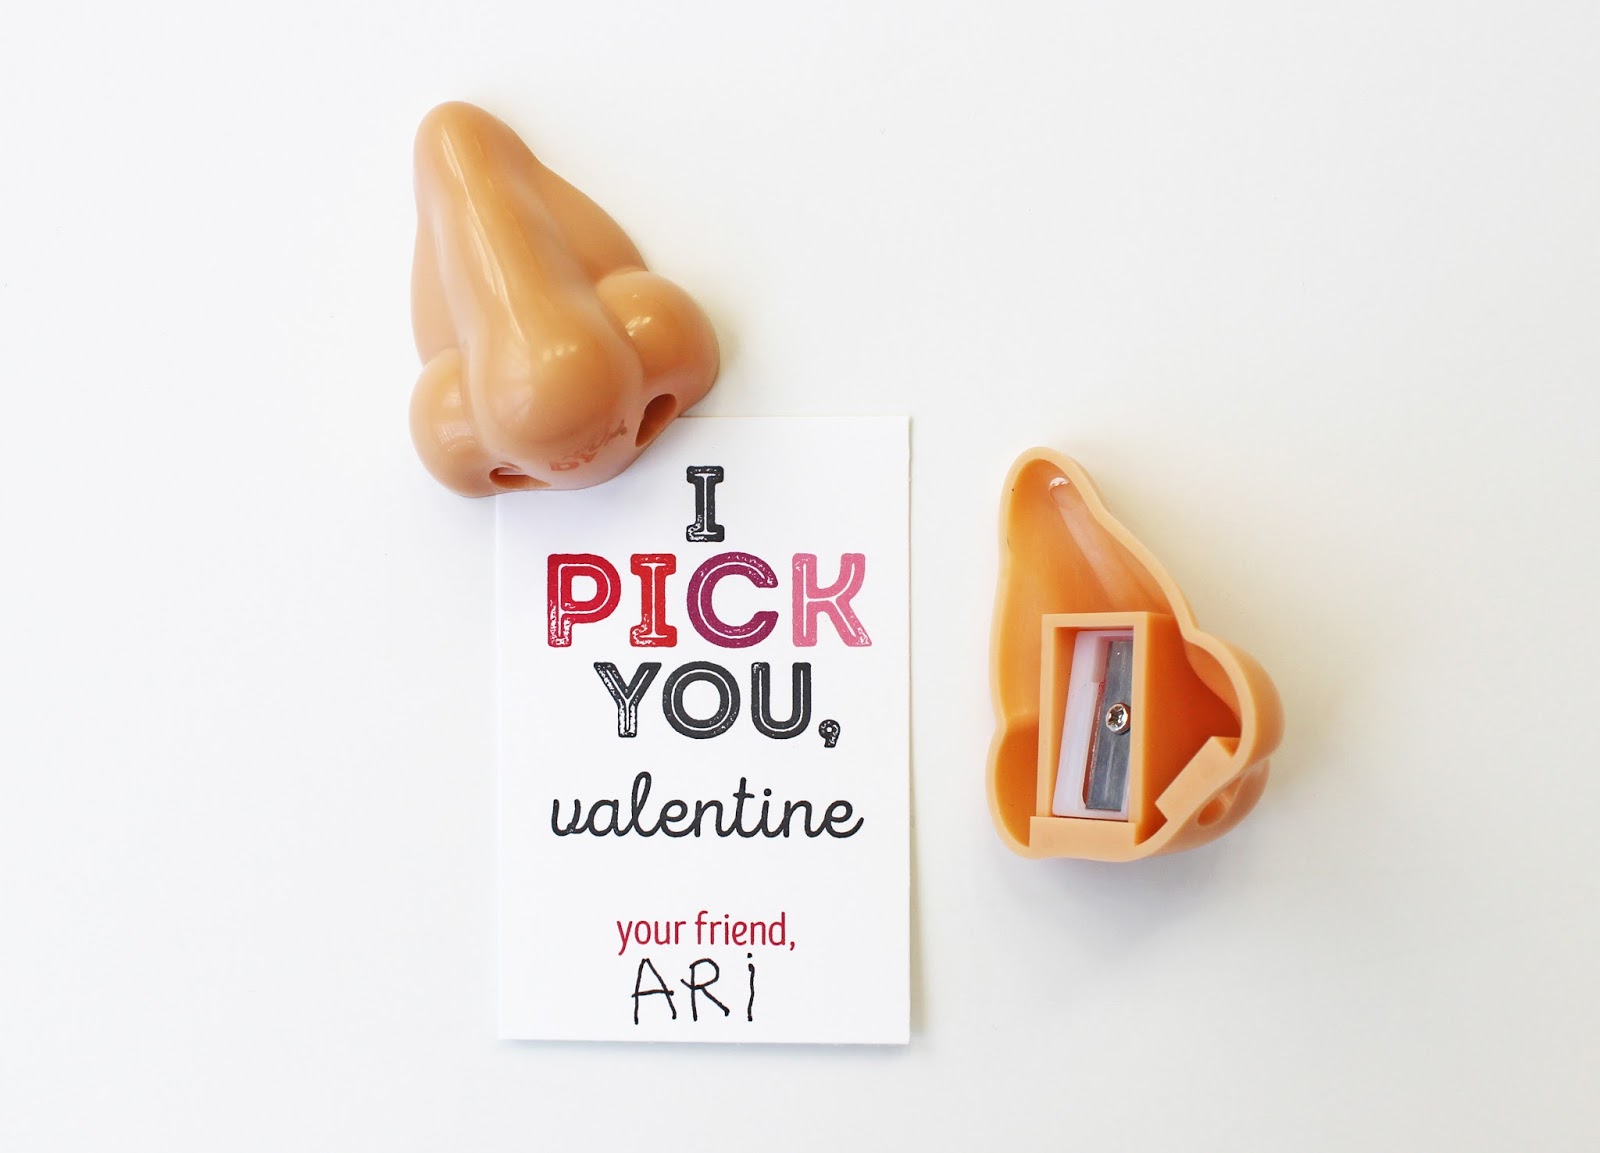
This Valentine is a little cheeky…see what I did there? It might be inappropriate for older kids, but I think it’ll slide with teeny ones! Scroll down for the link.
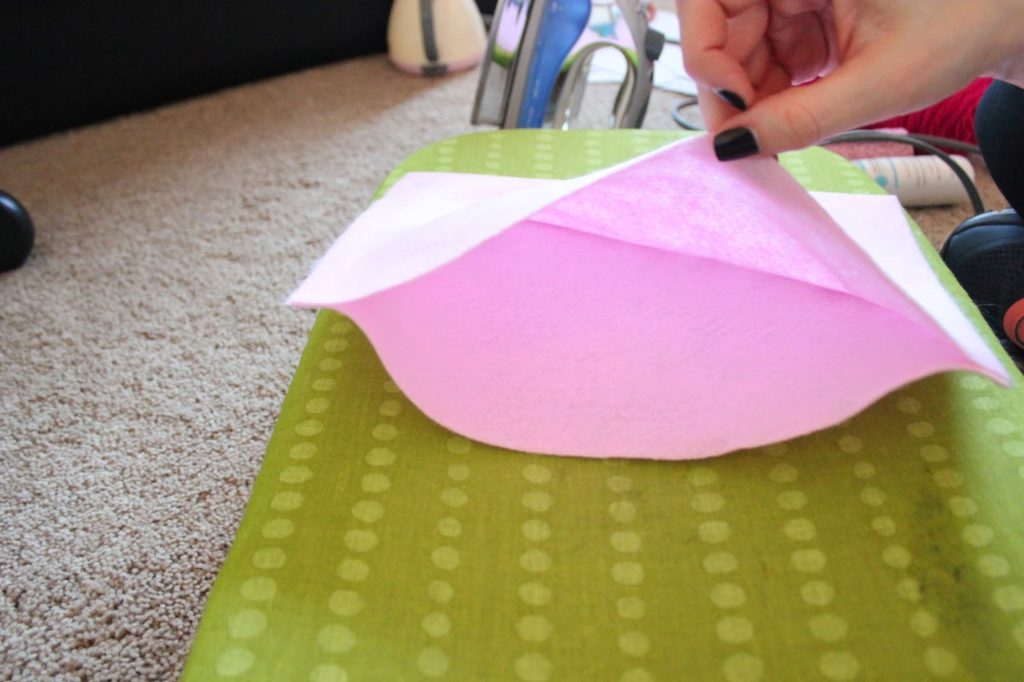
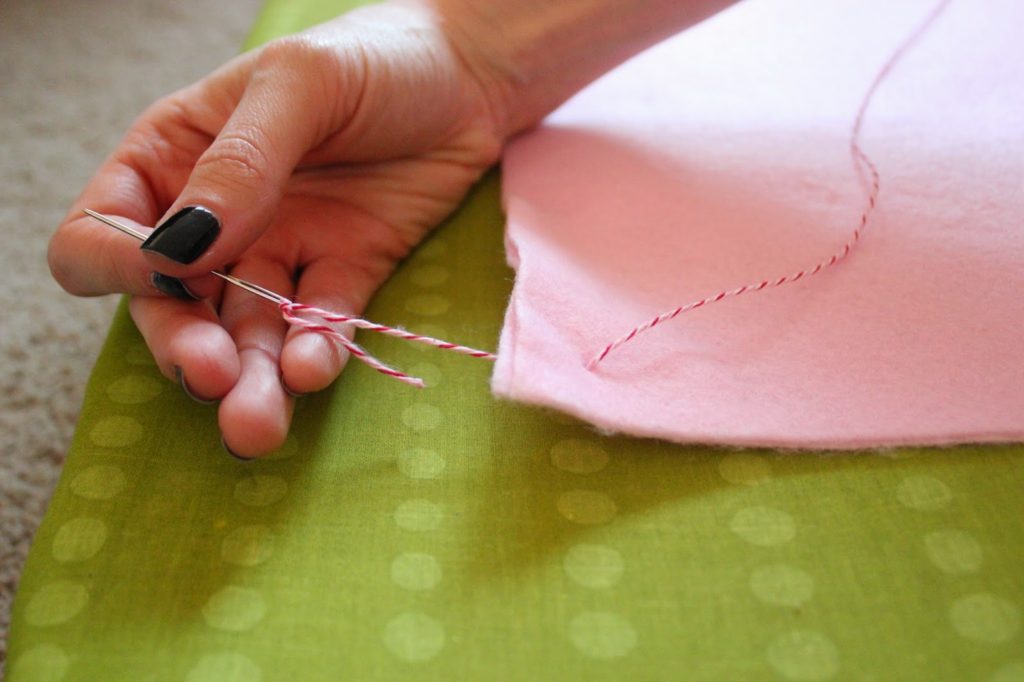
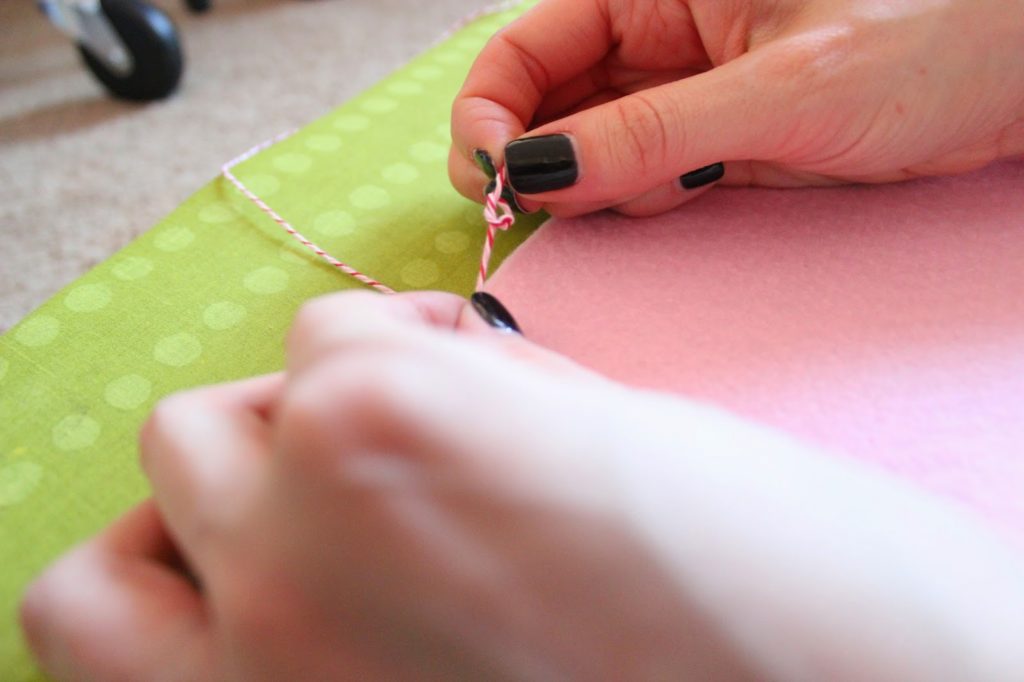
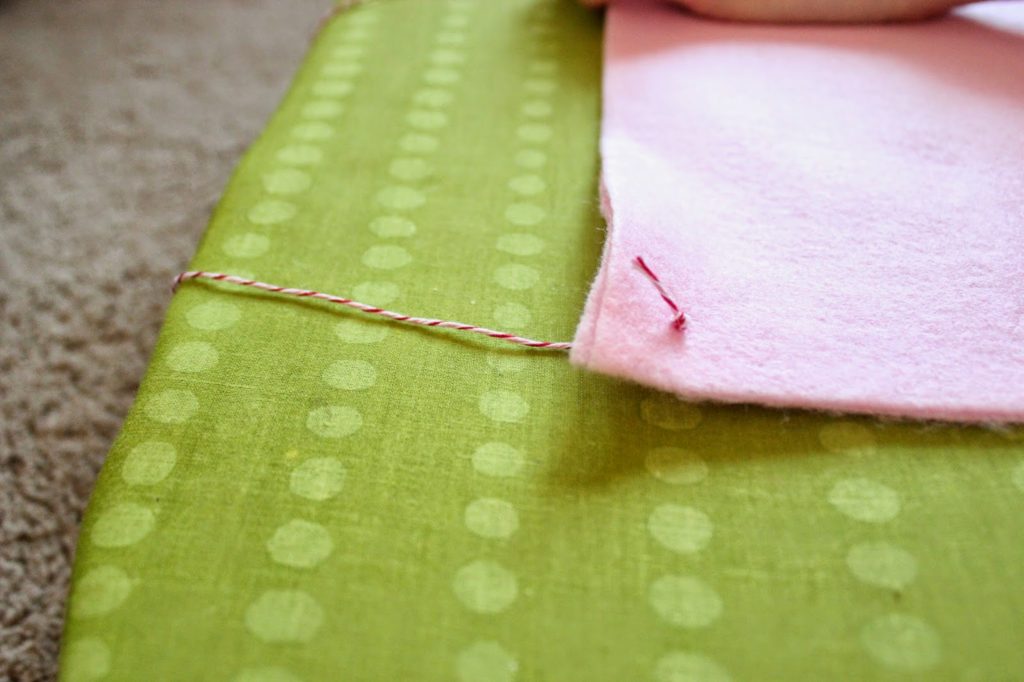
Simply print the tags on card stock, cut right on the lines (a paper cutter is the easiest), punch a hole in the corner of both the tag and the corner of the Pirate’s Booty bag, and tie with string.
Click HERE for the Pirate’s Booty Download.
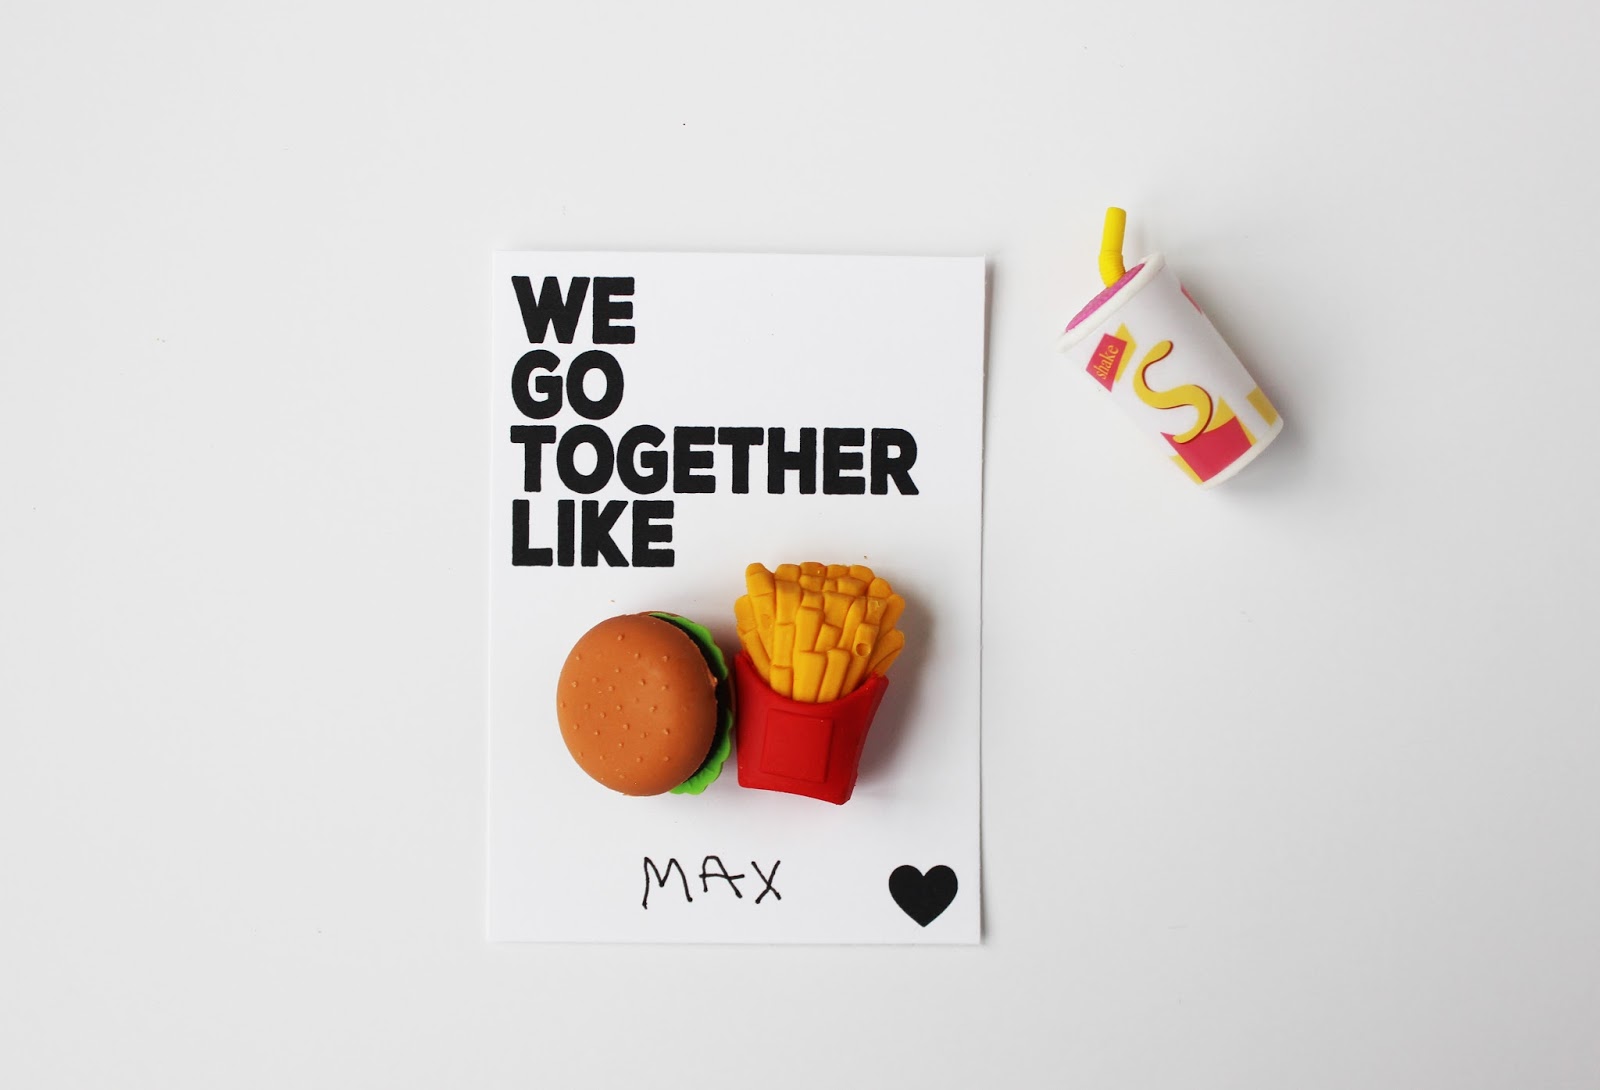
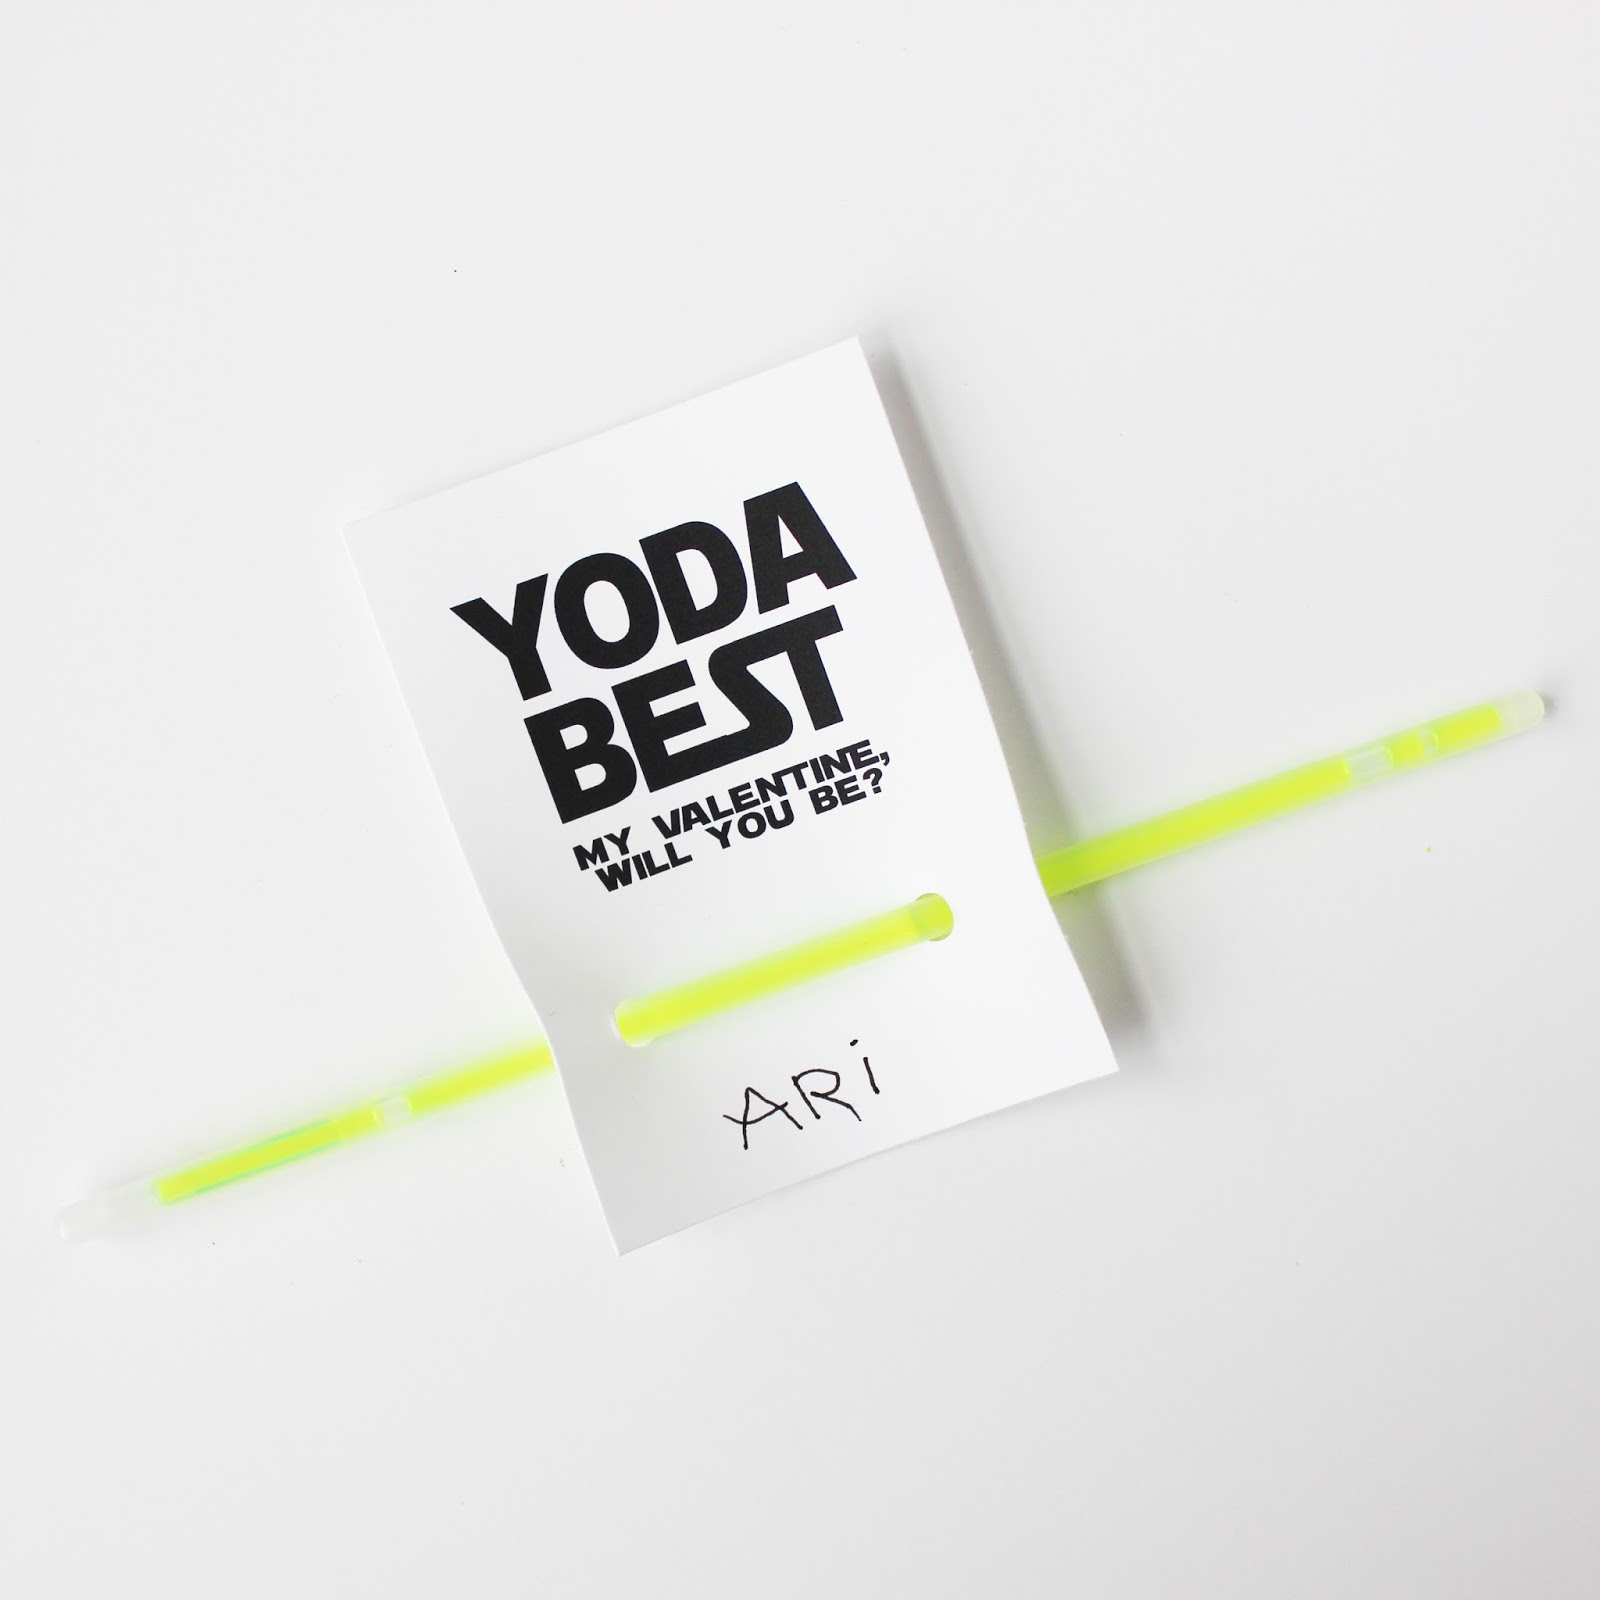
For the bigger kids, check out our other Valentine’s Day free printables.


-L

DIY VALENTINE KEEPER

We wanted to create some valentine catchalls for our littles to take to school or simply hang on their door to collect all of the sweet valentines that they get from their friends and family. We wanted to do something a little bit different than the average shoe box that we all know (and love….. or do we?). I may have had too much fun doing this little project…. shhh!
Here is what you will need:
– 2 pieces of felt
– twine
– scissors
– craft glue
-heat bond tape
-iron/ ironing board 
– 1 needle 
– straw (if you are doing one for a boy)
– anything you choose to decorate your bag with! I chose ribbon and felt stickers
Simply lay out your two pieces of felt, cut strips of the heat bonding tape for 3 of the sides as shown and iron over each strip holding for about 6-8 seconds per section. ALLOW TIME FOR IT TO COOL!! Then, pull the paper part off of the tape. If it has not cooled, this part will not work!
 Lay your second piece of felt directly on top of the piece with the tape.
 Iron. Again, be sure and leave the iron on each second long enough for it to actually bond. Patience! 
Allow for cooling time to ensure a good hold. Then, you should have a pocket that looks like this.
  Next, string your twine through the needle, and poke the needle through both pieces of felt. It will be hard to get it through the heat bonding tape, so be sure to poke your hole just outside of the edge of the tape.  tie a double knot to secure the twine.
Do this on both sides.
 Play with your design before securing everything to the felt. Lay it all out just how you want it.
 Then, get to gluing. I only needed to glue the ribbon I used. I used Martha Stewarts craft glue, which worked fabulously.  
 The stickers were felt, and I got them at Target! They adhered to the felt bag extremely well.

If you are doing one for a boy, you can slide a straw onto the twine before you thread each side to create a carrying handle…. kind of like a briefcase. 😉
This is such a fast and super simple project that you can actually do with your kids!! We made a couple more of these bags, and I did the ironing and threading. Then, I just let Amara peel and stick (hence the upside down hearts on hers) as she pleased. Now, go fill this thing up with some V-day goodies!
-J

MATCHBOX CARS VALENTINES (FREE PRINTABLE)

Okay… Valentine’s day is more than a month away, but we can’t be the only ones seeing pink and red eeeeverything in stores, right? We’re feeling the pressure to get. on. the. ball. So let’s start off with a fun option for your kiddo’s class Valentines. One of your favorite posts from last year was our Valentines day card free printables. You can still download all of these- scroll down below for the links!
As much as our family is ALL about snacks and treats, I wanted to do another non-candy card. I never know if the other moms are like organic no sugar people (Ew. Jk. Not really.) and plus kids love toys, so why not? This year Ari is giving his little buddies Matchbox Cars which he collects himself! Get it? We’re the perfect MATCH!
2. print on card stock- THIS is our fav for super bright ink
3. cut right on the lines using our fav cutting board HERE
4. tape the cars with washi tape HERE.
5. Purchase Matchbox Cars set HERE. The cars are about $1 a piece, so not so bad if you have a small class.
Download Matchbox Cars printables HERE
 
 
Download our previous designs below by clicking on the titles:


More Valentines Day shenanigans coming your way all month!
xo
-L

Pregnancy Update

Hey everyone! Sorry that you are not getting a blog post from us until Wednesday. Things are a little crazy busy ( in a good way) for L&L. Be sure and follow us on IG for quicker updates!! I have been wanting to share a pregnancy update with you for a couple of weeks now. We just had our monthly check up on Monday, and I am happy to say that everything is looking good! My doctor mentioned that she will be watching as she noticed I have a low lying placenta. She said I have no reason to be concerned about Placenta Previa ( which is truly my biggest fear in pregnancy), but it hasn’t stopped me from googling and reading every good (and bad) story that each person has posted online. Ugh!! Whyyyyyy do I even do that? 
I guess most of all it just makes me even MORE aware of how much of a miracle it truly is to get healthy babies into this world. I don’t take for granted one second of what God is doing to grow this baby boy of ours and bring him into the world safely. He has been moving non-stop…. mostly at night just as I settle into bed :). I am grateful for those kicks. Anyway, I am choosing to not worry or be anxious. I am choosing God’s peace, and will continue to pray to Him for my health and for a good report at our next ultrasound. 
Weeks: 23 (almost to the 6 month mark. Whaaa?)
Gender: boy!!! Our reveal here incase you missed it.
Sleep: Very restless at night, but day naps are my jam right now. Invested in this pillow, and I couldn’t be more pleased! I highly recommend it!
Cravings: French fries, lots of fruit (oranges in particular…. like alll day), salads and lots of water. Much better cravings than I had during my first trimester (junk).
Big sister thoughts: Amara is asking almost daily when we will meet her little brother. It is the sweetest thing, and he is starting to move where you can see the kicks outside of my belly. We try everyday to feel kicks or “see him”. We have officially moved the crib and glider out of Amara’s room and made it into an official “big girl room”. She has adjusted so incredibly well. 
Maternity wear: I have been rocking my normal clothes, with the exception of some borrowed maternity jeans from Leah, but planning on investing in maternity tops and some more denim this week. It is time!! Pea in the Pod is having a great sale, and these items are in my shopping bag: jeans , button up , sweater , nursing bras.
Things that bring me comfort and make me feel pretty
Insoles – I bought these to put in my booties for a Justin Timberlake concert we went to a few weeks ago. We stood danced the entire time, so I had to be prepared. They have been in every pair of shoes I have worn since. They help soooooo much with my tired legs.
I have also been using these serums the last few weeks. They feel SO amazing, and have really helped hydrate my dry pregnancy skin. I also invested in this Personal Microdermabrasion wand during the Black Friday sale I saw on Mintarrow.com. Totally noticed a difference in just two uses! I am in love!
This shampoo/conditioner is one that I keep going back to. This line is fairly new, and definitely competes with salon products. There is nothing that smells better to me or hydrates my hair more than good ole Suave, ya’ll. It makes me feel like I just left the salon. 
Stretch marks: none yet. Using this belly butter, which worked wonders during my first pregnancy. Plus, the smell is not harsh at all in my opinion. Planning on adding this and this to my regime as well.
Indulgences: I have been getting pedicures and gel manicures, and will continue to do so until this baby arrives. It just makes me feel good and put together… even on my worst days.
Nursery: ummm, what? This baby needs a nursery? 
Thanks for reading! Hope this helps any of you other soon-to-be mamas. I would love to know what some of your must haves are right now!!
-J

ICE CREAM SOCIAL – SIP AND SEE

My oldest friend, Rebecca, just had Ada, the sweetest little bean you ever did see! Remember her baseball themed bridal shower HERE? We had an ice cream bar then (her fav), so my mom and I went with a whole ice cream theme for her sip and see! I basically have no imagination and wanted ice cream. BTW a sip and see is a baby shower AFTER the baby is born- you sip drinks and see the baby. Get it? Might be a southern thing, I don’t know!
Colors and design began with this adorable invitation by Rock Paper Scissors.
Frozen water balloons = the cuter cousin of ice cubes.
Loooove how Rock Paper Scissors designed the ice cream cup labels and cone wrappers!
DIY GIANT ICE CREAM CONES:
-honeycomb balls (here and here)
-kraft wrapping paper
-double stick tape
For the cone, follow THIS template… just eyeball it and make it giant! It’s a little tricky, not gonna lie. Cut out and tape the ends of the cone together. Stick the honeycomb ball in and gently tape with double stick tape. I was laying mine flat on the table, so I didn’t need to secure it well. If you’re hanging them, I’d make them with the tiny honeycomb balls so they’ll be lighter.
Pinwheels, plates, and napkins by Meri Meri.
It’s not a party without Aunt Ellie’s Campfire Crispies! This time we went with gluten free Oreo flavor. Yuuuuum.
We got these adorable scoops HERE and painted them. We’re thinking about selling these little scoopity scoops painted custom in our ETSY shop- what do you think? They were perfect for ice cream toppings.
Table runner by Kitchen Papers.
I used THIS tassel tutorial and used my Silhouette for the letters.
Here’s the new mama Rebecca and sweet Ada! Imagine knowing someone for your entire life, then they’re in labor, and you’re crying alone in your car just sitting in your driveway so your kids don’t get freaked out that you’re crying. Yep, that was me.
Ice cream parties are the easiest because there’s no cooking or baking! Everything is store bought but looks special depending on how you display it. Sweet and simple!
-L