cake toppers

RECIPE: DONUT CAKE

 This cake may look insane and tricky, but it’s the EASIEST cake you could make! Decadent? Yes. Delicious? Yes. Difficult? NOT AT ALL!
INSTRUCTIONS:
1. Buy a store bought cake or make one from a box… normally I’d say absolutely not, but when you’re going to cover it with donuts, you might as well. I made this one with an angel food cake box mix since that’s my mom’s fav and it was her birthday!
2. Buy plain or glazed donuts in regular and mini sizes from the store. Donut holes would have been really cute, but they didn’t have any that day. The minis were from a Hostess bag!
3. Make the glaze (recipe below). I divided the glaze up into three bowls and tinted them with food coloring
4. Pour the glaze just on top of the cake and let the sides drip down. Top with sprinkles and let dry.
5. Dip the tops of the donuts in the glaze and top with sprinkles and let dry.
6. Pile up the donuts on top of the cake and secure with tooth picks. That’s it.
GLAZE RECIPE:
2 cups powdered sugar
2 tbsp butter, very soft
1 tsp vanilla
1 tbps hot milk
Mix all together. If the glaze is too thick to be drippy, add a little more milk. If it’s too runny, add more powdered sugar. Divide the glaze into three bowls with a little more glaze in the color you’ll use for the cake. The glaze dries pretty quickly so make sure to cover with saran wrap pressed to the top if you make ahead of time.

This is a great glaze for frosting sugar cookies too!

This would be so yummy with a chocolate ganache or caramel or peanut butter… yum the list goes on!
ENJOY!
-L

ARI’S ANIMAL THEMED PARTY: PART 2

I wanted to share all of my DIY’s with you from Ari’s animal themed birthday party. These ideas are pretty simple and easy, but when you put them all together, it looks sort of impressive (if I do say so myself!).
PAINTED PLASTIC ANIMALS
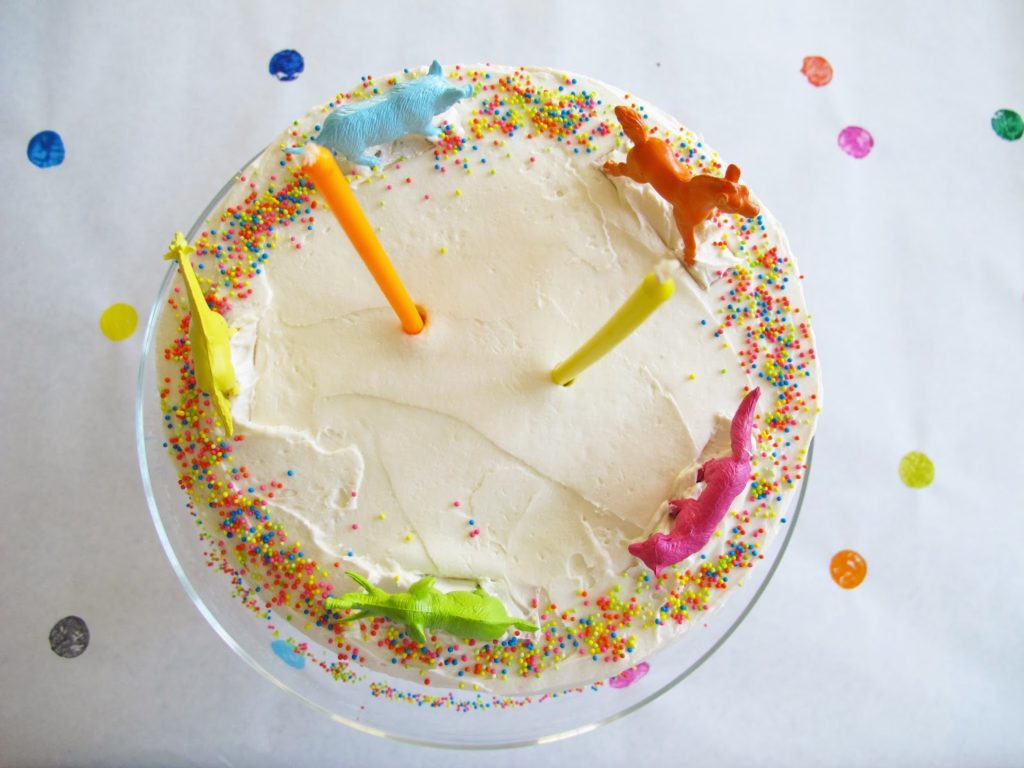
These little dudes were my biggest project. I collected tons of plastic animals from craft stores and dollar stores and spray painted them solid colors to make the look more cohesive and modern. The easiest way I found to paint the animals was to put packing tape sticky side up on a piece of cardboard (see below) and spray paint from every angle. They take a while to dry and require multiple coats, so plan ahead!
PARTY HATS
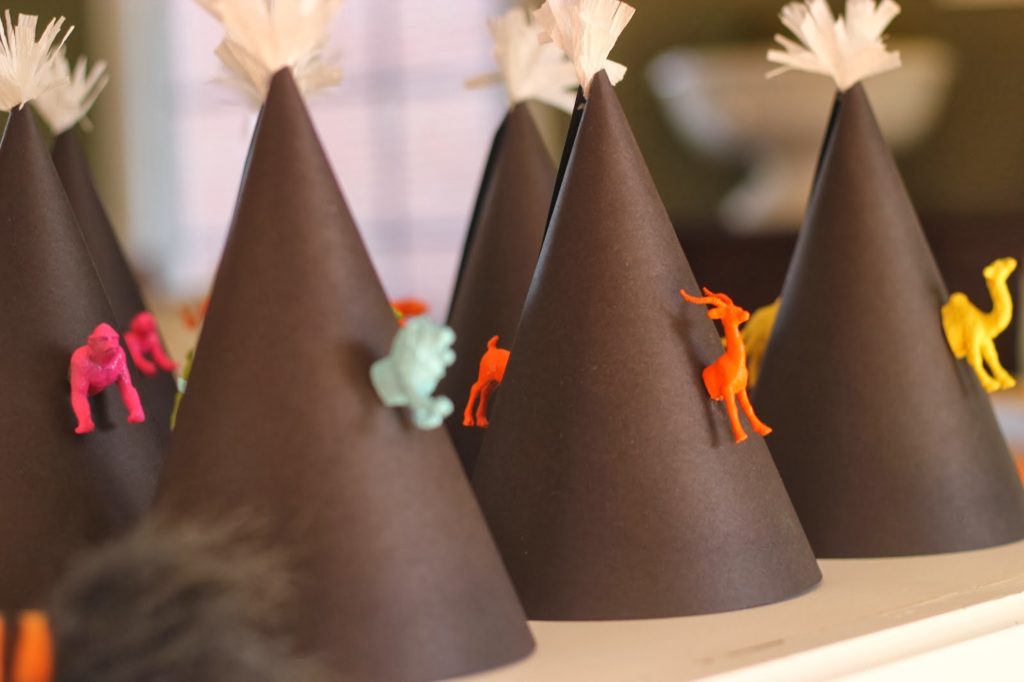
I LOVE how the party hats turned out! First unfold a store-bought party hat and trace it onto black paper. Cut it out a little larger than the traced line you made. Put the hat back together and tape the black paper around the hat. I cut the plastic animals in half and used a hot glue gun to secure each half to the front and back of the hat. For the pompom on top, I fringed some white crepe paper and glued it into seam of the hat.
ANIMAL CUTLERY
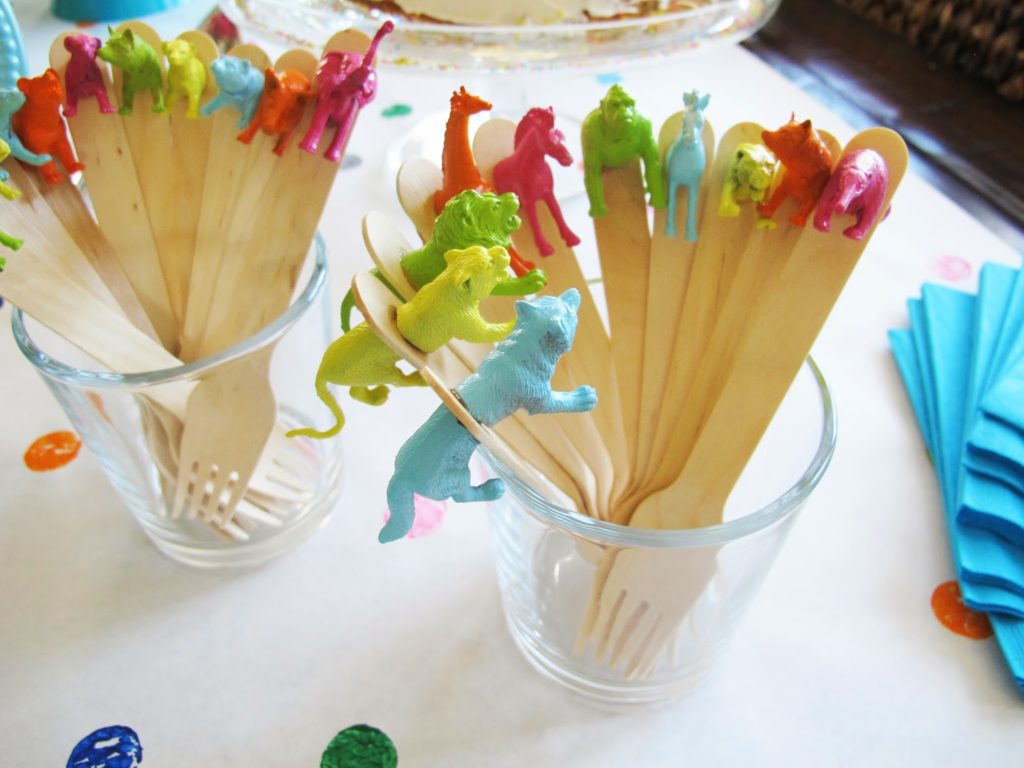
I have to say, the animal cutlery was the biggest hit with everyone, but these were so. time. consuming. Use fine sand paper and sand off the finish on the forks where the animal will go. Make sure there’s no spray paint on the middle of the animals, in other words, spray paint the animals first before cutting. Use Gorilla Wood Glue (super glue and hot glue does not work!) and hold on to these suckers until the glue dries. This will take about 3-5 minutes PER fork. But I mean… look how cute they turned out! 
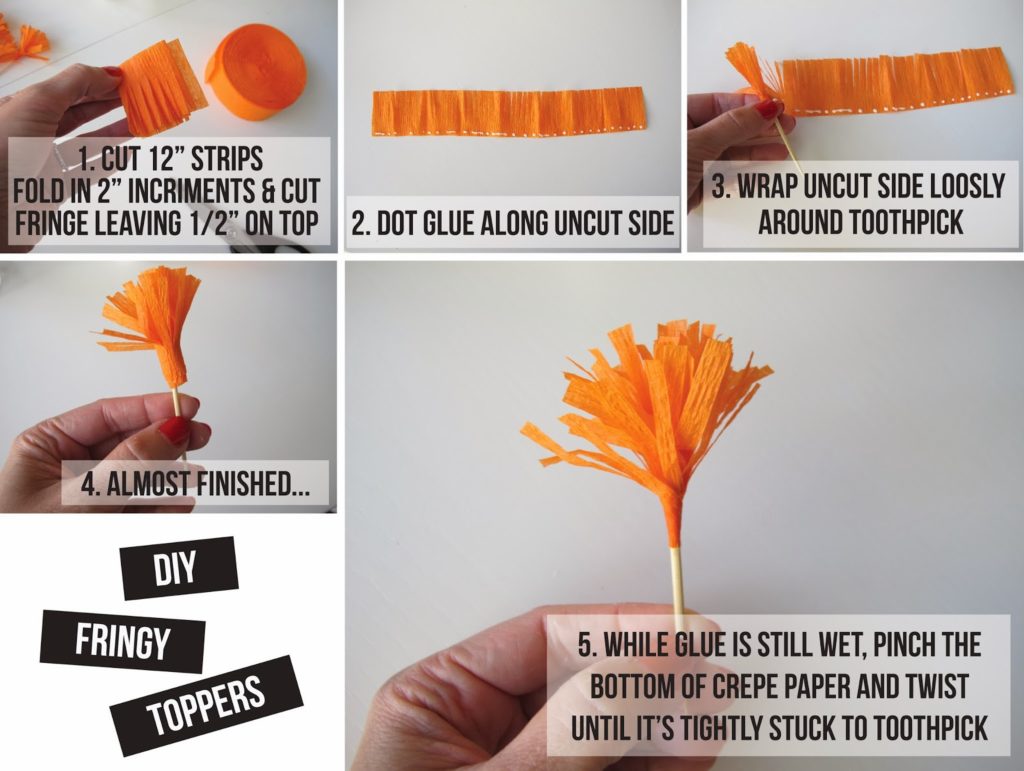
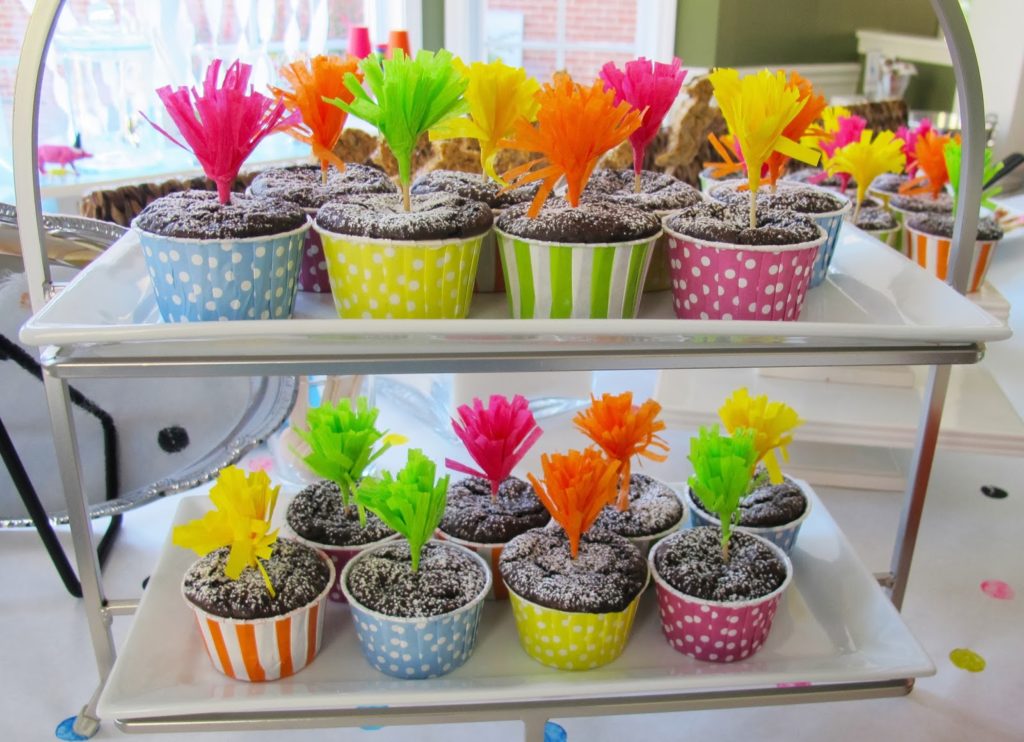
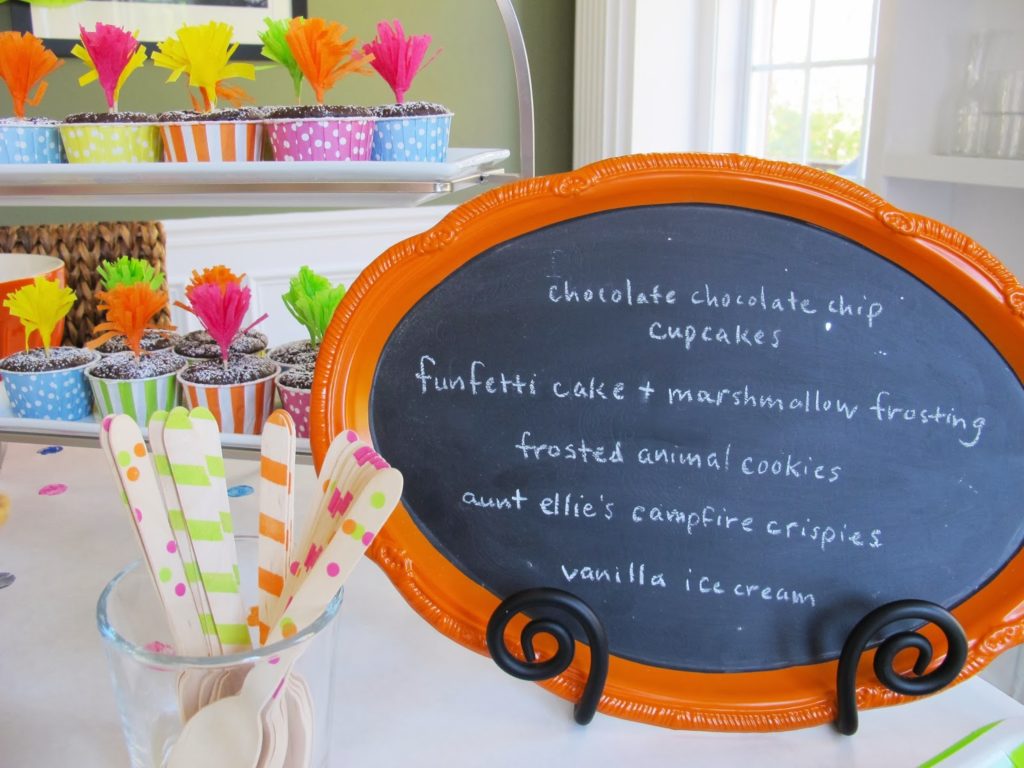
DIY FRINGY TOPPERS
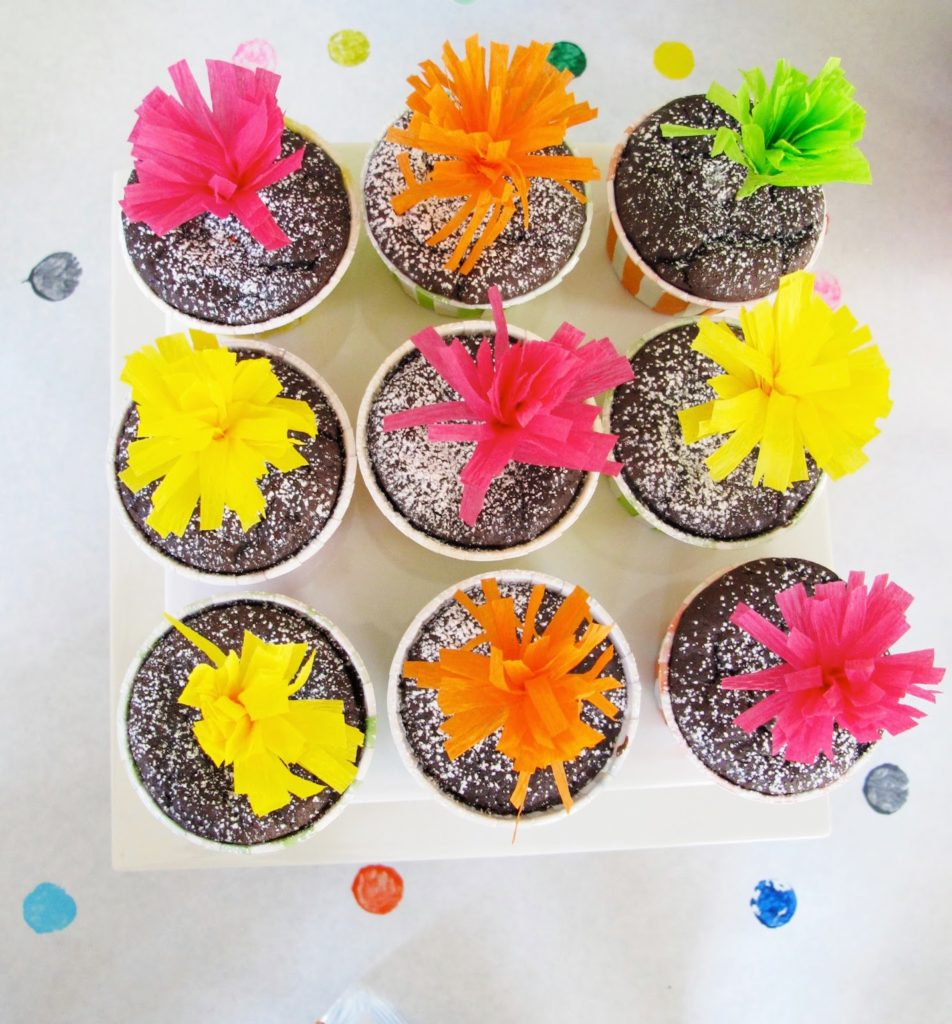
Once you get the hang of it, they’re super fast and easy. Use these for drink stirrers or cake toppers or whatever! These pretties brighten up any party.
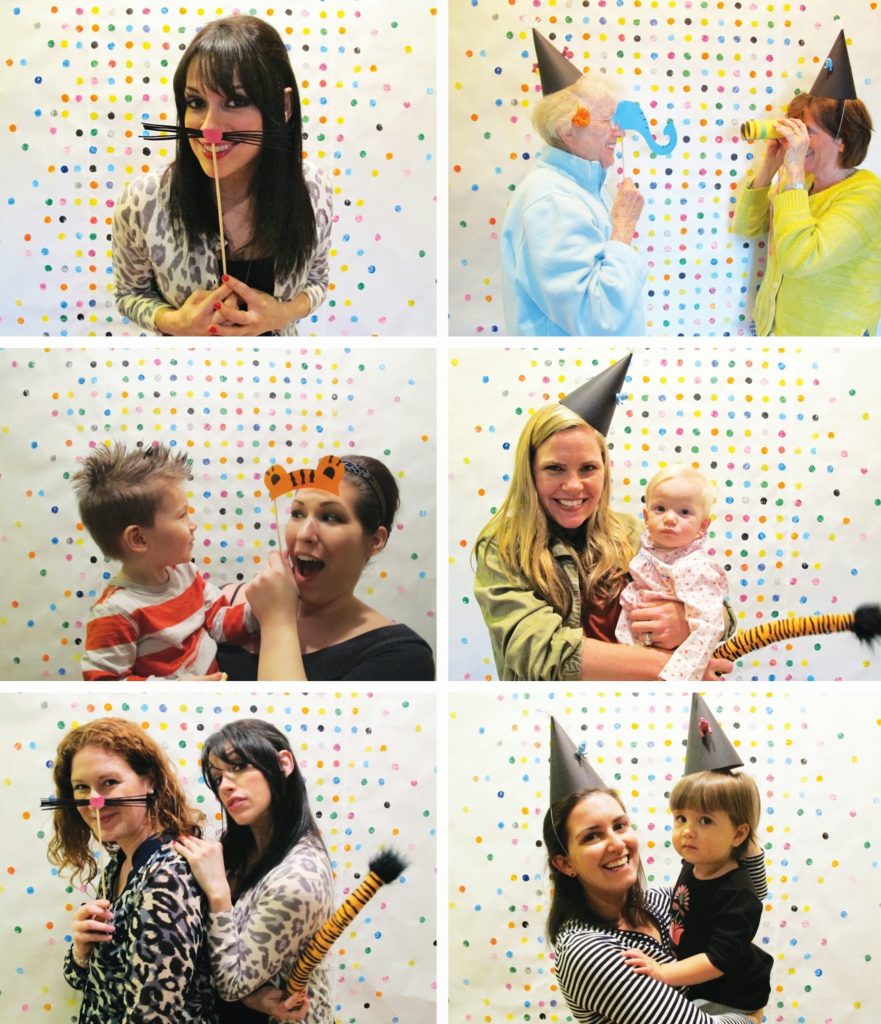
PHOTO BOOTH
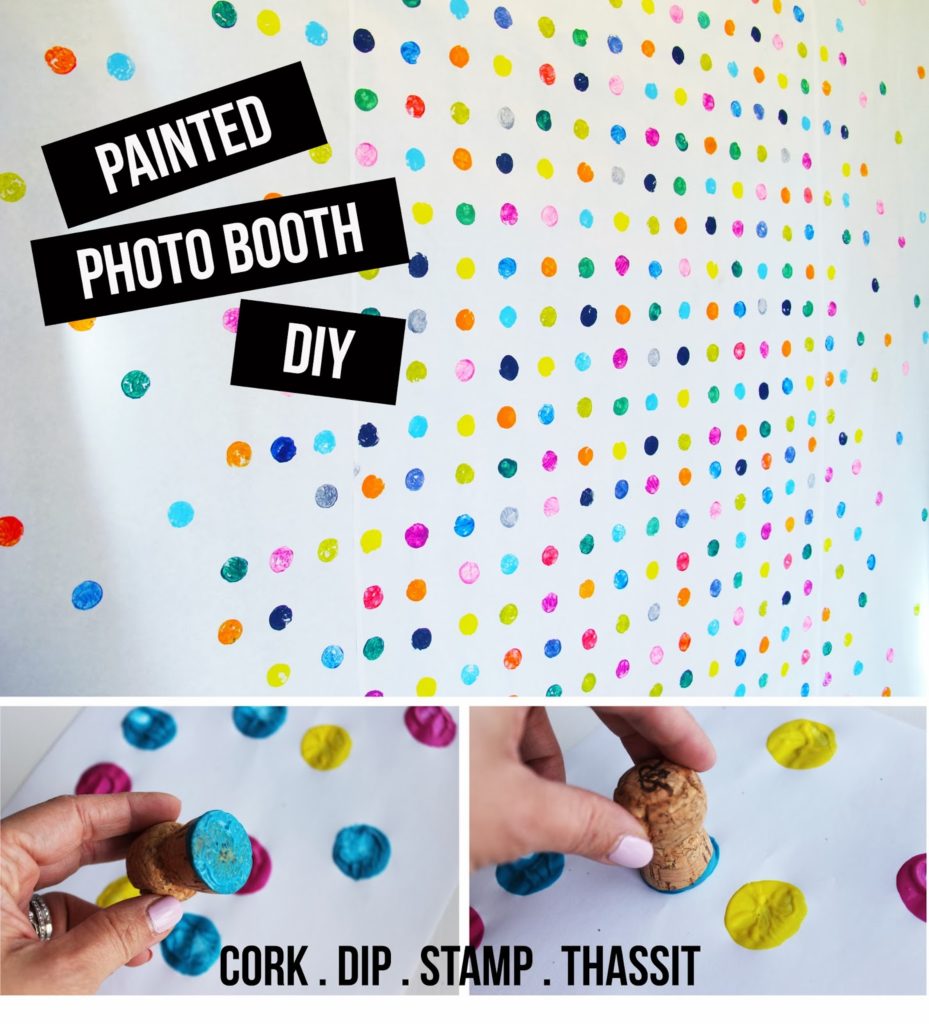
Time consuming? Yes. Easy? Ridiculously. 
All you need is a roll of butcher paper or bulletin board paper, craft paint, and a wine cork. For the photo booth backdrop, I measured neurotically so the dots would be even, but for the tablecloth below, I stamped randomly.
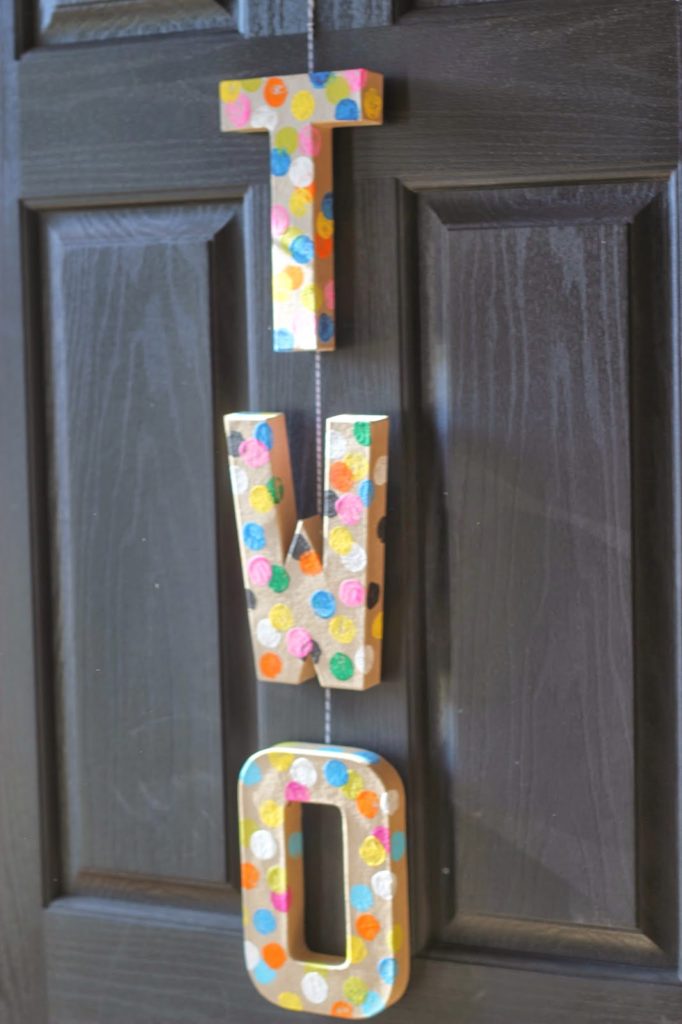
 More cork stamping! Paper mache letters hung on the door. 
CHALKBOARD TRAYS
I bought inexpensive silver plastic trays and spray painted the boarder with the same paint I used on the animals. When dry, paint the center with two layers of chalkboard paint. Easy!
For Part 1 of Ari’s animal themed party pictures click HERE
Part 3 HERE
Party Favors / Games for the kiddos / Details
-L