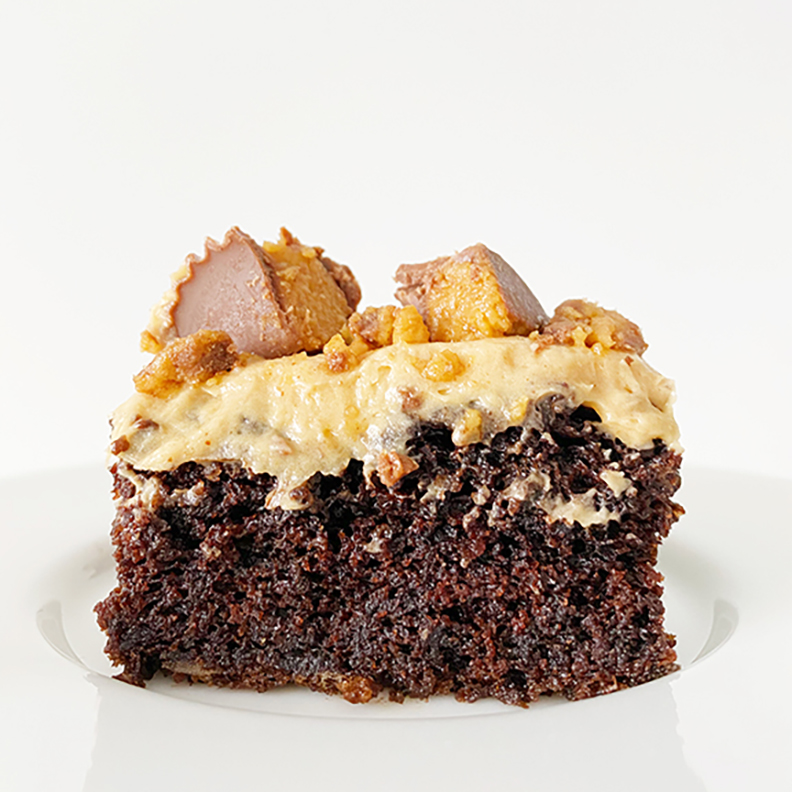
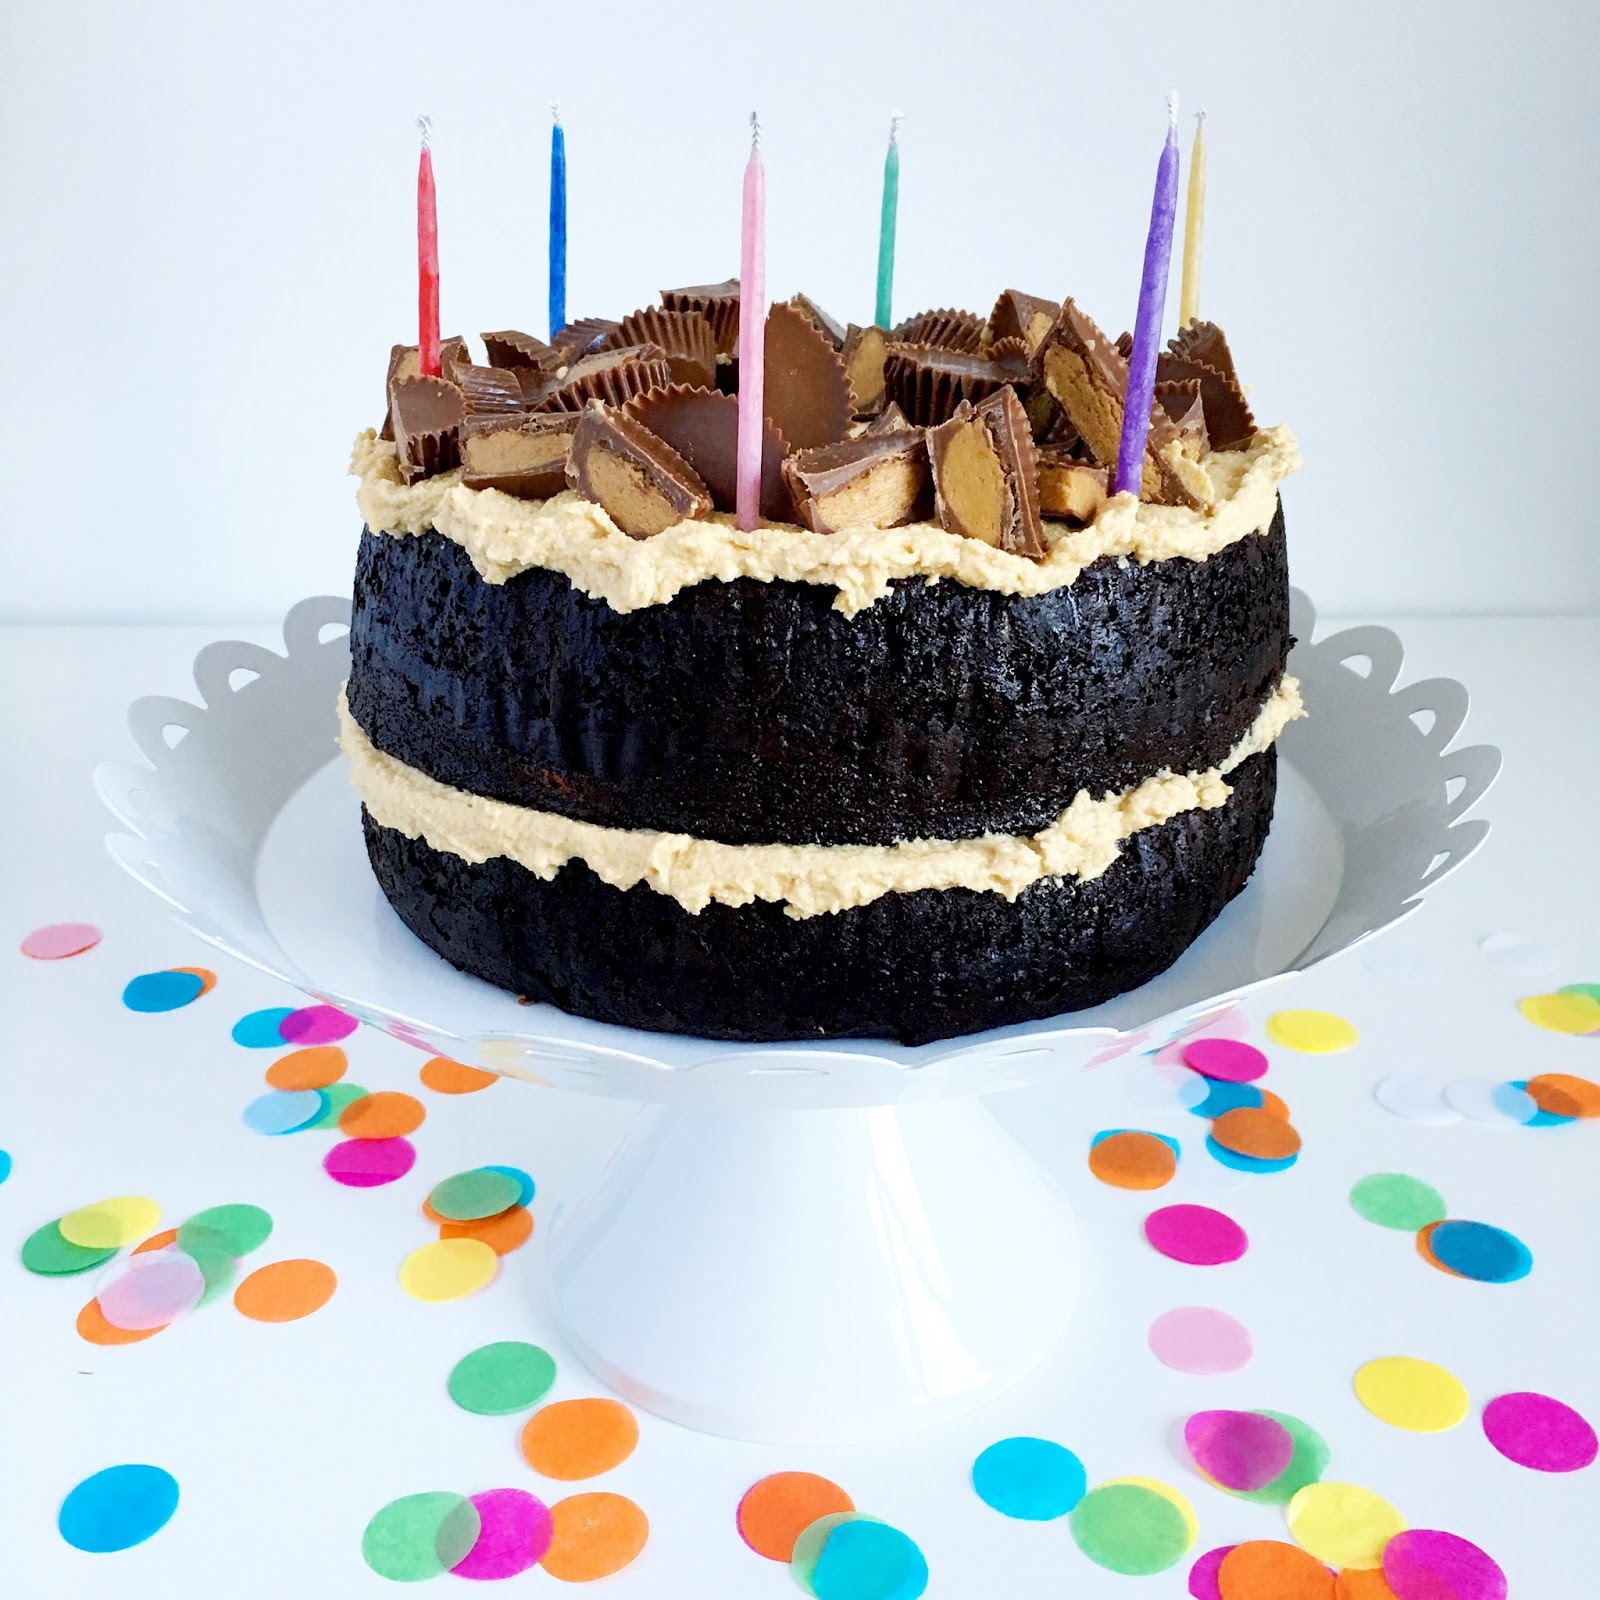
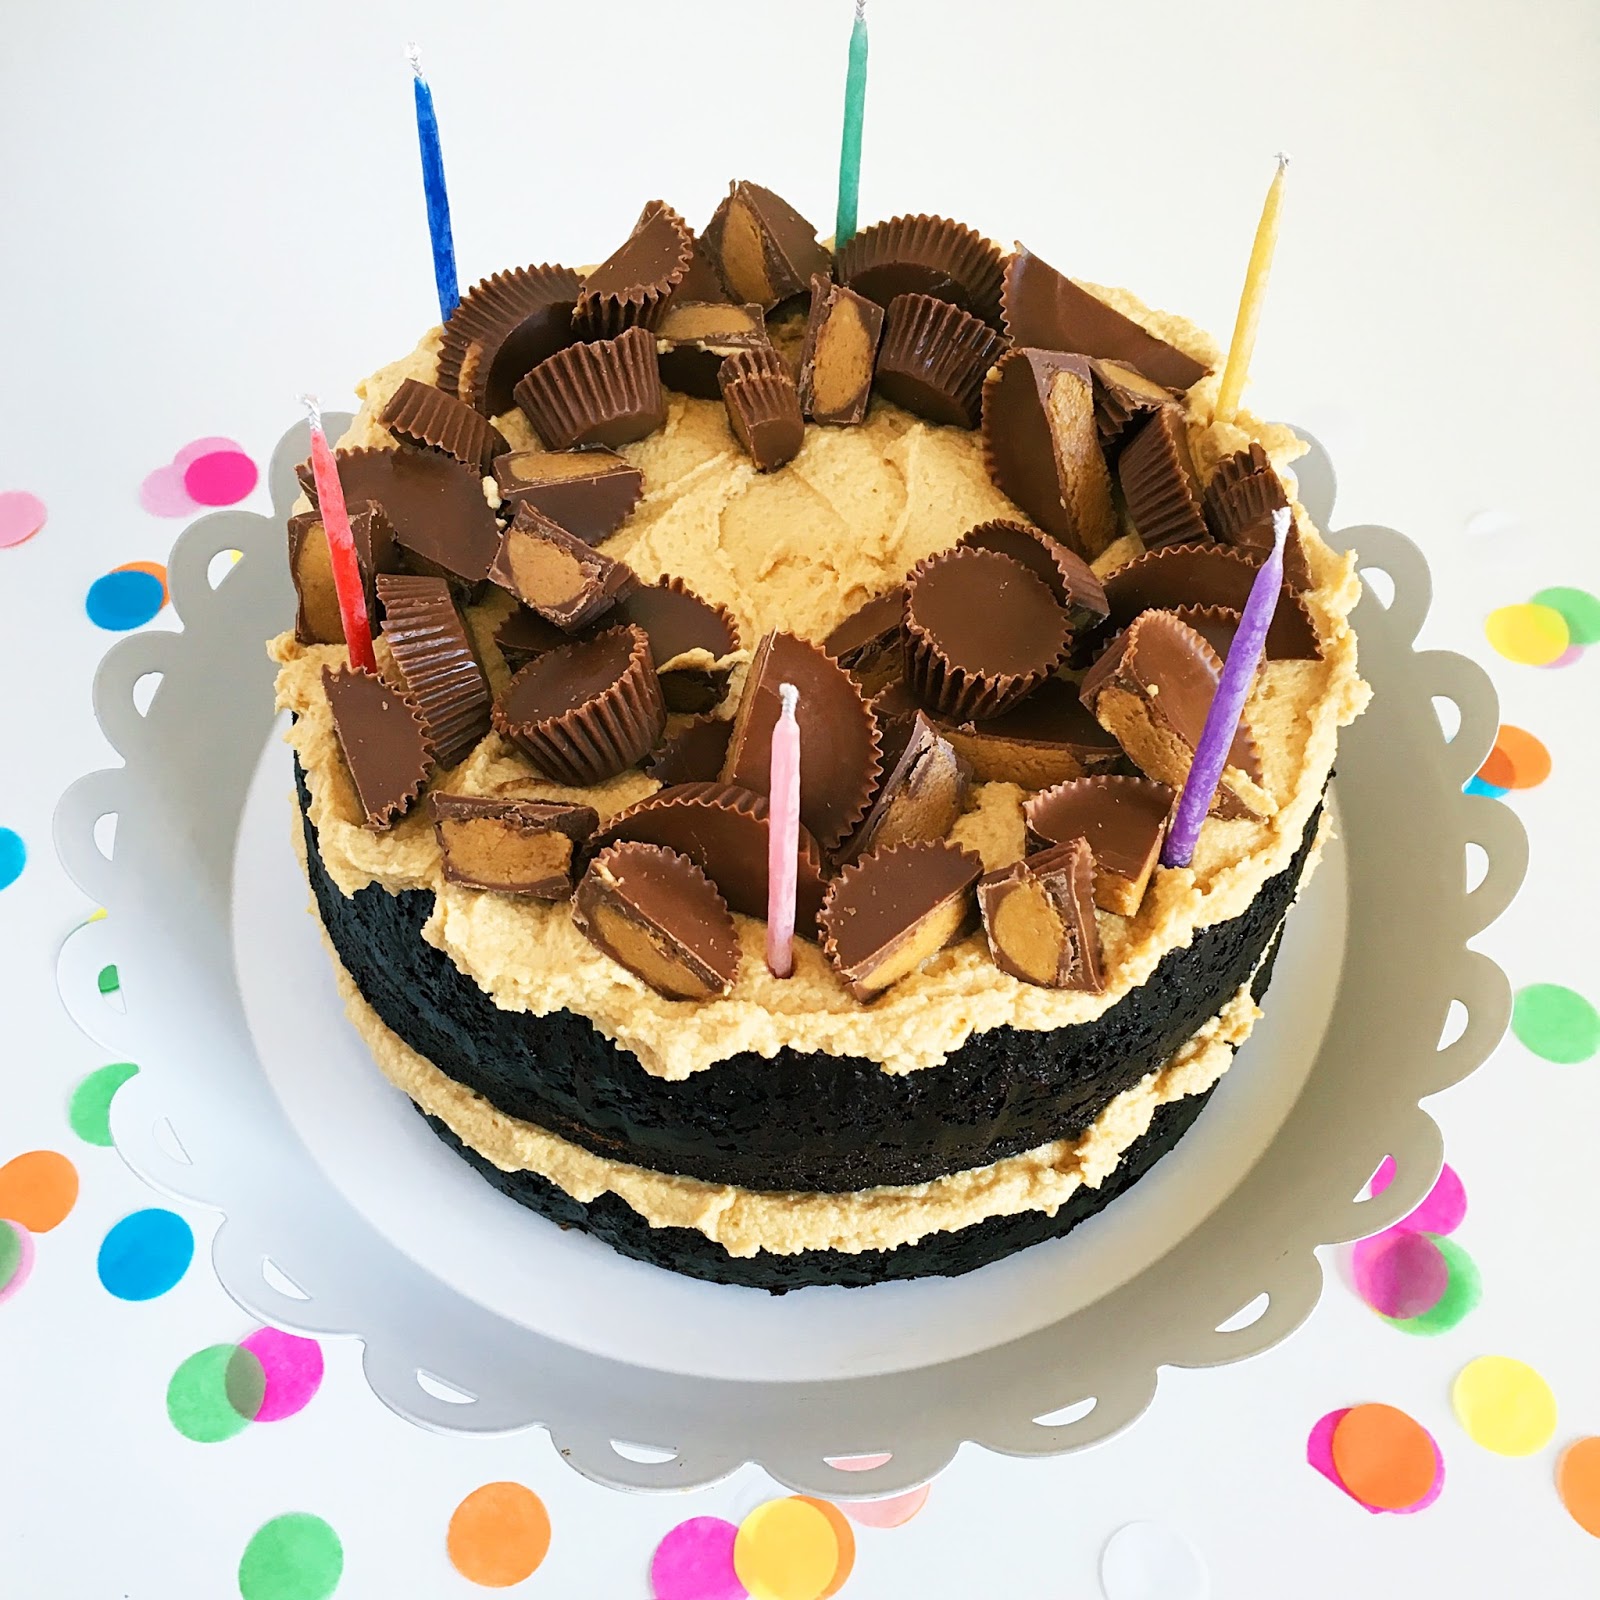
CHOCOLATE CAKE + CHOCOLATE OR PEANUT BUTTER FROSTING
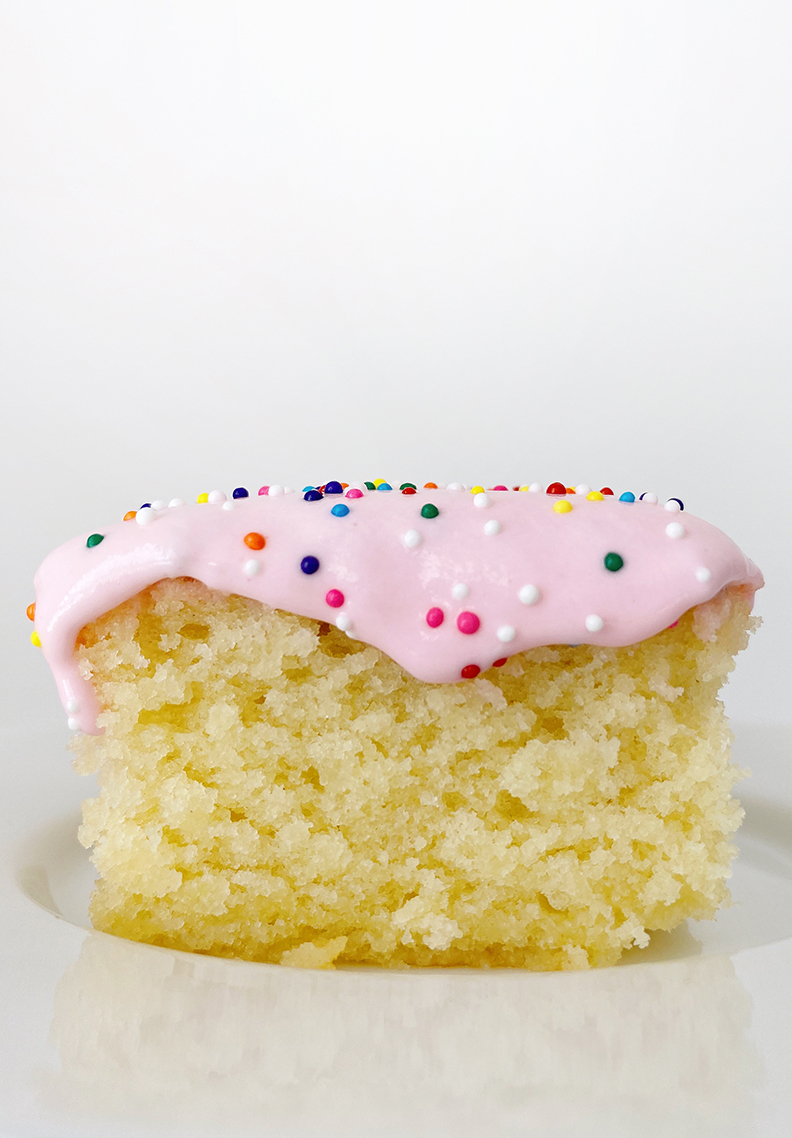
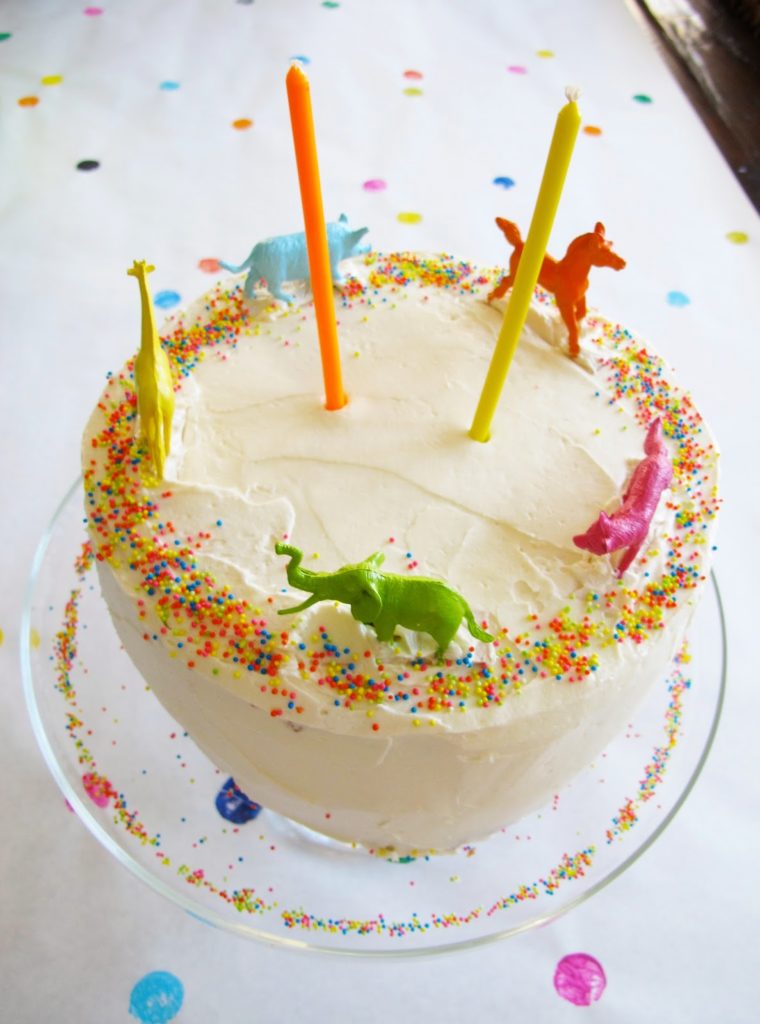
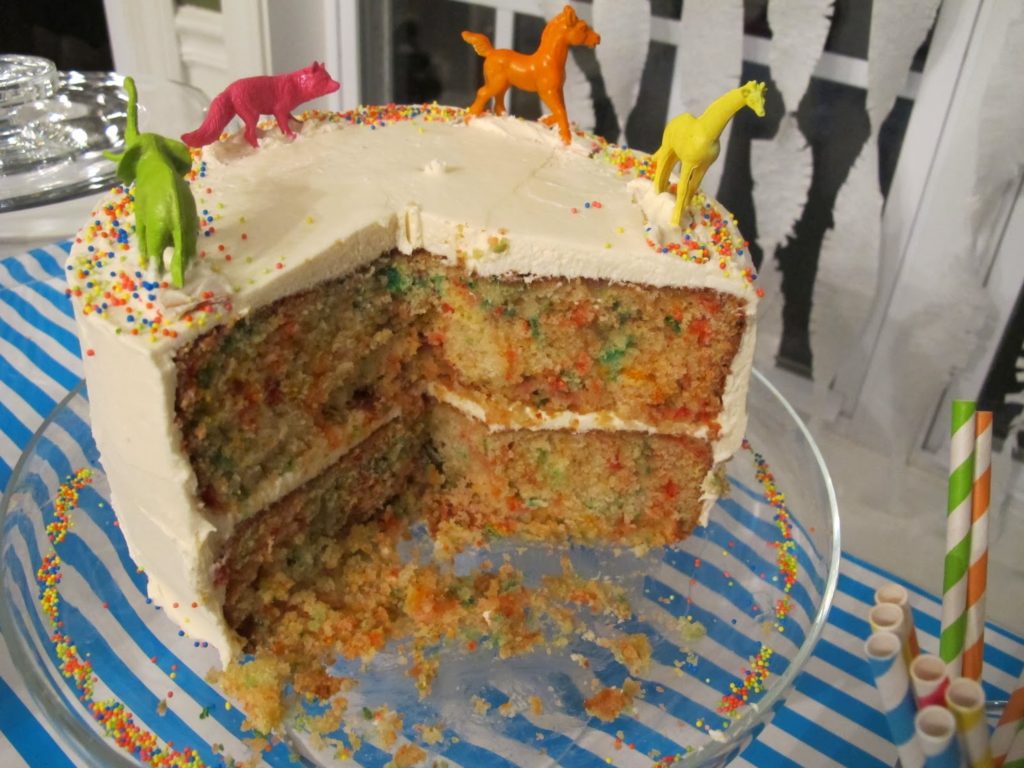
YELLOW CAKE WITH MARSHMALLOW BUTTERCREAM FROSTING


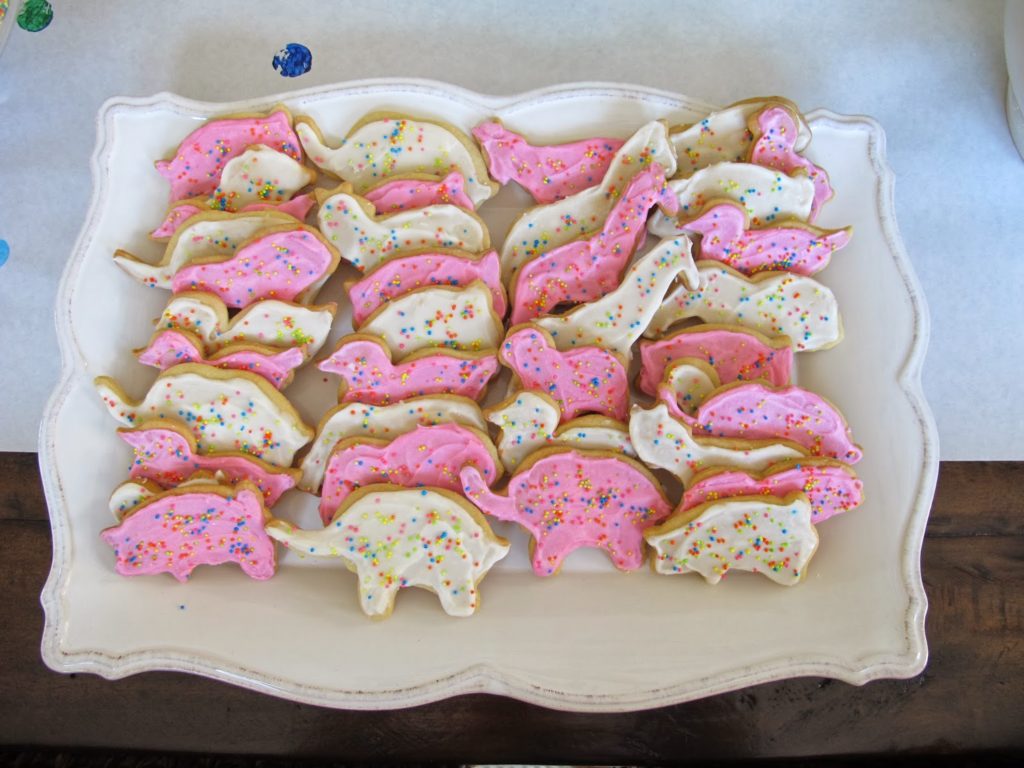
This is a great glaze for frosting sugar cookies too!


.JPG)
.JPG)
This will make the cake taste like a s’mores!
* If frosting a sheet cake, I like to halve the recipe since you’re not covering as much area. This frosting is rich!
1 cup salted butter, room temp (or add 1/4 tsp salt to unsalted butter)
14 ounces Marshmallow Fluff
2 cups powdered sugar
1 teaspoon vanilla