crafts

DIY FALL DOOR DECOR

We’re stiiiiill in our rental- two more months to go before our house is finished!!- but that doesn’t mean we shouldn’t make it feel homey and festive for fall! Or at least that’s what Jenni keeps telling me. This was a super easy and quick craft project that I did during nap time. You can do it too… promise! I made a free download for the template you can get right here.
What you need:
1 piece of Kraft paper or other color card stock
Metallic Sharpie (or you could use paint!)
Scissors
String
Stick
Washi tape
Glue and glitter if you want to make it glitzy
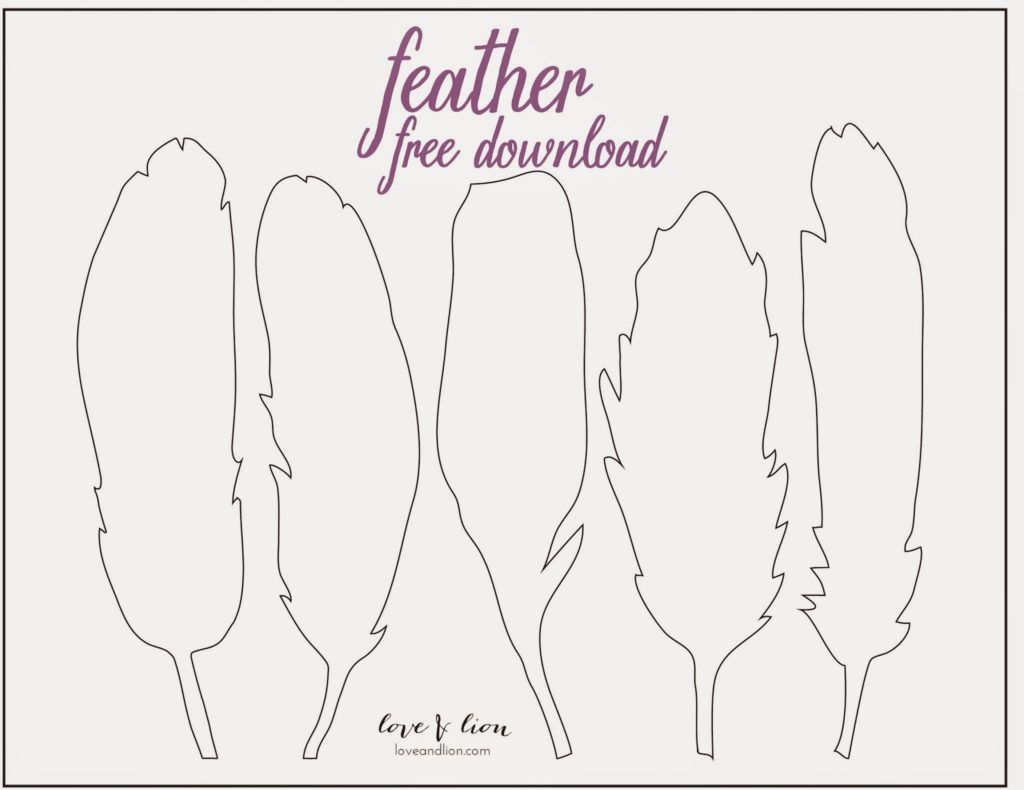
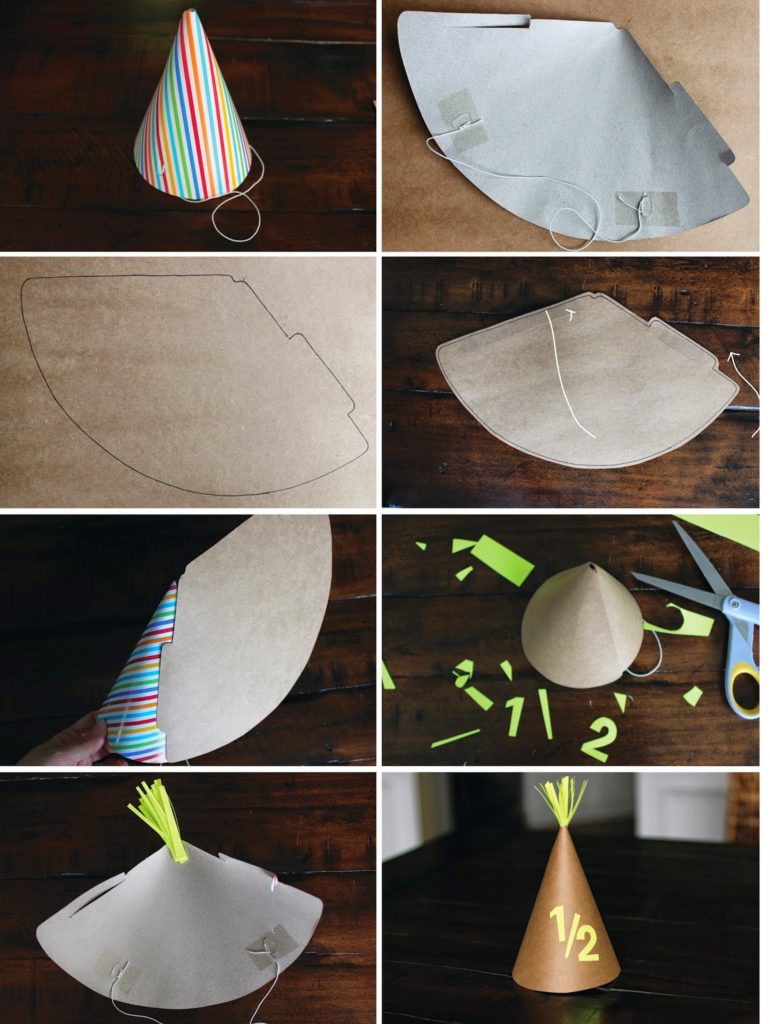
1. Print template… Click HERE to download
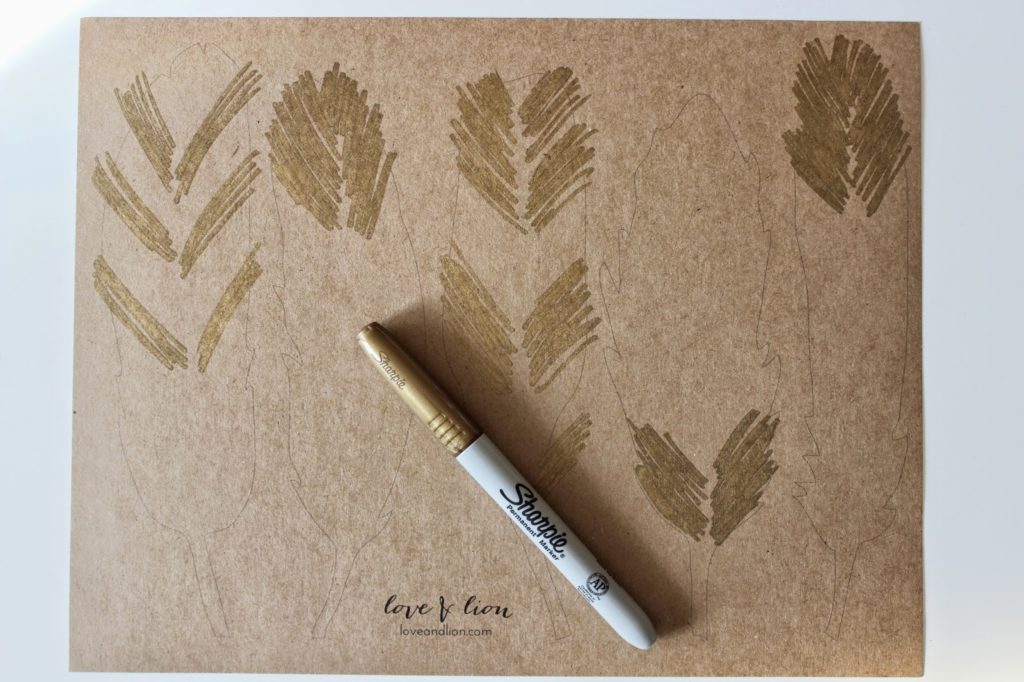
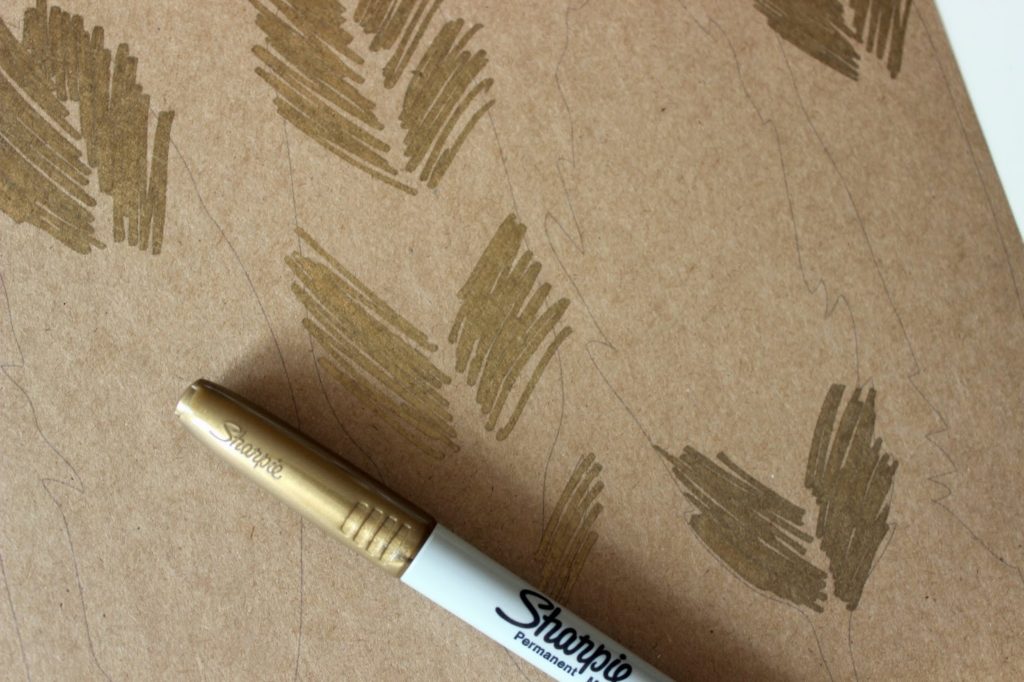
2. BEFORE you cut out the feathers, color in designs with a gold sharpie or paint designs. It’ll make less messy that way!
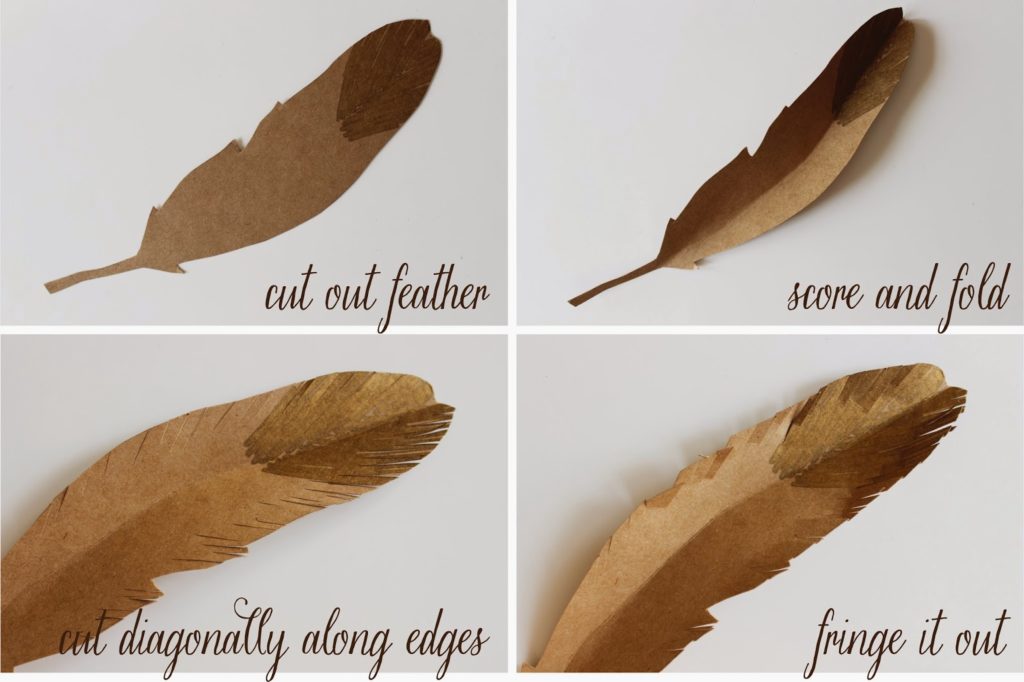
3. Cut out the feathers shapes then score by using your fingernail tracing along the middle- I sort of did this in a curved shape to give the feather more dimension. Gently fold the feather up. 
4. Cut thin diagonal lines all the way down the sides of the feather. Run your fingers up and down the fringe to give the feather some texture.
5. You could stop here… or you could get a little messy and add glitter! I used Martha Stewart’s Florentine Gold Glitter. 
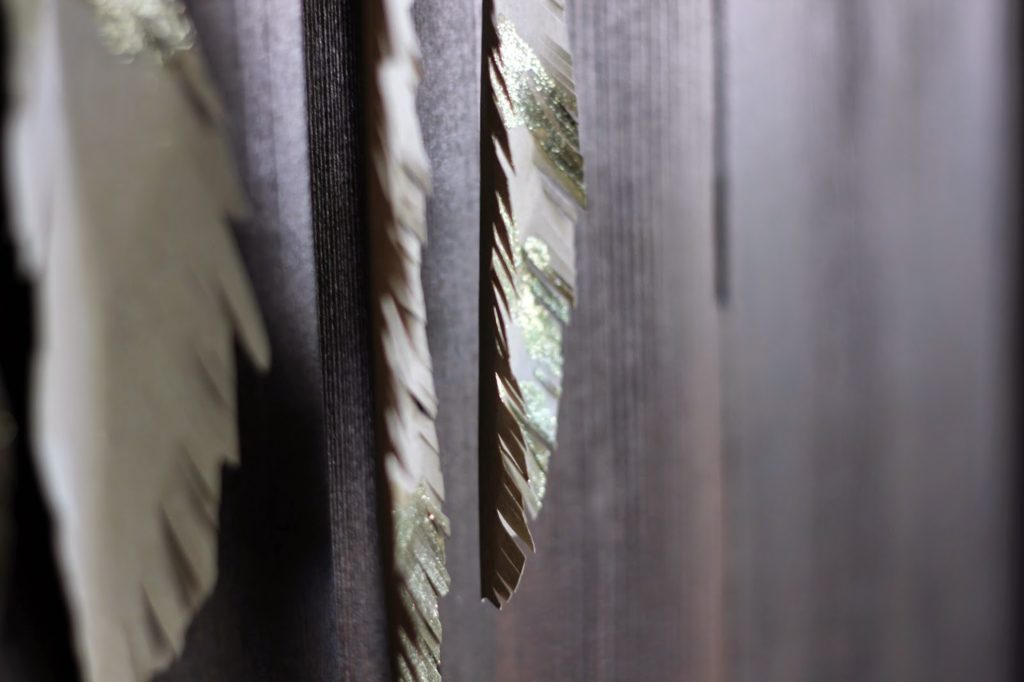
See that fun fringy texture?
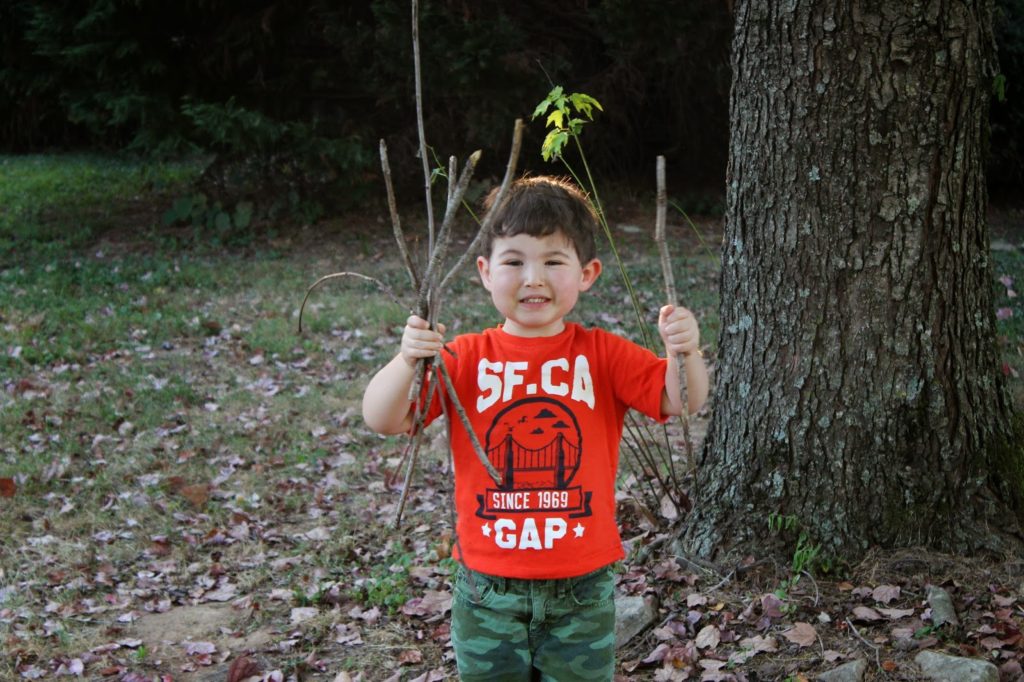
6. Find a stick…
 Tip: toddlers are low to the ground and can find the best sticks. And oh yeah… boys love sticks.
 See that pretty texture? Score, Ari!
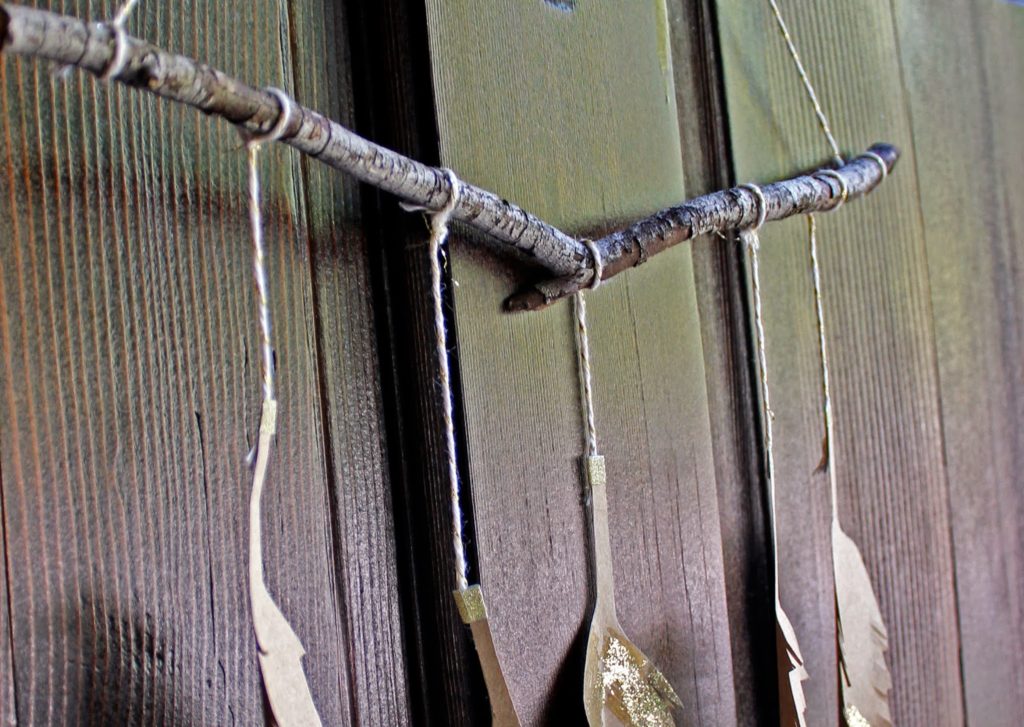
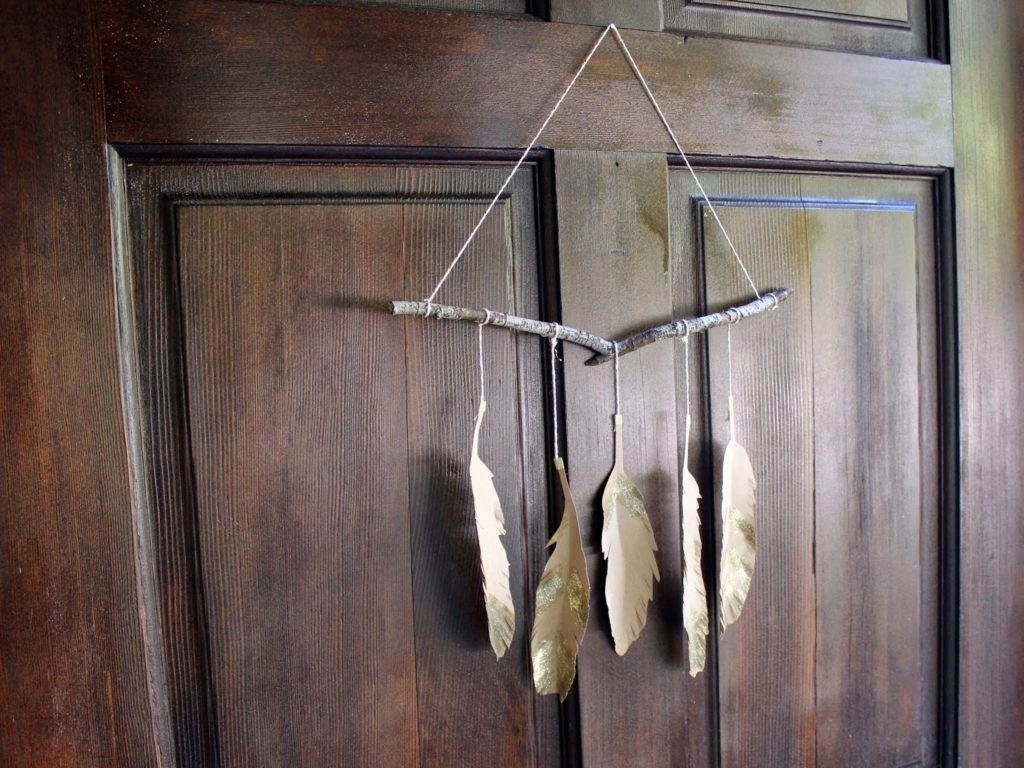
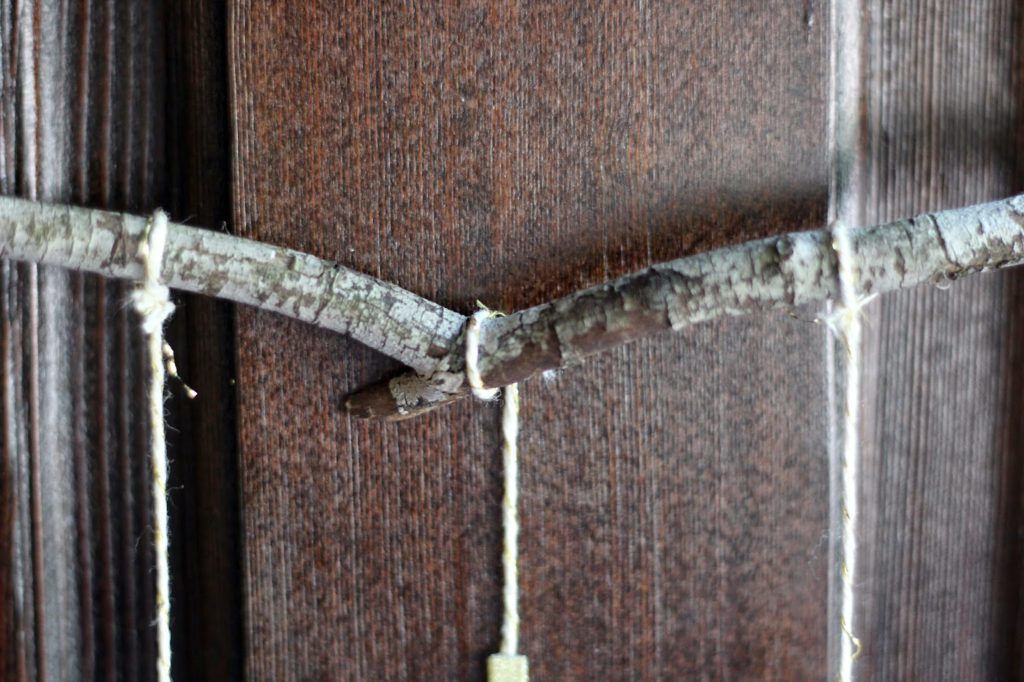
7. Attach string to each feather with a little piece of washi tape then simply tie the string to the stick. 
Happy fall y’all! 
(I only say “y’all” in print… it just doesn’t sound right in my midwestern accent!)
-L

DIY DOOR MONOGRAM – FOR THE LITTLES

Is it just my child that hoards “treasures”? Maybe hoarding is genetic, because he definitely gets it from me! Ari has a drawerful of little trinkets and toys that he doesn’t play with all the time. Marbles, matchbox cars, “magic rocks”…they’re all of course choking hazards for Max, so I decided to hot glue them into infinity. It’s an easy way to personalize Ari’s space in our rental and only $2 to make. Oh how I miss Ari’s room in our old house. Dreaming about our new space we’re building!
Click here for my holiday version of the monogram door hanger. Totally reusing it this winter!
STUFF YOU NEED: Glue gun, x-acto knife, pencil, ruler, string, paper mache letter (I got mine at my craft store for $3, but obviously I had a coupon for it!), and junk treasures.
 STEP 1: Measure 1 cm around the inside of the letter.

 STEP 2: Using your ruler to stabilize your knife, cut along the pencil line. Tip: score first, then cut without moving your ruler. It took me about 3 cuts to get all the way through the cardboard.
 STEP 3: Remove top and inside stuff, smooth down the edges of what you cut.
STEP 4: Using your x-acto knife, make holes at the top of the letter and use your pencil to make the holes a little bigger. Thread string through.
 STEP 5: Lay your treasures out to make them fit, then glue glue glue!
STEP 6: Hang up and be proud of your $2 craft!
STEP 7: Roll your eyes as your kid claims he wants to play with the toys you just glued even though he hasn’t played with them for months. 
-L

PARTY HAT TUTORIAL – FREE DOWNLOAD

Here’s a quick and easy party hat tutorial for you. If you want a solidly constructed hat with the string and everything (so you can force your baby to wear it like I do) but have it match your decorations, this is my fav way to go. Scroll down for the tutorial and download.
Ari’s third birthday party HERE
Ari’s second birthday party HERE

 PARTY HAT TUTORIAL:

1. Start with any store-bought hat
2. Unfold the hat, design-side down
3. Trace around the hat
4. Cut out traced shape, a little outside the lines to leave room for error
5. Put double stick tape on the two straight edges of the traced shape
6. Start with the “tab” side and tape on the hat, wrapping around the paper as you go
(If you want to do a little fringe or pom pom add this in before you close up the hat)
7. Decorate! 
Download party hat numbers HERE
 And here are my babies in their birthday hats! Oh how I love to torture them.

Jenni covered her hats with chalkboard paper and wrote with chalk. Amara’s first birthday party HERE

We’d love to see your party hats! Email us!
 -L

TEACHER GIFTS ROUNDUP

Teacher appreciation day is coming up, and we know a lot of you busy mamas have been asking for some easy gift ideas. Let’s treat the (very patient) people who take care of our kids, feed them, change them, clean them, teach them, love them… and they’re not even their own kids! Who does that? Not these ladies right here. No thank you.
Here are some of our fav DIY/free printable gifts plus more on our Pinterest board HERE
Click numbers for links: 1 / 2 / 3 / 4 / 5 / 6 / 7 / 8
See more HERE
Remember A+ for effort, right?