garland

PARTY IN AN ENVELOPE

It was my boys’ last day of preschool today! It’s actually a year-round school, but it was their last day with their current teachers who have loved and cared for them like they were family. I think it’s always the most meaningful to write a handwritten note, but to step it up a notch, I added a little handmade banner and confetti to let them know they were THE BEST! My sister and I have this thing with “the best”. It’s the best donut, it’s the best movie, it’s the best book… we tend to think a lot of things are “the best”, and these teachers really were the best!!
You could totally use this idea for any occasion by switching up the saying on the banner. How cute would it be to get a “congrats” or “happy birthday” party in an envelope?! I’d for sure go [delightfully] inappropriate when sending it to some of my friends… but we’ll keep the blog PG.
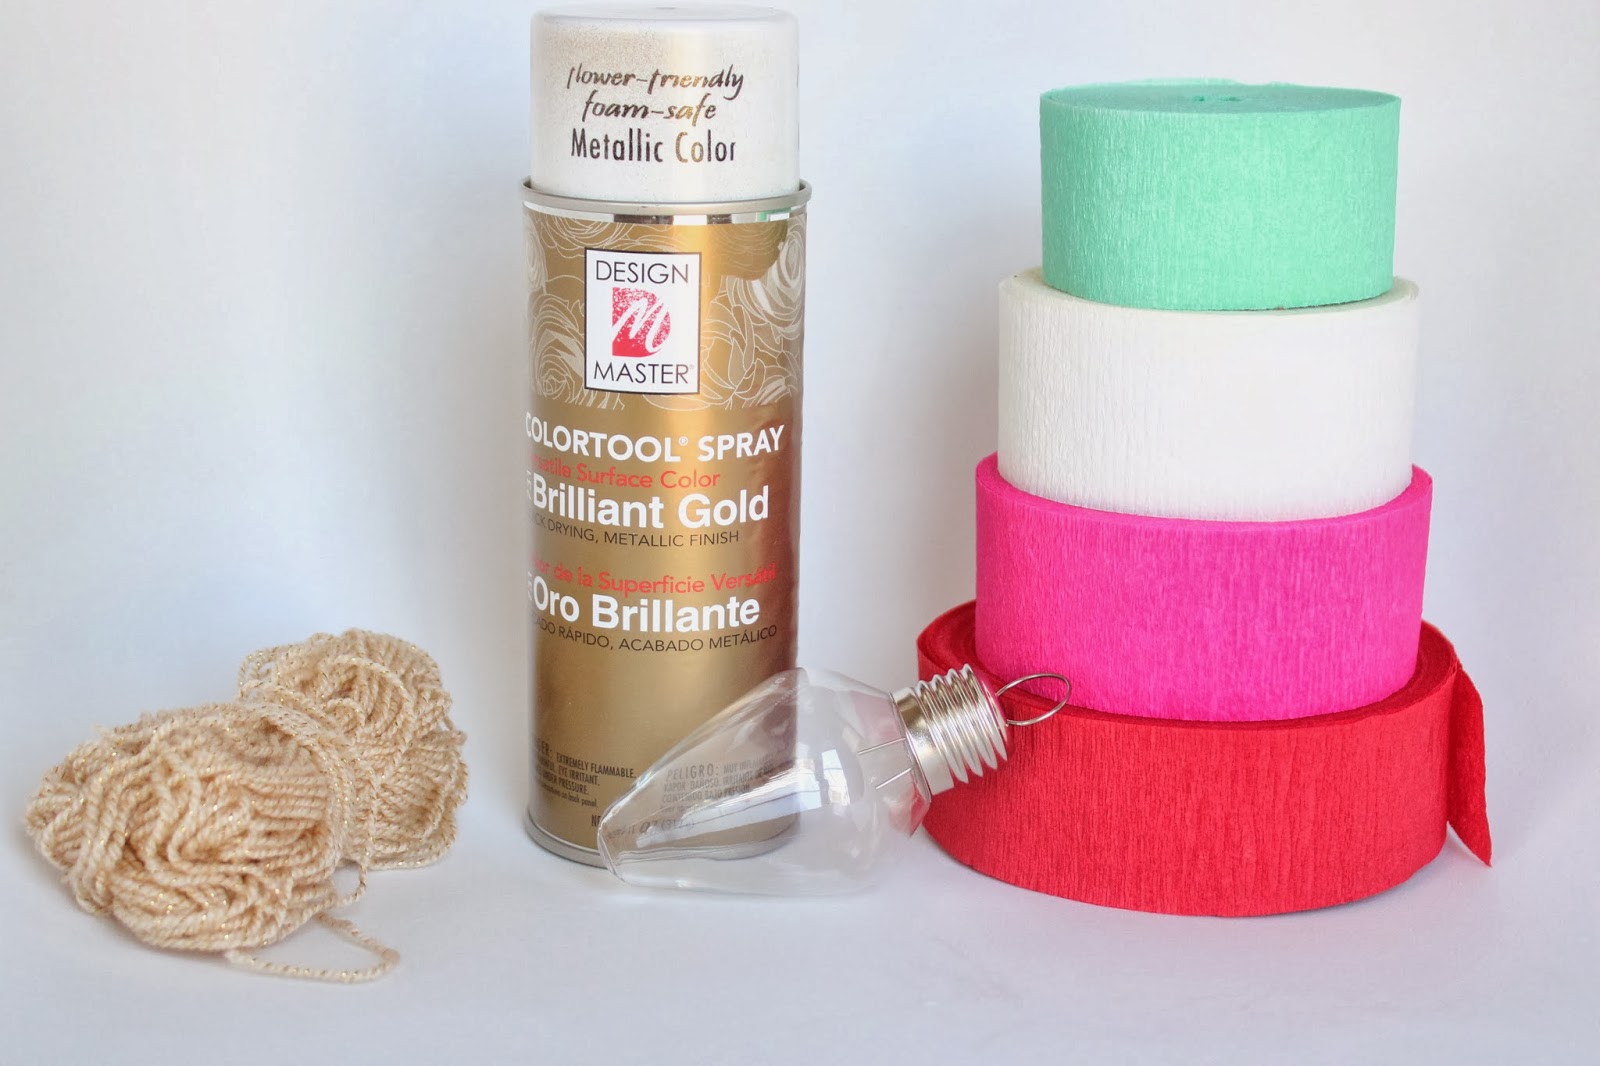
Here’s what you need:
Pencil
Paper scraps
Scissors
String
Hole punch
2 pieces of washi tape
Time: 20 minutes
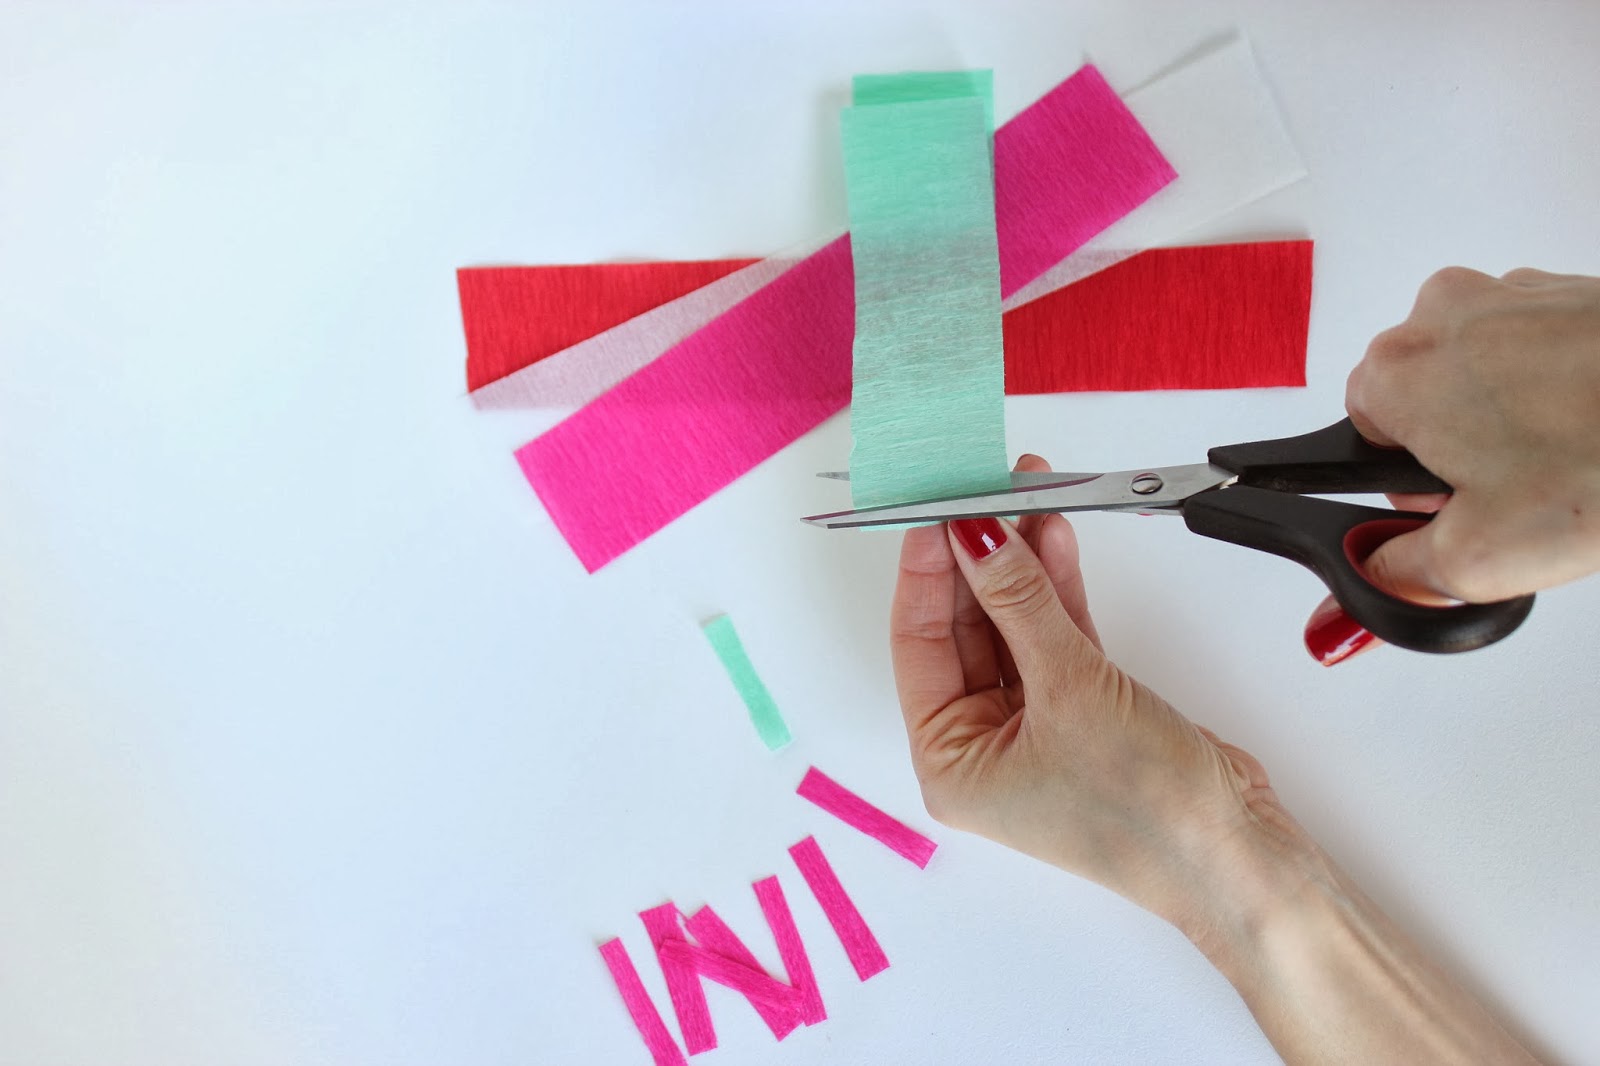
You can freehand cutting the letters or trace them out with pencil. I actually have a cutting machine but wanted it to look more homemade. I made the letters about 2 inches tall.
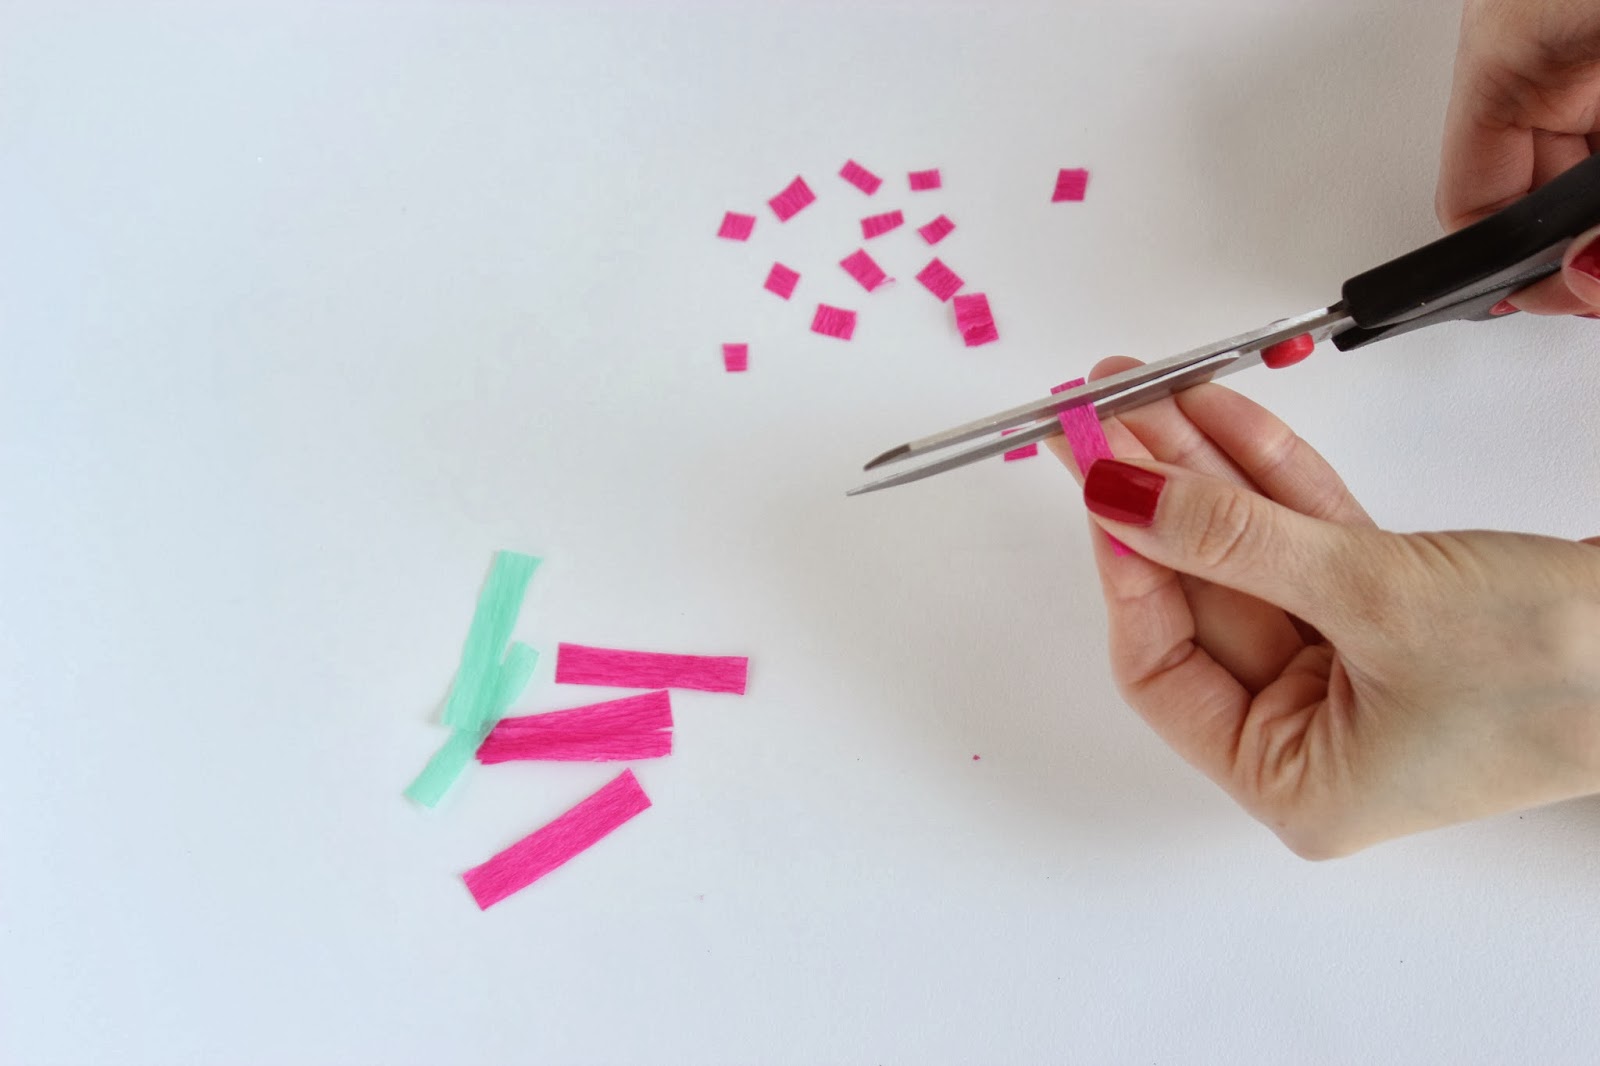
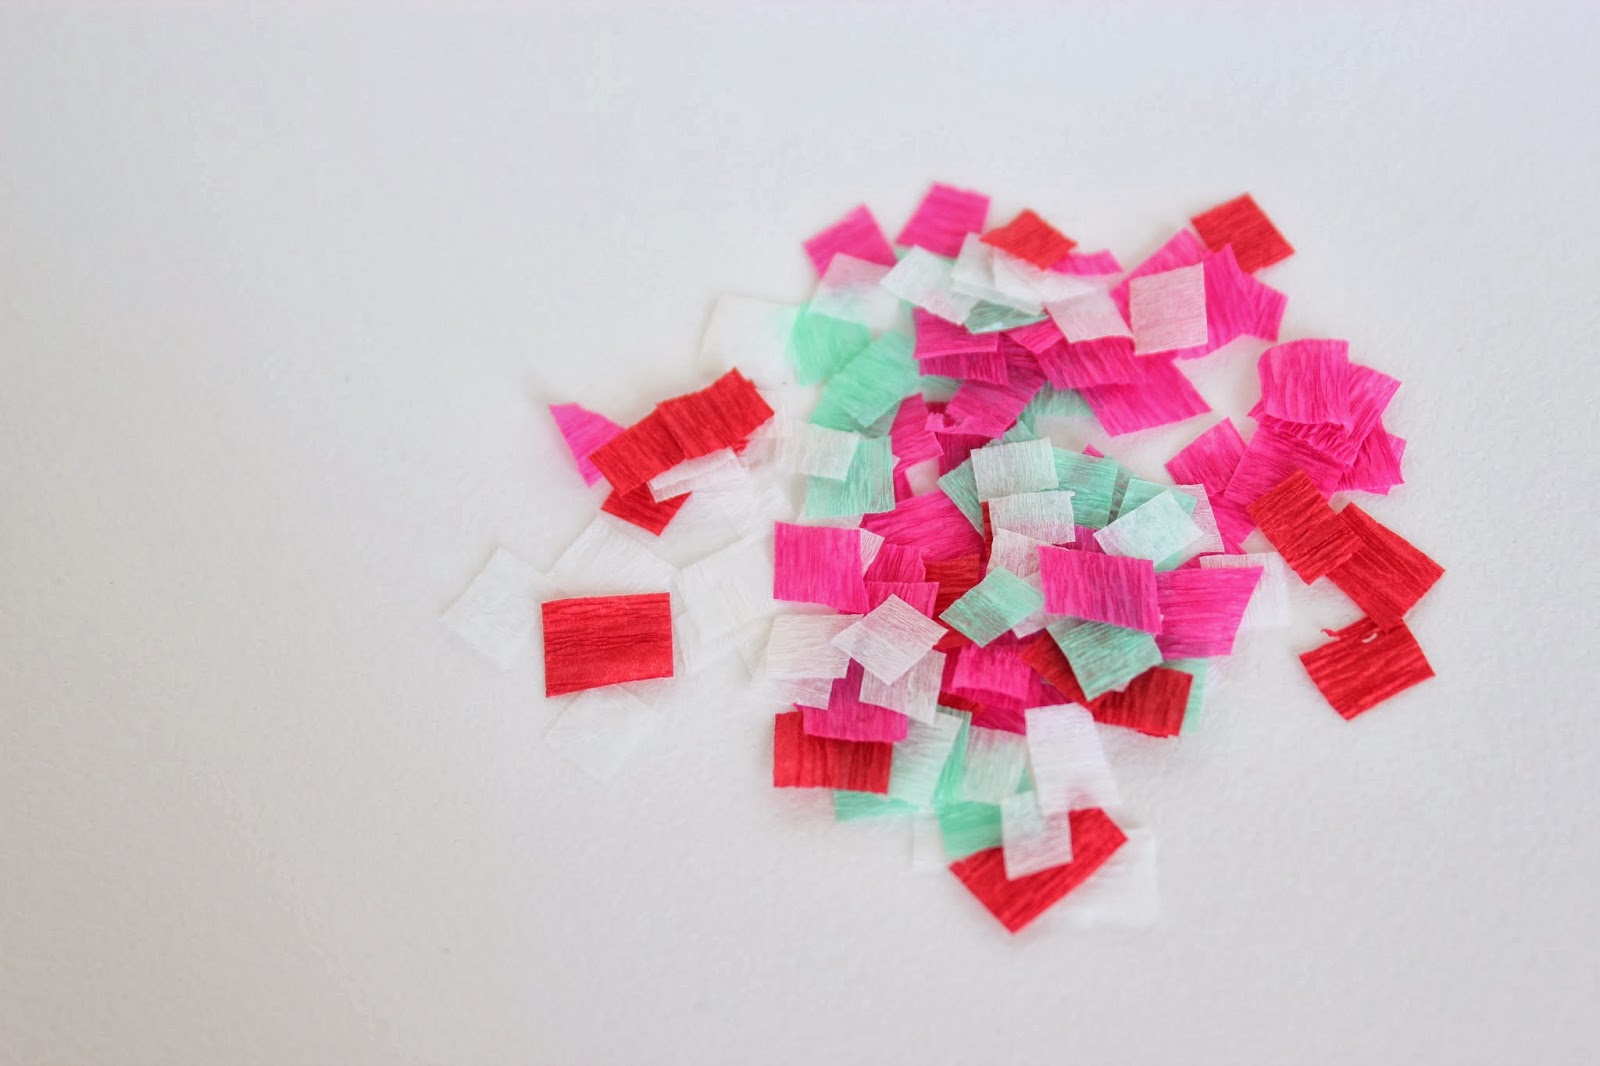
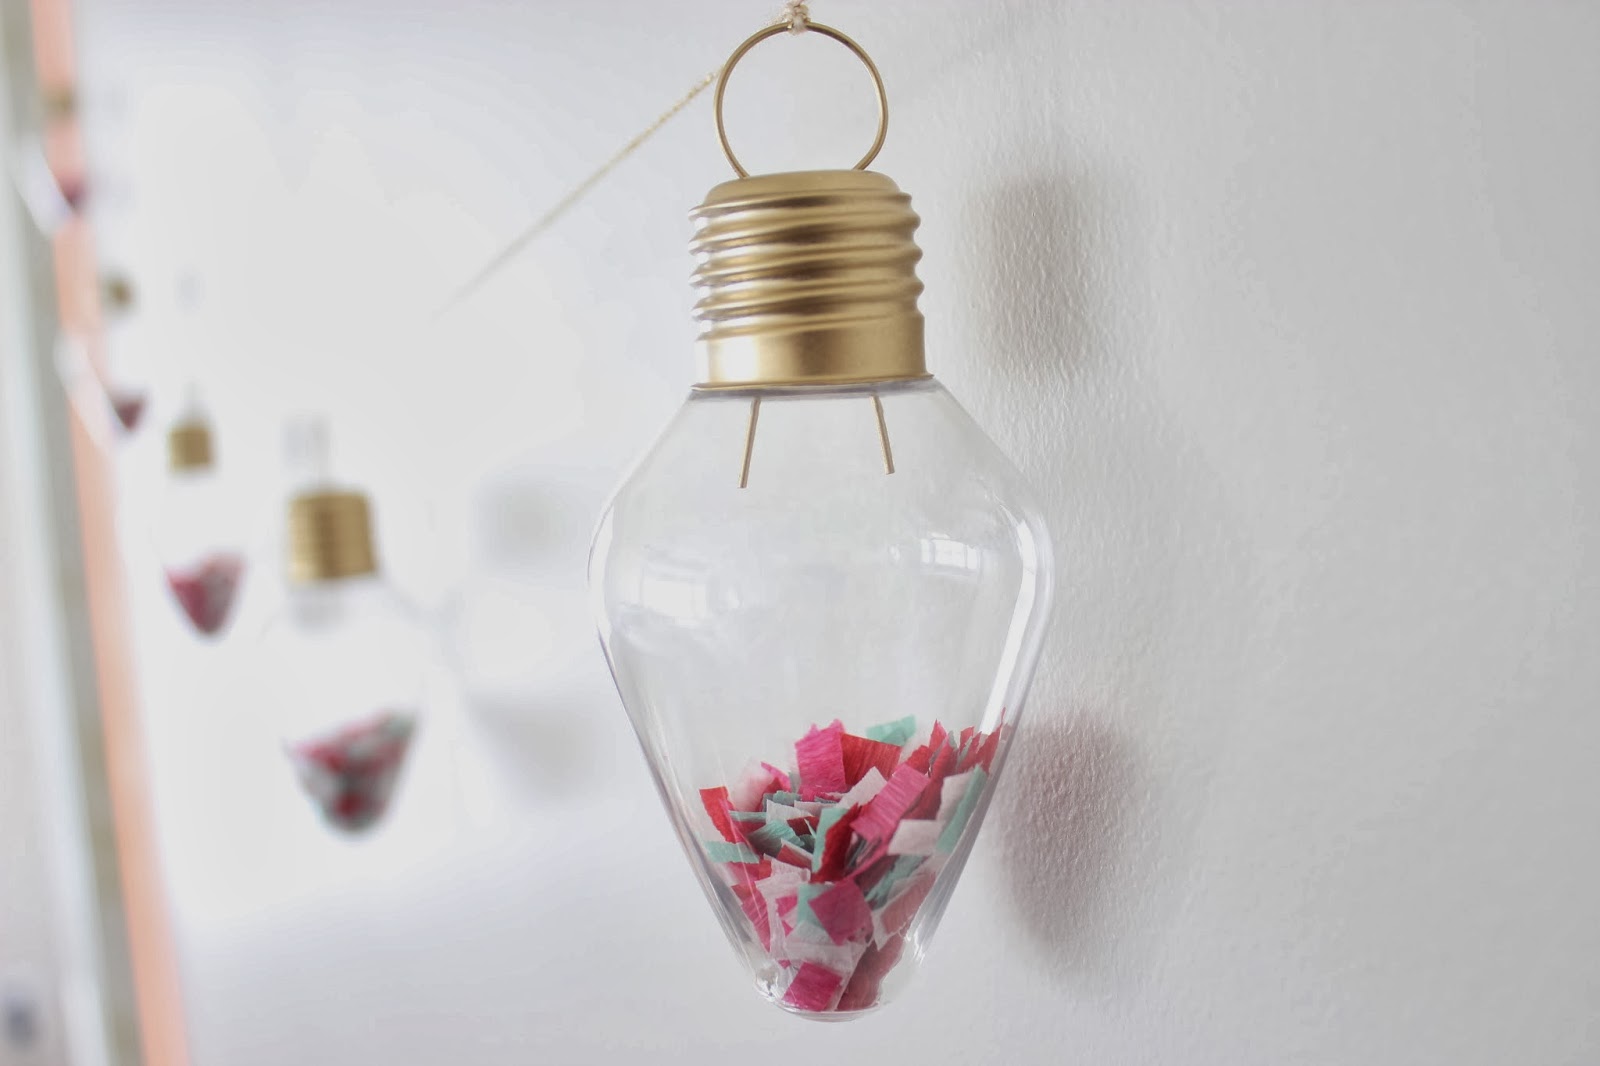
Using the scraps from cutting out the letters simply cut little squares to make confetti.
Punch holes through the top of the letters and string.
 Tape one end of the string to a piece of cardstock and wrap the letters around it, securing the other end with tape when finished.
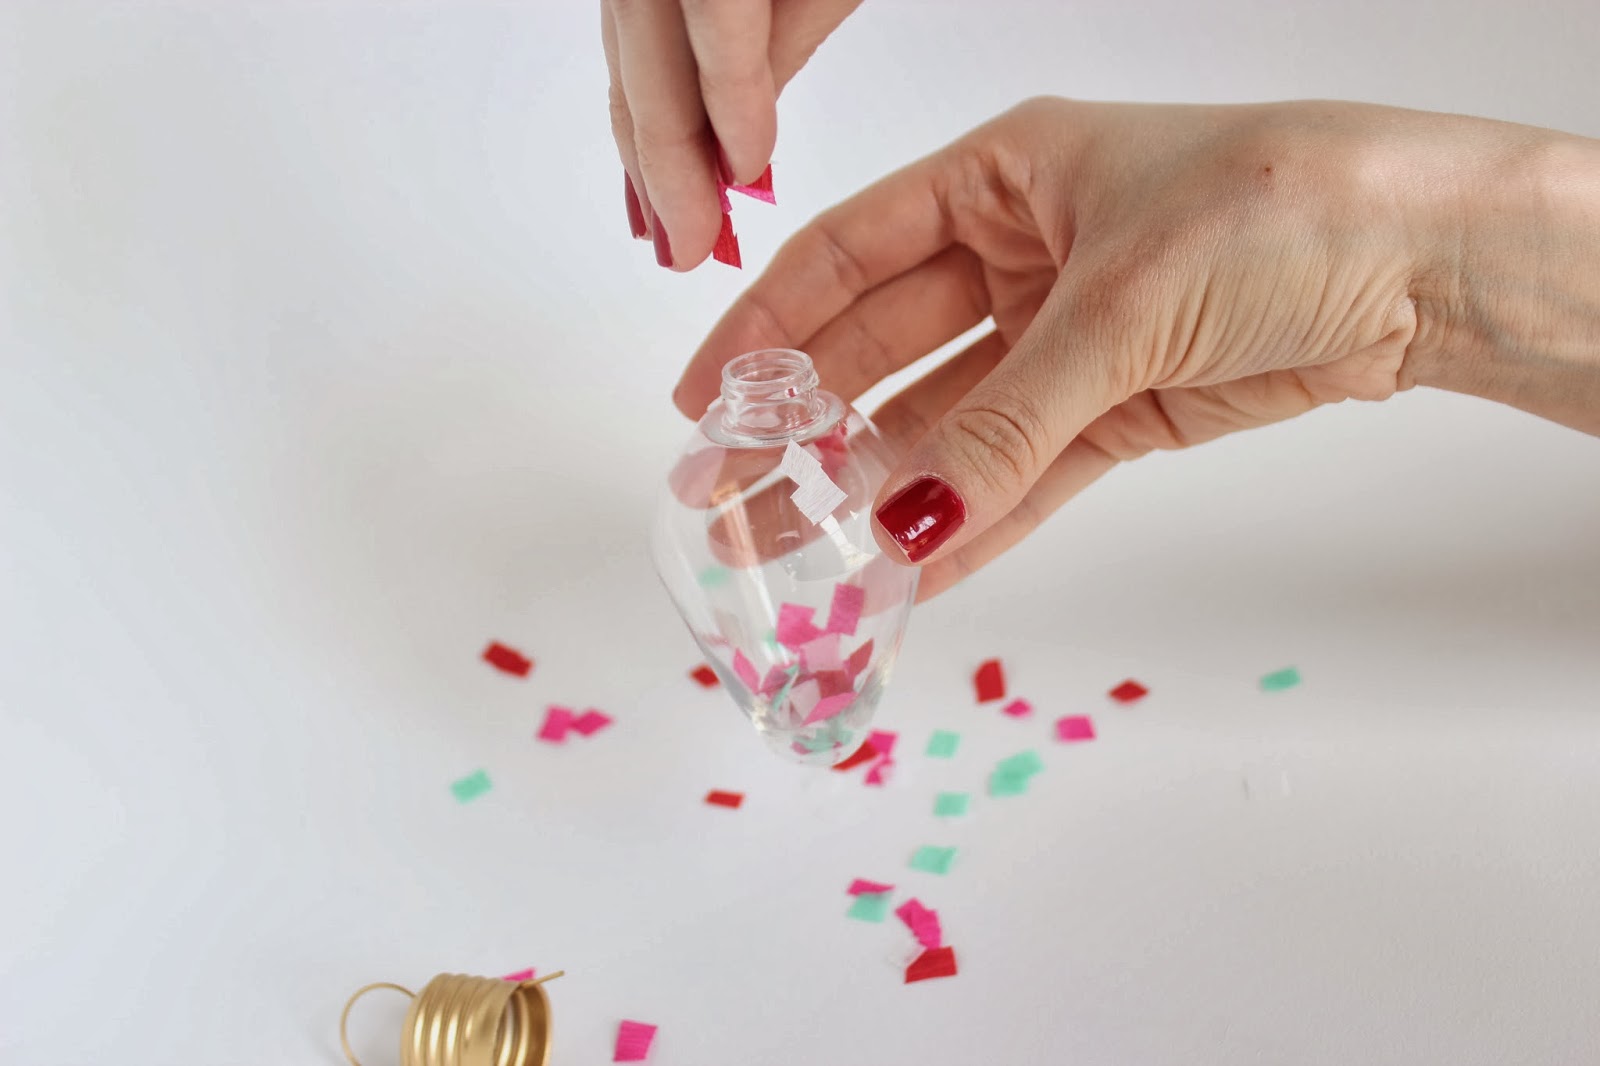
Fill envelope with confetti (and add a handwritten note)!
Voila! You’ve made the tiniest party in an envelope! 
We’d love to see what you come up with! Tag us on instagram @loveandlion so we can see!
-L

MODERN MINT & NEUTRAL BABY SHOWER

We LOVE planning parties, especially baby showers! It’s so special and important to shower that mama-to-be with lots of love and thoughtful details. I was honored to co-host with 2 fabulous ladies, Dara and Emily, friends of the guest of honor, Leeron. It will be the second boy for Leeron, but we didn’t want to go all blue blue blue. We went with white, neutrals, and pops of mint and sage green. 
Lauren of Rock Paper Scissors designed the invitation, and I really went off of that for decor. It always starts with the invitation for me! The big letter “R” is just a paper mache letter from the craft store… use painters tape to mask off a straight line, paint, and remove tape. 
Diagonals, squares, and triangles mixed with all white flowers and live moss made for a simple and pretty party! 
The drink tags were my fav! Guests remembered which drink was theirs by the baby picture of the mama and pop-to-be and the color tag. Leeron’s amazing husband, Matt, secretly emailed me their baby pics, I changed them to black and white in photoshop and cropped to a square. Just punch a hole in the corner of the picture and the colored square and tie with string. The color tag was nice so that you didn’t have to have a different baby pic for each guests. Just use different colors for each pic. Leeron was so surprised (and immediately removed that one embarrassing photo from her tween years)!
Use painters tape to mask off a diagonal line. Paint and remove tape when dry! Super simple!
Every baby shower needs a diaper cake, right? See our TUTORIAL HERE. I used double stick tape to add on the triangles of leftover scraps from the garlands to keep that geo-mod vibe.
Cake topper by Rock Paper Scissors to match the invite.
Every party needs Campfire Crispies, especially a baby shower when you can be punny and say “She’s about to POP!” These were SO. GOOD. Fluffernutter flavor: toasted marshmallow and peanut butter with a white chocolate peanut butter coating. Droooool. Order HERE.
And of course us being us, we needed a tattoo station with the party’s hashtag (from our little shop HERE)! 
Here’s the actual party! It was at night, so I took the photos above so you could see the details!
 The simplest projects make the biggest impact. Jenni and I have done these live moss letters several times. Simply cut the tops of paper mache letters you can find in any craft store, and stuff with live moss from your florist!
Even though Leeron couldn’t enjoy it, we all loved the signature cocktail “The Leeroni”.
Hostesses with the mostesses: Dara, me, Leeron, Emily
The gorgeous and glowing mama-to-be, Leeron!
Loved throwing this baby shower for a very deserving mama!!!
-L

POTTY PARTY – FREE PRINTABLES

 My three-year-old, Ari, is FINALLY potty trained. This may be TMI but he’s been going #2 on the potty since he was two-years-old but refused to tell me when he needed to go #1. Stickers didn’t work, M&M’s didn’t work, jelly beans sort of worked, but it was moving at a slow pace. He needed major motivation. For Ari, it was the idea of having a Potty Party. I promised him cupcakes, decorations, and music. It worked! Only took a week. Guess I should have thought of this idea a year ago! 
I designed some free printables for your own Potty Party should you have the need (scroll down to the end of the post). Just add cupcakes and you’re all set. Oh and string up their brand new undies- Ari thought that was awesome! I even made printables for the little ladies in your life.
 
 Happy Potty Party day to youuuu…
TP roll sign HERE
Undies cupcake toppers HERE
Panties cupcake toppers HERE
Undies coloring pages HERE
Panties coloring page HERE
Good luck mamas! Let us know how it goes…
-L

GOLD, WHITE, AND BURLAP INSPIRATION BOARD

My dear friend, Beth, is turning the ripe old age of 31 only 29 this week and is throwing a fabulous dinner party for friends. She wanted a party with a gold, white, and burlap color story. Elegant but a touch rustic. Jenni and I put together an inspiration board for decor. See our Pinterest board for even more ideas, many of them inexpensive and DIY which of course we love! 
Happy Birthday, Beth! You are simply stunning- inside and out- and deserve only the BEST. Love you!!
-L
P.S. We love to put together boards like this if any of you have parties you’re throwing- let us know!

VALENTINES DAY CRAFT: CONVERSATION HEARTS

We ran out of play-doh at our house and apparently to a three-year-old, that’s a tragedy. We needed a quick fix. The answer? Salt dough! Three ingredients: salt, flour, and water. After Ari made his own masterpieces, Mama needed a turn! I’ve been dying to use my new Martha Stewart glitter set, so I decided to make gift tags for Valentine’s Day. Martha Stewart, you crafty minx, you have so many different types of glorious glitter! Have you guys seen the tinsel glitter? And the heart glitter?? Want it. Need it.
The colors are so vibrant! Eek!
Salt dough is super simple to make:
1 cup salt
1 cup water
2 cups flour
Mix until consistency is like play-doh
Roll dough out on a floured surface, cut into shapes, use a toothpick for the holes, and stamp letters.
Bake at 200 degrees for 3 hours and cool completely on a wire rack. I left mine out overnight to make sure the dough was completely dry. You could probably bake them longer!
Here are my pretties! Paint glue on the heart and sprinkle away! Tap off extra glitter and let dry. If you want to use these tags over and over again, cover completely with decoupage or a clear sealant. 

These worked best as gift tags. Originally I thought these would be cute as garland but they were super heavy! What are you making for Valentine’s Day?

-L

NEW YEARS EVE PARTY IDEAS

We’ve been scouring the interweb for the coolest NYE ideas and recipes. Whether you’re throwing a big shindig or a having a cozy night at home, there’s always something special you can add. DIY garlands, fun balloons, confetti, glitter!!, yummy dips and apps, and of course…champagne! Check out our pinterest board for all things NYE.

CONFETTI-FILLED LIGHT BULB GARLAND

Hey friends! We apologize for the late start to our week. Holiday travels and sick babies have kept us mamas busy! Christmas day is approaching, parties are still being thrown, and decorating is still taking place. If you are anything like me, the decorating never stops!! I just wanted to share a simple tutorial for the confetti filled light bulb garland I made for our wrap party last week. I love it so much, and I am definitely keeping it around for next year!
^ What you will need: yarn or twine, gold spray paint, clear light bulb ornament (purchased at Joann’s Fabrics) and crepe paper (festive colors a must!) ^
^ Remove top of ornament and begin spray painting. Allow time to dry, and then spray the opposite side. I began working on the steps below in between drying times. ^
^ Cut crepe paper into small strips. I cut roughly 10 strips of each color per ornament. ^
^ Then, cut those strips into small squares. ^

^ Begin filling the bulb ornament with the confetti. I only wanted to fill mine about a quarter of the way. ^
^ String those lights!! Space your bulbs out to your liking, and tie a small knot to hold each one in place. ^

-J

LATKES AND VODKAS

It’s the 6th night of Hannukah, and we’re having latkes and vodkas over at our house! 
A latke (rhymes with vodka) is a potato pancake cooked in oil- a traditional food we eat on Hannukah. My dad created a baked version that is just as good and is super easy to make, not to mention way healthier… though go ahead and fry those babies if you chose! To go along with your crispy latkes, we’re having sparkling cranberry orange cocktails, concocted by my sis. A festive fizzy drink perfect for the holiday season! Scroll down for recipes. 
Not the most attractive food, but they’re absolutely delicious!
Fizz, pop, clink!
I made the drink stirrers with a skewer, 5 folded circles of paper, and double stick tape. Easy peasy! Tape together any extra circles on fishing line, and you have a simple and sparkly garland.
BAKED LATKES
makes about 12
3 potatoes 
1 carrot
1/4 onion
1 tbsp salt
1 tbsp flour
1 egg
*serve with sour cream or chunky applesauce 
Preheat oven to 450 degrees.
Peel and shred potatoes (I used a food processor) and mix in 1 tbsp salt. Let sit while you prepare the rest of the ingredients.
Line 2 baking trays with parchment paper.
Shred carrot and onion.
Drain access water from potatoes and squeeze with paper towels.
Mix together potatoes, carrots, onions, flour and egg. 
Scoop 3″ rounds loosely on parchment paper.
Bake 12-15 minutes per side until brown and crispy.
Best baked right away before potatoes turn brown. They’ll still taste good but won’t look so hot!
Delicious savory with sour cream or sweet with applesauce.
SPARKLING CRANBERRY ORANGE COCKTAIL
1 oz vodka
1 oz dry sparkling wine
Splash of cranberry juice
Orange simple syrup to taste – boil half sugar and half water with a couple strips of orange peels
Fresh cranberries
Shake together vodka, juice, and syrup. Strain into a champagne flute, top with sparkling wine, and serve with a cranberry garnish.
ENJOY!
-L

CUSTOM HOLIDAY WRAP FOR THE LITTLES

Remember the chain link garlands you made in grade school? Well, we’re reinventing them! They make perfect gift wrap toppers for the holidays. At Love & Lion we celebrate both Hannukah and Christmas, so we’ll show you how to wrap using all the same supplies. This is the perfect craft for your littles! My three-year-old Ari stamped the Hannukah wrap paper all by himself. Great for small motor skills and shape recognition. 
Grab your toddler and get to stamping!

Here’s how to make your chain link garland topper:

Voila!

Here are some shots of our Hannukah party. We used the extra stamped wrapping paper as a table runner and kinda went crazy with the chain links!

We tied the napkins with candles – Hannukah is the Festival of Lights after all! 

Any great holiday crafts you like to do with your kids?
-L