print

MOTHER OF DRAGONS (FREE PRINTABLE)

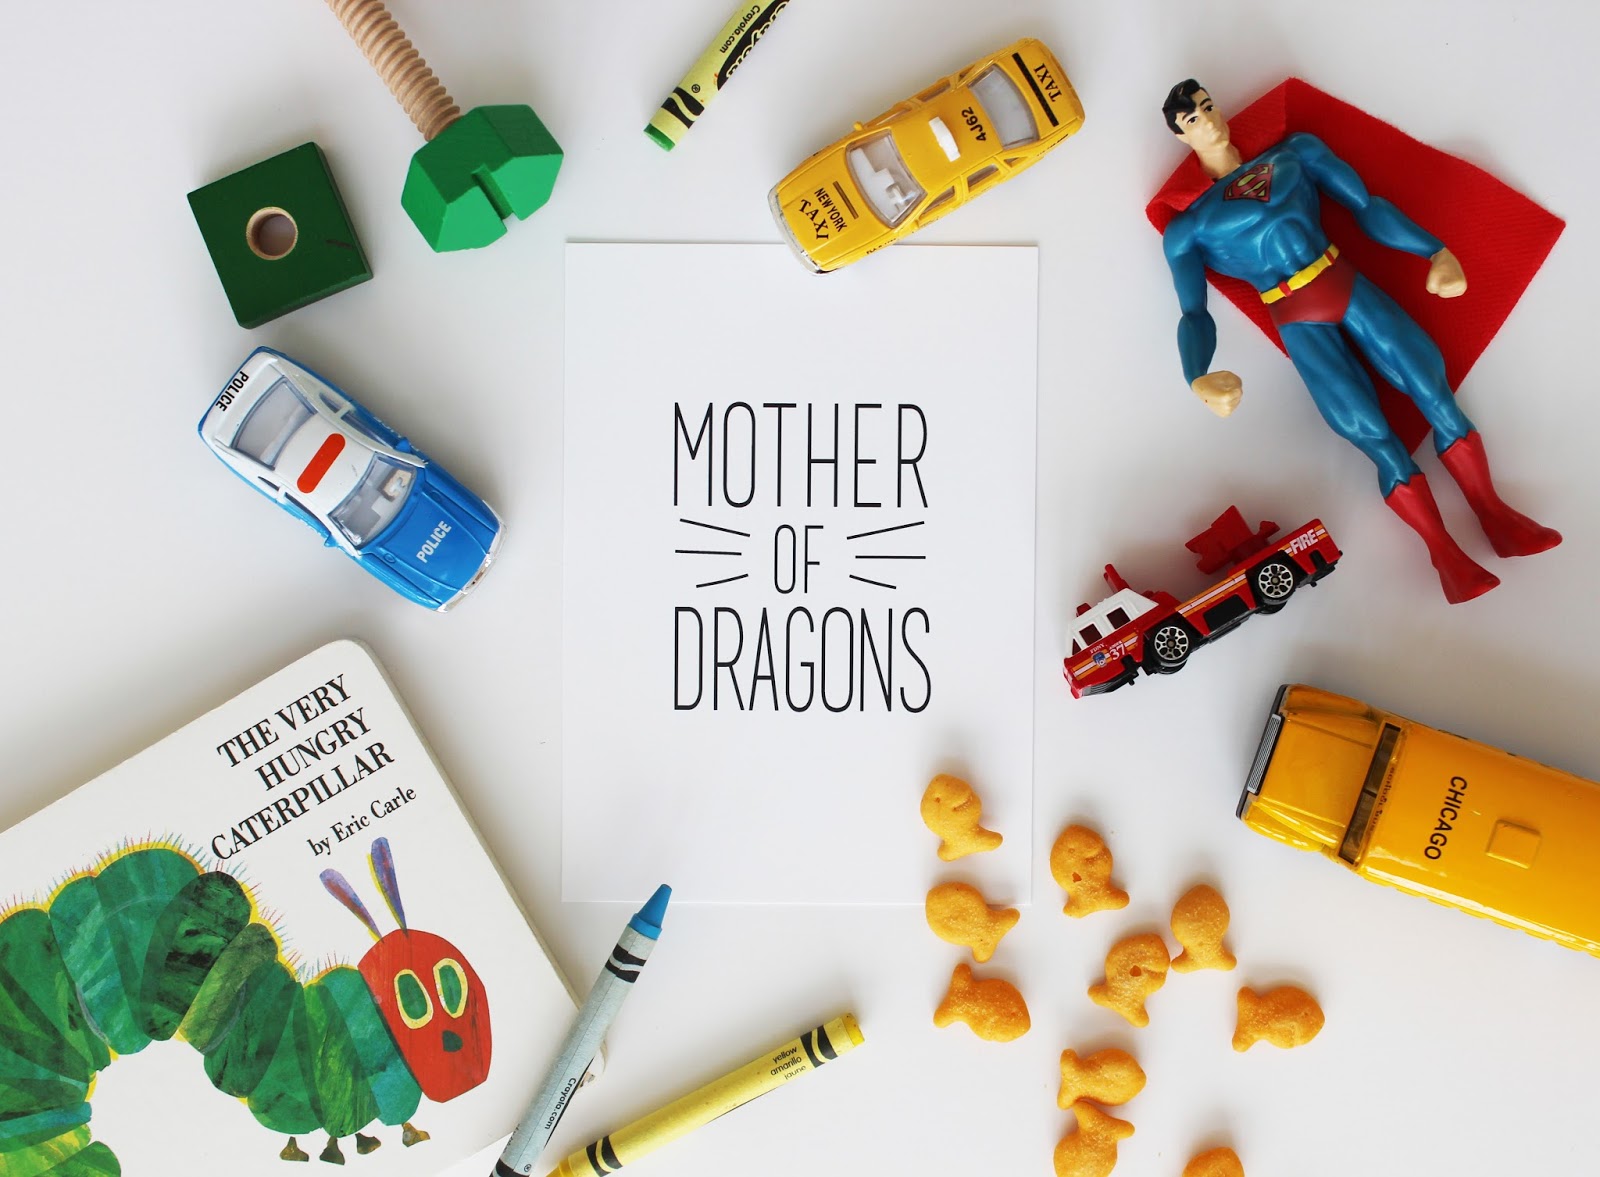
Even if you don’t watch Game of Thrones (ummm ya need to get on that btw) you’ll understand the meaning of “Mother of Dragons”!! Here’s a little 5×7″ print for yourself for Mother’s Day. Just a reminder of what a tough job you have, and what an amazing job you’re doing! Scroll down for the free download…
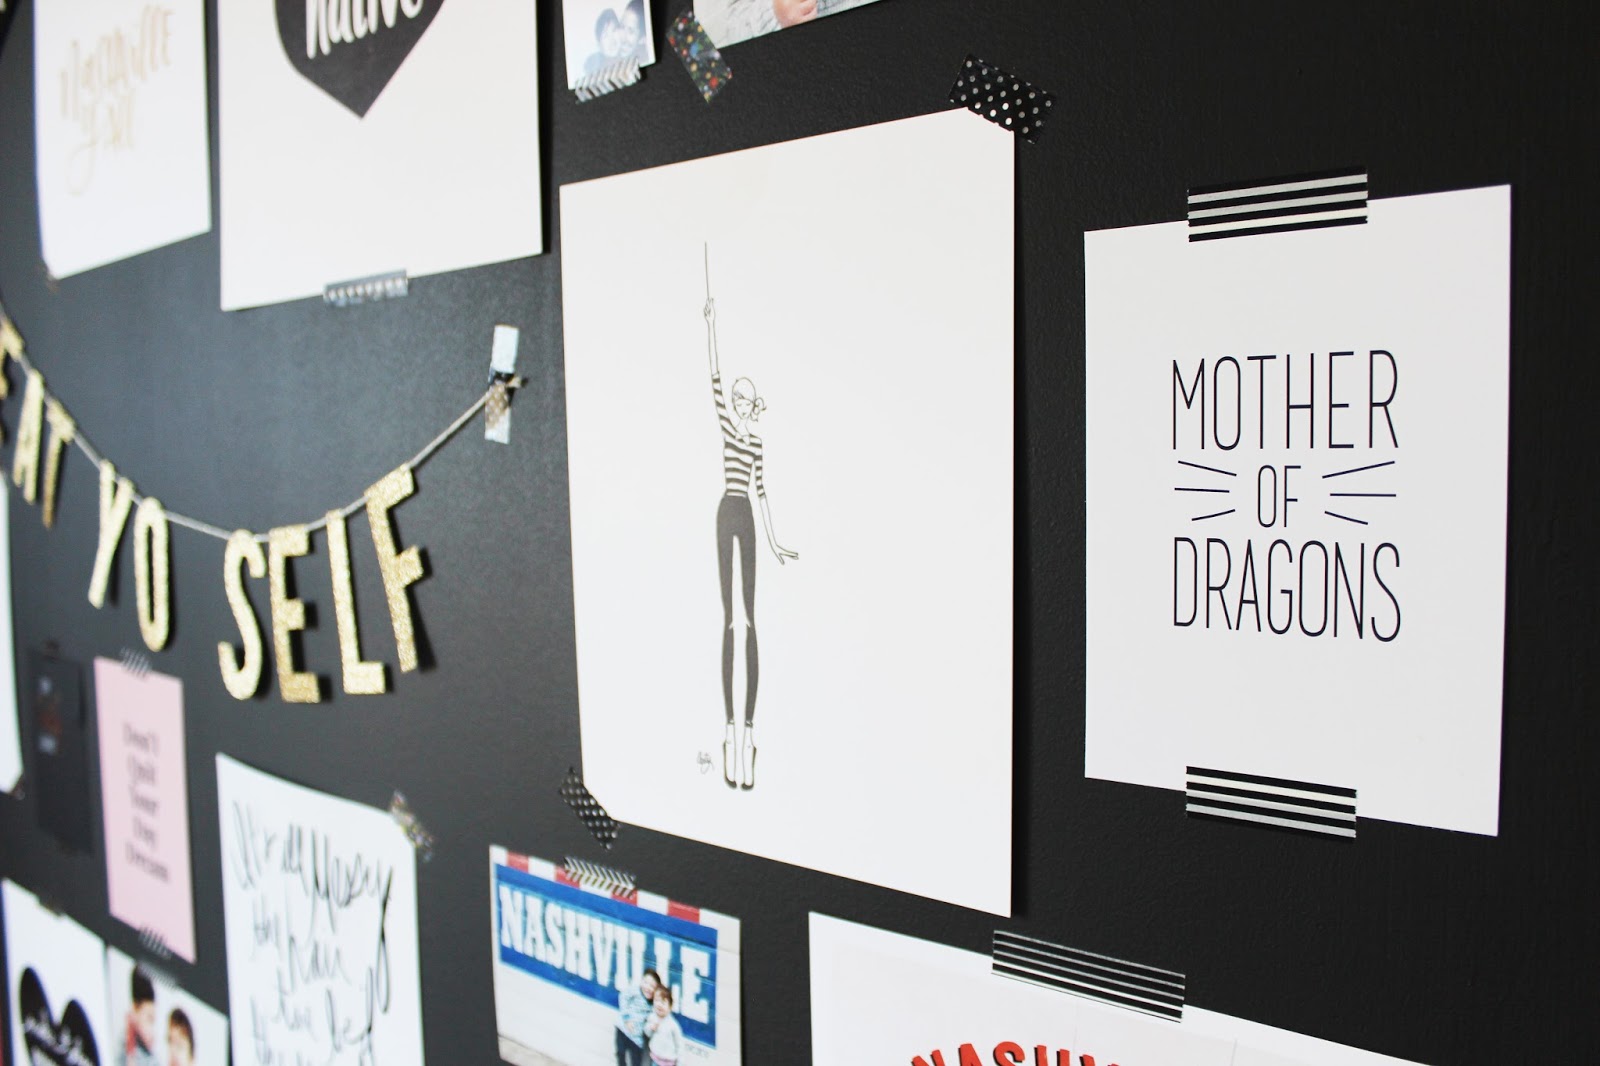
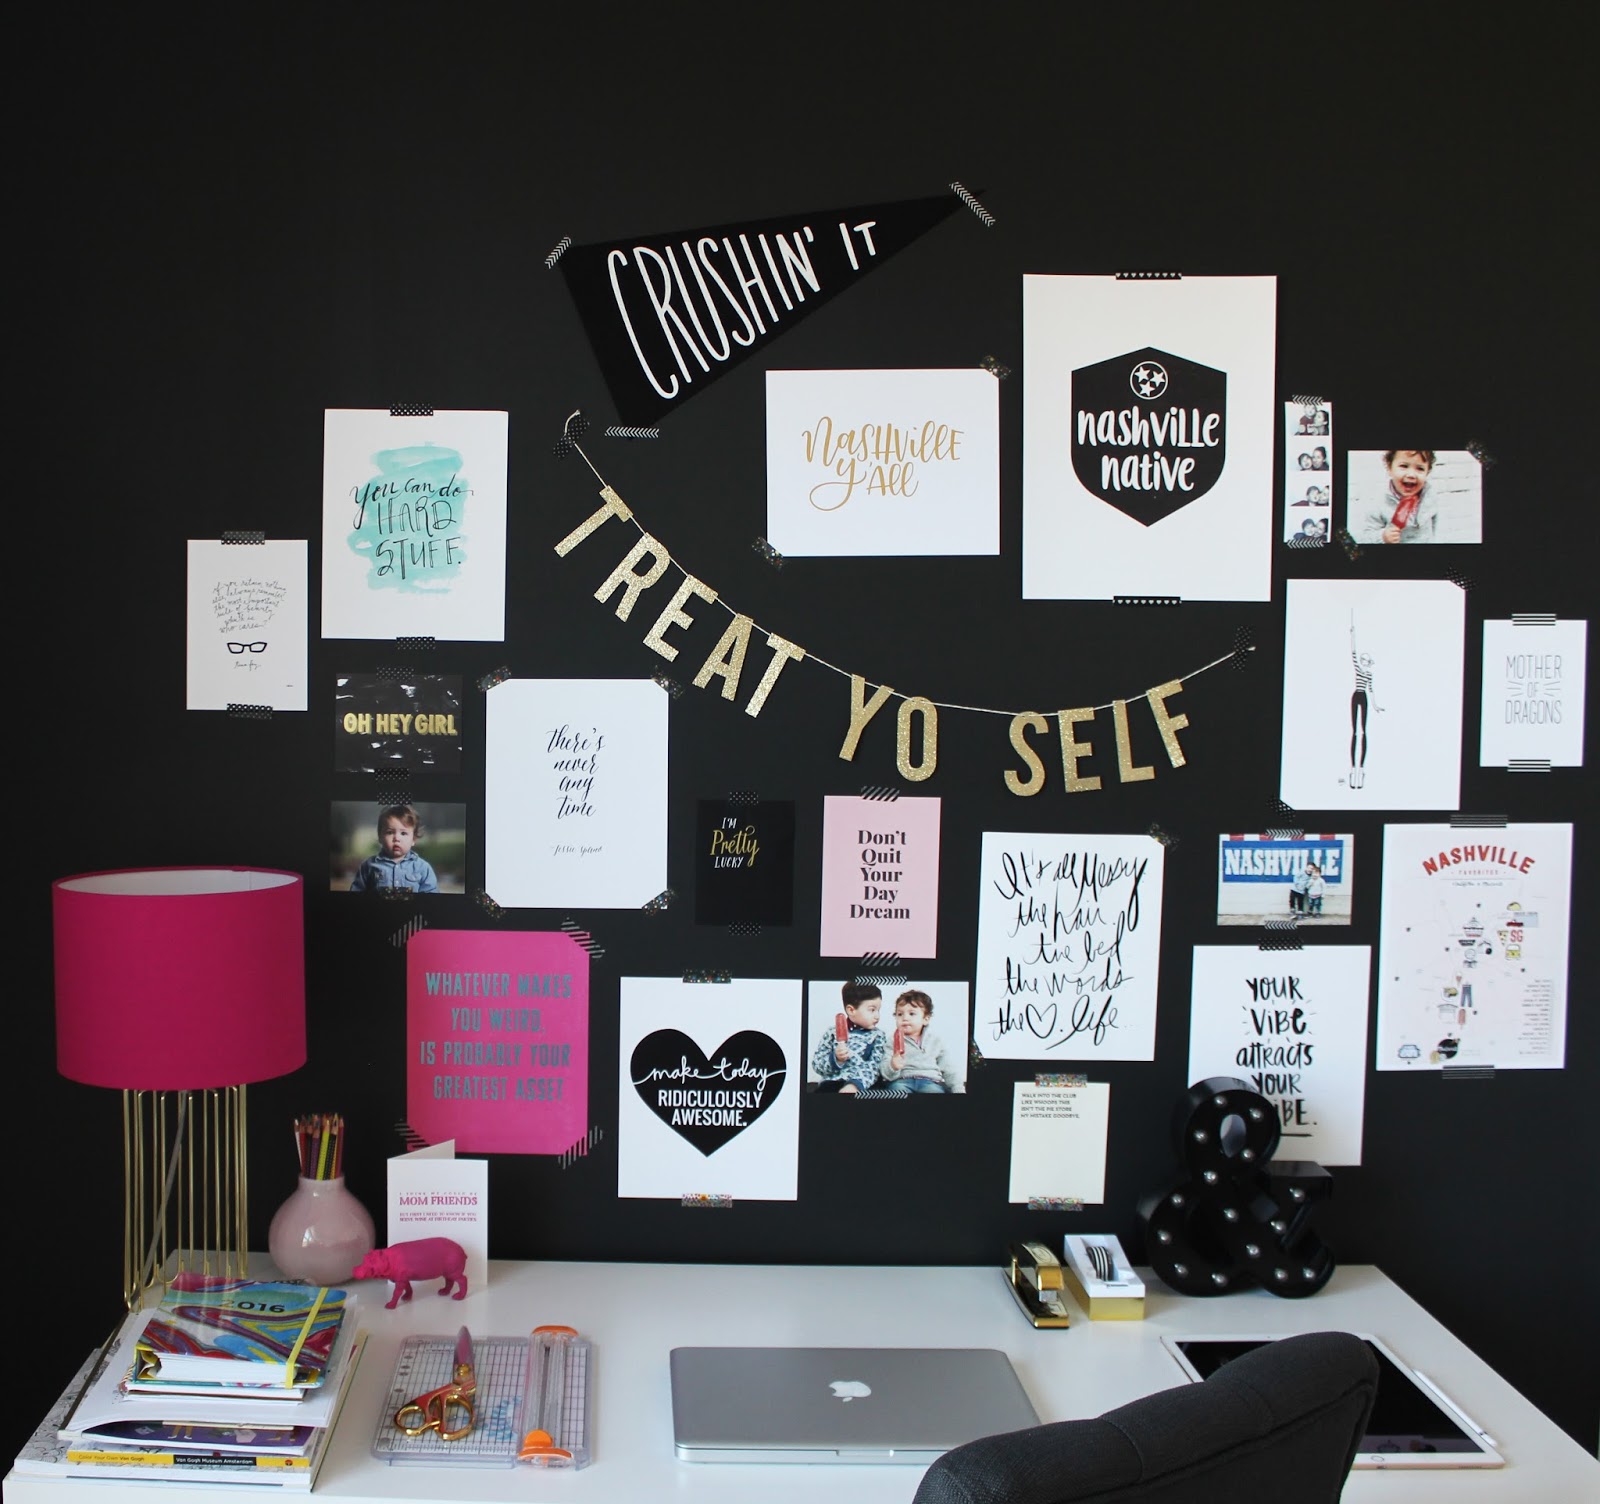
This is my office slash hoarding print gallery wall!
Mother of Dragons black and white print HERE
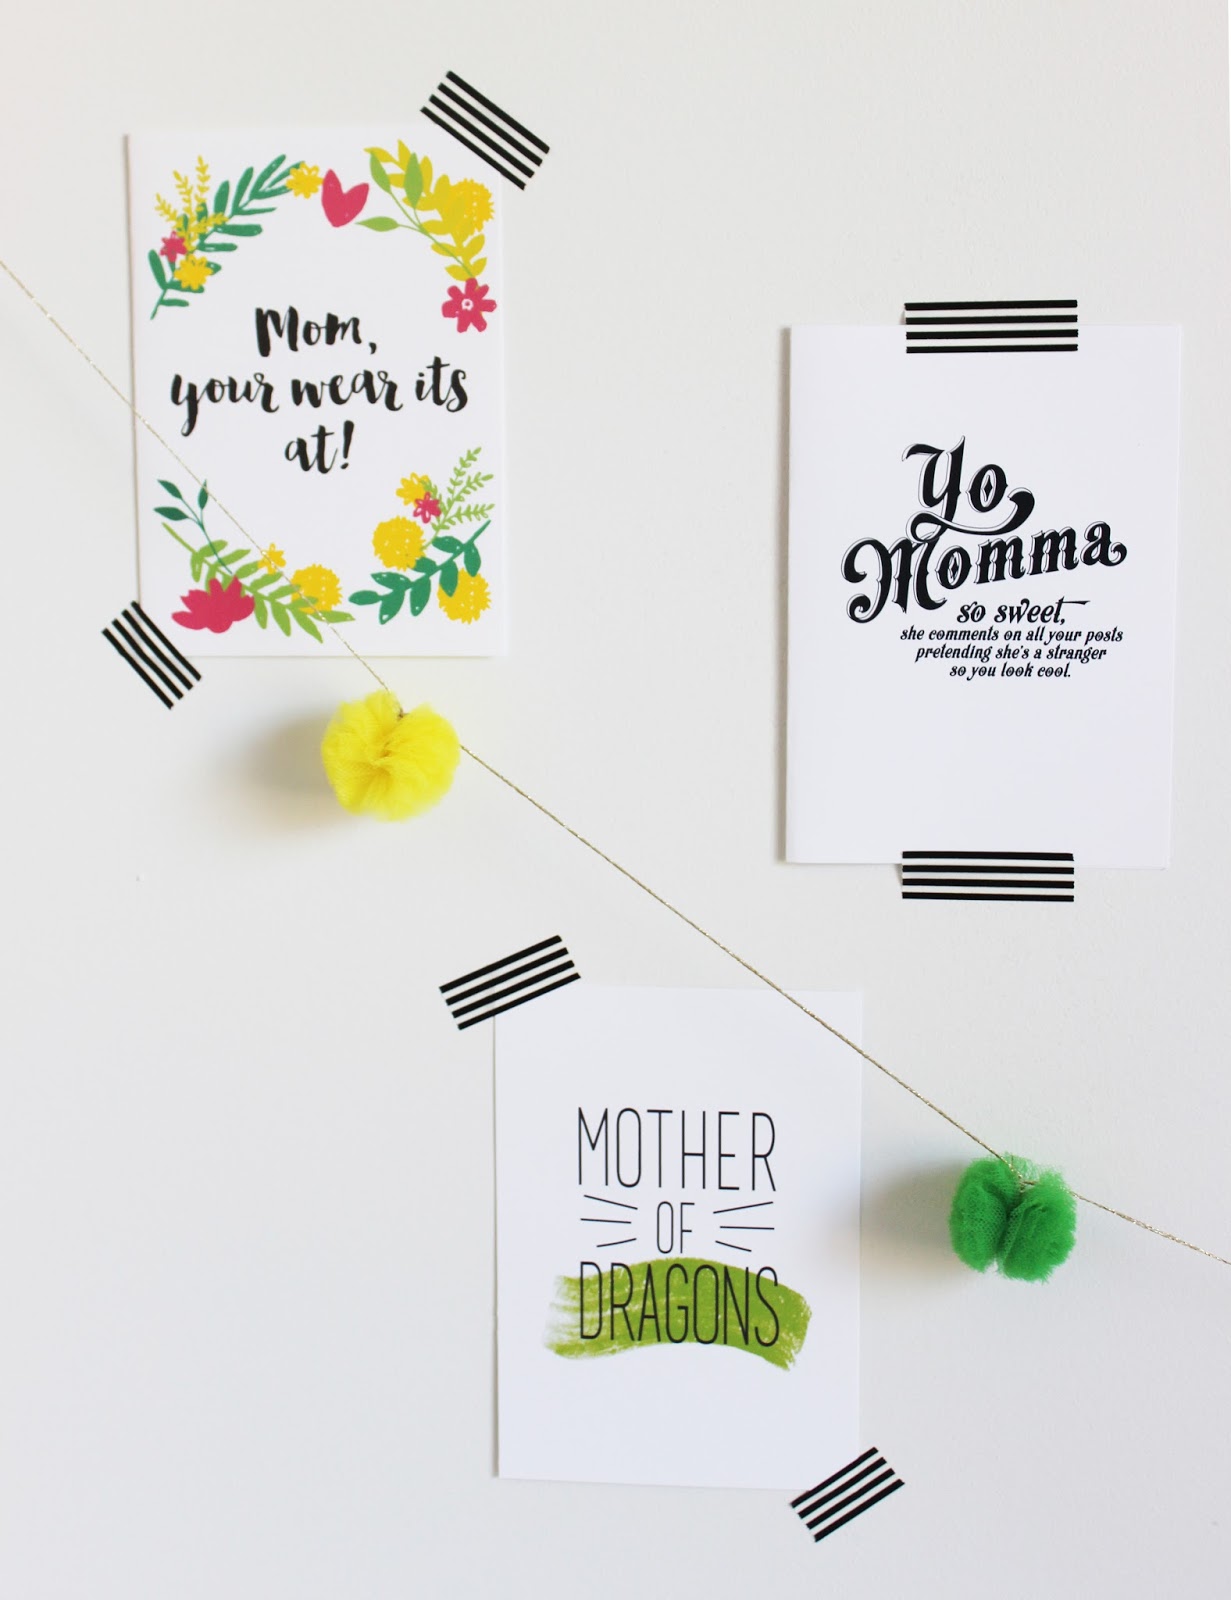
Mother of Dragons green print HERE
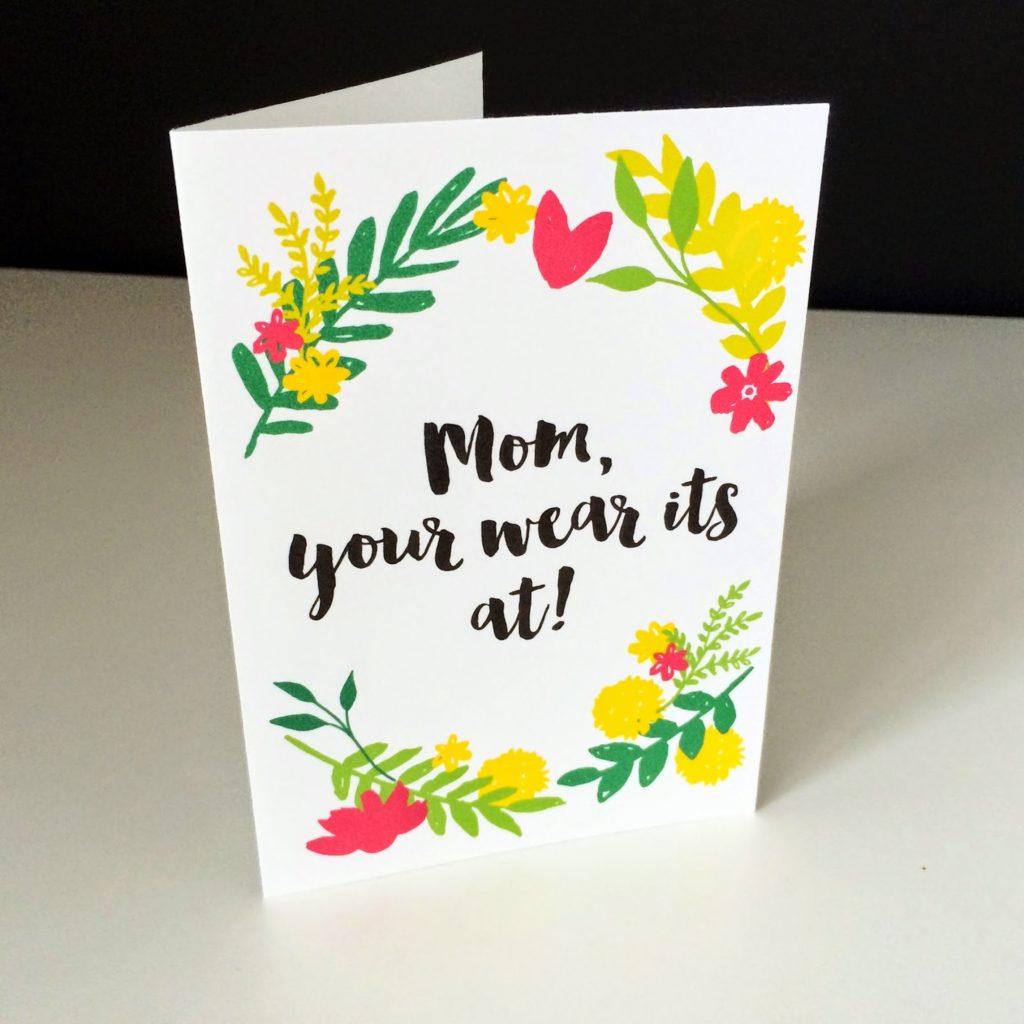
Yo Momma card HERE
Grammar card HERE
Gilmore Girls card HERE
Happy Mother’s Day to yourself!
xo

RECIPE: CHALLAH

This challah is the BEST. The recipe is actually by our close family friend, Carol. She made this challah for everyone at my wedding. Like every single table got one. Seriously. Not only do I love eating it, but I love the memories we have surrounding it. Friday nights with family and friends, eating this soft, chewy bread, spread with butter or dipped in honey. Every time my mom would make challah, the whole house was filled with the smell of baking bread! That’s probably my favorite smell in the whole world. That and my newborn babies. Equally delicious.
Full recipe below.
RECIPE:
Mom’s Famous Challah
INGREDIENTS
2 tsp honey
1 pkg yeast
1/2 c vegetable oil
1/4 c sugar
2 tsp salt
2 eggs
4 – 4 1/2 c bread flour
1 egg yolk
  1. Dissolve 1 tsp honey in 1/2 c. warm water in large mixing bowl which has been rinsed with hot water.
  2. Sprinkle yeast on top, mix, let stand 10 min.
    Stir in oil, 1/2 c. warm water, sugar, 1 tsp honey, salt, eggs, and 2 c. flour. Beat well.
  3. Stir in remaining 2 c. flour. Dough will be sticky. If it’s too sticky when you test it with your finger, add another 1/2 cup of flour.
  4. Knead 2-3 minutes with a bread hook attachment or turn onto a floured board and knead.
  5. Round up in greased bowl (I just use the same dough bowl and put vegetable oil all around it), cover, and let rise in a warm place for 2 hrs. It should have doubled in size. Gently put finger in top; if dough stays indented, it’s finished. If it bounces back, continue to rise.
  6. Punch down, cover, let rise again 45 min.
  7. Prep the counter with cooking spray.
  8. Divide the dough on the counter into three or four sections and loosely braid* (instructions below), tucking in the ends. Put the braided challah on a parchment paper-lined baking sheet.
  9. Cover loosely with saran wrap or a non-textured kitchen towel and let rise 20-30 minutes.
  10. Brush with beaten egg yolk and 1 tsp water.
  11. Bake 400 degrees 20 min or until it’s a good color on top. Cover the top with foil, put it back into the oven for 5-8 minutes until a toothpick in the center of a braid comes out clean.
  12. Immediately remove the challah from the tray and place on a wire rack so the bottom doesn’t continue to bake.
  13. Eat! Delicious with butter and/or honey. Perfect the next morning for french toast.
* Traditional challahs are braided in one row. On holidays or special occasions, it’s made into a circle.
* This video tutorial is super helpful! I usually do a 4 strand with a circle challah, but I LOVE the 5 strand technique for a straight loaf: CLICK HERE.
* Round challah braiding tutorial (above) CLICK HERE
* Four strand challah:
Divide dough into 4 equal sections
Leave the ends loose if you’re making this into a circle- you’ll weave these ends in at the end when you connect your circle
Take the strand at the left and weave it over-under-over the other three strands
Take the next strand at the left and do the same- weave it over-under-over the other three strands
Repeat until you can’t anymore, form it into a circle and connect the ends on each side- just sort of weave them together…as long as they stay together it’s fine! Just keep tucking the ends in.
xo, Leah

GRAMMER LOVER MOTHER’S DAY CARD- FREE PRINTABLE

This one’s for the grammar nut in your life! I painted a similar card for my mom last year, and she loved it…she not so silently corrects my grammar on all blog posts and in every day life. Thought some of you might know a mom or yourself who needs this! Free printable HERE.
Happy Mother’s Day! Yes, there’s an apostrophe in there, MOM.
-L

MODERN THANKSGIVING TABLESCAPE

One day until our Thanksgiving feast, and my table is already set! I may be a little excited. Creating a tablescape is my absolute favorite part of Thanksgiving ( well, second favorite to devouring all of the delicious food).
This year, I tried to use things that I mostly had on hand. I couple of Thanksgivings ago, my mom purchased some beautiful linen napkins from Pottery Barn. They weren’t cheap, but I just HAD to have them. Therefore, I owe them several appearances on my table. I absolutely love the dark teal color, and really wanted to create a table around that color with hints of gold. 
I spray painted pumpkins with a metallic gold spray paint, which has to be the easiest project ever. It makes such an impact too! I purchased some brass candlesticks a couple of years ago at a thrift store, and this is my first time using them! Sometimes you just have to wait for the perfect time to pull things out, ya know? I also had a gold dotted burlap runner from a previous event I hosted. I purchased a set of salt and pepper shakers and a Threshold runner from Target. I put the final touches on the table with some greenery, roses and pheasant feathers. Now we are ready to stuff our faces!

I hand painted a small “say grace” print with water color. I think it may be a permanent framer for my dining room.

My favorite part of my Thanksgiving decor is the floating branch above the table. I found it on the side of the road while on a walk with my daughter. I strung it up with fishing line and commando hooks. I am really considering leaving it up and stringing “snow” from it for winter, so this may not be the last you see of it.

Happy Thanksgiving everyone!
-J