sprinkles

RECIPE: DONUT CAKE

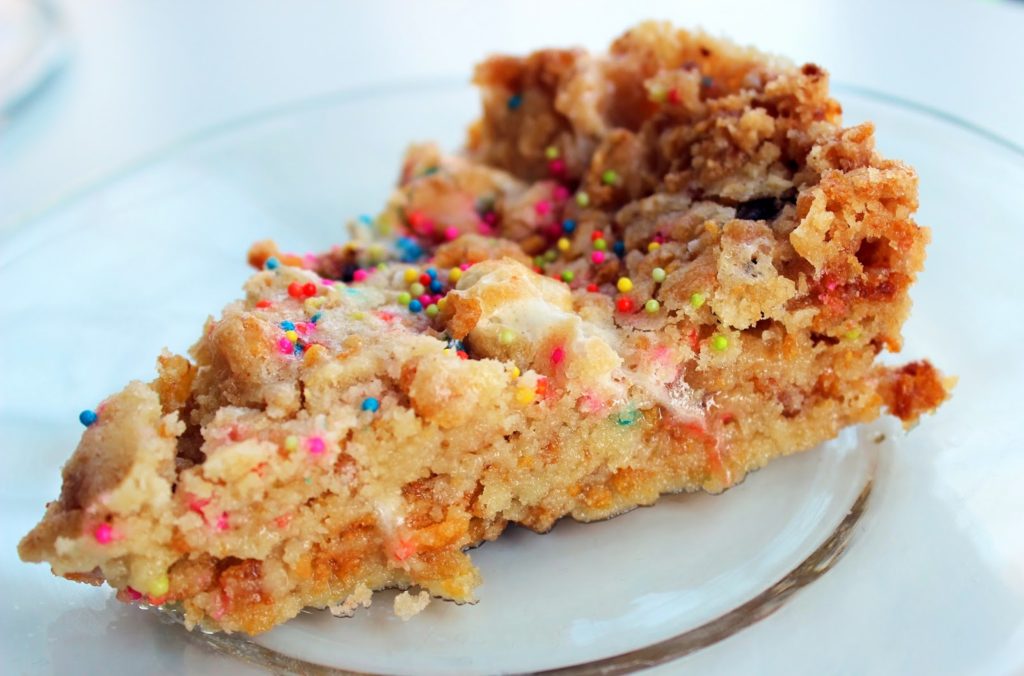
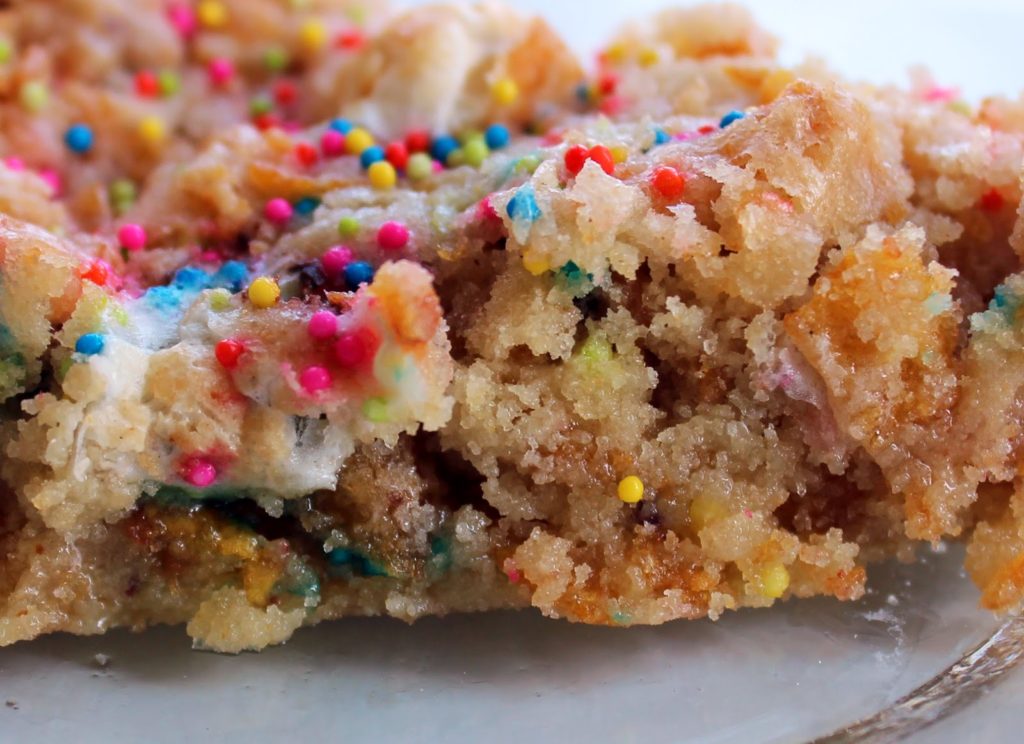
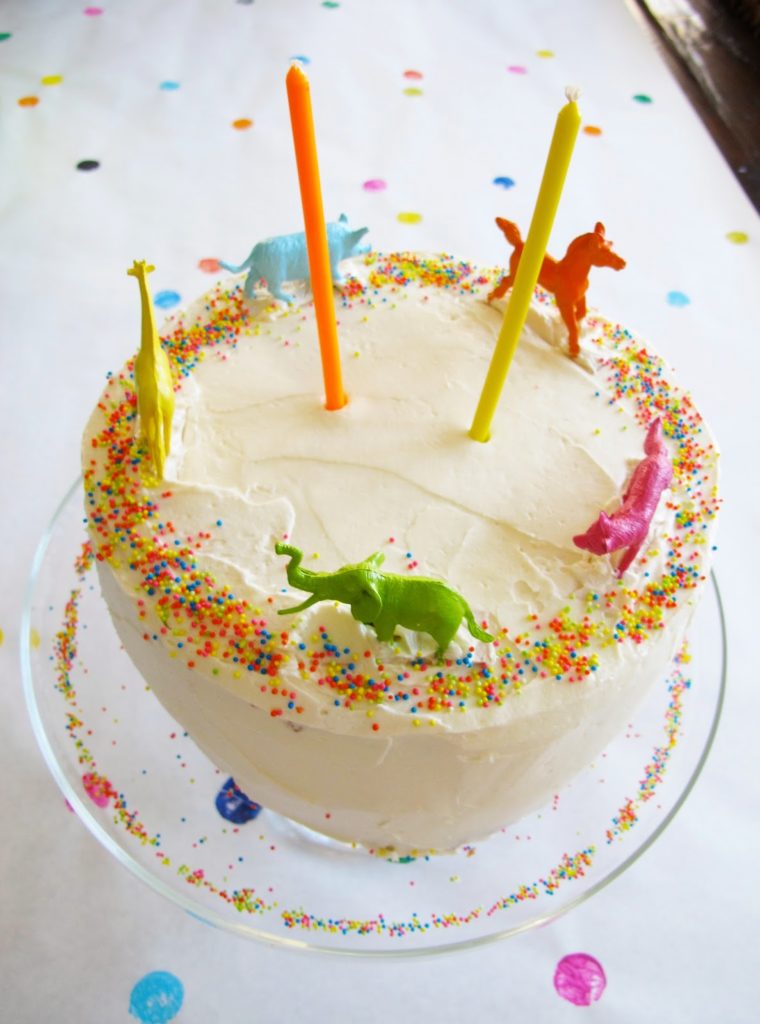
 This cake may look insane and tricky, but it’s the EASIEST cake you could make! Decadent? Yes. Delicious? Yes. Difficult? NOT AT ALL!
INSTRUCTIONS:
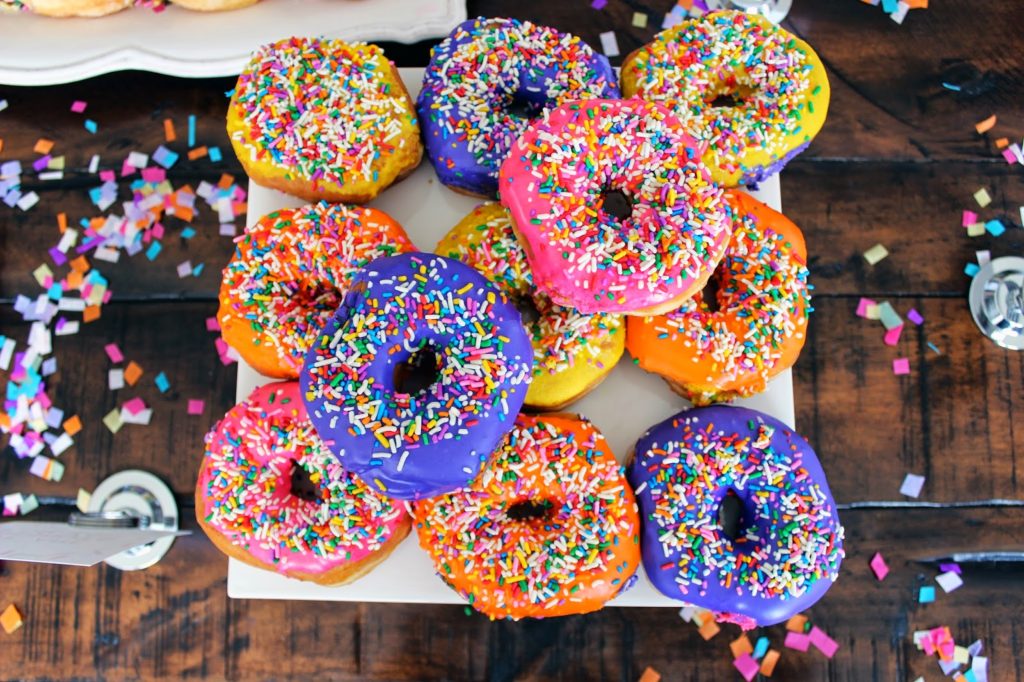
1. Buy a store bought cake or make one from a box… normally I’d say absolutely not, but when you’re going to cover it with donuts, you might as well. I made this one with an angel food cake box mix since that’s my mom’s fav and it was her birthday!
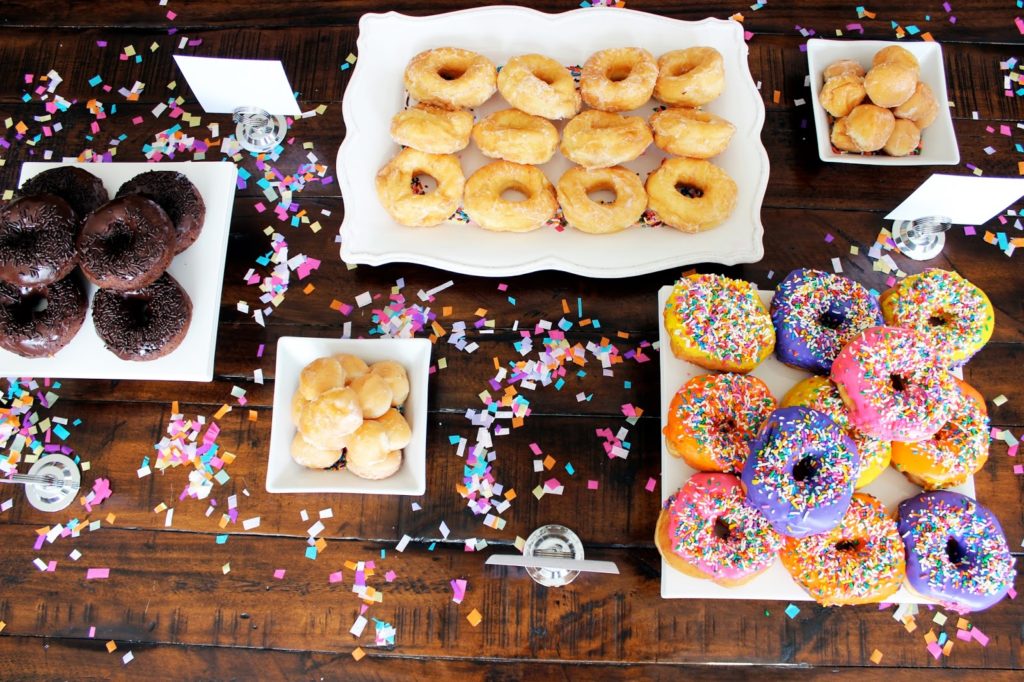
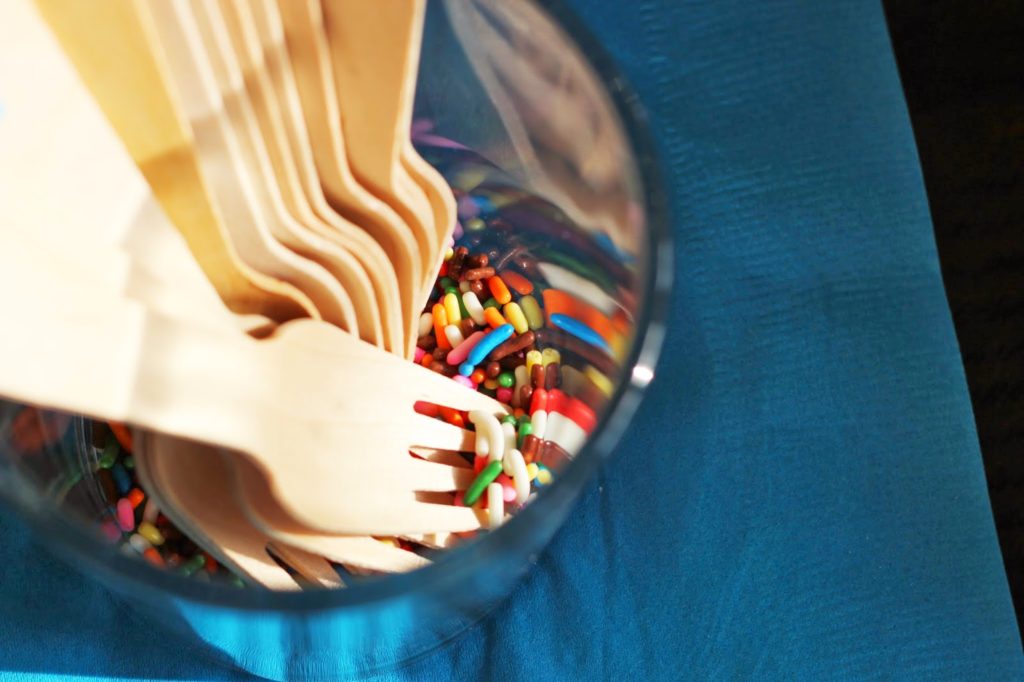
2. Buy plain or glazed donuts in regular and mini sizes from the store. Donut holes would have been really cute, but they didn’t have any that day. The minis were from a Hostess bag!
3. Make the glaze (recipe below). I divided the glaze up into three bowls and tinted them with food coloring
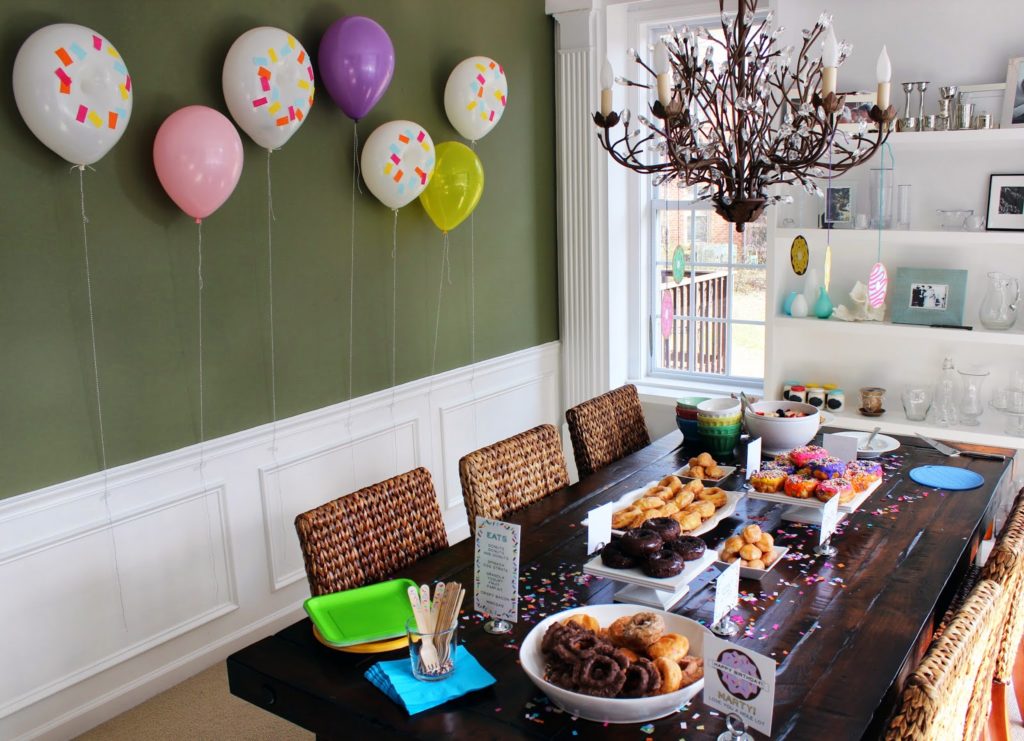
4. Pour the glaze just on top of the cake and let the sides drip down. Top with sprinkles and let dry.
5. Dip the tops of the donuts in the glaze and top with sprinkles and let dry.
6. Pile up the donuts on top of the cake and secure with tooth picks. That’s it.
GLAZE RECIPE:
2 cups powdered sugar
2 tbsp butter, very soft
1 tsp vanilla
1 tbps hot milk
Mix all together. If the glaze is too thick to be drippy, add a little more milk. If it’s too runny, add more powdered sugar. Divide the glaze into three bowls with a little more glaze in the color you’ll use for the cake. The glaze dries pretty quickly so make sure to cover with saran wrap pressed to the top if you make ahead of time.

This is a great glaze for frosting sugar cookies too!

This would be so yummy with a chocolate ganache or caramel or peanut butter… yum the list goes on!
ENJOY!
-L

30 SECOND RICE KRISPIE TREAT IN A MUG

Jenni and I were recently at a dinner with some of our favorite women telling each other our “real life” secrets. We like to keep it real here on the ol’ blog, so I’ll let you in on some of mine: 
* The first thing I do when I get home is unbutton my jeans. Duh. 
* If you’re over at my house, know that I hastily hid and cleaned everything the 5 minutes before you came. I’m probably sweating and now you know why.
* Sometimes Daniel Tiger or Wild Kratts babysit my kids. 
* And lastly, I have nightly grownup secret eating time. 
The ladies were particularly excited about this recipe of mine: the 30 second Rice Krispie Treat in a mug. This was my j-a-m in college when all I had was a microwave and a mini fridge. And if you compare it to other snacks you could have, it’s sort of healthy, right?
Ingredients:
Marshmallows
Rice Krispie Cereal
I Can’t Believe It’s Not Butter Spray
1. Spray a large coffee mug with Butter Spray (about 5 sprays) just to coat the mug
2. Fill your mug about half full of marshmallows and spray the top with butter spray (about 3 sprays)
3. Put mug in microwave for 30 seconds (watch so the marshmallows don’t overflow!)
4. Immediately pour cereal in to about the top of the mug and stir, stir, stir
5. Consume in secret from your children and husband
6. extra points for sprinkles, chocolate chips, peanut butter, whatever your heart desires.

Here is another easy and crazy fast grownup secret eating time recipe I’m pretty obsessed with. It’s SO good. It’s literally like the inside of a Reeses cup. But please, eat these warm!!
Any other recipes I need to know about??

-L

DONUT PARTY (FREE PRINTABLES)

My mom was in town this weekend for her birthday, so I threw her a brunch featuring her favorite food ever: donuts! Sweet friends that she’s gotten to know over the years when visiting us, great conversation, yummy donuts, and colorful decorations made the party a hit. 
Free printables for you at the end of the post!
DIY sprinkle confetti: just cut cut cut up your scraps of tissue paper and voila! Sprinkles!
DIY Sprinkle Forks: I used a letter “I” rubber stamp and just stamped it in different colors to look like sprinkles! For extra fun, I put the forks in a delicious glass of real sprinkles.
I didn’t have time to fully complete the donut balloons, nor did I supervise the lady at Kroger inflating these… half way. UGH! Much cuter HERE.

I left out treat boxes for guests to take home extras… I do NOT need donuts sitting around my house! 
The birthday girl, my beautiful mom, Marty! And little Max of course.
To make your life a lot easier… free printables:
Donuts HERE and HERE
Tags HERE and HERE
Menu (blank) HERE
-L
Oh… and the winner of the FRESHLY PICKED MOCCS GIVEAWAY is…
RACHEL ARNOLD!! (e-mail us mama!)
Yippee! Congrats!
We clearly have the best followers EVER!! Thank you ALL for your entries and sweet comments. Get hype for some more giveaways coming up! 

WEEKEND RECIPE: CORNFLAKE MARSHMALLOW CHOCOLATE CHIP COOKIES

We had a huge box of Cornflakes that nobody was eating, so I made Momofuku’s Cornflake Marshmallow Chocolate Chip Cookies. That’s a legitimate excuse right? Crunchy and gooey at the same time, delightfully buttery, not too sweet, and a touch salty. These. Are. So. Good.
If you haven’t been to Momofuku Milk Bar in Manhattan, you simply must. But of course you can get their cookbook filled with incredible recipes. I added sprinkles, because according to 3-year-olds… okay and 30-year-olds, sprinkles make everything taste better! 
Here’s a close up of these babies… drool

I baked these in a cake pan because for some reason mine always turn out super flat and crunchy when I make them as cookies. Anyone else have this issue? 
Here’s the magic ingredient- the cornflake crunch! I can’t even… I mean… 
RECIPE
CORNFLAKE CHOCOLATE CHIP MARSHMALLOW COOKIES
Ingredients:
3 cups Cornflake Crunch (see below)
2 sticks butter, room temp
1 1/4 cups sugar
2/3 cup tightly packed light brown sugar
1 egg
1/2 tsp vanilla
1 1/2 cups flour (I made with gluten-free flour BTW!)
1/2 tsp baking powder
1/4 tsp baking soda
1 1/4 tsp kosher salt
2/3 cup chocolate chips (I always use Ghiradelli 60% bittersweet chocolate chips. None better)
1 1/4 cups mini marshmallows
1. Combine butter and sugars in the bowl of a stand mixer with paddle attachment and cream together on medium-high for 3 minutes. Scrape down bowl and add egg and vanilla. Beat 8 minutes. 
2. Reduce mixer to low and add flour, baking powder, baking soda, and salt. Mix until just incorporated- 1 minute. 
3. Stir in cornflake crunch chocolate chips, and marshmallows until just incorporated- 30 seconds. 
4. Press into cake pan and refrigerate for at least an hour. These will go everywhere if you don’t. Eat the dough in the mean time if you can’t wait 🙂
5. Heat oven to 375 degrees. Bake about 20 minutes until the top is golden brown. The middle will be slightly jiggly but that’s okay! Cool completely in the pan before cutting. 
CORNFLAKE CRUNCH (makes 4 cups)
Ingredients:
5 cups cornflakes
1/2 cup milk powder
3 tablespoons sugar 
1 tsp kosher salt
9 tablespoons butter, melted
1. Heat the oven to 275 degrees
2. Pour cornflakes in a medium bowl and crush them with your hands to one-quarter of their original size. Add milk powder, sugar, and salt and toss to mix. Add the melted butter and toss to coat. 
3. Spread on parchment-lined sheet pan and bake 20 minutes, at which point they should look toasted and smell buttery.
4. Cool completely before storing or using in a recipe. Store in an airtight container and keep in the fridge or freezer to keep fresh for a month for your snacking pleasure!
Have a buttery wonderful weekend!
-L

ARI’S ANIMAL THEMED PARTY: PART 1

Today’s #TBT party series features Ari’s 2nd birthday. At two, Ari was obsessed with going to the zoo, so I went with a “Party Animal” theme and made it modern with solid, bright colors. Everything I did was DIY– you can totally pull this off if you have the time and plan ahead!
My talented twin sister, Ellie, of Aunt Ellie’s Sweet Treats, made her famous gourmet rice krispie treats Campfire Crispies and cut them out in animal shapes. These. Are. Amazing. If you’ve never tried, you’re missin’ out on life, my friend. Order HERE. You deserve it.
DIY chalkboard trays tutorial HERE / Spoons by Shop Sweet Lulu
DIY fringy toppers tutorial HERE / Baking cups by Shop Sweet Lulu
Remember those yummy frosted animal cookies you ate as a kid? I made them out of sugar cookies, tinted frosting, and sprinkles. 
Not gonna lie… these bad boys took me a loooong time. But worth it right? Tutorial HERE.
’cause it’s a camel.. get it?
Nana Lou’s famous punch (for adults!). This zookeeper needed three one after all this DIY-ing!
Yep, that’s me enjoying zookeeper punch. 
I made teeny little party hats for these fellas.
Animal canister DIY – fill with animal food: goldfish, teddy grahams, and animal crackers
I took a picture of Ari every month – well worth torture! See all three years HERE.
PHOTO BOOTH
Photo booth backdrop and party hat tutorial HERE
I absolutely adore this picture! Lauren and Piper, Ari and me, Amara and Jenni. Obviously our kids are super photogenic.
Homemade funfetti cake! Mmmm… Topped with spray-painted animals of course.
Part 2 of Ari’s Animal Theme Birthday Party click HERE: DIY’s
Part 3 click HERE: Party favors, games for the kiddos, details
-L

NEXT LEVEL OREO RICE KRISPIE TREAT COOKIES

We’ll explain…
Have you seen these little babies?
We saw these and thought… what can we do to make these even more fat-tastic? Hmmm let’s scrape the good stuff out, mix it with rice krispie treats, slap it back in between the cookie parts, dip it in chocolate, and drench it in sprinkles. OKAY!
 Here’s the hardest part… try not to eat the oreo middles with your hands a spoon.
 Cut circles out *while rice krispie treats are still warm and pliable* and smoosh in between oreo cookie halves
 Dip in melting chocolate
Add sprinkles while chocolate is still soft if you want to make them festive!
Package these yummies up and spread the love!
YUM
RECIPE
NEXT LEVEL OREO RICE KRISPIE TREAT COOKIES
6 C Rice Krispie cereal
5 C mini marshmallows
3 TBSP unsalted butter
1 package Marshmallow Crispy Oreos
1 package candy making chocolate – we used Ghiradelli White Melting Wafers
Sprinkles
1. Scrape the cream centers out of the Oreos and set aside- they peel right out! Save the cookie halves.
2. Make rice krispie treats: melt butter and marshmallows. Stir in cereal and Oreo cream centers.
3. Press mixture evenly into greased baking tray with greased spatula or parchment paper. 
4. While treats are still a little warm and pliable, cut circle shapes out and set aside. We used an empty sprinkle container.
5. Smoosh rice krispie treat circles in between the Oreo cookie halves.
6. Melt chocolate in a double broiler/microwave and dip oreos. The cookies really don’t stay together well without the chocolate part! Dip the cookie in sprinkles while the chocolate is still warm and let cool completely. 
7. Devour.