A “WINTER WONDERLAND” BABY SPRINKLE

Our #TBT (Throwback Thursday) Party this week is a baby shower I put together for our sweet friend, Shara. Baby number two was on the way, and I wanted to do something simple, not over the top, but still oh so special. 
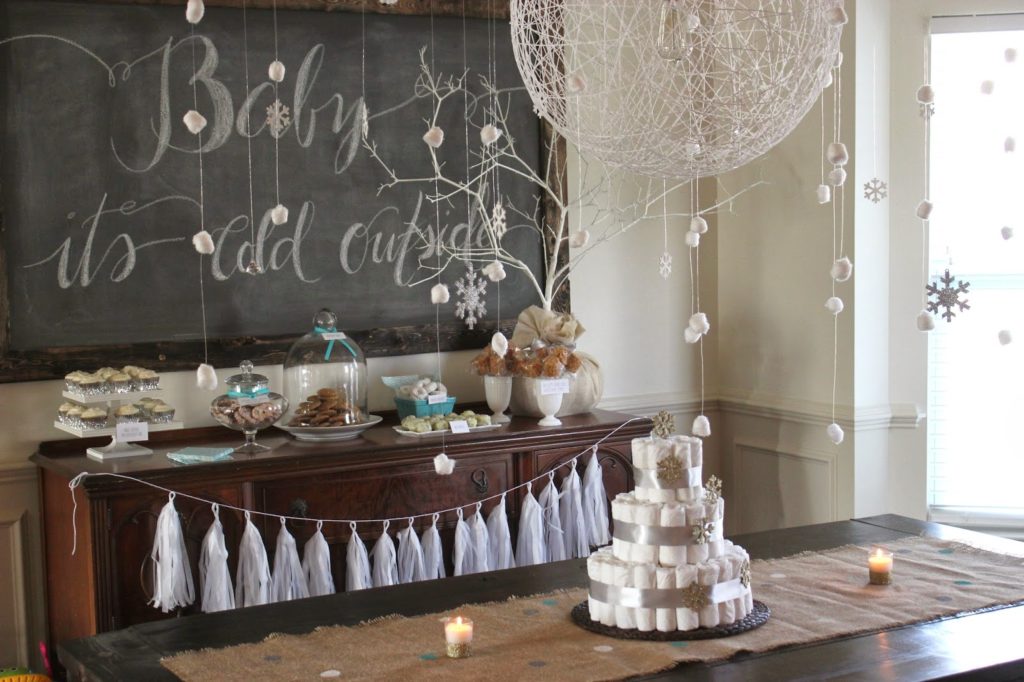
It was a “winter wonderland” theme with some confetti markings as well. My main focus was to have “snow” hanging from the ceiling and an amazing dessert table. It was January, so it just felt right. 
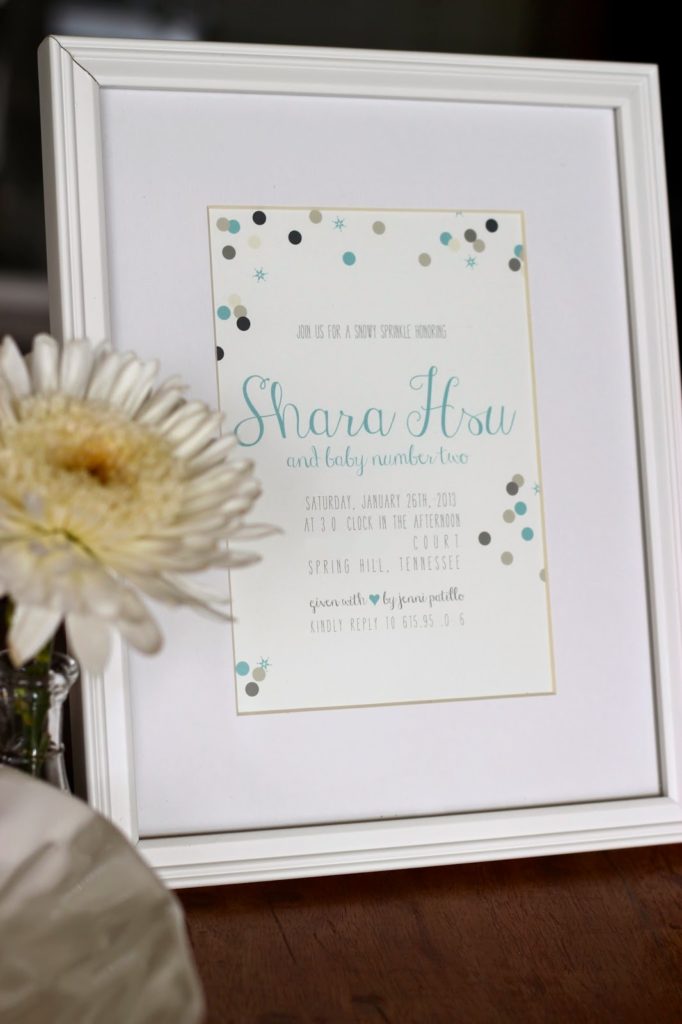
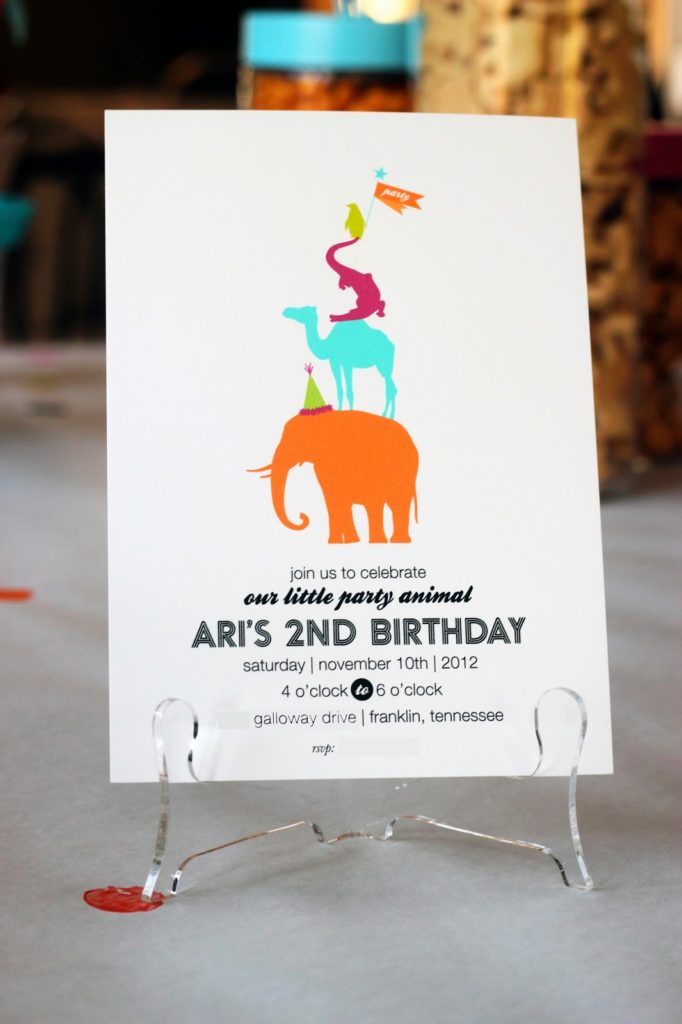
^^The invite (Rock Paper Scissors) ^^
I actually put confetti in the envelopes as well! That always a nice surprise for the recipient! yay! 
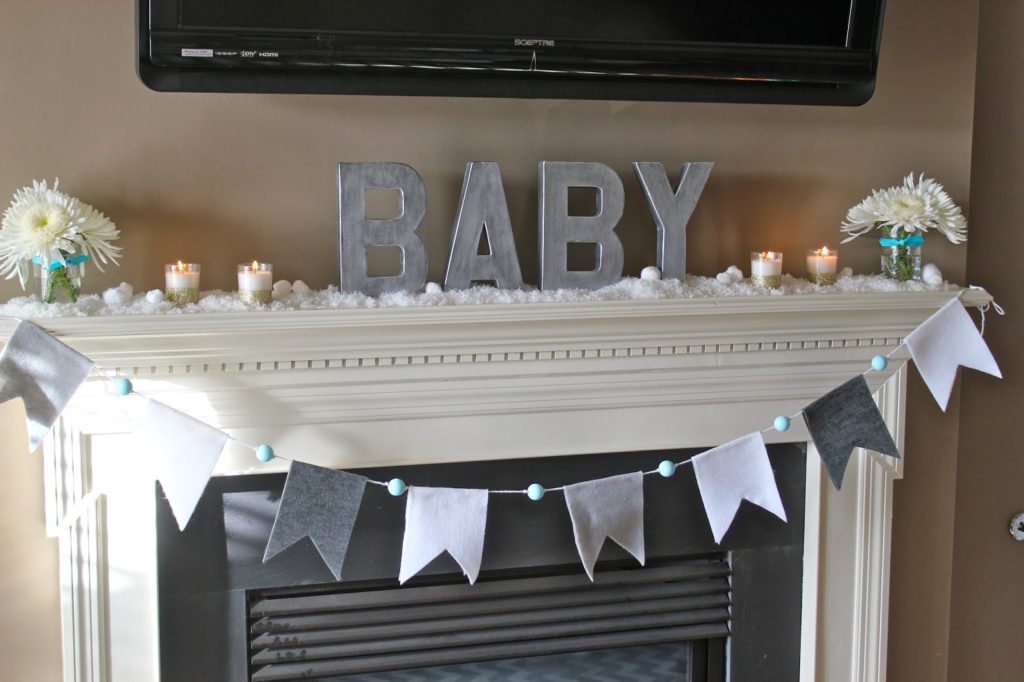
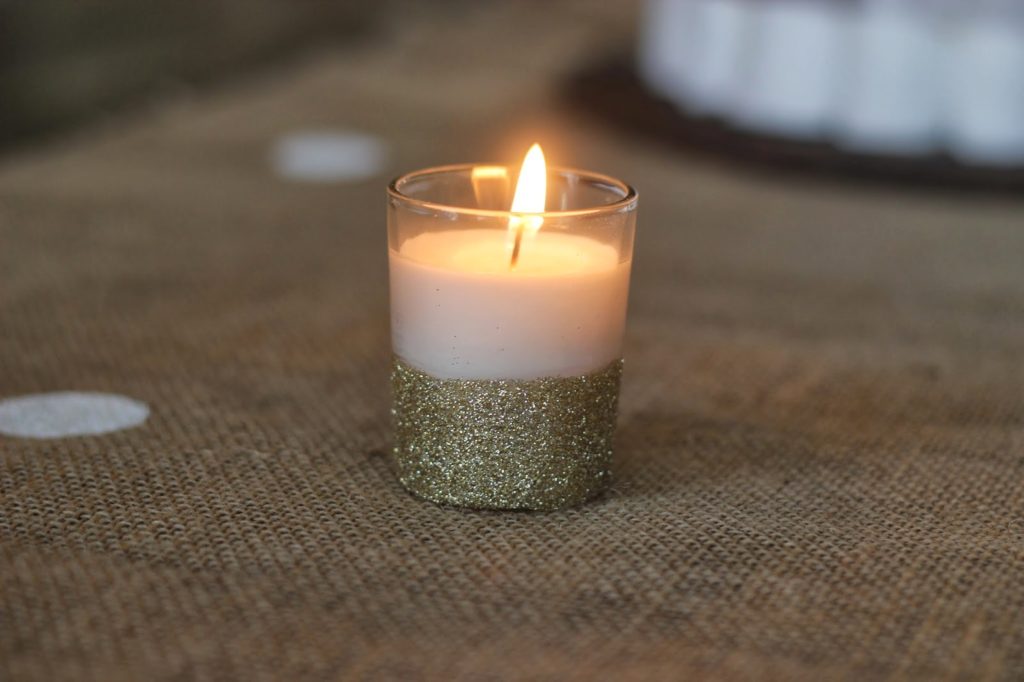
^^ I did simple mantel decor by using fake snow and cotton balls, flowers, candles, DIY anthro inspired letters and a handmade felt banner. I put modge podge on the bottom of the votive candle jars and sprinkled glitter on them to give them a little something extra. Also, the banner consists of felt flags and wooden beads from JoAnn’s that I painted an aqua blue…. shara’s favorite color.^^
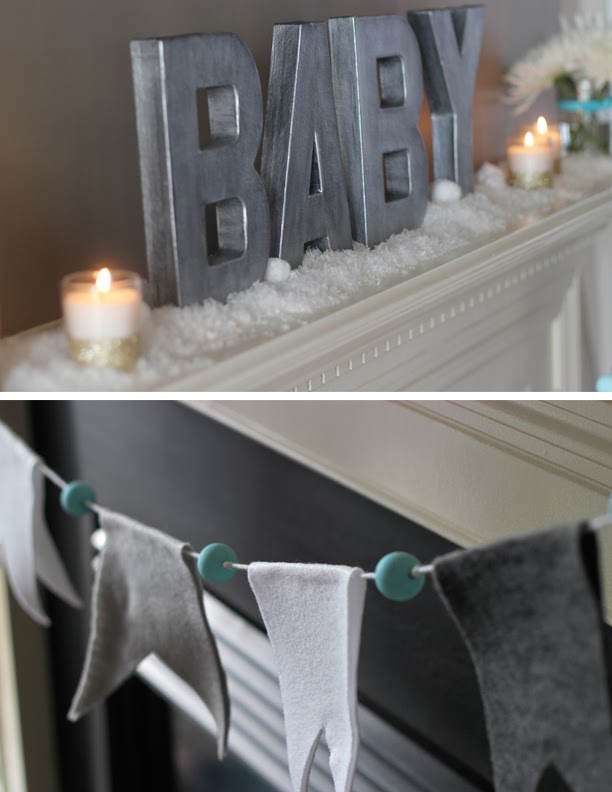
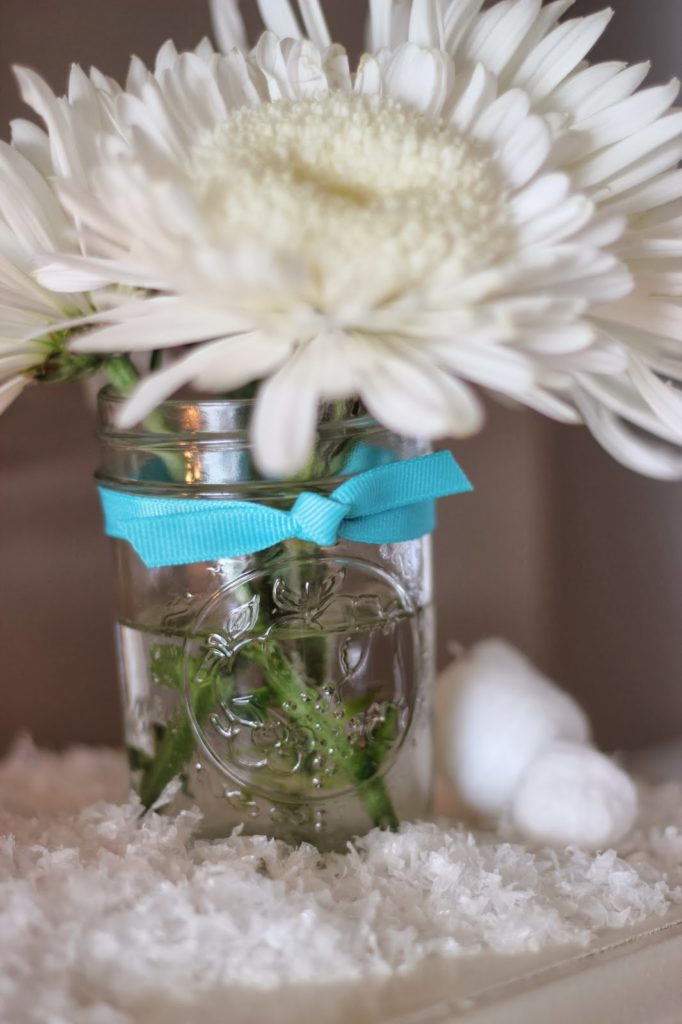
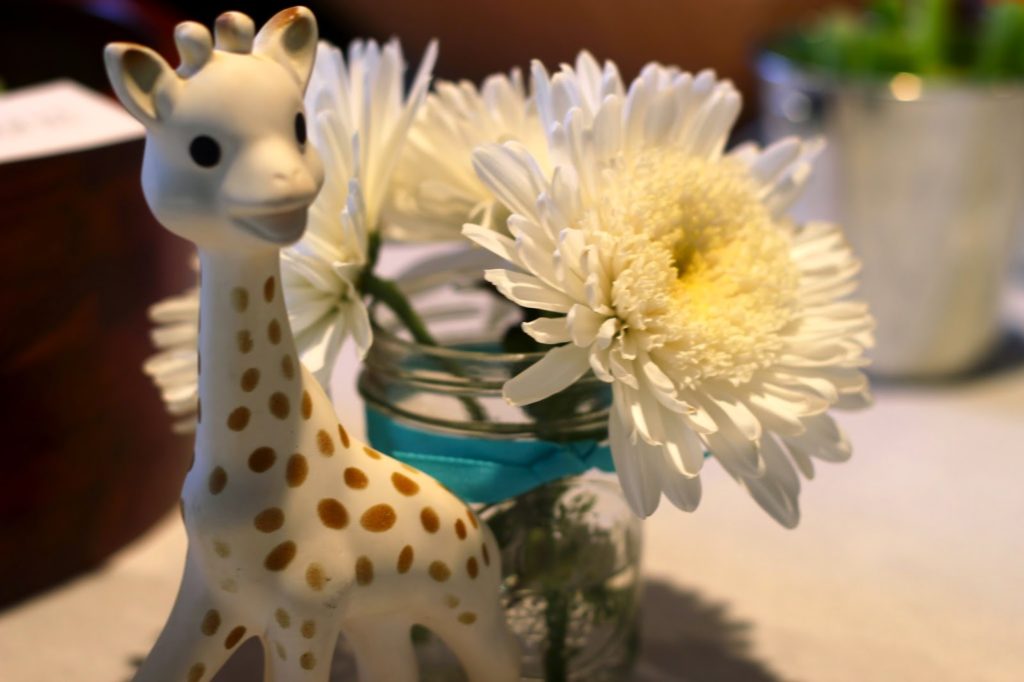
^^ White flowers are just so classy to me. They ALWAYS work!! ^^

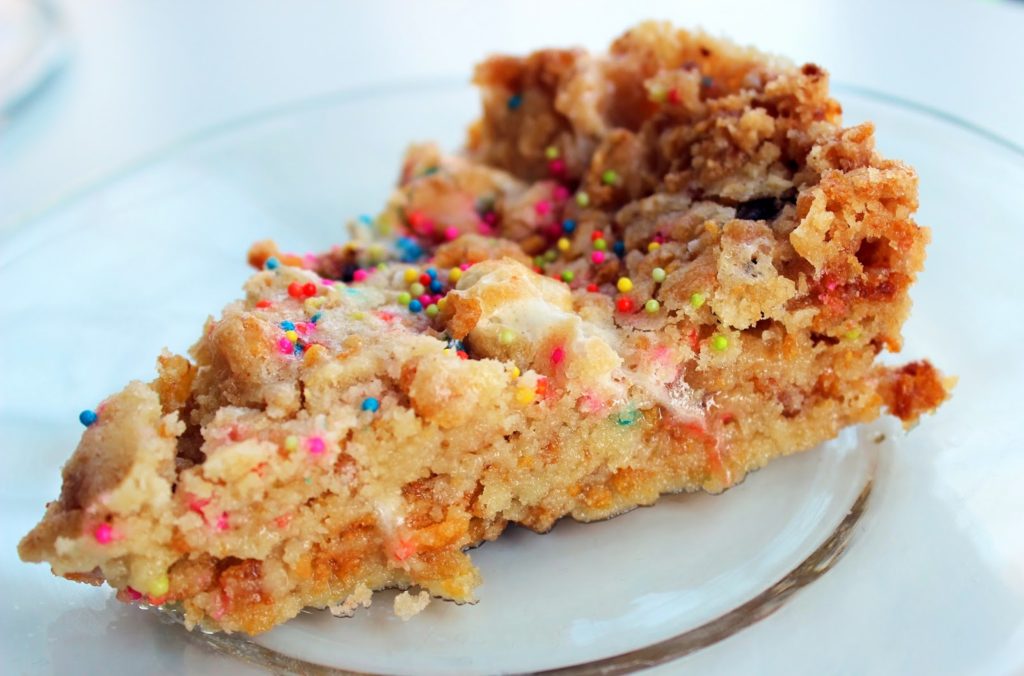
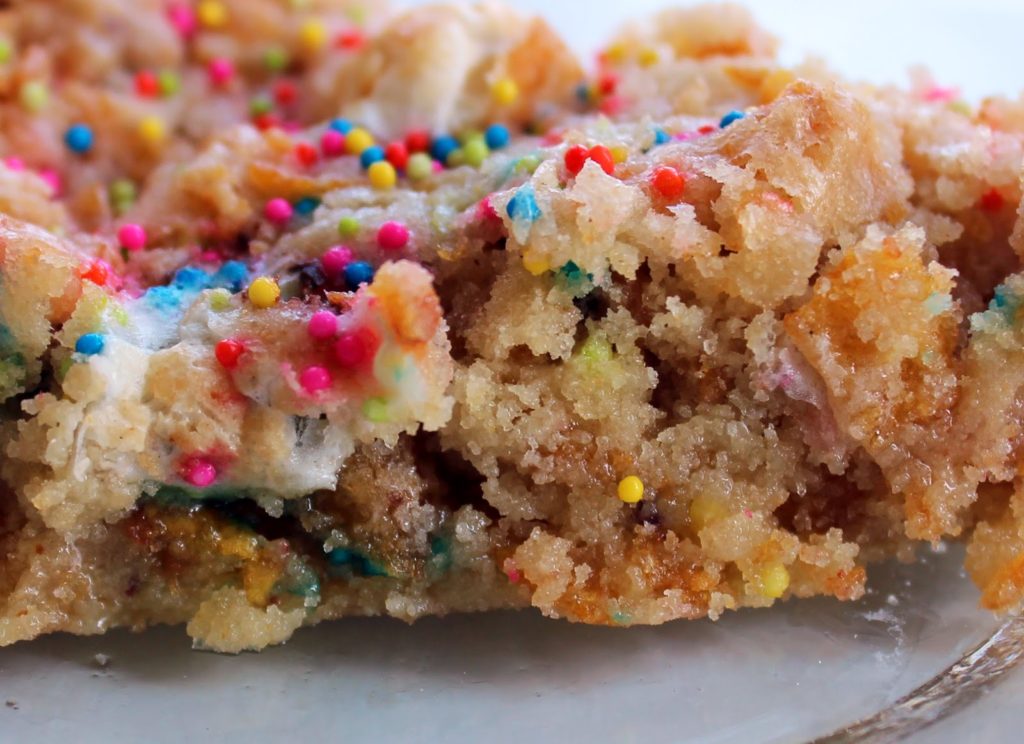
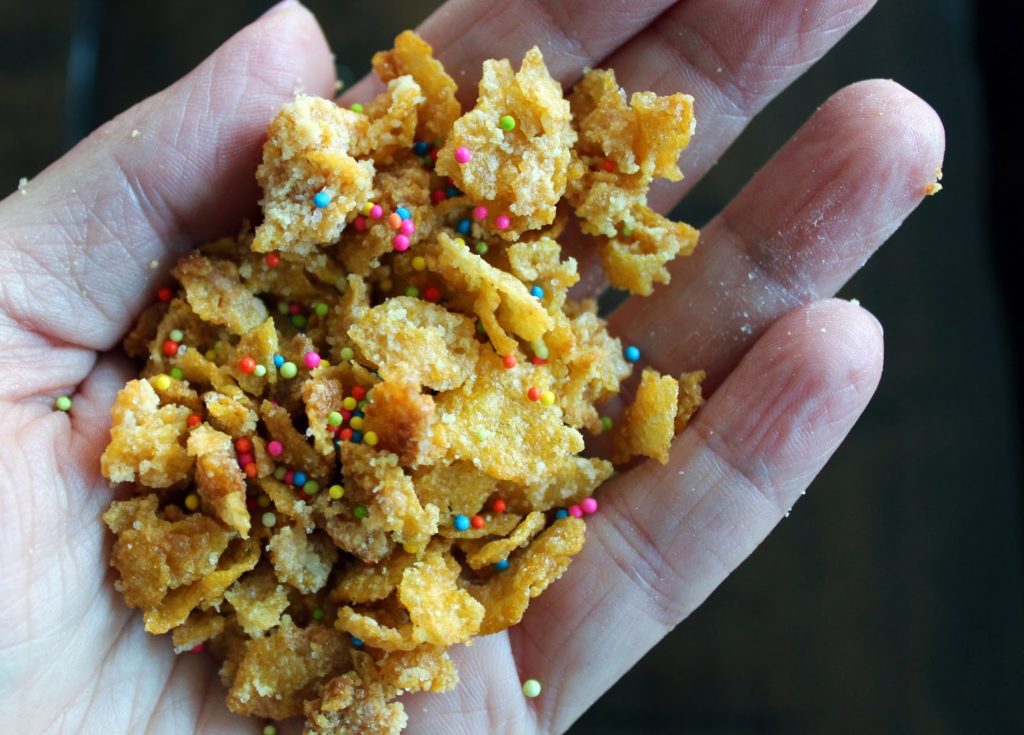
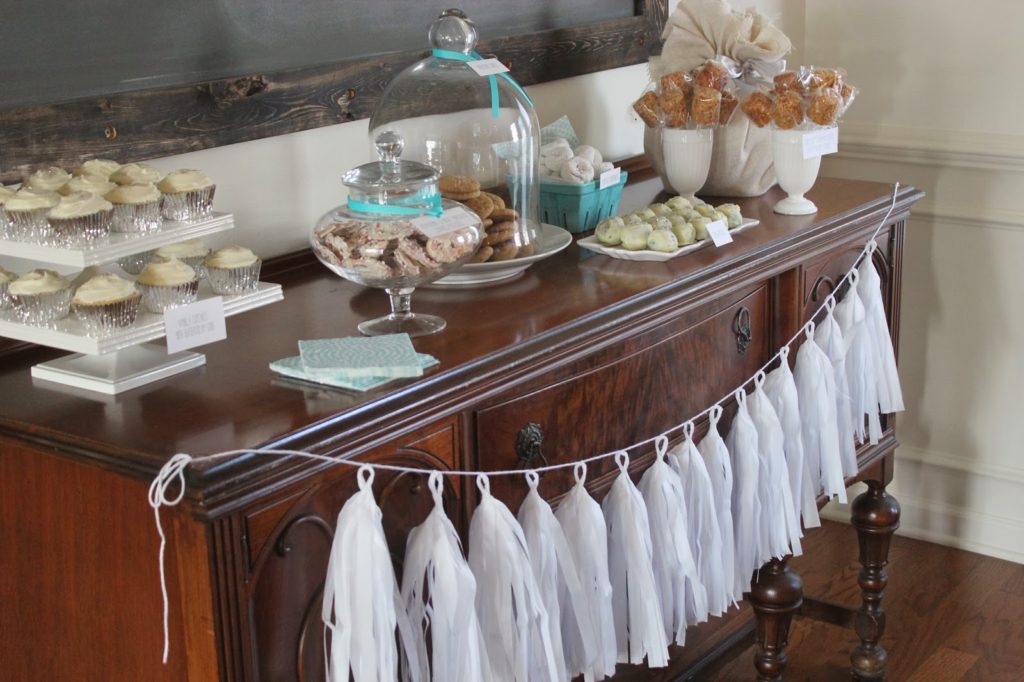
^^ The dessert bar was my favorite part! So many yummy treats, especially those Aunt Ellie’s Campfire Crispies! I mean…. seriously. ^^
^^ Hand-lettering on the chalkboard. Always fun! ^^
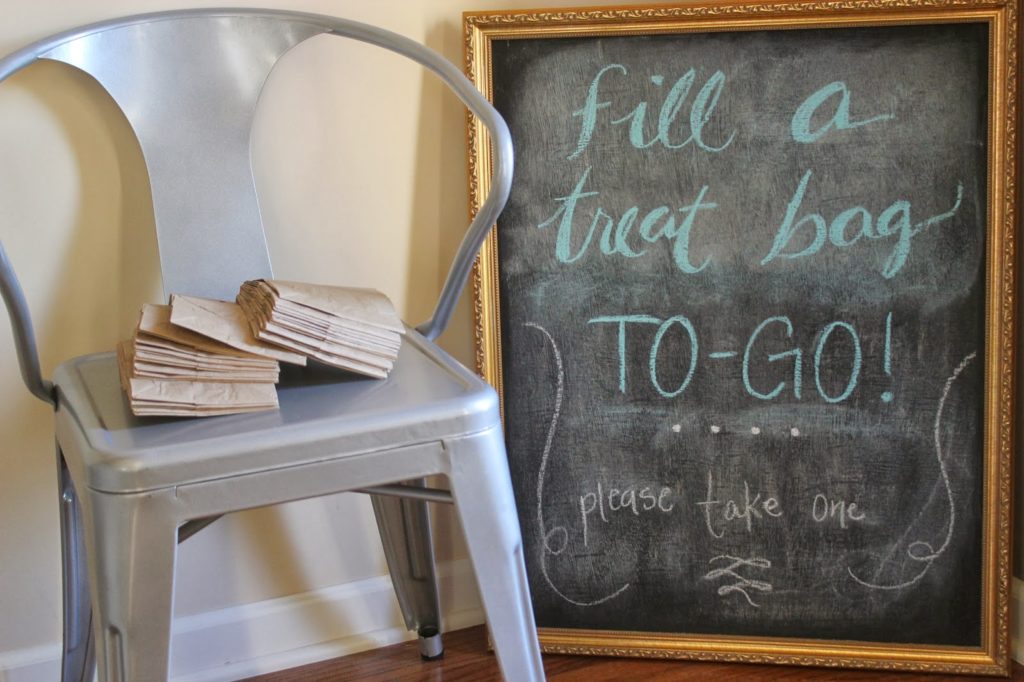
^^”To go treat bags” are always a good idea when you are serving lots of sweets. Guests took extras home to their kids. That is what they said at least. I am SURE that they probably had a treat or two in their car…. in private! ^^
^^ Anything you can do to make writing “thank-you” notes a little easier on a new mom really helps. I had each of the guests address their own envelope, and I had already written Shara’s address on the back as well. All she had to do was write the simple note, and put a stamp on it. Easy! ^^
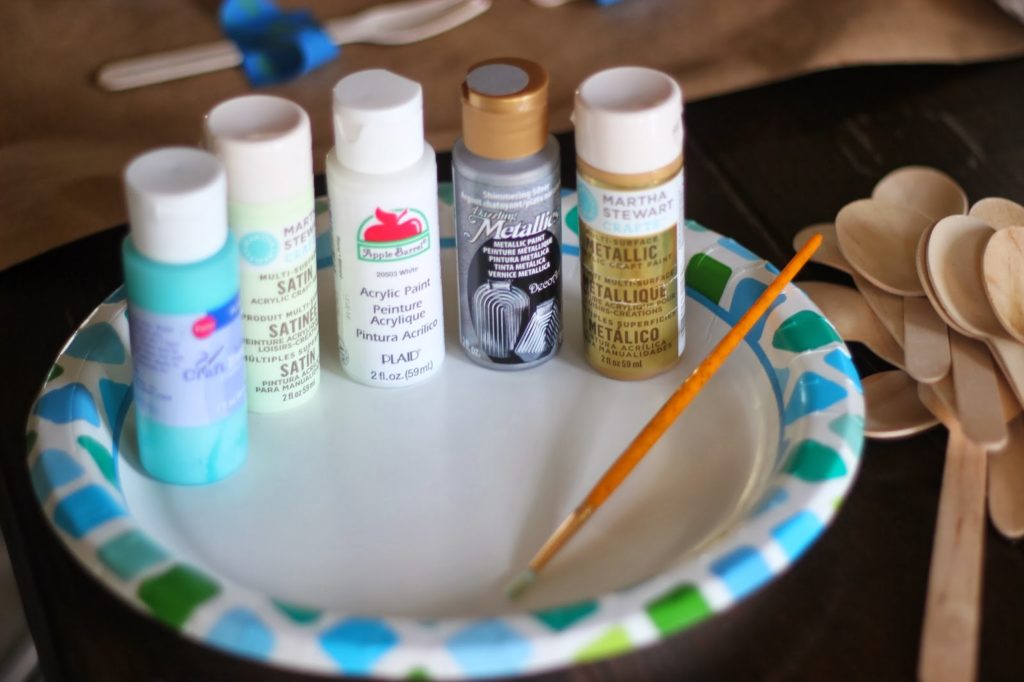
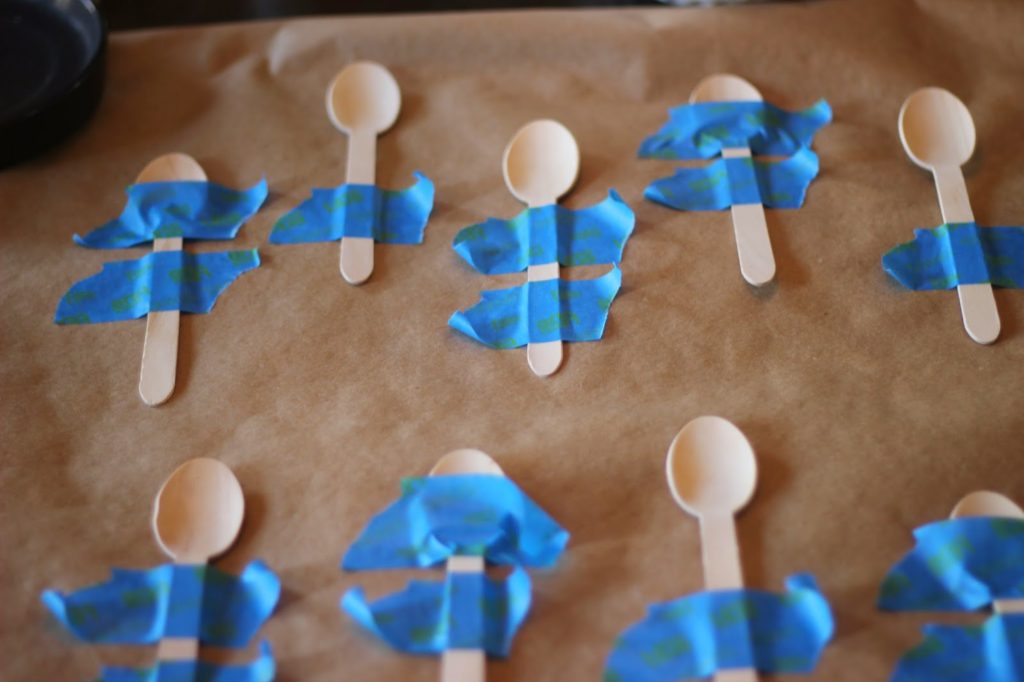
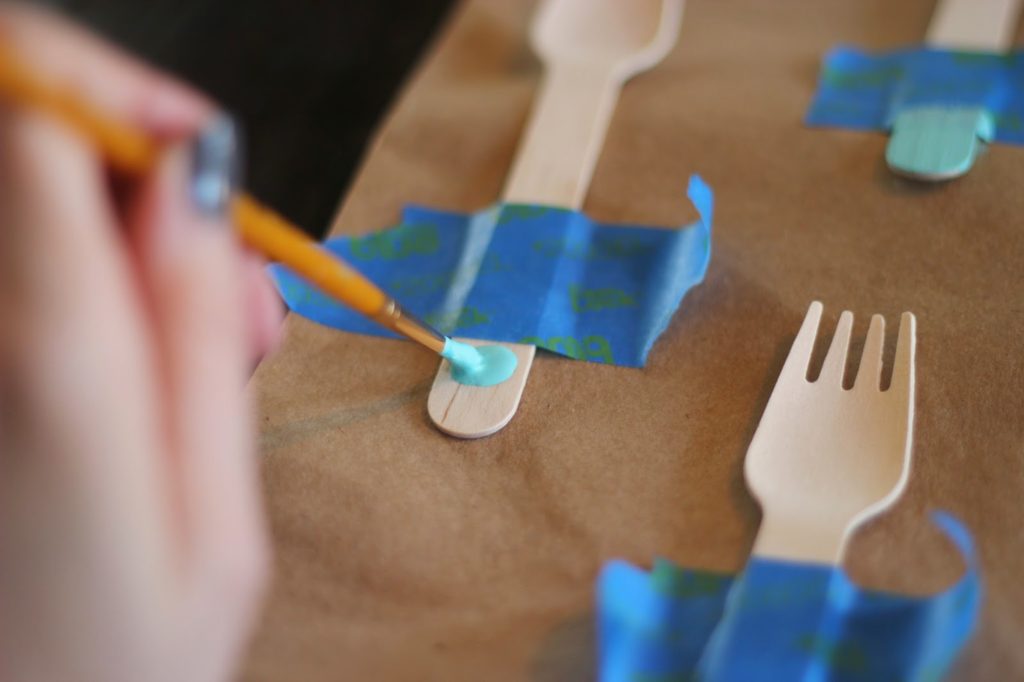
My only tutorial I took pics of because I am the worst at stopping throughout my projects to take tutorial pics, as I get too excited favorite tutorial that I can share with you are the DIY color-blocked spoons I made. Pretty self-explanatory…. just tape your utensils down with painters’ tape while blocking off different sections. Paint your first color, allow drying time, move your tape and block off another section, and repeat until you get the desired look. It was time consuming, but man… I am such a sucker for little details! ^^

P.S. Tomorrow is Friday!!! WHOOP WHOOP!
-J

A VERY SPECIAL GIVEAWAY: FRESHLY PICKED MOCCASINS – CLOSED!!

Happy Happy Monday friends!! We are beyond thrilled to be teaming up with one of our favorites, Freshly Picked, to bring you an awesome giveaway this week! We truly can’t rave enough about Susan, her amazing team and the quality product they produce to keep our littles styled comfortably. We discovered these handmade gems when our babies were born, and now consider ourselves “forever fans”. We finally found something that STAYS on their feet, with an ingenious elastic band around the ankle, while helping them get their little bearings in the world. The color choices are so stunning you will have a hard time choosing…. trust us! Be sure to check out the new Spring color releases if you haven’t already! We are crushing on the new coral and camo just to name a couple. I have personally saved each pair that Amara has grown out of to pass on to my other children in the future. They hold up so well, and make great gifts too!
(GIVEAWAY- details at the end of this post)
^^ Amara is wearing Radiant Orchid ^^
To enter to win a pair of Freshly Picked moccs in your choice of color and size, please comment below telling us what color you would love to add to your child’s shoe collection!
** For an additional entry, follow us on Instagram and comment by tagging TWO friends! **
The giveaway runs through Saturday, March 15, and the fabulous winner will be announced on Monday, the 17th! Thank you all for being a part of our first giveaway, and good luck!!!
UPDATE: And the winner is Rachel Arnold!! Contact us via email mama!!

WEEKEND RECIPE: CORNFLAKE MARSHMALLOW CHOCOLATE CHIP COOKIES

We had a huge box of Cornflakes that nobody was eating, so I made Momofuku’s Cornflake Marshmallow Chocolate Chip Cookies. That’s a legitimate excuse right? Crunchy and gooey at the same time, delightfully buttery, not too sweet, and a touch salty. These. Are. So. Good.
If you haven’t been to Momofuku Milk Bar in Manhattan, you simply must. But of course you can get their cookbook filled with incredible recipes. I added sprinkles, because according to 3-year-olds… okay and 30-year-olds, sprinkles make everything taste better! 
Here’s a close up of these babies… drool

I baked these in a cake pan because for some reason mine always turn out super flat and crunchy when I make them as cookies. Anyone else have this issue? 
Here’s the magic ingredient- the cornflake crunch! I can’t even… I mean… 
RECIPE
CORNFLAKE CHOCOLATE CHIP MARSHMALLOW COOKIES
Ingredients:
3 cups Cornflake Crunch (see below)
2 sticks butter, room temp
1 1/4 cups sugar
2/3 cup tightly packed light brown sugar
1 egg
1/2 tsp vanilla
1 1/2 cups flour (I made with gluten-free flour BTW!)
1/2 tsp baking powder
1/4 tsp baking soda
1 1/4 tsp kosher salt
2/3 cup chocolate chips (I always use Ghiradelli 60% bittersweet chocolate chips. None better)
1 1/4 cups mini marshmallows
1. Combine butter and sugars in the bowl of a stand mixer with paddle attachment and cream together on medium-high for 3 minutes. Scrape down bowl and add egg and vanilla. Beat 8 minutes. 
2. Reduce mixer to low and add flour, baking powder, baking soda, and salt. Mix until just incorporated- 1 minute. 
3. Stir in cornflake crunch chocolate chips, and marshmallows until just incorporated- 30 seconds. 
4. Press into cake pan and refrigerate for at least an hour. These will go everywhere if you don’t. Eat the dough in the mean time if you can’t wait 🙂
5. Heat oven to 375 degrees. Bake about 20 minutes until the top is golden brown. The middle will be slightly jiggly but that’s okay! Cool completely in the pan before cutting. 
CORNFLAKE CRUNCH (makes 4 cups)
Ingredients:
5 cups cornflakes
1/2 cup milk powder
3 tablespoons sugar 
1 tsp kosher salt
9 tablespoons butter, melted
1. Heat the oven to 275 degrees
2. Pour cornflakes in a medium bowl and crush them with your hands to one-quarter of their original size. Add milk powder, sugar, and salt and toss to mix. Add the melted butter and toss to coat. 
3. Spread on parchment-lined sheet pan and bake 20 minutes, at which point they should look toasted and smell buttery.
4. Cool completely before storing or using in a recipe. Store in an airtight container and keep in the fridge or freezer to keep fresh for a month for your snacking pleasure!
Have a buttery wonderful weekend!
-L

POTTY PARTY – FREE PRINTABLES

 My three-year-old, Ari, is FINALLY potty trained. This may be TMI but he’s been going #2 on the potty since he was two-years-old but refused to tell me when he needed to go #1. Stickers didn’t work, M&M’s didn’t work, jelly beans sort of worked, but it was moving at a slow pace. He needed major motivation. For Ari, it was the idea of having a Potty Party. I promised him cupcakes, decorations, and music. It worked! Only took a week. Guess I should have thought of this idea a year ago! 
I designed some free printables for your own Potty Party should you have the need (scroll down to the end of the post). Just add cupcakes and you’re all set. Oh and string up their brand new undies- Ari thought that was awesome! I even made printables for the little ladies in your life.
 
 Happy Potty Party day to youuuu…
TP roll sign HERE
Undies cupcake toppers HERE
Panties cupcake toppers HERE
Undies coloring pages HERE
Panties coloring page HERE
Good luck mamas! Let us know how it goes…
-L

ARI’S ANIMAL THEMED PARTY: PART 3

PARTY FAVORS
I filled these “feed buckets” with all animal themed goodies:
I found all animal/insect gummies from our local candy store Honey’s Vintage Sweets! Sharks, pigs, fish, frogs, and worms. The only kind of animals I’ll eat 🙂
I made these “farm fresh egg [shakers]” with easter eggs, rice, and hot glue. Kids go bananas for egg shakers!  
ENTERTAINING THE LITTLES
Decorate your own binoculars: cut a paper towel roll in half, staple together, and punch holes for the yarn strap.
This was my favorite game I did for the kids. I found these colorful peanuts at Joannes and then put lots of little plastic animals inside. The kids used the shovels to dig for animals, and I’m telling you, they were totally fixated on finding the animals! I left this out for Ari to play with for weeks after the party, and he was so into it every. single. time. Keep your littles busy! Though, obviously keep in mind these are choking hazards so make sure your kiddos are supervised. 
Equally as big of a hit as the animal dig was when I covered our coffee table with butcher paper and let the kids go crazy with crayons! Again, I kept this up for weeks, just changing out the paper when it was covered completely with doodles. The adults got really into it too! 
and lastly…
THE INVITATION
Designed by the talented Lauren of Rock Paper Scissors
See the rest of Ari’s animal themed party
Part 1 – All the details HERE
Part 2 – Tutorials HERE
We would LOVE to see what you come up with for your animal party! Tag #loveandlion on instagram or twitter, or you can post on our facebook page. 
-L