dessert table

FEATURED: SWEET BIRDIE BIRTHDAY PARTY

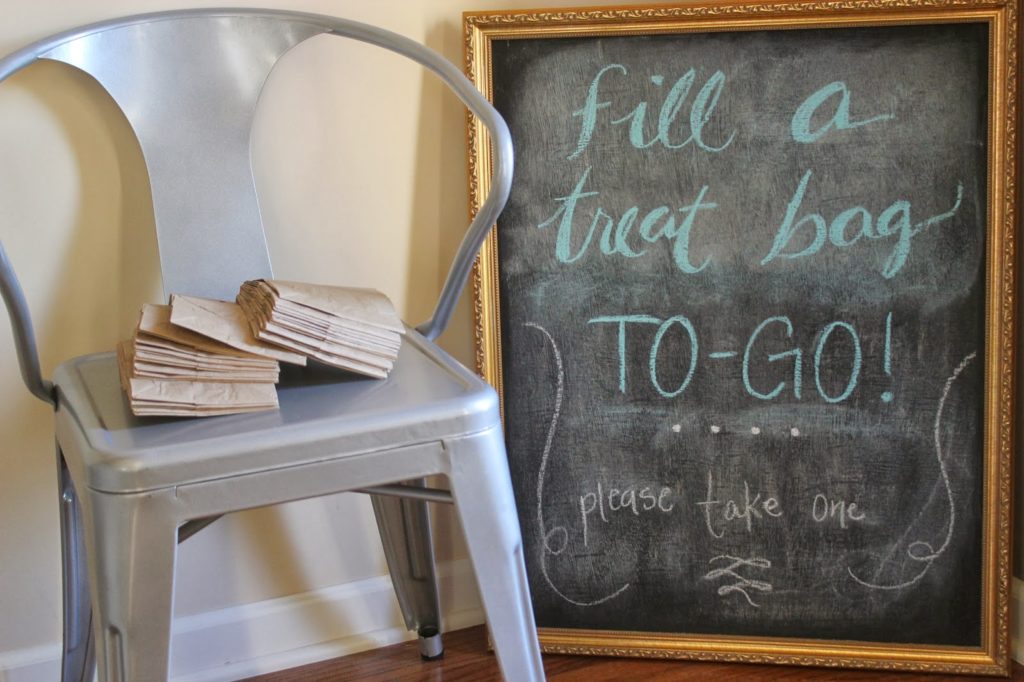
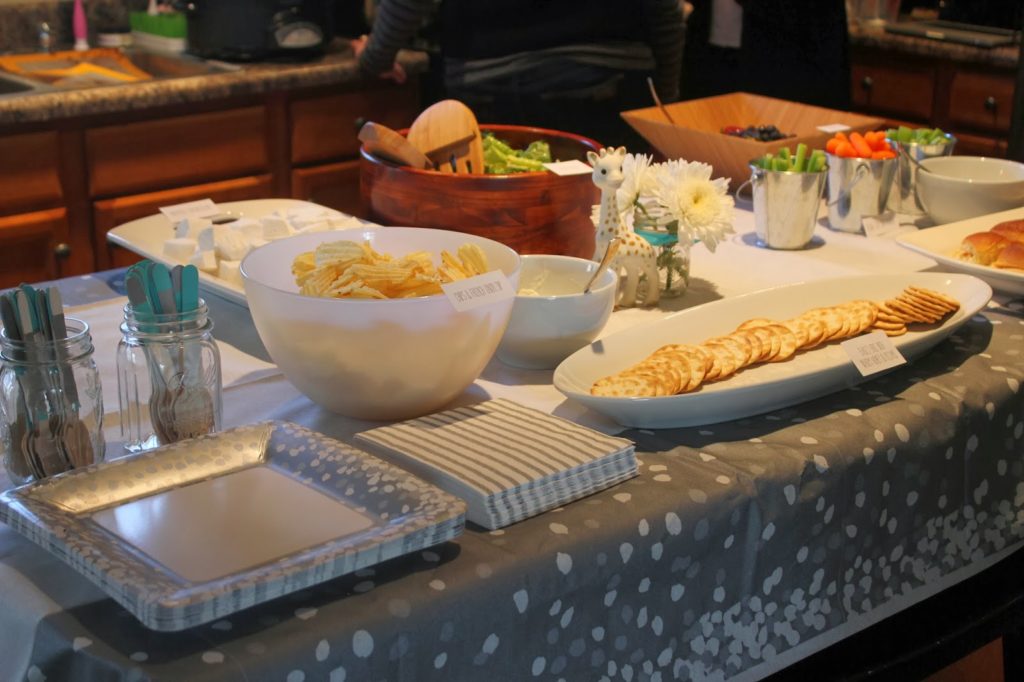
We adore DIY parties- that’s our fav for our own kids, so we’re always on the lookout for new creative yet achievable ideas. That’s why we’re so thrilled to feature this Sweet Birdie Dessert Birthday Party by Shauna Younge! You’ll love her pastel and wood grain color palette, pretty dessert table, and simple touches that made this party memorable!
 
SHAUNA:
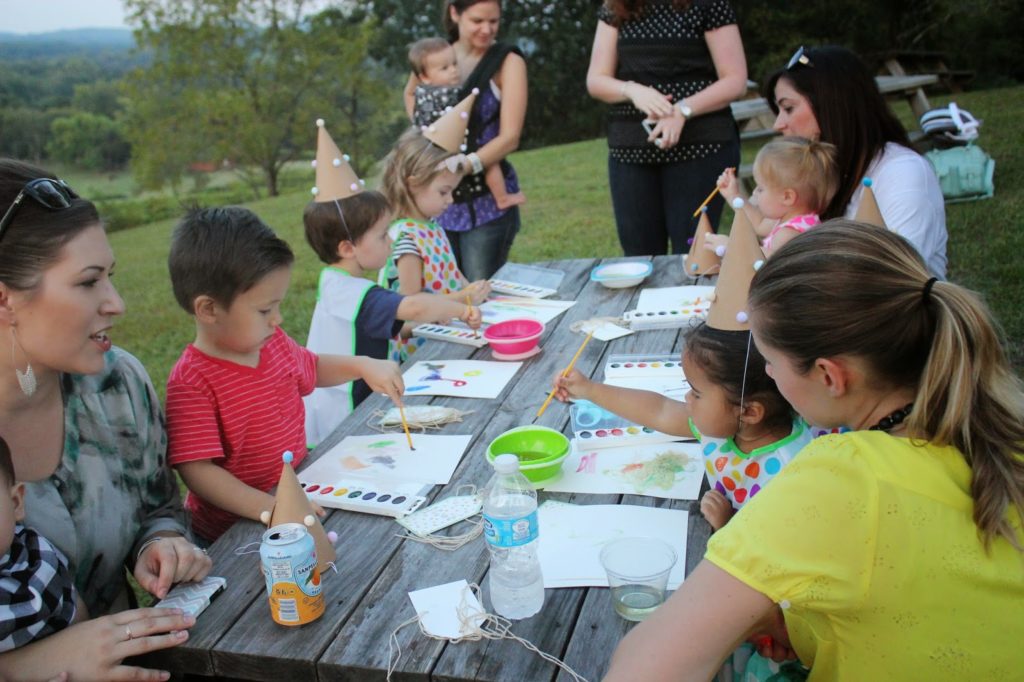
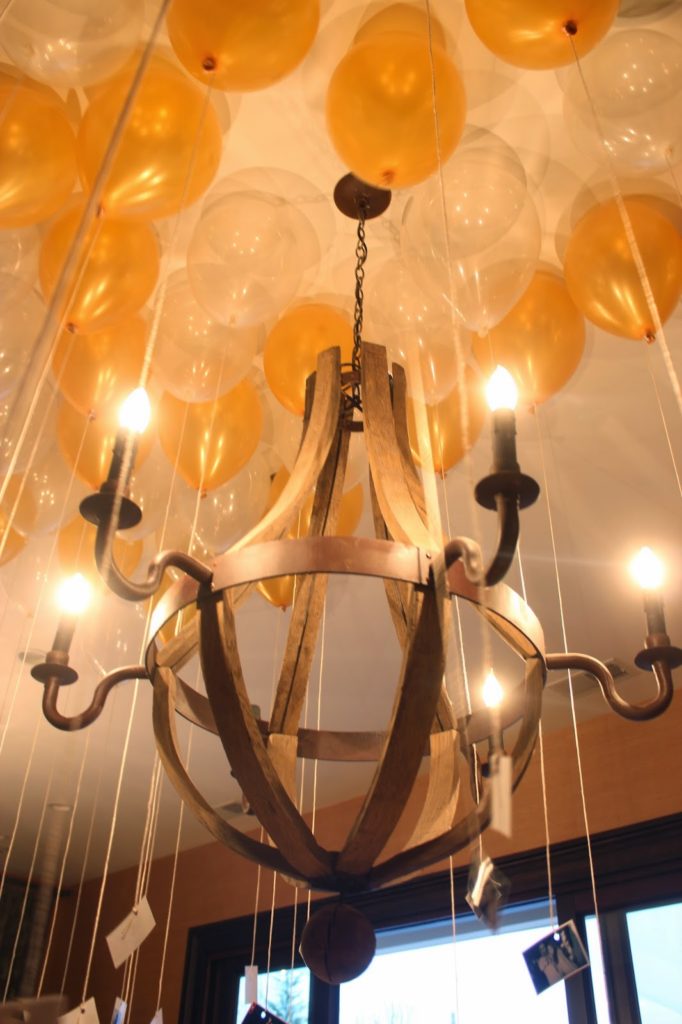
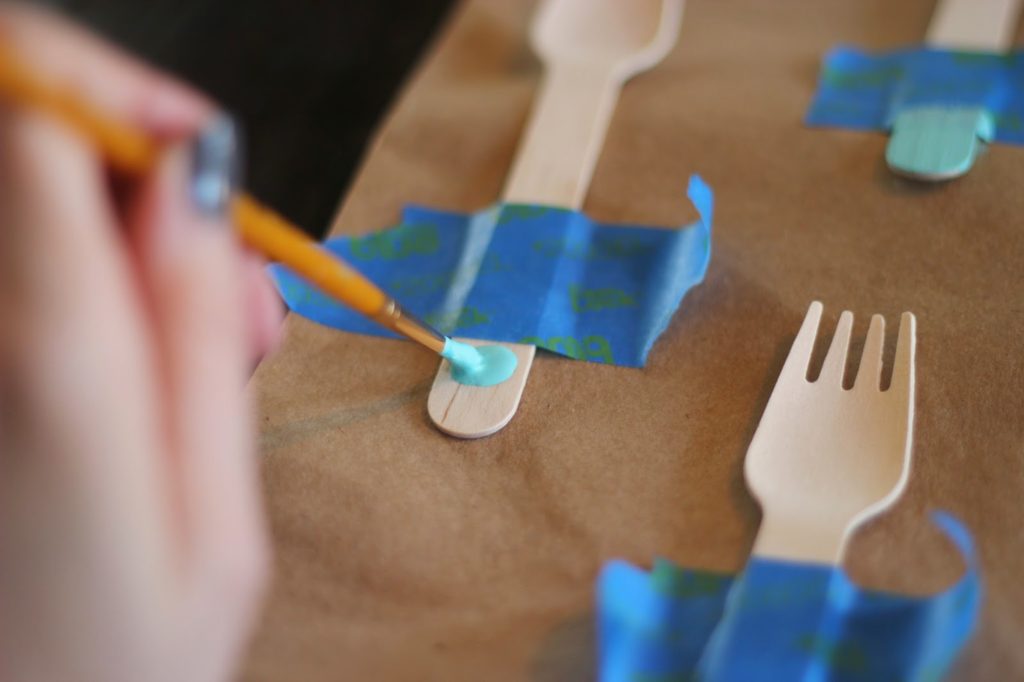
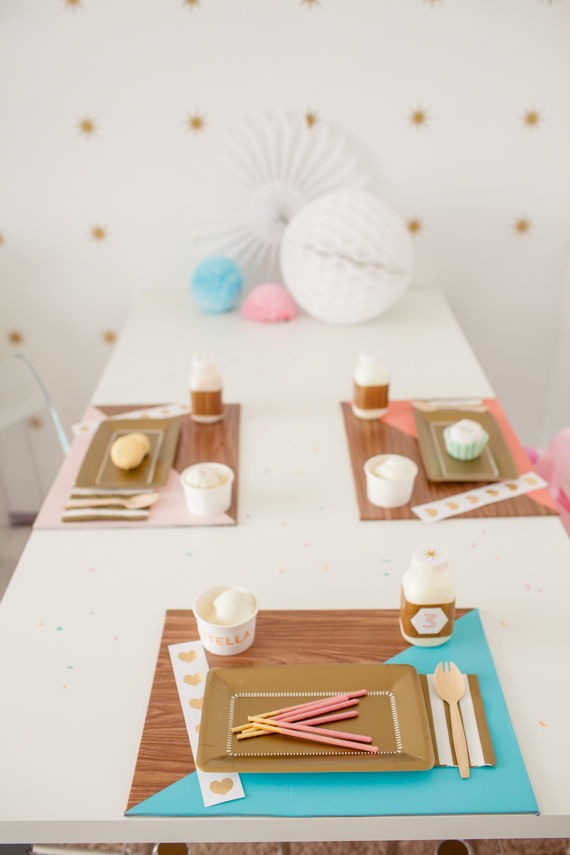
After I designed the hexagon and faux bois invites and found a great cake recipe, I planned a bash that was full of bright, spring-y colors offset by lots of white and gold accents. I created DIY faux bois color block placemats to bring color and warmth to my white desk for the girls to dine in style. 
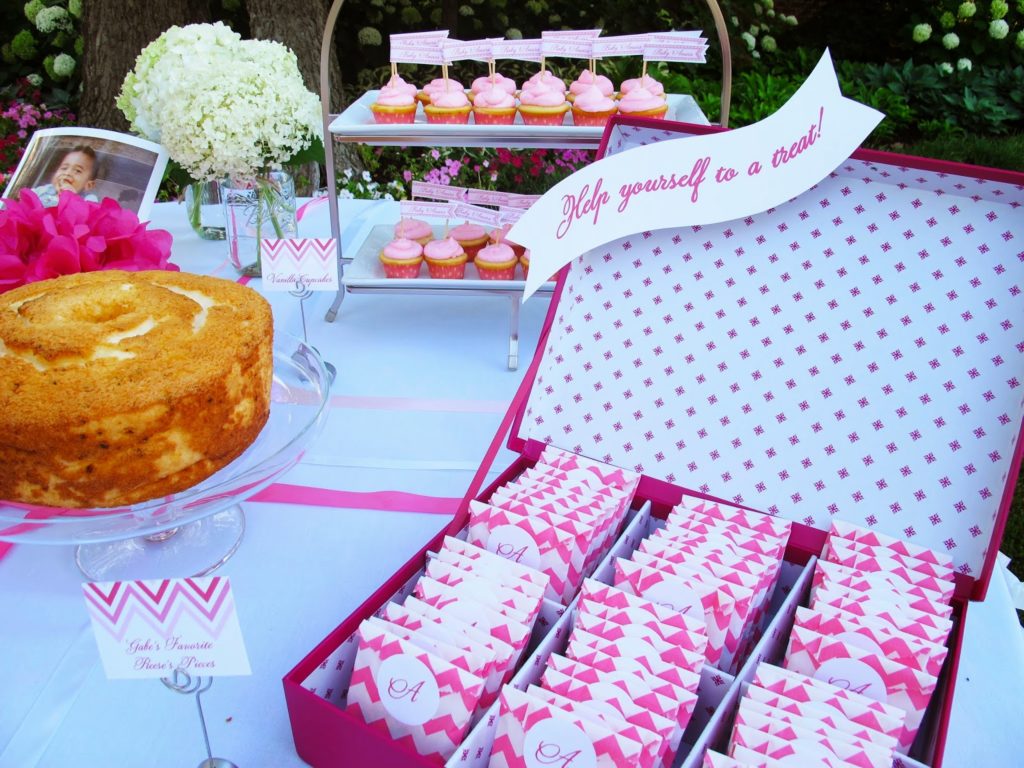
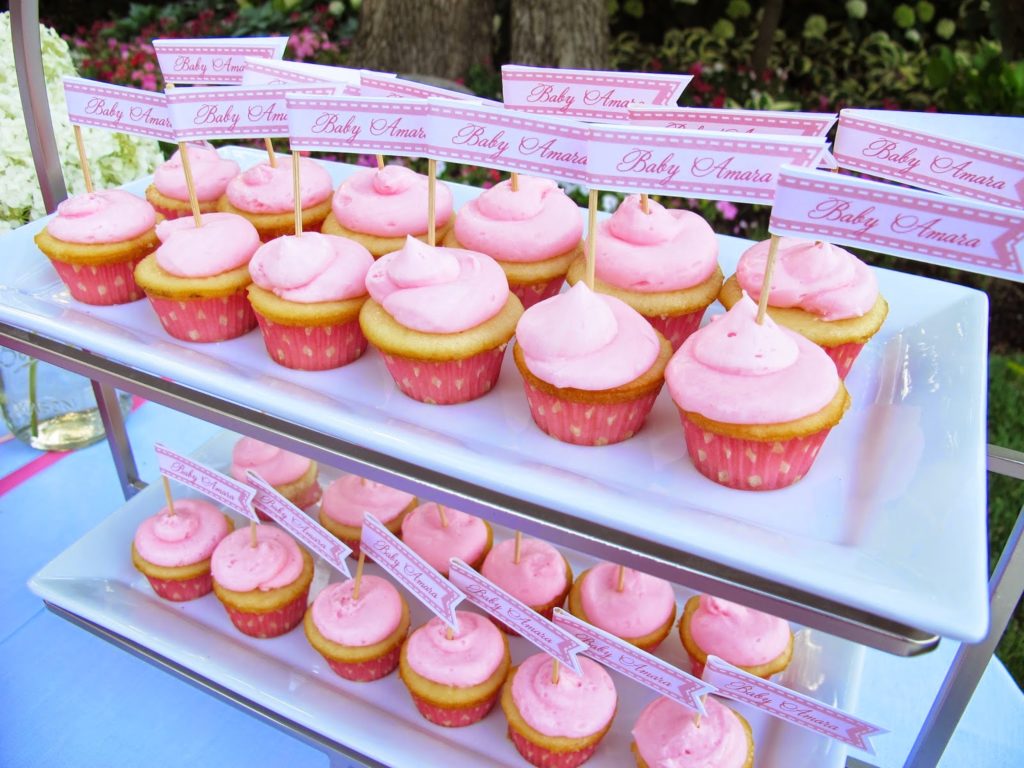
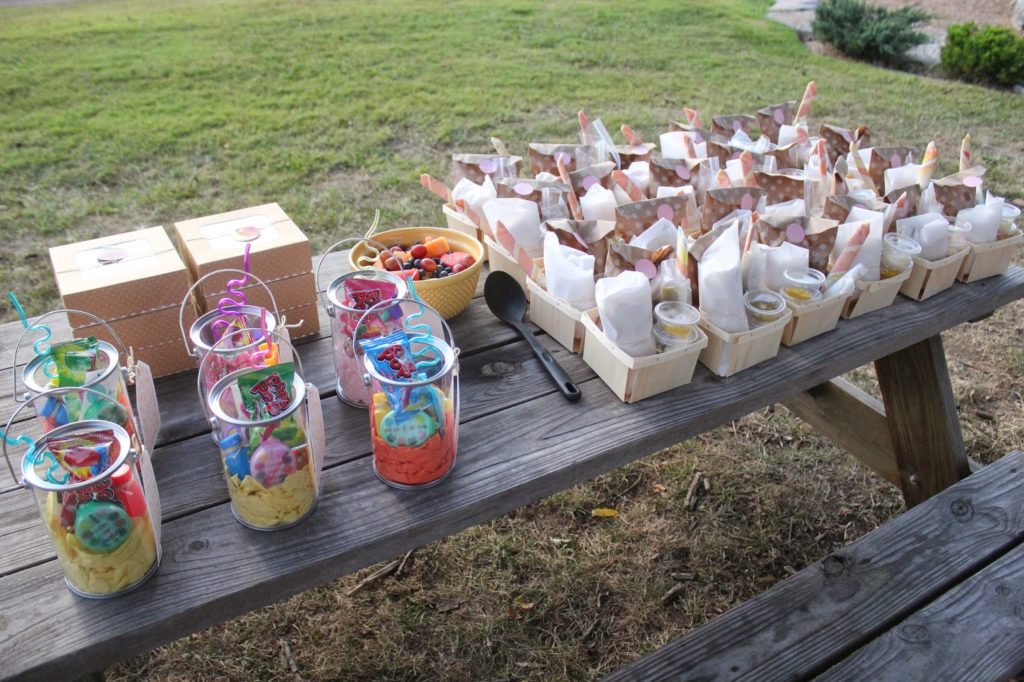
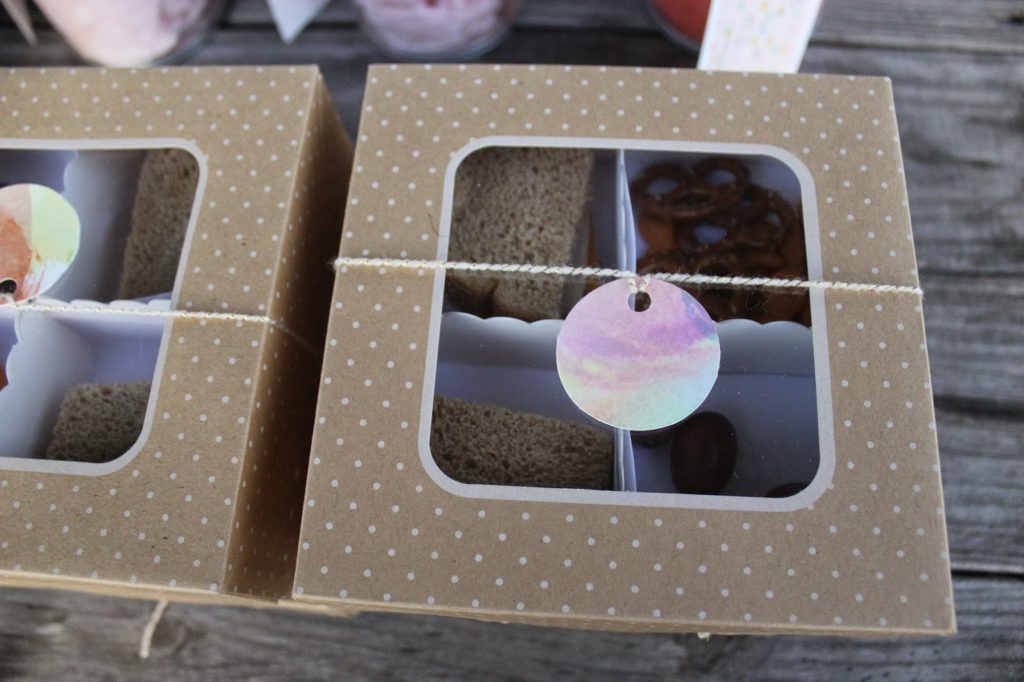
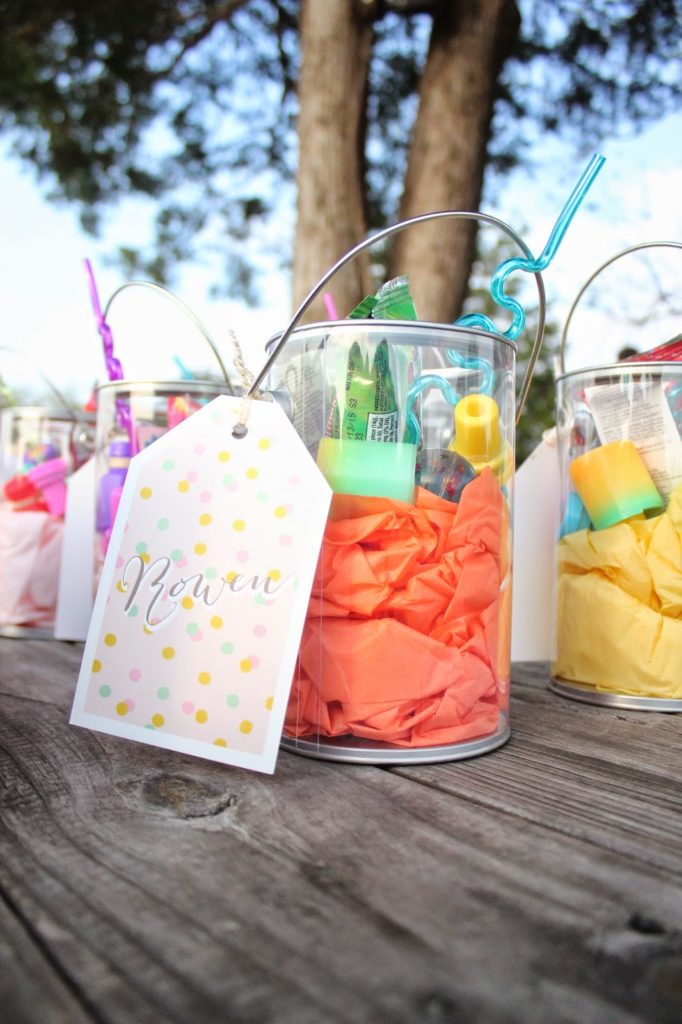
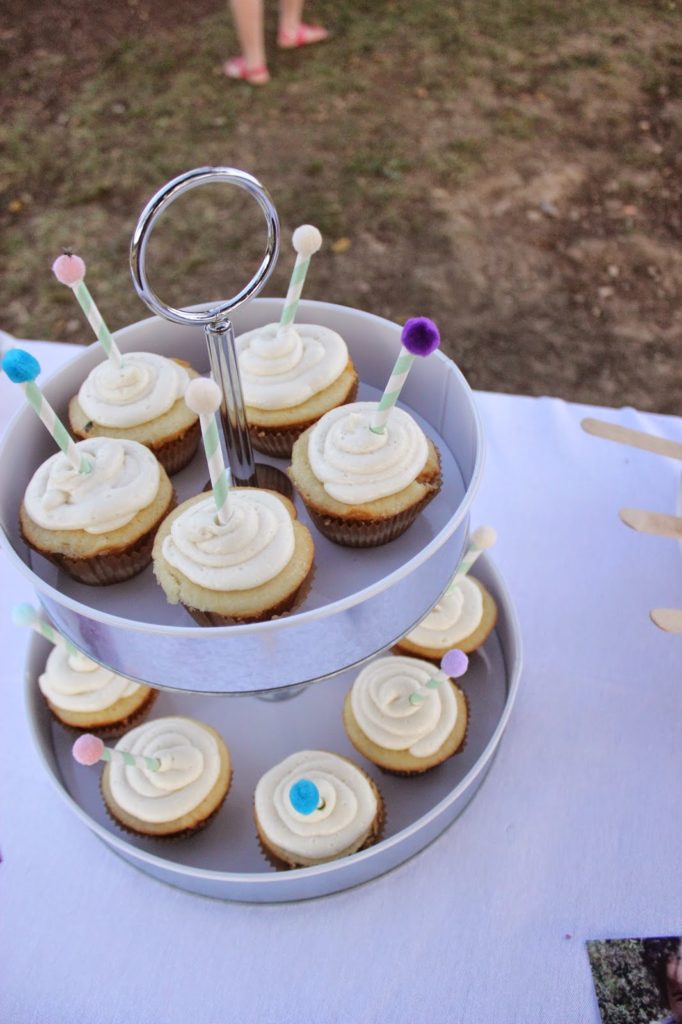
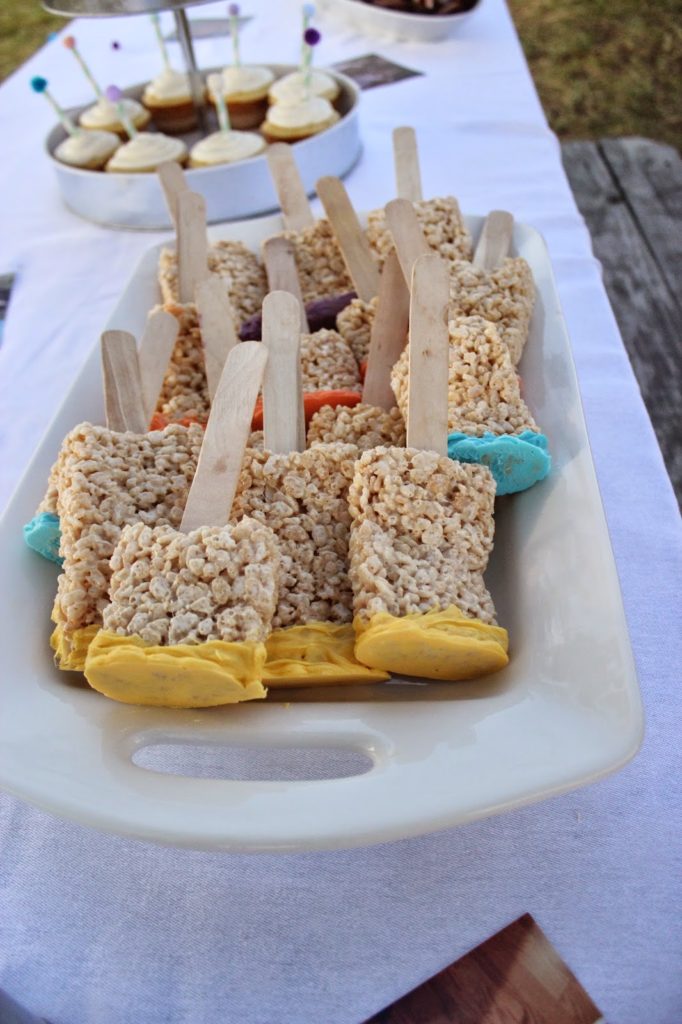
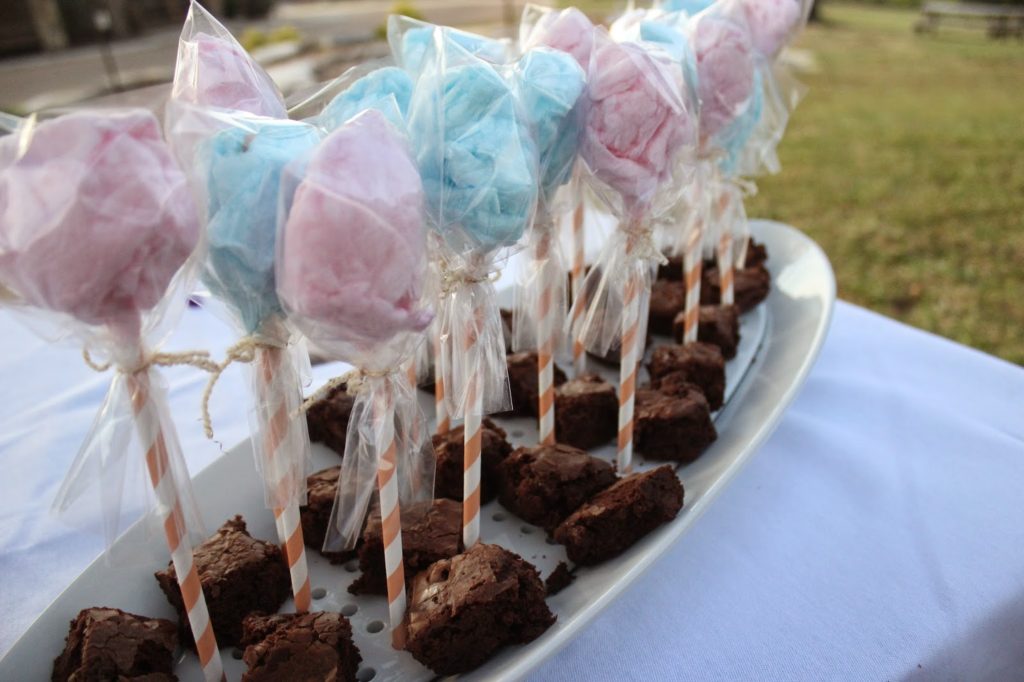
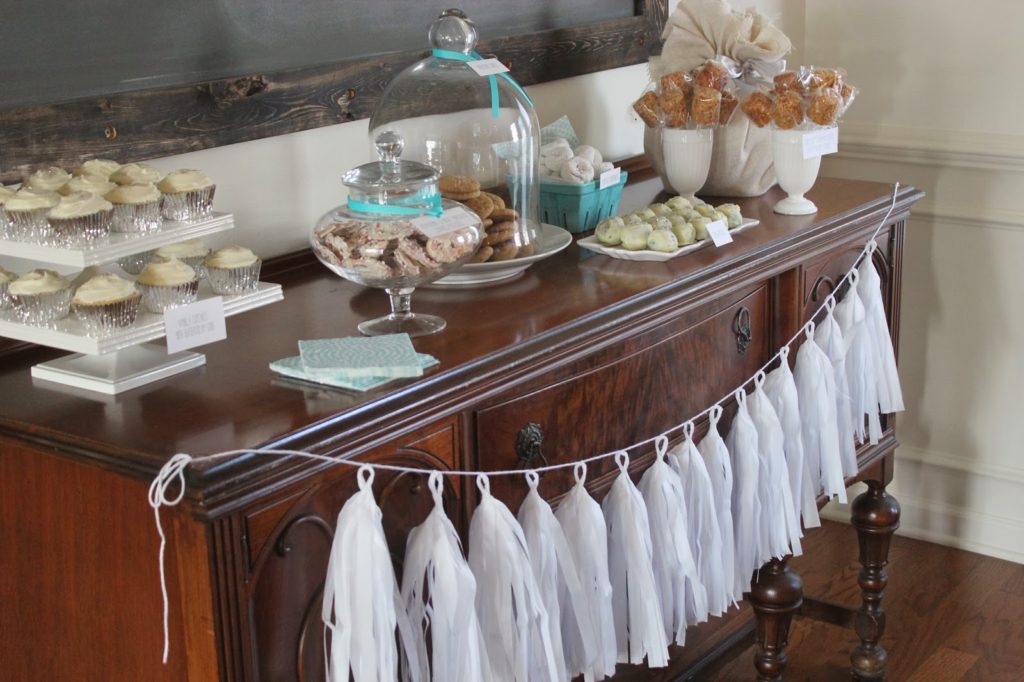
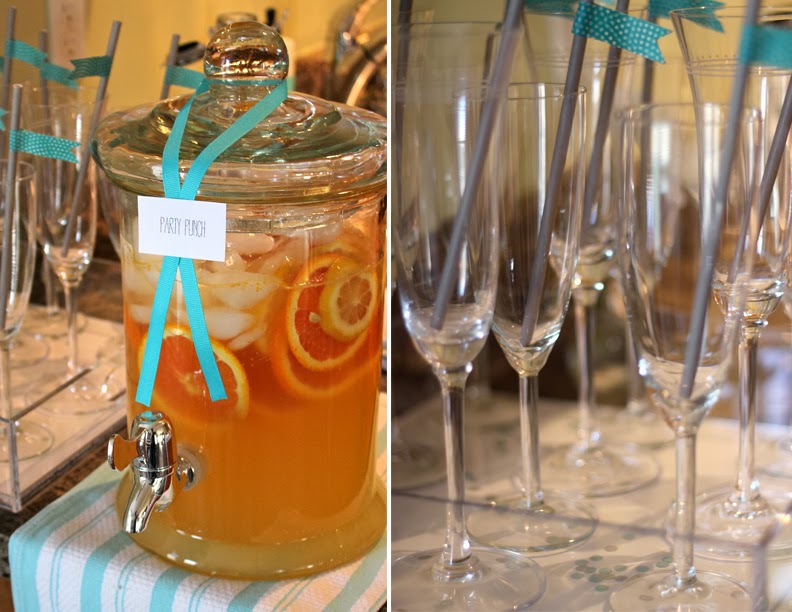
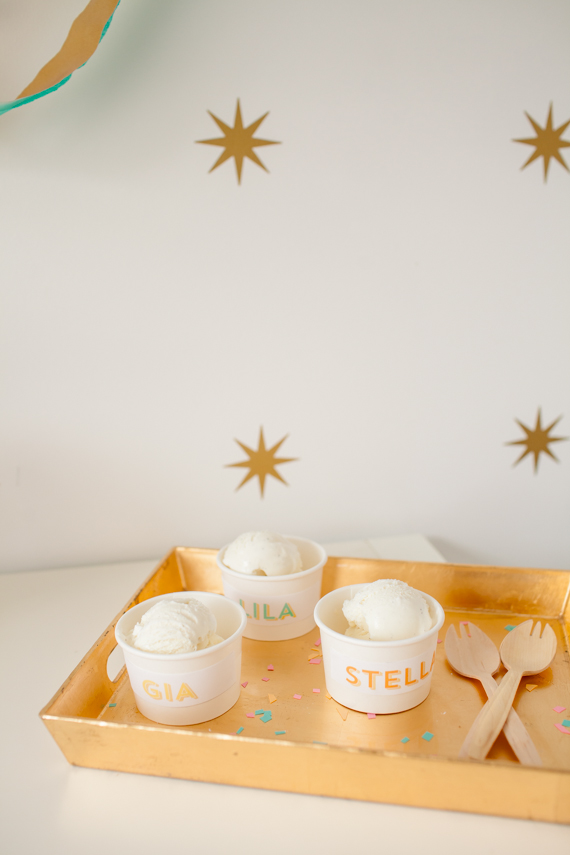
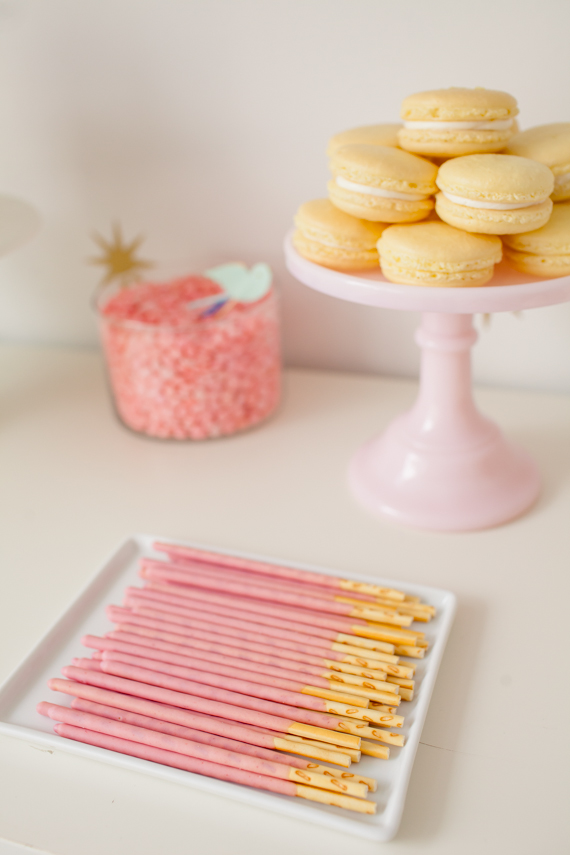
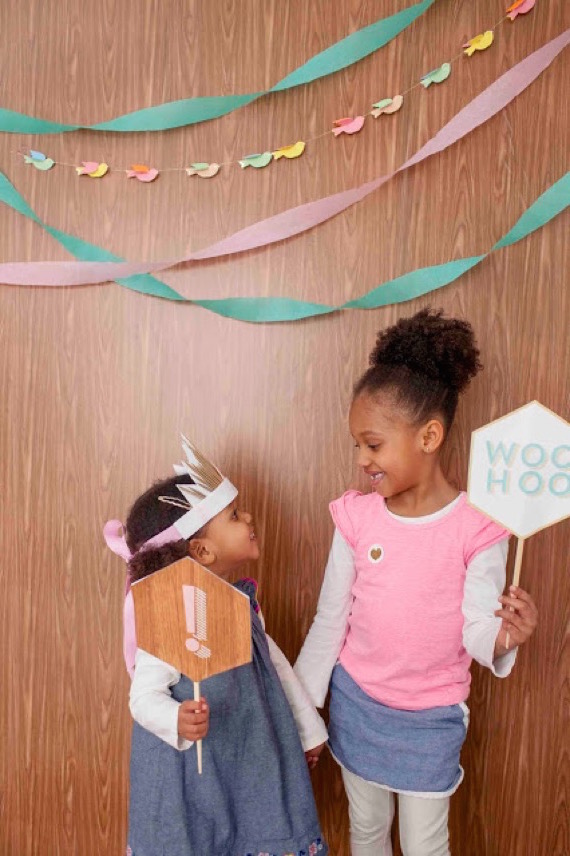
Along with sliders, powdered donuts, and popcorn, the girls devoured vanilla ice cream and my strawberry cake. I customized labels with each girl’s name to decorate the paper ice cream cups from Sweet Party Shop. I also designed faux bois labels for the milk bottles to add a natural element to the all-white room. Land of Nod’s birdie garland and cupcake kit added a bit of whimsy to the dessert table that really kicked up the color a notch. 
CREDITS
Party concept, styling, and dessert table: Shauna Younge
Images: Sydnee Bickett
Birdie garland and cupcake kit: Land of Nod
Ice cream cups: Sweet Party Shop
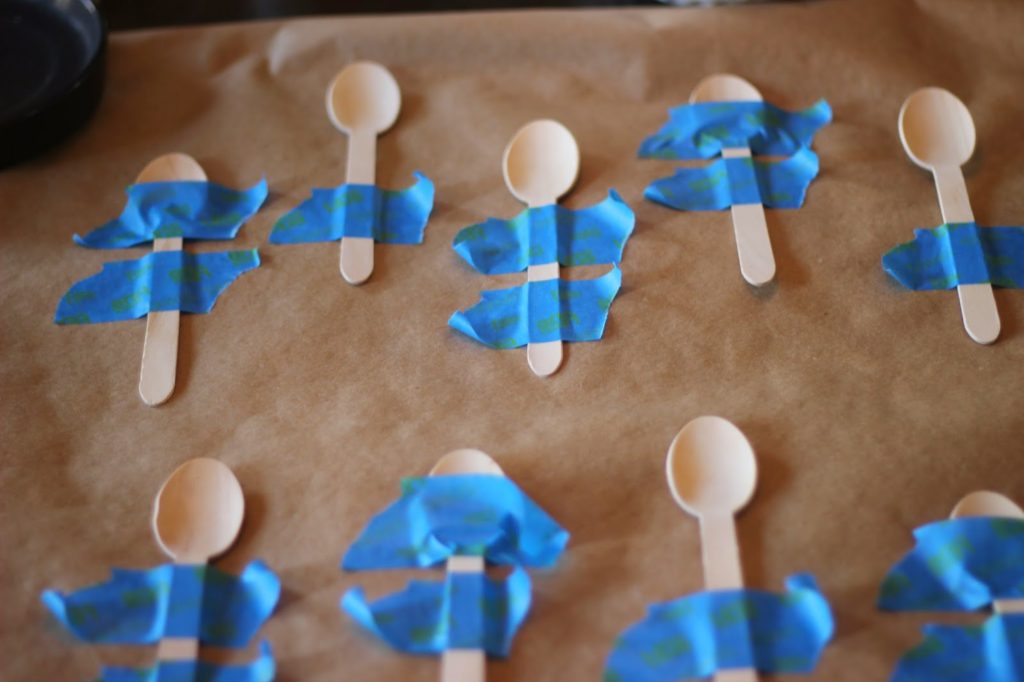
DIY projects: DIY starburst birthday crown and DIY faux bois color block placemats


Check out more of Shauna’s ideas on her blog, Sweet Tooth, and contributor to Momtastic. Also do NOT miss her dessert table portfolio HERE!

RYAN AND CHRISTY’S RUSTIC WEDDING : PART TWO

After the beautiful ( super emotional …. I am a crier) ceremony ended, we headed to the reception space. It was held in an absolutely gorgeous barn. Guests enjoyed a little cocktail hour which also included a nacho bar. The bride loves her nachos! Great way to keep those tummies full while they get their drink on, haha!  

There was a taco buffet set up on the bottom level of the barn. DEEEEELICIOUS, and so festive! 
I had so much fun doing these tables. I had two men ( wedding guests who offered to help set up that morning) channeling their inner florist. It was amazing, and I was so grateful! Christy wanted 3-4 brass candle sticks on each table and beautiful greenery intertwined throughout them. Super simple and elegant. We topped each table off with a few light pink and cream roses to accommodate their color story. I used live moss to add a little something extra to the bridal party/family tables. My favorite touch by far. I didn’t get a picture of it, but I also filled window boxes along the side of the barn with the moss as well. It is such an inexpensive way to make such an impact. So classy and so natural, which is exactly what we were going for.
Our sweet friend, Lori (aaaand her dear hubby), spent the ENTIRE morning assembling these napkins with a letters to their guests with cream ribbon. She worked her little heart out you guys!! These were placed on each place setting. Since the catering was done buffet style, Christy opted for these to make the impact of “plates” if you will. Such a beautiful letter written to share their hearts and express gratitude to their guests.
The dessert table was filled with mostly homemade goods and then some yummy treats from Whole Foods. The dessert table was devoured in no time!! We used custom made tree trunk cake stands, brass pieces and glass to make all of the treats look pretty.

Homemade cobbler and “strawberry shortcakes”….. oh my gawwwwwsh!

A friend of the couple made this stunning gluten – free cake for the big day! Look at those brass pinwheel cake toppers!!! Love! We simple wrapped the cake in live moss and a few roses.

While the reception was going on upstairs, guests were encouraged to come downstairs and take photos in the photo booth. The props were so fun, and you also were able to leave a video for the happy couple before your little photo session started. Then, the photo booth operator printed out photo strips for each guest….. one for them to keep, and the other to place into a book for the newlyweds.
These people can dance….. alllllll night long!
The lovely sparkler goodbye. Never gets old to me. Then, they rode off into the night on their motorcycle. (yes, I say “their” because it is no longer JUST Ryan’s bike, right?) hehe.
I am sorry, but I have to add some more photos (just because). You don’t mind, right?

Thanks for reading!! Ryan and Christy….. I was so honored to be a part of this day ( both as help and as a guest). You are both such special, giving, serving, genuine and loving people….. and oh so much fun! Wishing you all the happiness this world could possibly give you!
-J
You can see part ONE of Ryan and Christy’s wedding HERE

JENNI’S PINK POM POM BABY SHOWER

I’ve been waiting (impatiently) to share one of my favorite events… Jenni’s baby shower! Almost three years ago I co-hosted this charming fete for my bestie along with two incredible and important women in Jenni’s life, Lori and Amanda. Although it was a couple’s shower, we decided on a pink pom pom / chevron theme to match Amara’s nursery (scroll down to see) and just told the boys to get over it! Plus I guarantee 99% of the guys never noticed the girly theme when there was plenty of drinks, great food, and lots of late-night dancing going on! And Jenni and Gabe’s friends can DANCE, people. Actually the dance floor was my favorite area strung with tons and tons of pom poms!
The dessert table laden with all pink desserts and a garland of little tissue paper squares.
Gabe and Jenni! Youngin’s…
I found this pink box in the office section at Walmart!! and filled it with teeny treat bags full of Gabe’s favorite candies, Reeses Pieces. Gotta give the dad one thing, right?
Lori made the BEST oreo truffles…omg 
We wrapped the vases and tables with ribbon – simple!
Late night s’mores around the fire pit were the perfect way to end the night!
My favorite thing to make for baby showers- a diaper cake! To fit with the pom pom theme, I just made tiny ones and stuck them in with floral wire.
To give the cake an ombre look, use matching tissue paper and ribbon: two fuschia tiers, one light pink tier, and two white tiers. Normally I use Pamper Swaddlers diapers since they’re all white… but honestly I had these on hand and didn’t mind the touch of green.
More of our diaper cakes HERE and HERE.
We asked Jenni and Gabe’s parents to send us pictures of them when they were little for the centerpieces, so we could imagine what Amara will look like! (Spoiler: exactly like Gabe).
We even anchored some poms in the pool to carry the theme throughout the yard. Amanda’s home is stunning, right??
I made this chevron photo booth backdrop with just squares of pink and white tissue paper. Just layer the squares- no cutting! I used double stick tape on two large pieces of foam core and Lori’s insanely handy hubby hung them with fishing line. 
Photo booth props: empty barnwood frames from Hobby Lobby, and a baby bump pillow were favorites. We also left a blank scrap book out for guests to write their best advice and wishes!

Here’s the gorgeous Jenni in Amara’s nursery- the inspiration for the whole shower! She and Lori hand painted this wall! To see Amara’s white and modern big girl room, click HERE, though after all that hard work painting, I can’t believe Jenni switched the look!
The invite! Inspired by the pink chevron wall above. By Rock Paper Scissors.
What a joyful night! We celebrated the crap out of these two. Deserving people who created the most special little lady, Amara. Let’s do it again, Jenni! (She’s reading this going, noooo way!)
-L

PAINTING PARTY AT THE VINEYARD + GIVEAWAY WINNER

Our party “throwback” this week is my daughter’s “Pom Poms & Painting” themed 2nd birthday party. Amara still enjoys painting so much! We kept it fairly simple by holding it not in our house… whoop whoop! outdoors at a beautiful vineyard. I assembled basket lunches for the adults, boxed lunches for the kiddos with juice boxes and canned sodas and called it a day! Of course we bought wine as well…. I mean, we WERE at a vineyard.

 I set up a painting table with a place setting ( 3 sheets of watercolor paper, an art smock and a paint set) for each little guest. Tags and invites done by Lauren at Rock Paper Scissors.
Follow our simple DIY party hat tutorial here. I additionally added some poms to each hat.  I hand -dyed some in water color water to get the pastel look. 
I actually cut circles out of one of Amara’s many paintings at home to make tags for the boxed lunches! It just made it all that more personal.
I filled clear paint cans ( found at Joann’s Fabric Store) with different colors of tissue paper to resemble “paint” and stocked each can with $1 items. My favorite favors were the mini paint sets!
I set up a dessert table with some sweet treats! I hot glued pom poms to the front of the table cloth to go with the theme.
homemade cupcakes with DIY cake toppers. I simply cut stripey straws into thirds and hot glued pom poms to the ends…. voila!
Rice crispy treats on a stick dipped in candy melts. These were much harder to make than I thought they would be, but they were a hit so they were worth it!
My favorite thing of all is the “year of instagrams” banner I did. I watercolored little flags, glued them to mini paper clips to label each month. I loved this banner so much!!

It was such a beautiful evening!! Now, its time to start gearing up for birthday no. 3… yikes!
** THE WINNER OF OUR STYLE ME PERFECT GIVEAWAY IS…….
MANDY LINTHICUM!!!!!!! WHOO HOO!!! **
CONGRATS!!! We know you will love the service, and even more importantly…. your sweet stylist!!
Thanks to all who entered!

A WEDDING SHOWER: PARTY UNDER THE LIGHTS!

Hi Friends!! I know it probably seems like we have forgotten how to blog here, but I can assure you we have not just been sitting on the couch eating bon bons. Although, that sounds nice. One half of us is about to put a house on the market ( we all know how stressful that is in itself) while the other is in the thick of wedding celebration planning and styling for a sweet sweet couple. Exciting stuff, right!?!
I just wanted to share a few photos from a wedding shower that I helped throw with some other lovely ladies! The engaged couple are such dear friends of ours, and we were all so thrilled and honored to host such a sweet night for them. It was a “Party Under the Lights” theme, so we just wanted candles and garden lights galore. Oh! And LOTS of dancing. It helps when there is a beautiful home as a backdrop! I was in crazy party mode, so my sweet hubby took these photos. Btw, it is so interesting to see what details draw him in vs. what draws me in. There were a few detailed shots that we missed, but I am grateful to him for getting these shots. It will help you get a feel for the party.

^^ My favorite thing about the shower was the “balloon chandelier” over the dining table. I attached photos of the couple with baker’s twine to each balloon. The pics were all different sizes and the twine was cut at different lengths just to add some dimension. I couldn’t stop looking at it all night. ^^

^^ the not completely set up dessert table 😉 ^^
^^ Jerk chicken anyone? Our friend, Damien, knows how to do it right you guys!”^^
^^ We had several chairs set up around a fire pit so the groom – to – be could enjoy some cigars with his buddies! ^^

^^ Another one of my favorite touches was filling these planters with living moss and candles. So simple and so beautiful. It was a great way to fill the planters that have yet to be “springified” 😉 ^^

^^ We set up a guestbook table for everyone to come in and snap their photo and write a little note of encouragement to the happy couple. ^^ 
Such a lovely night. Friends, family and good food make for a perfect party!
-J

A “WINTER WONDERLAND” BABY SPRINKLE

Our #TBT (Throwback Thursday) Party this week is a baby shower I put together for our sweet friend, Shara. Baby number two was on the way, and I wanted to do something simple, not over the top, but still oh so special. 
It was a “winter wonderland” theme with some confetti markings as well. My main focus was to have “snow” hanging from the ceiling and an amazing dessert table. It was January, so it just felt right. 
^^The invite (Rock Paper Scissors) ^^
I actually put confetti in the envelopes as well! That always a nice surprise for the recipient! yay! 
^^ I did simple mantel decor by using fake snow and cotton balls, flowers, candles, DIY anthro inspired letters and a handmade felt banner. I put modge podge on the bottom of the votive candle jars and sprinkled glitter on them to give them a little something extra. Also, the banner consists of felt flags and wooden beads from JoAnn’s that I painted an aqua blue…. shara’s favorite color.^^
^^ White flowers are just so classy to me. They ALWAYS work!! ^^

^^ The dessert bar was my favorite part! So many yummy treats, especially those Aunt Ellie’s Campfire Crispies! I mean…. seriously. ^^
^^ Hand-lettering on the chalkboard. Always fun! ^^
^^”To go treat bags” are always a good idea when you are serving lots of sweets. Guests took extras home to their kids. That is what they said at least. I am SURE that they probably had a treat or two in their car…. in private! ^^
^^ Anything you can do to make writing “thank-you” notes a little easier on a new mom really helps. I had each of the guests address their own envelope, and I had already written Shara’s address on the back as well. All she had to do was write the simple note, and put a stamp on it. Easy! ^^
My only tutorial I took pics of because I am the worst at stopping throughout my projects to take tutorial pics, as I get too excited favorite tutorial that I can share with you are the DIY color-blocked spoons I made. Pretty self-explanatory…. just tape your utensils down with painters’ tape while blocking off different sections. Paint your first color, allow drying time, move your tape and block off another section, and repeat until you get the desired look. It was time consuming, but man… I am such a sucker for little details! ^^

P.S. Tomorrow is Friday!!! WHOOP WHOOP!
-J