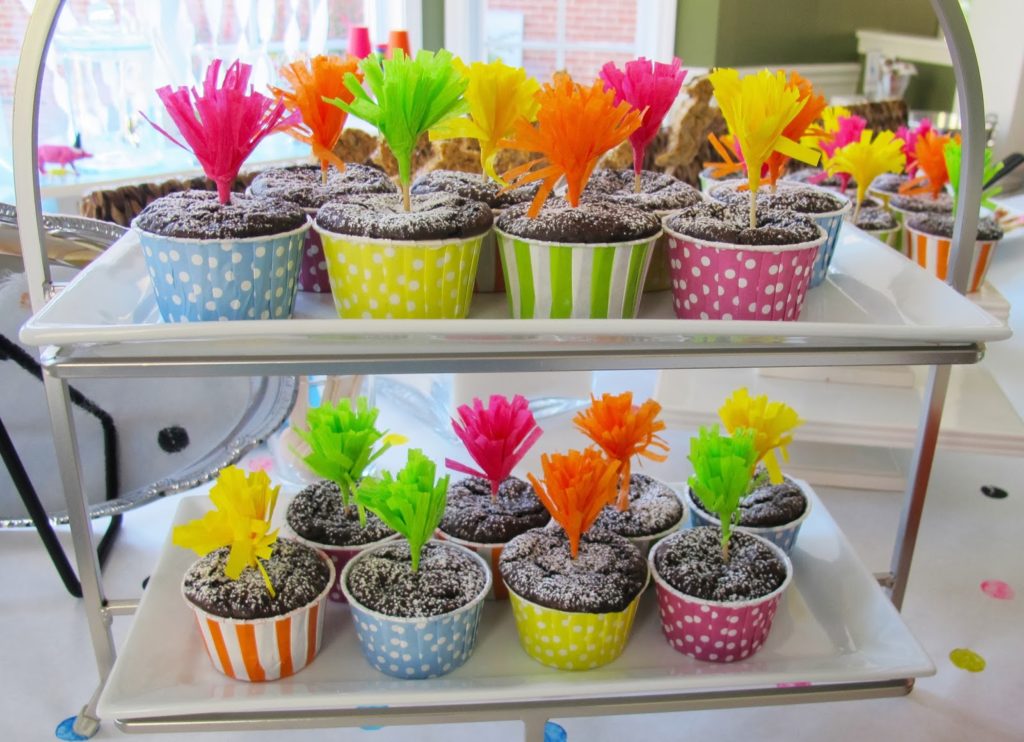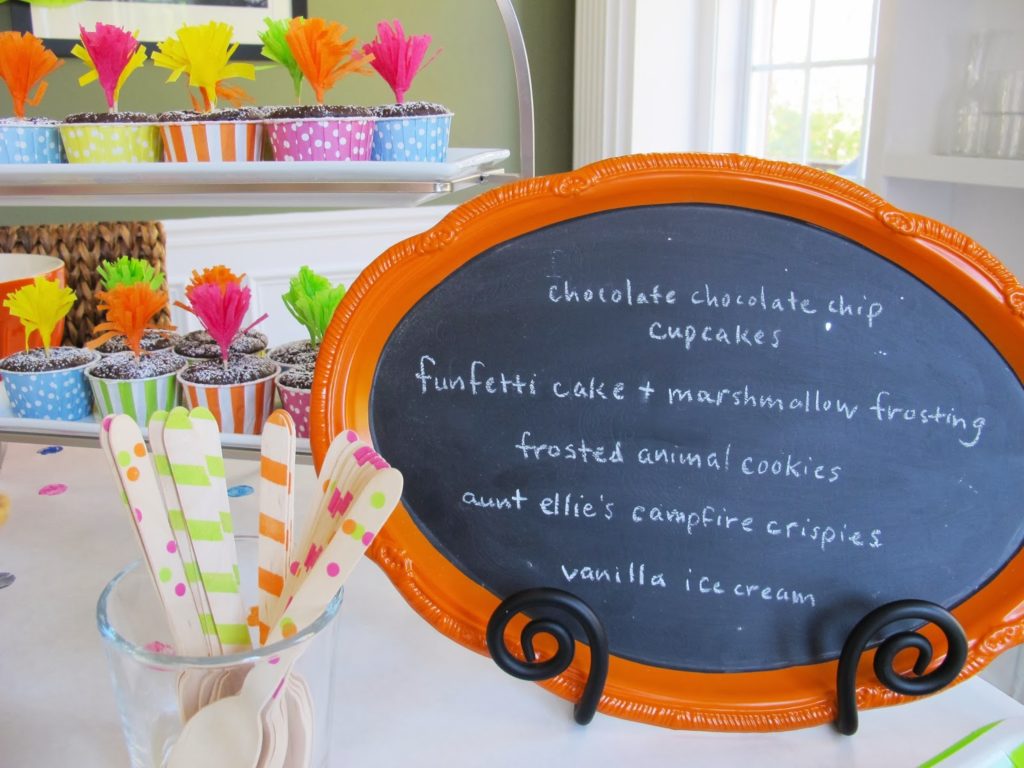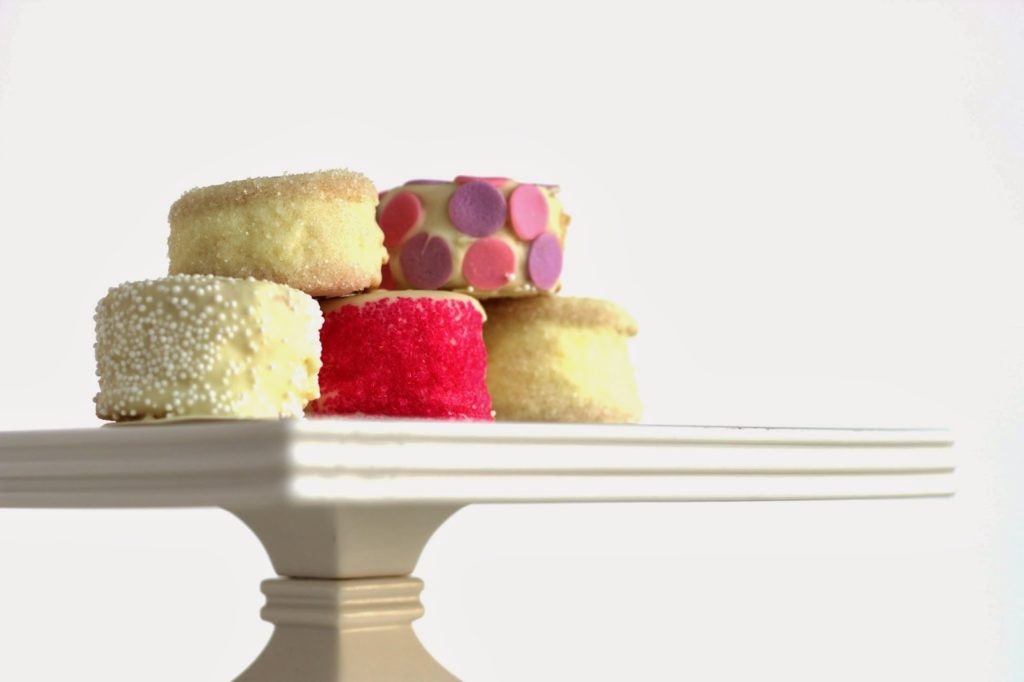
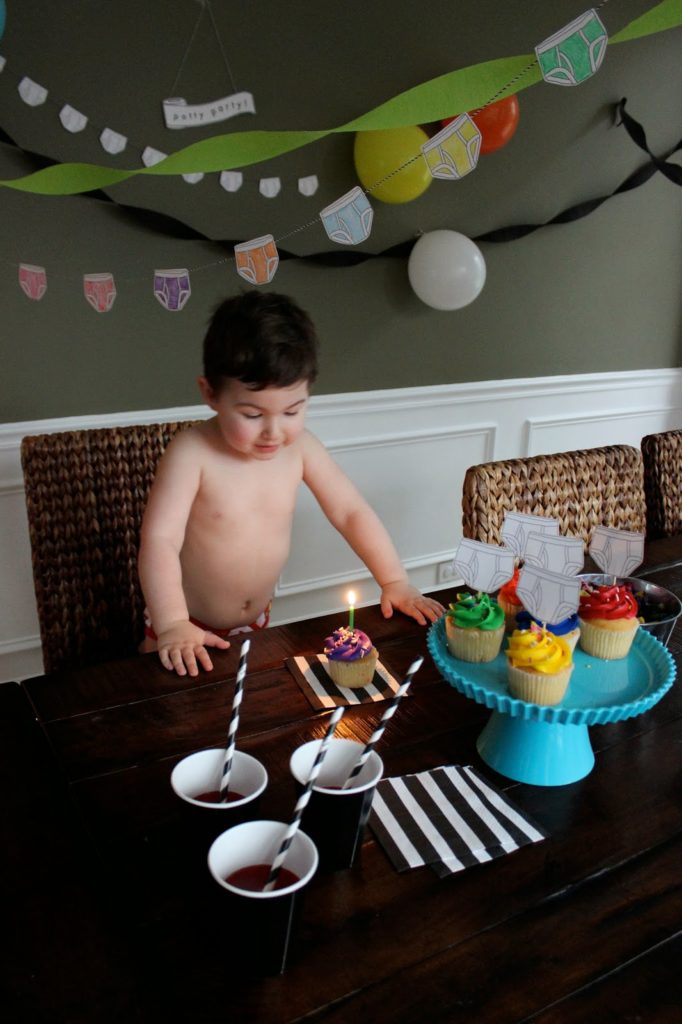
My three-year-old, Ari, is FINALLY potty trained. This may be TMI but he’s been going #2 on the potty since he was two-years-old but refused to tell me when he needed to go #1. Stickers didn’t work, M&M’s didn’t work, jelly beans sort of worked, but it was moving at a slow pace. He needed major motivation. For Ari, it was the idea of having a Potty Party. I promised him cupcakes, decorations, and music. It worked! Only took a week. Guess I should have thought of this idea a year ago!
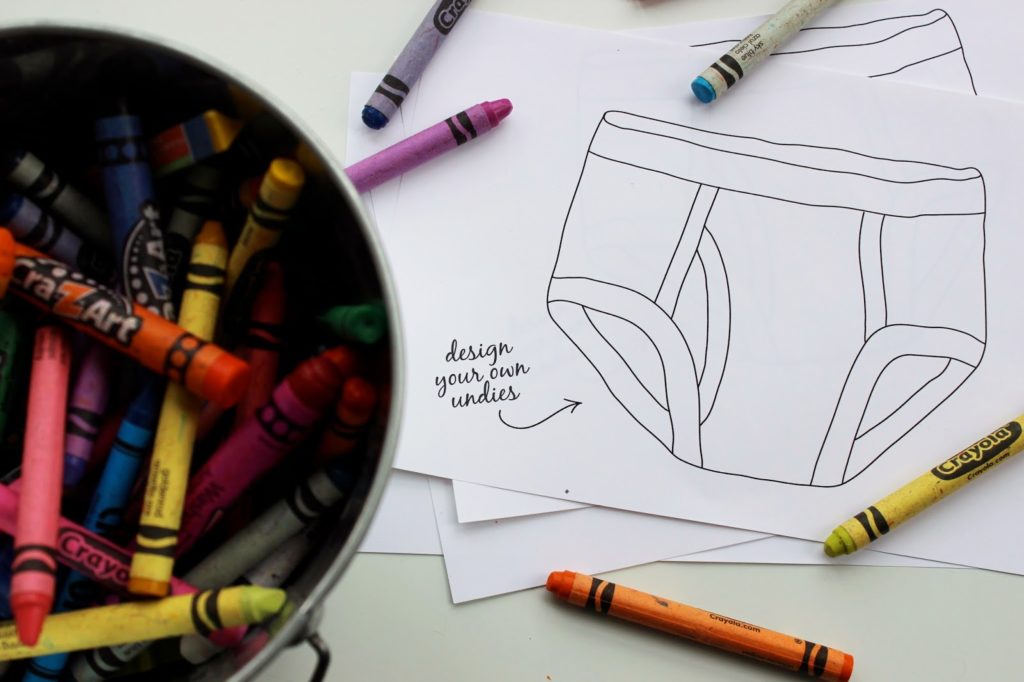
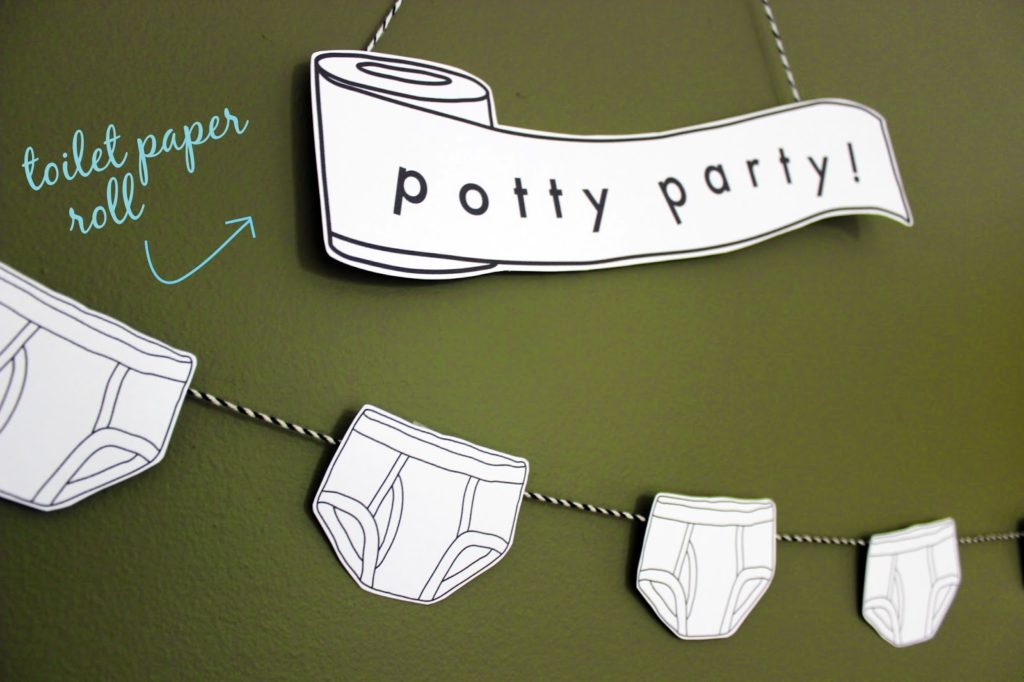
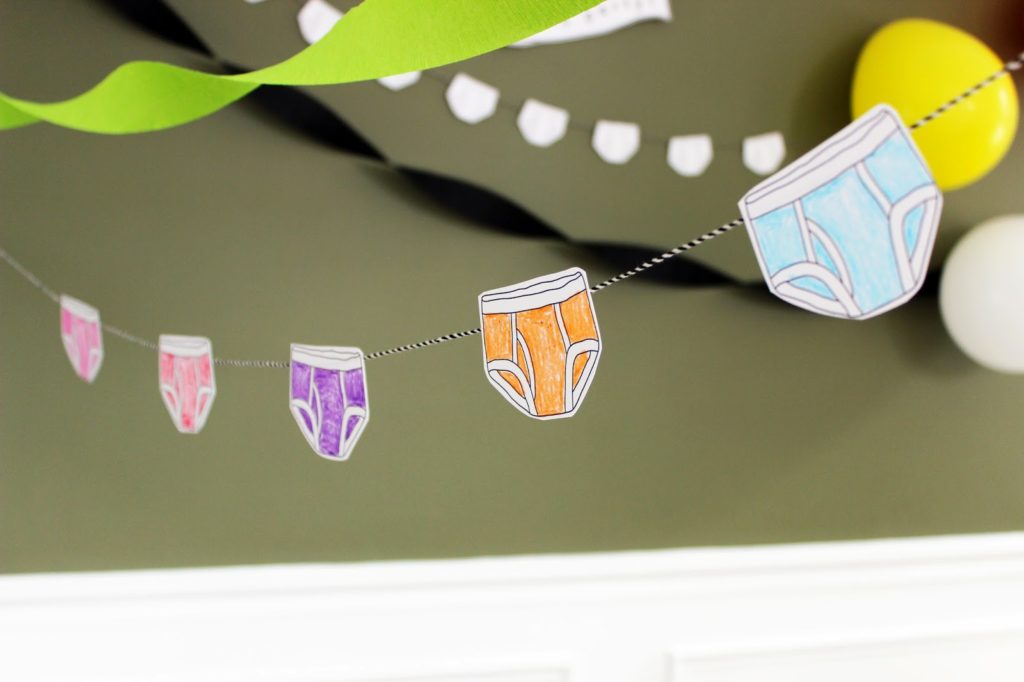
I designed some free printables for your own Potty Party should you have the need (scroll down to the end of the post). Just add cupcakes and you’re all set. Oh and string up their brand new undies- Ari thought that was awesome! I even made printables for the little ladies in your life.
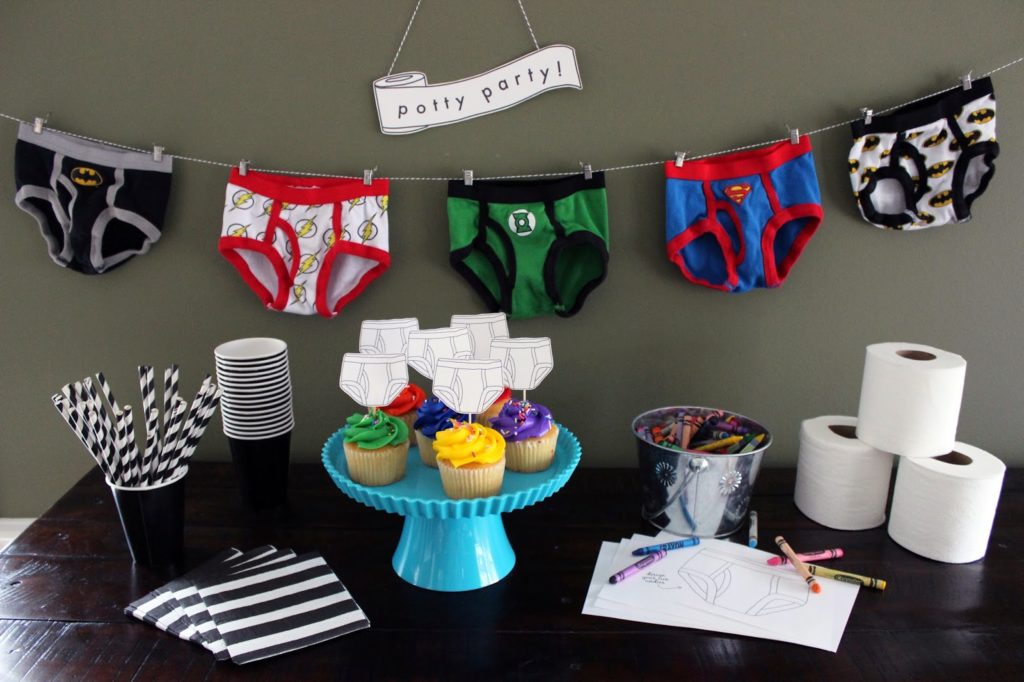
Happy Potty Party day to youuuu…
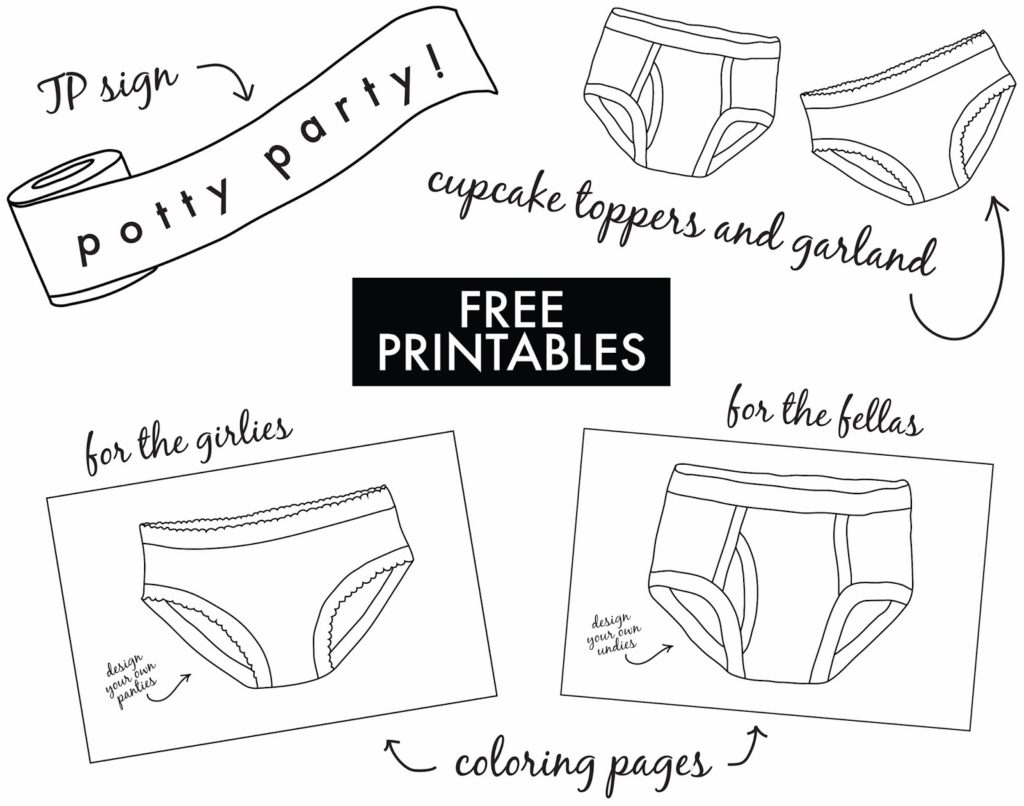
TP roll sign HERE
Undies cupcake toppers HERE
Panties cupcake toppers HERE
Undies coloring pages HERE
Panties coloring page HERE
Good luck mamas! Let us know how it goes…
-L