craft

DIY PLANT CONTAINERS + DINING ROOM UPDATE

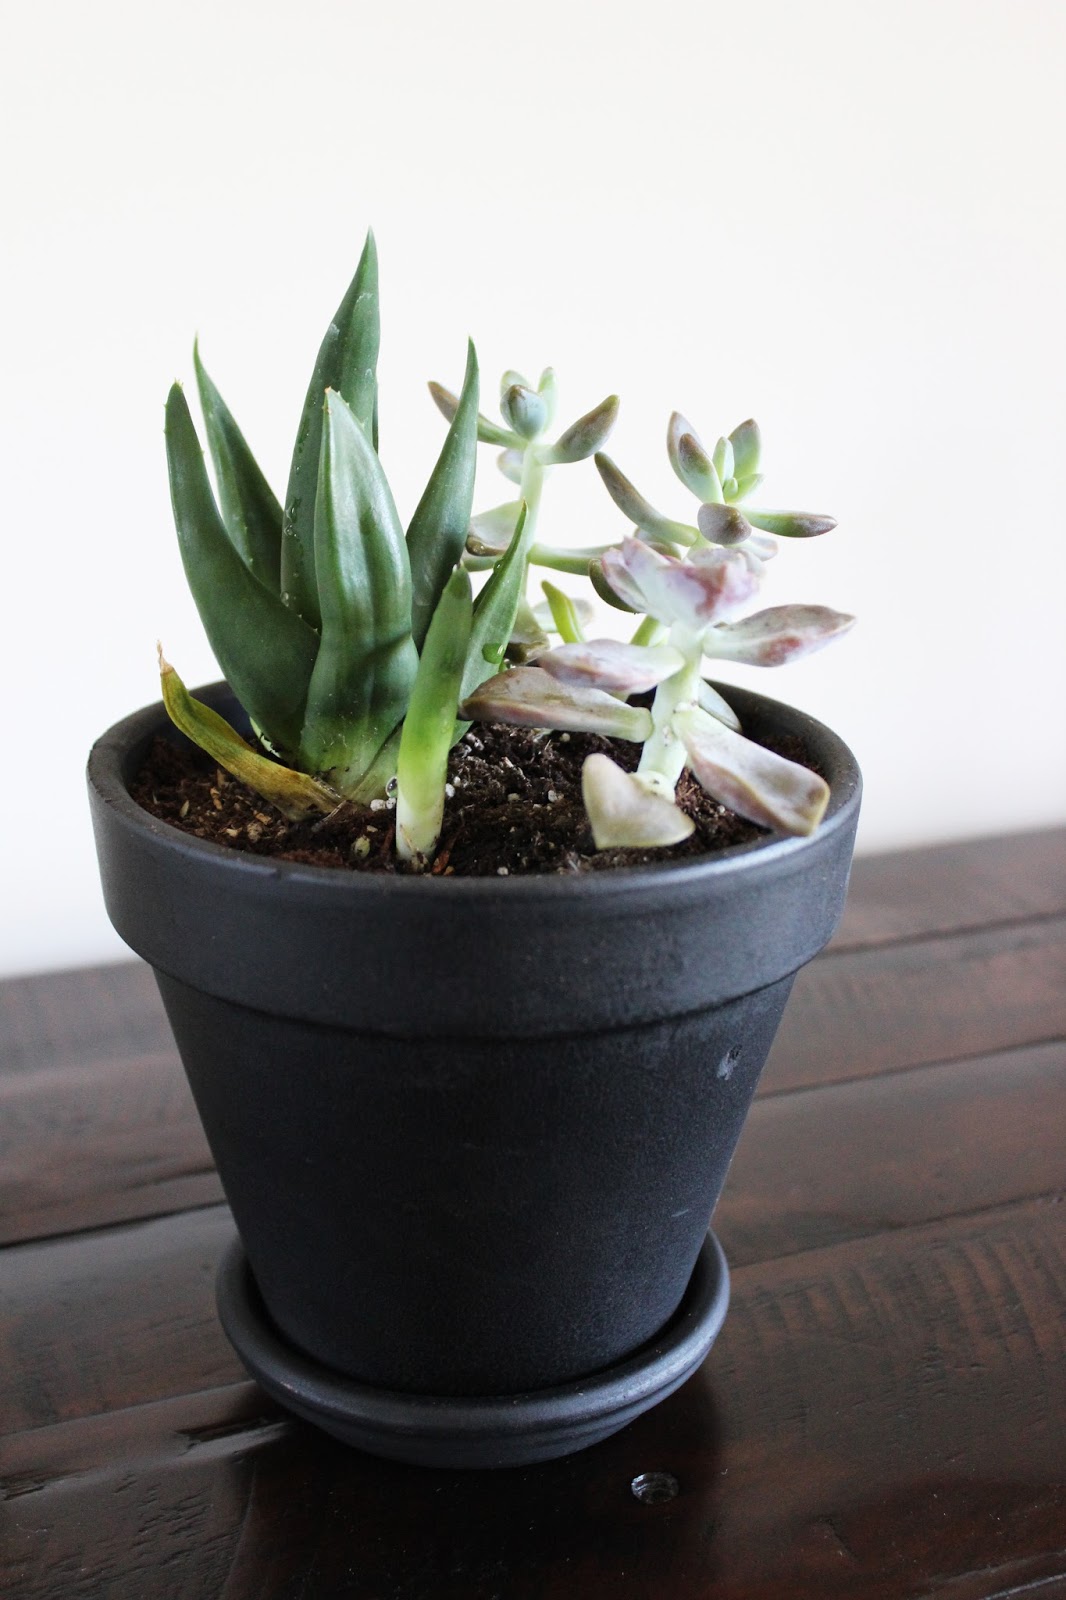
Succulents remind me of Pacific Grove, CA where my husband and I used to live. We got engaged and married out there before moving to Nashville, and sometimes I just need a little reminder of our old home town. I went to Home Depot yesterday and picked up these little beauties, but didn’t like any of their planters. Solution: spray paint. Isn’t spray paint always the solution? This DIY is incredible simple.
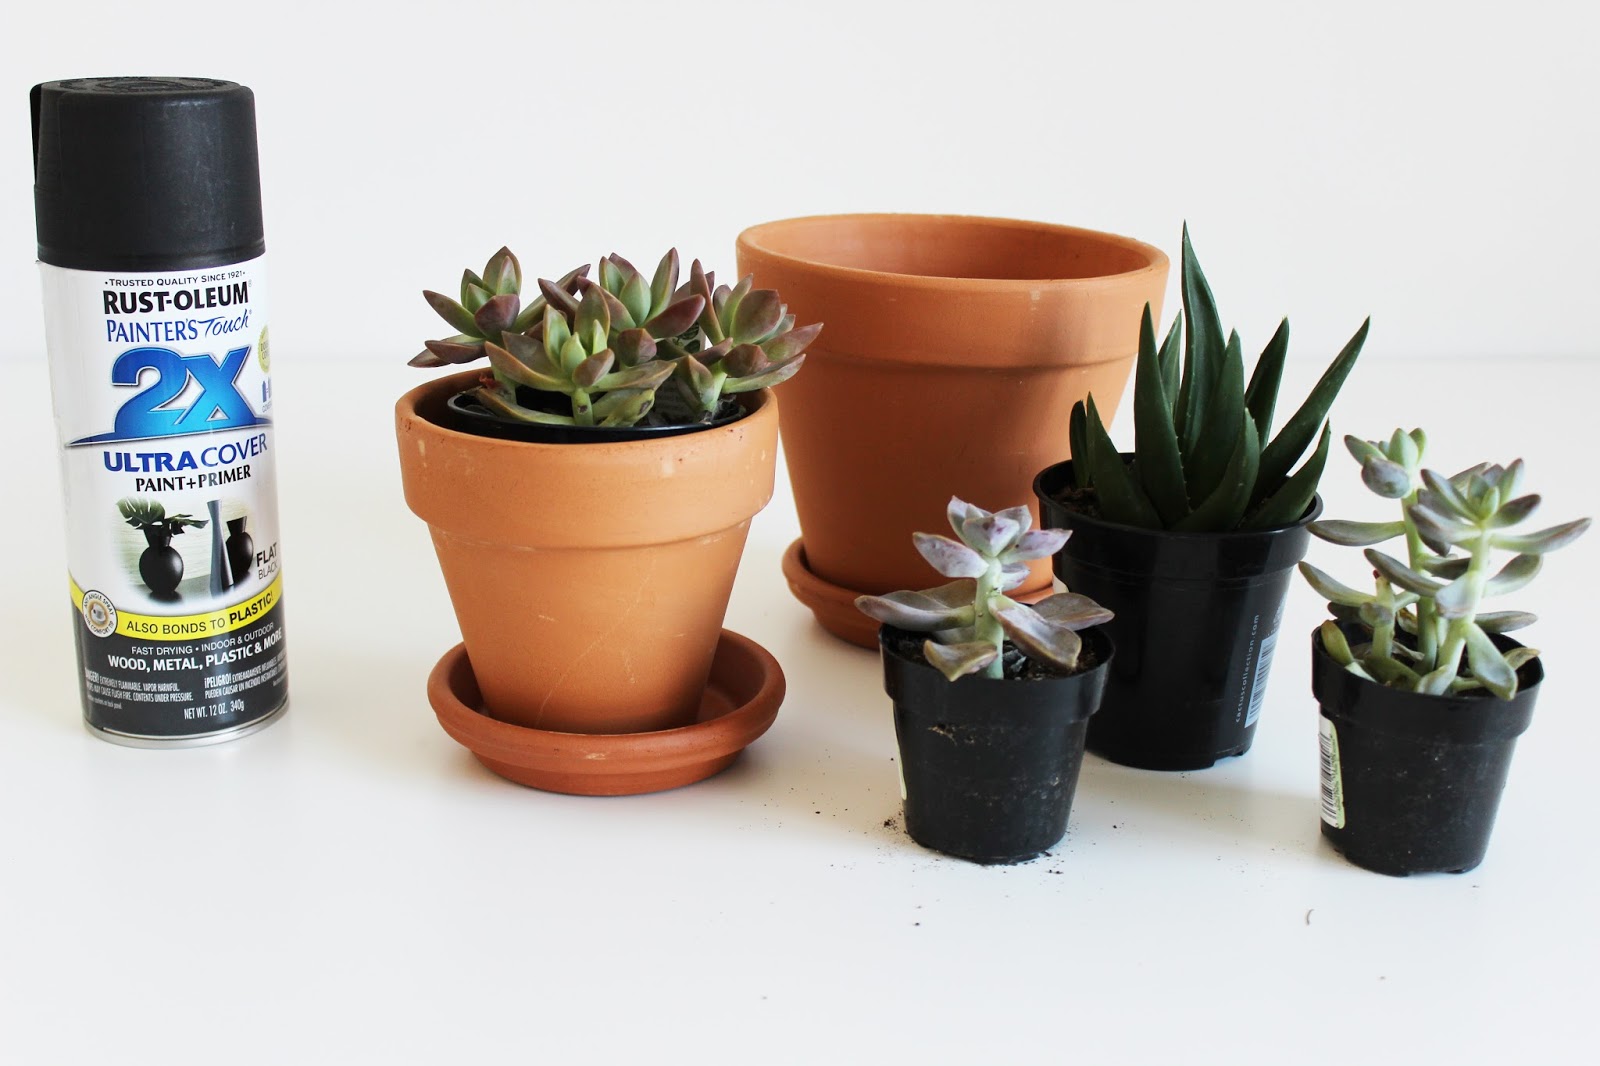
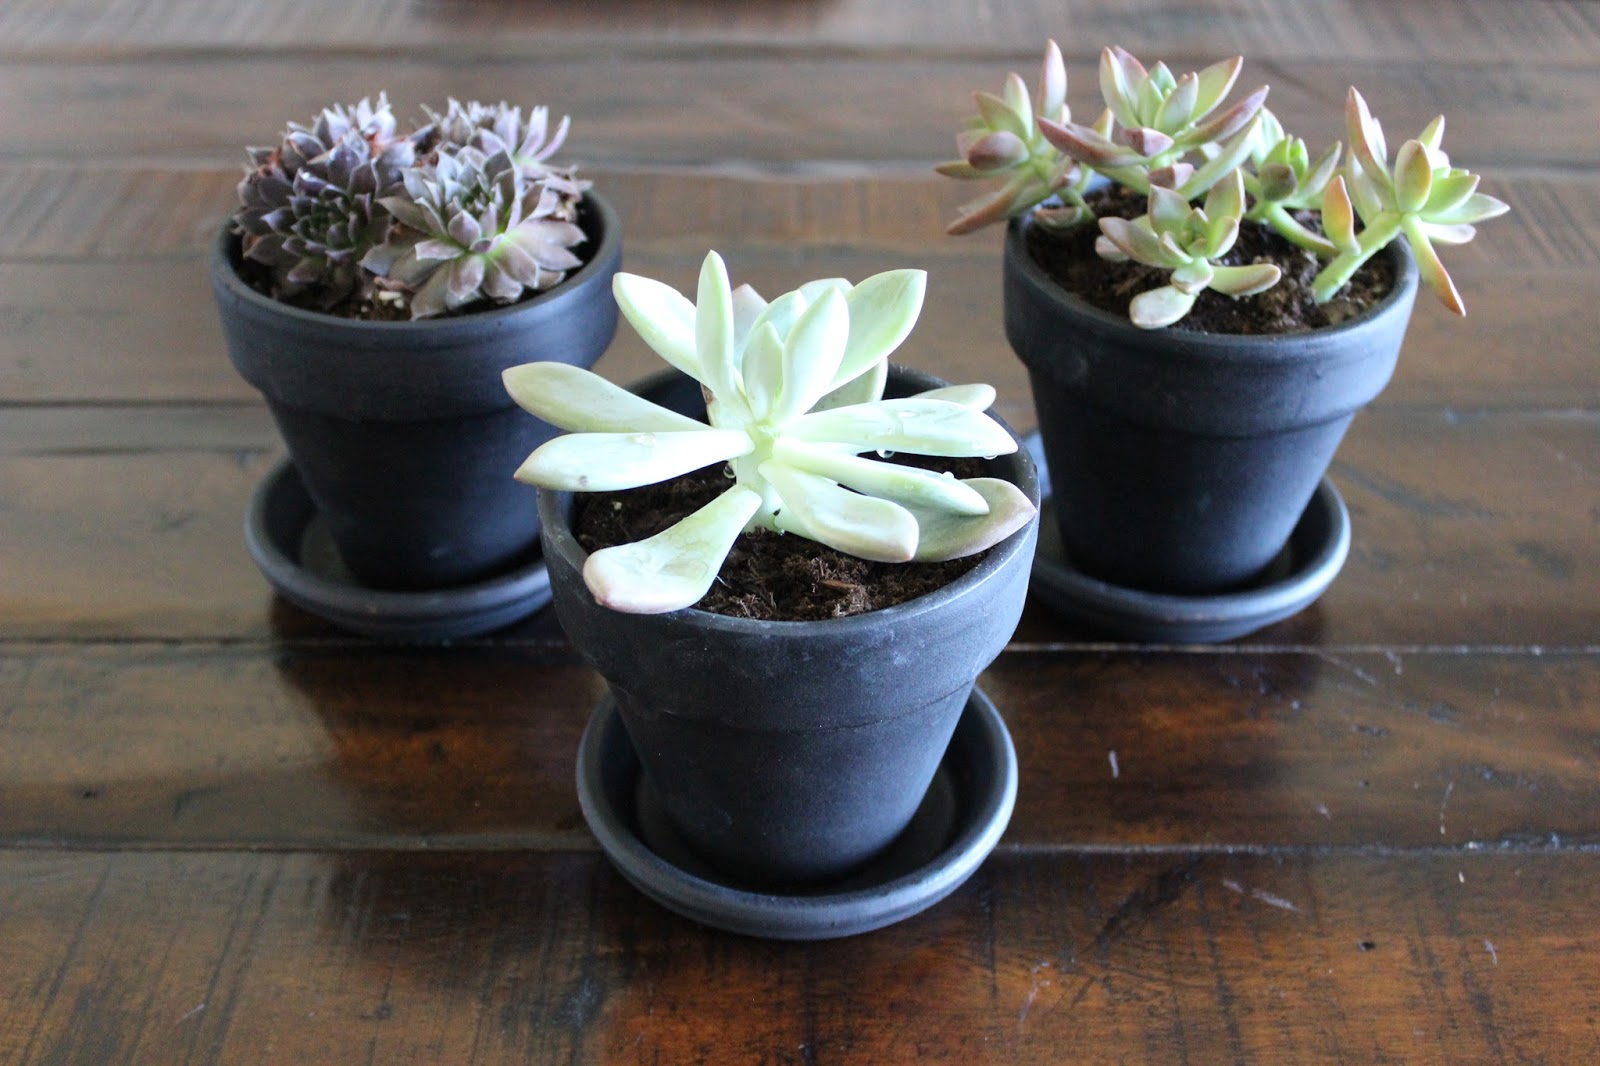
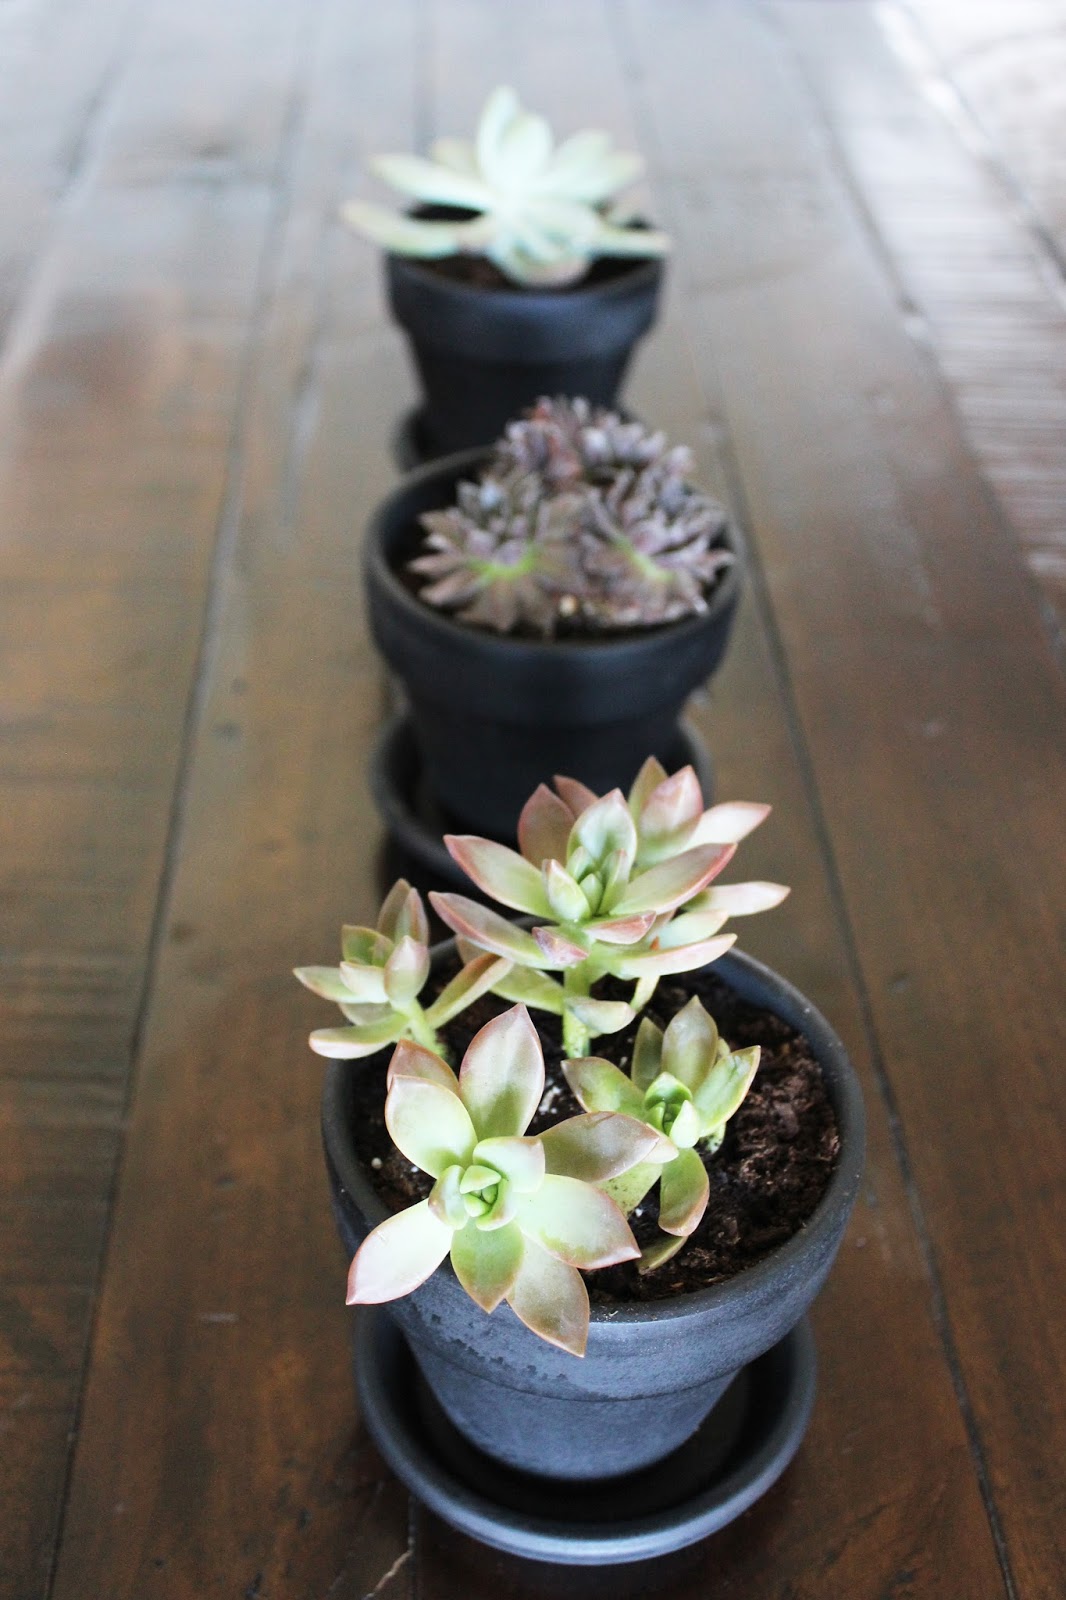
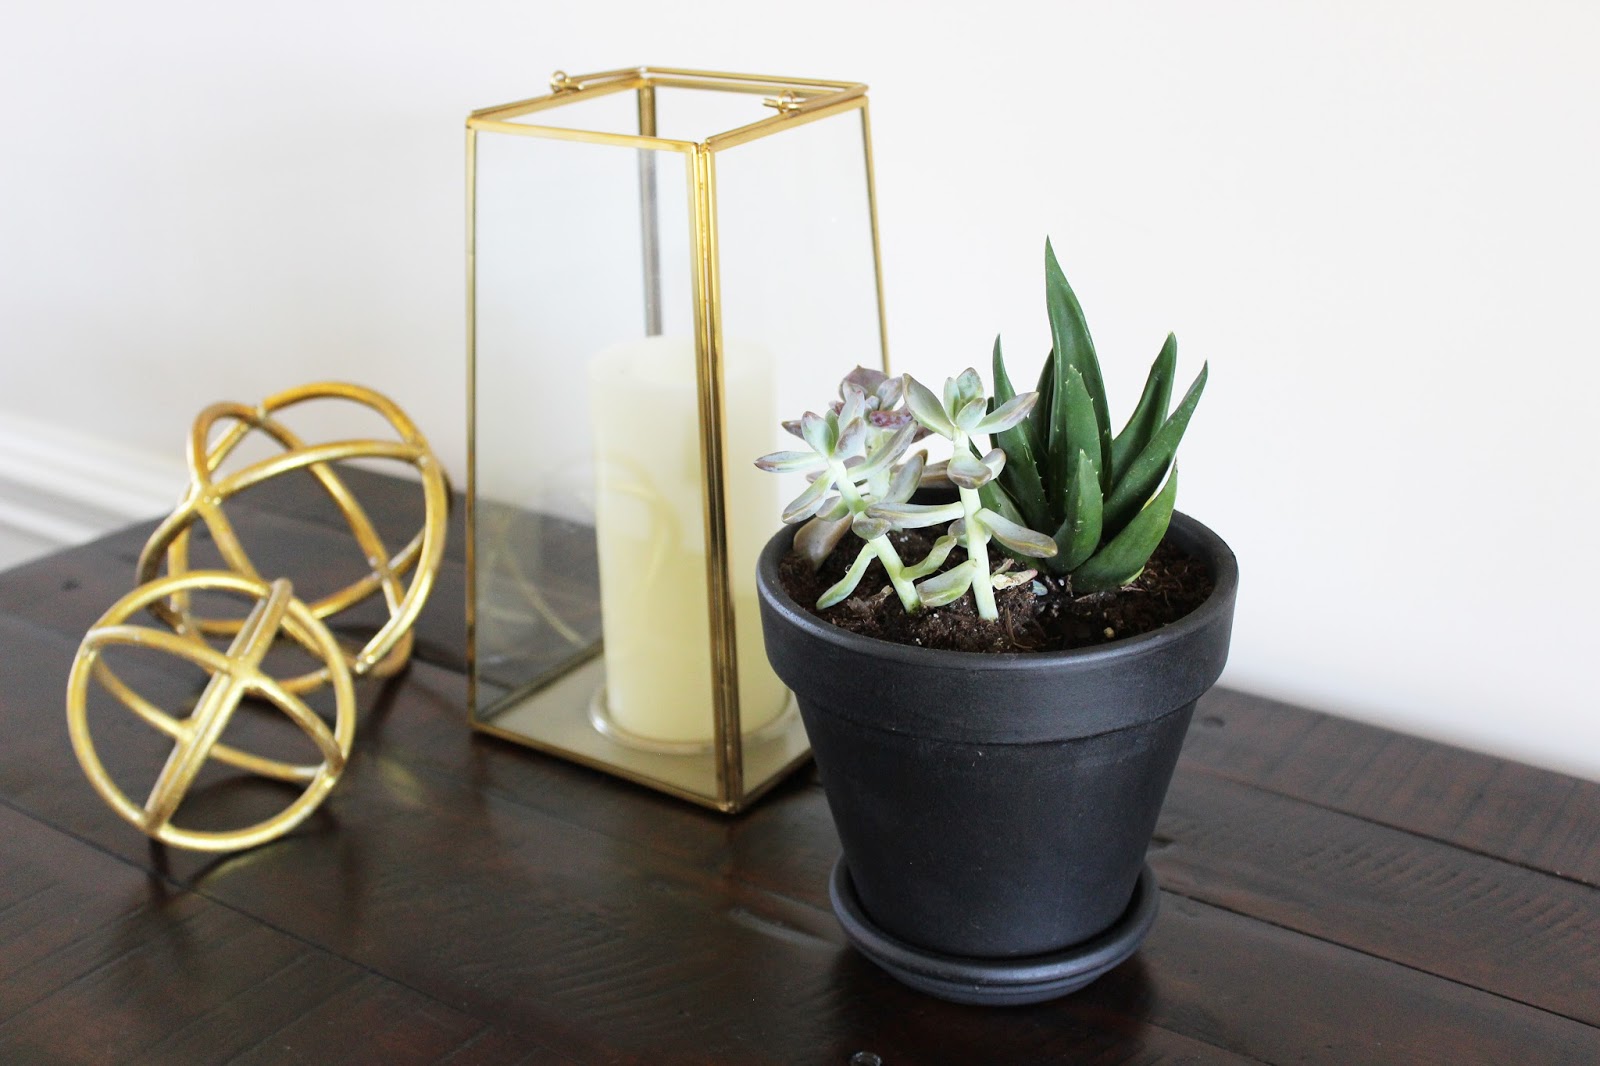
All you need is flat spray paint, terra cotta pots, potting soil, and plants! Simply spray and you’re done. The flat paint on the terra cotta gives it an almost cement look which was exactly what I was looking for in the first place!
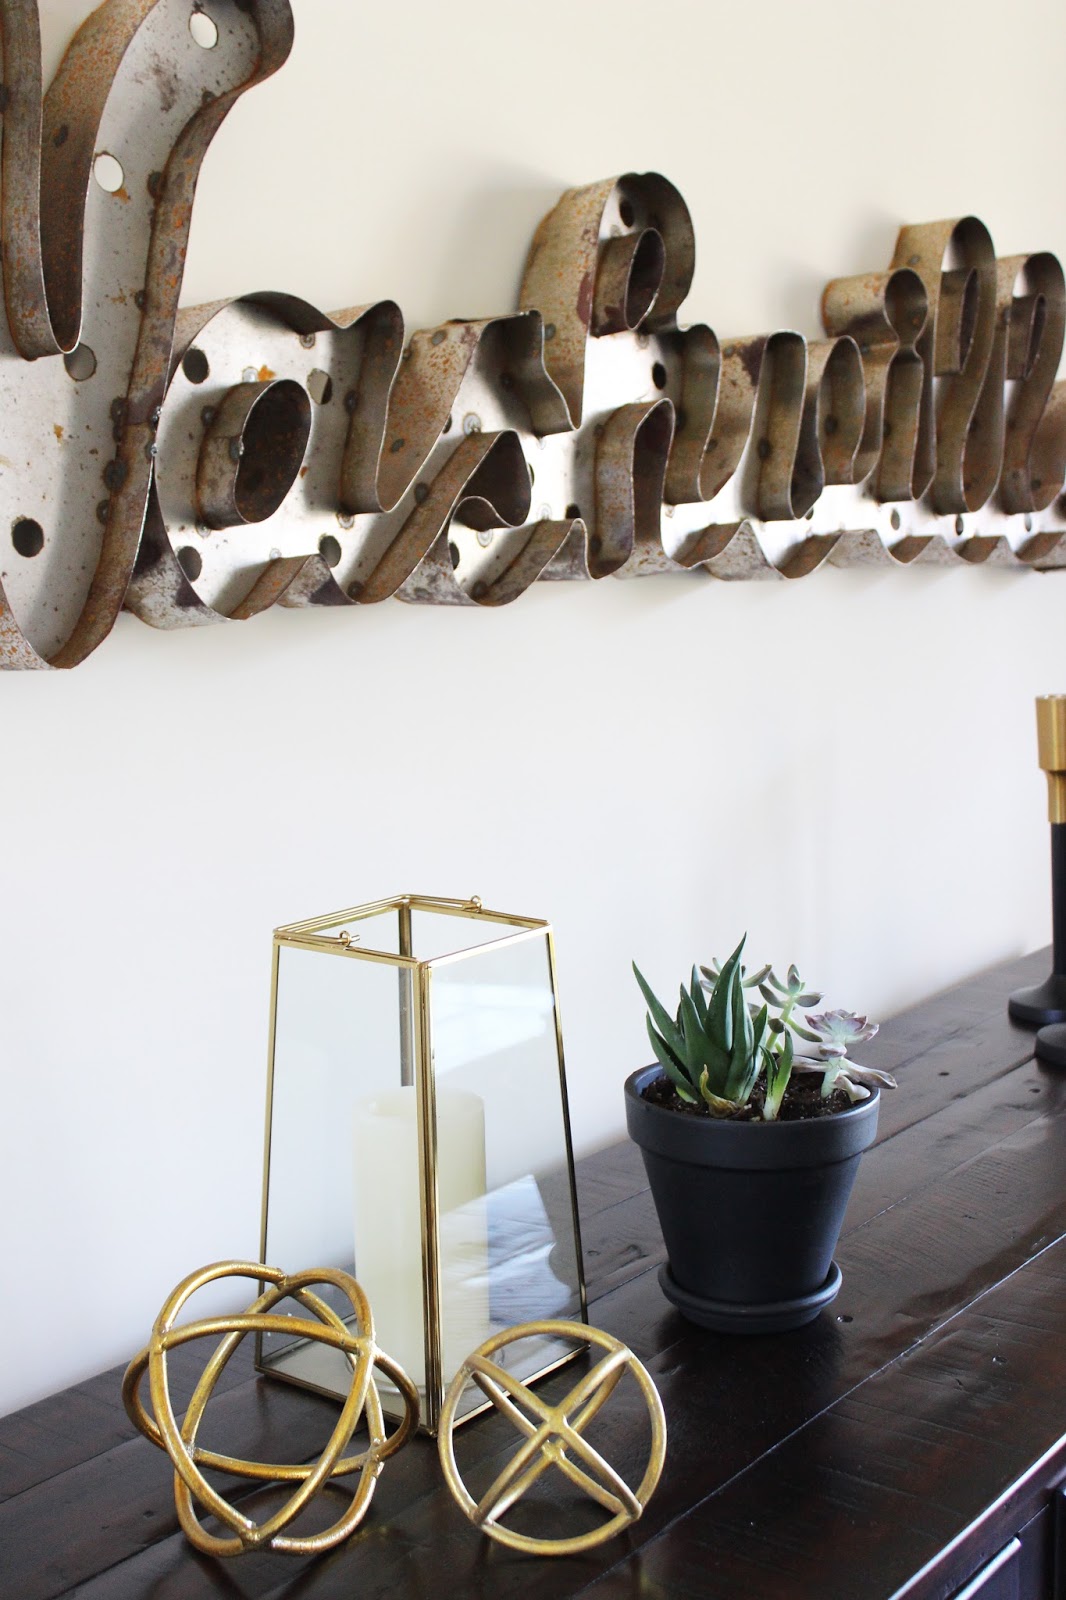
 I’m OBSESSED with Target’s new fall home line! How cool are these gold knick knacks?!
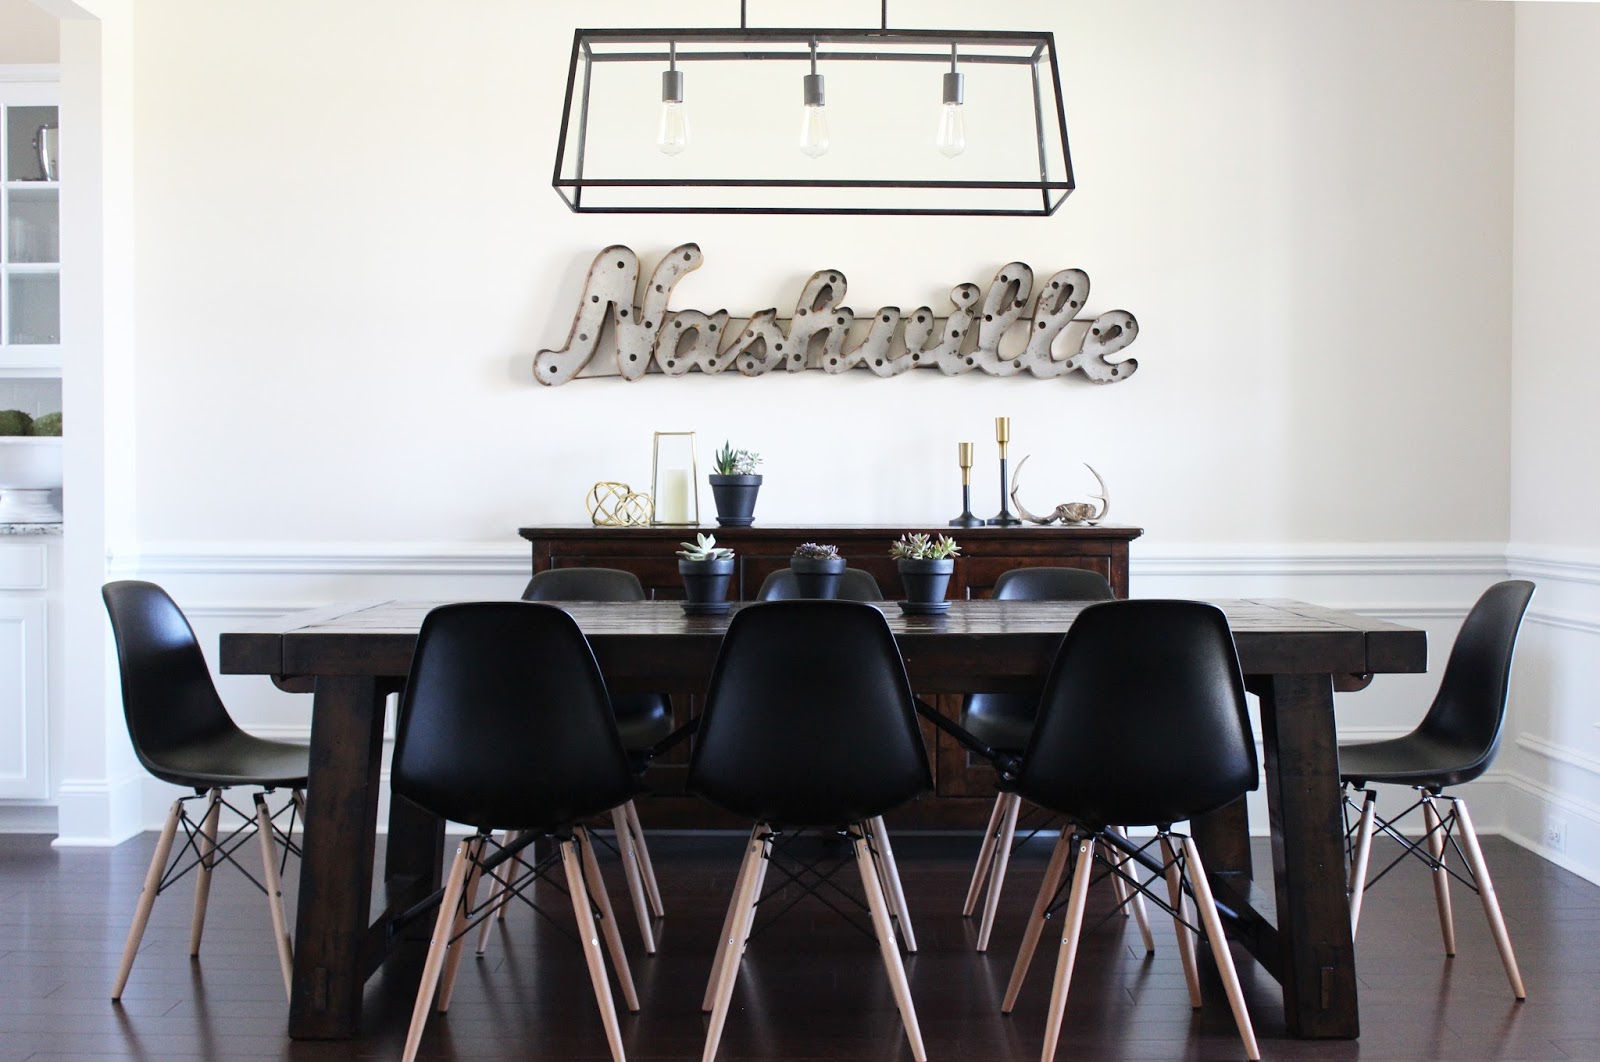
Dining room update! I sold my seagrass chairs on Craigslist and bought these mod molded plastic little guys. I know it’s dark but picture this with a colorful rug underneath… should I keep these??
Nashville marquee sign is from the Nashville flea market! That was a steal!
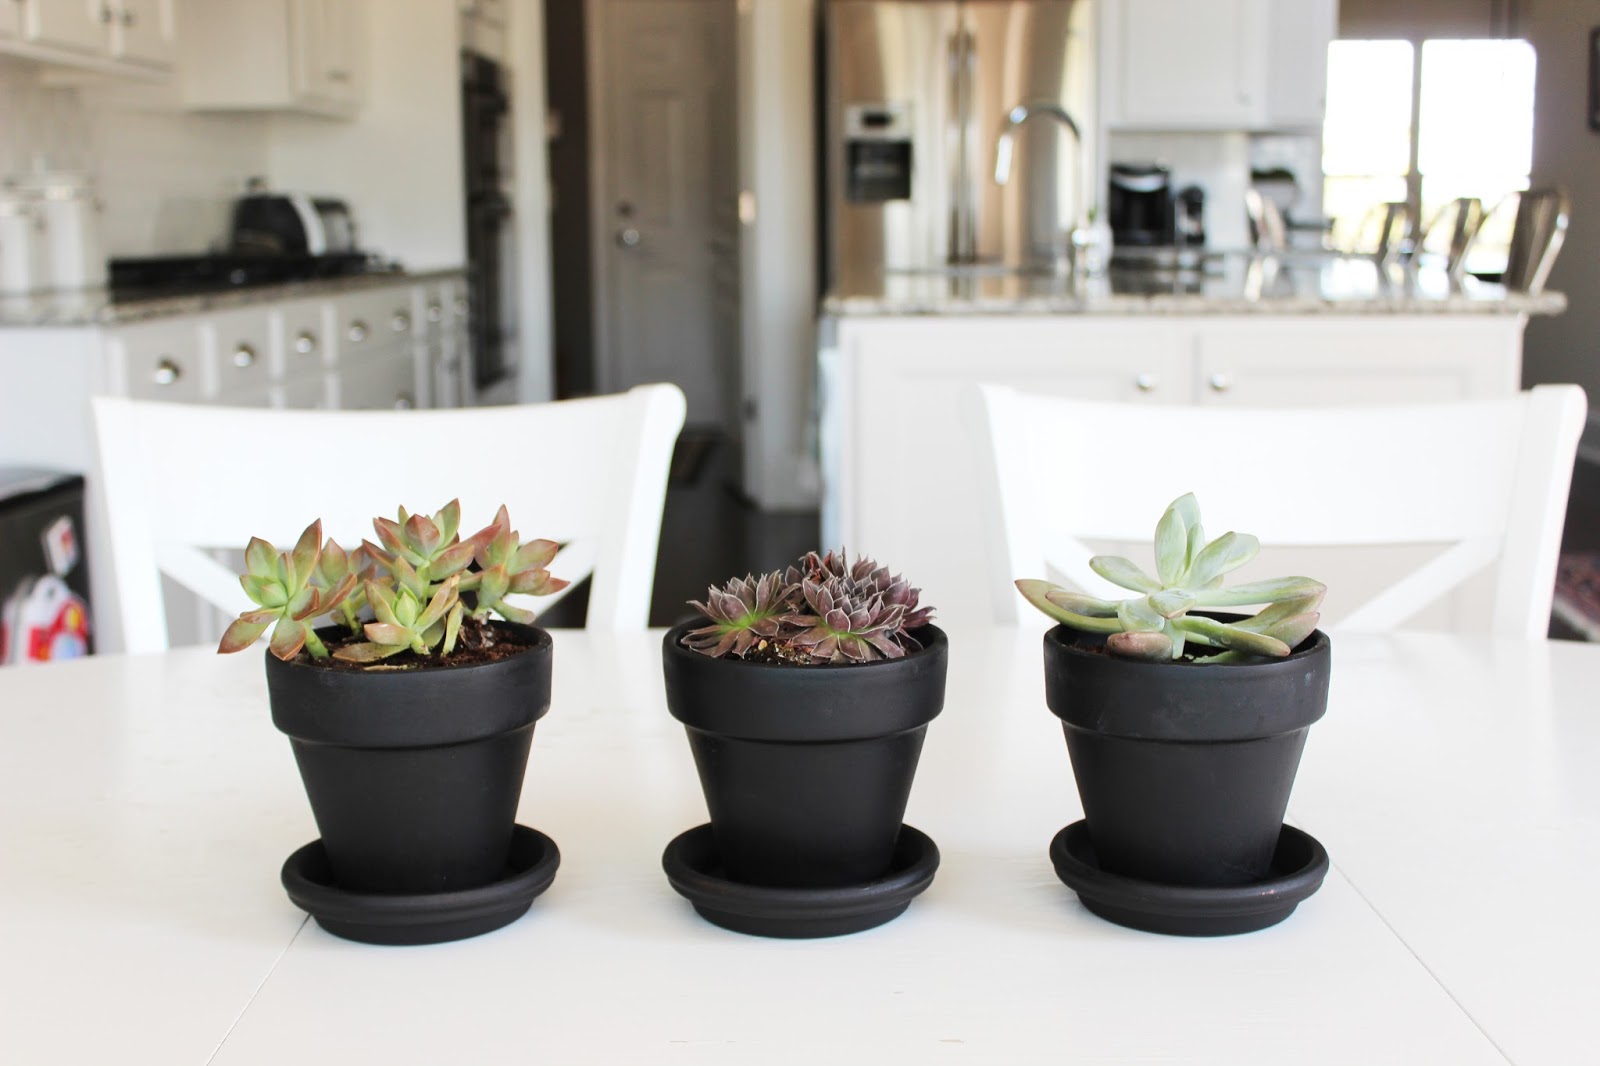
In the end I moved these mini ones in my kitchen to add some happy color. Happy planting!
-L

DIY HOLIDAY CARDS DISPLAY

This is so easy… I don’t even know why I’m posting it. BUT I think it turned out pretty cute. So. I’m also procrastinating cleaning my house. Typically when I’m at my most creative.
I just received my first two holiday cards! One from my bestie since college, and one from my sweet little nieces and nephews! Last year I was so lazy (read: just had my second baby) that I put all of my cards in a pretty bowl on the coffee table. This year I’m stepping it up a tiny notch. 
All you need for this easy DIY is:
– 1 wire wreath form
– 1-2 packs of plain clothes pins
– 1 roll of fun washi tape
– 1 clear command hook (sticks on the wall and removes without damaging the paint!) See below:
I found this pretty Meri Meri washi tape at our fav shop Rock Paper Scissors.
 Measure by sticking a clothes pin on the tape
 Cut tape
Bend around the sides of the clothes pin. Use the back of your finger nail to really stick it on there well. And… that’s it. Told you it was easy! You could totally spray paint the wreath form gold or silver first, but it’s going to get covered up with cards anyway, right? She says to convince herself.
I still have to finish decorating my mantel. Cannot find the rest of my decor!! It’s probably in storage somewhere. Ugh. Ooh and I’m waiting on a sparkly banner from The Bannerie! I’m a tad obsessed.
Happy decorating!
-L

MOTHER’S DAY CRAFT – TEA TOWELS

Mother’s day is quickly approaching…grab your kid and let’s get crafting! 
We’re making hand print embroidered tea towels- WAIT! Don’t leave the page! I swear it’s a lot easier than it sounds. You don’t need to know how to embroider or sew to make this project. Just a little practice. Another option- use a fabric marker. That’s easier, right?
Jenni and I made these for our moms and mothers-in-laws 2 years ago and they were a hit! 
Here’s what you need: 

– Tea towel (Any will work. I got mine from Hobby Lobby)
– Embroidery hoop
– Embroidery floss and needle
– Teeny hand

Instructions:
1. Trace child’s hand on paper and cut out the traced shape
2. Stretch tea towel and fasten tightly in embroidery hoop
3. Trace hand shape on the towel with a pencil (easier for wriggly kiddos than to trace directly on towel)
4. Embroider: for the hand and name use a split stitch (tutorial HERE). For the heart, draw a little heart outline with pencil then use a satin stitch (tutorial HERE). To make the heart puffed up like I did, do a split stitch outline of the heart FIRST then cover those stitches with the satin stitch. 
5. Give to your deserving mama and tell her now you know how it feels to love your kid more than life itself. Oh and sorry for all the teenage years.

Love & Lion Mother’s Day circa 2012! Look at our little babies!!