christmas

GIFT GUIDE – UNCOMMON GOODS

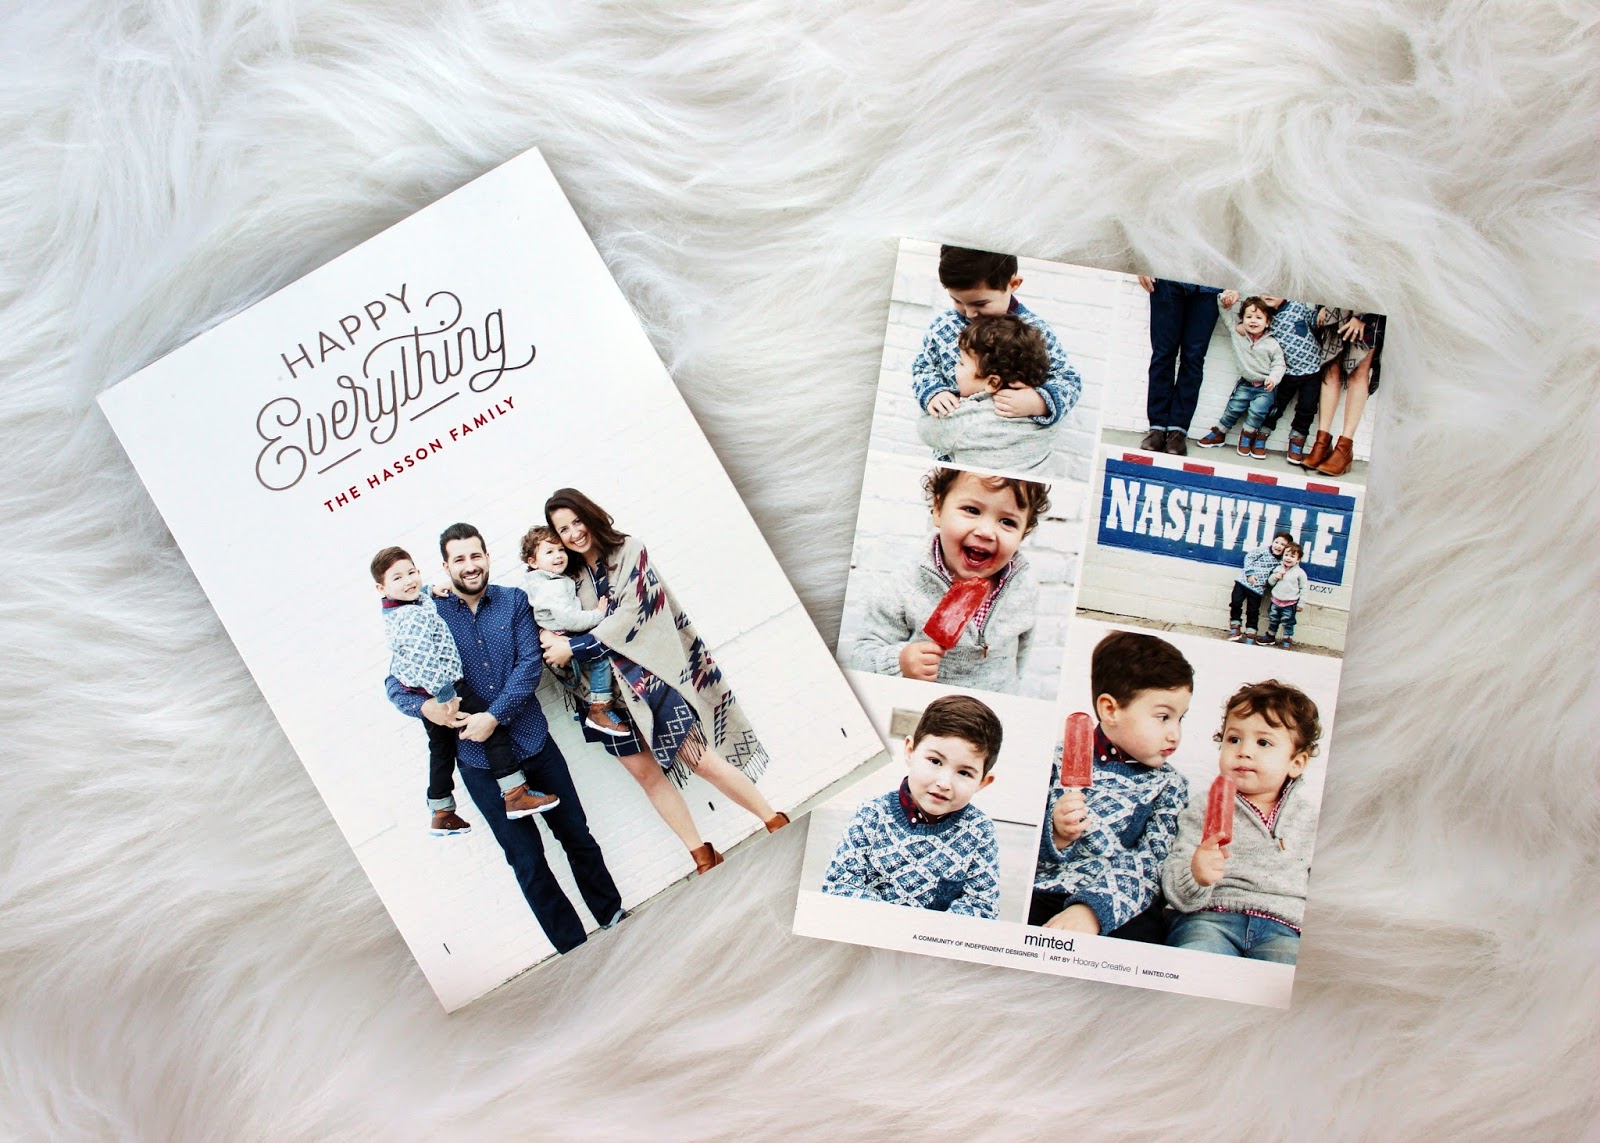
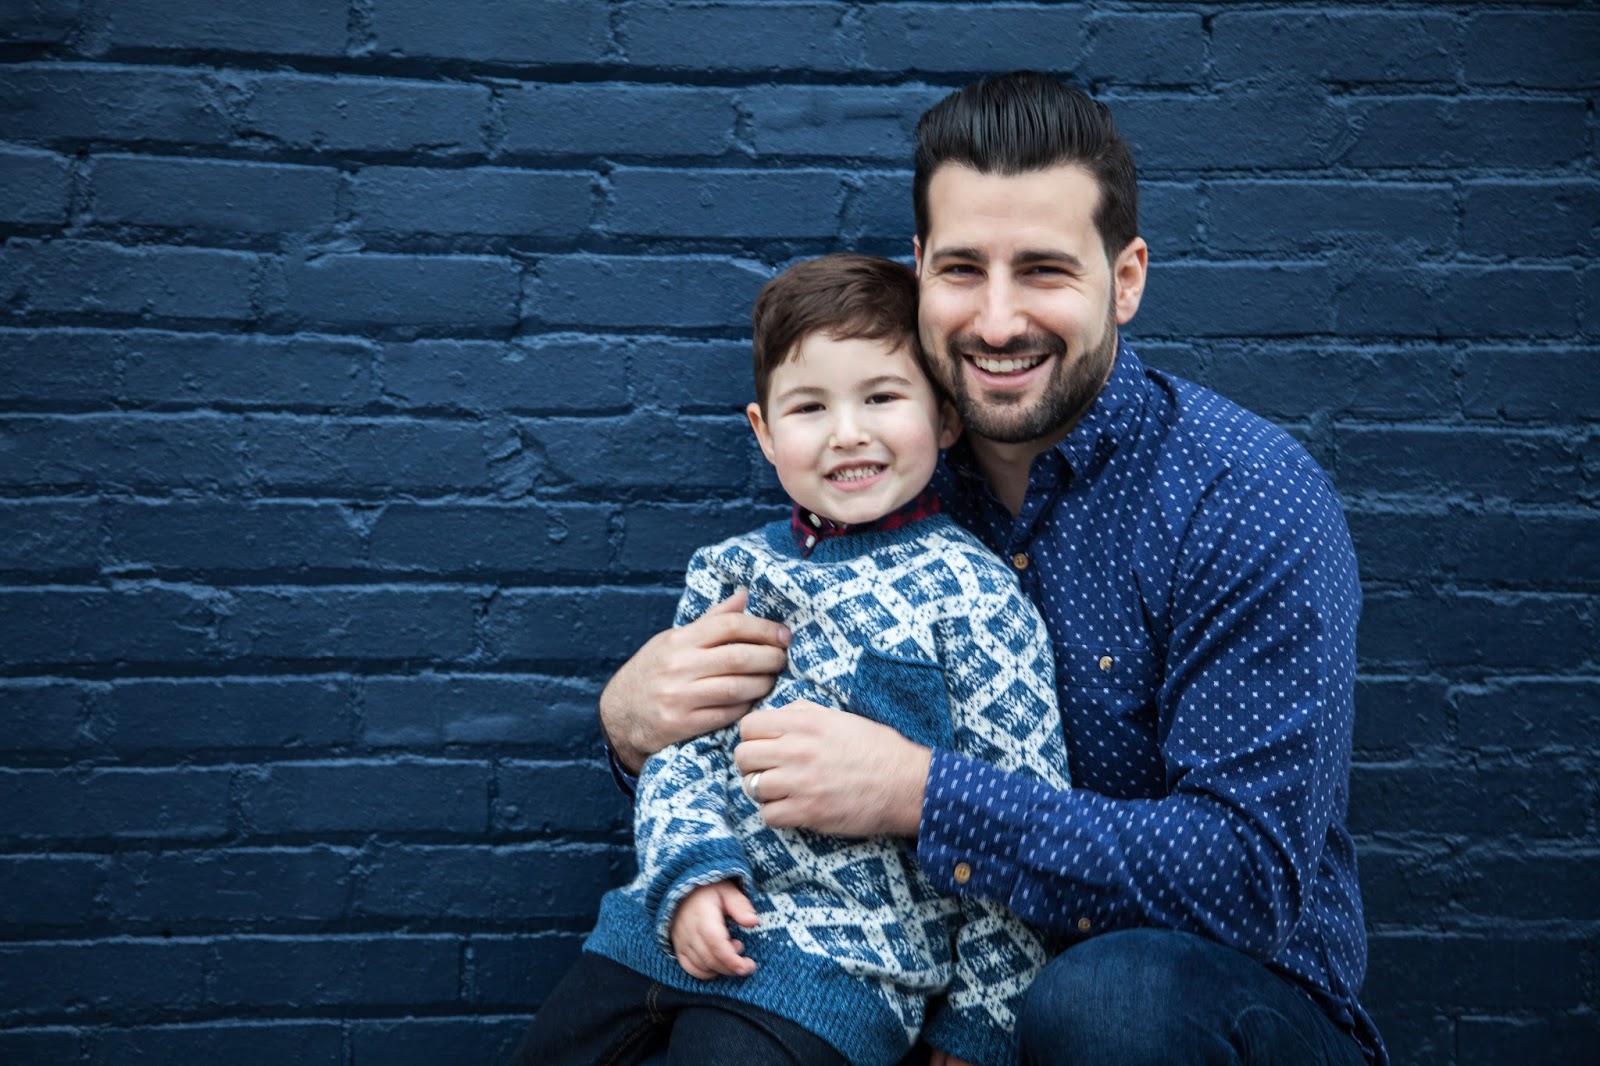
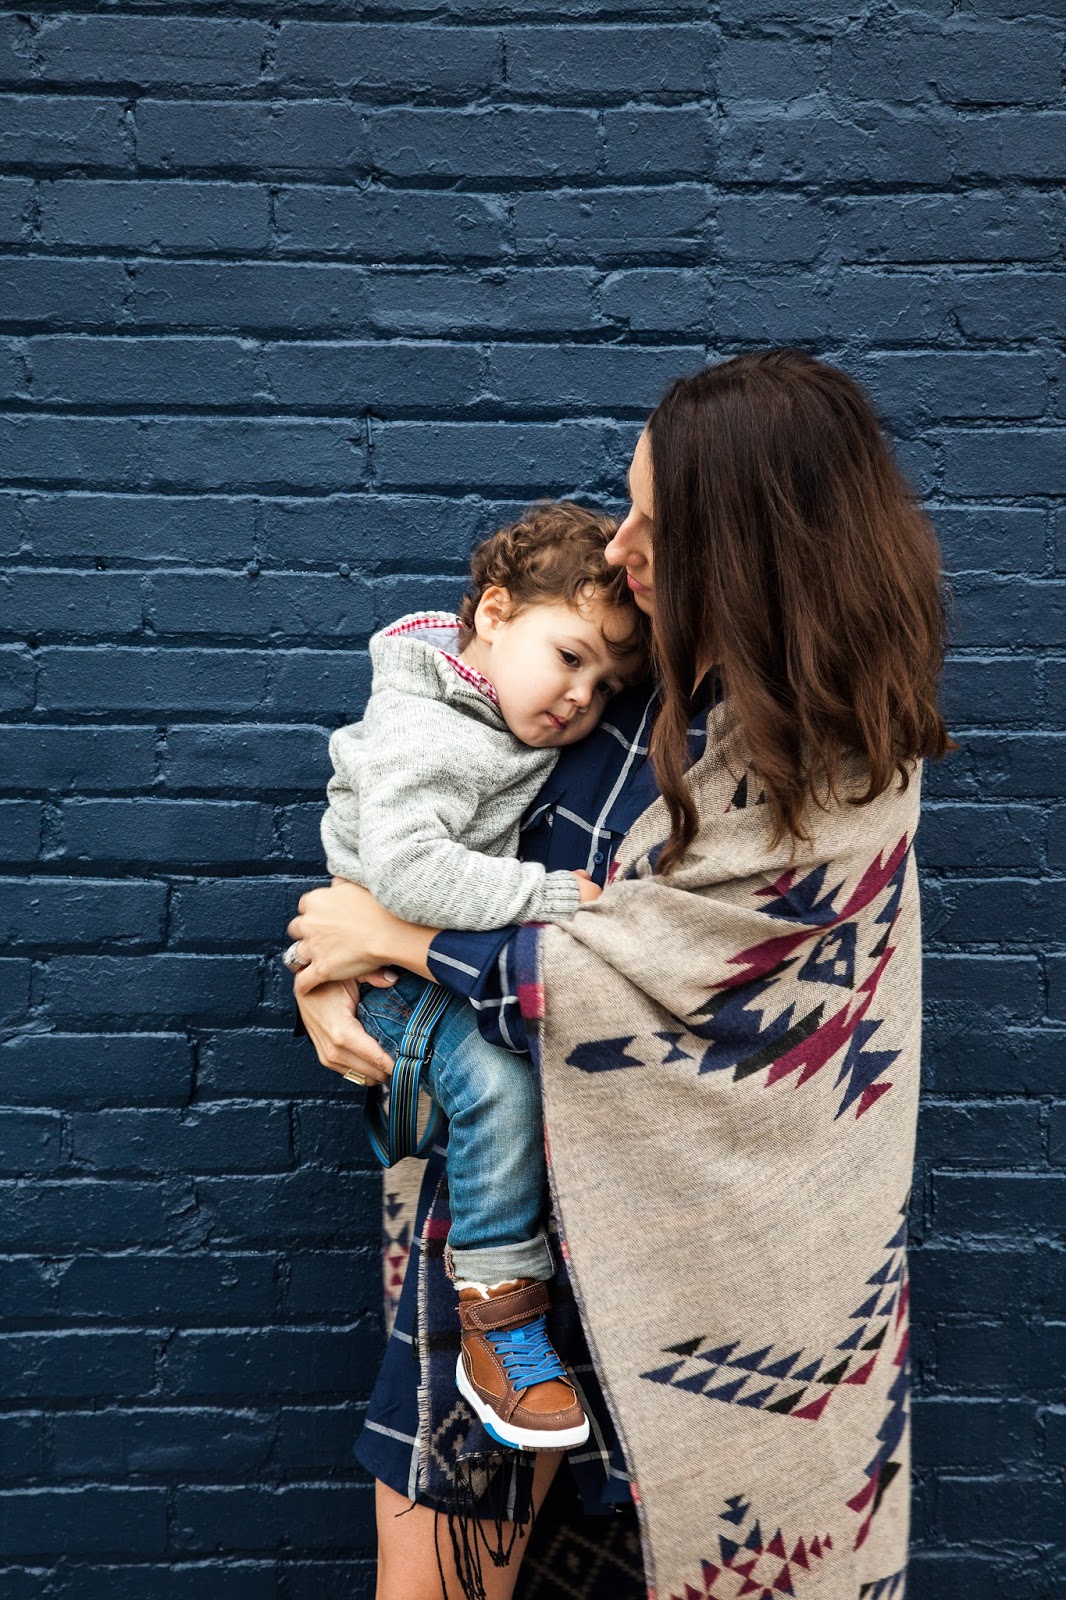
Here are a few of our favorite things!
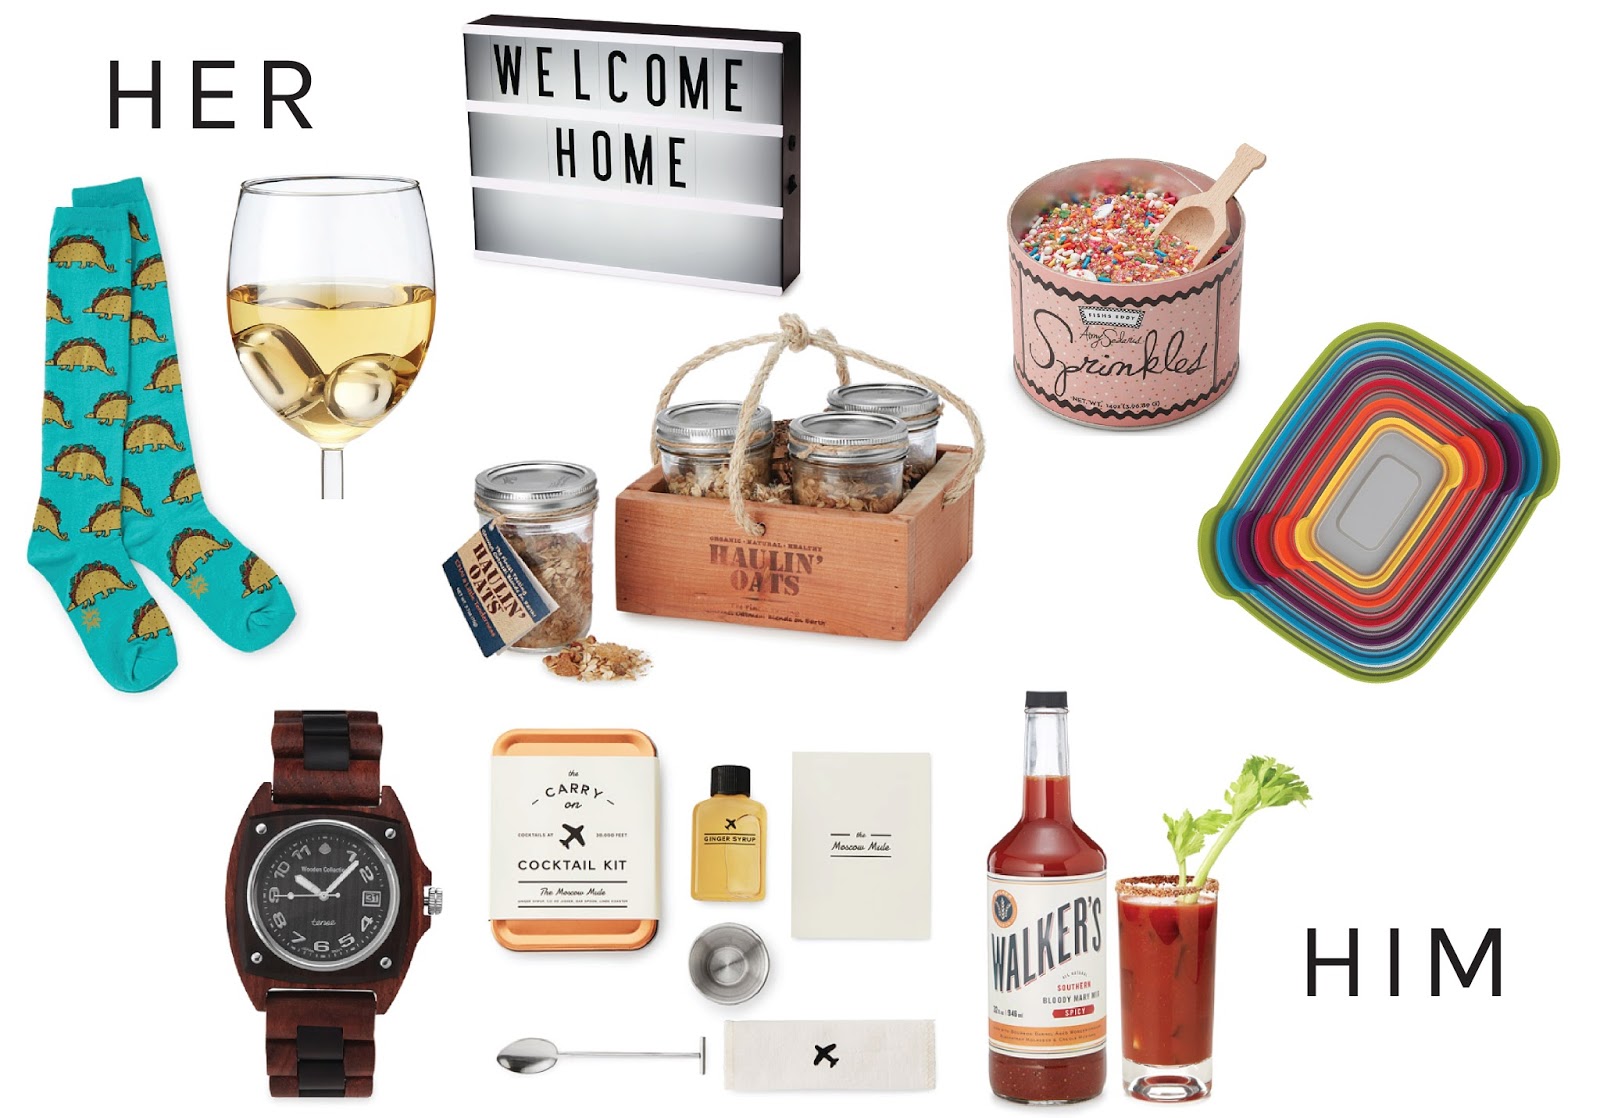
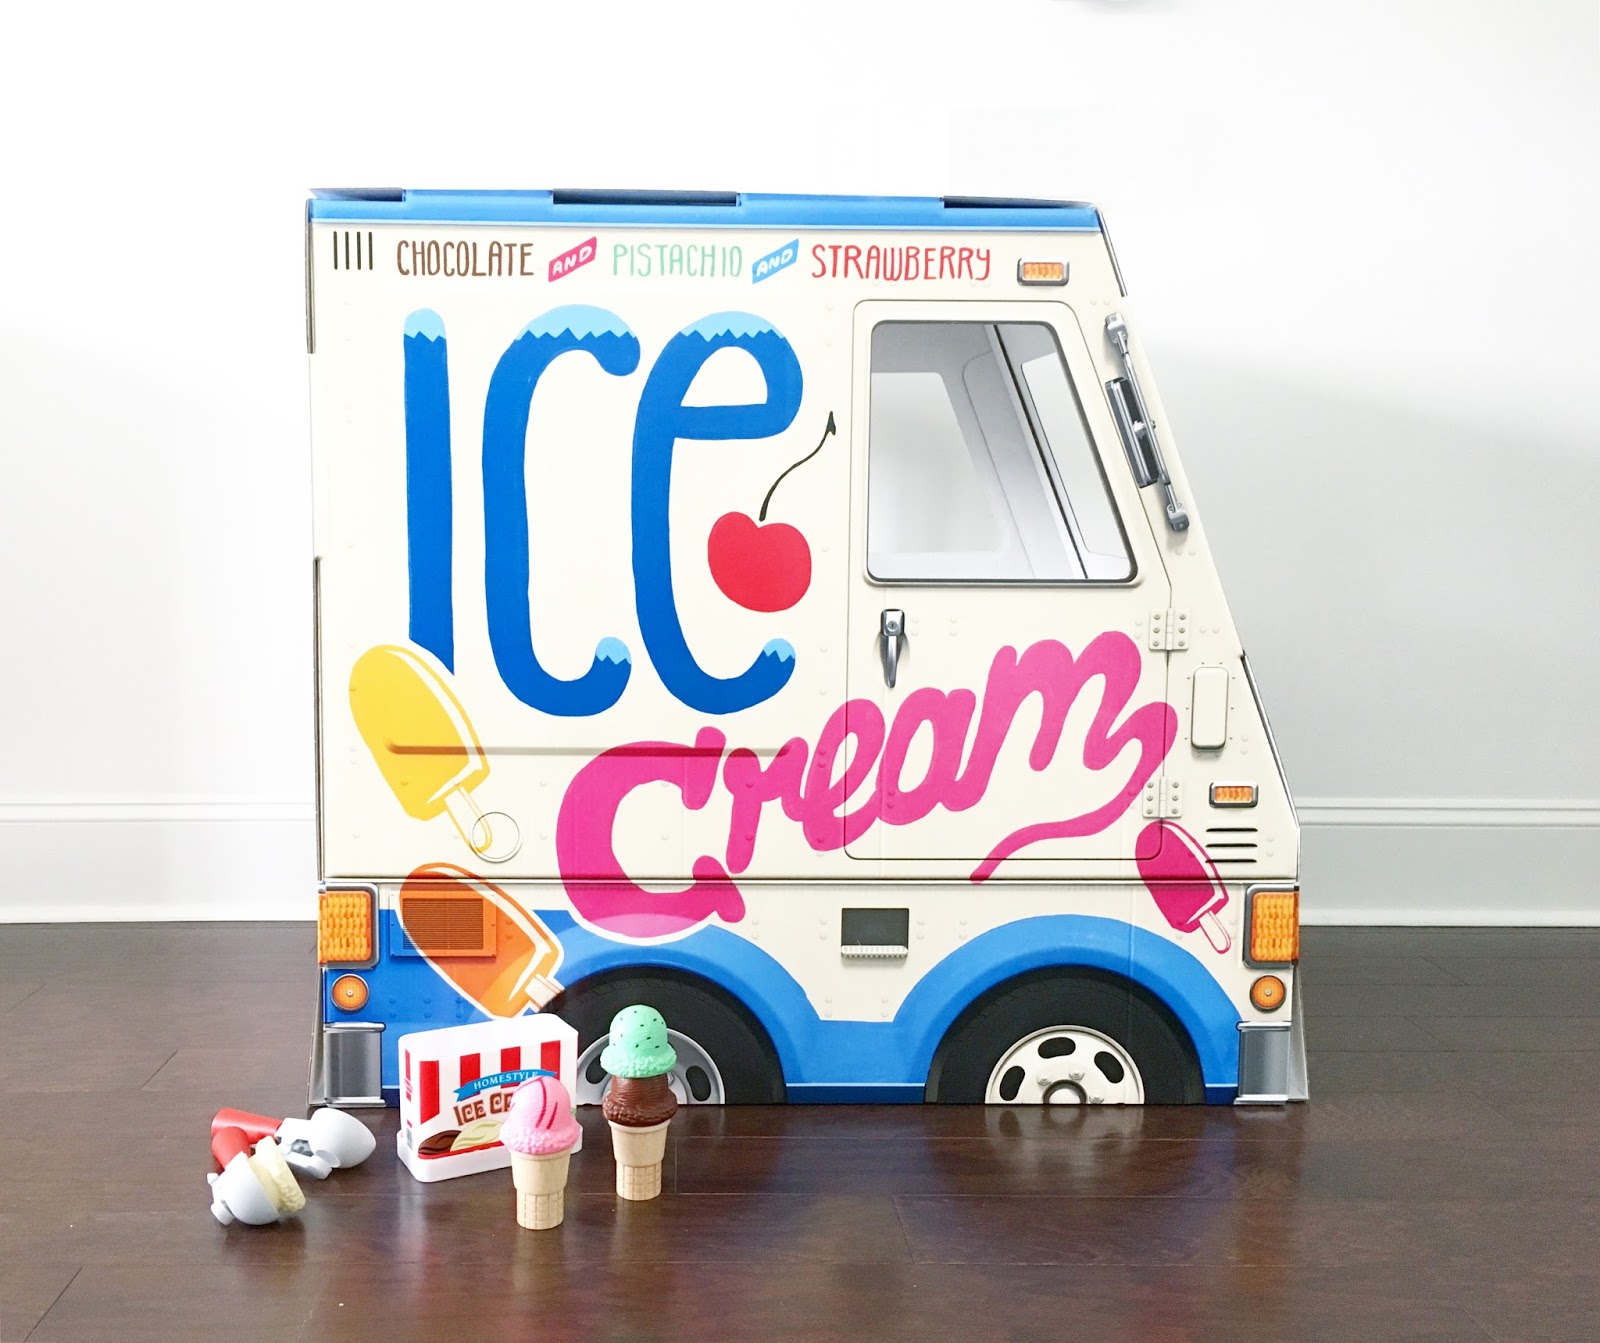
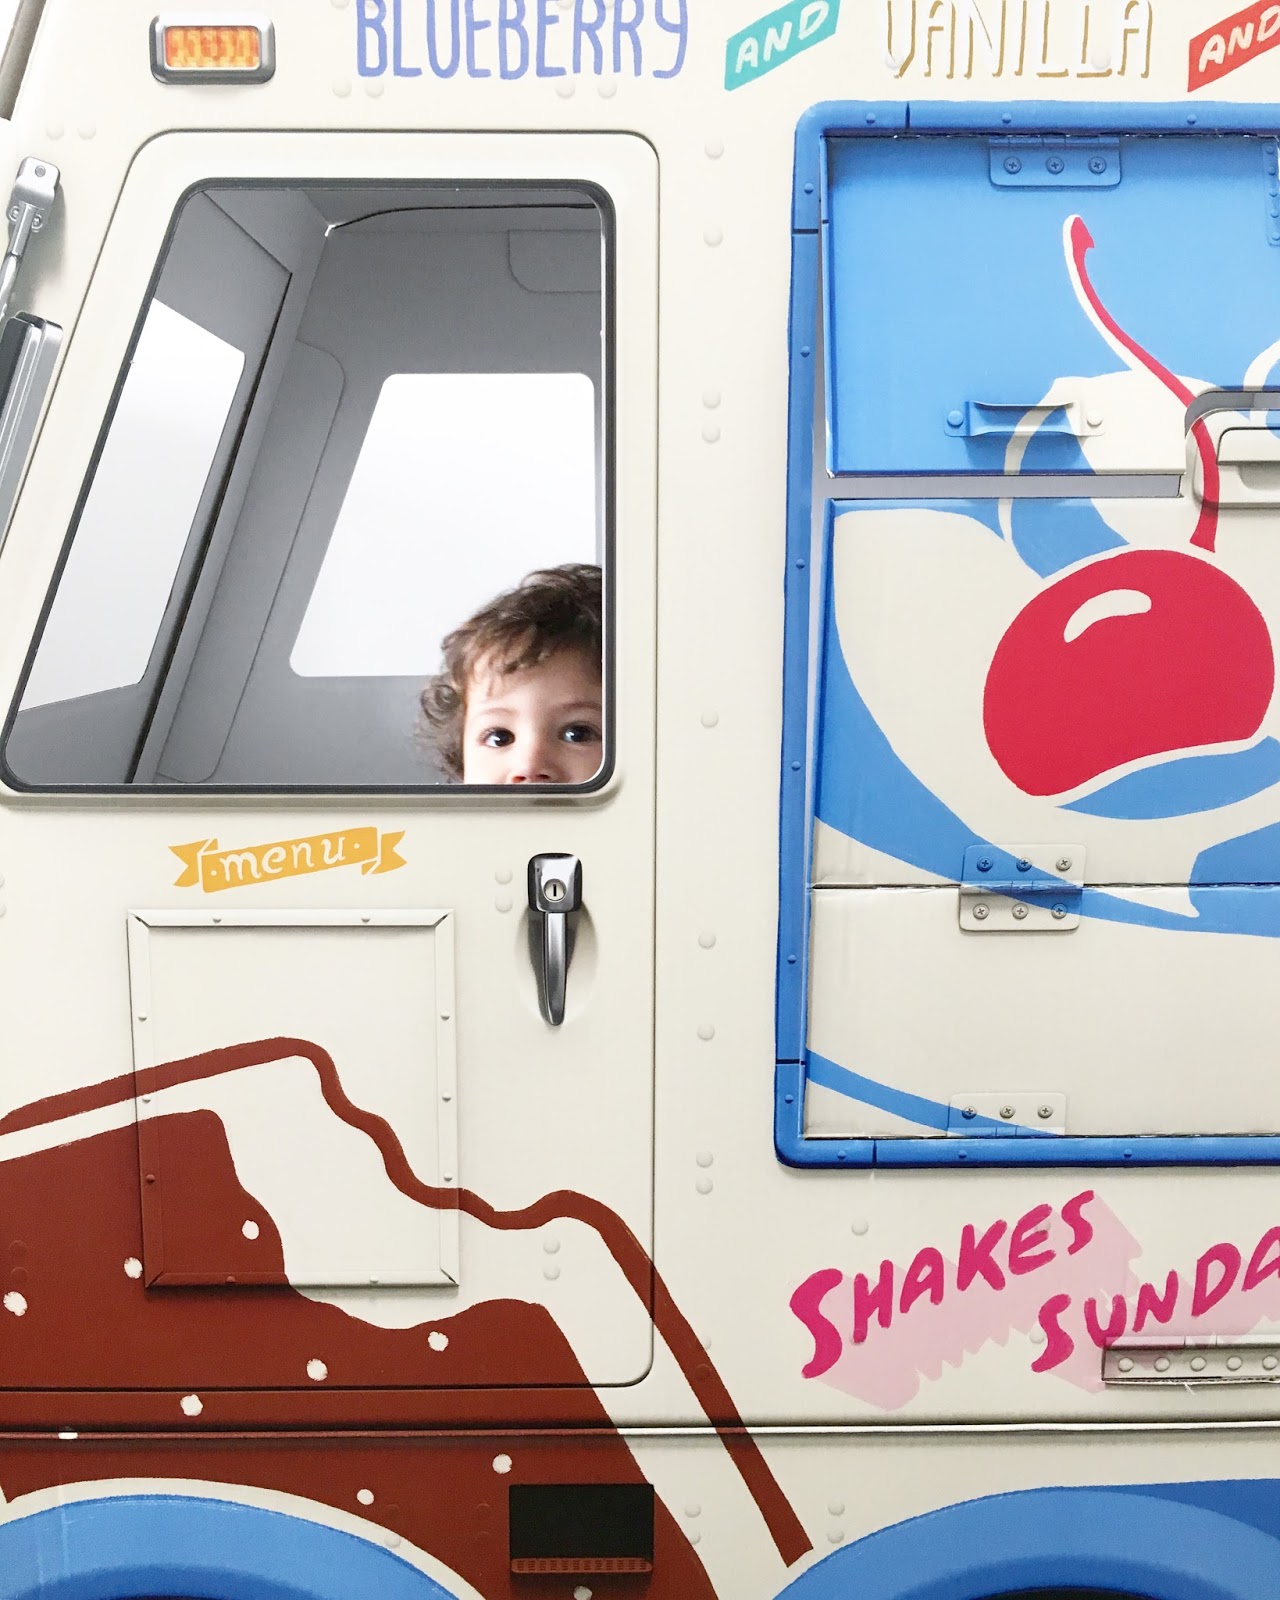
Uncommon Goods literally has something for everyone. Helloooo taco mobile. Anyone having a baby? Can we please get you a whole taco themed gift? Personally obsessed with the light box, and my kids are obsessed with the ice cream truck! Our friends, Haulin’ Oats have their amazing oatmeal on here- and we can testify that the cinnamon girl flavor is to die for!
The best part about Uncommon Goods is that they promote small businesses, emerging designers, and hand makers. Each item has a story behind it and a bio of the artist. As makers ourselves, we SO appreciate that! They also keep sustainability in mind- helping the earth and helping us gift beautiful, handmade items? Yes please.
Scroll down for links.
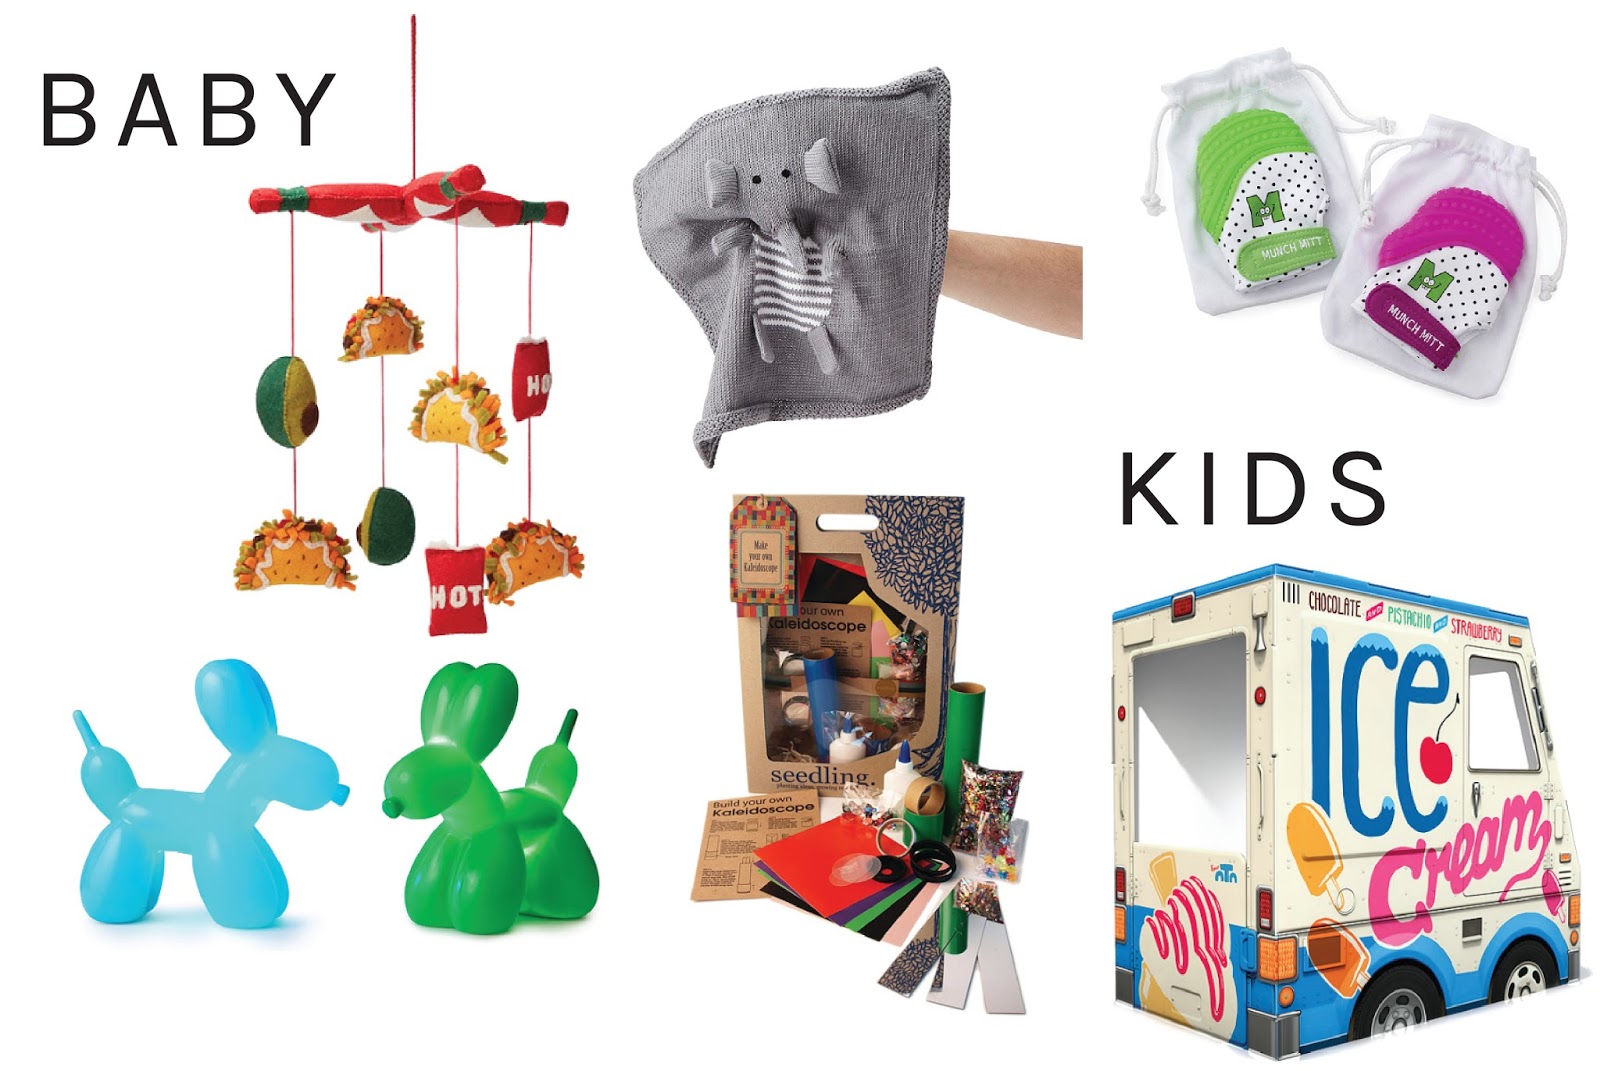
Love that the ice cream truck is made out of very easily put together cardboard, so it can be disassembled easily when your kids are finished playing. Great for small spaces.
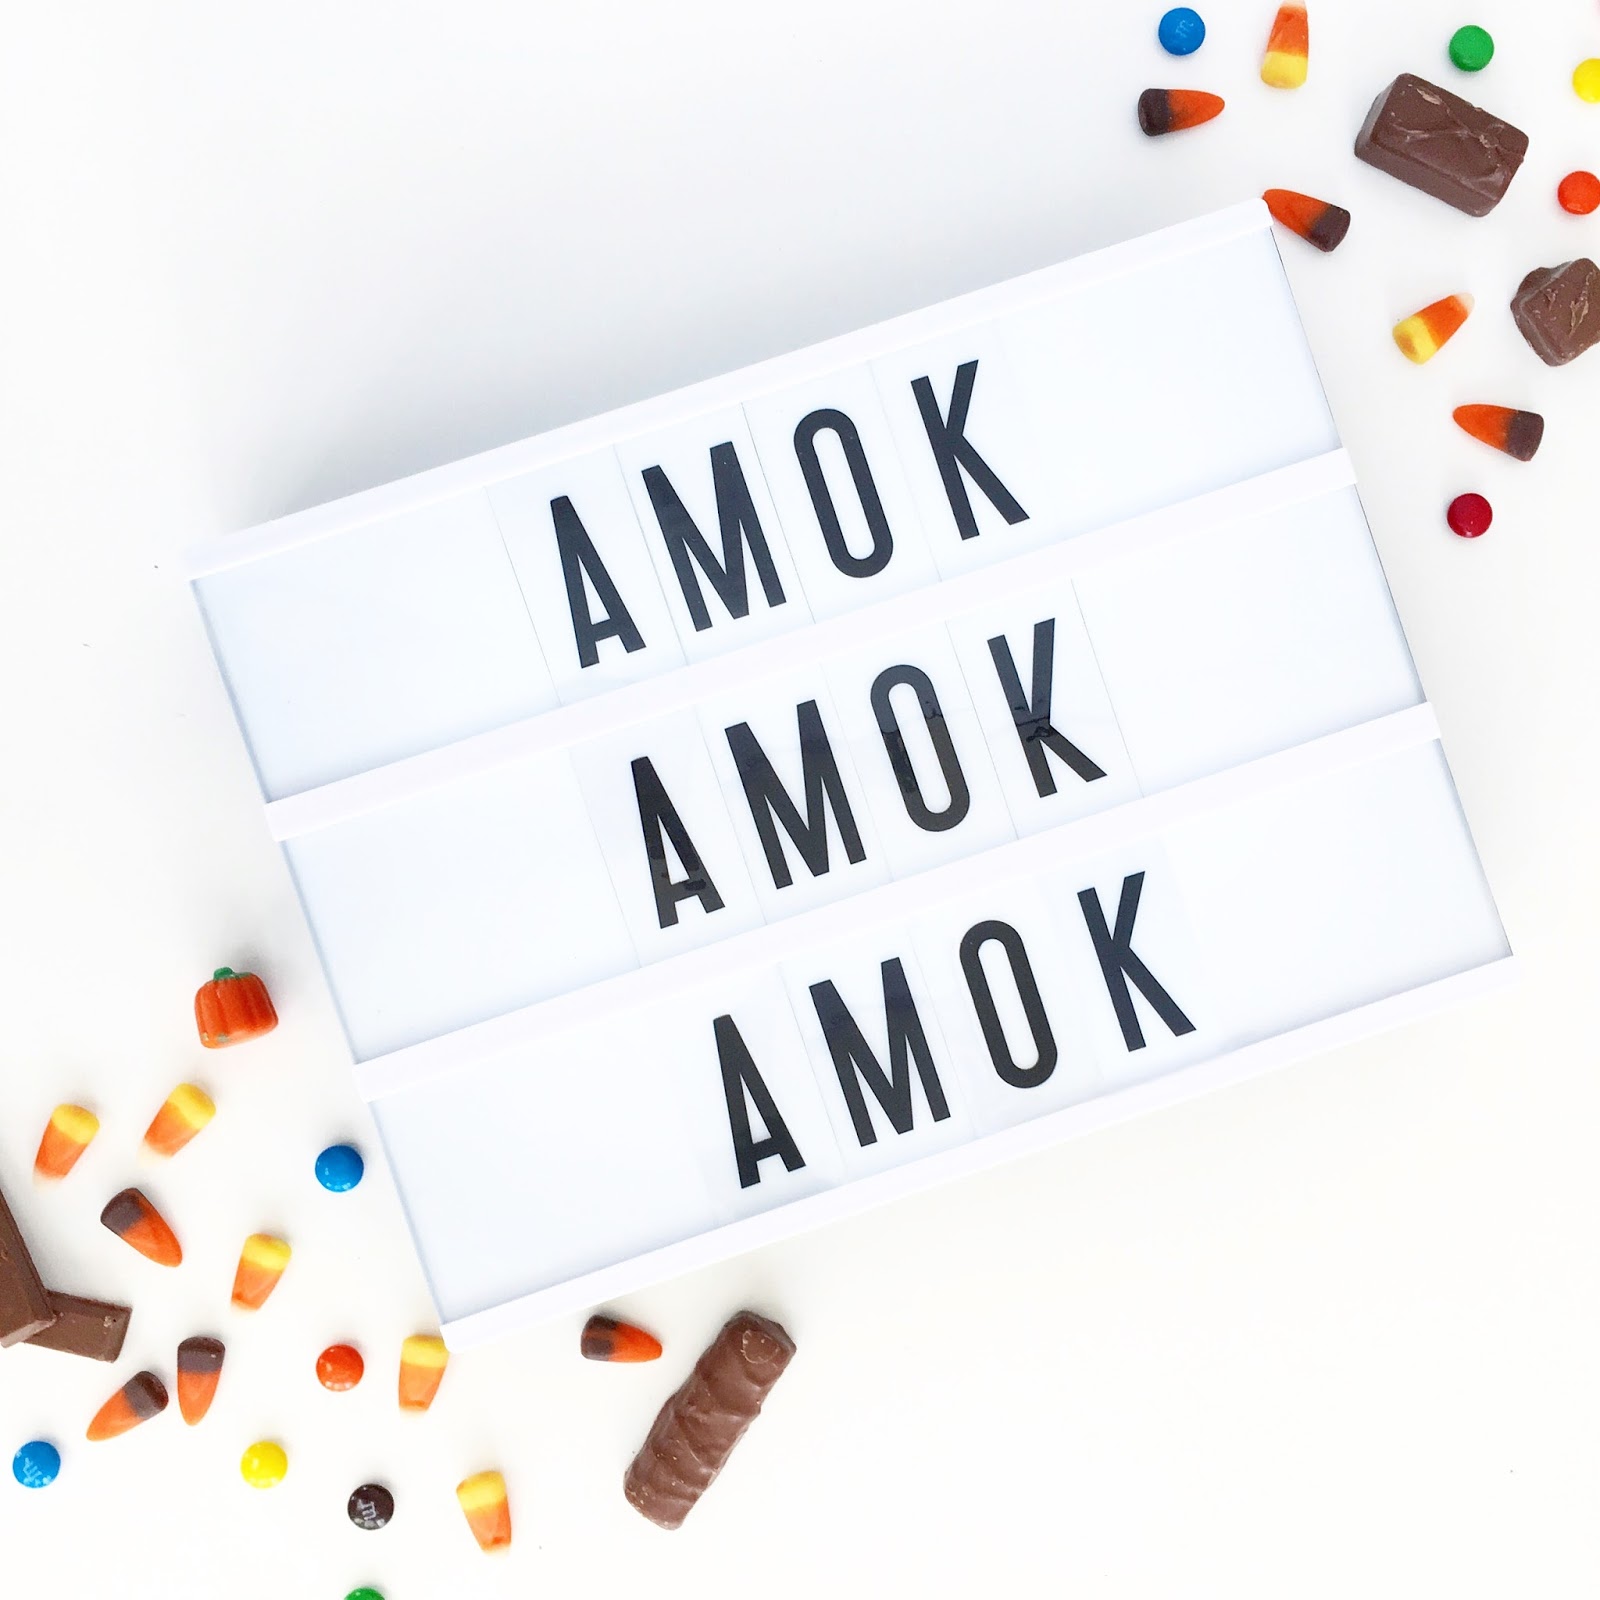
As a blogger/instagrammer, the light boxes are perfect props for styling photos! And we’ve been using this as our shop sign when we do markets.

Here are our favs below, but also check out these easy to shop gift guide links:
BABY
KIDS
FOR HER
FOR HIM
bloody mary mix
men’s wooden watch
moscow mule carry on kit

HOLIDAY CARDS WITH MINTED.COM

Have you ever used Minted? Ok, click HERE and you’re welcome. Oh and pppssst! 20% off your holiday cards through today at noon PST with discount code: CM2015.
Minted did my holiday cards this year, and I am beyond grateful!! I could just rave about the whole process forever, but I’ll try to keep it brief. First of all, the quality is SO good. My cards have silver foil, people! The options are endless depending on your photo and the number of photos you want. It’s all tailored to you with ease. I had too many good photos to chose from (captured by the brilliant Kate Davis! Family photo shoot HERE) so I chose a backing with space for 6 more photos. My favorite part? The envelopes are pre-addressed for you! For free. Whaaaat?? And the wraparound labels with my return address just make the whole card come together like a little package. Could not be happier! You can purchase my holiday card design HERE.
Happy Everything!
xo
-L

RECIPE: CHALLAH

This challah is the BEST. The recipe is actually by our close family friend, Carol. She made this challah for everyone at my wedding. Like every single table got one. Seriously. Not only do I love eating it, but I love the memories we have surrounding it. Friday nights with family and friends, eating this soft, chewy bread, spread with butter or dipped in honey. Every time my mom would make challah, the whole house was filled with the smell of baking bread! That’s probably my favorite smell in the whole world. That and my newborn babies. Equally delicious.
Full recipe below.
RECIPE:
Mom’s Famous Challah
INGREDIENTS
2 tsp honey
1 pkg yeast
1/2 c vegetable oil
1/4 c sugar
2 tsp salt
2 eggs
4 – 4 1/2 c bread flour
1 egg yolk
  1. Dissolve 1 tsp honey in 1/2 c. warm water in large mixing bowl which has been rinsed with hot water.
  2. Sprinkle yeast on top, mix, let stand 10 min.
    Stir in oil, 1/2 c. warm water, sugar, 1 tsp honey, salt, eggs, and 2 c. flour. Beat well.
  3. Stir in remaining 2 c. flour. Dough will be sticky. If it’s too sticky when you test it with your finger, add another 1/2 cup of flour.
  4. Knead 2-3 minutes with a bread hook attachment or turn onto a floured board and knead.
  5. Round up in greased bowl (I just use the same dough bowl and put vegetable oil all around it), cover, and let rise in a warm place for 2 hrs. It should have doubled in size. Gently put finger in top; if dough stays indented, it’s finished. If it bounces back, continue to rise.
  6. Punch down, cover, let rise again 45 min.
  7. Prep the counter with cooking spray.
  8. Divide the dough on the counter into three or four sections and loosely braid* (instructions below), tucking in the ends. Put the braided challah on a parchment paper-lined baking sheet.
  9. Cover loosely with saran wrap or a non-textured kitchen towel and let rise 20-30 minutes.
  10. Brush with beaten egg yolk and 1 tsp water.
  11. Bake 400 degrees 20 min or until it’s a good color on top. Cover the top with foil, put it back into the oven for 5-8 minutes until a toothpick in the center of a braid comes out clean.
  12. Immediately remove the challah from the tray and place on a wire rack so the bottom doesn’t continue to bake.
  13. Eat! Delicious with butter and/or honey. Perfect the next morning for french toast.
* Traditional challahs are braided in one row. On holidays or special occasions, it’s made into a circle.
* This video tutorial is super helpful! I usually do a 4 strand with a circle challah, but I LOVE the 5 strand technique for a straight loaf: CLICK HERE.
* Round challah braiding tutorial (above) CLICK HERE
* Four strand challah:
Divide dough into 4 equal sections
Leave the ends loose if you’re making this into a circle- you’ll weave these ends in at the end when you connect your circle
Take the strand at the left and weave it over-under-over the other three strands
Take the next strand at the left and do the same- weave it over-under-over the other three strands
Repeat until you can’t anymore, form it into a circle and connect the ends on each side- just sort of weave them together…as long as they stay together it’s fine! Just keep tucking the ends in.
xo, Leah

HOLIDAY PHOTOSHOOT – OUTFITS FOR THE WHOLE FAMILY

I think we all sort of cringe a little when we think about dressing up our resistant kids (and husband!) in fancier clothes and convince them to smile like they love taking photos. Just me? But honestly, it’s totally worth it in the end. I don’t always appreciate this stage in my life. The messy, whiney, poopy, busy days that just fly by without noticing any of the details. I’m too tired or stressed or frustrated to really take it all in. Seeing these photos (captured by the BRILLIANT and talented Kate Davis) will always be a fierce reminder of the beauty of our little family in this moment. 
With each photo we saw, we ooooh-ed and aaaahhh-ed and laughed, and omg-ed! Kate knocked it out. of. the. park. She made us feel right at ease, especially the boys! Max nicknamed her Katesadilla. I’m obsessed with her fashion blogger photos and love that casual feel more than the stiff posed look. I also loved taking pics around town instead of in nature like we normally do. Gotta love a good white background! This was shot all behind and to the side of Draper James and at Las Paletas. Ending the photoshoot with popsicles was basically the only way we got the kids through it!
Aside from finding the best photographer in Nashville (duh: Kate Davis) the next step is figuring out what to wear! Coordinating NOT matching is my personal preference. My best tip is to go into one store and use their color palette for the season. I guarantee they have similar colors in different patterns and textures that will be perfect for the whole fam. Start with yourself first. Find what YOU look best and feel comfortable in, then you can plan around everyone else. Selfish? Maybe. But kids and dudes look good in pretty much anything right? 
I’ve linked everyone’s outfits at the bottom of the post in case you want to go with our red, tan, and blue color palette!

 OUTFIT LINKS
Leah: poncho / dress (H&M in-store only) / boots or similar
Jeffrey: shirt (H&M in-store only) / jeans / shoes
Ari: shirt and sweater (H&M in-store only)  / jeans / shoes
Max: shirt and sweater (H&M in-store only) / jeans and suspenders / shoes
Goooood luck, Mamas!
-L

HOLIDAY CARDS + A MINTED DISCOUNT

Have you ever used Minted.com before? It’s so bizarre for us to hear that some people haven’t, because it’s an incredible company! Everything is just so. freaking. easy. We just recently went crazy on their art site which we’ll update you with later! Out of control good! 
Minted has an insane amount of designs for holiday cards. They use independent artists to design, so you can feel good about your purchase. The quality is also amazing, which appeals to these two paper snobs! They have foil pressed cards and we are suckers for anything shiny (hello rose gold foil… muah)! If you have moved, had a baby (and want to announce it 6 months later – insert raised hand here), married the love of your life, or just simply want to say Happy Holidays, there is a card for just that! You can filter it by the number of photos, whether you want it flat or folded, whether you want it to say Christmas/Holiday/New Years, if you want the writing on the top or the bottom… we could go on and on. And the coolest feature? You can upload your holiday photo and see what every single card looks like with your photo! Then you can chose a patterned back or more photos, you can order your return address label that matches your card. And the BEST part? YOU GET FREE RECIPIENT ADDRESS PRINTING. What??!!
Like we said, it’s SO easy! 
We don’t have our photos yet, but are planning which cards and which outfits go with our picks. Here are our favs…which one should we go with? Ah! So many good choices!
LEAH’S TOP PICKS:
Dashing Dots card HERE
Holiday Headliner card HERE
Not So Calm card HERE

Photo Booth Filter card HERE
JENNI’S TOP PICKS:

The More, The Merrier card HERE


Gold Illume card HERE


Santa’s Newest Helper card HERE

Silent-less Night card HERE

The other good news? 
Minted is giving you 15% off on holiday cards through 10/30/15 using code: LOVELION15
That’s something to be jolly about!
xo

HOW TO PERFECTLY WRAP A GIFT

We hope you guys are enjoying the holiday season. Leah and I are a bit under the weather, which is NO. FUN. 
Okay, so wrapping gifts is one of our favorite tasks of the season. Most people loathe it, but we feel like if you buy beautiful wrap, gift toppers, ribbon and use these tips then you might actually ENJOY it. What!?!?! When Leah and I met ( working for our friend, Lauren, at her paper boutique) we were taught the skills to pay the bills by Lauren herself. We offered a professional gift wrapping service that saved a LOT of people from going insane over trying to wrap their gift themselves. Okay, they may not pay our bills, but they do make people envious of your beautifully wrapped gift at your holiday gift exchange. Whenever all of us girls get together, and there is gift giving involved, we almost care more about how it is wrapped vs. what is inside the box. True story! It is just in our blood now. 
Here are our tips that we are passing on from one great wrapper to another…. YOU!
Get a great box that is sturdy and has a good shape.
-Wrap your gift in beautiful tissue and seal with pretty tape 🙂 Details people.
– Once your items are placed in the box, then fill all of the extra empty space with tissue paper. This helps your box not cave in when you are wrapping it. This is VERY important. The box structure is everything!!
-Roll out your wrap and lay your box in face down. Pull the edge of your wrapping roll to the center of your box and tape (using regular invisible tape). This is where your perfect seam will be.
– Then, pull the other side of the wrapping roll (the actual roll itself) over about a 1/2″ passed the seam you created, and cut.
– Now, turn your box (with the wrap attached) horizontally to where the untaped edge of the wrap is closest to you. Fold over to create a perfectly seamed line. Then, attach DOUBLE-SIDED tape to the inside of the wrap. In other words, put the tape right on the fold that you just created. We use about three strips to go along the width of the box.
– Now time to do the ends! Simply cut excess paper off so that your edges reach about half way down the side of the box. Any seam you are taping directly to the box can be adhered with regular tape. Any of the corners that you fold in and adhere to the paper itself should be taped with double-sided tape. 
– Fold in all of your corners just like you would on a regular wrapping job. Remember to keep pulling tightly and doing intense folds to keep the wrap from “bubbling” around the box.
– Turn your gift right side up! We love to add “bands” around our gifts. They help make your pretty wrapping paper go further and adds interest. I chose an old wrap from last year to use as a band over the gold polka dots. Simply cut the band to size (width wise) and wrap it around the BACK of the box to where the ends of the band take up about a 1/4-1/2″ of each side of the back of the gift. We are alllllllll about the front! 
– I opted for a sparkly ribbon with no bow ( as this gift is for my 16 year old girl cousin). Again, to save ribbon, I just wrapped the ribbon slightly around the edges to the back of the gift and taped it. Double stick tape is preferred here so that you don’t see it on the back of the ribbon, but regular tape seemed to hold this ribbon better. 
– Choose your perfect gift tag. Don’t skimp on the gift tags!! They are fun and add that special touch to your already beautiful gift. Is it bad to say that we are NOT fans of sticker name tags on gifts???
oops!
Host a wrapping party, turn on a good holiday movie, or just grab a glass of champagne and get to wrapping!!! The investment in good boxes, pretty tissue, gift wrap and all of the pretty things that come after truly make the wrapping experience so much more fun! Also, receiving a beautifully wrapped gift can make the recipient feel all the more special. 
XO!!
-J
All wrap and gift wrapping goods were purchased at Lauren’s boutique, Rock Paper Scissors
Seriously, she has the best stuff!!!

DIY HOLIDAY CARDS DISPLAY

This is so easy… I don’t even know why I’m posting it. BUT I think it turned out pretty cute. So. I’m also procrastinating cleaning my house. Typically when I’m at my most creative.
I just received my first two holiday cards! One from my bestie since college, and one from my sweet little nieces and nephews! Last year I was so lazy (read: just had my second baby) that I put all of my cards in a pretty bowl on the coffee table. This year I’m stepping it up a tiny notch. 
All you need for this easy DIY is:
– 1 wire wreath form
– 1-2 packs of plain clothes pins
– 1 roll of fun washi tape
– 1 clear command hook (sticks on the wall and removes without damaging the paint!) See below:
I found this pretty Meri Meri washi tape at our fav shop Rock Paper Scissors.
 Measure by sticking a clothes pin on the tape
 Cut tape
Bend around the sides of the clothes pin. Use the back of your finger nail to really stick it on there well. And… that’s it. Told you it was easy! You could totally spray paint the wreath form gold or silver first, but it’s going to get covered up with cards anyway, right? She says to convince herself.
I still have to finish decorating my mantel. Cannot find the rest of my decor!! It’s probably in storage somewhere. Ugh. Ooh and I’m waiting on a sparkly banner from The Bannerie! I’m a tad obsessed.
Happy decorating!
-L

HOLIDAY GIFT GUIDE FOR GIRLS

Do you have most of your shopping done already? Well, good for you! 😉 If not, here are my top picks if you are looking for that perfect little something for the little ladie(s) in your life. 
1. Stocking stuffers: 
Tinkerbell Pez dispenser – I loooooved getting these as a child, so I can only hope that my child will enjoy it as well this year. 
Snow globe – This little guy is a perfect keepsake for this Christmas. We always love to give our daughter something to mark the year, whether it be a snow globe or an ornament. Even better, 25% of the purchase price goes directly to St. Jude’s. 
Frozen activities book – because which kid isn’t still singing “Let it Go!”???
Wind up mouse –  This mouse gives my daughter laughter for minutes at a time. He flips over and she thinks it is “super duper cool”. 
Finger puppets – they are just so cute!
2. Board Game – These are always fun to add to your board game collection. Whether it be educational or just plain fun.
3. Cape & Dress up Accessory Kit – It occurred to me the other day (when my 3 year old daughter asked to be a super hero for Halloween next year) that little girls need to save the world sometimes too. Ya know, take a break from being a princess! 😉
4. Educational goods – I love watching my toddler learn. Watching her figure things out and use her problem solving skills is just the best. I love the idea of mixing fun gifts with some educational gifts as well. Adding a few books to your library is always a good idea. We tried these hot dot cards at Leah’s, and Amara loved them!! 
5. Sleeping bag – Even if your child is not doing sleep overs yet, I think these are so fun for movie nights or pretend play. I am adoring this one with the big bow!!
6. Bunny slippers – duh!
7. Mini Mercedes – The thing we all wanted when we were little. If only Santa could bring me this in MY size?!
8. Little People Princess Castle – We bought this for Amara last year, but she is just starting to play with it a year later. Her imaginary play has taken off. She loves to make the princesses talk….. like all day long. Such a fun little gift, so I had to include it in my picks for this year. 

HOLIDAY GIFT GUIDE FOR THE BOYS

Heeeeere we go, people! T-minus 24 days (or 15 days if you celebrate Hannukah like me) ’til Christmas! Here are my picks for the little dudes in your life. 
Click the item names below for the links:
1. ALPHA POPS: These are genius. Combining a kid’s favorite food group and learning? Check. Match uppercase and lowercase letters, match colors, use for imaginative play. Yum- I mean- fun!
2. BROTHERS BANNER: Sweet little sign for bros bein’ bros. Cute for a playroom or a new big brother. Love this Etsy shop- lots of rad designs!
3. KIWI CRATE: Yet another genius idea! Monthly subscriptions (3, 6, or 12 months) of creative and educational projects for kids of all ages. AKA no work for you mamas to come up with something to battle the “I’m bored’s”.
4. SPY GLASSES: Because every little boy wants to be a spy!
6. SHARK AQUABOT: Swims in water! The only kind of pet I’m okay with right now.
7. HARRY POTTER BOOK SET: A special keepsake plus it comes in a cool trunk! You know me and my true love for Harry Potter. My husband and I passed that love onto our son. He’s not quite ready to read the books, but he’s seen the first movie about 50 times. This month.
8. KINETIC SAND: An OCD mother’s dream come true! Sand that isn’t messy! You can squeeze it, mold it, shape it, let your kiddo really experiment with it. Comes in lots of fun colors too.
9. TWIST AND DRILL: If your kid loves to pretend to play power tools as much as mine, they’ll love this! The drill actually works and twists the screws in to build cars and trucks. Good for hand eye coordination and pretend play.
10. HI/BYE HAT AND GLOVES: For friendly kids to say hi and bye to everyone they pass on the street. Warm and wooly but don’t put these in the dryer… been there, done that. Now Max wears them.
11. THE BOOK WITH NO PICTURES: Fun and silly and written by one of my fav comedians, B.J. Novak. I think any kiddo would get tons of giggles out of this one. 
12. STAR WARS COOKBOOK: Make ice saber popsicles. Enough said.
13. WOODEN CHESS SET: Chunky chess pieces perfect for chunky little hands with directions engraved at the bottom. A great first set for early learners.
Any gifts we missed? We’d love to know. Happy shopping!
-L

THAT’S A WRAP! [PART 2]


As if receiving a gift from someone isn’t enough to make you feel special already, we think that it takes it over the top when its wrapped with love. Just knowing that someone really took some time to add a decorative ornament, layer some ribbon to make the perfect bow, or even just writing your name out really beautifully makes it feel that much more special to receive. 
We absolutely believe that what is inside the box is made even better by the wrapping. We have some pretty creative friends, and it’s always fun around the holidays to give and receive each other’s gifts! Here are some packages that got a holiday makeover during our wrap party. Believe it or not, postal wrap and baker’s twine go a long way!! So simple, but it looks so stunning. Most of the ribbon we used was found in the Target dollar section, along with some metallic markers and ornament embellishments. We also purchased some clear ornaments to fill with glitter, jewels and snow. They would look awesome filled with confetti too. OBVIOUSLY! Ha! 
We had so much fun, and highly encourage you to get together with some friends or just members of your family and wrap together! Turn on some holiday tunes and sip some hot chocolate (after your champagne) and make some super special memories.

Confetti-filled ornaments, glitter glue, and simple kraft paper makes these gifts pop!
Love this “A” wrap by Rock Paper Scissors!

We topped off this Haute Papier wrap with an ornament filled with glitter and jewels.


Simple washi tape bunting banner- cut triangles and stick onto twine.

Glue jewels to Rudolph’s nose!

A washi tape mosaic!
Happy wrapping!

HOLIDAY GIFT GUIDE SERIES (FOR BABY GIRLS)

1 / 2 / 3 / 4 / 5 / 6 / 7 / 8 / 9 / 10 
(1) A cute little farmer’s market stuffed set. The milk actually has a little mirror inside. Peek – a – boo!
(2) Mini Boden is always a home run in our book. The little reindeers make it the perfect seasonal dress.
(3) We both own these blankets for our kiddos! They are AMAZING and so warm!! 
(4) Every little baby needs a hippo ballerina play mat, right?! We agree!
(5) A bright wooden walker to help those wobbly legs get stronger. Love Hape products. Amara is the happy owner of this walker. It will last for years!
(6) If you love the crafty look of felt hair bows, but don’t have the time or the talents to make them, buy them! 
(7) Keep those chubby baby legs warm all winter long with these polka dot leg warmers. The only downside is that you don’t get to see all of those fat wrinkles, which…hello!?! They are the best.
(8) We love trendy outfits just as much as the next fashion forward mom, but we also want our kids to be comfortable especially when they sleep. These Carters fleece sleep sacks are so warm and come in the most adorable patterns. They also have footed ones for your toddlers! We live in these during the winter months.
(9) The softest little stuffed animals ever. So many different ones to choose from, but we are loving the white owl. “Whoo! Whoo!”
(10) I feel like these moccs need NO introduction, but if you haven’t hear of them or tried them….please do! Not only are they quality shoes that stay on your littles’ feet, but they come in the most beautiful colors. Available in leather and suede. We love Susan and her team too!!
<a href=”http://www.bloglovin.com/blog/11299063/?claim=ds2yu7qgyub”>Follow my blog with Bloglovin</a>

HOLIDAY GIFT GUIDE SERIES (FOR GIRLS)

1 / 2 / 3 / 4 / 5 / 6 / 7 / 8 / 9 / 10
(1) Every little girl can’t wait to get their hands on all of the kitchen gadgets that they see mommy use. This wooden baking mixer set will have you wanting to play with your kids’ kitchen gadgets! Adorable. We love the durability and classic gesture of wooden toys here at Love & Lion.
(2) Such a creative take on the classic memory game. Love the idea of putting family members’ faces on here!
(3) We are over the moon for this Oh Joy Pixie Dust camera from Twig Creative. Why can’t our Canons be this cute?
(4) Pottery Barn Kids anywhere chairs… enough said. We are swooning over the Sherpa!
(5) This is on Amara’s Gift list! A new take on the ole “fort”. We love the colors and patterns on all of the Land of Nod playhomes.
(6) Get your little ready for spring with some stylish boots just made for puddle splashing. Great in the snow also with the fleece lining socks.
(7) Meslissa and Doug never ceases to amaze us! Our kids already love “getting mail”, and this is the perfect gift! Again, wooden toys baby!!
(8) Top off her little holiday outfit with this fab headband. Sure to sparkle!!
(9) A scooter that grows with your toddler/little girl. Comes in such fun colors too.
(10) Take these on the go for restaurants or leave them at home on the dishwasher for endless entertainment. These wooden magnets are so lovely, and come in beautiful finishes.
Happy Shopping!
<a href=”http://www.bloglovin.com/blog/11299063/?claim=ds2yu7qgyub”>Follow my blog with Bloglovin</a>
<a href=”http://www.bloglovin.com/blog/11330509/?claim=r57fc9sybea”>Follow my blog with Bloglovin</a>