DIY

ARI’S 4TH BIRTHDAY – PIZZA PARTY!

Ari turned 4 yesterday! I cannot believe I have a four-year-old. What?! After Max’s 1st birthday party last month (HERE) I was pretty spent, so it was music to my ears when Ari declared he didn’t want a party! Background… he’s not too into other kids his age and much prefers adults. We’re working on it at preschool and with play dates, but honestly it was his birthday, so he should get to do what he wants, right? Ari’s request was going to his fav pizza place, Mellow Mushroom, with just the family. So that’s what we did!
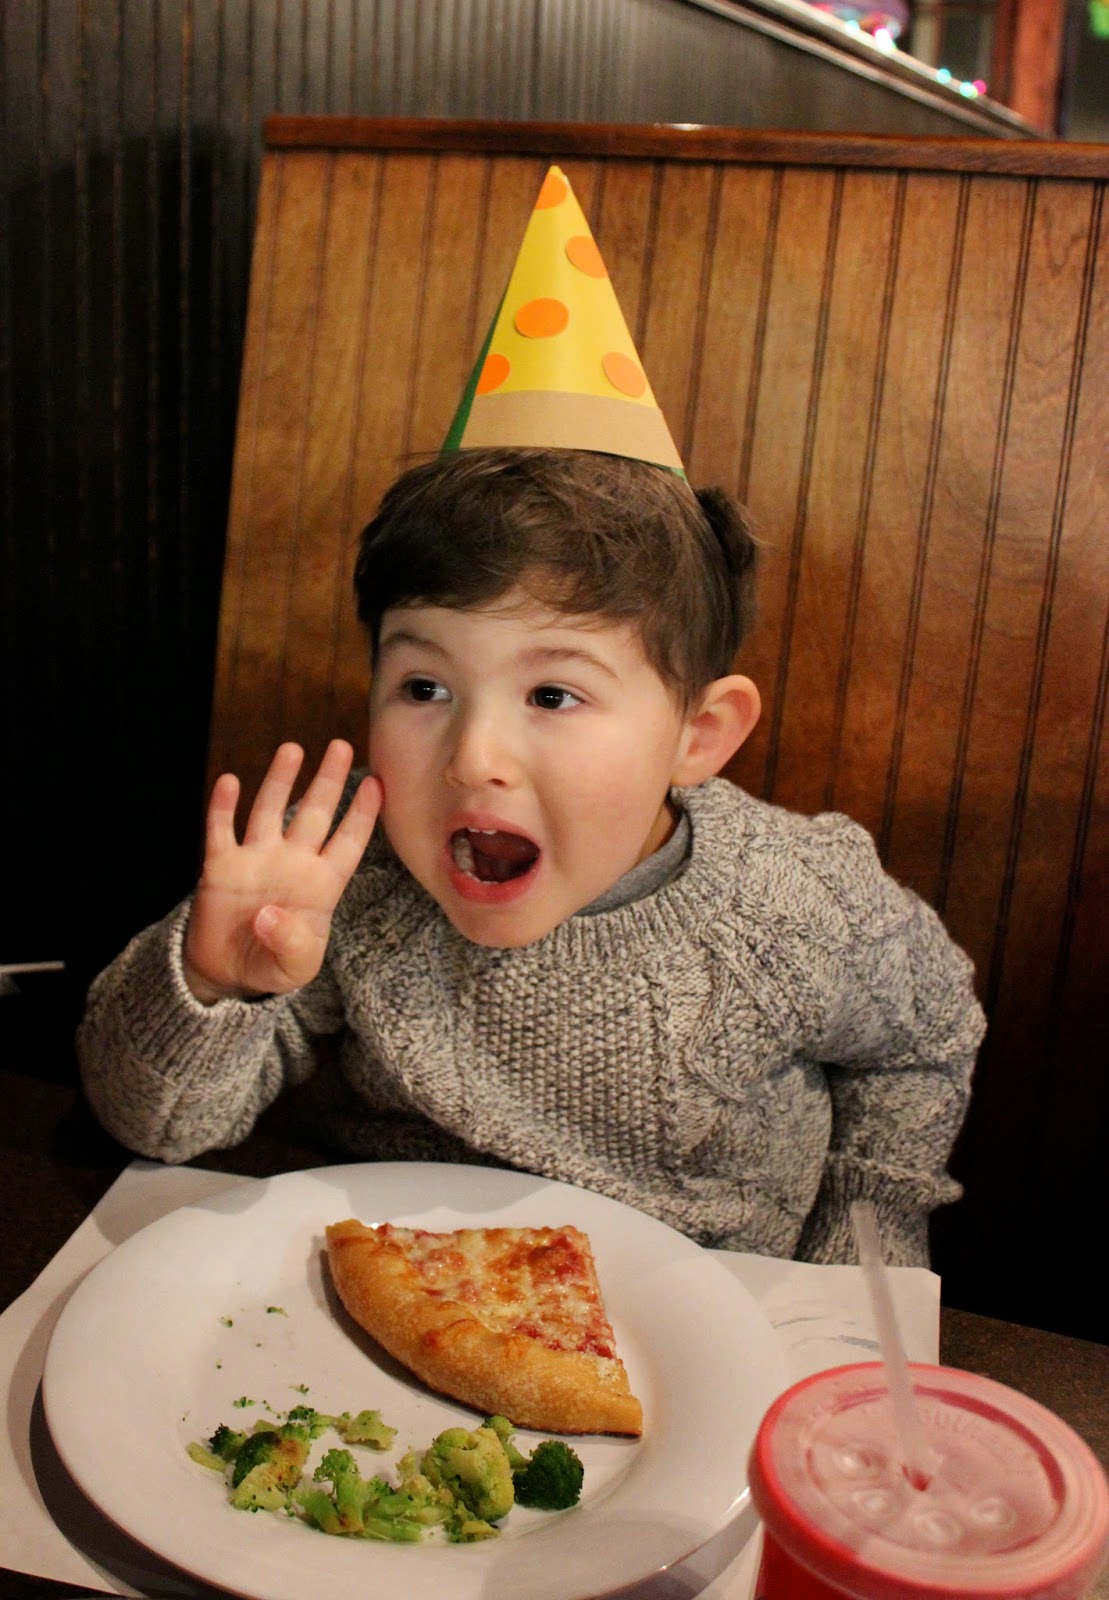
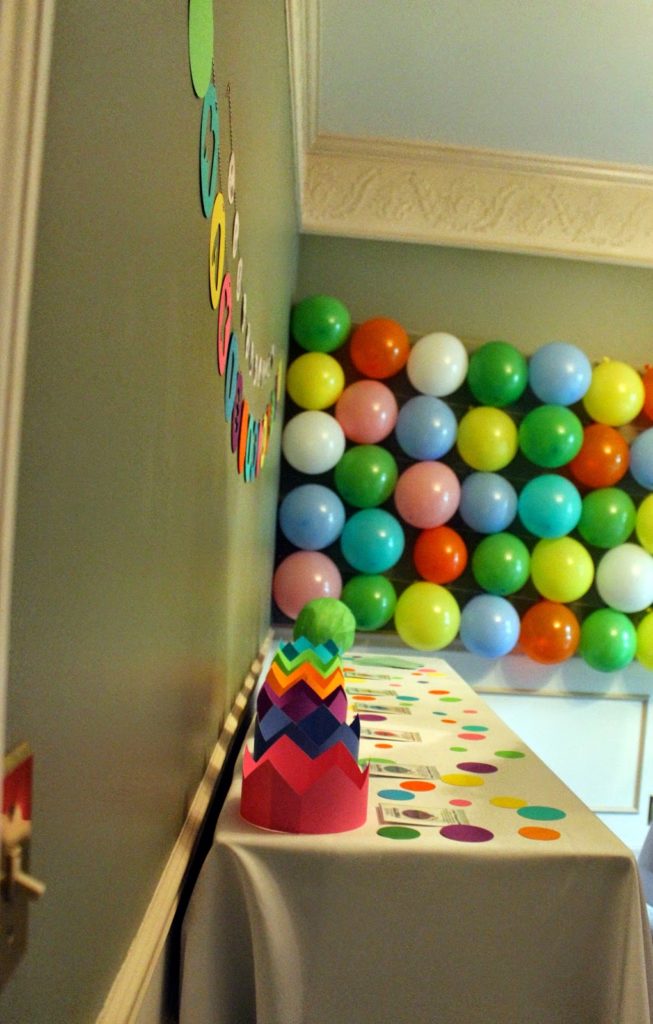
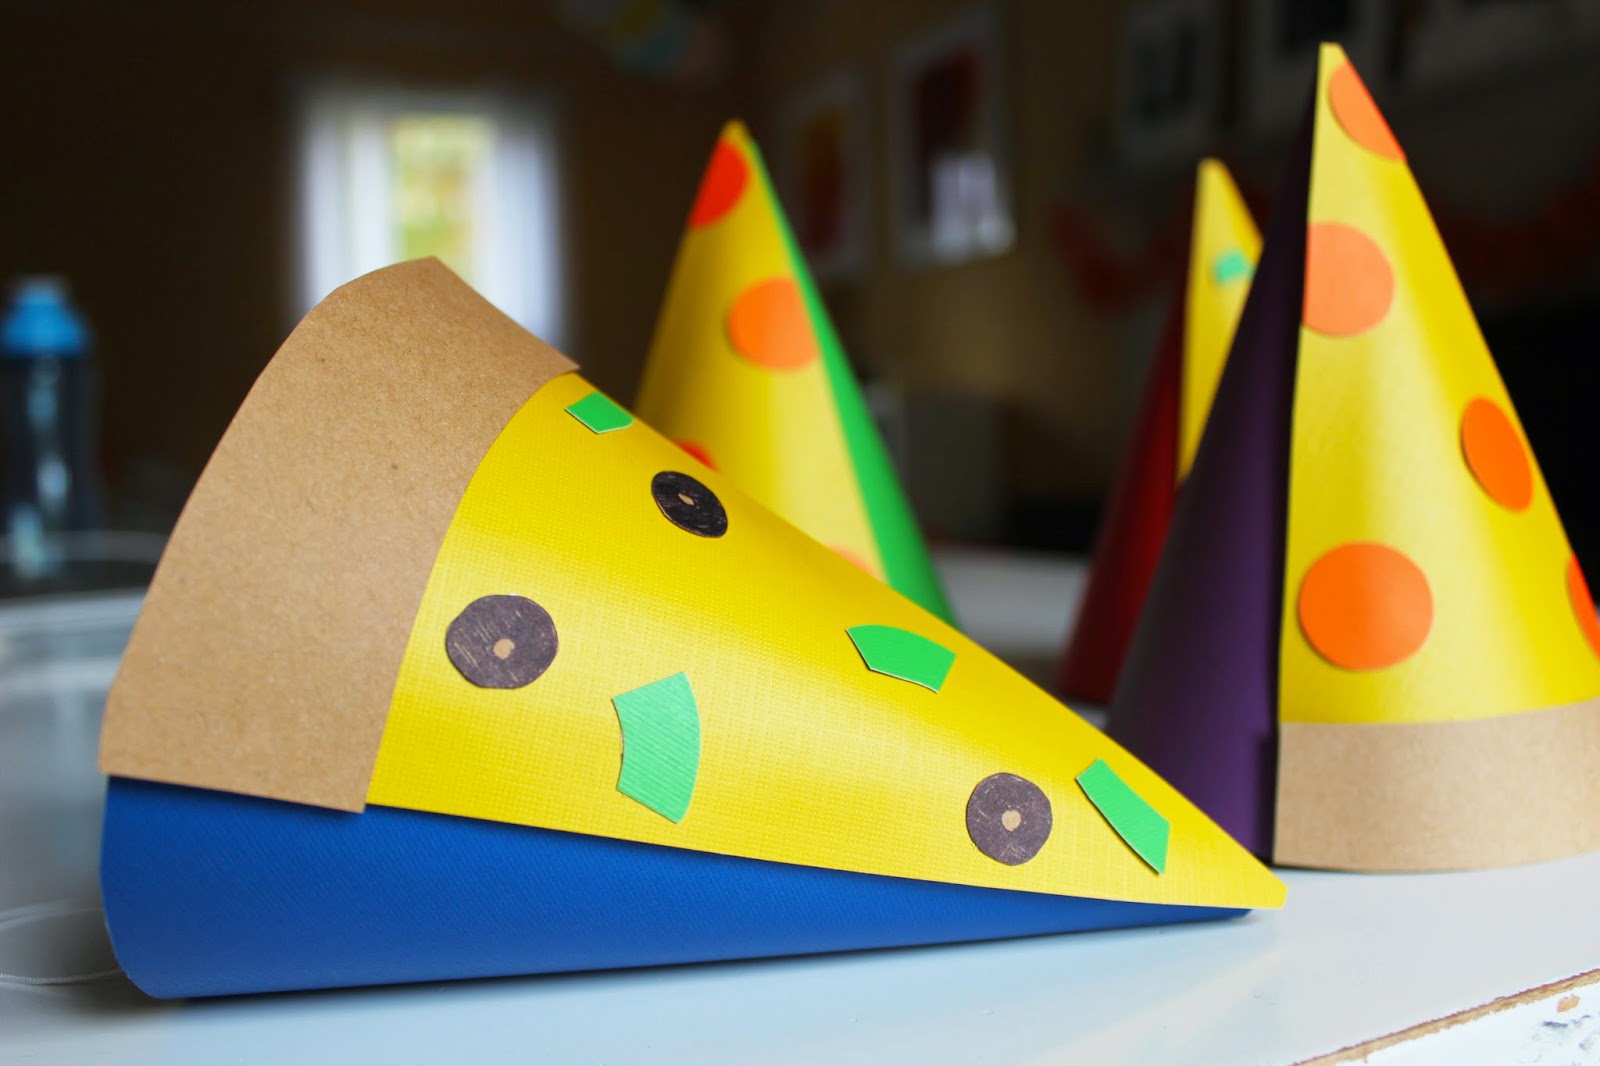
I kept decoration to the bare minimum (to my standards) and just made these little pizza party hats, a pizza cake, and pizza tattoos
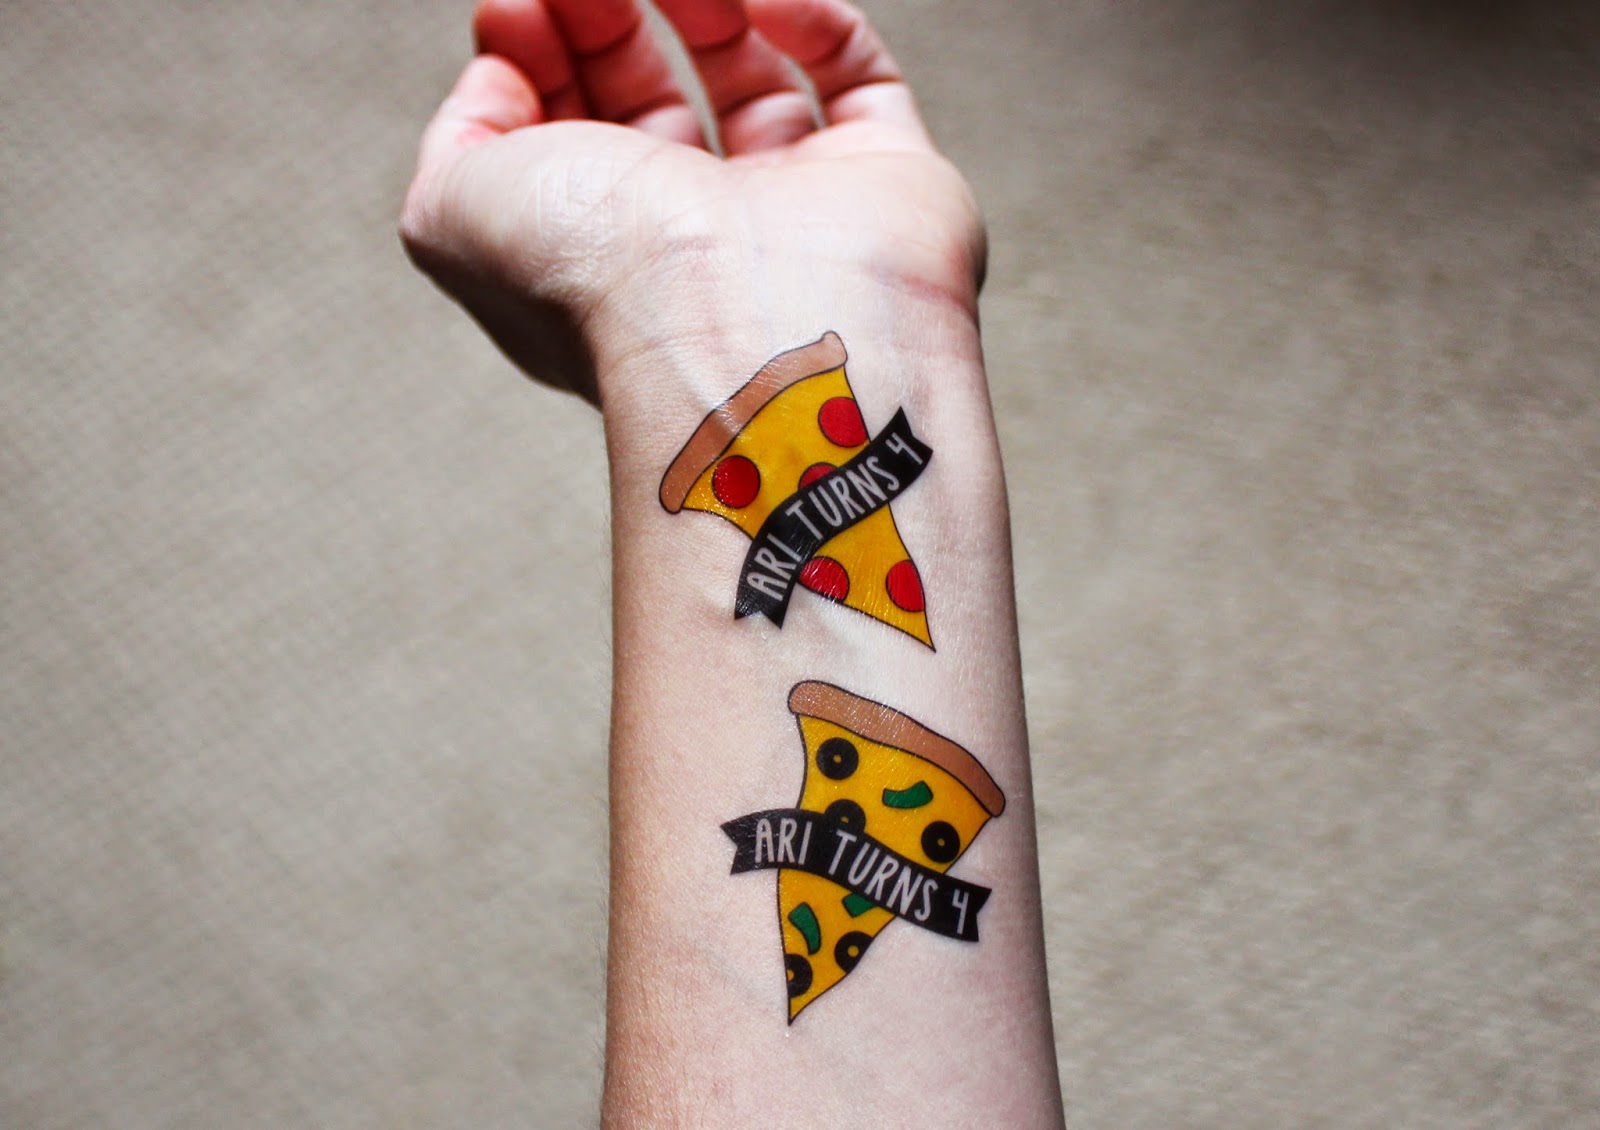
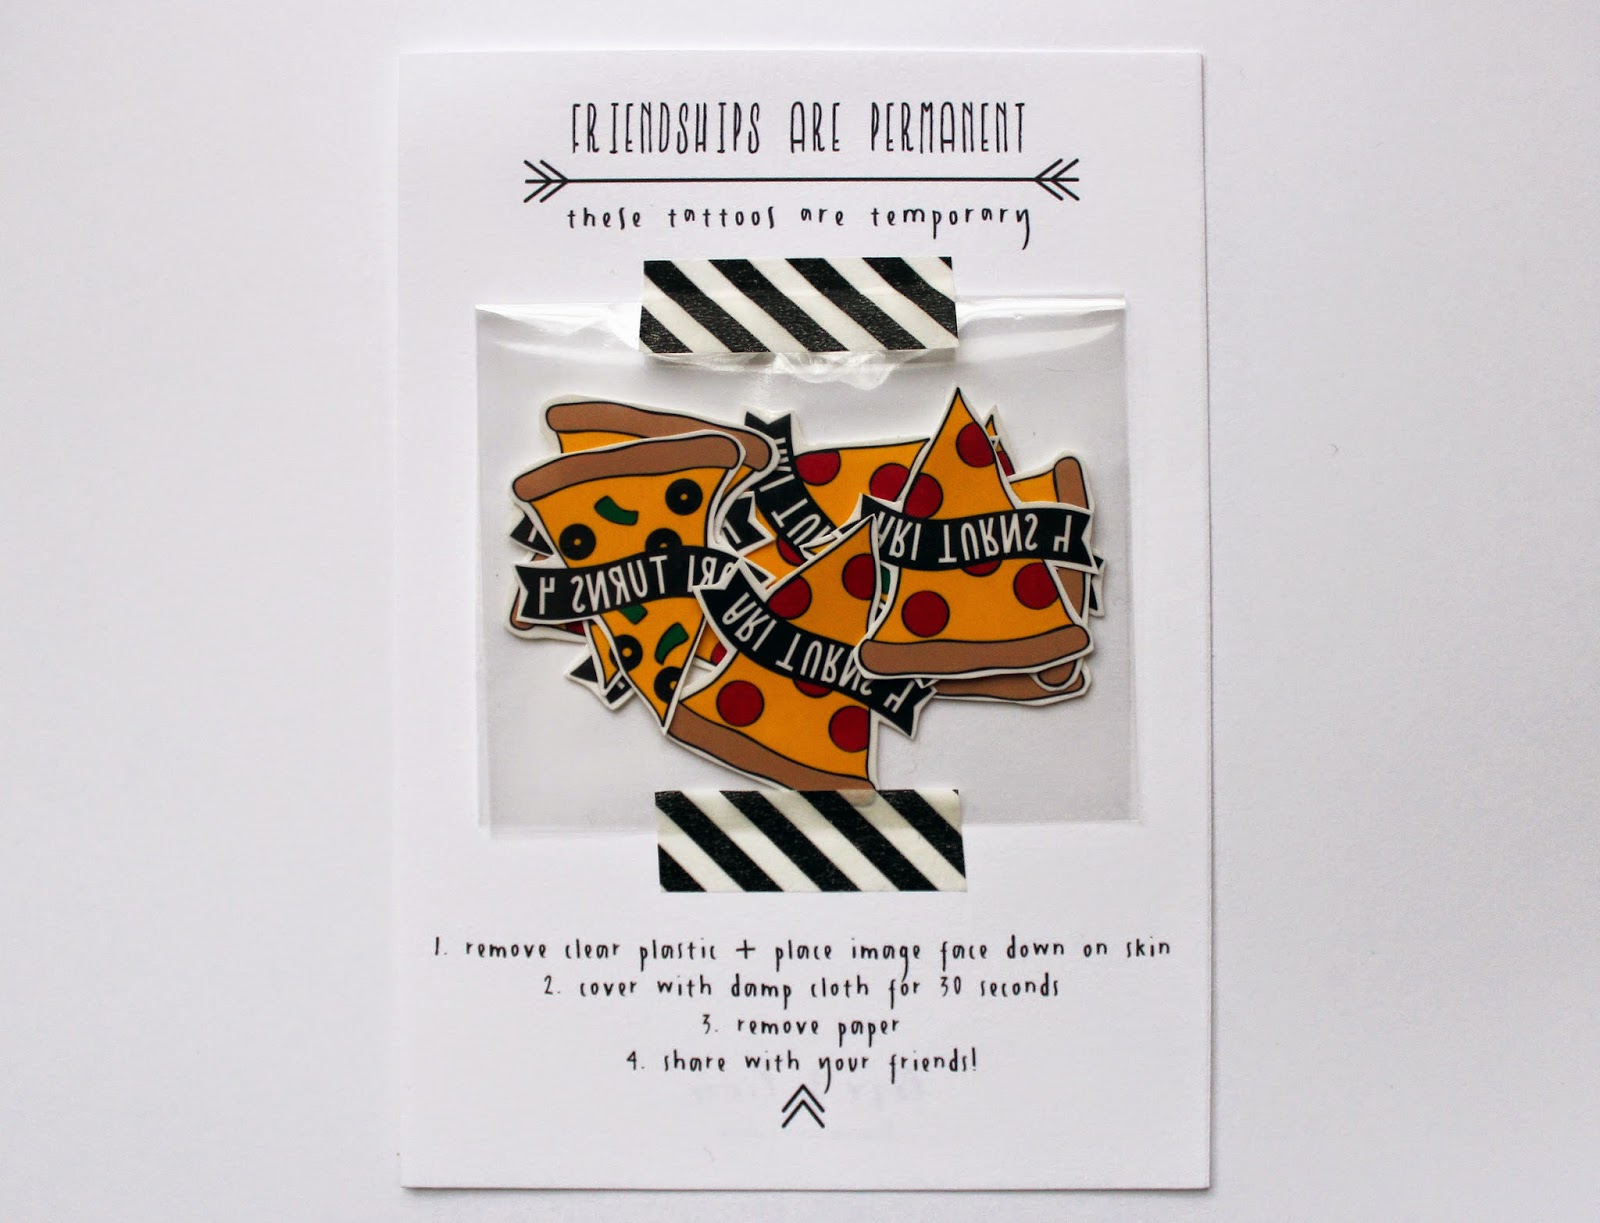
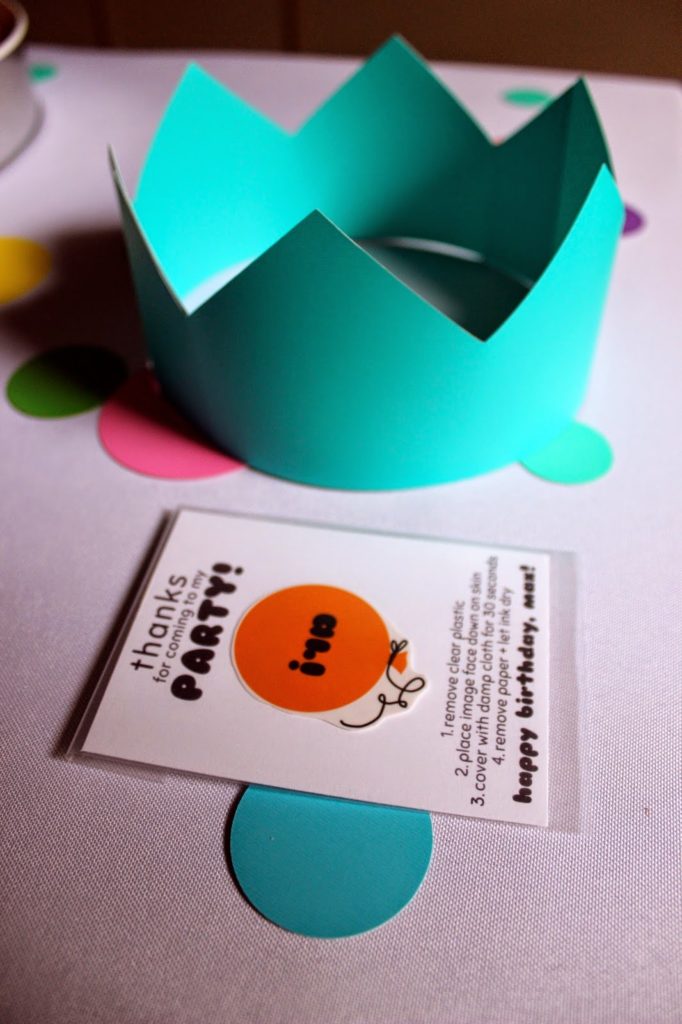
Pizza Party tattoos in our Etsy shop HERE
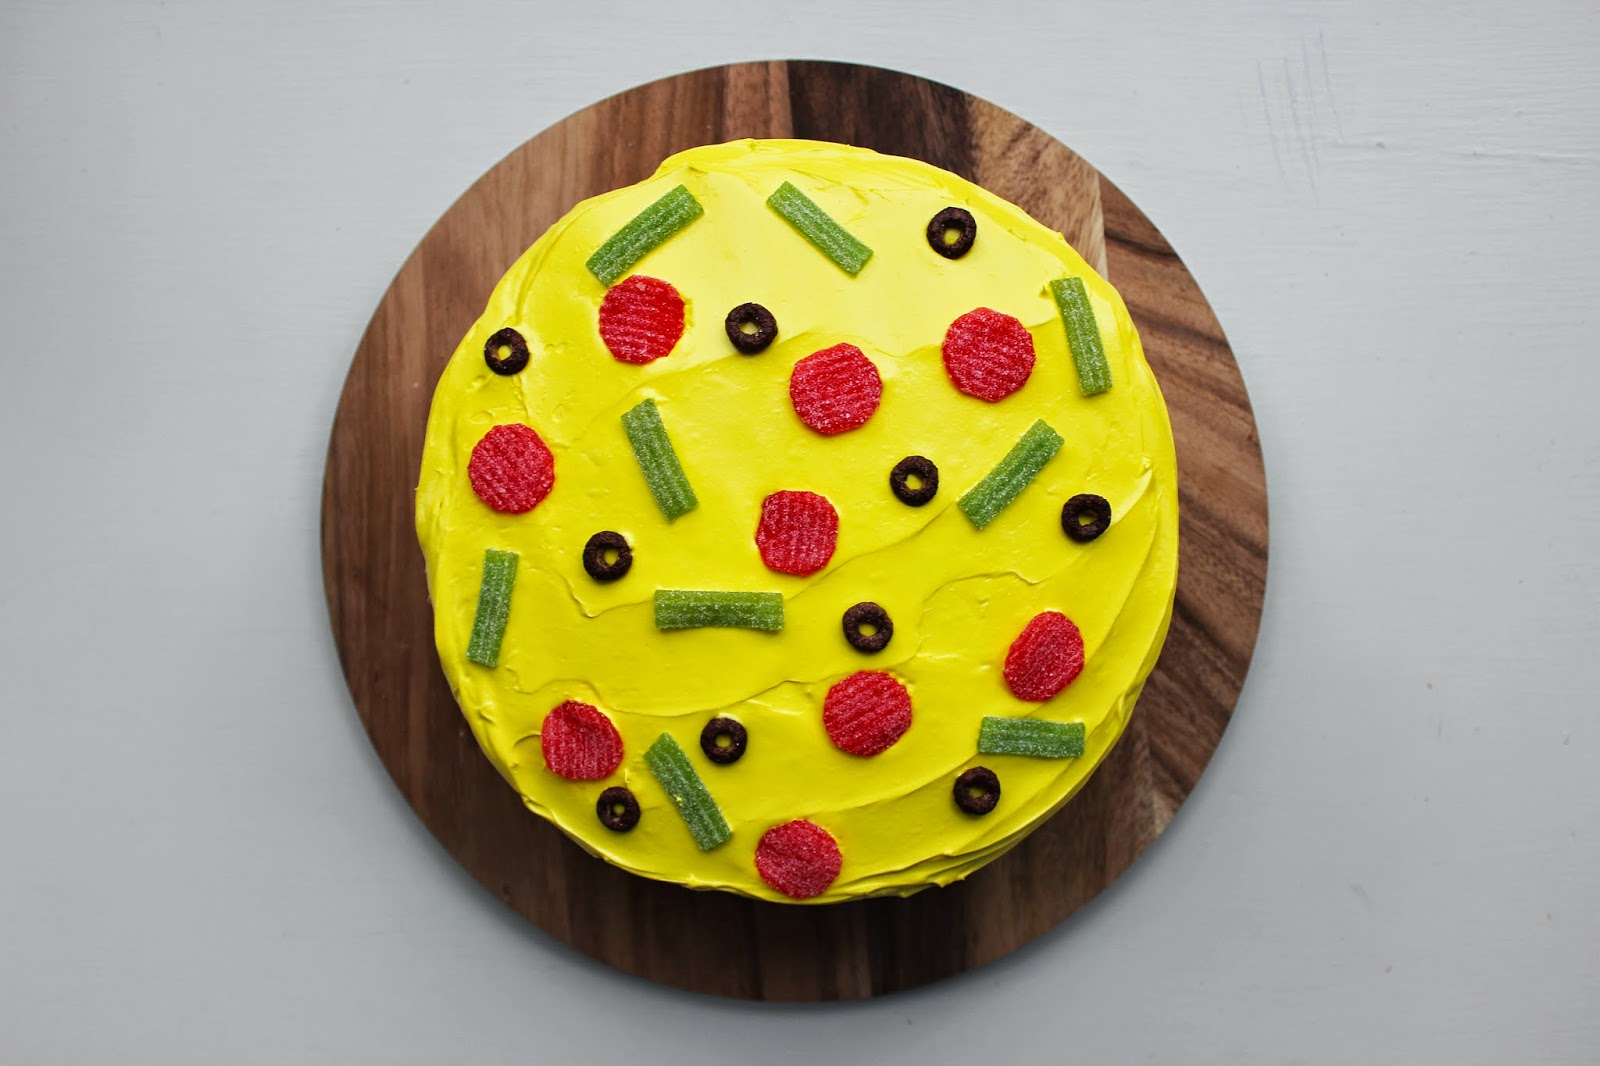
For the pizza cake, I just used sour straws and chocolate cheerios for the “pizza toppings”. I tinted frosting red for the middle layer and yellow for the top. You guys… I totally attempted a brown crust out of frosting and failed miserably. Scraped it off and stuck with a clean yellow top! 

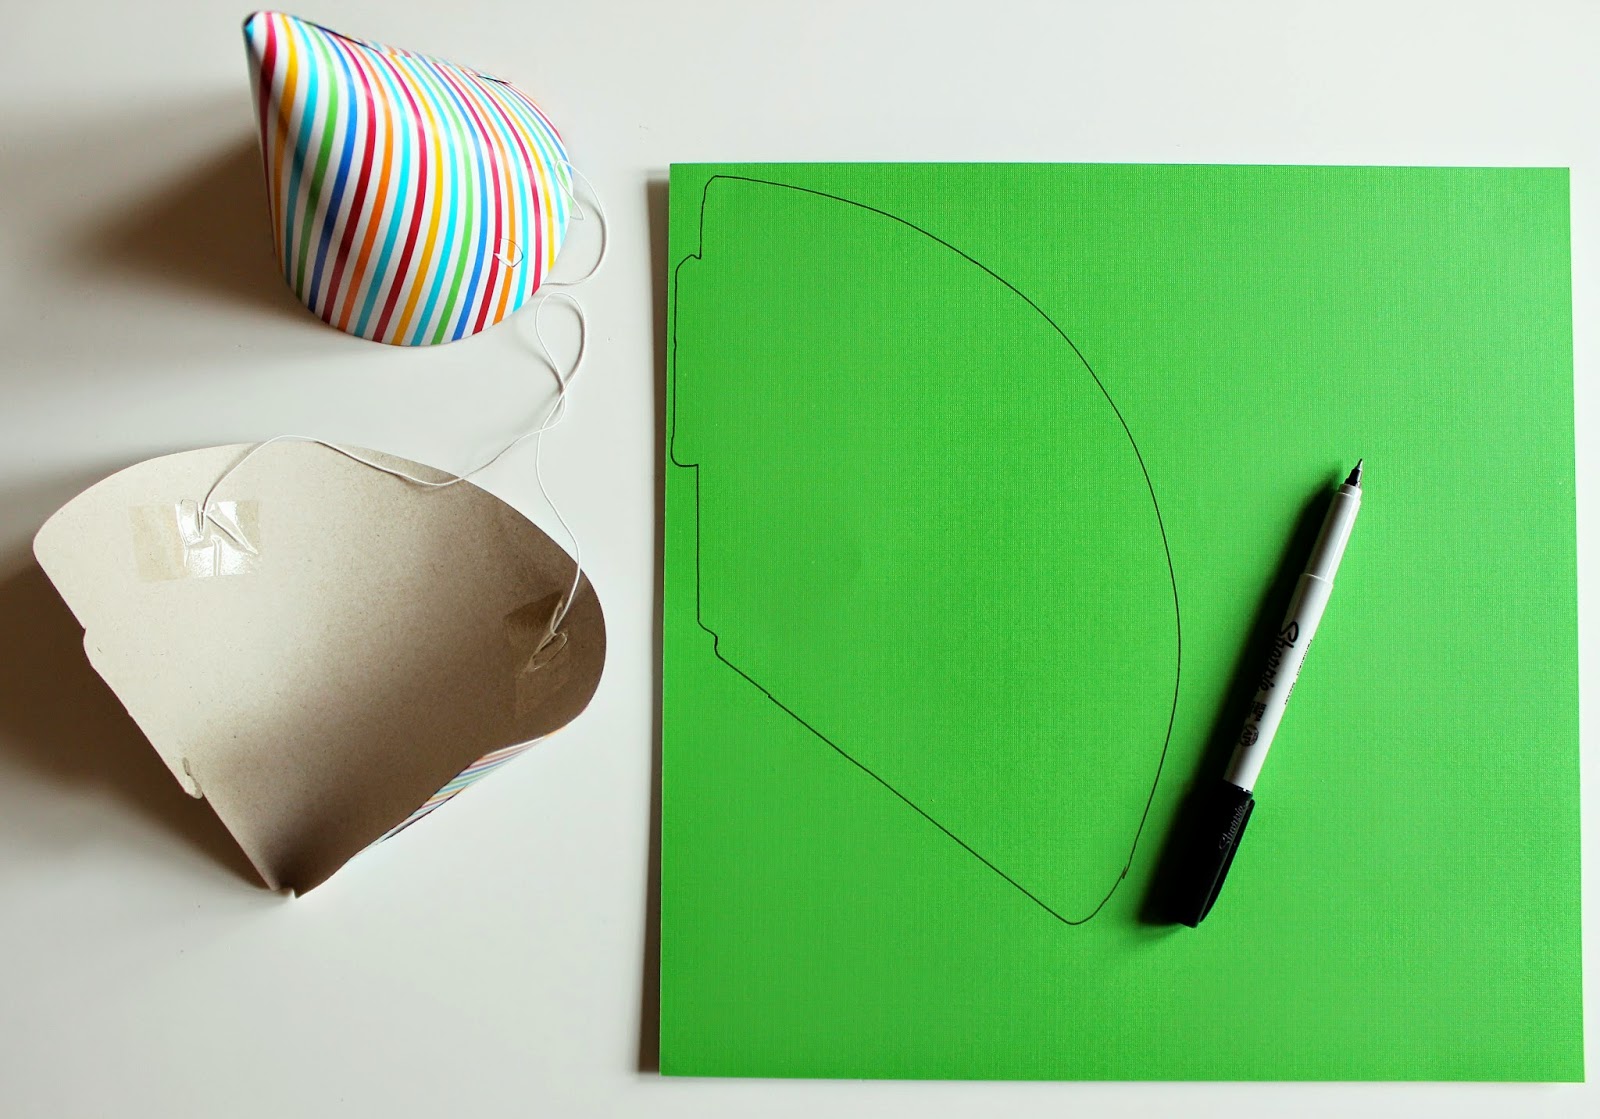
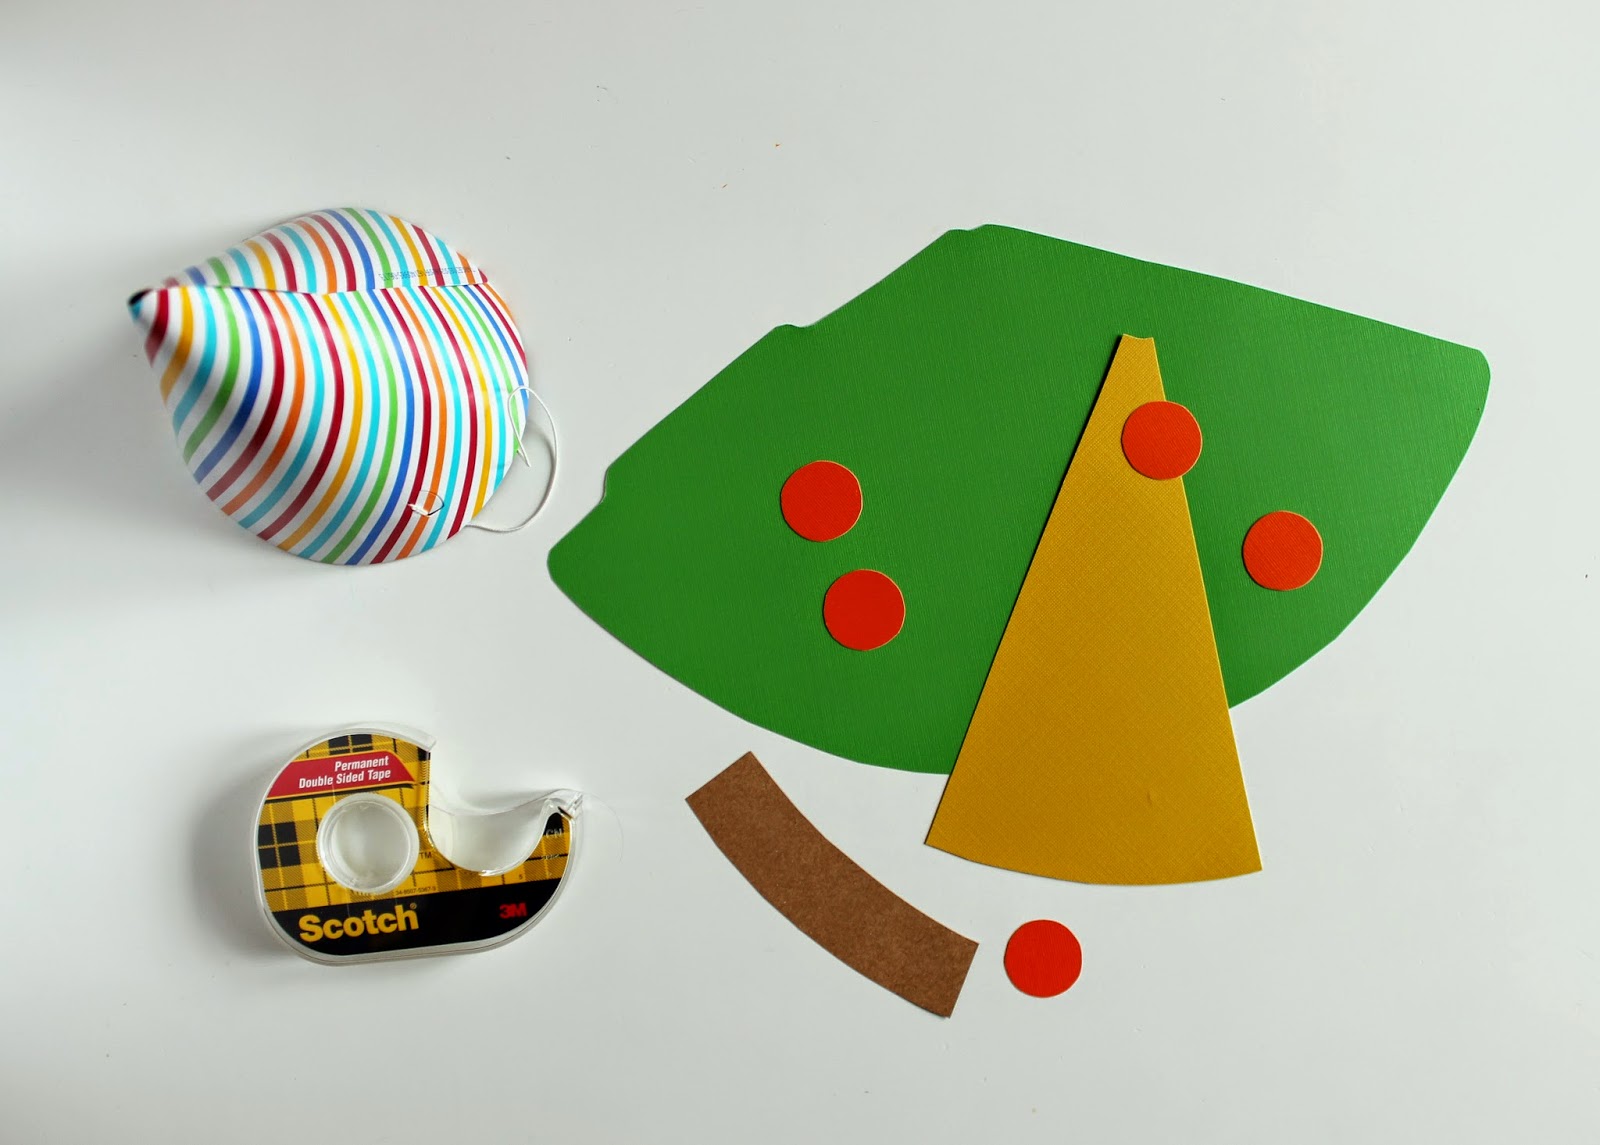
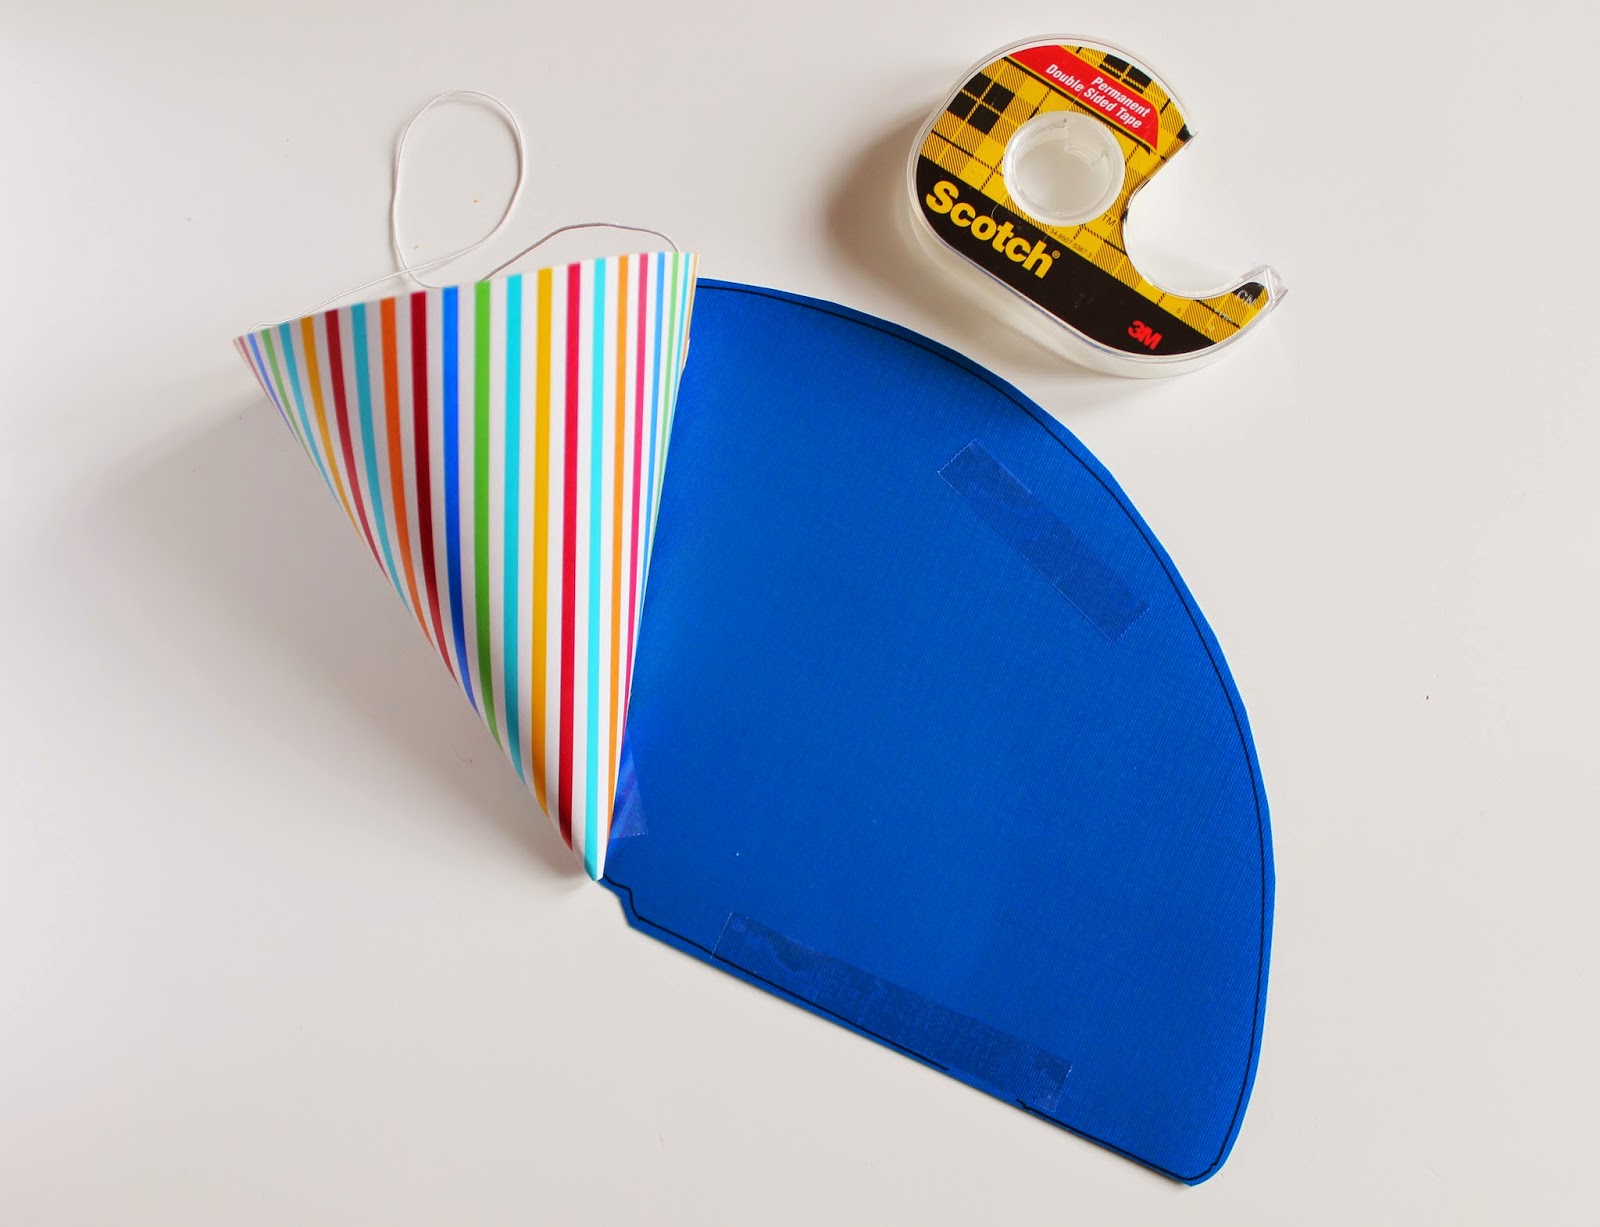
I thought these pizza hats turned out pretty well and were super simple! For the tutorial and more DIY party hat ideas, click HERE.

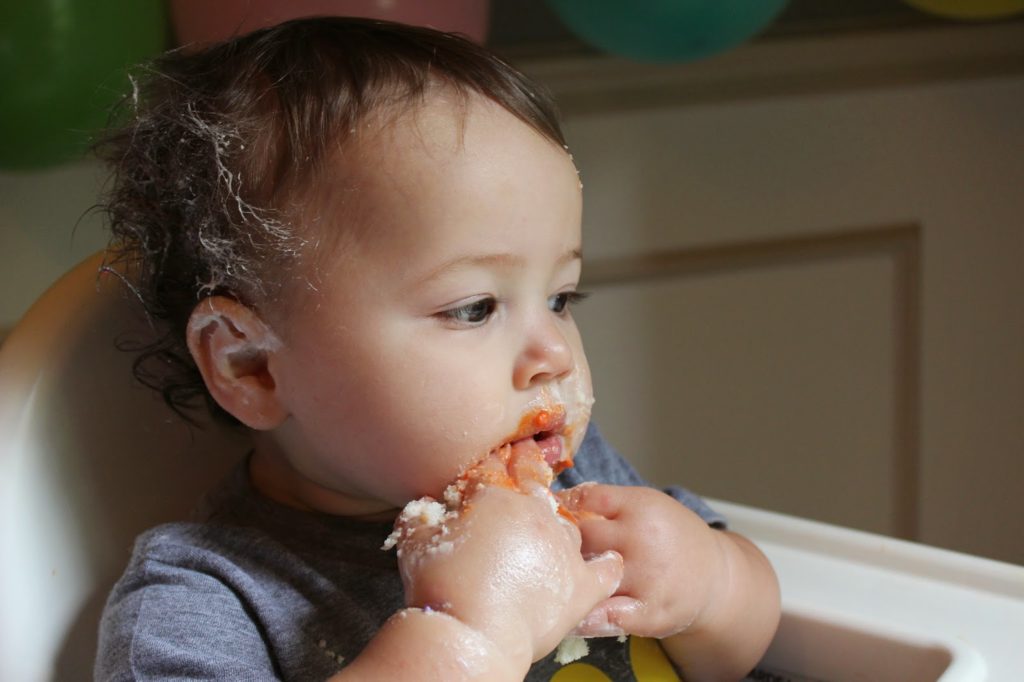
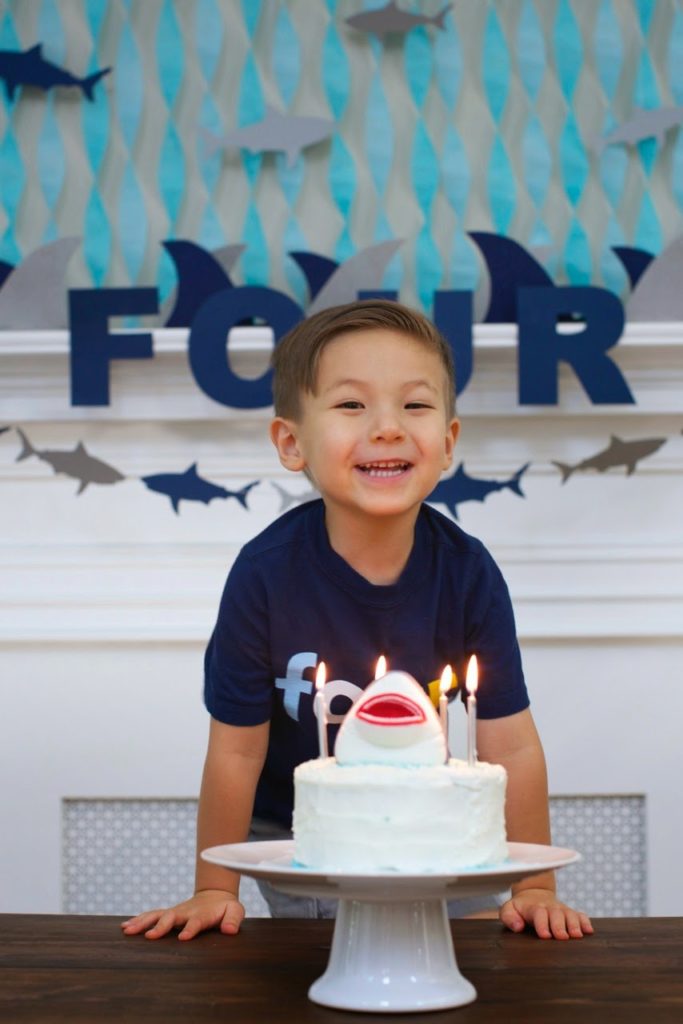
Here’s my birthday boy checking out his cake sans pants.
That’s a wrap! Now to move into our new home NEXT WEEK…. oy.
-L
Ari’s Modern Animal Themed 2nd Birthday Party HERE, HERE, and HERE.

LAST MINUTE DIY HALLOWEEN COSTUMES

Tired? Check. Lazy? Check. Not about to go to a Halloween store 3 days before Halloween? Check. Here are two costumes you probably have in your closet for two of my favorite fictional women!
I designed some free printables HERE for you to add to your easy costume! Yooooouuu’re welcome. 
Happy Halloween, nerds.
Oh, and this is my baby Max in tribute to the one and only Jimmy Fallon- my husband and I are giant fans of him and The Tonight Show! Can’t you just hear the dancing Hashtag music?
Download Hashtag the Panda’s name tag HERE
For more ridiculous DIY Halloween costumes for littles, click HERE!
-L

MAX’S 1ST BIRTHDAY – ROUND PARTY!

When people asked what theme Max’s first birthday was going to be, and I said “round”… they were like… ummm cool. Okay so Max is round, he loves balloons and balls- those are round, and honestly I couldn’t think of anything that hadn’t been done a million times before! Plus it’s so simple- just my style. 
The party was supposed to be in our backyard with lanterns strung from the trees, circular picnic blankets, ring toss, bubbles, etc. Guess what? It poured every. single. day. that week including the day of the party. Super dark outside too for pictures. Fantastic. We’re still in our rental (egg yolk and old lady sage walls), so basically my plan was to camouflage the grossness with tons and tons of balloons. I think it turned out really well, and most importantly, everyone had a great time! And let’s be honest, when you’re dealing with one to four-year-olds really all they need are toys and cake. Cake is clutch. 
FOOD:
See what I mean? Cake is clutch.
I baked two batches of white cake in sheet pans so the layers would be thin, froze the layers, cut with a 2.5″ biscuit cutter, then just piped colorful frosting in between. 
 All round food!
 Complete with Aunt Ellie’s Campfire Crispies! They are SO. GOOD. Do yourself a favor and order these babies.

DECOR:

Had to cover the nasty chandelier 🙂
Monthly photos of Maxie cut out into circles, naturally.
I made this little picnic blanket out of a drop cloth. Draw two concentric circles in pencil and paint in the lines. Make sure to paint the circle before you cut. That way it’ll look nice and neat! 
FAVORS:
Party crowns, tattoos, hula hoops, bouncy balls
Custom temporary tattoos with each kid’s name from our Etsy shop!
ACTIVITIES:
RING TOSS
I ordered the rings on Amazon and got bottles from the dollar section at Target. Since the party was supposed to be outside, I had painted wooden dowels to hammer into the grass. Sigh. Still a fun activity for the kids though! 
DIY GIANT SURPRISE BALL
Getting a surprise ball was a tradition at my sister and my birthday parties growing up. I decided to supersize it by using a container from Party City as the center to make this huge!
Each kid got to unwrap a color, once that streamer color ended, they got the prize and gave the ball to the next kid. It ACTUALLY worked! Couldn’t believe how patient the kids were waiting for their turn! So fun!
INVITATIONS:
I got the beach balls from Oriental Trading Company and wrote on them with neon Sharpies. Here’s the thing… they can’t fold totally flat, so they were considered a parcel… which means they were $3 each to mail! I took them to the post office and got 5 different stamps, which actually looked pretty cool. Thankfully I only invited a handful of people, and I hand-delivered most!
 On the back of the ball it said:
ROLL on over to Max’s
(address)
It was a sweet day for my sweet, round little Maxie!
-L
And the winner of the Freshly Picked Giveaway is….
Kelly Vance!
Woohoo!! Please email us at loveandlion@gmail.com!
Thank you all for entering! Many more giveaways to come!

SIMPLE PUMPKIN DECOR DIY

Contrary to popular belief, I’m extremely lazy. I could sit on the couch in my jams all day watching movies, eating snacks, and trolling around on Pinterest. Maybe squeeze in a couple hours of reading. That’s actually my dream day. When it comes to decor in my own house (not for a client and not for one of my kid’s birthdays) I’m just like… no. Too tired. 
So here’s the easiest possible one step above nothing fall decor for you!
CHALKBOARD PUMPKIN
1. Sketch a circle/oval/fancy shape on your pumpkin.
2. Paint in the shape with chalkboard paint. The bottle I bought said to paint 2 coats. You can see the first coat below left a few bald spots. Two or three coats is perfect.
3. Um… that’s it.
We’ve been using this as a countdown to Halloween for the kids!
The only thing I’d say about this is that if you use this over and over, the paint starts to chip. Just paint another quick coat of chalkboard paint and you’re done.
I brought the pumpkin inside and used it as a centerpiece when we had friends over for dinner this weekend (with takeout…like I said- lazy!). Ari collected pretty leaves for the table. It made our dinner a little fancier.
I bet you could take this idea and run with it! 
Tag us on your instagram photos @loveandlion, so we can see!
-L

FEATURED: ROWEN’S SHARK PARTY

We’ve been bugging our crazy-talented friend, Shara, for pictures of Rowen’s Shark Party since we walked through the door of the party… and had our mind’s blown. Modern, clean, fun, creative touches EVERYWHERE. Crafty in the coolest way, clever menu, fun games for kiddos…so good.
Shara used two slightly different colors of crepe paper and twisted them to create “water”. She hung all the sharks from string so they would appear to float on top of the waves. Genius.
 One of our favorite things of the party was this shark wreath! Shara spray painted a foam wreath core gray then hot glued plastic sharks (here) all around to simulate a shark attack feeding frenzy!
The fins on the mantel were pin-on fins for the kids to wear. Shara made them using stiffened felt and a template found here.
 I mean… really
Cake topper here

 Menu:
Shark Bait sandwiches (tuna salad)
Shark Fin sandwiches (cheese triangles)
Slow Swimmer Salsa and Sea Algae Guacamole with Fins (blue tortilla chips)
Shark Teeth (Bugles)
Whale and Goldfish crackers
Vegetarian Shark Food (crudites)
Watermelon Shark fruit salad (carved by Shara’s husband after she showed him pictures on Pinterest and convinced him it would be easy! Ha!)
Sea Dogs (hot dogs)
Great White Sugar Cookies
Fish Kabobs (gummy fish and shark candies on a stick)
Life Preservers (mini sugar donuts with red gel icing)
Jaws cupcakes (vanilla cake with vanilla whipped frosting and gummy sharks
Shark Attack cupcakes (blue velvet cake with coconut cream cheese icing and fondant fins)
Chum Punch
Shark Infested Lemonade
 Shara’s favorite things about the sharks hung from the ceiling were the shadows they created when the light was turned on. The slight movement of the sharks and the big shadows made it look like there were actually sharks swimming around the room.
Party Activities: 
Shark Dress Up Bucket- shark, sailor, and captain costumes, beach ball, surfboard, sunglasses, flower leis, blow up shark, beach paraphemalia
Air swimmer remote-controlled helium shark (Amazon)
Pink the Fin on the Shark (Amazon)
Make Your Own Shark Game craft station
Let’s Go Fishing Game
Finding Nemo Movie
 
Ari LOVED this activity… we still have his shark on the fridge!
 Favor buckets: “shark tank” bubbles, “under the sea” coloring book, shark stickers and tattoos, bag of shark and fish gummy candies, shark squirter toy, fish stamps, sunglasses, and glow bracelet
Invitation, favor tags, and thank you notes here
Gummy fish kabob!
Big Birthday Boy Rowen!
Thank you for sharing your party with us, Shara! We loved every minute of it (oh and so did our kids!!). 

DIY FALL DOOR DECOR

We’re stiiiiill in our rental- two more months to go before our house is finished!!- but that doesn’t mean we shouldn’t make it feel homey and festive for fall! Or at least that’s what Jenni keeps telling me. This was a super easy and quick craft project that I did during nap time. You can do it too… promise! I made a free download for the template you can get right here.
What you need:
1 piece of Kraft paper or other color card stock
Metallic Sharpie (or you could use paint!)
Scissors
String
Stick
Washi tape
Glue and glitter if you want to make it glitzy
1. Print template… Click HERE to download
2. BEFORE you cut out the feathers, color in designs with a gold sharpie or paint designs. It’ll make less messy that way!
3. Cut out the feathers shapes then score by using your fingernail tracing along the middle- I sort of did this in a curved shape to give the feather more dimension. Gently fold the feather up. 
4. Cut thin diagonal lines all the way down the sides of the feather. Run your fingers up and down the fringe to give the feather some texture.
5. You could stop here… or you could get a little messy and add glitter! I used Martha Stewart’s Florentine Gold Glitter. 
See that fun fringy texture?
6. Find a stick…
 Tip: toddlers are low to the ground and can find the best sticks. And oh yeah… boys love sticks.
 See that pretty texture? Score, Ari!
7. Attach string to each feather with a little piece of washi tape then simply tie the string to the stick. 
Happy fall y’all! 
(I only say “y’all” in print… it just doesn’t sound right in my midwestern accent!)
-L

FEATURED: GEORGE + HENRY’S SHARED TODDLER ROOM

Can we say “perfection”? Tamie, mommy to George and Henry, created a black and gold oasis for her boys that we can’t stop staring at…. or wishing that we could have a sleepover in. Is that weird?
 We truly feel like simplicity wins in this particular space. A basic color palette, minimal (but meaningful) artwork, soft white walls, and no clutter is definitely the way to go in our book. We are going to quit blabbing so that you can tour this space already. Scroll down for sources.
TAMIE: I’m from the Black Hills in South Dakota. This room is a nod to where I grew up. Gold mining was huge, and my great uncle actually built, owned, and ran his own gold mine for years. The Stand By Mine was an iconic piece of architecture until it had to be torn down. Everyone in my family was either directly or indirectly involved in supporting the industry.
TAMIE: I’m not someone who can go to a thrift shop and refinish a dresser. I don’t have that skill set. I knew I wanted something more substantial than what a big box store could offer (two little boys CLIMB!) and that meant something mid century and sturdy. The dresser is stout and was half the cost, including white glove delivery, than major retailers. It’s perfect. And those pulls? Forget it, I’m in love.
Photographs are printed from Prinstagram and affixed with gold washi tape.
SOURCES:
(links in bold)

G & H Wall Letters: Land of Nod
Bedside Table: Pottery Barn
Clock: Kit Cat Clock (the first time I saw Henry he was swaddled and his eyes were darting around the room checking everything out, I immediately thought of the clock!!)
Dresser lamp: Target
Gold lamp: Target
Mirror: Target
Rug: IKEA
Silhouettes: Disney world souvenir
Dresser: Etsy
“I love my family” Print: Etsy
”Be you bravely” Print: Etsy
Quilts: Etsy
Box spring cover: West Elm
Photographs are printed from Prinstagram and affixed with gold washi tape
Paint: Benjamin Moore Tundra (walls), Day’s End (in chalkboard paint on the ceiling), Modern Masters Gold Rush (ceiling border)
Stunning job, Tamie! All of your hard work certainly paid off. We know George and Henry will have many adventures in this room!
xo

HOMEMADE HALLOWEEN COSTUMES FOR LITTLES

Well it’s not even mid-September… so naturally it’s time to post about Halloween. I was in Hobby Lobby today and was like…crap! Already? I wanted to share Ari’s past Halloween costumes with you if you’re into DIY’ing it. I totally got away with my choices when he was too little to come up with something himself, but this year it’s his choice. Whomp whomp. Wild Kratts it is!
DIY HALLOWEEN COSTUMES
1. HARRY POTTER
This one is my absolute favorite! You know what a Harry Potter nerd I am. We tell Ari Harry Potter stories (the non-scary ones) now, so he loves looking at this picture of himself!
Outfit: khaki or black pants, white button down shirt, black or gray vest or v-neck sweater
Scarf: I knit this using this pattern
Glasses: here. I popped the plastic lenses out
I used an eye liner pencil for the lightening shaped scar 🙂

2. MARTY MCFLY
I still giggle at this one. Ari still doesn’t really get who he was but people loved it! The Back to the Future Trilogy is one of Jeffrey and my favorite movies (next to HP obvs). 
Outfit: jean jacket, white button down with blue/red plaid, maroon t-shirt, red suspenders, red puffy vest, tight light wash jeans, white Nike high tops
“Look at them moccasins!”

3. THE ORKIN MAN
Ari is obsessed with our Orkin man, George. I think he thinks of George as a grandpa?? George retired last year, so it was only fitting to pay homage to him.
Outfit: white button down, pleated khakis, red hat
Details: I made the epaulets out of red felt with a white button sewed on. I just winged it whip stitched them on the shoulders BUT I did it backwards. The button side is supposed to point towards the neck of the shirt.
You can download the Orkin logo I made here.
Stick on eyebrows/mustache found at a costume shop.
I covered Max in little plastic spiders to make it more Halloween-y!
Tutorial for the spray can is below. There was probably a way easier way like using a silver coffee can, but I used what I had!
Punch a hole through the oatmeal can top for the rubber tube (bought at a hardware store)
Tape the tube inside and on the top of the can
Punch holes for the string before you tape the top on
Wrap can and hose with duct tape
4. CARDINAL
I made this for Ari’s preschool costume, but count it anyway as a great Halloween DIY.
Tack/sew red boa around the turtleneck. I used yellow felt for the feet and attached it to Ari’s crocs. For the hat, I glued felt on top of a foam visor from the craft store. You could always just stick feathers on a red hat and call it a day!

5. BABY NERD
This was my laziest costume but effective. Max already had the white onesie, cardi, and bowtie. I just put masking tape on Ari’s Harry Potter glasses (above)!
Even though Ari is almost four and picking out his own costume this year… there’s always hope for Max!
-L

DIY DOOR MONOGRAM – FOR THE LITTLES

Is it just my child that hoards “treasures”? Maybe hoarding is genetic, because he definitely gets it from me! Ari has a drawerful of little trinkets and toys that he doesn’t play with all the time. Marbles, matchbox cars, “magic rocks”…they’re all of course choking hazards for Max, so I decided to hot glue them into infinity. It’s an easy way to personalize Ari’s space in our rental and only $2 to make. Oh how I miss Ari’s room in our old house. Dreaming about our new space we’re building!
Click here for my holiday version of the monogram door hanger. Totally reusing it this winter!
STUFF YOU NEED: Glue gun, x-acto knife, pencil, ruler, string, paper mache letter (I got mine at my craft store for $3, but obviously I had a coupon for it!), and junk treasures.
 STEP 1: Measure 1 cm around the inside of the letter.

 STEP 2: Using your ruler to stabilize your knife, cut along the pencil line. Tip: score first, then cut without moving your ruler. It took me about 3 cuts to get all the way through the cardboard.
 STEP 3: Remove top and inside stuff, smooth down the edges of what you cut.
STEP 4: Using your x-acto knife, make holes at the top of the letter and use your pencil to make the holes a little bigger. Thread string through.
 STEP 5: Lay your treasures out to make them fit, then glue glue glue!
STEP 6: Hang up and be proud of your $2 craft!
STEP 7: Roll your eyes as your kid claims he wants to play with the toys you just glued even though he hasn’t played with them for months. 
-L

OPEN SHELVING: STYLED

Hey friends! How was your weekend? My daughter and I hit the road this weekend with my husband, and although we traveled to an extremely ( miserably) hot place, I was just happy to not have to have our little family separated for those two days. I don’t get to travel with him often…. well, like ever actually. So, I usually jump at the chance when there is room on the bus for me and the little.
It has been a pretty quiet Monday for us. We are tying up ALL loose ends on this kitchen this week, and we truly are almost done. I know I have been claiming that for a while now. When you are doing all of the work yourself while juggling a toddler and life in general, it all goes sooooo much slower than you could have ever planned. I am not complaining though! 
I took some time today (nap time) to finally style the open shelving in my kitchen. Up til now, I have just been accumulating dishes and throwing things up there without actually arranging and putting the final touches on everything. I knew I wanted lots of neutrals, with maybe a touch or two of color. 
I moved my rubber spatulas to a vase near my mixer for easy access while prepping baked goods. I am just faking it really, but I love the way it looks to have a little “baking station”

Most of my big plates were in the dishwasher when I shot these photos… oops! I found these recycled water glasses from a local general store here in Nashville called Whites Mercantile. It is a must visit if you are ever in town!

 I finally framed a water color print that I made LAST Thanksgiving…..oh, for our VERY FIRST post. Crazy!!

 Unfortunately, the colors and designs of some of my cookbooks that I love did not go with my kitchen color palette. I took off the cover to my Joy of Cooking book, which had bright red and navy on it, and it revealed this beautiful white and gold perfection! Then, I wrapped another cookbook of mine (which was bright yellow) in a charcoal floral wrapping paper. The three books look a little more cohesive sitting up there now.

FEATURED PARTY: NOAH’S ARK 2 X 2 BIRTHDAY PARTY

We’re so excited to feature the cutest birthday party for twinsies you ever did see! Noah’s Ark Two-By-Two, a perfect birthday theme for twins, right?! Laura is super crafty and lucky for us, a Love & Lion reader. She used ideas from Ari’s animal themed party and took it to the next level! We love all the little details Laura put into her girls’ party to make it extra special. What a good mommy she is! We can’t imagine having twins… this lady makes every day special for her girls, and documents it on her instagram and blog here. Audrey and Evangeline are two lucky (and gorgeous) ladies!
 Laura painted an inexpensive tray with chalkboard paint and added these fun gold animal magnets. “Judgement Day Mimosas” are obviously our fav detail! Ha!
Audrey and Evangeline eating their rainbow cake like little ladies! For the hats, spray paint plastic animals gold, cut in half, and glue. More animal hats and other party decor here
Sipping “flood water” aka blue juice, through animal straws. Laura spray painted plastic animals then drilled a hole for the straw topper.
So simple. So cute. Why didn’t we think of this? 
The party invitations were on the back of the animal masks, and Laura asked guests to wear it to the party. She had 2 of each mask… two-by-two. Genius. Laura simply drew a rainbow in chalk for the photo booth backdrop.
Outdoor activities included crayon-covered tables, baby pools, balloons, bubble machines, play dough with animal cutters, chalk, and lots of cookie eating!
Menu:
ham sliders, rainbow fruit kabobs, rainbow cake, rainbow cookies, animal crackers, animal gummy kabobs, rainbow goldfish, orange/grapefruit “judgement day” mimosas, coffee, “flood water” blue juice
Sources: 
Dollar Store: napkins, animal plates, crazy straws, trays, kraft paper for coloring tables, pink sparkle candles, plastic animals, noah book party favors, bubbles, chalk
Target: mask invitations, hats, labels, cups
Michaels: plastic animals, spray paint
For more pictures, details, and a fabulous blog about being a mommy of twins, visit Laura’s blog,
  The Anderson Family Storybook. Thanks Laura!! You’re the best!

PREPARING A GUEST ROOM

Is there really anything better than walking into a hotel room ( or whatever kind of accommodations you have made) when on vacation or a business trip of some sort? Clean sheets, fresh towels, beautiful flowers….. I die for them all! A hotel room, with a beach cottage feel, is exactly what my husband and I wanted our guest room to feel like for friends and family that come to stay with us. Whether it be for a night or a couple of days, I still prep the same.
Our dear friends, who are also newlyweds, came to stay with us for a night after a party we all attended  near our home this past weekend. The sole reason we have a house with more rooms than we need is to be able to open our home up to people. It is a passion of ours to be able to bless people that way. When they ask, we say “yes!” I took some time to shoot the room to show how I set up for these occasions. 
Everything in this room ( excluding the duvet cover and sheet set) has either been handmade, or purchased at an extreme discount!! You can completely make a beautiful space on a dime. 

We tend to call this room our “California room”. California is a special place to us because it is where my husband is from, and also where we were married. I found “vintage” San Francisco prints at Goodwill and framed them with clearanced Target frames that I spray painted white. The wooden San Diego print was a gift from my husband. Also, the chair was a thrift find that I spray painted and covered in fabric during our first year of marriage….. 7 years ago.
I love keeping a pen and pad by the bed. Most of my thoughts come to me at night, so I assume the same for my guests I suppose. Ha! Lamp, table and golden crab were clearance finds from Target.
Sconces were handmade by my dad. Love them!
We made our headboard using a drop cloth from Lowe’s.
The navy and ivory Pottery Barn pillows were given to us along with a couch that was given to us when we first moved into this house by some super sweet friends. We have held on to them and I added the duvet, sheet set and ikat pillows (clearance find) from Target.
I handmade a little monogram tag and attached it to a fresh bottle of water for our guests when they arrived. Saves them from making a trip downstairs, especially in the middle of the night if they get thirsty. My husband handmade this console table with hairpin legs from hairpinlegs.com and a piece of wood from Lowe’s.

A little gold dish for jewelry, coins or any other pocket items…

 End table was a $30 clearance find at a furniture store several years ago.
 Magazines are always a good thing to have stacked up!
 Shell from Target (clearance)

Curtains are old ( and quite short for my taste) clearance finds from West Elm, but they still work for now, and I have always loved the subtle pattern on them.
Hope this inspires you to create a little oasis for yourself or your guests somewhere in your home.
Sweet Dreams!
-J