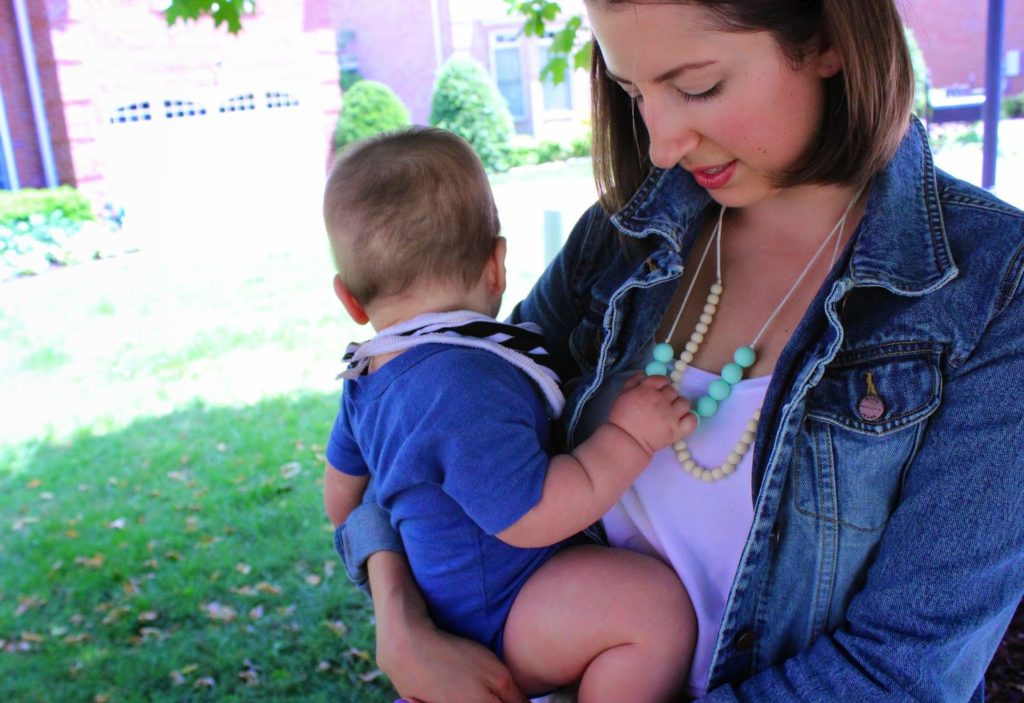
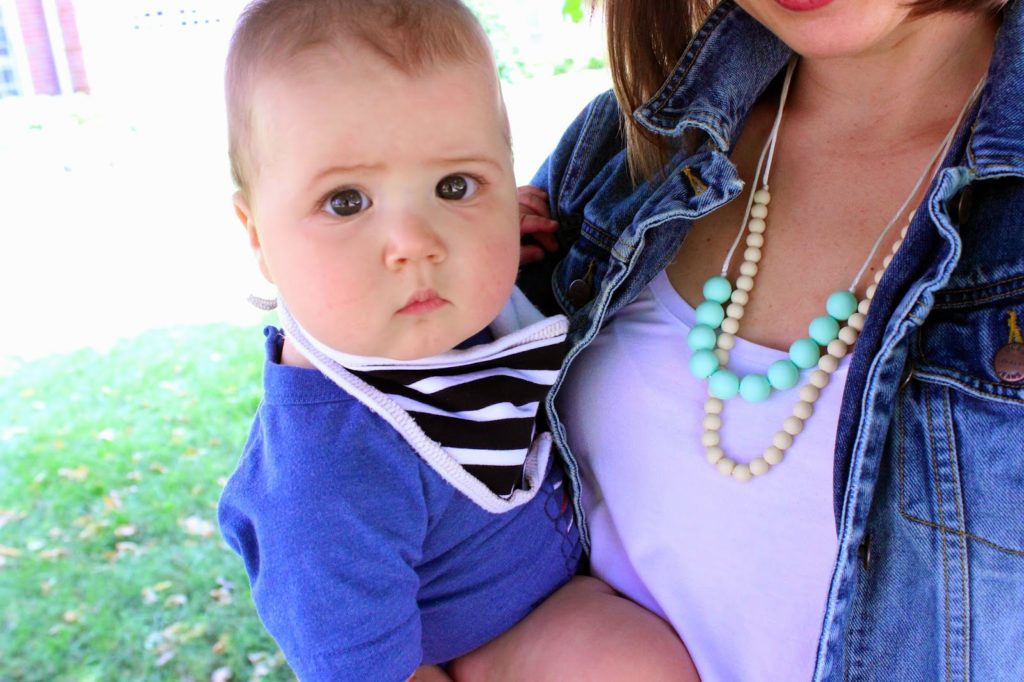
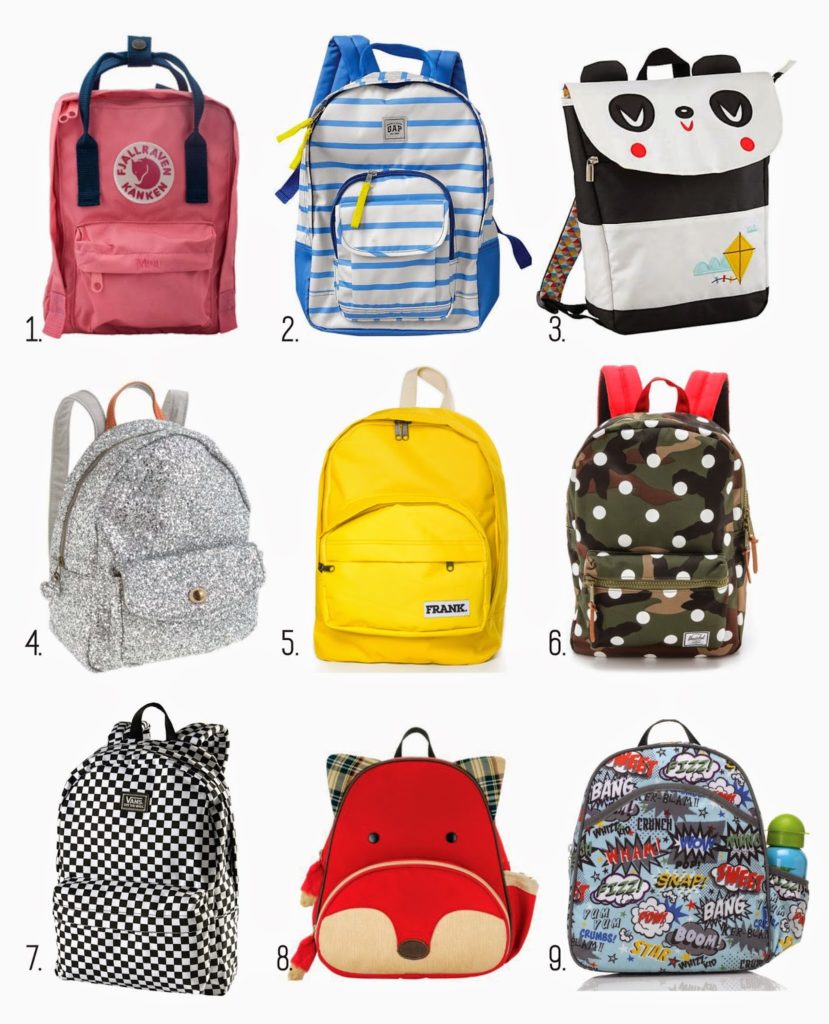
Call me Felicity, but I am in loooove with backpacks. It’s back-to-school time, and all I want to do is pick out a new one for myself and ravage the school supplies aisle at Target! Organizing notebooks and a planner and pencil case… I could go on and on and on. Anyway…
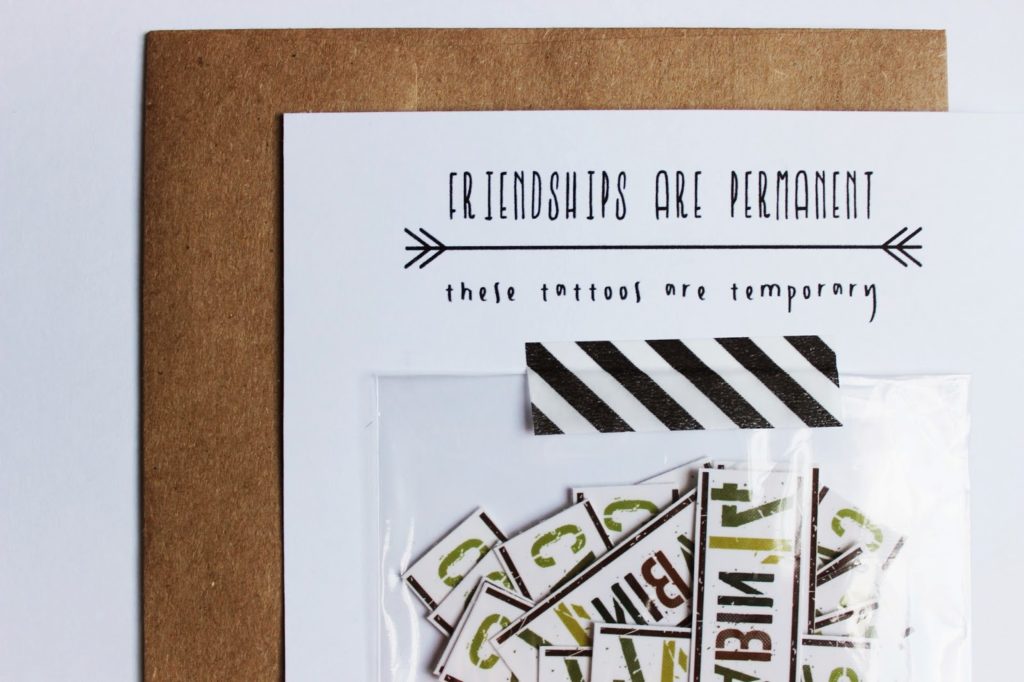
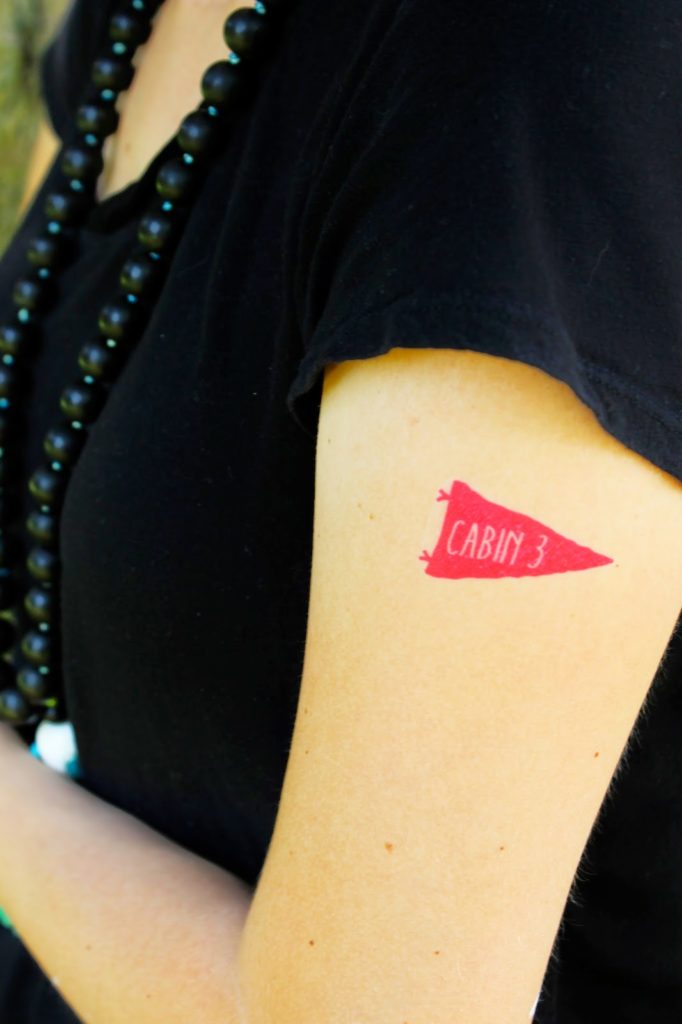
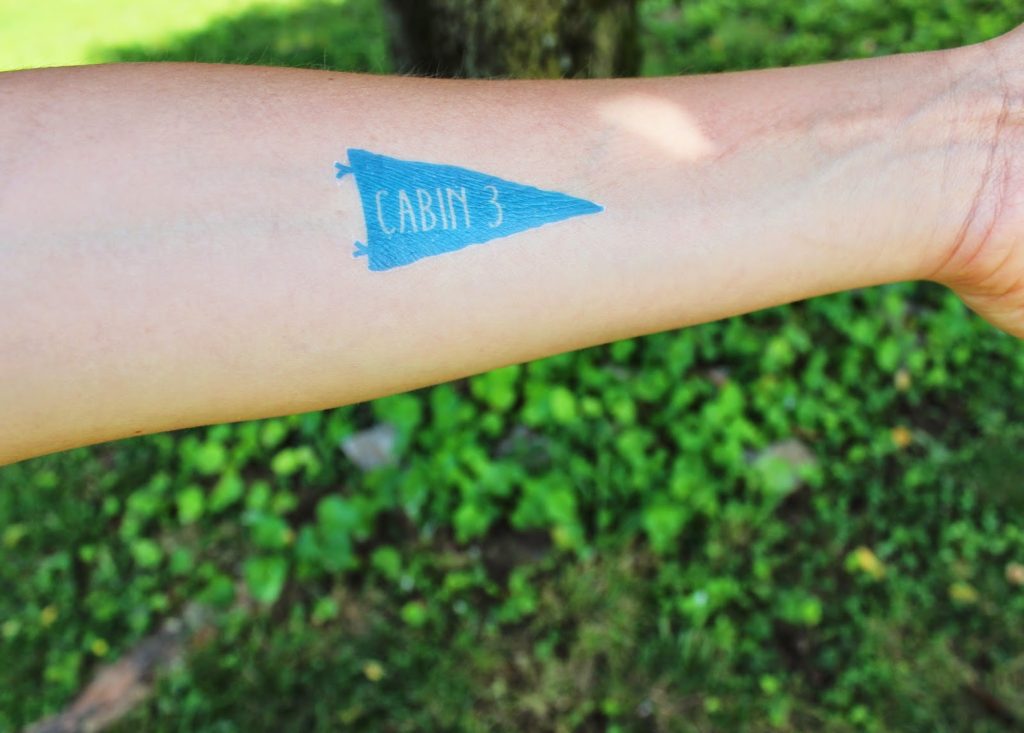
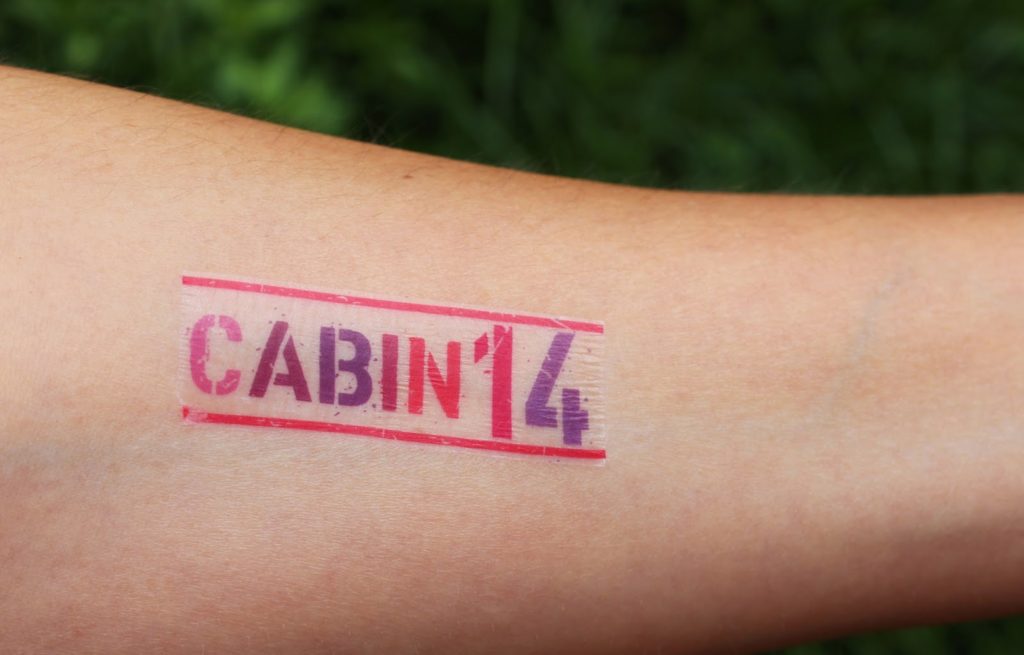
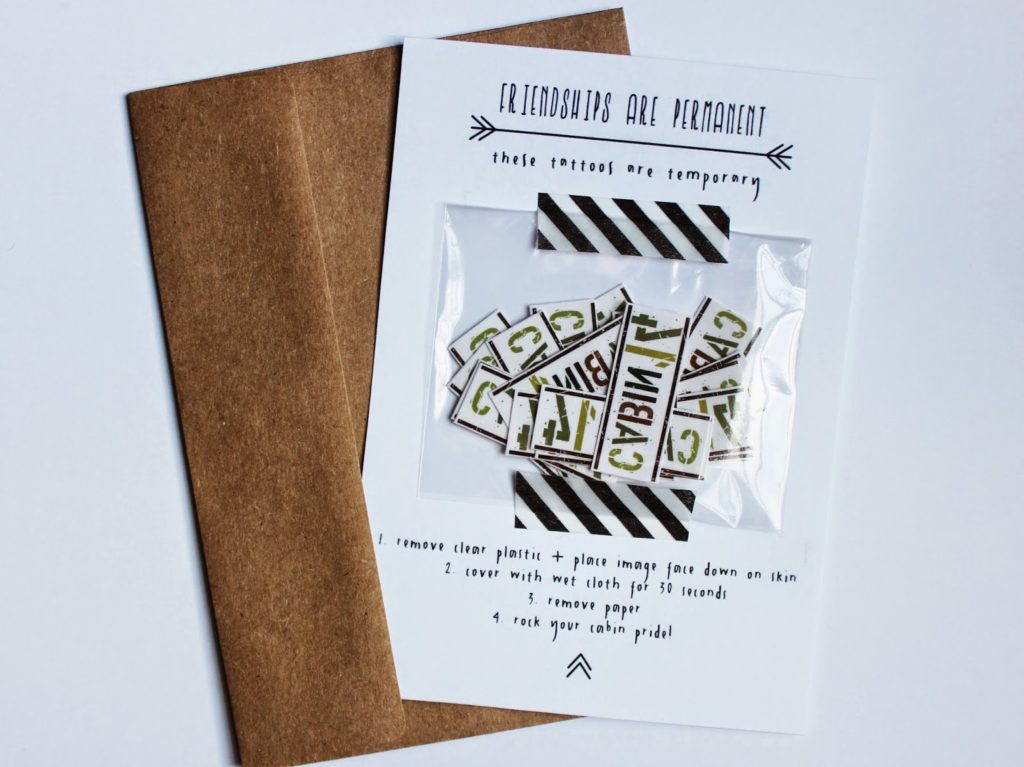
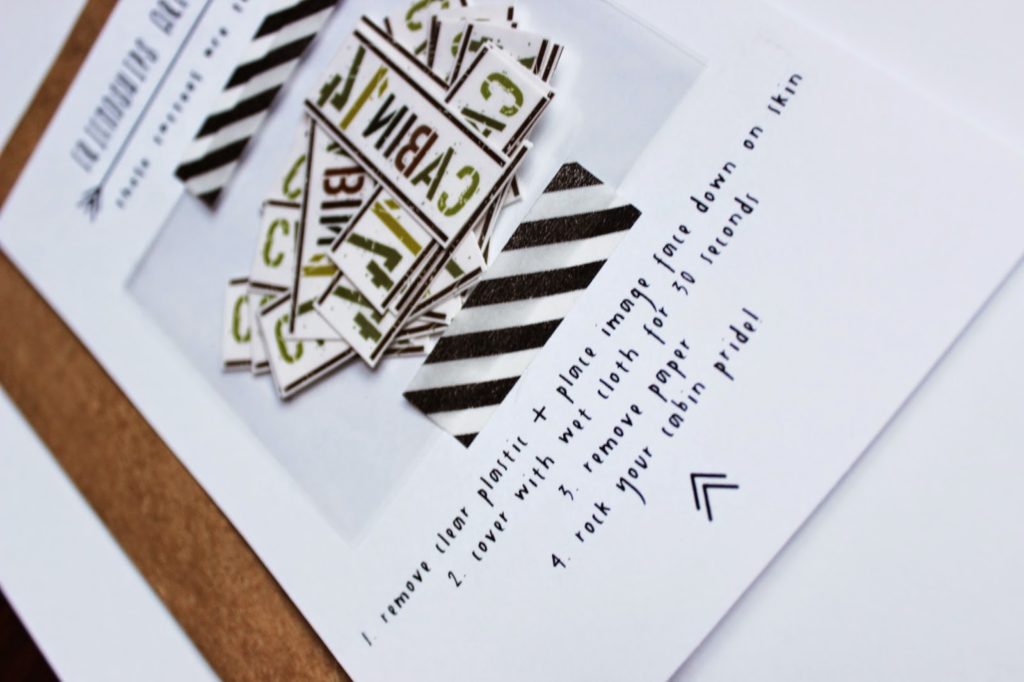
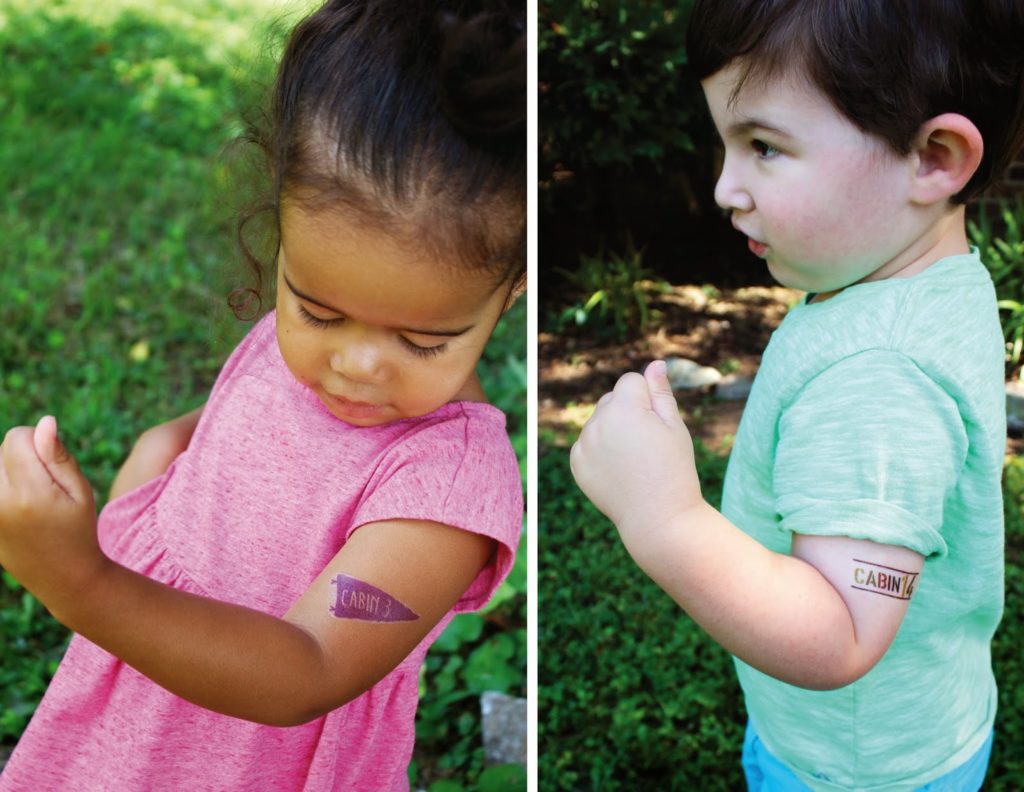
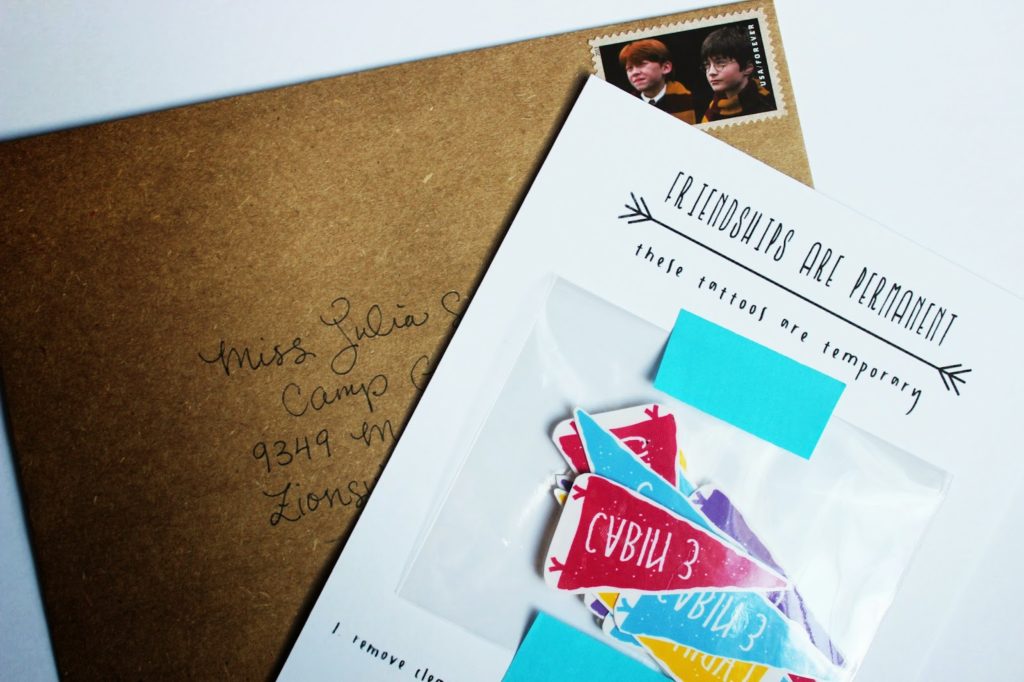
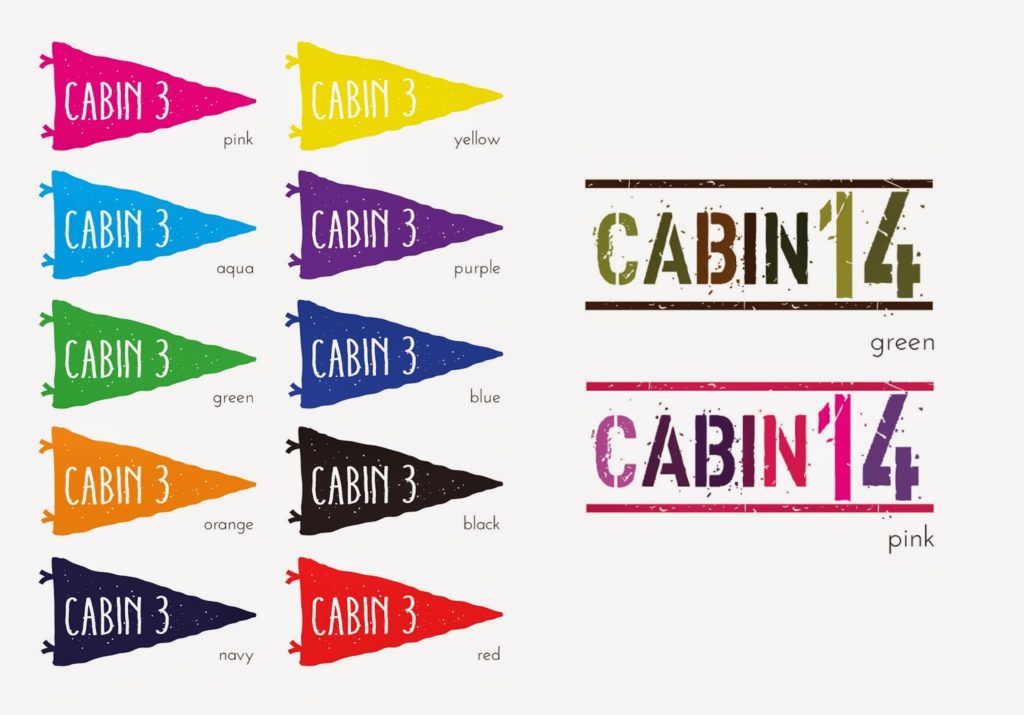
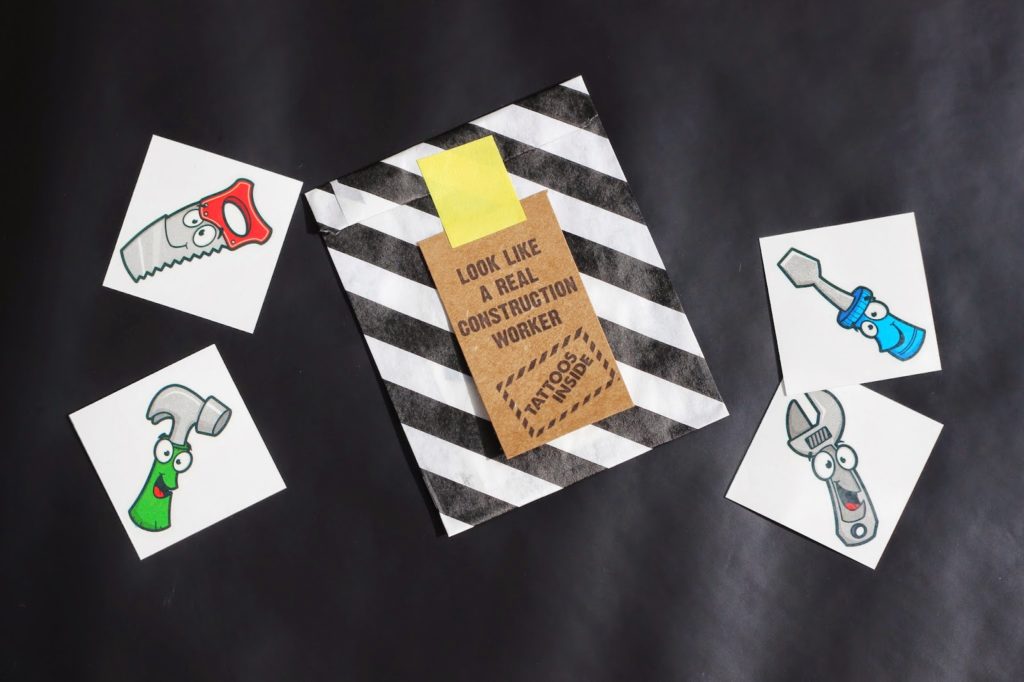
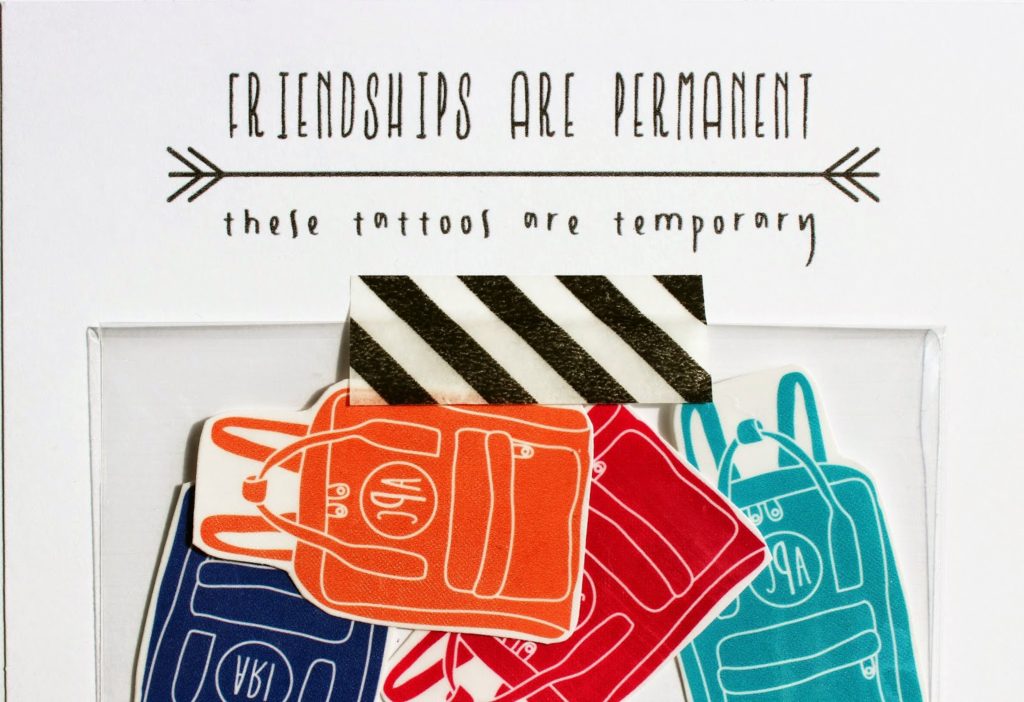
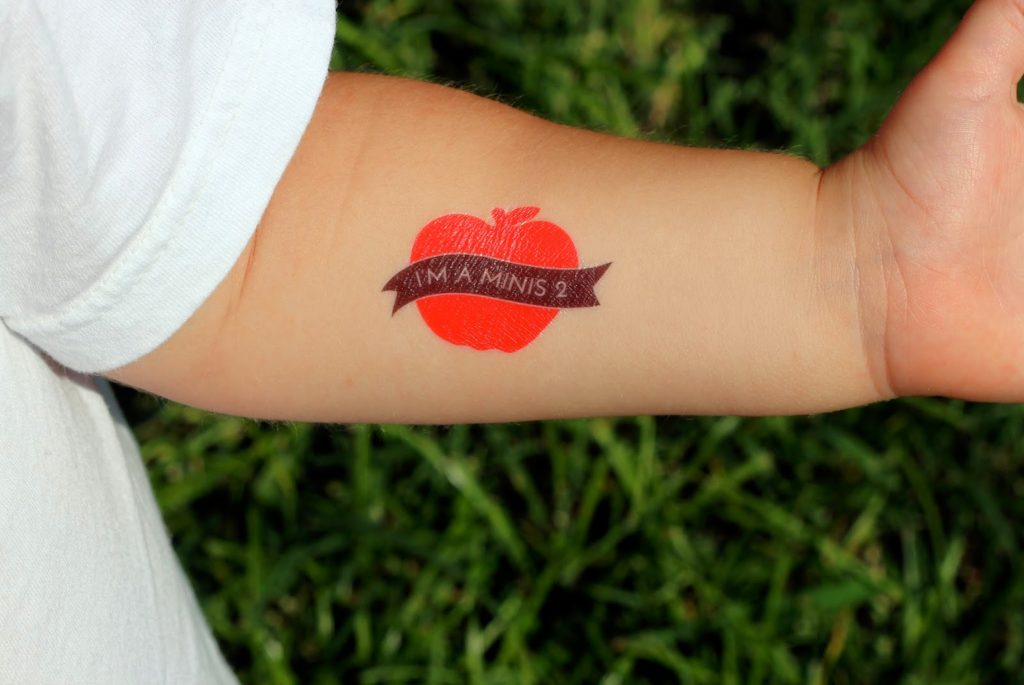
We have new back-to-school temporary tattoos in our Etsy shop for your kiddos! Customize with school colors and your child’s name or their school letters.

We’ve also rounded up some of our fav backpacks for your littles… unless your child insists on a
Wild Kratts backpack like mine did! Ugh.
Click numbers for links:
We’ve also got some cute tats for the teeny ones…tattoos to share with the whole class!
-L