Something about the Fall season gets us thinking about our dining spaces. Does it do the same for you? Maybe just thinking about Thanksgiving, holiday parties or just cozy chili dinners with the family has us spending more time in our eating nooks. Leah and I are totally guilty of eating dinners on our couches with our husbands while we Netflix binge.
My ( Jenni) husband and I are currently renovating our home, which is the slowest process ever with two kids running around, but we settled on the idea of a banquette design for our eat in kitchen/dining room in one. It seems like the best way to save space, and right now…. we are just loving the look. Here are a few that I am highly inspired by as we try to create our own before the holiday season gets underway.
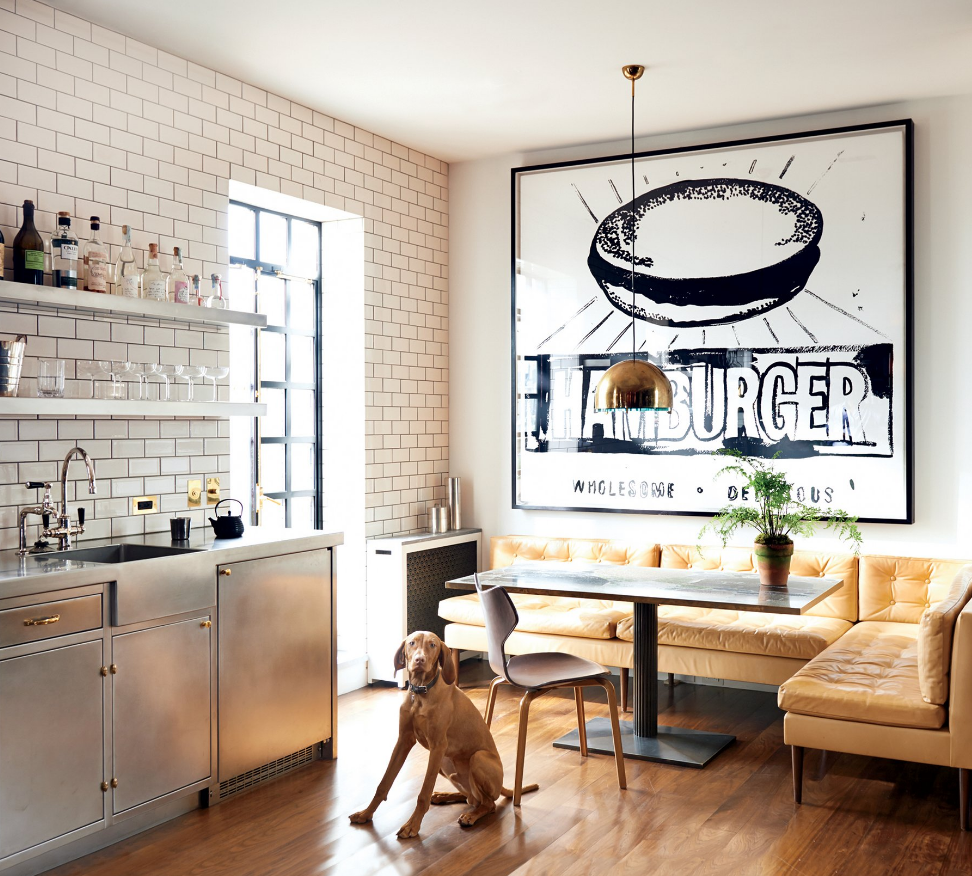
This first one is probably my top fav! It is industrial looking, and we are loving the idea of the leather sofa. So cozy chic!
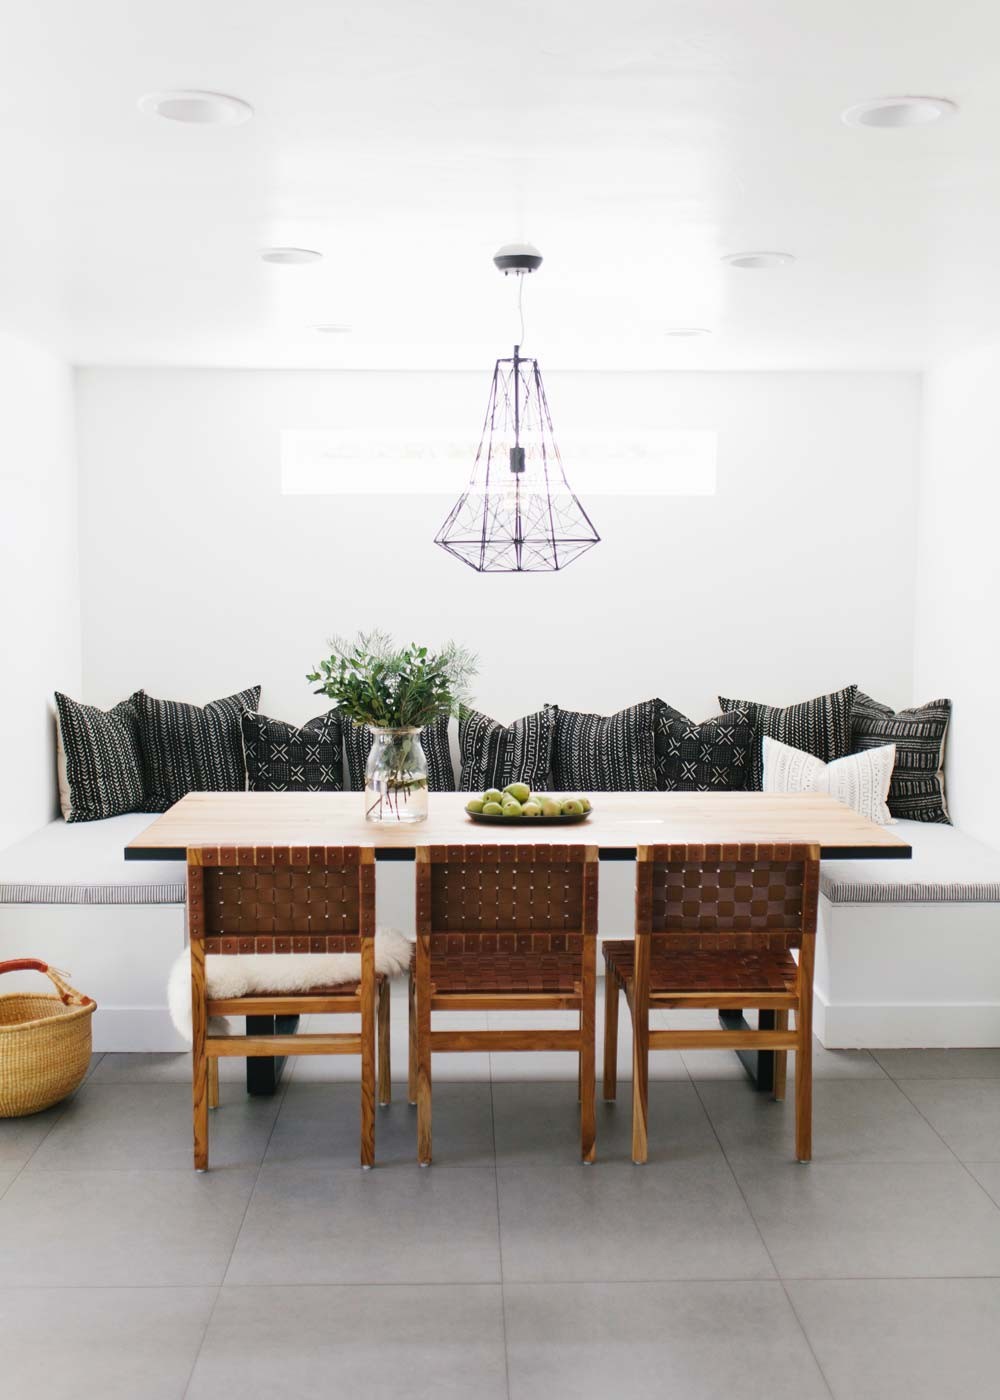

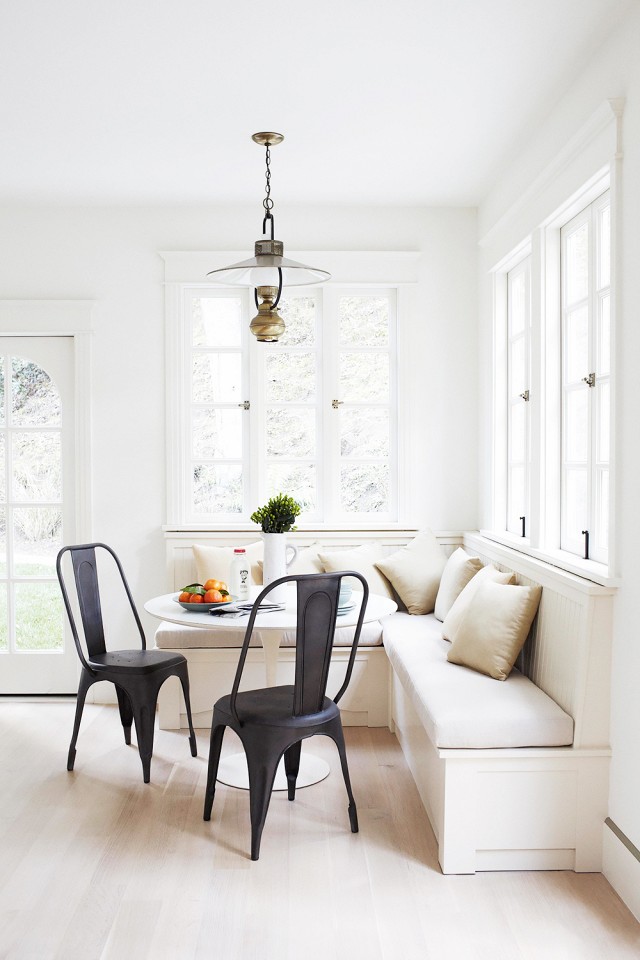
Loving the airy feel of this one! Neutrals with touches of black all the way!
Have a great weekend friends! Hope you get to do something that makes you extremely happy!
-J